Lousy weeks = Angel Food Cake (Science. Obviously)

IMG_3068

Sooo…. Hi! It’s been awhile.

You can thank grad school for that (and for being a royal pain in my butt). My stomach was being a real winner today too, rude. On the bright side, one of the things it seems to tolerate with a minimum of fuss is this cake! Probably because angel food is basically egg whites and air and fluff, in the best possible combination. I’ve always loved angel food — I asked for it for a birthday cake at some point when I was a kid, and I’ve always thought it was delicious.

IMG_3060

It’s fun to make, too! Egg whites are my favorite piece of kitchen chemistry. I love watching them go from foamy… to glossy… to peaks! I never get tired of it. And besides, even though I am the one who hardly ever uses a mixer unless I really have to, angel food gives me the chance to get out my beautiful red kitchenaide stand mixer! Wheeeeee! It looked so happy to see me. And don’t tell me inanimate objects don’t have feelings… KITCHEN APPLIANCES totally do. They feel neglected and sad when you just leave them to languish in the pantry… which is also why I love my pegboard so much. It means that my pots and pans and whatnot can hang out and watch the action from their corner (and egg me on. It’s like “use me!!! I am so great for making eggs!!! … constant ruckus from the peanut gallery).

IMG_3061

But actually.

IMG_3066

I will stop anthropomorphizing my appliances for the time being in order to get back to the cake. But admit it… if you love to cook and bake, your favorite pans and appliances become your friends. Don’t try to deny it, I know you. You know where they stick, how they heat, if they affect the consistency of whatever you’re baking… they’re like friends!

But also, in other news…

Mother Nature puts on some pretty amazing shows:

IMG_3051

Day 4 of the Drawing Challenge! Favorite Place… this one was easy :)

IMG_3008

And E and I had a fun date night at the British pub Fox and Goose, in the historic R district of Sacto. Fun fun!

IMG_3018

But. Back to the regularly scheduled programming…

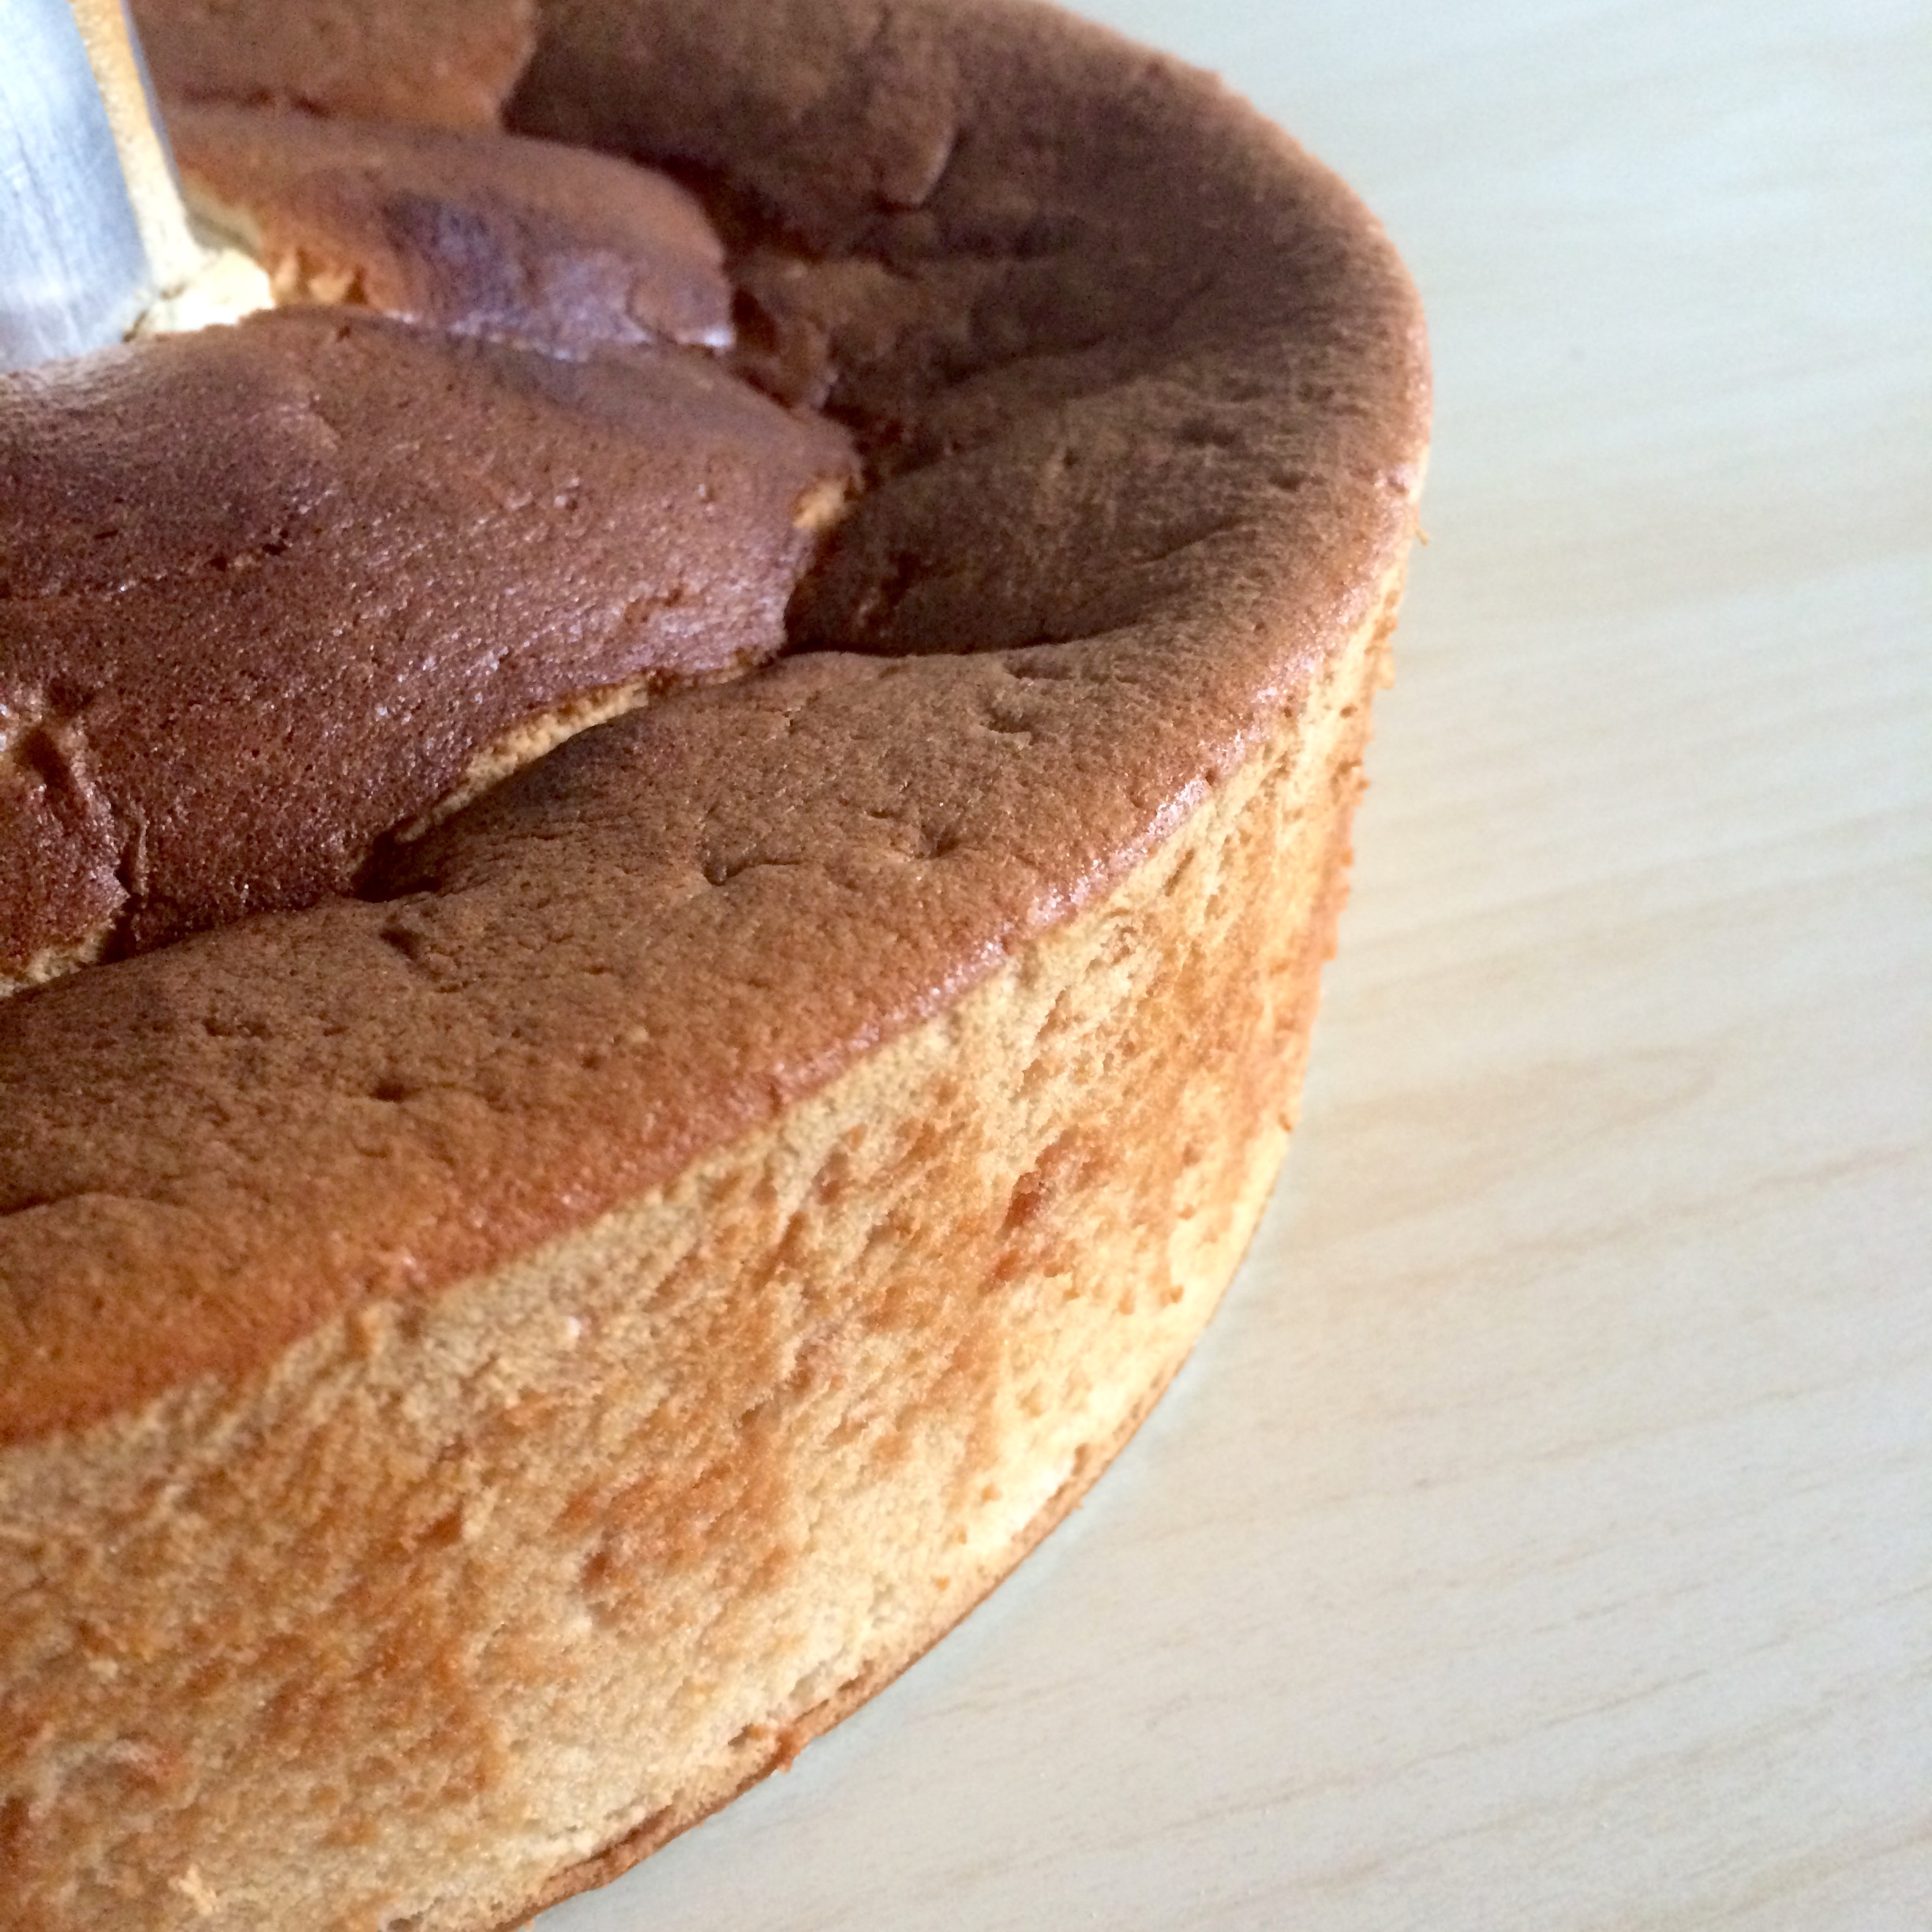
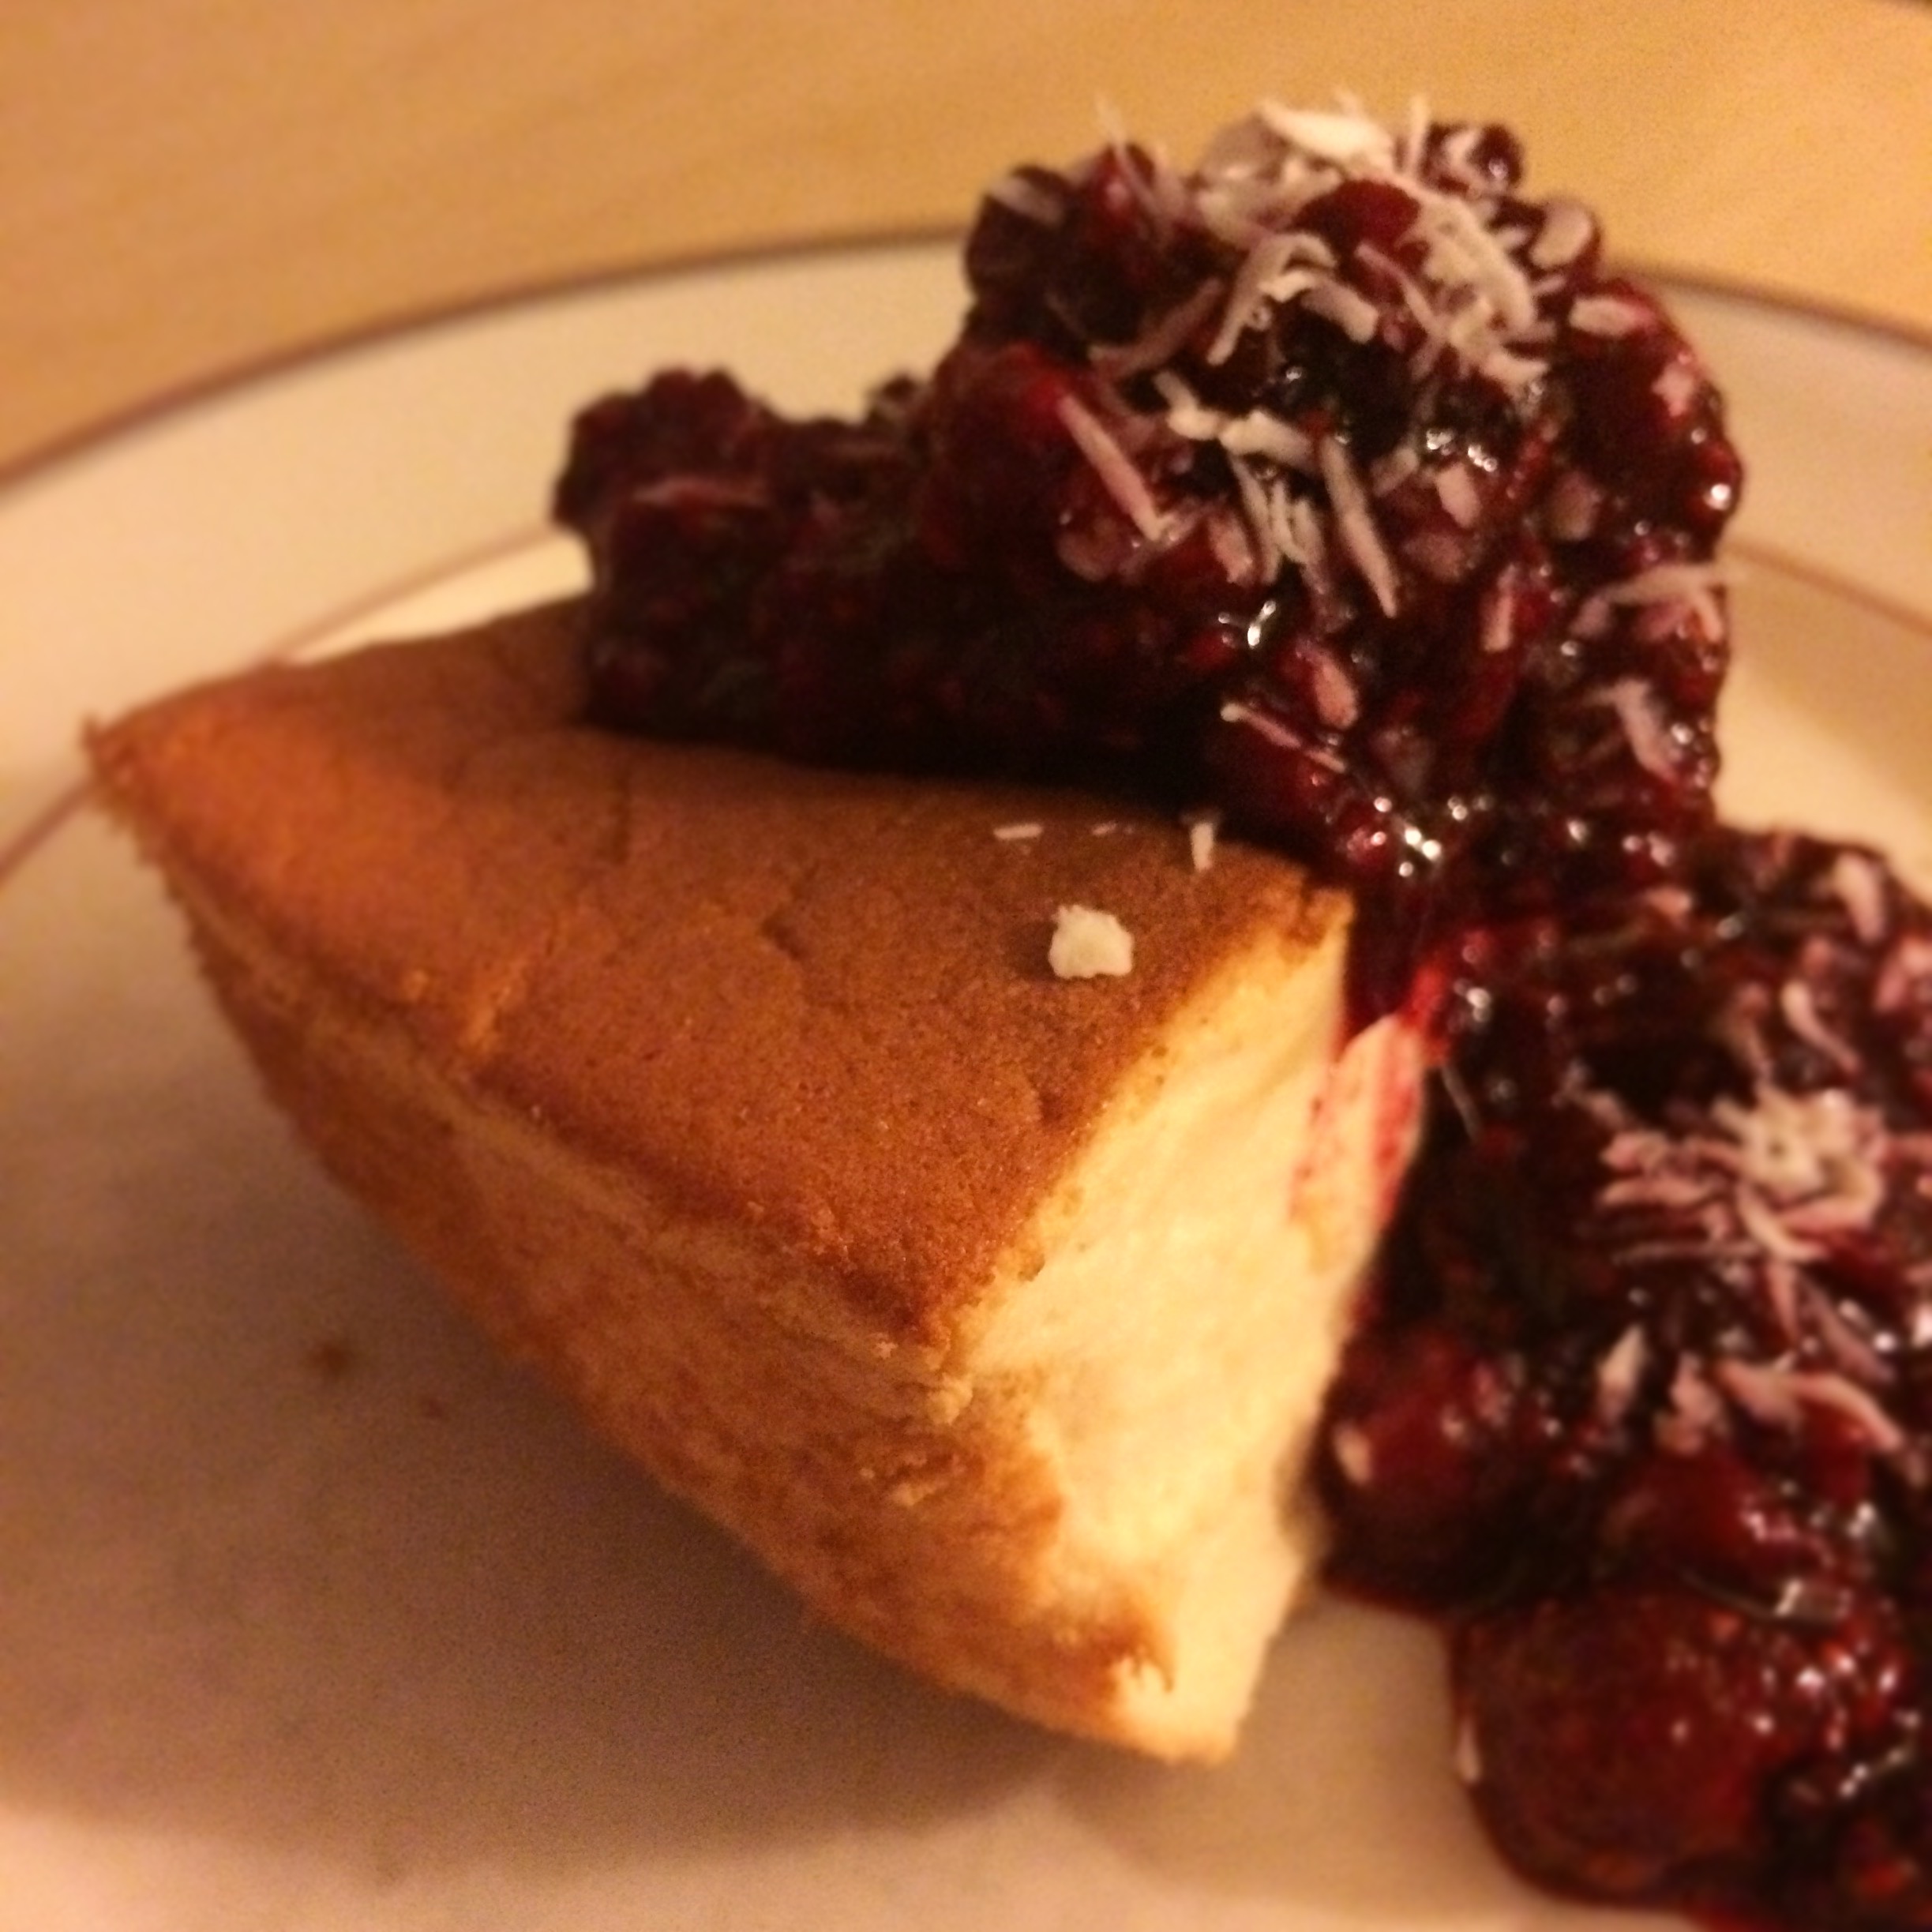
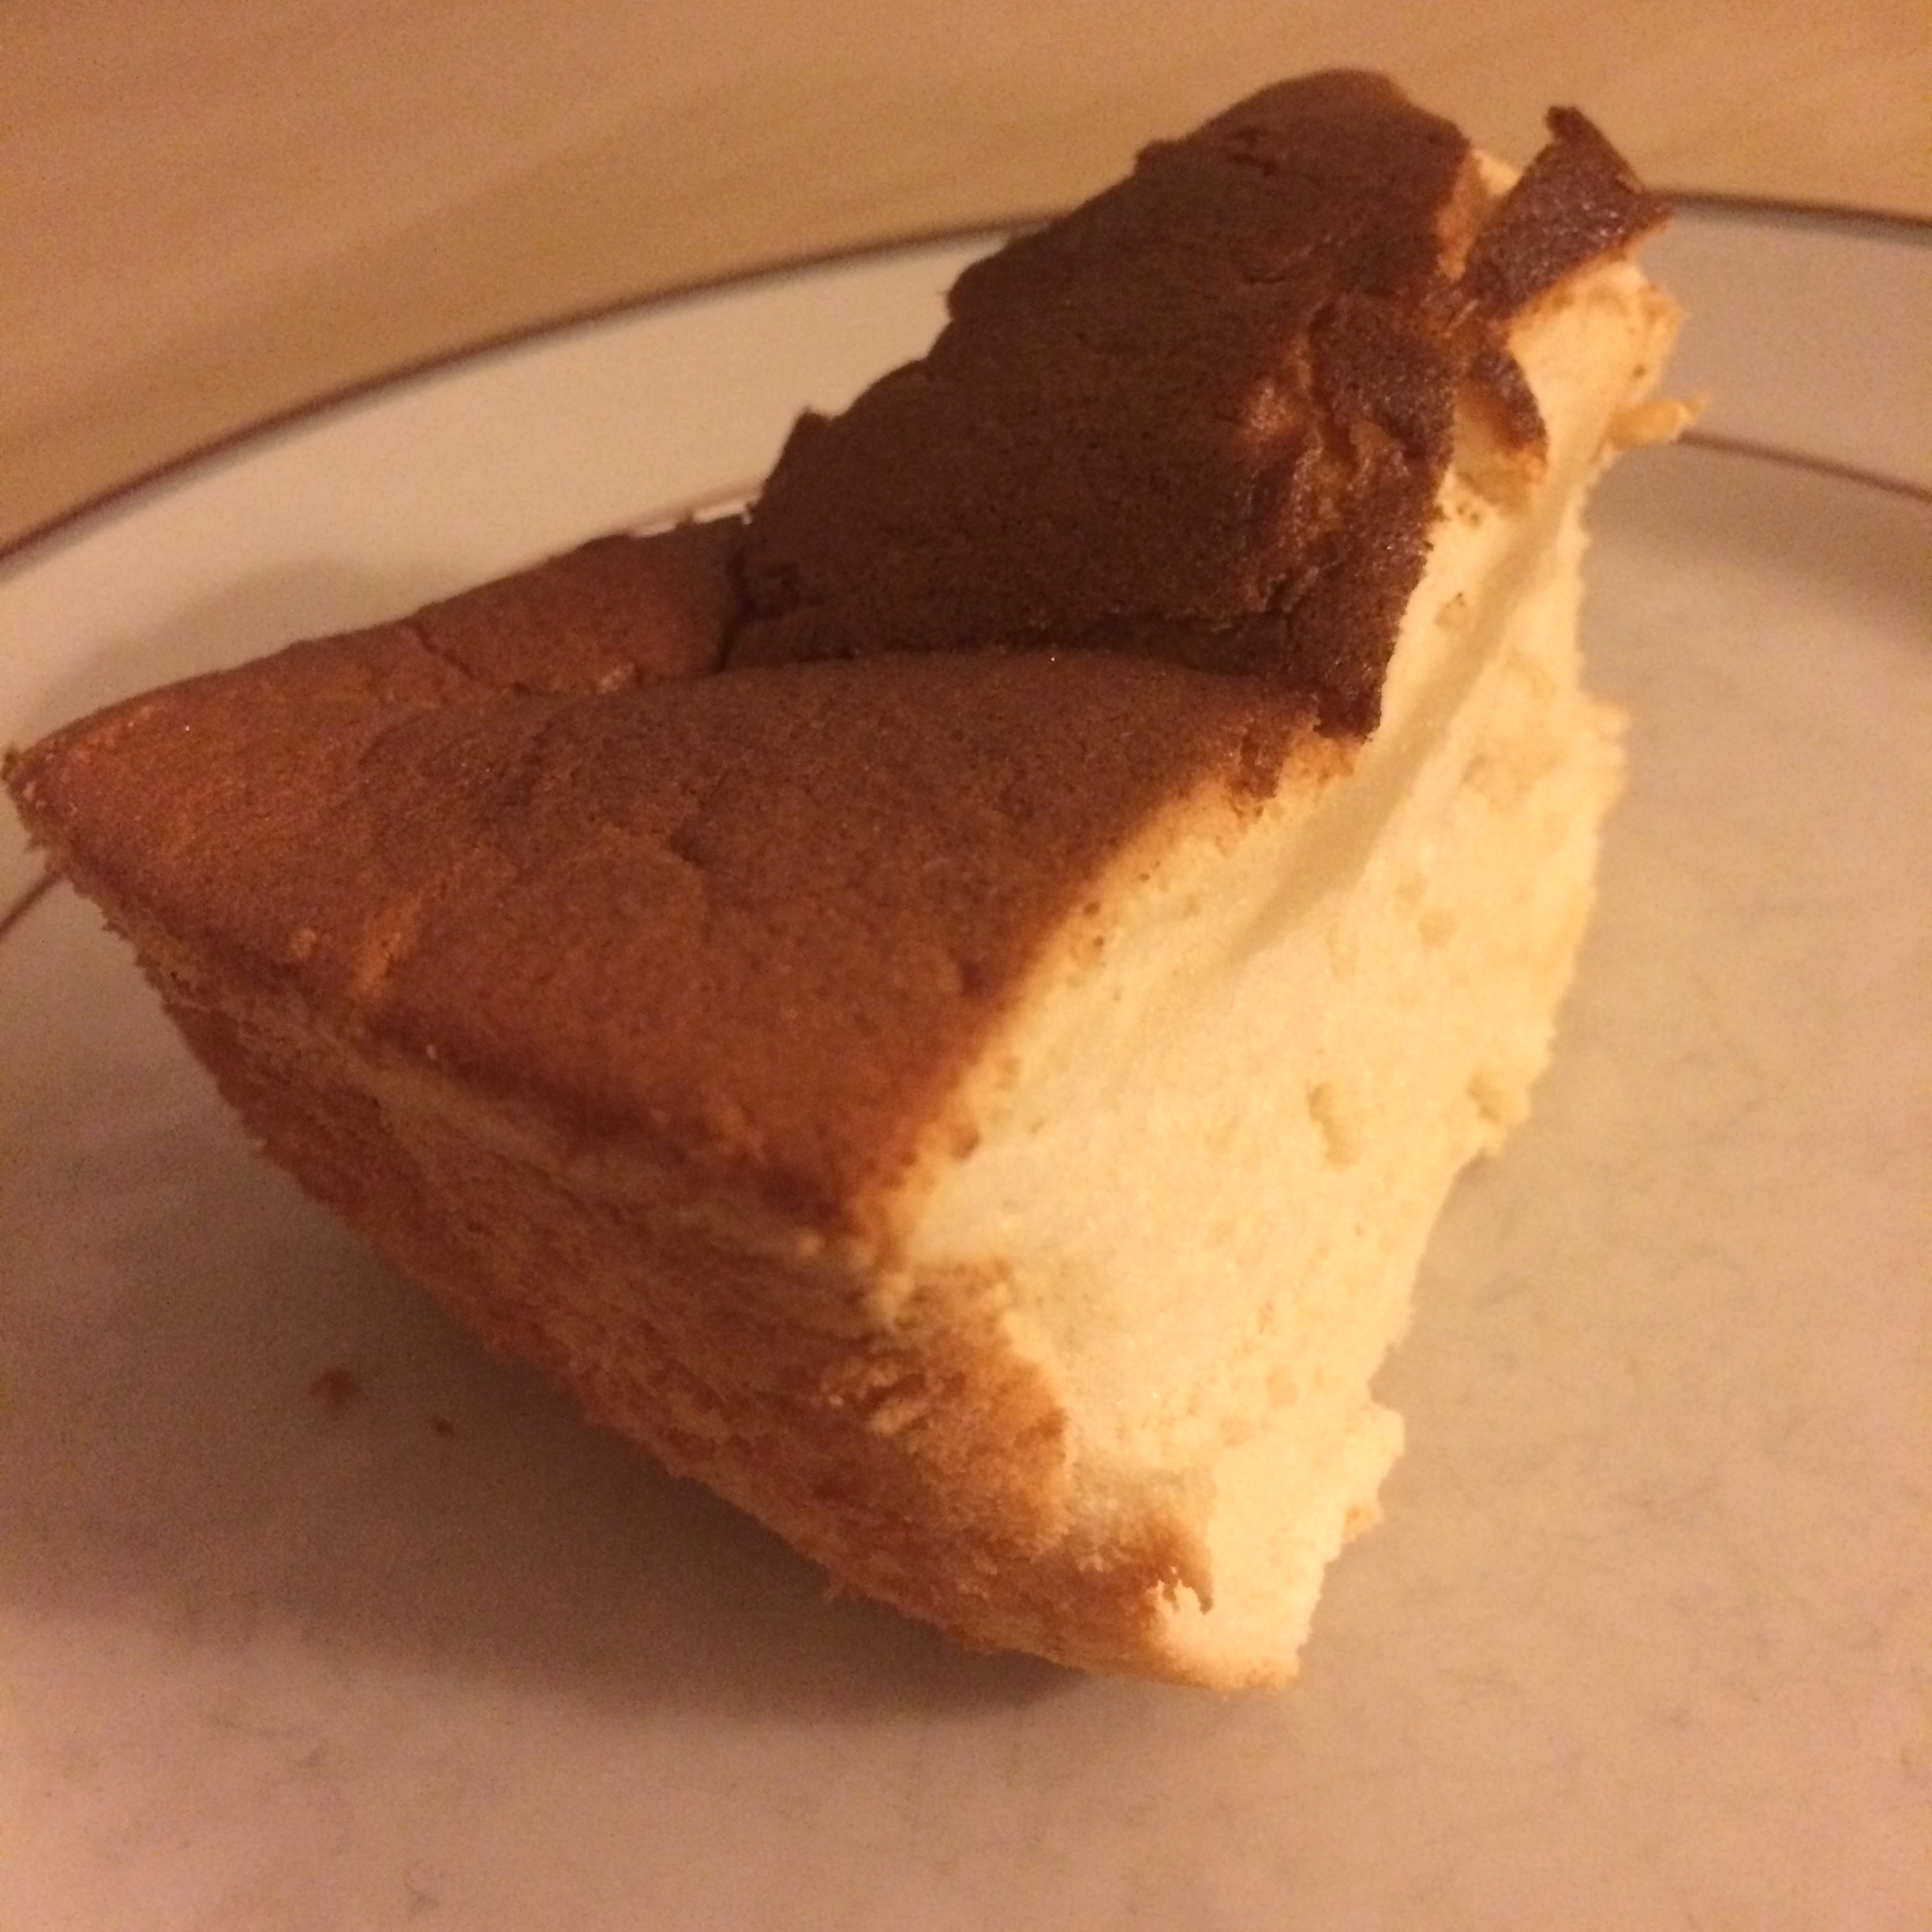
THIS CAKE! IS AMAZING!

Yep. still obsessed with this app.

And is gluten free, refined sugar free, and beyond delicious. When I made this, I actually ended up with a much denser consistency than angel food usually has (I have reason to suspect my oven; firstly, it is wee. It’s like half the size of a normal oven, so consequently all of my sheet pans are quarter sized. I feel like a Barbie. But also I do believe it runs hot and heats unevenly. Further research is required; until then it’s an interesting challenge) — but I don’t care, because it is AMAZING! It’s almost… custardy. But also kind of fluffy?! If you can possibly have custard and fluff at the same time, this is it. Mine got a tad overdone on the top half, and I actually pulled it out far sooner than it was supposed to go (hence the suspicion  that my oven runs hot), since it was done and browning quickly. It didn’t rise as much as they normally do, but it has that custardy wonderfulness so E and I definitely don’t care. Add to that, it’s tummy friendly and lower in sugar than most angel food cakes, so it just wins all around.

IMG_3055

That all being said, I highly recommend making it on a Friday afternoon when your week has been rather wretched and you just need some cake. Not that I speak from experience or anything. Nope. Not me..

IMG_3064

Grain Free Maple Angel Food Cake

Made of arrowroot starch, this cake is tummy friendly for IBS, gluten-free, grain free, and paleo. It’s also refined sugar free and lower in sugar than most angel food cakes, which is a bonus in my book for sure. Recipe from Deliciously Organic, here! I didn’t change a thing, as it was perfect as is. Yield: 1 cake (standard angel food pan).

  • 12 egg whites (I used 1 carton = to 10 whites + 2 whites from whole eggs for convenience)
  • 1 tsp fresh lemon juice
  • 1/4 tsp fine sea salt
  • 1.25 tsp cream of tartar
  • 1 tbsp pure vanilla extract
  • 3/4 c maple sugar, divided
  • 1 c arrowroot starch
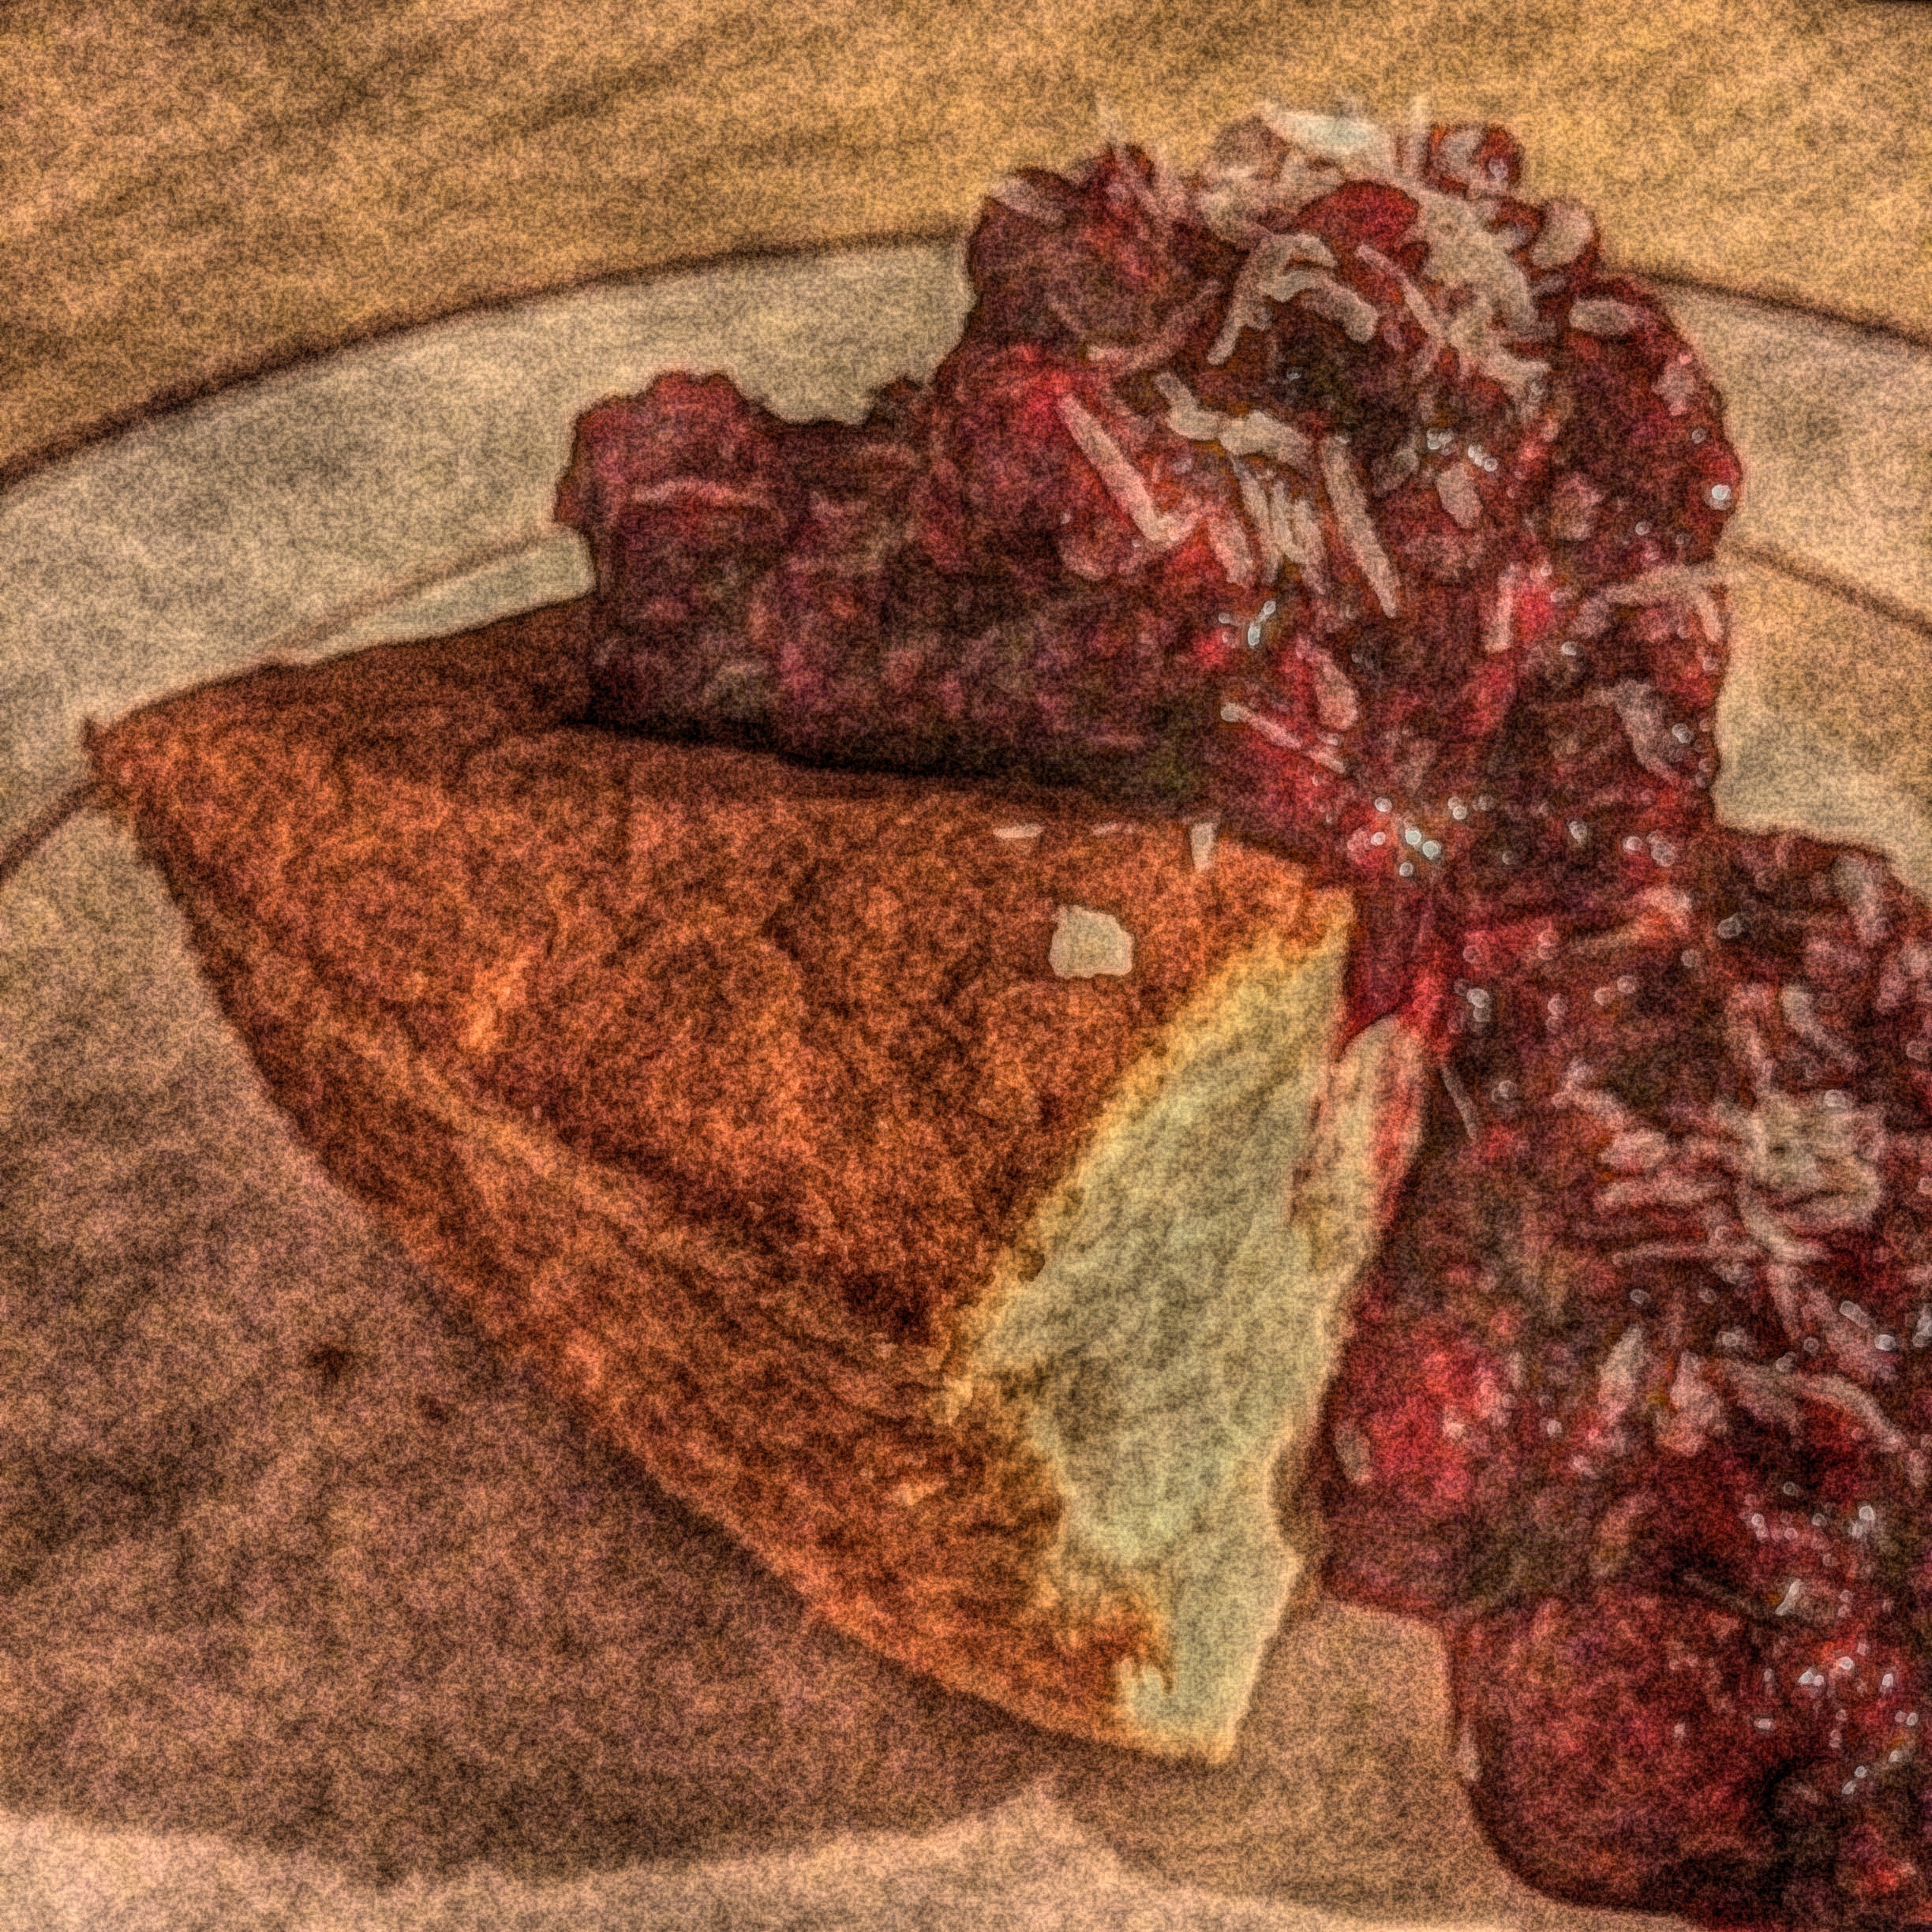
  • whatever toppings float your boat for serving — I made a simple raspberry compote and topped it with a little shredded coconut

Preheat the oven to 350, and get out your *un-greased* angel food tube pan. You might want to put a cookie sheet down below the cake pan in the oven to account for any leakage — my tube pan tends to leak just a bit out of the bottom. Adjust the rack for the cake to be in the middle of the oven.

In the bowl of a stand mixer, beat the egg whites with the lemon juice on medium high until foamy. Add salt, cream of tartar, and vanilla, and continue beating on medium high until soft peaks form, about 1 to 2 minutes.

With the mixer running on medium, slowly add 1/2 c of the maple sugar, a spoonful at a time. Sift the remaining maple sugar and arrowroot starch into a small bowl, and, with the mixer still running, slowly add this to the mixer bowl. Once it’s all added, whip on medium high until completely incorporated (you may need to scrape the sides of the mixer bowl, I did). Pour the batter into your tube pan, and bake for 35-45 minutes*, until the top is golden brown and the cake is puffed.

*Normal ovens are probably done at a minimum of 40 minutes. Mine was excessively brown at 35, and done, though not as puffy as it could be.

Remove the cake from the oven, and immediately invert over the neck of a wine bottle to cool completely — about 1 to 1.5 hours. Cooling it upside-down helps maximize loft! Once the cake is completely cooled, run a knife around the inside of the pans to loosen the sides, and pull the cake + the removable bottom out of the pan. Run a knife along the bottom between the pan and the cake to loosen it fully, then lift off to the serving plate. Decorate at will!

Angel food cake keeps well at room temp for a day or two if it’s not too hot or humid where you are. I’m keeping mine in the fridge and it’s totally fine — cover it with an inverted bowl and it will stay good for several days in the fridge.

Enjoy your perfect bits of cake fluff!

IMG_3058

An ecstatic moment involving some brûlée-d sugar and a spoon

IMG_6148

Not paleo.

Definitely not dairy free.

And there is no way this is vegan.

IMG_6145

Sorry I’m not going to be a teensy bit sorry… ever.

Because what this is, is nothing short of…

SPECTACULAR.

IMG_6142

Guys. CREME BRÛLÉE. Please excuse all the capitals but really. I’m having an ecstatic moment that I actually made this.

I kind of had some weird ingrained impression that creme brûlée was something fancy I could only get in a fancyschmancypants restaurant. You know, like how english muffins are mysteriously, perfectly english muffiny until you make them? Or maybe that’s just me. Whatever, anyway this is all beside the point as usual.

Point being, I used to looooove creme brûlée when I was a kid. I remember ordering a flight of them at the Ahwahnee in Yosemite when I was fairly little and being excited that it came in three flavors… and then realizing that I apparently still liked vanilla best. I’m a vanilla girl, don’t mess. Why tamper with something already so delicious?? But anyway, I really don’t remember much creme brûlée in the intervening years. What was wrong with me?! And why haven’t I made this before now?? Not to give away any trade secrets or anything, but it’s actually relatively simple (as long as a water bath doesn’t scare you).

IMG_6150

But seriously. Besides being delicious, creme brûlée is so fun! I’m like Amelie, I like smacking the top with my spoon and making the sugar crack. The little things are so satisfying…

And speaking of satisfying. This is made with nothing besides cream, egg yolks, and a bit of sugar and vanilla. Go ahead. Indulge yourself, because really—you’re worth it!

IMG_6146

Coconut Sugar Creme Brûlée

Apparently I can’t get too far away from my attempt to bring at least a little healthy into everything—-this is technically refined sugar free! Wheee! It’s made with coconut sugar, which is lower in fructose (good), and which retains the minerals, short chain fatty acids, and antioxidants found in the coconut palm from which it comes (also good). Besides that, it’s delicious. It tastes caramel-y and a little earthy to me, and goes spectacularly with vanilla. The awesome recipe came from Grain-Free Goodness, here! Makes six small ramekins.

Acquire the following, and let’s embark on culinary shenanigans:

  • 2 c heavy cream (1 500 mL container; or I think mine was 437 mL or something weird, but ended up exactly 2 c)
  • 5 egg yolks
  • 2 tsp vanilla extract*
  • 6 tbsp coconut sugar+more for brûlée-ing

IMG_6147

Preheat the oven to 325, and boil a medium saucepan of water (or use a kettle if you’re lucky enough to have one). You’ll need the water for the water bath, so makes sure it stays at a boil until just before you need it. Procure whatever you’re making your creme brûlée in—-I used three ramekins and three oven-safe coffee cups that were about the same size as the ramekins. You’ll also need a big casserole dish (or two) with deep sides.

In a heavy-bottomed saucepan, heat the cream and the vanilla over low-medium (no higher!), stirring frequently. You want it to come just barely to a simmer, but none of that scalding business– none of that! Once it’s just barely at a simmer, pour it into something with a  spout, for ease of pouring later.

While the cream is heating, beat egg yolks with the coconut sugar until creamy. It should lighten in color when the sugar is fully incorporated. With the mixer running, pour a small bit of the hot cream into the egg yolks, beating the whole time so that the eggs don’t cook. Keep pouring small amounts and beating them in, until all the cream is incorporated (once about half the cream has been added, you can add more to the eggs at each pour, since the eggs are already tempered). Skim the froth off the top with a  spoon. Pour all this back into whatever pouring thing you used for the cream, and then pour equal amounts of it into the ramekins/cups of choice. Set all the ramekins into the casserole dish, and (CAREFULLY) pour the boiling water into the casserole dish, avoiding the ramekins (no one wants watery pudding). Make sure the water goes about halfway up the sides of your ramekins.

Bake until custards are *just* set—-they should be jiggly in the middle, but not liquidy when you touch them. The surface should be set, with the jiggle happening just below a thin skin of set custard. They’ll set up quite a bit when they cool, so don’t worry if they’re jiggly—they’re supposed to be! No over-cooked custards around here… I baked mine for half an hour (the ramekins), and then 35 minutes for the coffee cups, which were a little deeper. Check them every five minutes after a half hour, just to be safe.

Remove from the water bath and let cool on a cooling rack completely before covering in plastic wrap and chilling in the fridge. They should chill for at least several hours before serving (I did mine the day before I served them, as they keep well in the fridge for several days before you brûlée them).

IMG_6151

When you’re ready to eat them, you get to play with fire! Ha. Sprinkle a bit of coconut sugar on the top, attempting to evenly distribute it. You can use a kitchen torch (if you’re lucky and have one, unlike me… anyone want to send me one??) or an old spoon if you’re janky like me. If you use the spoon, heat it over a gas burner on your stove (holding it with an oven mitt just in case, thank you) until you can feel the heat coming off it when you hold a hand a bit away, then press it down onto the sugar. It will caramelize immediately! If the surface of your custard is big, you might need to repeat this a few times. Beware… your spoon will never be the same. But it might encourage you to make this more often, if you have a designated brûlée-ing spoon…

Eat immediately! These don’t keep for more than an hour after they’re brûlée-d, so do yourself a favor and get cracking! Hehe.

to be eaten with a Pooh spoon, obviously.

I’m alternative… or awesome? Let’s go with awesome.

IMG_5004

I eat greens in three meals a day.

No joke.

IMG_5009

I even put spinach in my oats. (I can hear you ewwwing, you know, through my computer). NOT cooked, mind you—it only goes in my overnight oats. With a buhhnahhhnuhhh. And then I eat them in lunch. And dinner. And probably a snack, if I could finagle it. You know how in previous posts I’ve mentioned putting spinach where it totally doesn’t belong? Yeah. I suppose oats would be one of those places… as would a banana scramble…? Whatever. I’m kind of  alternative. Or awesome… let’s go with awesome.

Ahem..

Movingggg… on!

IMG_5008

This time, spinach went in a smoothie! That’s at least a little more normal… but why I chose to make and eat this on day when it was cold and raining outside is beyond me. It was delicious but then I was promptly freezing. Whoops. Whatever, worth it!

And then you can do almond butter art on top of your smoothie, if you eat in in a bowl. Which is obviously reason enough to eat in a bowl, right?? Who doesn’t like an excuse to play with their food? Come on, channel your inner Jackson Pollock, you know you want to!

IMG_5006

Almond Coconut Green Smoothie

Gratefully inspired by The Edible Perspective, here! Makes one largeish smoothie bowl. Note that you need to freeze the coconut milk first, so make time for that if you want this later in the day!

  • 1 c light coconut milk
  • 1/2 c milk bev of choice (I used 1% milk)*
  • 2 c fresh spinach
  • 2 tbsp almond butter+more for drizzle
  • 1.5 tbsp unsweetened shredded coconut+garnish
  • 1 medjool date, pitted
  • 1/2 ripe banana
  • 1 tsp vanilla extract

*I would have liked mine thicker, more like a milkshake consistency—next time I won’t add as much extra milk. Up to you!  If you want it drinkable (as opposed to spoon-able), use 1/2-1 c extra milk bev.

Freeze 1 c of coconut milk in ice cube trays. Once it’s frozen, pop them out into your food processor (or blender, if you happen to have a decent one). Add in spinach, almond butter, coconut, date, banana, and vanilla, and blend until combined. Pour into a bowl (because that’s more fun!), and top with almond butter and coconut, and maybe some chia seeds. Preferably eat when it’s not freezing outside…

IMG_5007

Chiseling mortar off of a 35 foot chimney…

This is what happens when you do labor on Labor day weekend! You make things to eat afterwards, duh!

Thanks to my lovely course schedule and a little national holiday, I had a four day weekend (hoooorayyy!). I decided to take advantage of the lack of work and lack of homework (what thesis??) to take a trip up to Govy to see Carl and Suz! YAY! Little did I know going in that I would, over the course of the weekend: wash 3 cars, watch the Ducks lose to LSU (We’re just going to pretend this didn’t happen, ok? ok… moving ON!), pick a quart of huckleberries, and chisel mortar off of a 35 foot chimney, after climbing said 35 feet of scaffolding to get up there. Can you say BALLER? Yes. I thought so. Anyway, it was a super fun and relaxing (yes, you read right) weekend… ideally I’ll be repeating it in the near future. (Although if there’s snow, the chimney might be a tad out of the question. ha.) Carl and Suz are probs the best people to stay with… and Whomp kitty is suuuuper cute.

Lookin' fierce with my chisel and Carl! Working hard? Or hardly working?


Working hard, obvi!

So.

Let me get back to the food, which is undoubtedly the reason you put up with my blather in the first place (and the whole reason for this blog’s existence… right. anyway.)

After all the exertions of the day, I wanted dessert! And food. But I have to prioritize, right?? Suz had a bunch of Hood River peaches (aww yeeee, locovore!) waiting to be sliced and eaten, so we turned them into a rustic peach galette. It was excellent on its own, but even better with a blob of ice cream! Duh. Like when would I EVER recommend that you eat anything WITHOUT ice cream?! I’m an a la mode girl, obvi. And apparently that’s an inherited trait, since my paternal grandfather is perpetually asking for a la mode. See? It’s in the genes, I’d like to see YOU try to alter your genetics! Ha. So there!

I’m not entirely sure where Suz got the recipe, and I’m adapting it loosely here. It’s insanely flexible—use whatever fruit you have on hand that’s seasonal, or I’m sure frozen would be fine too.

Rustic style

Rustic Peach Galette

For the dough:

2.5 c whole wheat flour (in this case NOT ww pastry flour, but it makes little difference which one you use here)

1 c butter (salted)

3 tbsp brown sugar

2/3 c ice water

scant 1/2 tsp salt

Filling:

A lot of peaches. Essentially however many will fit into your tart.

Sliced almonds are nice.

Vanilla extract.

Brown sugar. Flour.

Combine flour, sugar, and butter. Cut the butter into the flour until it resembles coarse sand (I find that your fingers are most effective for this). Add egg and ice water, and mold into a ball. Cover and let sit in the fridge while you go pick huckleberries (or something… not to rub it in, heheh).

Slice lots of peaches. Or other fruit. Or whatever is going in the middle of your tart. Galette. Whatever.

All sprinkled

After dough has chilled a bit, roll/flatten/rustically stretch your dough out so that it’s big enough to contain your filling. I crimped the edges on mine to hold it all in, but you can make a more traditional galette and pull the edges up and over the filling if you like.

Pile your peaches in a tasty-looking heap in the center of the dough, and sprinkle with almonds, brown sugar, vanilla, and a bit of flour. Toss your filling just a bit and then sprinkle the top with more sugar and a few more almonds/vanilla. I’m not giving measurements for these because a) this tart is supposed to be RUSTIC, and b) I actually didn’t measure when Suz and I made these, and c) if I told you how to do everything it would be boring! Anyway. Sprinkle away, to your heart’s content. When you’re done sprinkling…

Place galette (s) on a lightly greased/oiled cookie sheet, and bake until juices are bubbly and the crust is golden brown. Ours were probably somewhere between 30 and 45 minutes (Sorry for the inexactness, I was off doing other fun things and not really paying all that much attention). Still. They’re delicious! Not too sweet, and perfect for breakfast or a late afternoon snack. The flavor of the peaches really comes out, so make sure whatever fruit you use is super fresh and ripe!

Enjoy your rustic galette, in all of its lovely rusticness. It’s so rustic, the recipe is unspecific. Rather nice, don’t you think? Definitely a forgiving recipe—it would be easy to play around with it.

Happy 4 day work week, YAYY!