All the change, all at once. Why not?!

fullsizeoutput_25bc

Internet friends!

fullsizeoutput_25bf

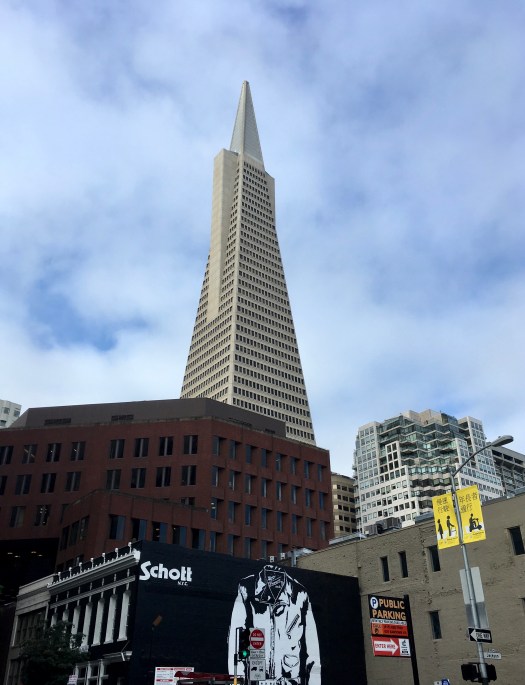
Hello! It feels like it’s been forever. I started my new job last week – though I had two first days, one in Dallas for the marketing group and then one in SF at my actual office – and I signed the lease on an adorable little apartment today! I can’t wait to live in the same city in which I work, AND the apartment building is a 1920s original. The architecture nerd in me is doing the biggest happy dance. Not to mention that it has an incredible renovated kitchen and I can’t wait to bake in it!

fullsizeoutput_25c3

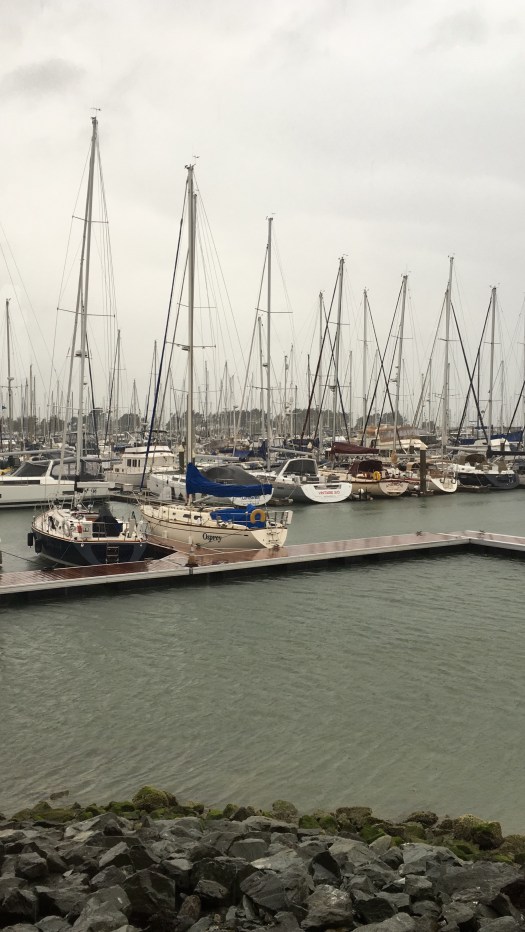
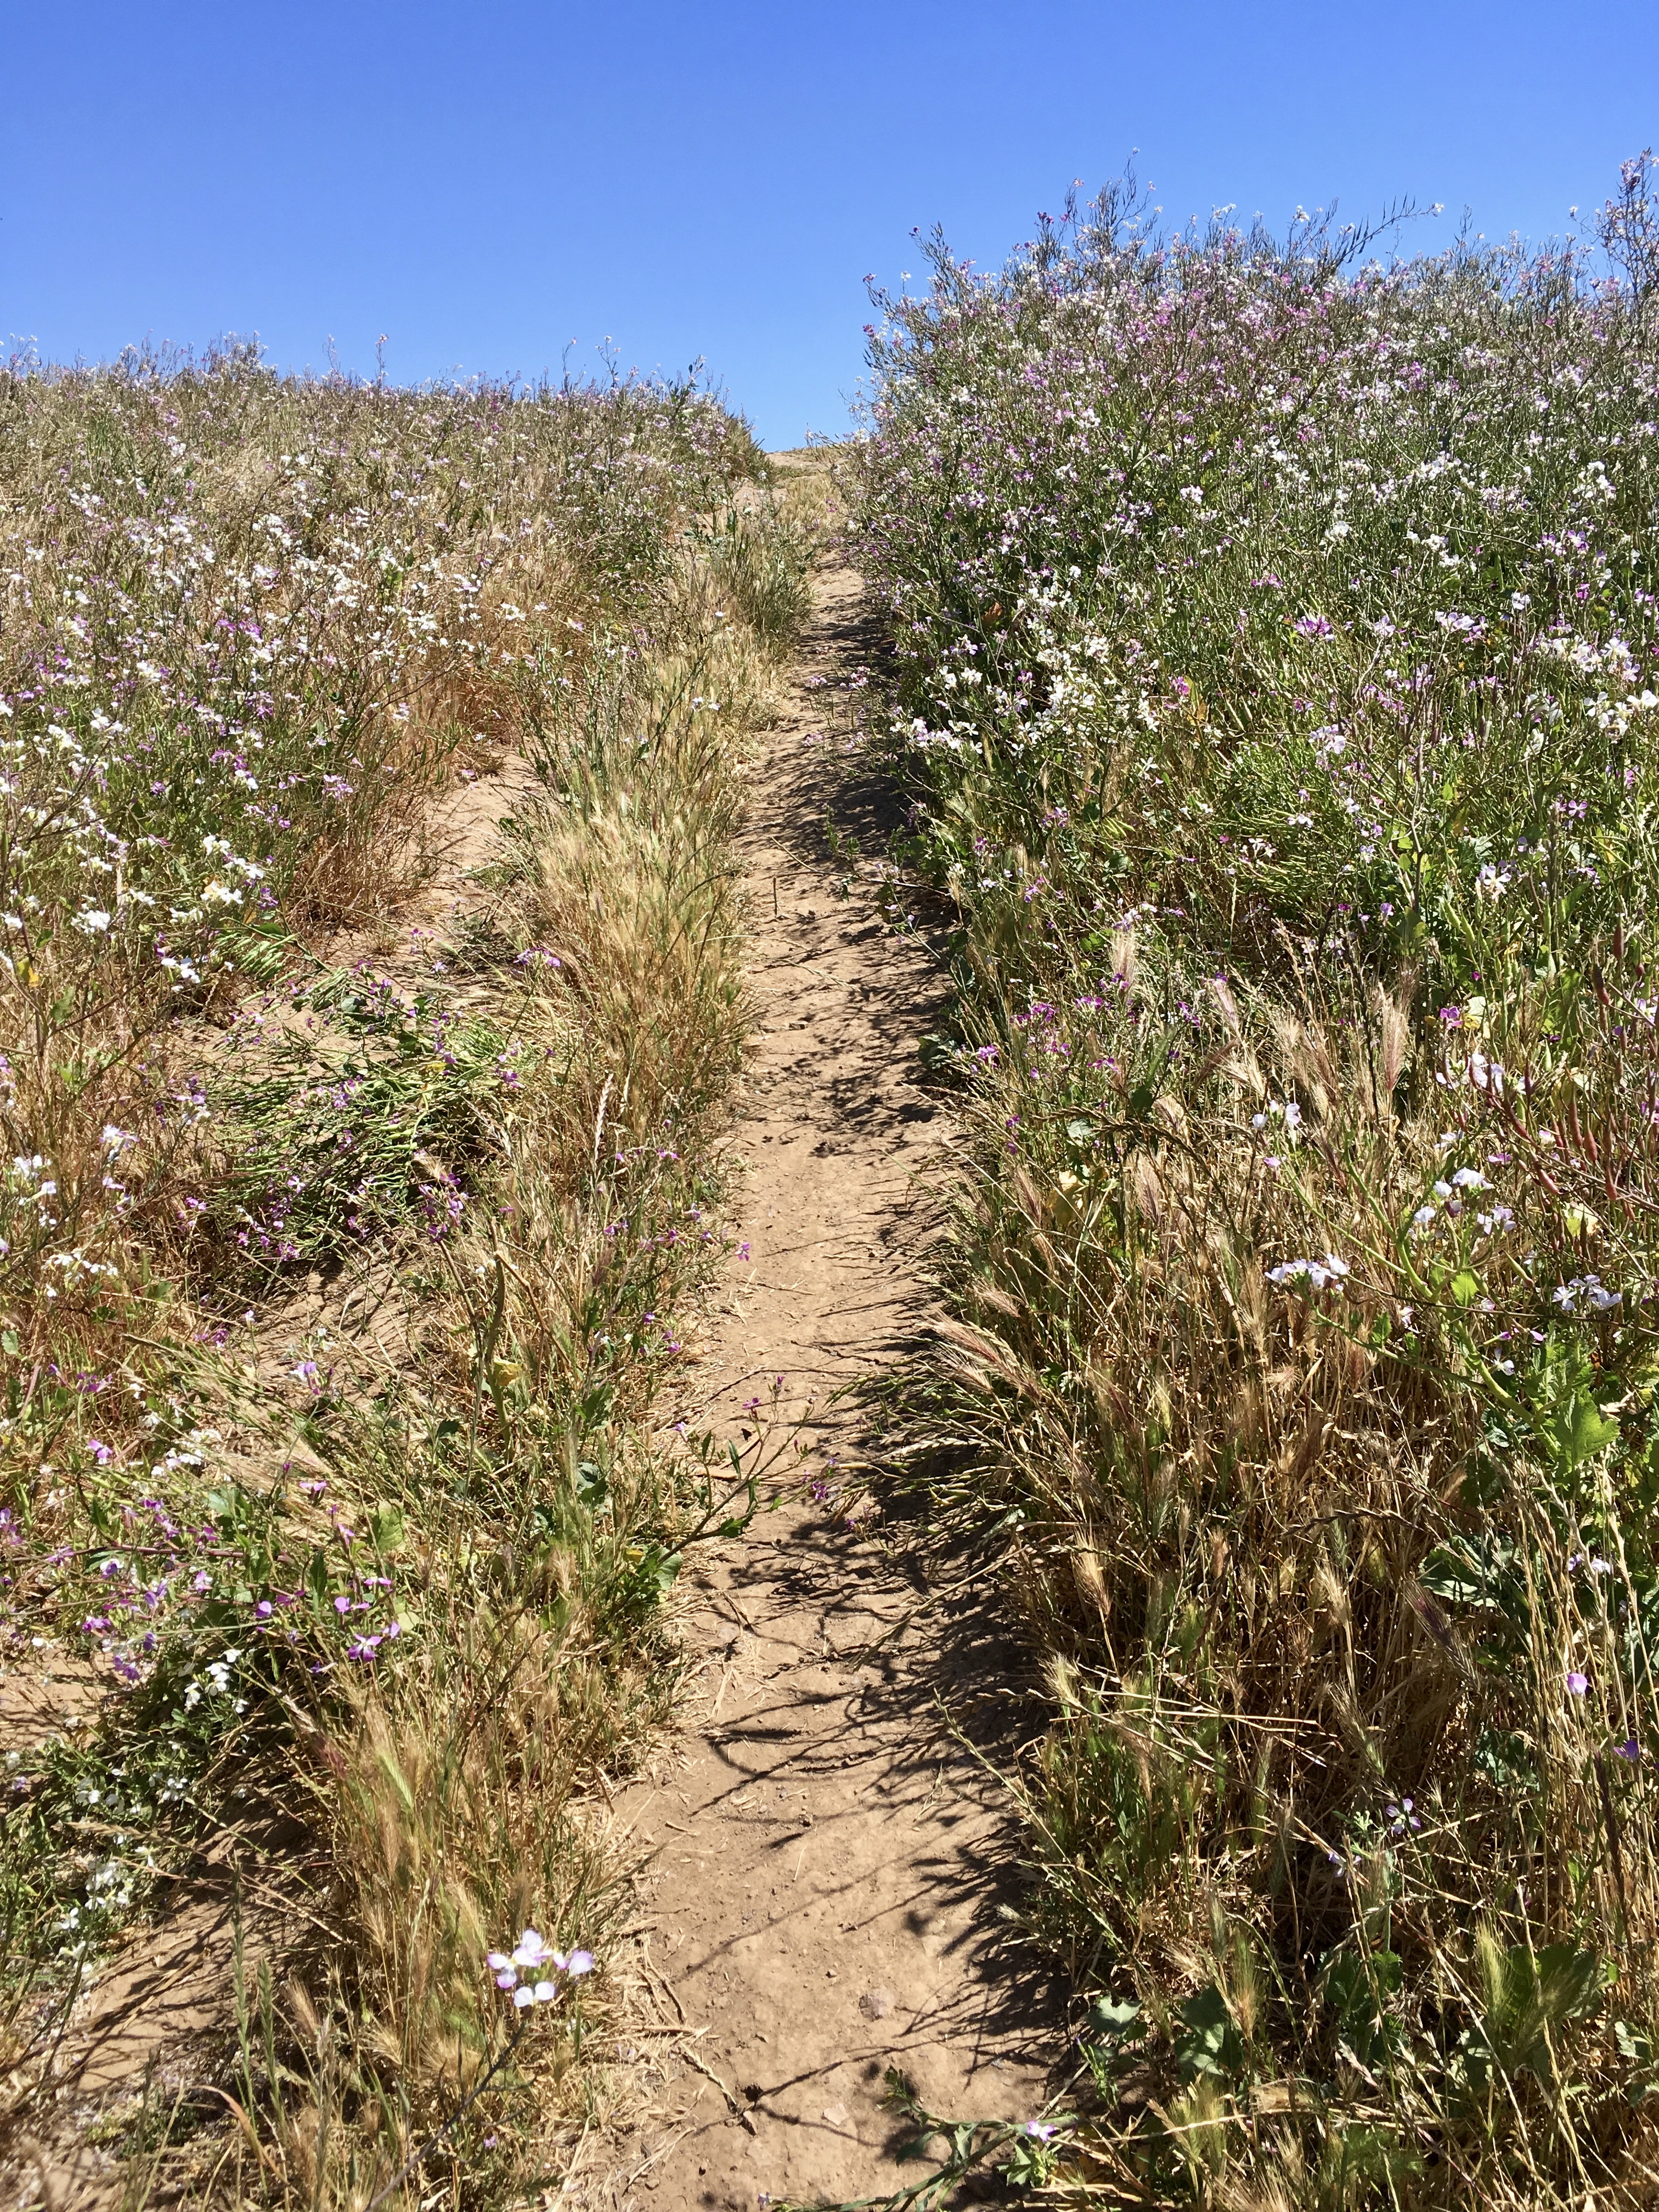
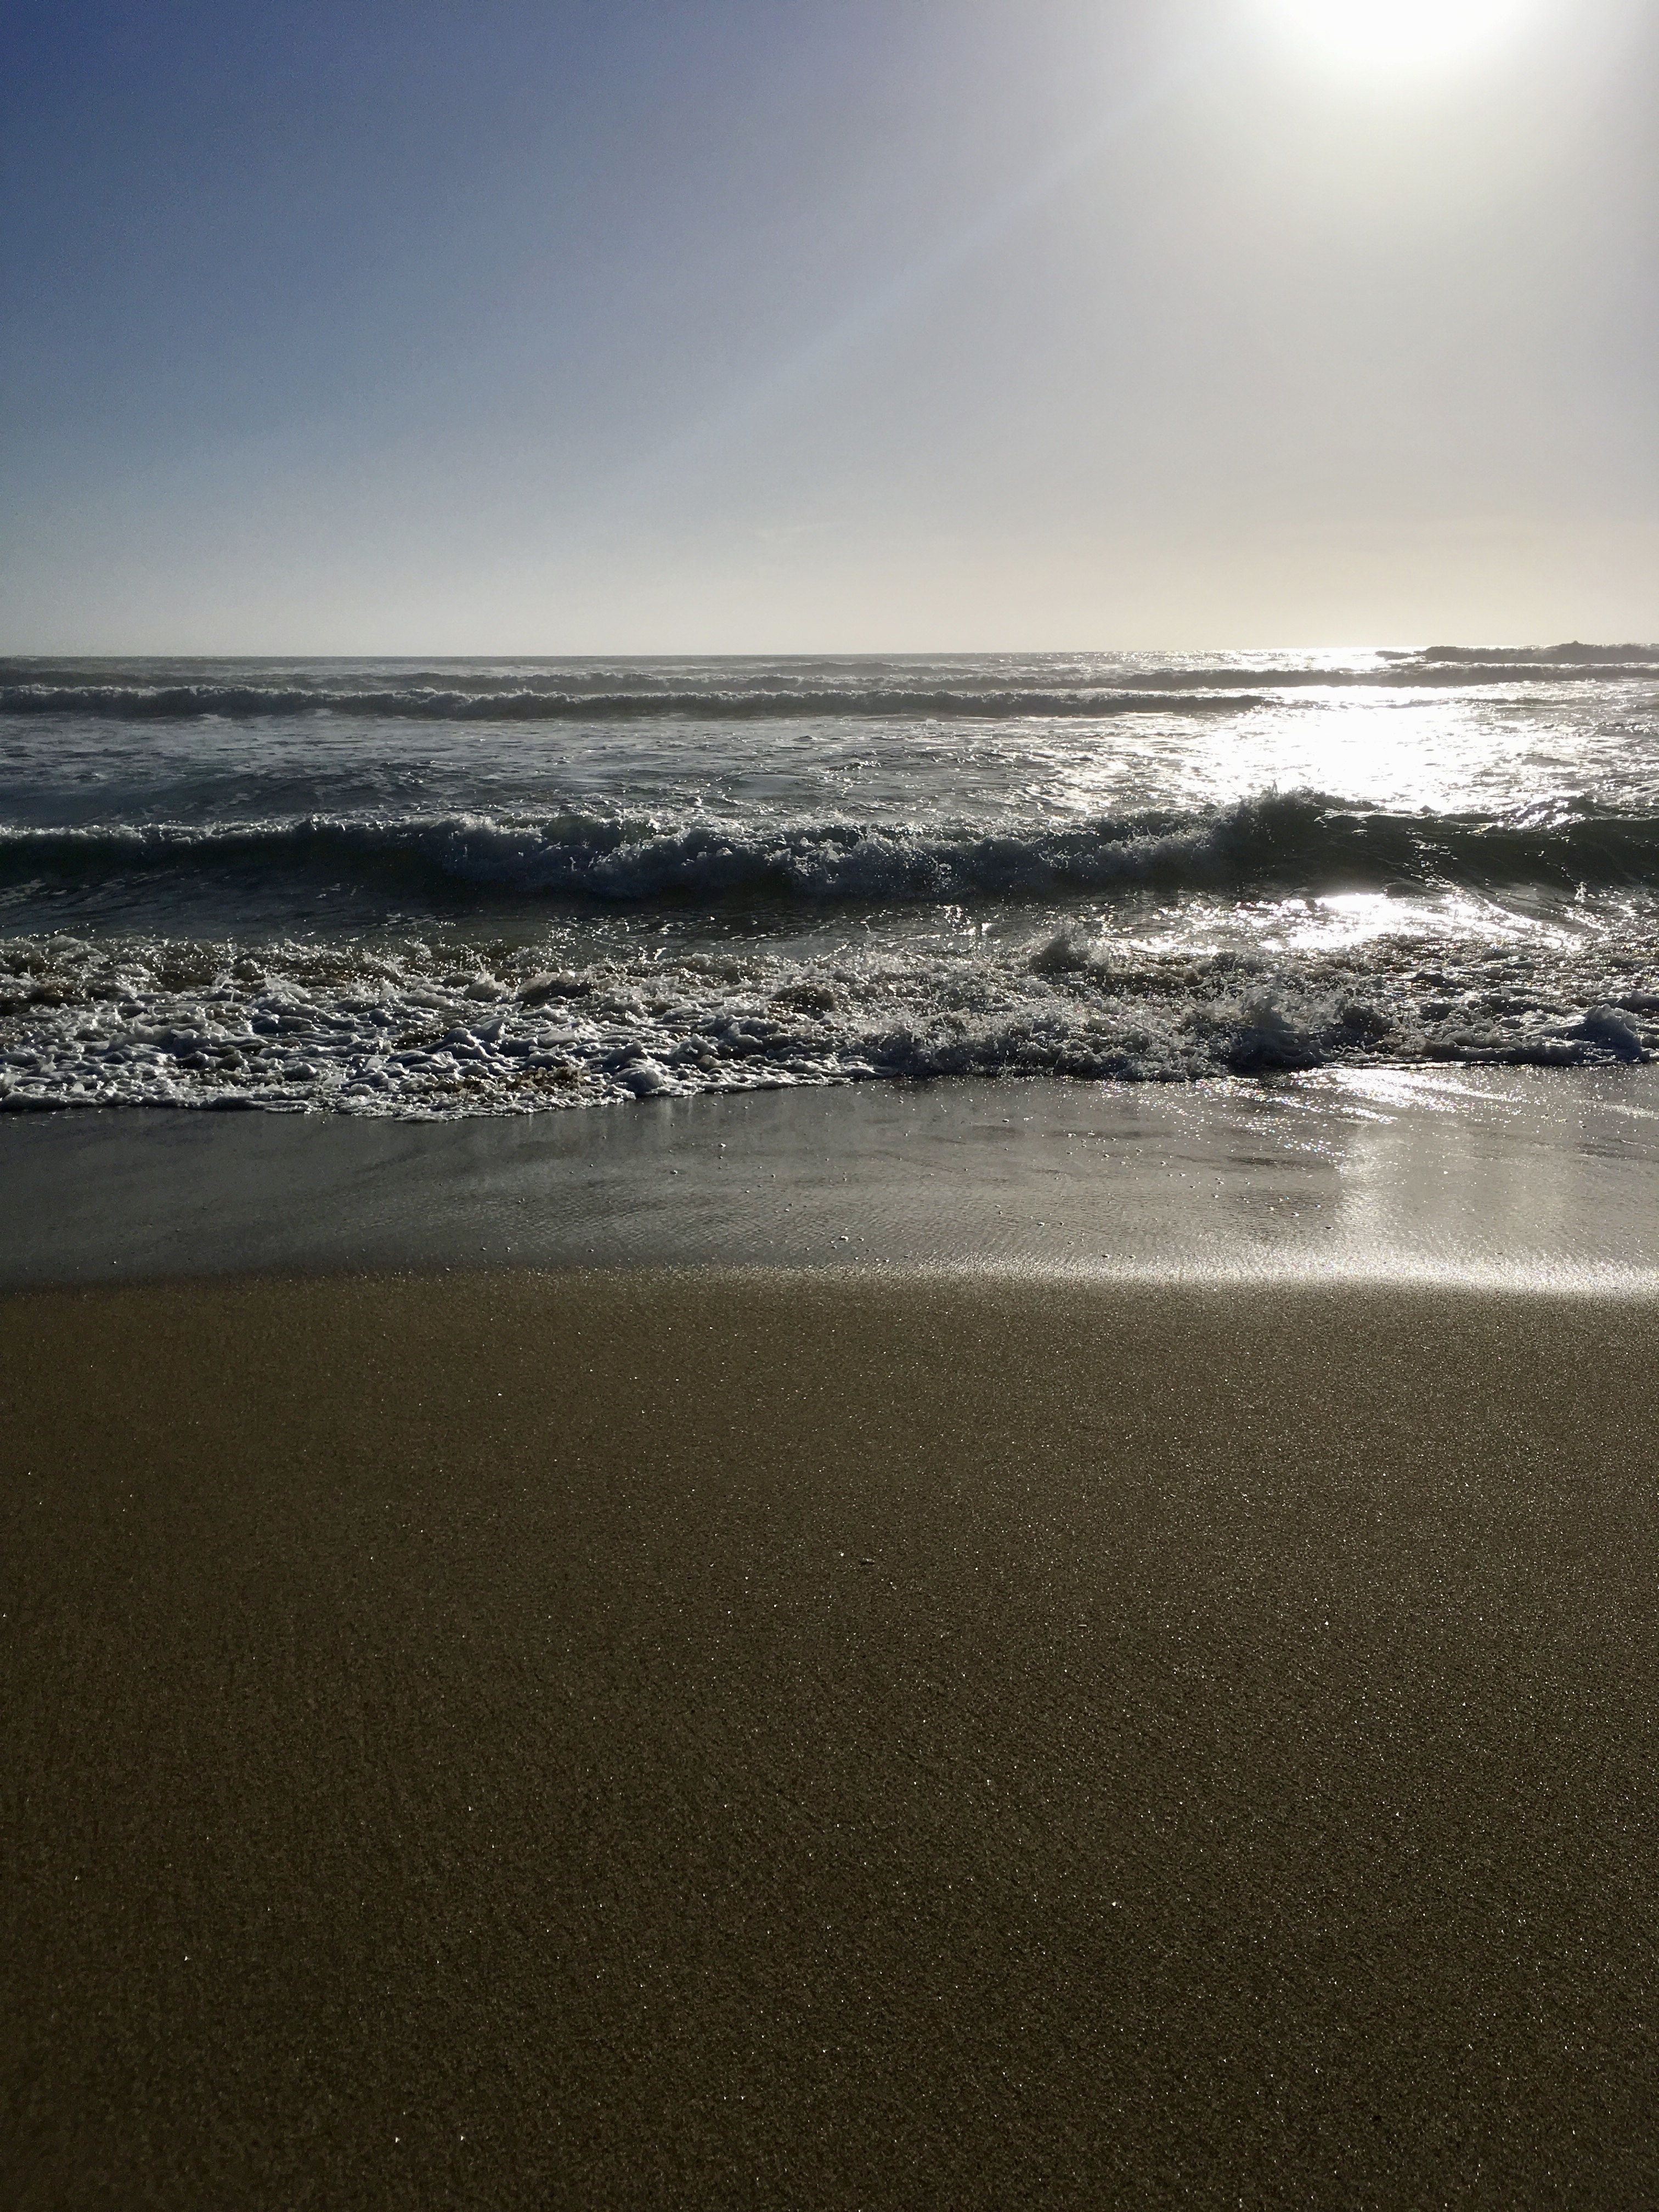
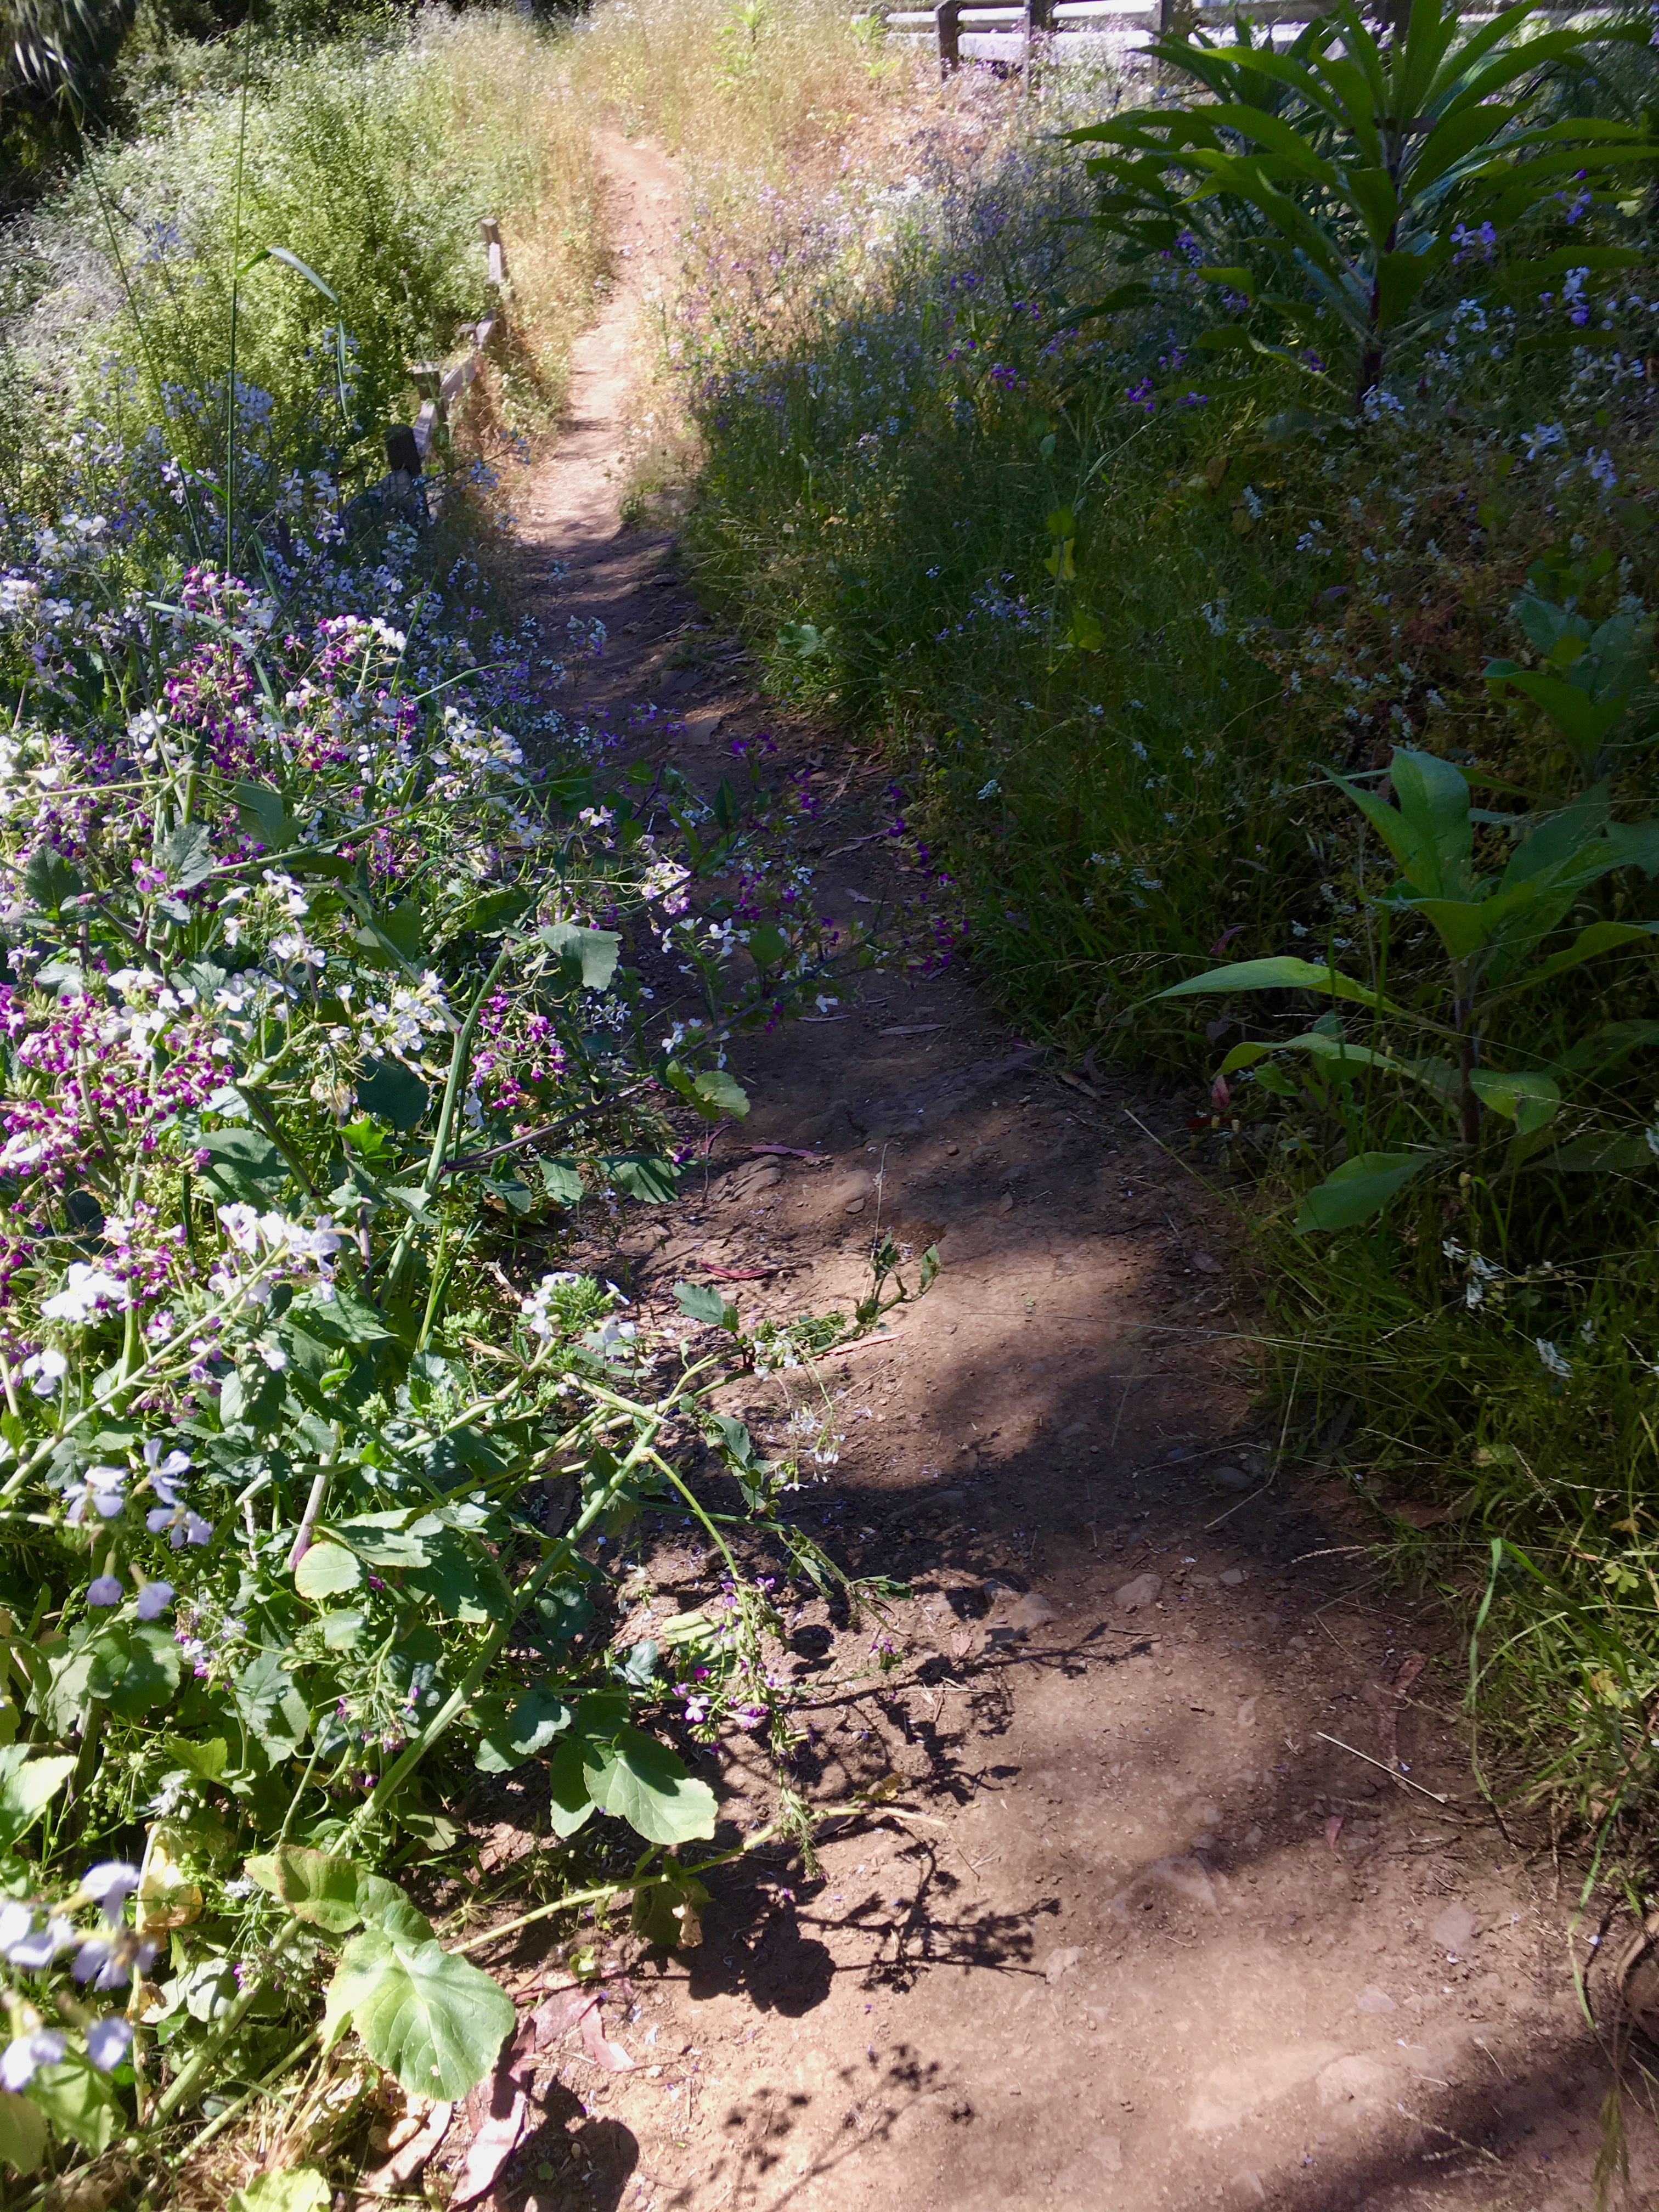
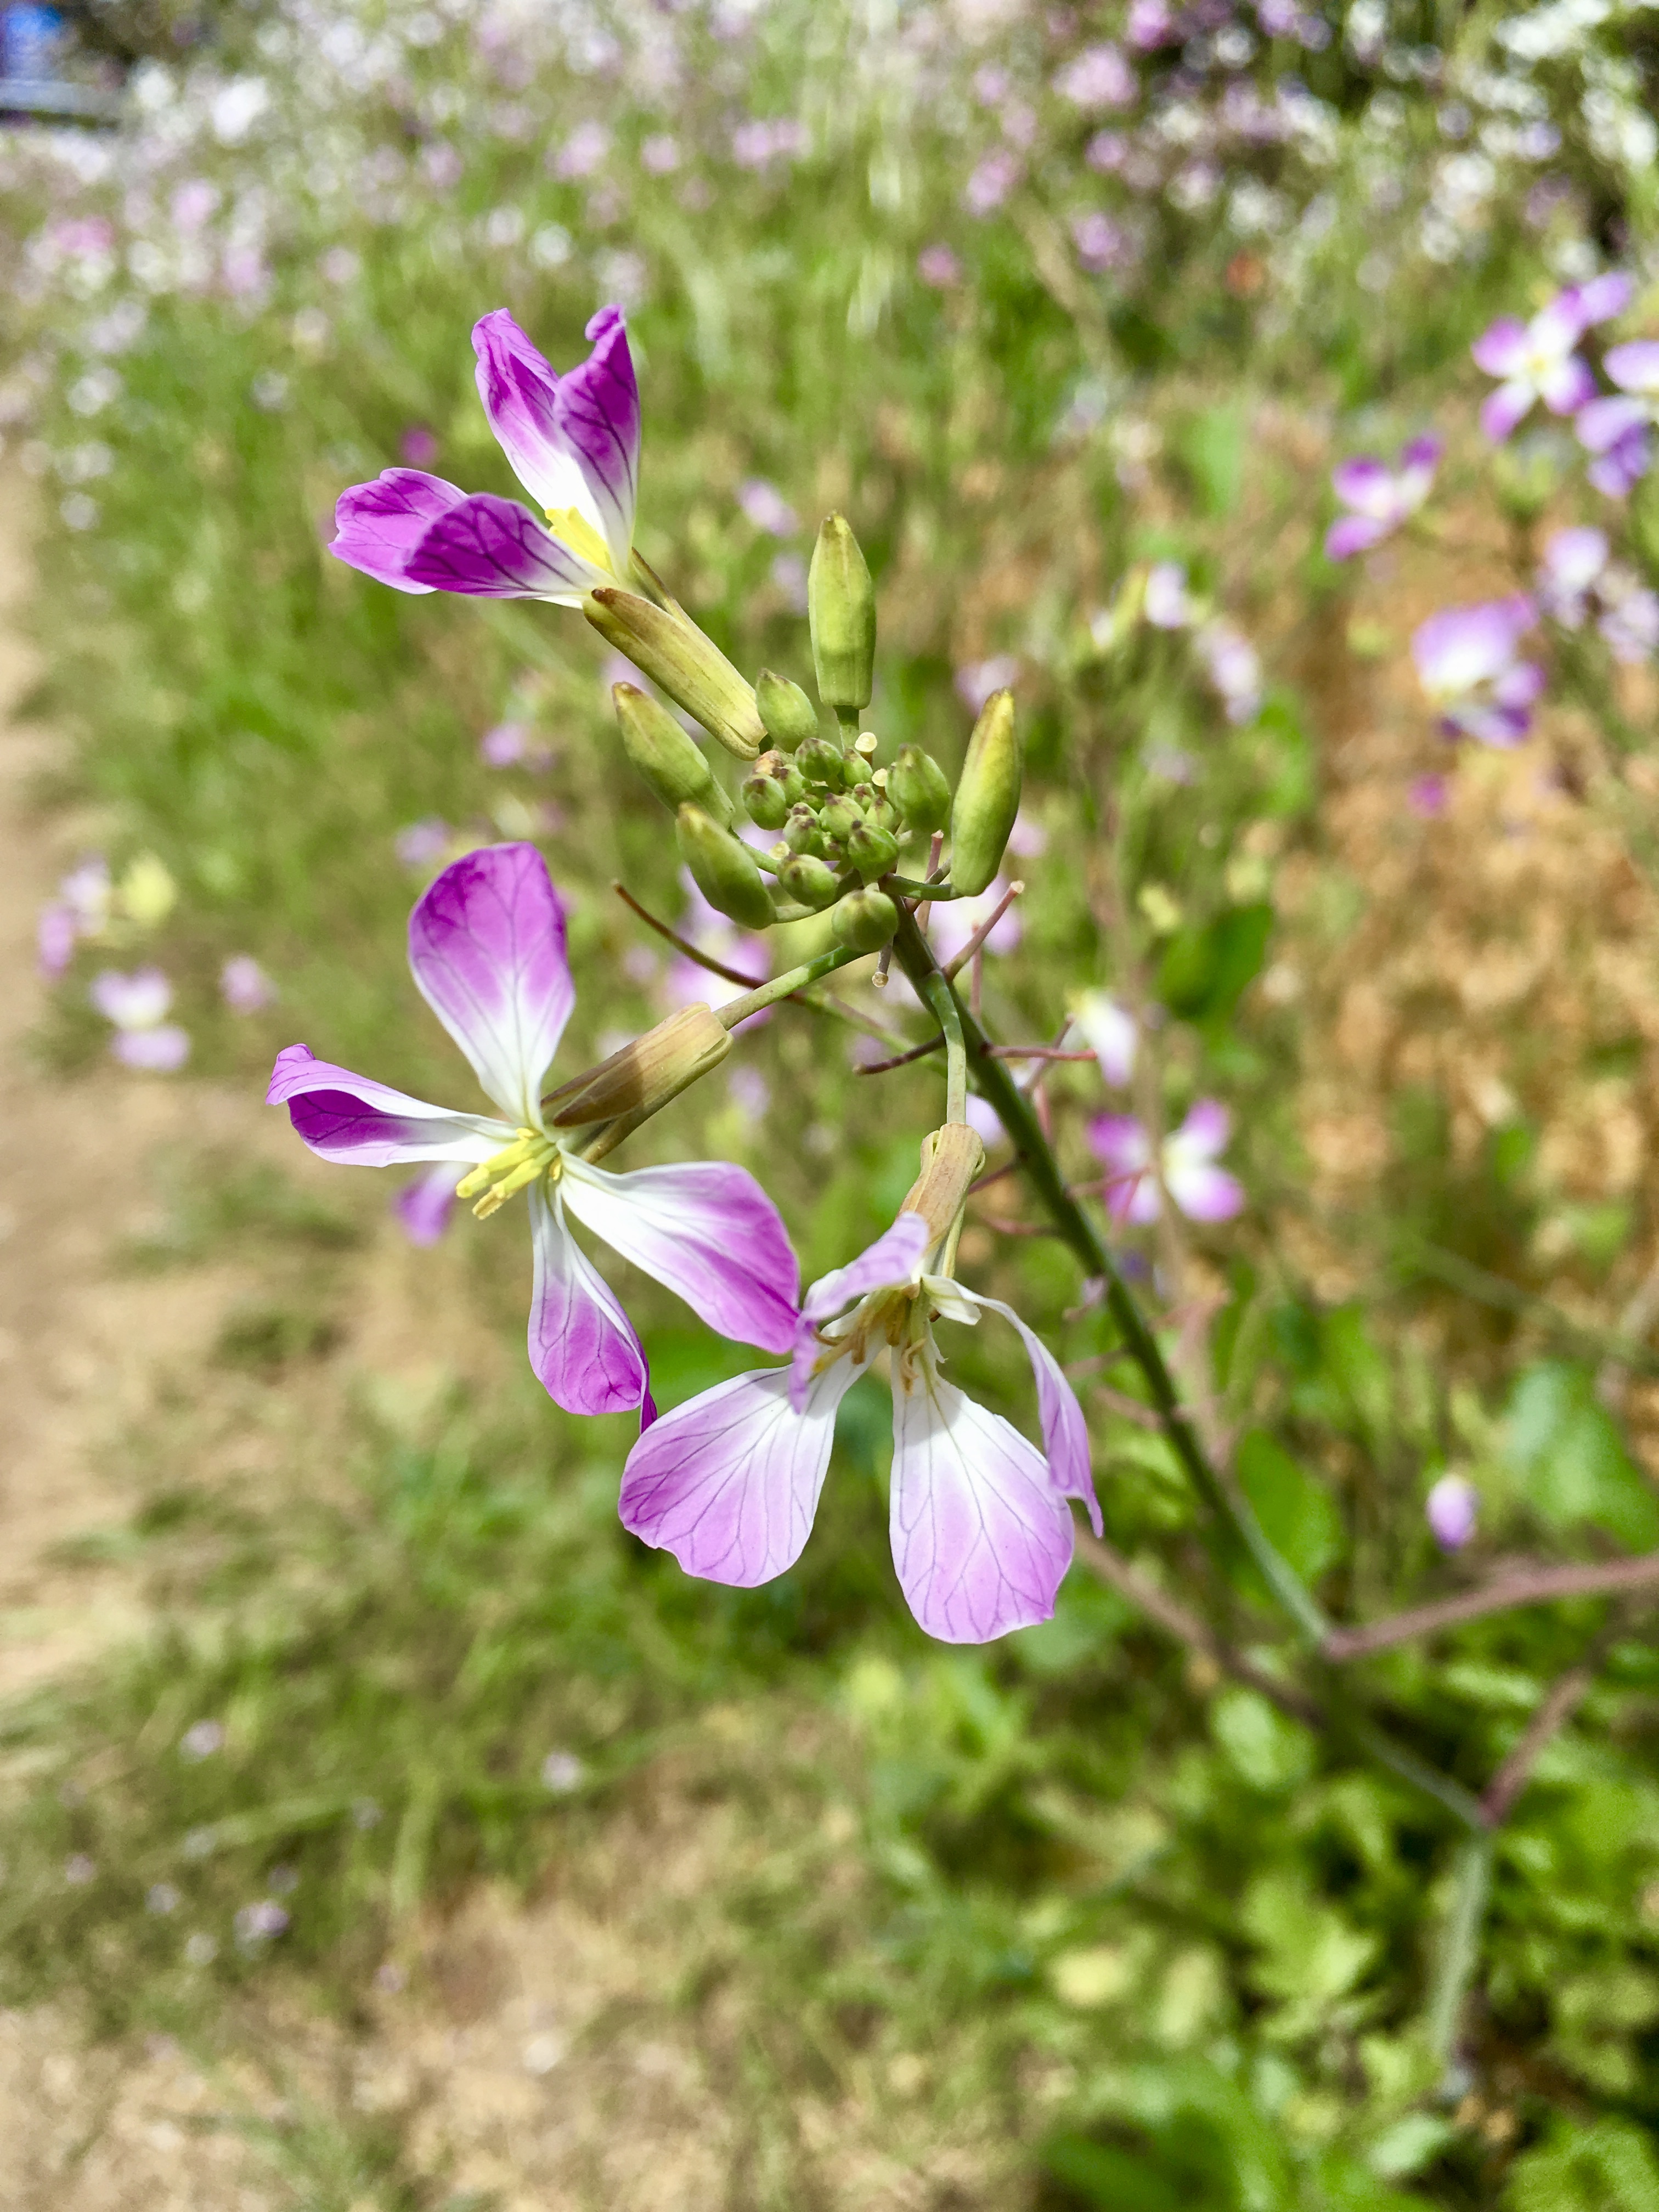
My walk to work is also substantially awesome:

fullsizeoutput_25ce

Minus the fact that I move the day before camp starts (somewhere, the universe is laughing at me), I am SO excited for all of these changes. I already love my new job!

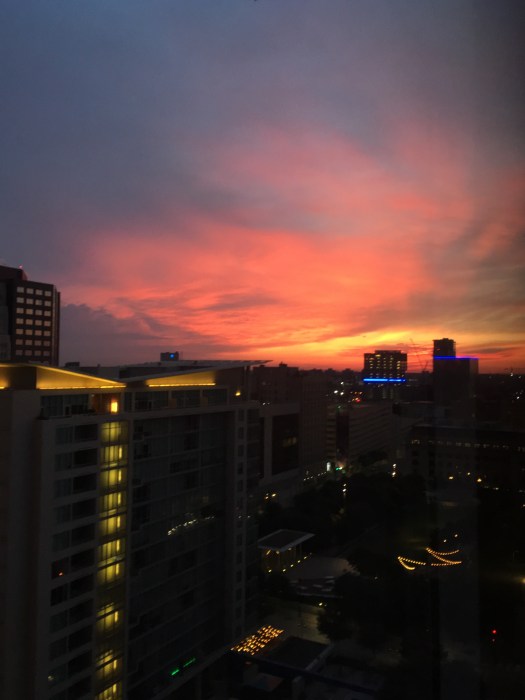
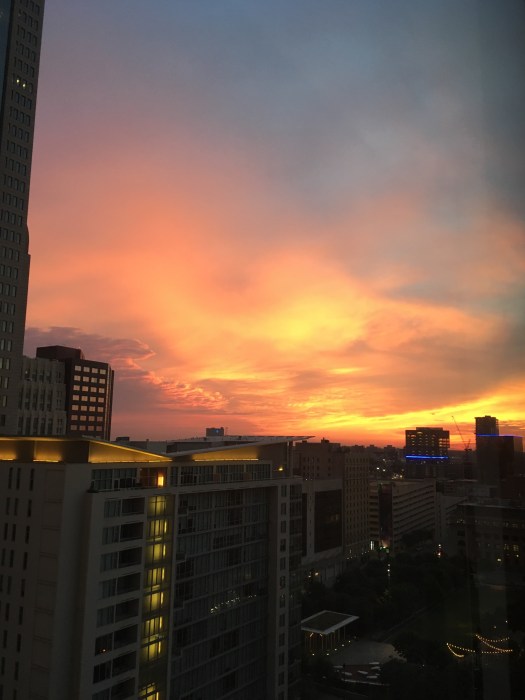
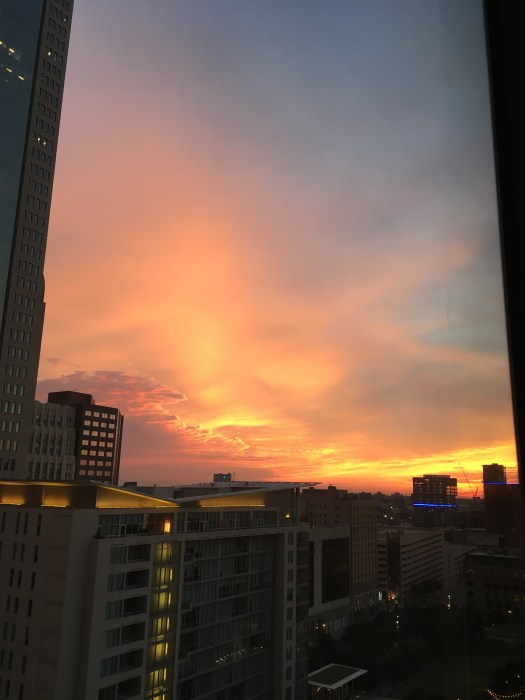
Dallas was a great trip too – I got to see some incredible sunrise skies and the Thanks-Giving chapel’s amazing ceiling – photos were too good not to share!

fullsizeoutput_2591

fullsizeoutput_2592

IMG_0106

D7E77A1A-CC73-453A-9D4C-DCC43029F61C

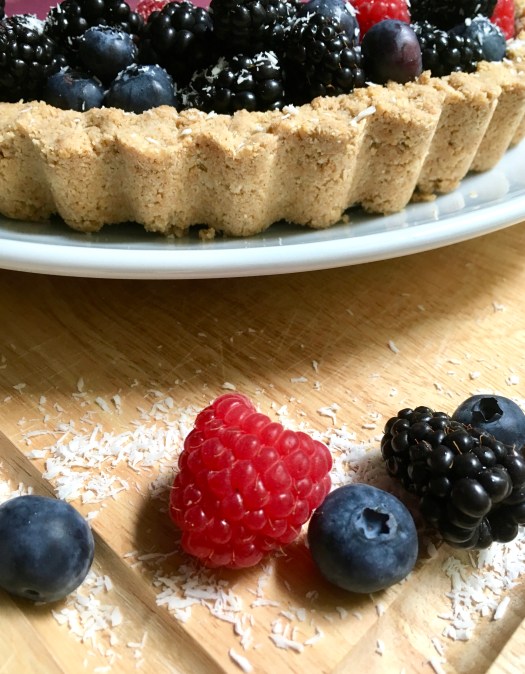
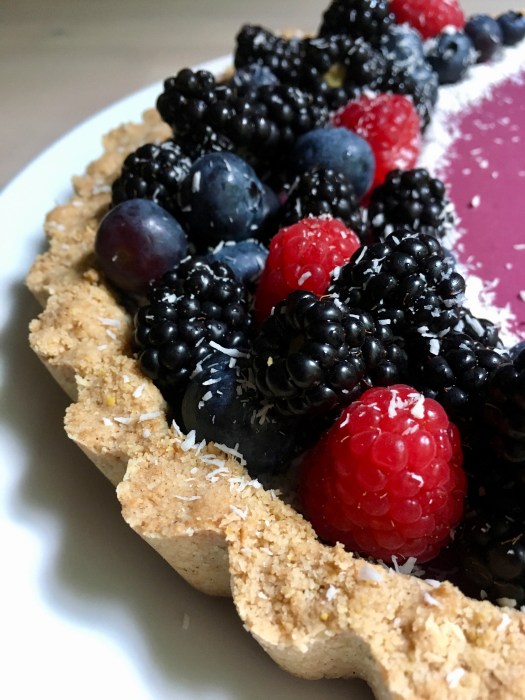
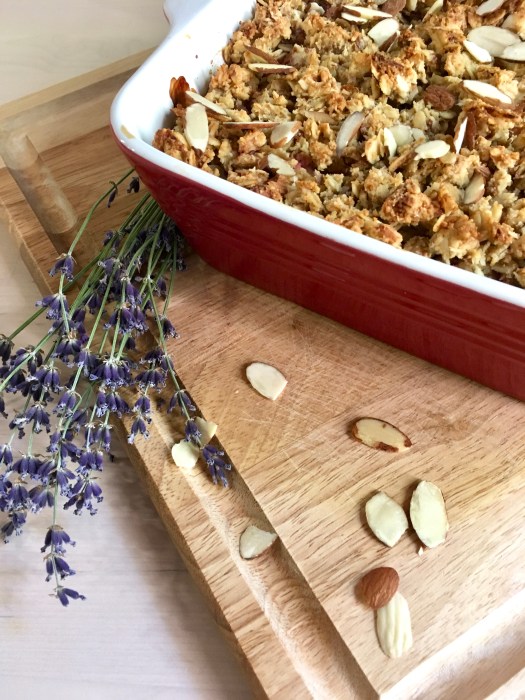
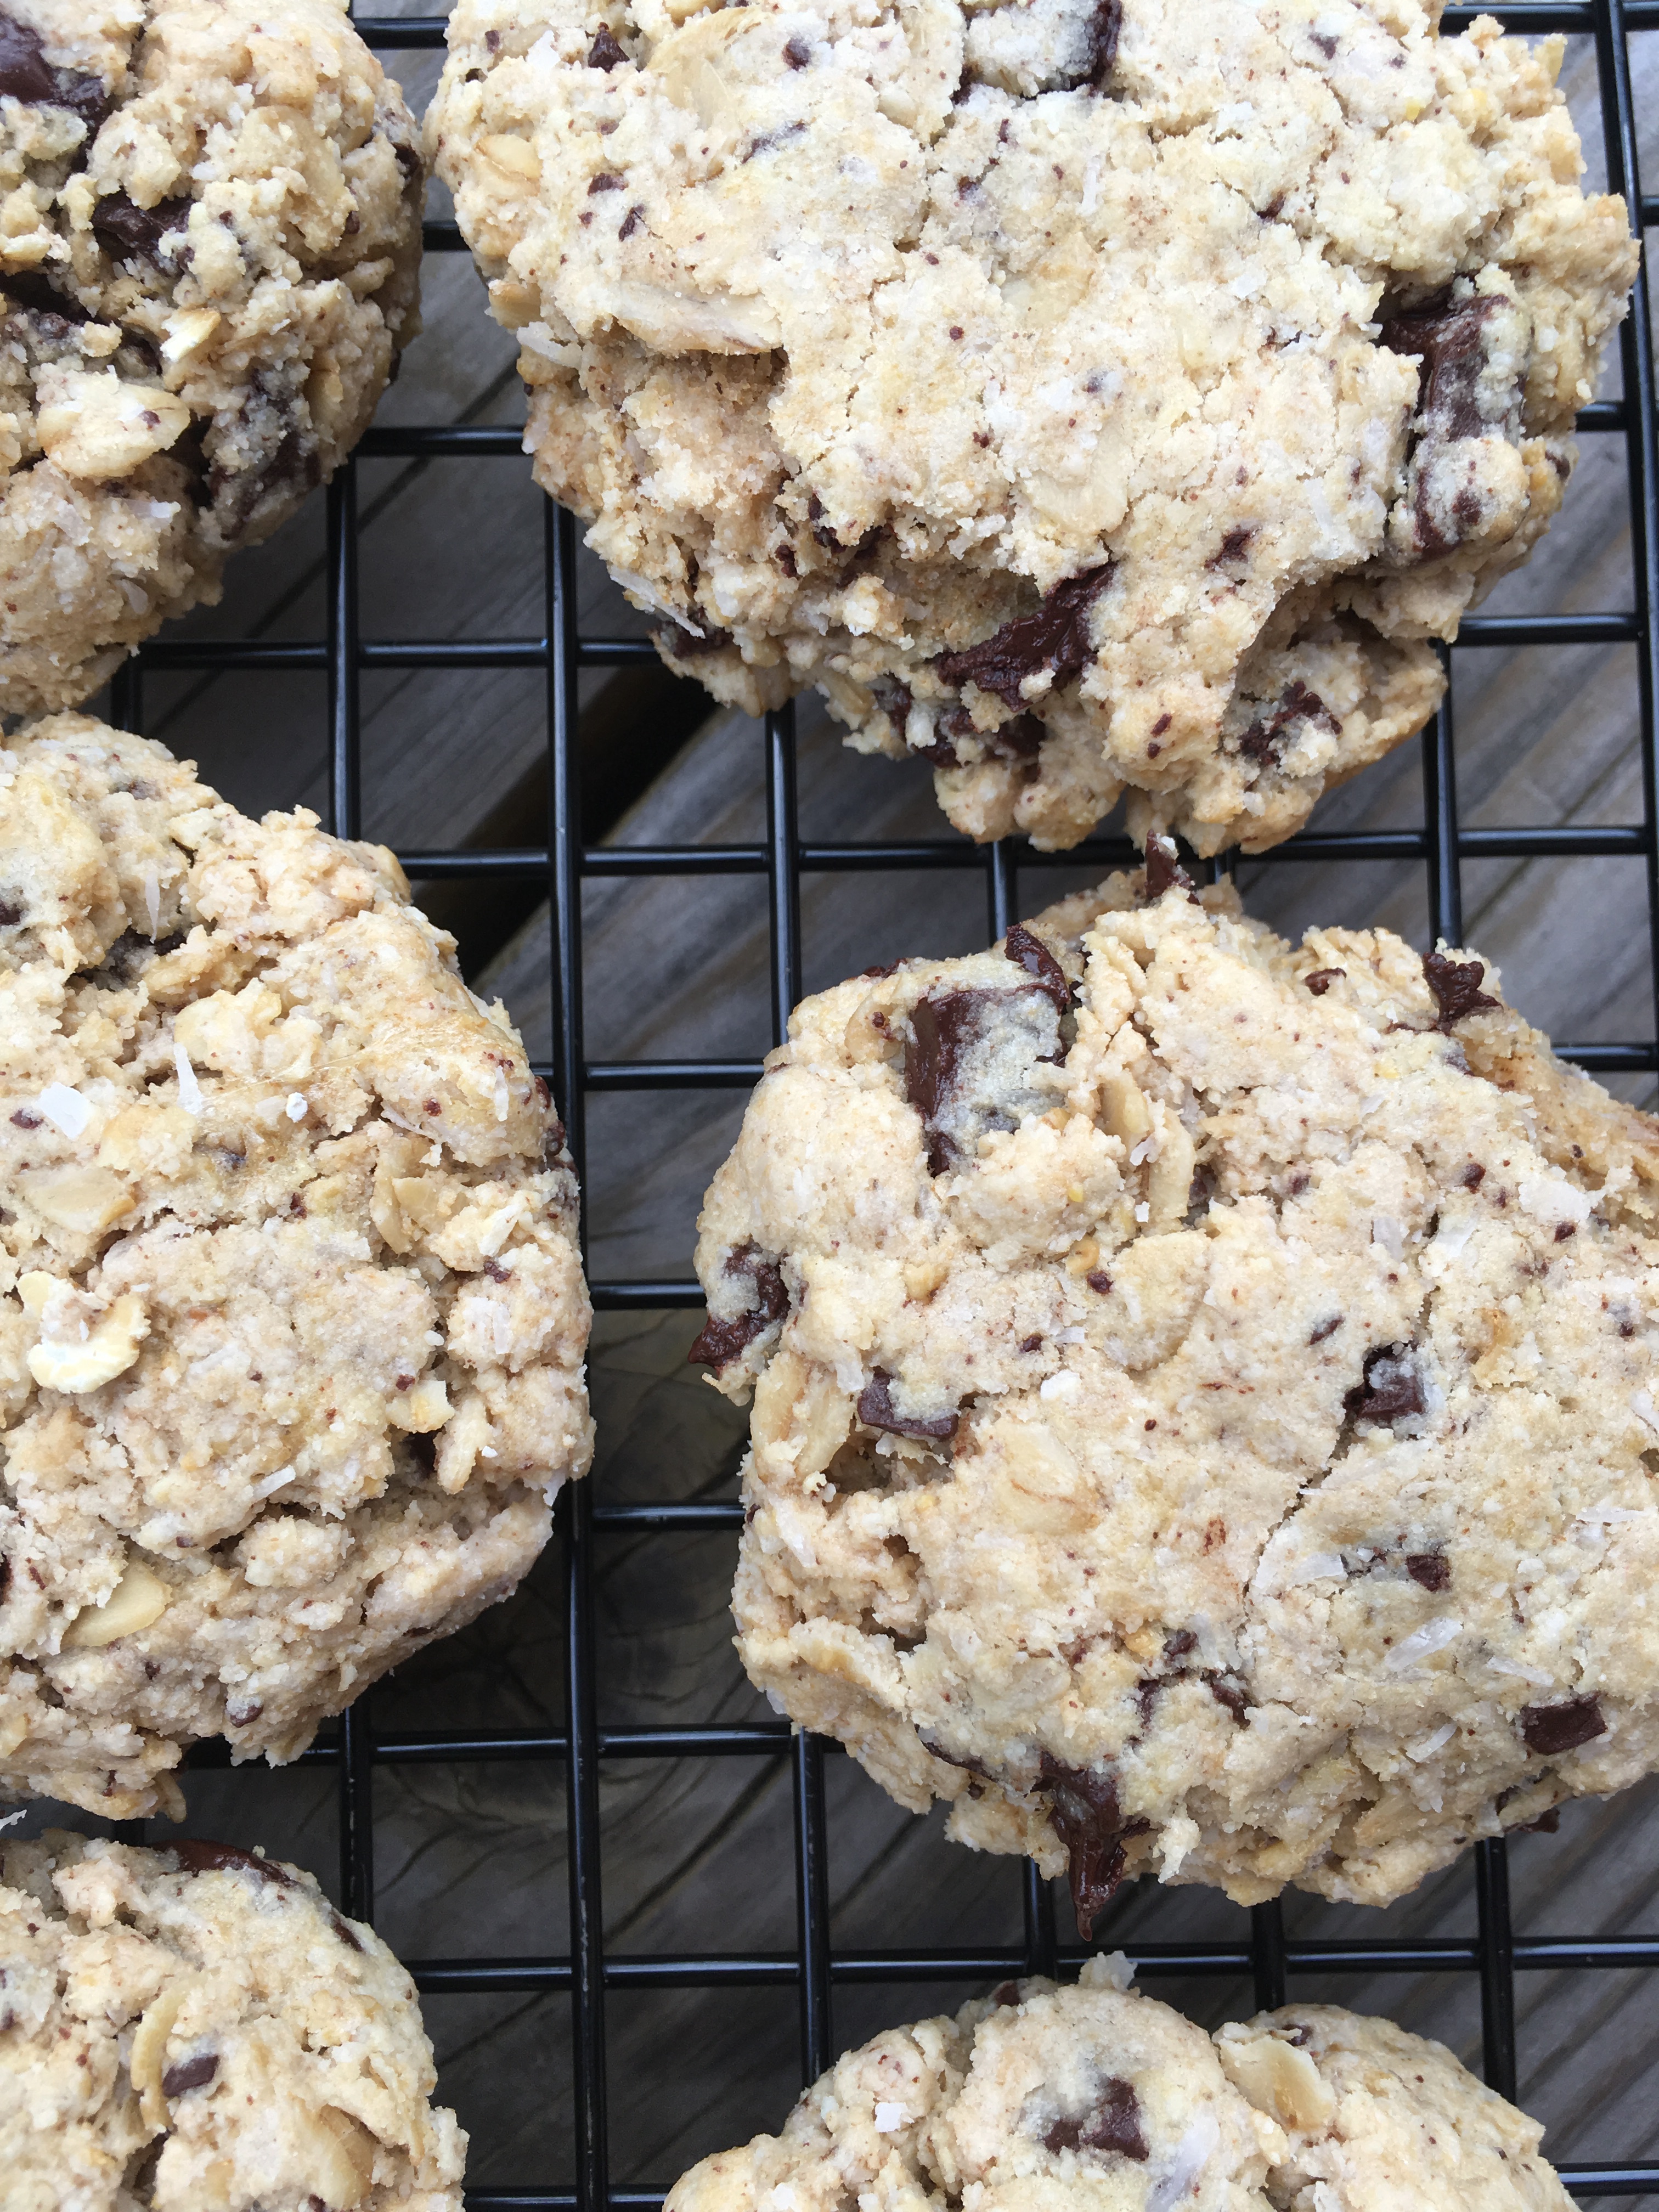
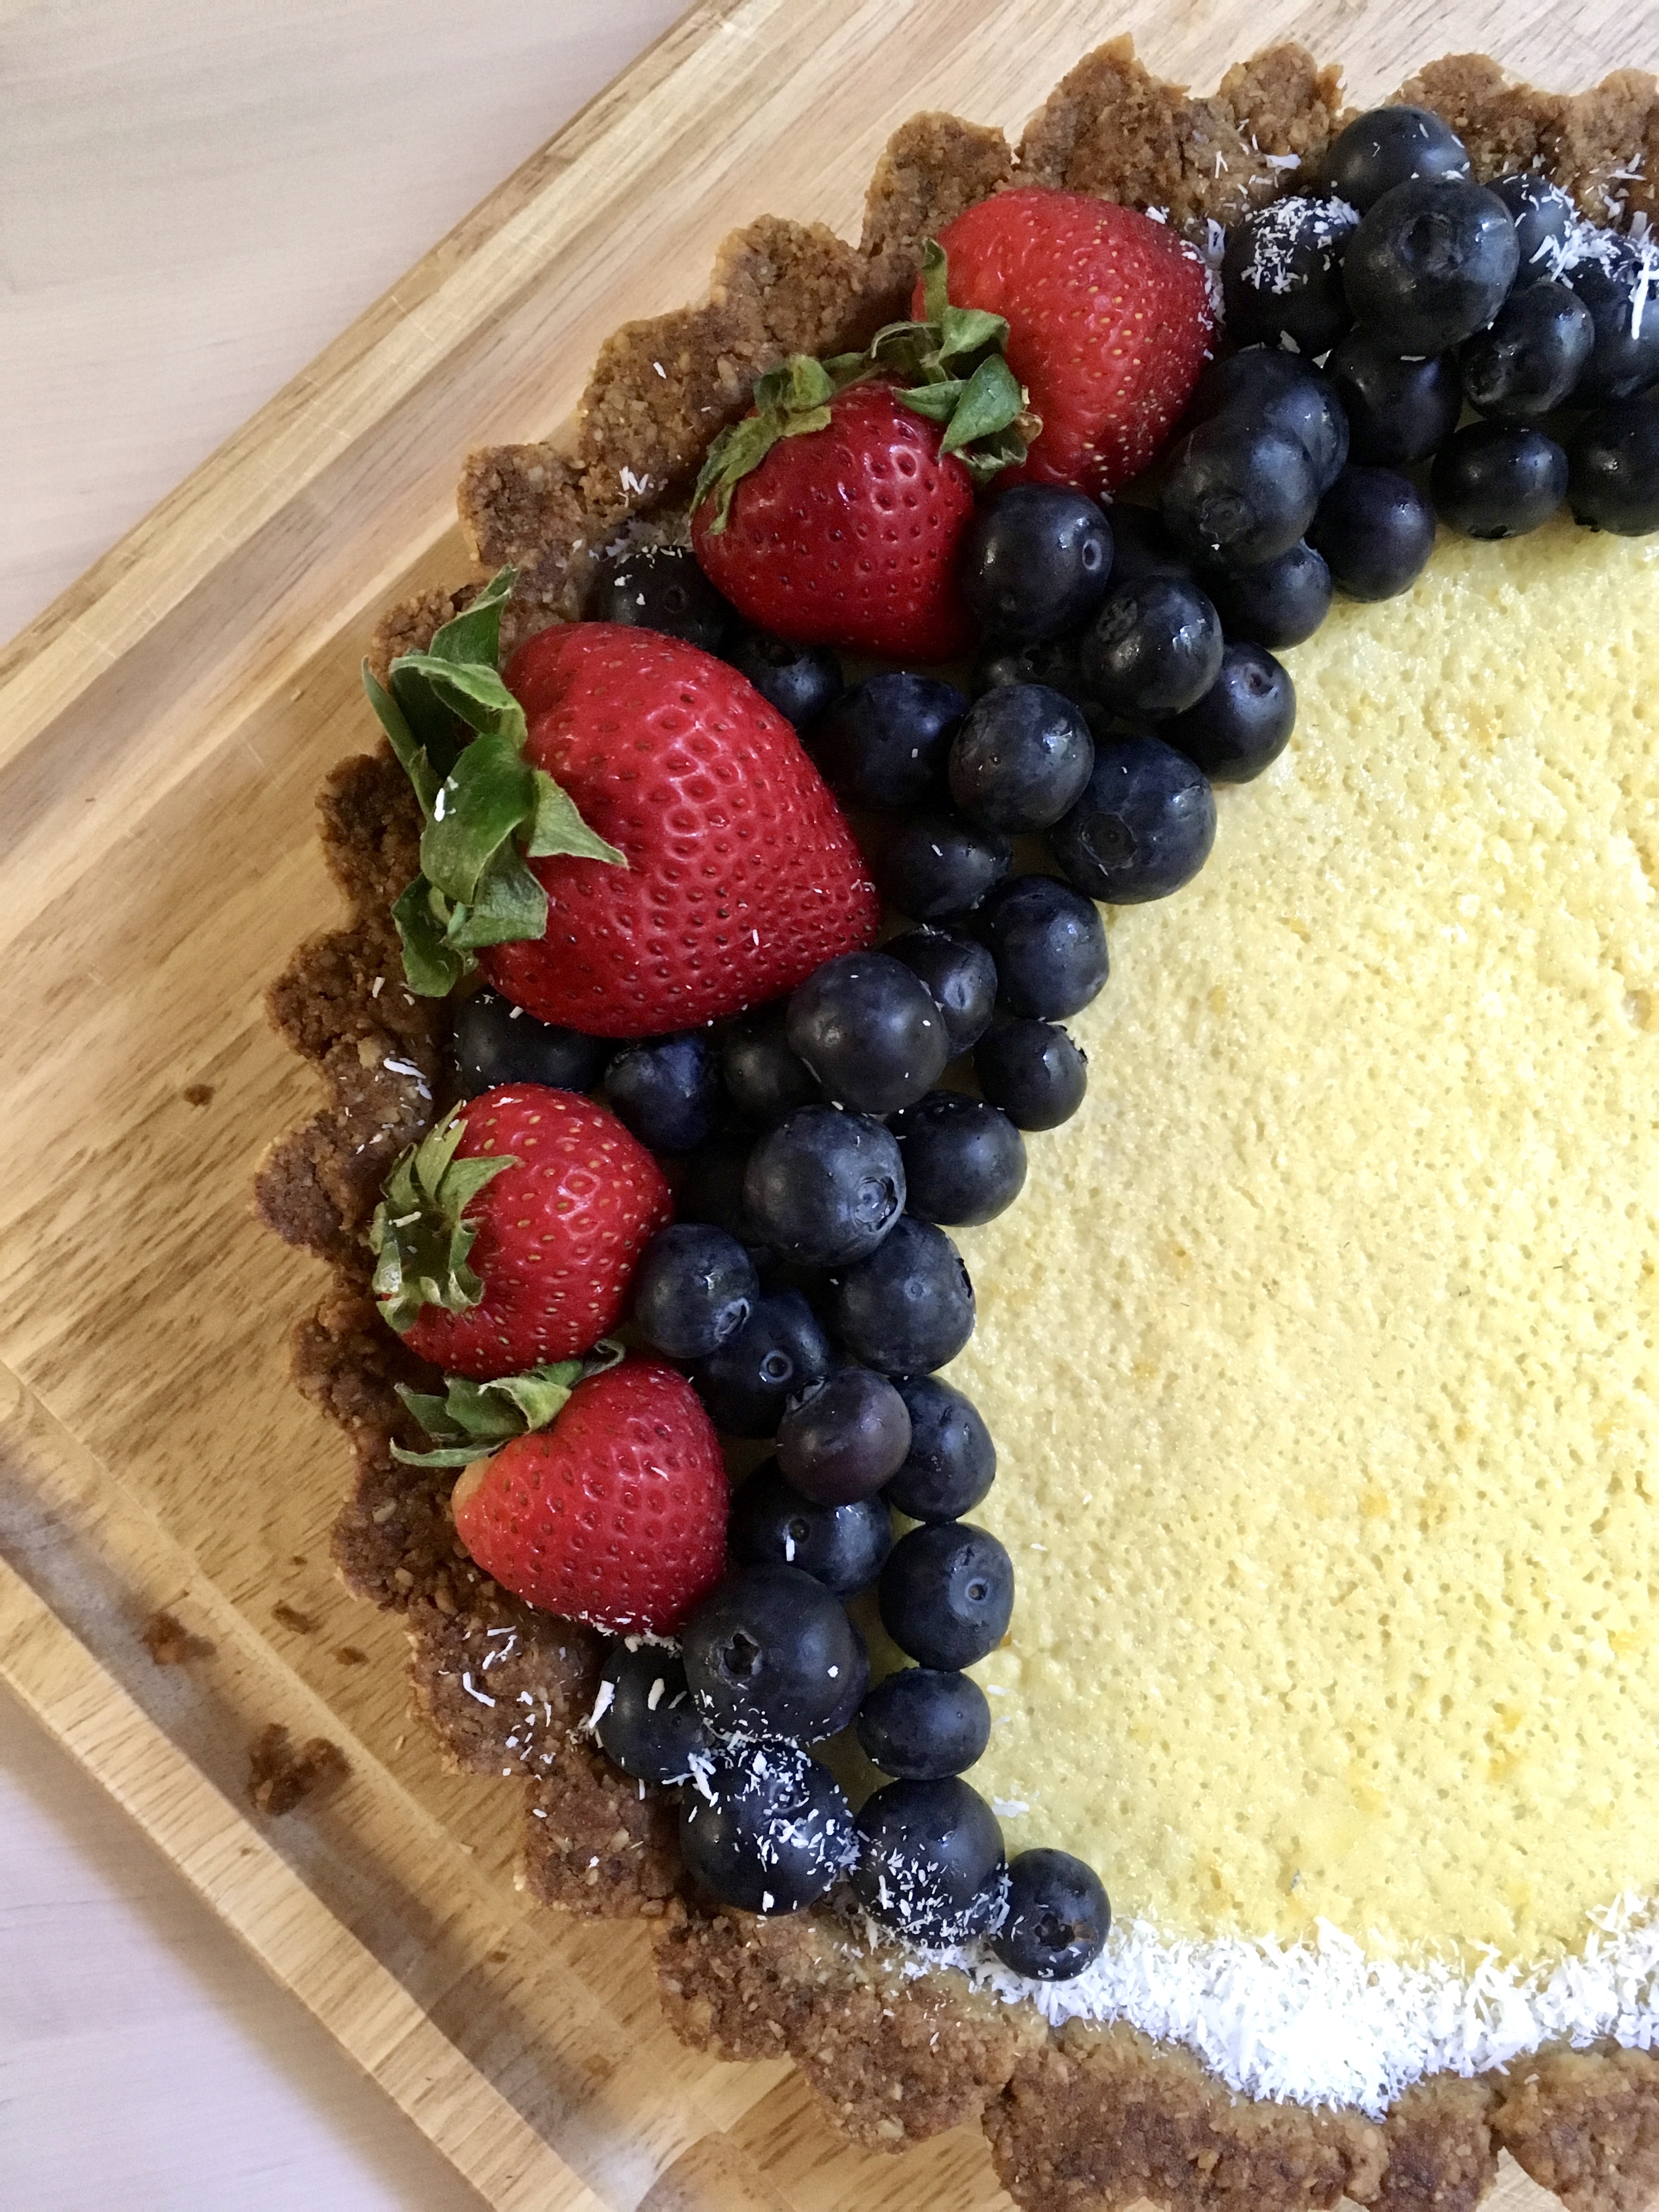
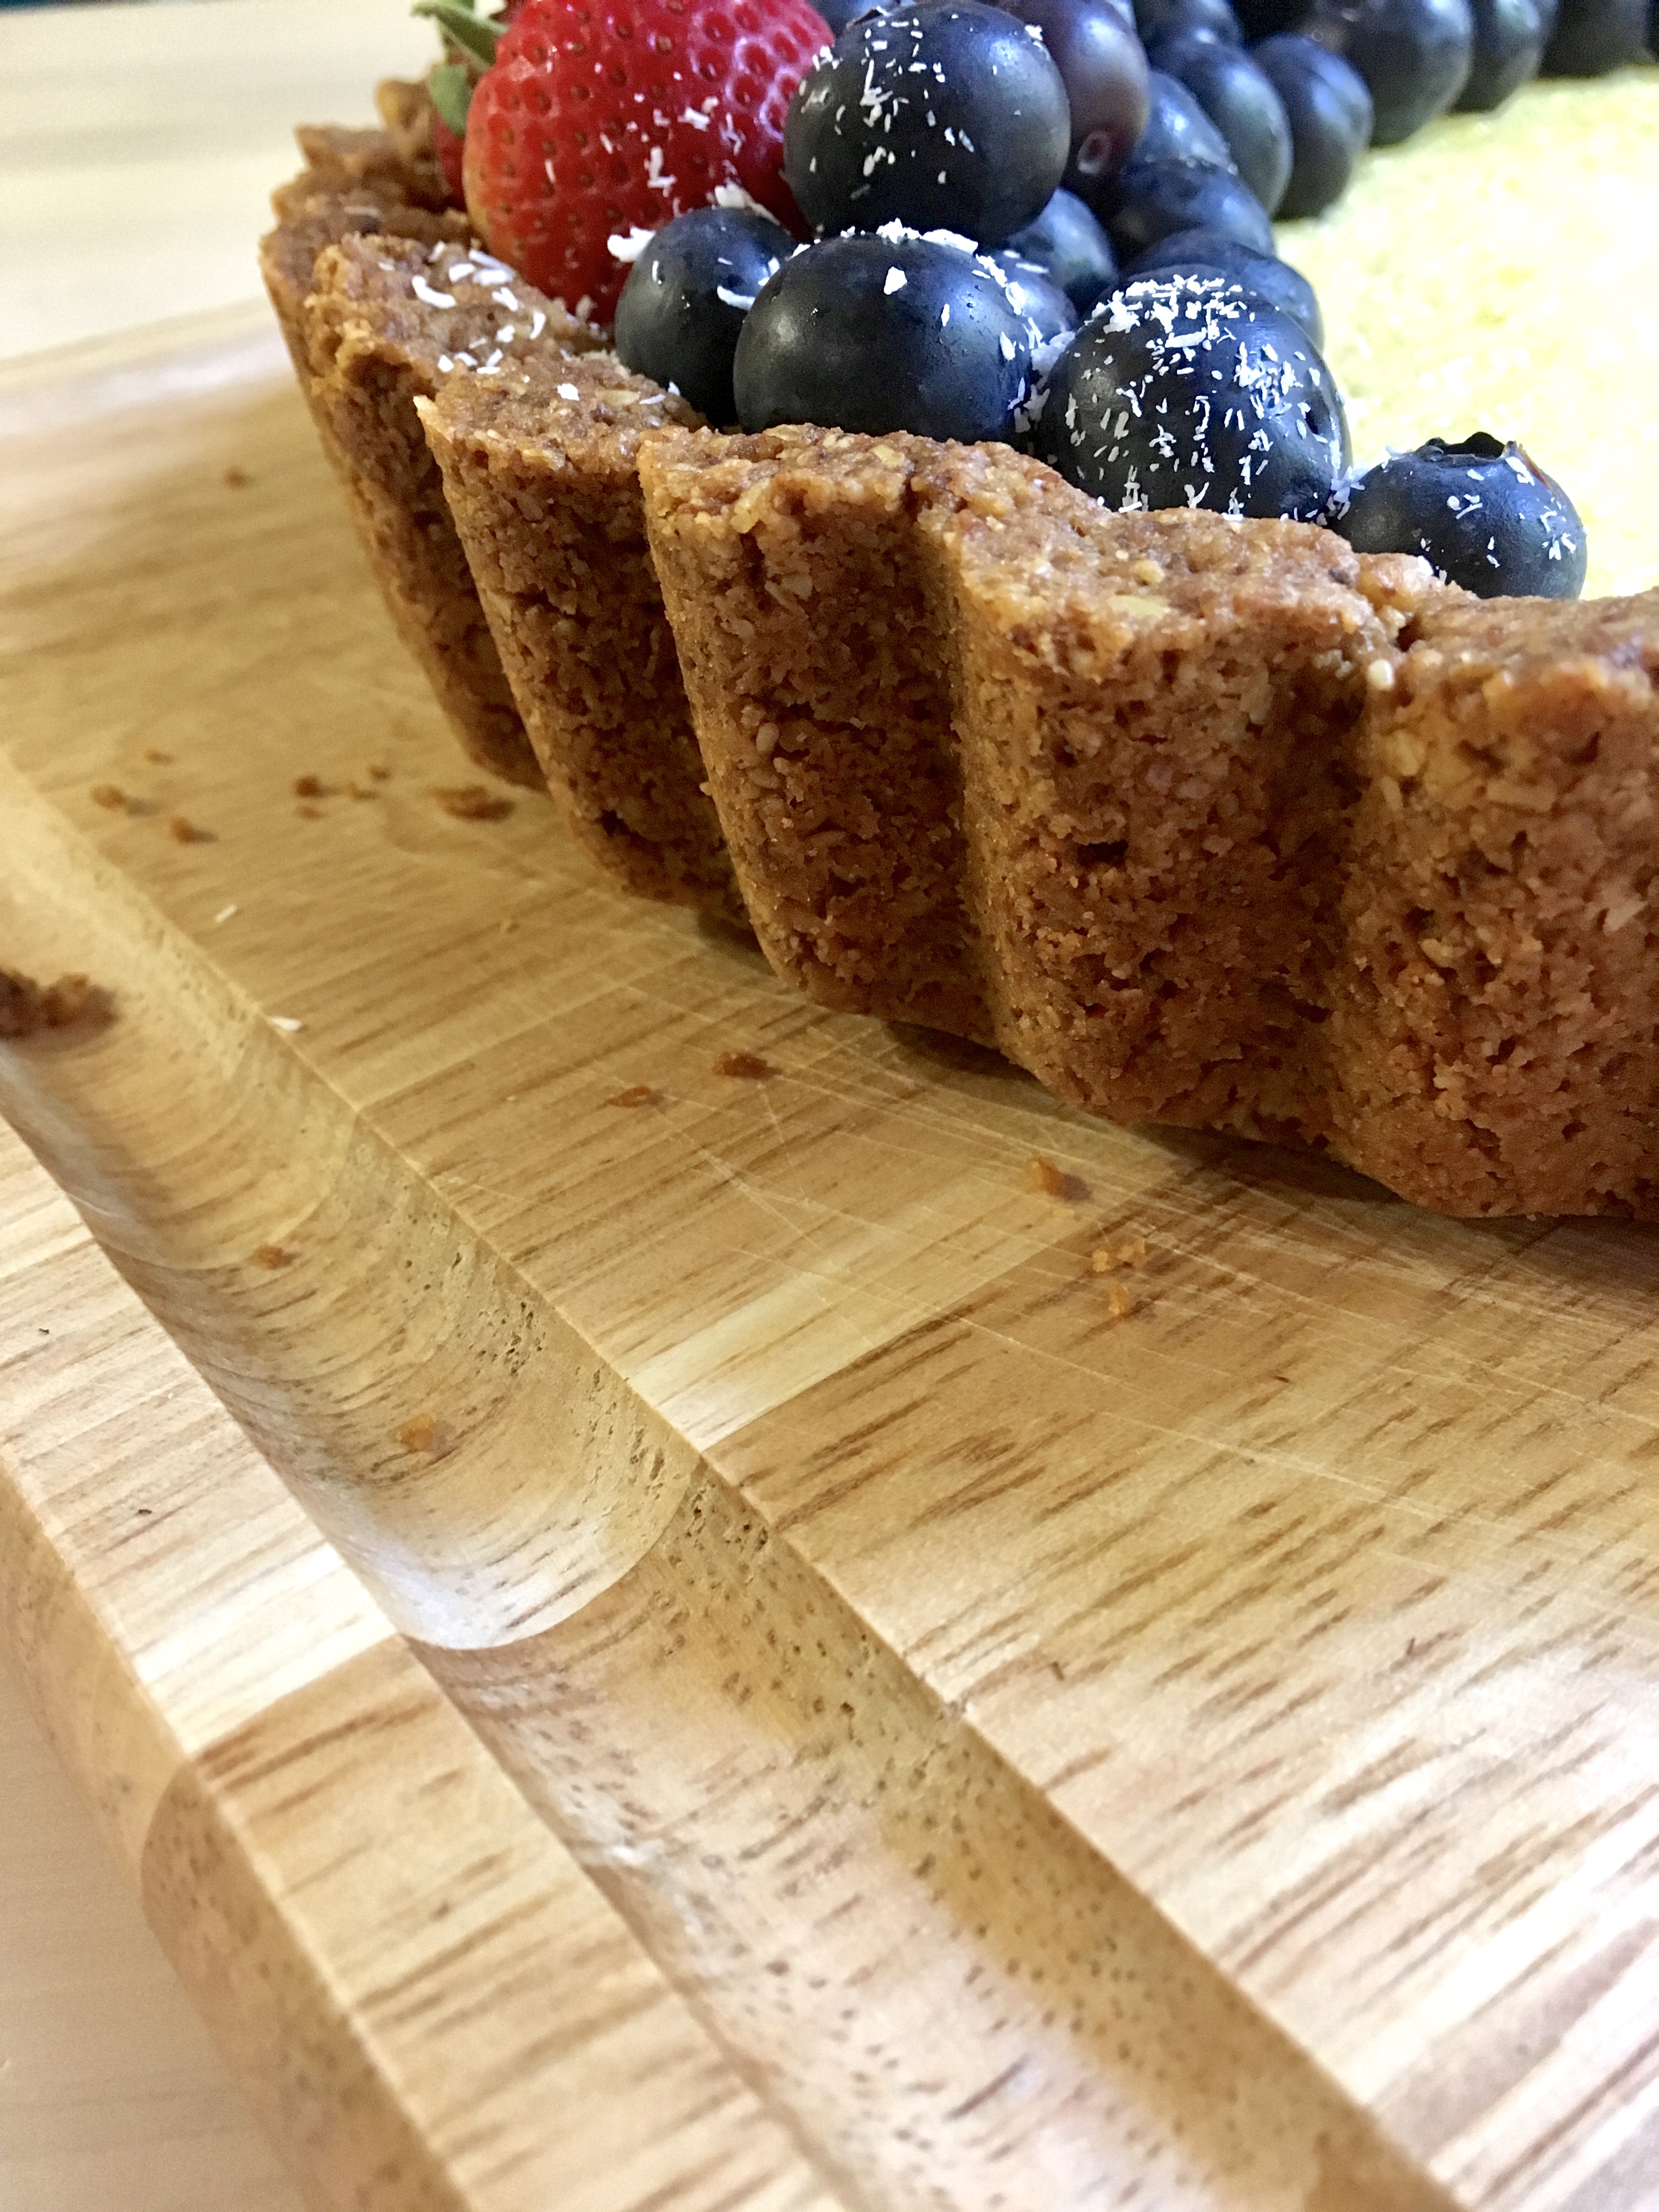
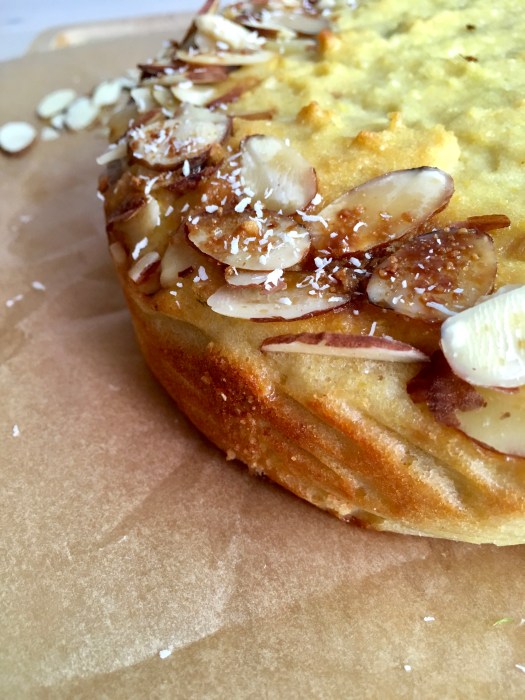
C also has a birthday coming up! We celebrated early since he’ll be off on a cycling trip (wheee!) for his actual birthday but it’s me and of course I couldn’t let it go unmarked – had to provide baked goods! Obviously.

fullsizeoutput_25c4

I have to say, this cake makes an awesome breakfast. It’s kind of like cornbread? Only lightly sweet and super delicious. C and I are only mildly obsessed with fennel right now, so stay tuned for more fennel-y things, as soon as the utter insanity of my life calms down. There might be one or two things before I leave for camp, but no promises.

fullsizeoutput_25c9

fullsizeoutput_25c8

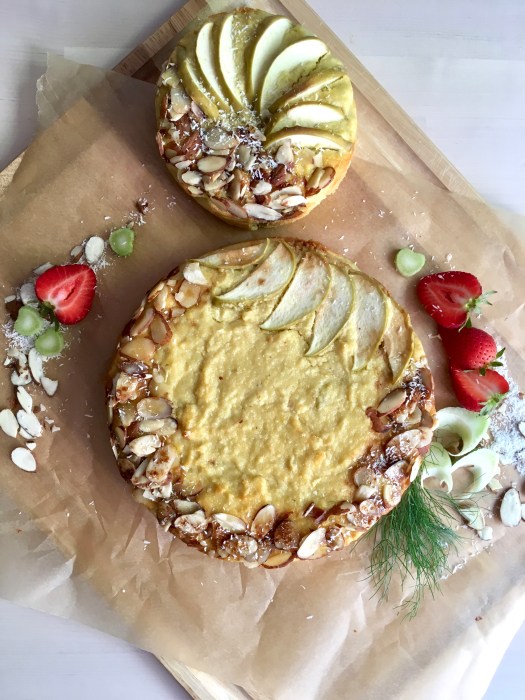
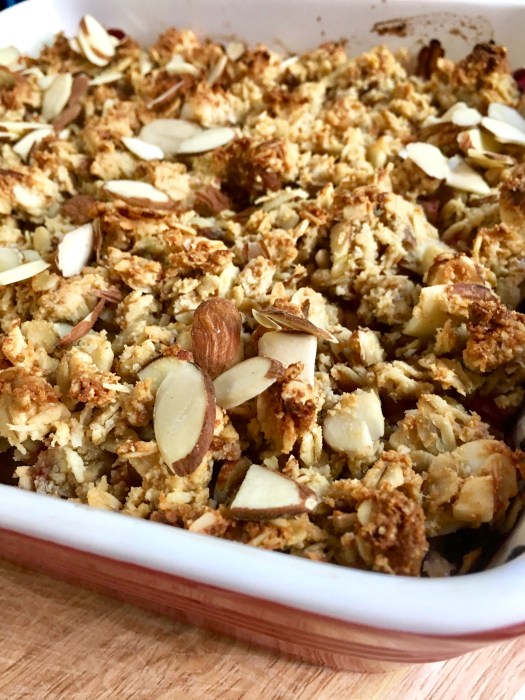
I actually made two cakes from one batch – one in an 8″ pan, and the leftover batter in a 5″. It’s a really adaptable cake; you can use an 8″ springform, a 9″ cake pan, 8″ cake pan + a smaller one (cupcake tins would probably work also)… you do you!

fullsizeoutput_25c6

Happy Monday! I hope the rest of your week goes swimmingly :)

fullsizeoutput_25ba

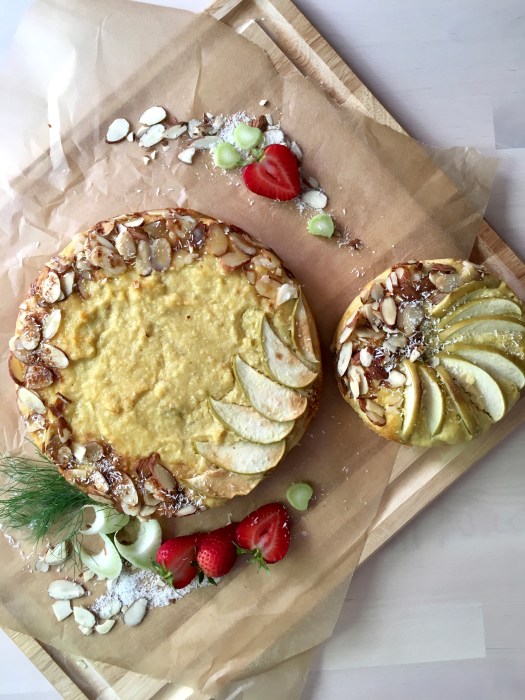
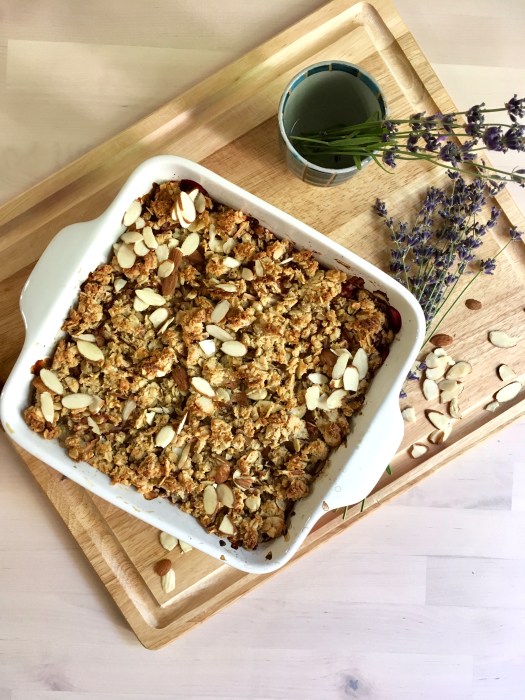
Apple & Fennel Ricotta Polenta Cake

Gluten free and refined sugar free! The fennel and apple balance each other perfectly for a lightly sweet dessert that has a dense crumb. I love it with ice cream, but it’s great on its own as well. Yield: 1 8″ or 9″ cake, serves several. A Wait are those Cookies original!

6 tbsp unsalted butter, at room temperature
1/3 c maple syrup, divided
zest of 2 meyer lemons
2 tsp vanilla extract
4 eggs, separated
1.25 c almond flour
3/4 c fine polenta
scant 1/2 tsp sea salt
1.25 cup whole milk ricotta cheese
1/2 granny smith apple, diced
1 bulb of fennel, grated
1/2 granny smith apple, thinly sliced, for garnish
1/3 cup slivered almonds, optional for garnish
a sprinkle of coconut sugar

Preheat the oven to 325, and either use an 8″ springform pan OR do like I did and use a 8″ cake pan, well greased and lined with two strips of parchment paper so that you can lift the cake out onto a cooling rack easily (the leftover batter went into a 5″ pan; two cakes for the price of one!)

Using a hand mixer (or a stand mixer) , beat butter, half the maple, lemon zest, and vanilla in a large bowl. Add in egg yolks and beat until combined, another minute-ish. In a smaller bowl, whisk together almond flour, polenta, and sea salt. Add the dry ingredients into the larger bowl, add ricotta, and stir to combine.

In a separate, non-reactive bowl, beat the egg whites until soft peaks form (preferably with your hand mixer or stand mixer so that your arm doesn’t fall off) – drizzle in the rest of the maple while mixing.

Fold the egg whites into the batter in two batches, then fold in chopped apples and grated fennel. Pour the batter into the cake pan, and top with sliced apples and almonds, if using. Sprinkle with a bit of coconut sugar. Bake for 45-50 minutes, until a tester inserted into the middle comes out clean (mine was done closer to 50 min). Let cool for at least 10 minutes, then lift out onto a cooling rack to cool completely, removing parchment from underneath if you used it. Let cool completely before serving; also delicious cold if you want to stick it in the fridge for an hour or two.

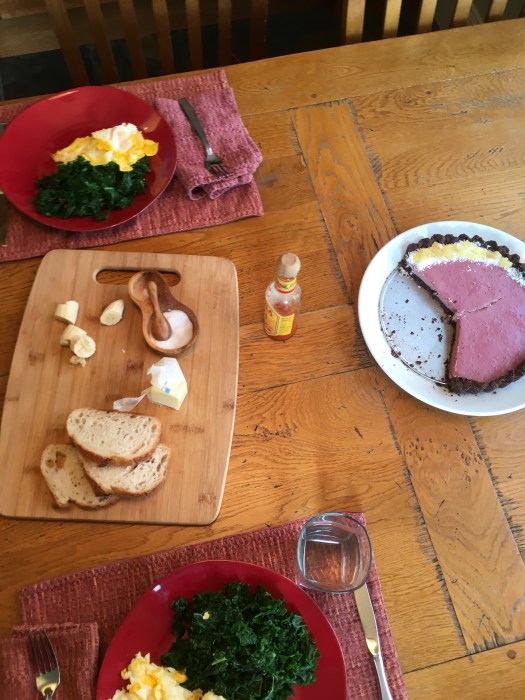
Excellent with a bit of vanilla ice cream (really, what isn’t) for dessert or eat it alongside eggs for breakfast. Keeps well for several days, covered in the fridge or stored in an airtight glass container.

fullsizeoutput_25cb

fullsizeoutput_25ca

Purple desserts & rain

fullsizeoutput_251d

Hi friends!

fullsizeoutput_2506

Slightly delayed post from the weekend, since I was busy busy and didn’t have time to get this out earlier.

fullsizeoutput_24f5

fullsizeoutput_2512

C and I almost completely annihilated this thing in two sittings, haha! It was GOOD. I love the cinnamon crust – it’s reminiscent of cinnamon graham crackers, which which I had a phase when I was a kid. I’ve always loved graham crackers, and anything that reminds me of them (and by association, my gram – who always fed them to me at her house) is totally welcome in my book.

fullsizeoutput_2516

Such a great weekend surrounded by fave human & friends – I wish it hadn’t flown by so fast! We’ve been having some unseasonably rainy weather (accounting for the slightly funky lighting in these photos… the foliage + overcast wasn’t cooperating with me), which I’m LOVING, despite everyone else wanting sun, hahaa. I just love the rain!

FD990747-EDF2-4D1E-A6C3-5725DA110AE7

fullsizeoutput_251a

We ate this tart while board gaming on Saturday night, and then came back for a second round over a late brunch on Sunday. It’s a winner in both contexts – I love it with vanilla ice cream, but it’s also great on its own. It’s not nearly as tart as some of my other desserts, so if you’re baking for a crowd or with kids, I’d suggest this one. Besides, purple is broadly appealing :)

fullsizeoutput_2505

fullsizeoutput_2507

Have a great week!

fullsizeoutput_251d

Blackberry Panna Cotta on a Cinnamon Crust

Gluten free, dairy free & refined sugar free! A Wait are those Cookies original. Yield: 1 9″ tart; serves several. The cinnamon play so well against the berries – this works for a special breakfast or a delicious dessert with ice cream. Or both! :) Crust is easily grain free – just swap out the cornmeal for an equal amount of almond flour.

fullsizeoutput_24fe

For the crust:

1.5 c almond flour
1/3 c unsweetened shredded coconut
1/3 c cornmeal
1 tsp cinnamon
heaping 1/4 tsp sea salt
1/2 tsp baking soda
2 tsp vanilla extract
2 tbsp pure maple syrup
6 tbsp coconut oil, melted

In a large bowl, stir together almond flour, shredded coconut, cornmeal, cinnamon, sea salt, and baking soda. Add in vanilla, maple, and melted coconut oil, and stir until completely combined. The dough will look crumbly, but you’ll be able to press it together with your fingers.
Preheat the oven to 350, and lightly grease a 9″ tart pan (w/ removable bottom) with coconut oil. Press the crust into the plate and up the sides with a spoon or your fingers, creating a smooth edge (or not, your call!). Poke the bottom with a fork a few times, and bake for 15 minutes. Remove and let cool for a few minutes.

For the panna cotta:

2 cups (approx. 1/3 lb.) blackberries — frozen is fine!
1/2 c wild blueberries (frozen is just fine)
2 tsp water
2 tbsp maple
2 cups coconut milk, full fat (one can)
1 tbsp pure vanilla extract
1 packet of powdered gelatin
1/4 c cold water

Make the panna cotta filling:
In a small saucepan, combine the blackberries, blueberries, 2 teaspoons of water, and maple. Cover and simmer over low heat until the berries break down. Taste it – we love it tart, but bump up the maple a little if it’s too tart for your taste.

Add the coconut milk to the berries, and re-heat the berry-coconut mixture over low heat until it just reaches a simmer. Remove from the heat, and allow the mixture to steep for 30 minutes.

Toward the end of the 30 minute steep time, place the 1/4 c cold water in something large, like a mixing bowl or a large pyrex measuring cup (mine is 4c). Sprinkle the powdered gelatin over the cold water.

Return the berry-coconut mixture to the stove, and re-heat again until just barely simmering, and stir in the vanilla.

Place a fine mesh strainer over the pyrex or bowl with the softened gelatin, and strain the berry-cream mixture through the sieve, using a spatula to stir and press berry-y coconut milk to extract every last bit. Once all liquid has been extracted, thoroughly whisk the berry-coconut mixture into the softened gelatin.

Carefully pour the filling into the tart shell, then leave the tart in the refrigerator to at least four hours or overnight. Keeps well in the fridge; serve leftovers for breakfast ;)

fullsizeoutput_250e

Yes it’s green, you’re not imagining it!

fullsizeoutput_23b4

Happy Saturday!

fullsizeoutput_23b6

I’ve had a great weekend already, and it’s only Saturday night – two G&S shows, quality time with fave human & great friends, and lots of sleep… no complaints.

fullsizeoutput_23b5

Also, there was tart! (it has since been demolished)

fullsizeoutput_23b7

No, your eyes are not deceiving you…. the crust is in fact green! There is matcha sneaking around in there – not a ton, just enough to bring an earthy balance to the tart lemon curd. I LOVE meyer lemon season – arguably, they are one of my favorite citrus (though I quite possibly say that about ALL citrus…), and I also love matcha. I was initially unsure about the combination of matcha and lemon, but it turned out to be a happy experiment that worked out quite nicely.

fullsizeoutput_23b1

As usual – great dessert, equally great breakfast. Here is a photo essay of the tart getting slowly eaten over the course of making breakfast, before we actually sat down (in our defense, we both woke up hungry! ha)

fullsizeoutput_23bc

fullsizeoutput_23c1

fullsizeoutput_23c3

Gluten free & refined sugar free – in fact, this has very little maple in it, even as far as my desserts go – only one tbsp in the curd and two in the crust! That’s a big win in my book.

fullsizeoutput_23b8

Happy weekend!

fullsizeoutput_23ad

fullsizeoutput_2396

Meyer Lemon Tart with a Matcha Crust

Tangy, tart and delicious. Perfect spring dessert that is light and fresh – meyer lemons really shine here, if you can find them. The lemon curd can be made several days in advance and refrigerated, if you need to split up the baking time. Gluten free and refined sugar free. A Wait are Those Cookies original. Yield: 1 9″ tart, serves several.

For the crust:

1.5 c almond flour
1/4 c unsweetened shredded coconut
1/2 c cornmeal
heaping 1/4 tsp sea salt
1/2 tsp baking soda
1 tbsp matcha
2 tsp vanilla extract
2 tbsp pure maple syrup
6 tbsp coconut oil, melted

In a large bowl, stir together almond flour, shredded coconut, cornmeal, sea salt, baking soda, and matcha. Add in vanilla, maple, and melted coconut oil, and stir until completely combined. The dough will look crumbly, but you’ll be able to press it together with your fingers.
Preheat the oven to 350, and lightly grease a 9″ tart pan (w/ removable bottom) with coconut oil. Press the crust into the plate and up the sides with a spoon or your fingers, creating a smooth edge (or not, your call!). Poke the bottom with a fork a few times, and bake for 15 minutes. Remove and let cool for a few minutes. Increase oven temp to 375.

Maple Lemon Curd*:

2 whole eggs
3 egg yolks
1/3 c lemon juice
zest of 4 lemons
pinch of sea salt
2 tbsp maple syrup
4 tbsp butter
1 tsp vanilla

*I made a batch and a half for a higher curd to crust ratio – feel free to do like I did. If you do, use 3 whole eggs & 4 yolks + another half of all other ingredients listed except maple (I like my curd to be tart!)

I used a double boiler for this lemon curd, which is a game changer. Highly recommended! Heat water in the bottom of the double boiler until it’s at a high simmer. In the top of the double boiler, whisk together eggs, egg yolks, lemon zest and juice, sea salt, and maple syrup. Add in the butter one tbsp at a time, whisking continuously, not adding the next tbsp until the first is completely melted. Whisk in vanilla. Cook, stirring constantly, until the lemon curd thickens and will coat the back of a spoon (or your whisk leaves tracks) – usually around 5 to 8 minutes. It’s a noticeable change when it happens, so just watch the cooking magic! Remove from heat, strain through a fine mesh strainer, and store in a glass container in the fridge until ready for use.

Pour the curd into the crust and smooth the top. Bake at 375 for 8-12 minutes, until the curd is barely set. Cool completely before slicing and serving – store in the fridge until serving and keep leftovers covered in the fridge.

fullsizeoutput_23b2

fullsizeoutput_23b9

Limes, coconuts & vacation things

fullsizeoutput_2384

Hi friends!

fullsizeoutput_236f

fullsizeoutput_2375

It’s been a little while… I took a tropical vacation (much needed) with my mama to Hawaii, and we had a blast! Photo evidence below, since word on the street says pics or it didn’t happen…

fullsizeoutput_22b7

fullsizeoutput_228f

fullsizeoutput_22ac

fullsizeoutput_22f1

fullsizeoutput_2302

fullsizeoutput_22a4

IMG_0926

This also means it’s been about three weeks since I’ve baked anything substantial (one batch of cookies for the plane doesn’t count) – this felt good! I wanted to carry over the nice island vibes, hence the coconut – not like I don’t use coconut all the time anyway, hahaa…

fullsizeoutput_2367

fullsizeoutput_2385

This one was delicious! I very rarely bake with limes – mostly because I get annoyed juicing a zillion of them for just a little bit of juice – but they work fabulously here with the coconut and poppyseed. C and I decided that panna cotta makes the perfect vehicle for all the winter and early spring citrus, since it really lets the citrus shine.

fullsizeoutput_2365

As per usual, it made a great dessert and late brunch post-hike. We further decided that it’s a little too easy to eat… as in, nothing stops you from eating the whole thing in one sitting! Ha, kidding, not like we’ve done that…. More like, it’s so light and delicate that it doesn’t way you down the way some desserts do.

fullsizeoutput_2393

fullsizeoutput_2392

Regardless, it’s become a huge favorite of ours, which if you read this regularly, you’ve probably noticed!

fullsizeoutput_2383

It’s nice to be back in the blogspace! I hope all of my blog friends are doing well :) Happy spring!

fullsizeoutput_236e

Toasted Coconut & Lime Panna Cotta Tart on an Almond Poppyseed Crust

Gluten free, dairy free and refined sugar free! A Wait are those Cookies original. Yield: 1 9″ tart, serves several.

For the crust:

1.5 c almond flour
1/3 c unsweetened shredded coconut
1/3 c cornmeal
3 tbsp poppy seeds
heaping 1/4 tsp sea salt
1/2 tsp baking soda
2 tsp vanilla extract
1/2 tsp almond extract
2 tbsp pure maple syrup
6 tbsp coconut oil, melted

In a large bowl, stir together almond flour, shredded coconut, cornmeal, poppy seeds, sea salt, and baking soda. Add in vanilla, maple, and melted coconut oil, and stir until completely combined. The dough will look crumbly, but you’ll be able to press it together with your fingers.
Preheat the oven to 350, and lightly grease a 9″ tart pan (w/ removable bottom) with coconut oil. Press the crust into the plate and up the sides with a spoon or your fingers, creating a smooth edge (or not, your call!). Poke the bottom with a fork a few times, and bake for 15 minutes. Remove and let cool for a few minutes.

For the panna cotta:

1 package unflavored powdered gelatin
1.5 cup full-fat coconut milk
1.5 tbsp vanilla bean paste
1/4 c lime juice
1 tbsp lime zest, finely chopped
scant 1/4 cup maple
Scant 1/4 tsp sea salt

For garnish: sliced limes + toasted coconut

In a small bowl, sprinkle the gelatin over the lime juice. Let stand without stirring until the gelatin is moistened, about 10 minutes.

Pour the 1.5 cups of coconut milk into a small saucepan. Add vanilla, maple, salt, and lime zest into it. Bring to a simmer over medium heat, stirring consistently. Remove from the heat. Add the gelatin mixture and stir until completely dissolved, about 3 minutes. Cool until lukewarm, about 5 minutes. Pour the panna cotta mixture into the cooled tart shell. Place in the refrigerator until set, approximately 4 hours. Top with sliced limes, toasted coconut & sliced almonds.

Store in the fridge – keeps well overnight and is EXCELLENT for breakfast the next morning :)

fullsizeoutput_2369

Meyer Lemons for 2019

fullsizeoutput_209a

Hello hello! Happy 2019!

fullsizeoutput_20a4

Here is the first dessert of the year – and I’m quite happy with it! C and I loved it; but then, we’re also fiercely fond of anything that is citrusy and tart, so it was an easy sell. Plus, cornmeal! Let’s not forget our joint obsession with that.

fullsizeoutput_20a1

I love this tart for winter – meyer lemons are at their peak and are SO delicious, and the naturally bright yellow is just perfect for a bright midwinter dessert!

fullsizeoutput_20a7

fullsizeoutput_20a5

I did actually bake for NYE, but it was the ricotta cornmeal cake I’d made recently & my favorite cookies, and I didn’t want any repeat posts! Both were very well received :)

fullsizeoutput_201b

img_0817

C and I had a lovely weekend – we did the tart for dessert first, with ice cream, and then again for… uh, if you eat your first meal of the day at 3 after a giant hike, is it still breakfast?! Anyway – great day out in Marin on the coastal trails by Rodeo beach, followed by tart and eggs and kale and all the usual things!

fullsizeoutput_20cc

fullsizeoutput_20c8

fullsizeoutput_20ad

fullsizeoutput_20bb

fullsizeoutput_20b5

I hope your weekend was all kinds of delightful, and that your year is off to a great start!

fullsizeoutput_209b

Meyer Lemon Tart with a Cornmeal Almond Crust

Tart and bright – this is citrus at its best! It makes a difference to use meyer lemons – they are naturally sweeter than regular lemons. This is for those who like their desserts tart! Gluten free and refined sugar free. Yield: 1 9″ tart. A Wait are Those Cookies original.

fullsizeoutput_20cb

For the crust:

1.5 c almond flour
1/4 c unsweetened shredded coconut
1/2 c cornmeal
heaping 1/4 tsp sea salt
1/2 tsp baking soda
2 tsp vanilla extract
2 tbsp pure maple syrup
6 tbsp coconut oil, melted

In a large bowl, stir together almond flour, shredded coconut, cornmeal, sea salt, and baking soda. Add in vanilla, maple, and melted coconut oil, and stir until completely combined. The dough will look crumbly, but you’ll be able to press it together with your fingers.
Preheat the oven to 350, and lightly grease a 9″ tart pan (w/ removable bottom) with coconut oil. Press the crust into the plate and up the sides with a spoon or your fingers, creating a smooth edge (or not, your call!). Poke the bottom with a fork a few times, and bake for 15 minutes. Remove and let cool for a few minutes. Increase oven temp to 375.

Maple Lemon Curd*:

2 whole eggs
3 egg yolks
1/3 c lemon juice
zest of 4 lemons
pinch of sea salt
2 tbsp maple syrup
4 tbsp butter
1 tsp vanilla

*I made a batch and a half for a higher curd to crust ratio – feel free to do like I did. If you do, use 3 whole eggs & 4 yolks + another half of all other ingredients listed except maple (I like my curd to be tart!)

I used a double boiler for this lemon curd, which is a game changer. Highly recommended! Heat water in the bottom of the double boiler until it’s at a high simmer. In the top of the double boiler, whisk together eggs, egg yolks, lemon zest and juice, sea salt, and maple syrup. Add in the butter one tbsp at a time, whisking continuously, not adding the next tbsp until the first is completely melted. Whisk in vanilla. Cook, stirring constantly, until the lemon curd thickens and will coat the back of a spoon (or your whisk leaves tracks) – usually around 5 to 8 minutes. It’s a noticeable change when it happens, so just watch the cooking magic! Remove from heat, strain through a fine mesh strainer, and store in a glass container in the fridge until ready for use.

Pour the curd into the crust and smooth the top. Bake at 375 for 8-12 minutes, until the curd is barely set. Cool completely before slicing and serving – store in the fridge until serving and keep leftovers covered in the fridge.

fullsizeoutput_20a2

Let’s get crackin’

fullsizeoutput_1eb0

Oh heavens, the holiday market shopping madness has already begun! I rather forgot this was the last weekend before Thanksgiving… Whole Foods is already at full-tilt insanity. It’s all good though, I don’t think I need to go back until after the holiday (ha. famous last words).

fullsizeoutput_1eae

It’s time for all things pumpkin, sweet potato, apple, and cranberry! I love the run of late autumn/holiday seasonal baking. I will say though, things can get a little one-note with all of the cinnamon-nutmeg-ginger combinations out there, which is why I especially love this pie. It’s light on the spice, but the cinnamon and ginger are present just enough to give it that seasonal vibe. Plus, it’s purple! Naturally! What’s not to love.

This thing obviously cracked like crazy (it cooled too fast in my apartment…might, *ahem* be a little cold in here?!) but I’m embracing its imperfections! It was delicious, and, like human beings, is unique and imperfect in its own way.

fullsizeoutput_1eb1

Interestingly, it lightened up a lot in color after baking – see below photo! That was taken just over 24 hours after baking. The lighting is a bit different of course, but it was fun watching the color change.

IMG_0407

C and I both loved this one, a LOT. So much so that it might make another appearance this week for Thanksgiving! We’ll see. Regardless, we ate it for dessert and of course for breakfast, as we hibernated away from the bad air.

fullsizeoutput_1eb8

I was traveling in SoCal for work last week and avoided some of it, but we’re still under a big blanket of smoke. The sunsets have been incredible, but that’s small comfort when outside is essentially verboten.

IMG_0340

IMG_0330

fullsizeoutput_1e91

My heart just breaks for those displaced by the terrible fires to the north of us and my beautiful state – we are on our 10th day of extremely unhealthy air quality and choking smoke in the Bay Area, and I can only imagine what it’s like closer to the fires. Sending all the good vibes to those who need them, though I know that isn’t nearly enough.

fullsizeoutput_1eb3

Hold your loved ones, and bake them things – it is always the little kindnesses that are the most appreciated!

fullsizeoutput_1eb6

Purple Sweet Potato Cheesecake Tart on a Chocolate Coconut Crust

Perfect for the holidays! Only lightly sweet – as always – and I love the purple sweet potatoes for their natural color. This comes together in a snap; you can always use regular sweet potato puree, or even pumpkin. This is kind of like a cheesecake, but uses yogurt instead of cream cheese for a lighter dessert. Yield: 1 9″ tart, serves 6-8 realistically or two really hungry people for dessert & breakfast the next morning :) Filling is adapted from the Roasted Root, here!

fullsizeoutput_1eac

For the crust:

1.75 c almond flour
1/3 c unsweetened cacao powder
1/4 c unsweetened shredded coconut
heaping 1/4 tsp sea salt
1/2 tsp baking soda
2 tsp vanilla extract
2 tbsp pure maple syrup
4 tbsp coconut oil, melted
1/4 c dark chocolate, melted

In a large bowl, stir together almond flour, cacao powder, coconut, sea salt, and baking soda. Add in vanilla, maple, and melted coconut oil and stir until completely combined. The dough will look crumbly, but you’ll be able to press it together with your fingers.

Preheat the oven to 350, and lightly grease a tart pan with coconut oil (you can also use a pie pan; I like the tart pans with removable rings). Press the crust into the plate and up the sides with a spoon or your fingers, creating a smooth edge (or not, your call!). Poke the bottom with a fork a few times, and bake for 15 minutes.

For the filling:

1 cup pureed purple sweet potato*
1 cup whole milk, plain yogurt (I use Straus European style – it’s pretty runny)
3 eggs
1/4 c pure maple syrup
1 teaspoon pure vanilla extract
2 tablespoons tapioca flour*
1-1/2 teaspoons ground cinnamon
1/8 teaspoon allspice
½ teaspoon ground ginger
1/4 teaspoon kosher salt

* I boil them; you could also roast & mash them – either way is fine!

Add all of the ingredients for the filling to a food processor or blender and blend just until combined. Pour into the prepared crust and bake at 350 for 25-30 min until the center is set. Let cool completely, then refrigerate until serving.

Keeps well overnight in the fridge; probably best eaten within two days of baking, but I really doubt ours will even last that long :)

Let’s get crisp-y

fullsizeoutput_1853

Happy Pride! It is hard to believe we are this far into June – I’m excited, since the stone fruit season is starting to really get going, and berries are lovely right now.

This week was eventful – I gave myself a black eye with a 900 page paperback (sci-fi of course) when I accidentally (duh) dropped it on my face… such a raging Friday night! I wasn’t even asleep, it just slipped out of my hand & got me. Rude! Sometimes I impress even myself. Photo evidence, just in case you needed proof:

fullsizeoutput_181b

fullsizeoutput_184f

Anyway, enough of my raging & back to the fruit at hand: I also love rhubarb – though I typically think of it more as a late spring thing than summer. This will probably be the last rhubarb thing on here – it gets harder to find, and I really want to play with all the stone fruit anyway!

fullsizeoutput_1566

The California summer is definitely in full swing: the hills have gone that golden shade that is so pretty against the dark oaks and blue sky. I could do without the hot weather but… at least I have access to a very cold pool! You will find me there more than frequently ;)

IMG_3549

Super fun weekend over here – time with fave human, dessert, urban hikes, etc etc – a few pictures below.

fullsizeoutput_1854

fullsizeoutput_1856

This crisp is for those who LOVE rhubarb – it’s very rhubarb-forward! We both love the tart awesomeness of it, but I know it’s not everyone’s jam. Lavender was an interesting addition – I don’t use it all that frequently in baking (I find it can get a little… soapy, sometimes) but it adds a nice floral note here, which pairs especially nicely with ice cream…

fullsizeoutput_1852

Of course, it’s us – this got eaten for dessert and then alongside the usual breakfast. No regrets! We were both starving anyway after having woken ourselves up by walking up some hills on a nice little shorty hike.

fullsizeoutput_1858

fullsizeoutput_184c

I hope everyone out there in my corner of the internet is enjoying their weekends! Happy baking, if indeed you do some :)

fullsizeoutput_184e

Rhubarb, Blackberry and Lavender Almond Crisp

For those who LOVE rhubarb! This one is right in your face. Lightly sweet but seriously tart; lightly floral from the lavender and perfect with ice cream for a summer dessert or on it’s own for breakfast. A Wait are Those Cookies original! Yield: 1 crisp – I use an 8 by 8 dish that holds two quarts; you can also use a 9″ deep pie dish. Just make sure there is ample room for fruit! Serves: 2, or several… you decide!

fullsizeoutput_184b

For the filling:

3 c rhubarb, chopped*
1 c raspberries*
1 c blackberries*
1 tsp lavender buds
1/4 c maple syrup
¼ cup water (I used 1/8 c port & 1/8 c water)
2 teaspoons arrowroot starch

*I just approximate; I use however many it takes to fill my 2 quart, 8×8 baking dish
*I baked straight from frozen; fresh would also be fine

For the crisp:

1 cup old-fashioned oats (use certified gluten-free oats for a gluten-free crisp)
½ cup firmly packed almond meal
½ cup chopped almonds
1/4 c unsweetened shredded coconut
1/4 c maple (or coconut) sugar
¼ teaspoon fine sea salt
2 tsp vanilla extract
4 tablespoons unsalted butter, melted
¼ cup plain whole milk Greek yogurt

Preheat the oven to 350.
Toss chopped rhubarb, raspberries and lavender into your baking dish of choice (my dish is 8×8, 2 qt capacity; 9″ square or 9″ deep pie dish would also be fine). In a liquid measuring cup, whisk together the maple and water/port until combined. Add the arrowroot, and whisk to combine. Pour the mixture over the fruit and toss to combine. Bake for 20 minutes.

While the filling is baking, make the crisp. In a mixing bowl, stir together the oats, almond meal, chopped almonds, shredded coconut, maple sugar and salt. Mix in the vanilla, melted butter and the yogurt. Stir until everything is mixed thoroughly.

Once the filling has baked for 20 minutes, stir it and and redistribute evenly in the dish. Plop spoonfuls of the crisp topping evenly over the filling – no need to pack it down. Return the dish to the oven and bake for 25 to 30 more minutes, until the filling is bubbling around the edges and the top is golden.
Let the crisp rest for 5 to 10 minutes before serving. Serve with vanilla ice cream, obviously! Keep leftovers, covered, in the fridge for about five days (yeah right. It would take some kind of major feat to make it last that long)

fullsizeoutput_184a

Wait, is this actually a cookie recipe?

IMG_3035

Cookies!

IMG_3033

Though this blog is named after them, I find that I rarely post them on here…. which is silly, given that I make this particular recipe at least several times a month – they are perennial favorites of all parties.

IMG_3031

I realized after I made them for C &I this weekend (they happen to be both of our favorite cookies) that I had never actually posted this recipe on the blog so – I am fixing this now! They are so easy, just mix dry, stir in liquidy stuff, mix, bake, BOOM! Cookies. I think my record to make them is 17 minutes start to finish, including bake time (then again, I do sort of bake a lot so perhaps I am not the best metric ;)

fullsizeoutput_17b6

We ate these for dessert with ice cream (of course! can recommend mint and vanilla with high marks) and alongside a late brunch/lunch after a very sweaty hike. Of course, they are also excellent alongside a tall glass of milk (whole, if you please).

fullsizeoutput_17b8

There was some haze in the sky today but we still had a great hike/walk up to Bernal – here are some snaps:

fullsizeoutput_17a7
fullsizeoutput_17a9
fullsizeoutput_17b4
fullsizeoutput_17a2

And a few from when I stopped at the beach on the way back from camp training to say hello to the ocean, always a worthwhile activity:

fullsizeoutput_1798
fullsizeoutput_179a

So anyway – tomorrow is Monday, ew – do yourself a favor and take 15 minutes to whip up some cookies. The beginning half of your week will thank you!

IMG_3034

Oaty Coconut Chocolate Chunk Cookies

My favorite cookies – I make these more than anything else, at least a few times a month! C & I love them, fam loves them, etc etc. Whole grain, refined sugar free, dairy free & a gluten free option (just use 1/2 c brown rice flour instead of 1 c of whole wheat). Cakey, dense, chewy cookies that are great for hiking or snacks or whatever else. A Wait are Those Cookies original. Yield – somewhere 12-16.

IMG_3037

1/2 c almond flour (packed)
1/2 c rolled oats
1/2 c shredded coconut
1/2 c whole wheat pastry flour (or 1/2 oat flour, or 1/2 c brown rice flour for gf)
1/2 tsp baking soda
1 tsp baking powder
1/2 tsp sea salt
1 Flax egg (1 tbsp ground flaxseed + 3 tbsp water)
1 tsp vanilla
1/3 c melted coconut oil
1/4 c maple
Chopped dark chocolate (or chocolate chips, your call)

flaky salt for finishing (I like Maldon)

Preheat the oven to 350 and line a baking sheet with parchment paper. Make the flax egg and let it sit for at least 5 minutes. Mix dry, toss in melted coconut oil, flax/egg, vanilla, maple, chopped chocolate; mix – these are not finicky cookies! Roll into balls and place on lined baking sheet, flattening them slightly. Top with flaky salt. Bake for 10-12 on parchment at 350 if using whole wheat flour; bake for 12-16 if using brown rice flour.

Let cool a few minutes on the baking sheet, then transfer to a cooling rack to cool completely. I like to store mine in the fridge – they get extra dense and chewy that way. They do best wrapped in foil on the counter or in a slightly less than airtight container on the counter (I prefer plastic over glass since glass can make them go soft).

A few variations: 

  • add a tbsp of chopped rosemary
  • add a tbsp of instant espresso granules 
  • omit chocolate and instead add 1tsp cinnamon and a handful of chopped walnuts 
IMG_3036

Holiday weekends require dessert!

IMG_3372

Happy Memorial Day weekend!

fullsizeoutput_175e

This dessert could not be more well timed – of course, holiday weekends call for dessert but more obviously – I inadvertently made a patriotic dessert on Memorial weekend! I love when things like that happen.

fullsizeoutput_1741

Mostly I got lucky – blueberries and strawberries are amazing (and on sale! woohoo!!) right now, so of course I have those sitting in my fridge in spades. I always feel that tarts like this need some embellishment, and BOOM! Helloooo, berries.

fullsizeoutput_175f

This is light and fresh – just what you want for a summer dessert.

fullsizeoutput_1760

We ate it with softly whipped cream for dessert (I haven’t had whipped cream in far too long, I’m glad we fixed that particular travesty) and then again – of course – for our brunch/lunch thing around 1p. Is that lunch? Or could it be brunch since we didn’t eat anything except a bit of chocolate and a banana after sleeping in, before hiking?? Hmm. I think it can still be brunch. Anyway… it tasted especially good the second time around; we’d just finished a great hike up to Twin Peaks – somewhere in the neighborhood of 6 miles and over 1000′ elevation gain in less than two hours. Booyaaah! No wonder we were hungry.

fullsizeoutput_1765

Hike stats! I am a nerd and as such I find these things fascinating. And pictures, of course.

IMG_3371

IMG_3368IMG_3370fullsizeoutput_1766fullsizeoutput_1783

The weather was beautiful, with a really nice breeze off the fog (since my body is still having major issues these days, especially with regulating its temperature, cool breezes are a MUST).

fullsizeoutput_1757

We both loved this tart – it’s delicious on its own, or with whipped cream. Highly recommended – we blew through this thing in two sittings (well, the hike definitely helped the second go-round, ha!) and I think there are about two servings left… although that could have changed since I last assessed the situation.

fullsizeoutput_173f

Happy holiday weekend! Enjoy the extra day and do some baking :)

fullsizeoutput_1761

Lemon Ricotta Berry Tart on a Walnut Coconut Crust

Light, lemony and a perfect for a summer dessert: the lemon ricotta filling is tart and creamy, balanced nicely by the walnut-oat-coconut crust. Fresh berries are a must! Gluten free, refined sugar free and whole grain. For those who like their desserts a little on the tart side ;) Yield: 1 9″ tart, serves… several, or else two really hungry people who just took a long hike! A Wait are those Cookies original.

fullsizeoutput_175b

For the crust:

1 c rolled oats
1 c walnuts
1/4 c shredded unsweetened coconut
1/2 c almond flour
1 tbsp maple syrup
1/4 tsp fine sea salt
6 tbsp unsalted butter or ghee, melted
1 tsp vanilla

Preheat the oven to 350.

Add oats into a food processor and pulse until finely ground (you’re making oat flour). Dump that out into a bowl, and add the walnuts into the processor – pulse these until very finely ground, but be careful you don’t end up with walnut butter! Add walnuts to the bowl, followed by the coconut, almond flour, maple, sea salt, melted butter and vanilla. Stir until everything is incorporated, then press the dough into the bottom and up the sides of a 9″ pie or tart pan with a removable bottom. Bake for 10 minutes, then set aside to cool.

For the filling:

1.25 c (9 oz) full fat ricotta
1/2 c heavy cream
scant 1/4 c maple syrup
2 egg yolks
1 egg
zest of 3 lemons
1 tsp vanilla extract
1 tbsp lemon juice

This is as easy as it gets: toss ricotta into a large bowl, and stir in the rest of the ingredients: cream, maple, egg yolks + egg, lemon zest, and vanilla. Mixing well to prevent any lumps (heaven forbid).

Tart Assembly:
Pour the ricotta filling into the baked and cooled tart shell. Place in the oven at 350 and bake for 35-45 minutes – the center of the tart should be set when done. Let cool completely before serving. Slide the tart pan ring off before serving if you used a pan with a removable bottom like I did.

Top with berries and shredded coconut if desired! Serve with softly whipped cream – I highly recommend it. Keep refrigerated until serving. Keeps well overnight in the fridge, covered loosely in plastic wrap – arguably it’s almost better the next day, of course for breakfast!

fullsizeoutput_174b


For the Horde!

fullsizeoutput_1611

Brace yourselves for another Nerd Pie!

This one is…. FOR THE HORDE! Obviously.

fullsizeoutput_1644

I thought the red/purple-y color of the filling seemed like an appropriate Horde color, so there you go – Nerd pies strike again!

fullsizeoutput_1645

I have it on good authority that the leftovers didn’t even last a day, so I consider my mission accomplished. This pie is definitely a winner if you like tart things – there is barely any sweetener in here, since we very clearly like tart things around here. I love unadulterated rhubarb – it smells SO good when it’s baking!

fullsizeoutput_1642

Pie for breakfast? …. Obviously, have you met us?!

fullsizeoutput_1647

In other news, aside from pie…

Great hike/walk up to Twin Peaks with fave human and some beautiful wildflowers. Thankfully, this world never stops being beautiful – no matter what else is transpiring.

IMG_3196

fullsizeoutput_1653

Also, I made my mama some Mother’s Day cookies (because she is amazing and in Scotland as of today so it had to be something portable) and this one kind of looks like the Millennium Falcon…? No? Just me?

IMG_3174

Keeping it short because it’s (the end of!) Monday and I’m tired… and can’t quite believe we’re already halfway through May! What?!

fullsizeoutput_1641

Happy baking!

fullsizeoutput_1635

Rhubarb, Blackberry and Ginger Pie on a Whole Wheat Crust

Refined sugar free and whole wheat. This pie is for those who love all things tart but naturally sweet: the rhubarb is allowed to be its true self! Sugar need not apply. Sweetened very minimally with a little maple – feel free to eat with whipped cream, ice cream or just plain as you see fit. Yield: 1 9″ pie. Recipe is a riff on the many pies that have shown up on here, such as this one or this one.

For the pie crust:

2.25 c whole wheat pastry flour
3 tbsp coconut sugar
1/2 tsp baking powder
1/4 tsp fine sea salt
1/3 c unsalted butter
1/3 c vegetable shortening
5-6 tbsp ice water
For the filling:

4 c rhubarb, chopped*
2 c blackberries*
1/4 c maple syrup
1/4 c whole wheat flour
zest of 2 meyer lemon
juice of 1 meyer lemon (or regular)
1/4 c candied ginger
1/4 tsp salt

*I baked straight from frozen; fresh would also be fine

For finishing: 1-2 tbsp butter, 1 egg for egg wash

To make the crust: in a large bowl, whisk together pastry flour, coconut sugar, baking powder, and salt. Cut in shortening and butter either with your fingers or a pastry cutter until a coarse mixture forms and the butter chunks are the size of peas. Make a well in the center of the dough and add in the ice water one tablespoon at a time – mix as little as possible when incorporating the water to avoid overworking the dough. Once it will stick together, you’re good to go. Divide it into two even pieces, wrap in plastic wrap and chill for at least 10 minutes and up to an hour.

While the dough is chilling, put together the filling. In a large bowl, toss together rhubarb, blackberries, maple syrup, whole wheat flour, lemon zest and juice, cinnamon and salt. Let sit for at least 10 minutes — easiest to do this while you roll out the pie dough.

Once the dough is chilled, roll it out between two pieces of parchment or on marble, whatever you have – I like parchment for easy removal. Aim for about 1/8″ thickness, and lay the bottom crust into a lightly greased pie dish. Shape it with your fingers, evening out the top as per your pie plate or design you want — this crust will make a double crusted pie, so keep that in mind. Toss in rhubarb filling goodness and dot with butter.

If you want to get fancy and get all Horde-pie nerdy…

Cut out templates (thick paper or thin cardboard work nicely) for the Horde crest. Have egg wash and coconut sugar handy (I use a beaten egg + 1 tbsp water). Use the templates to cut out the top crust shape, and brush everything with egg wash to make it stick. Sprinkle coconut sugar where contrast is desired.

Once finished, carefully lay top crust over the rhubarb filling. Bake at 450 for 10 minutes, then 350 for 35-40 until the filling is bubbling and the crust is golden brown. Remove from the oven when done and let sit to cool for at least an hour, preferably more so that the filling will set. Serve warm or at room temp, and store any leftovers overnight on the counter, loosely covered, or in the fridge for longer (assuming it lasts that long). Pie can be made a day in advance if needed and reheated briefly in a 375 oven to crisp the crust and warm the filling – 10/15 minutes. The pie filling will firm up if stored in the fridge overnight, making slicing easier.

fullsizeoutput_1646