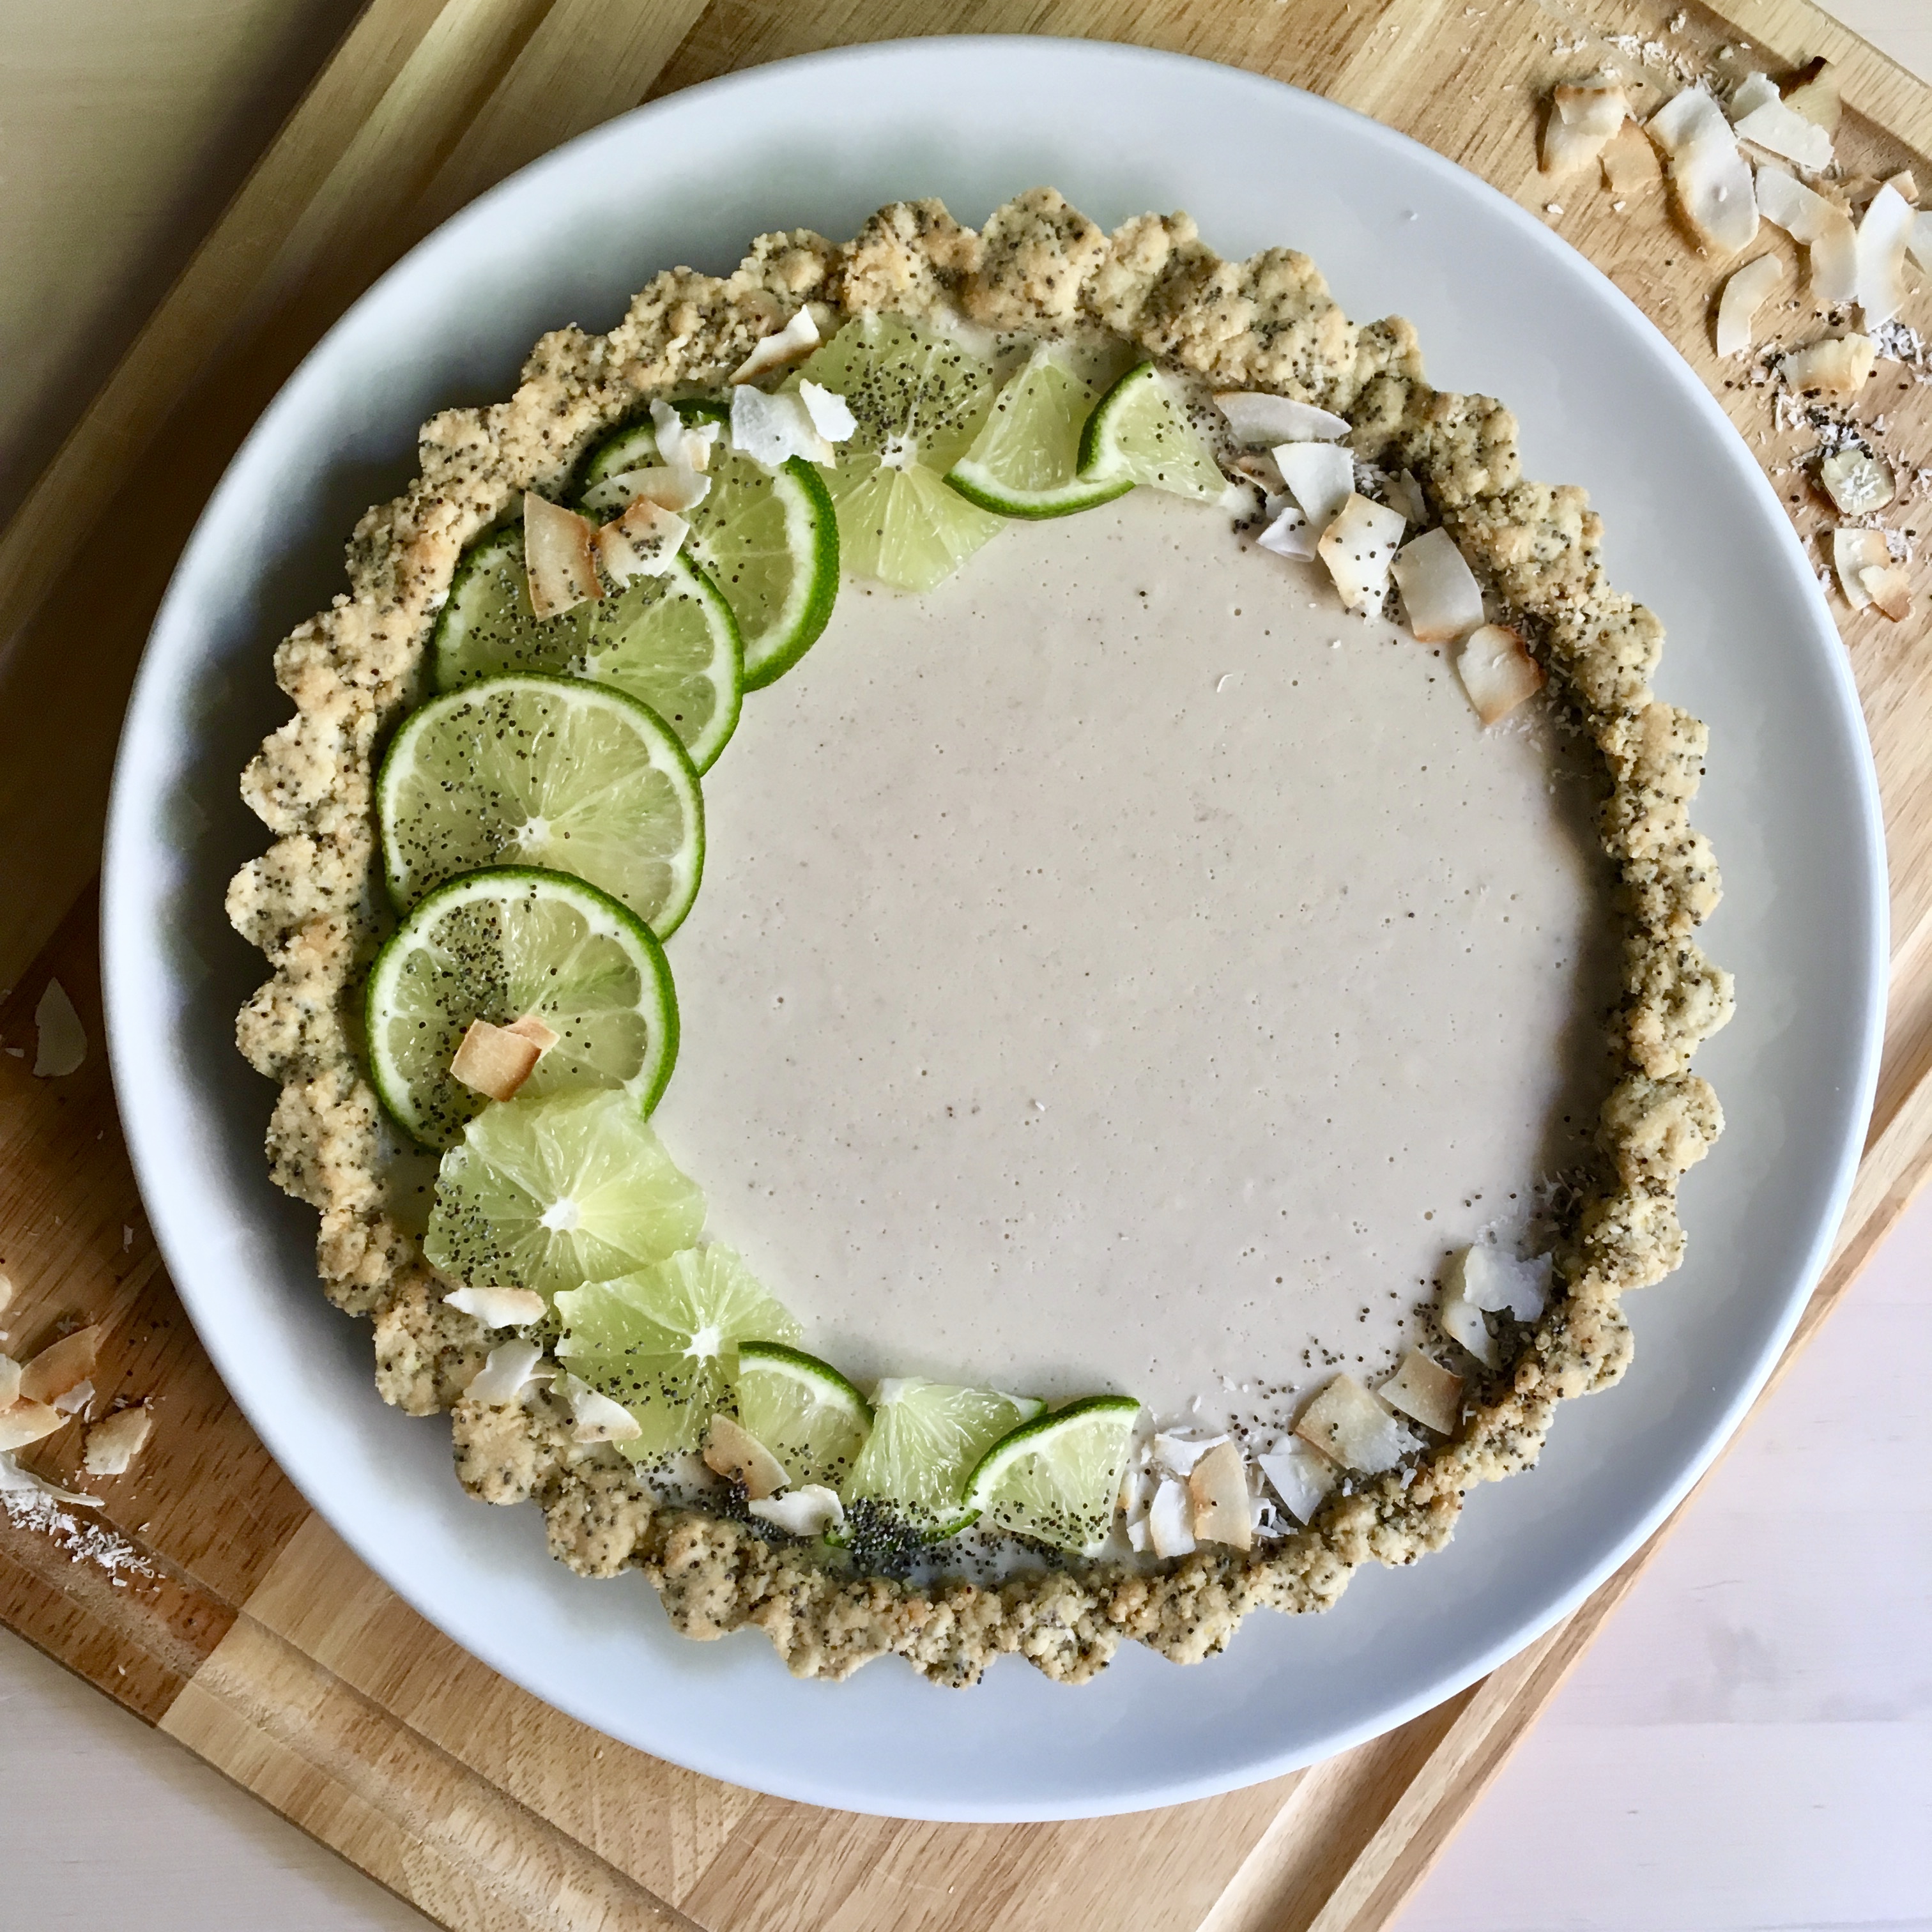
Minimum two types of citrus at all times, please

Blog friends!

Much has happened since I posted last – busy busy but also NEW OVEN! and NEW FRIDGE! Thank you to my building owners who might actually be best landlords on the planet. I now have an oven that tells me when it’s preheated (hooray!) and a fridge that a) is significantly larger than the previous tiny one and b) has a freezer on the bottom so I don’t have to stand on my head to see my vegetables.
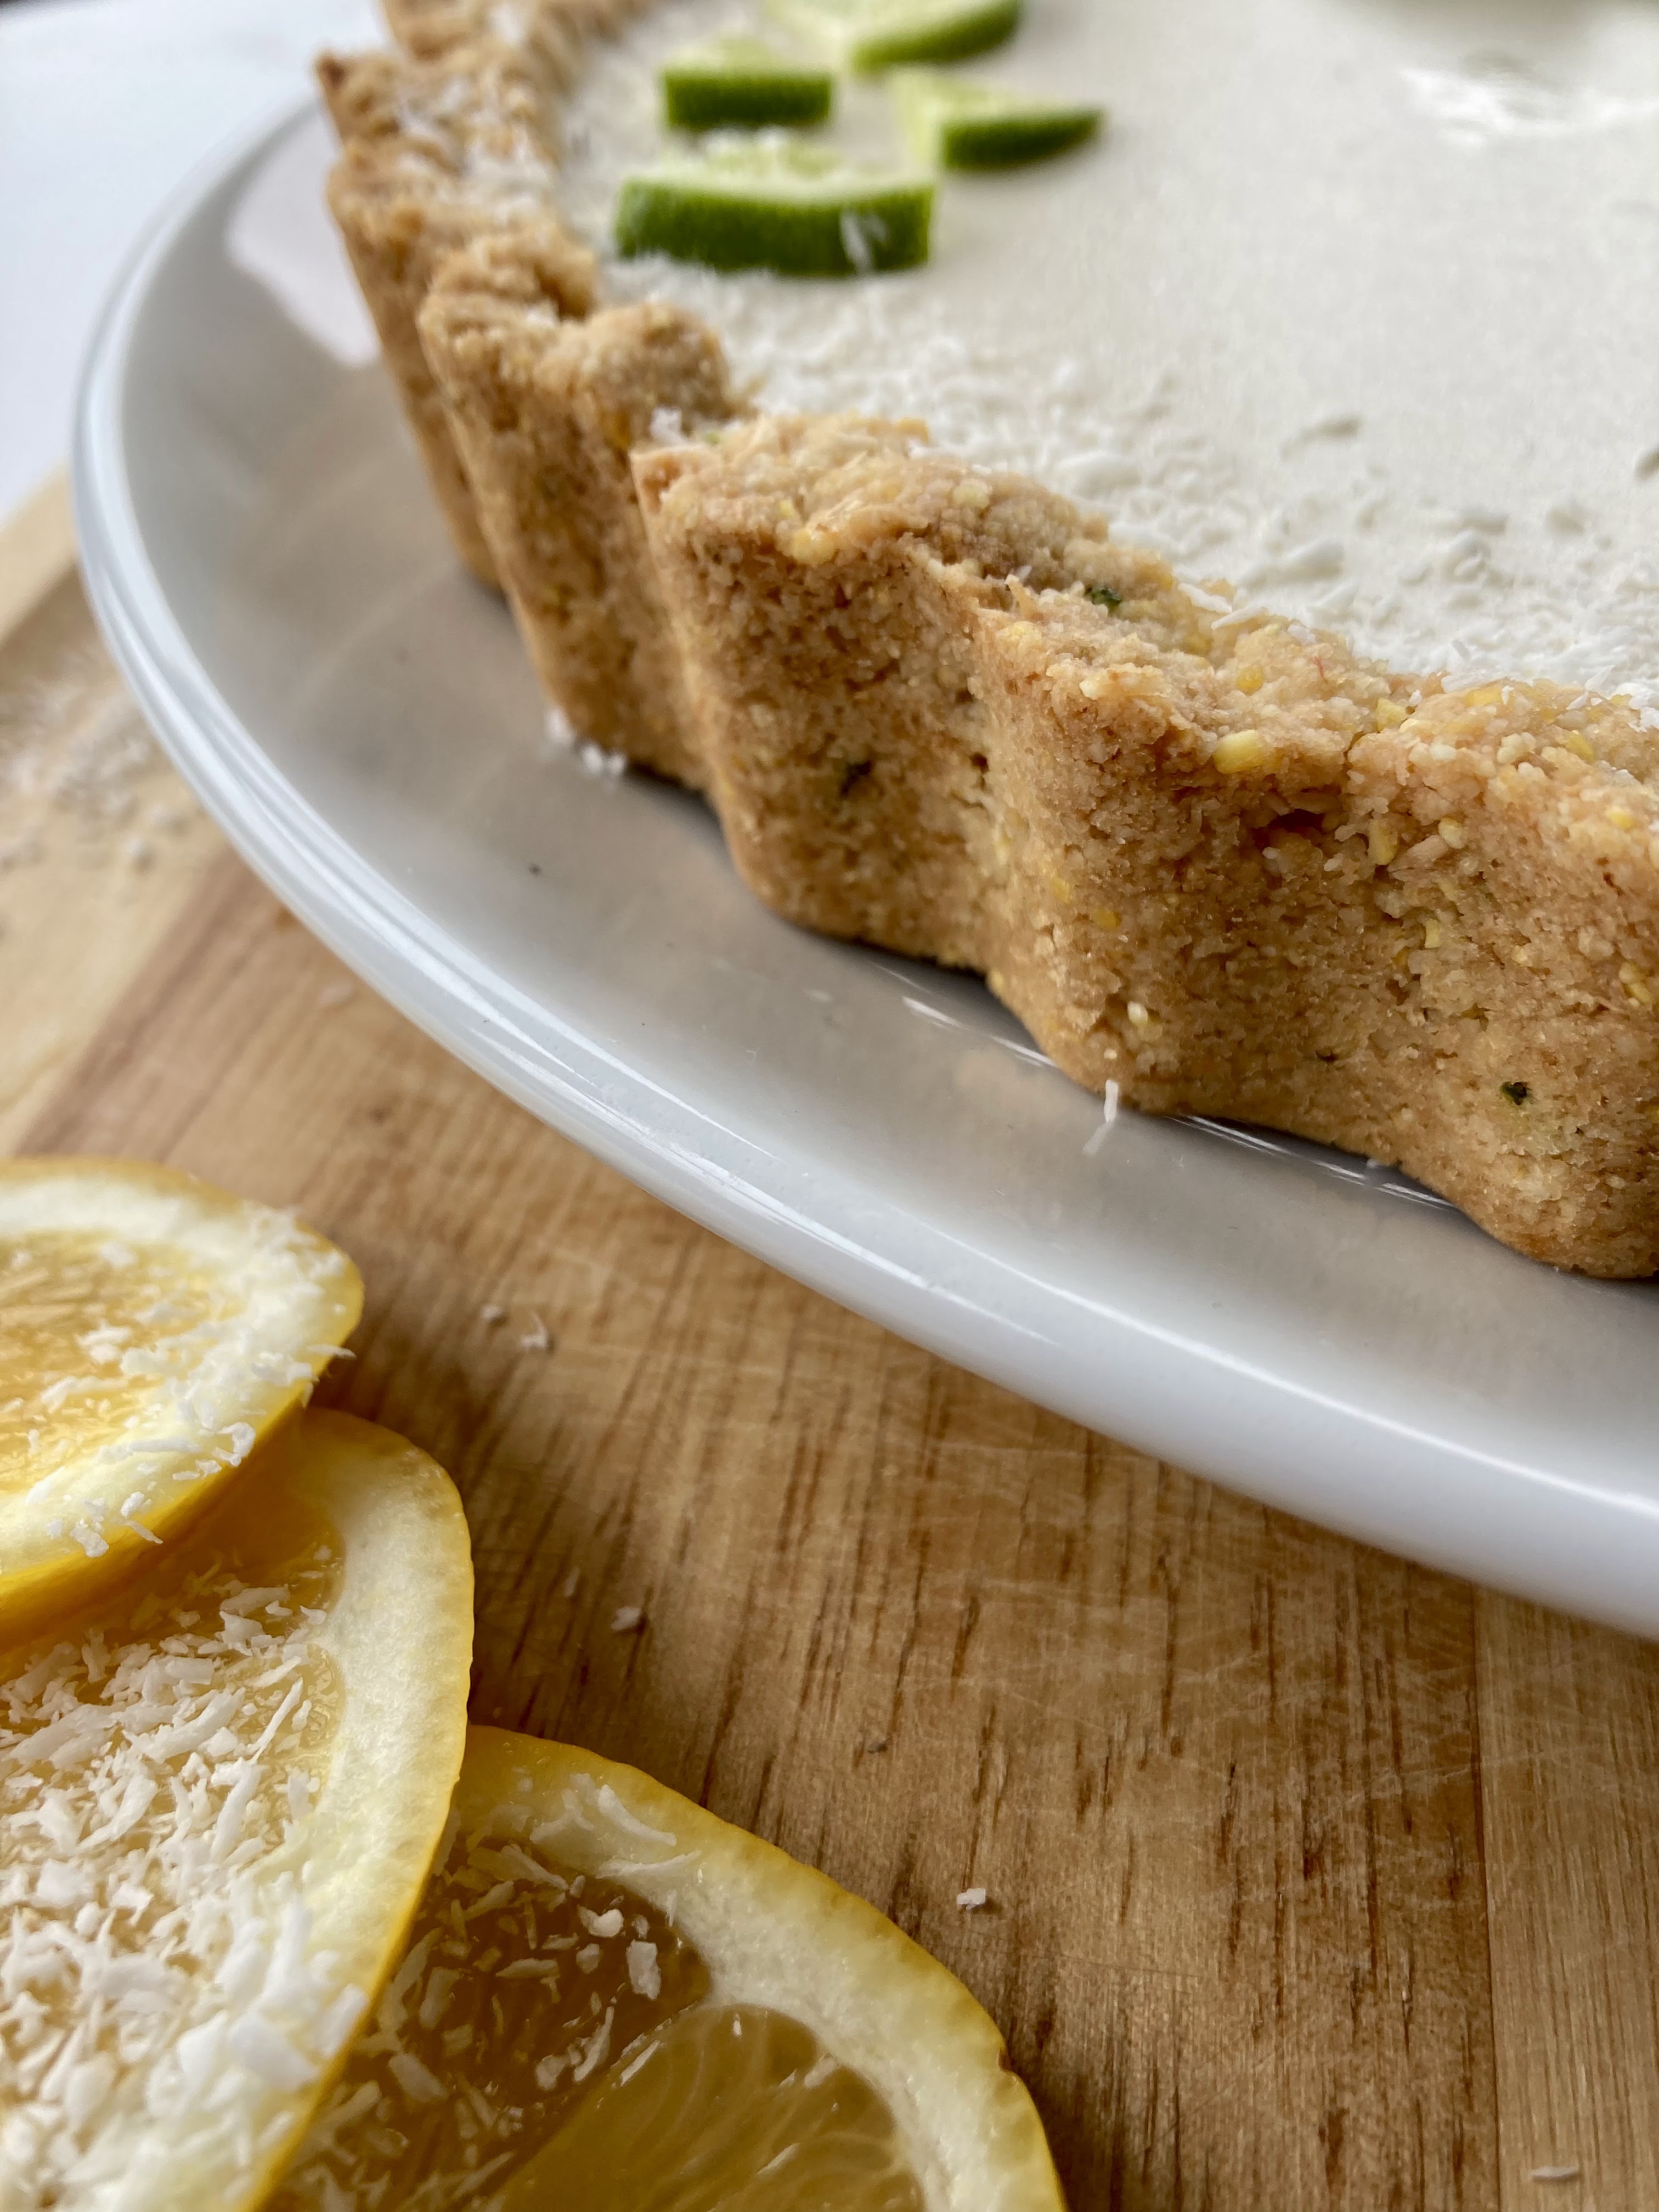
Also, it fits things like this when they need to chill (the old one didn’t, without basically removing everything else from it… slightly problematic as you can imagine). My new place is definitely feeling more like home these days – I have been here exactly a month! Hard to believe. New furniture comes next week too, so I have a bit of rearranging to do this weekend.

Realized I hadn’t made a panna cotta in ages and I miss them – I got to make one for our camp director working weekend a week ago, but one just wasn’t enough. Besides, C requested citrus and it works so well in them.

sun photobomb from a run a few weeks ago

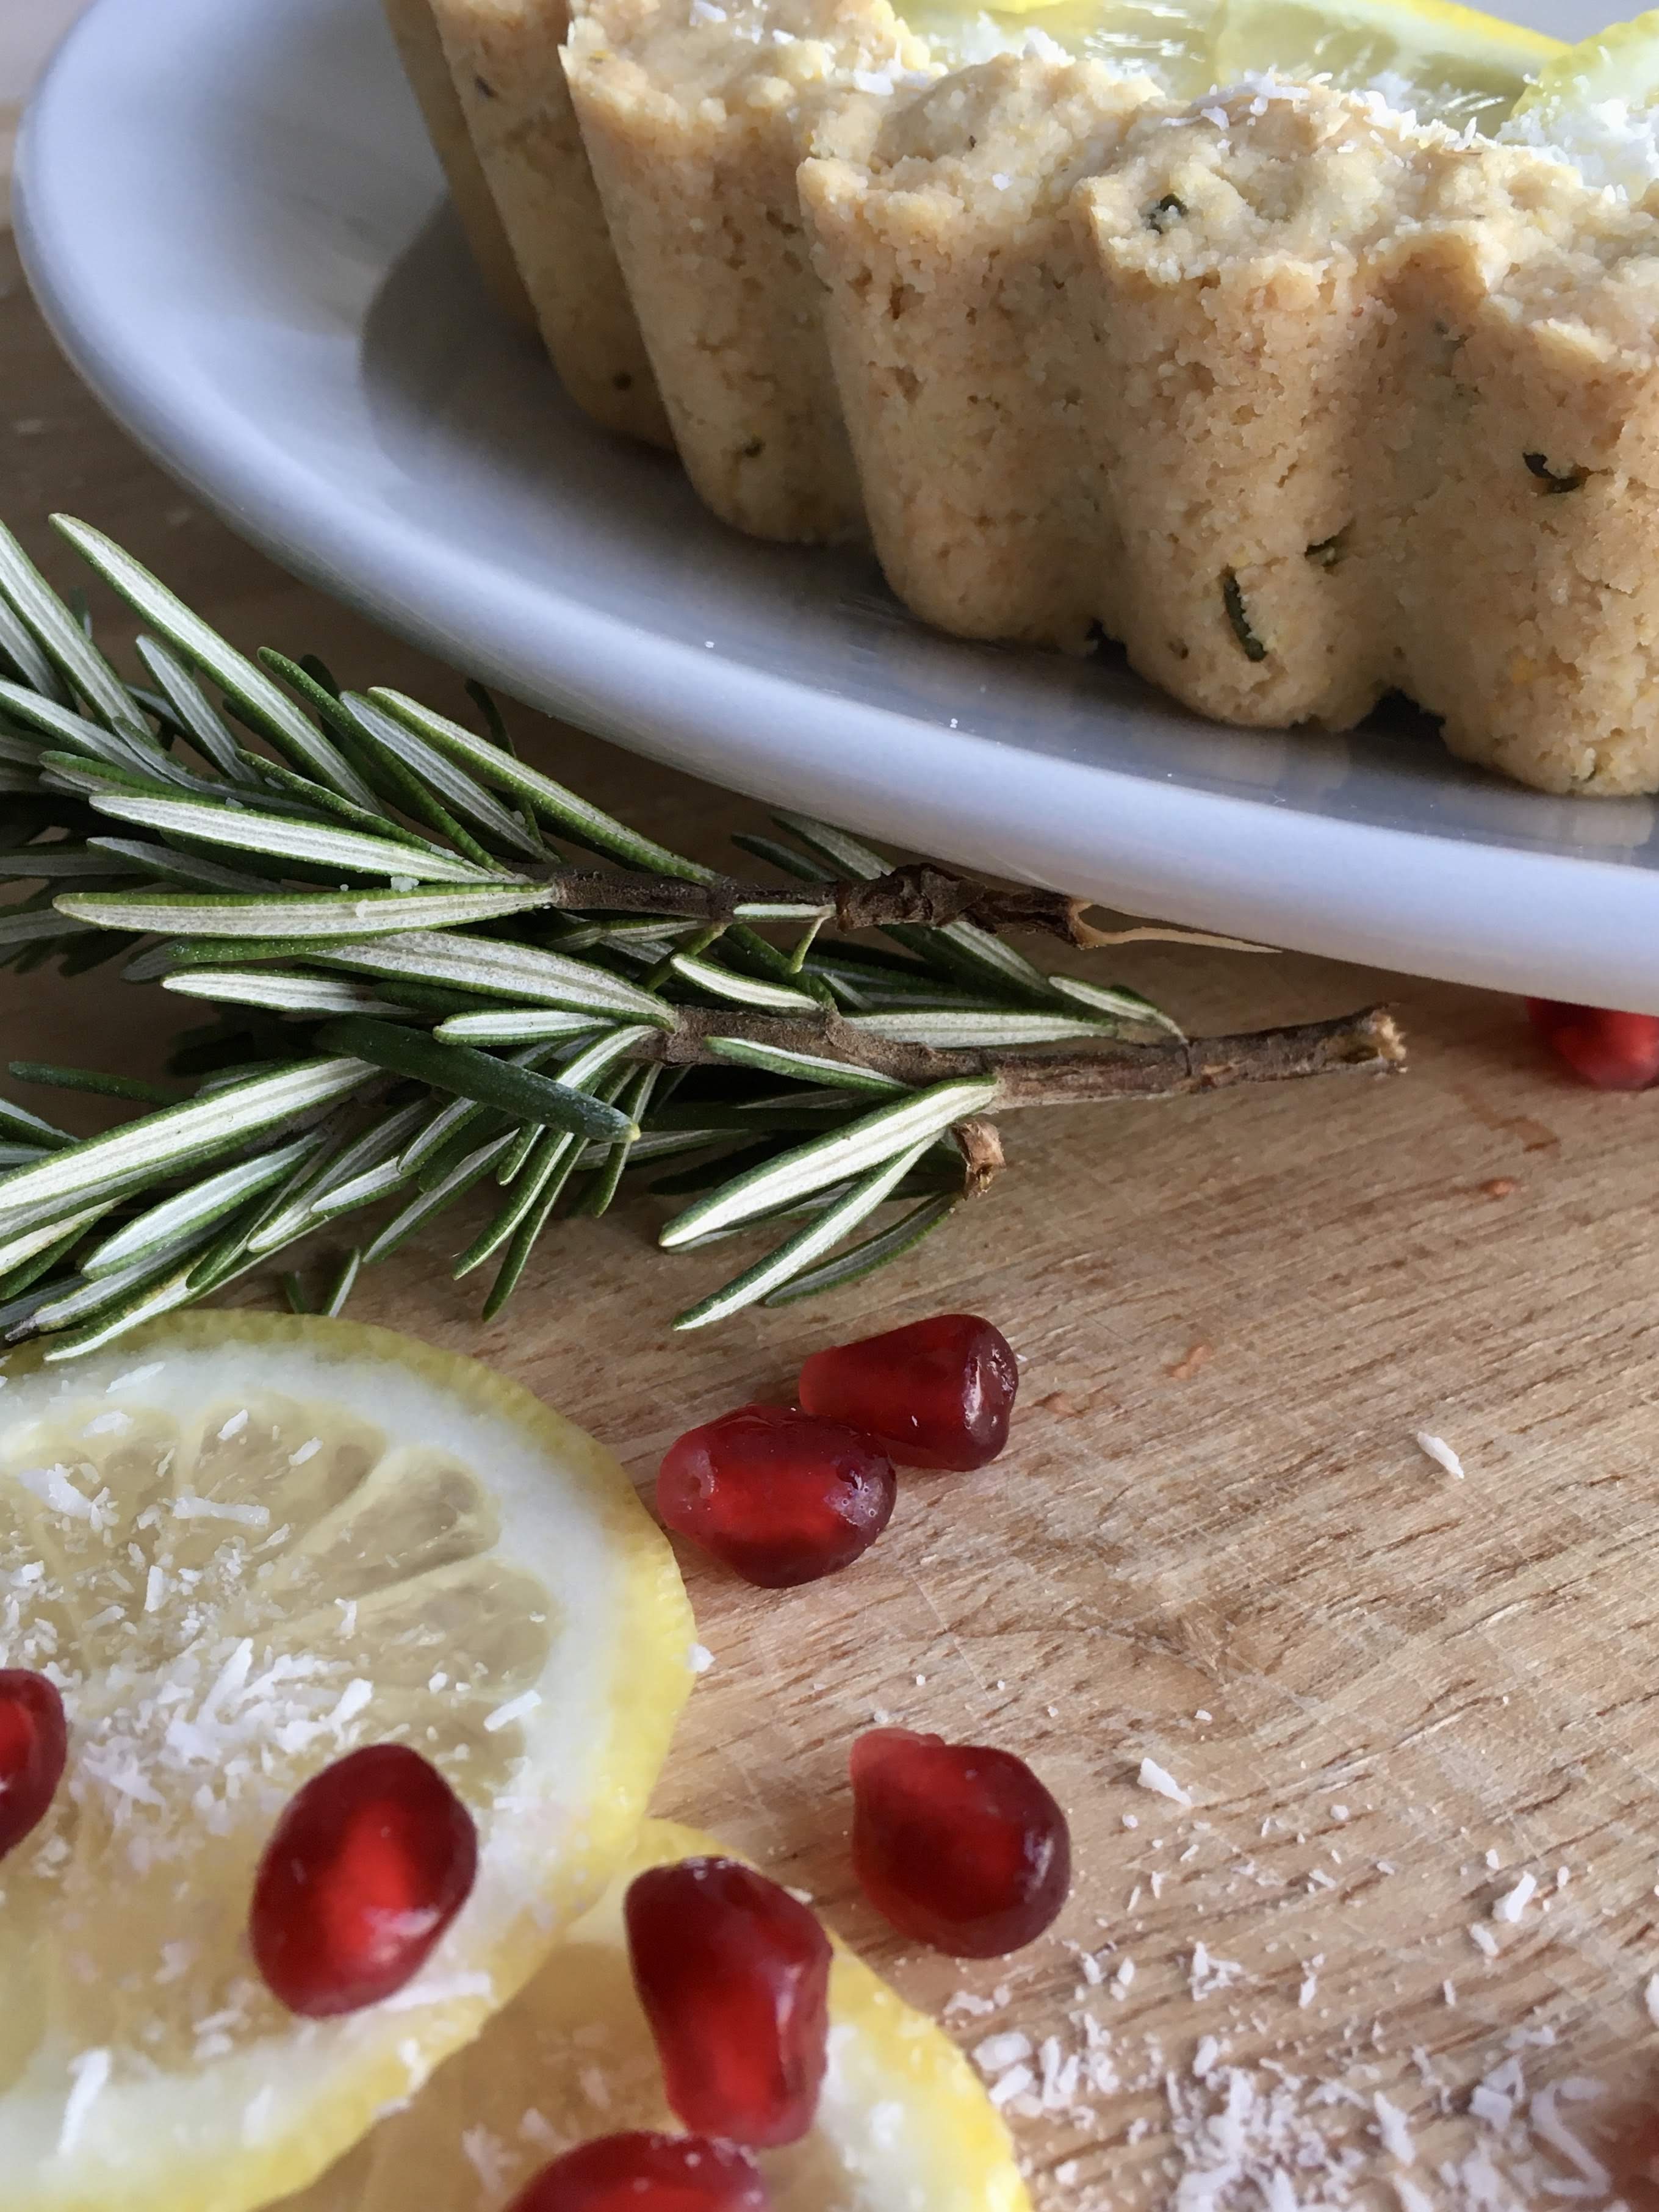
I decided to put it both in the crust and the panna cotta itself – definitely will be doing this again, it’s delicious! Not sure why I’ve never really put citrus zest into this crust but I’m glad I fixed that. Meyer lemons are still easily found around here too, so I’m trying to take advantage when I can.

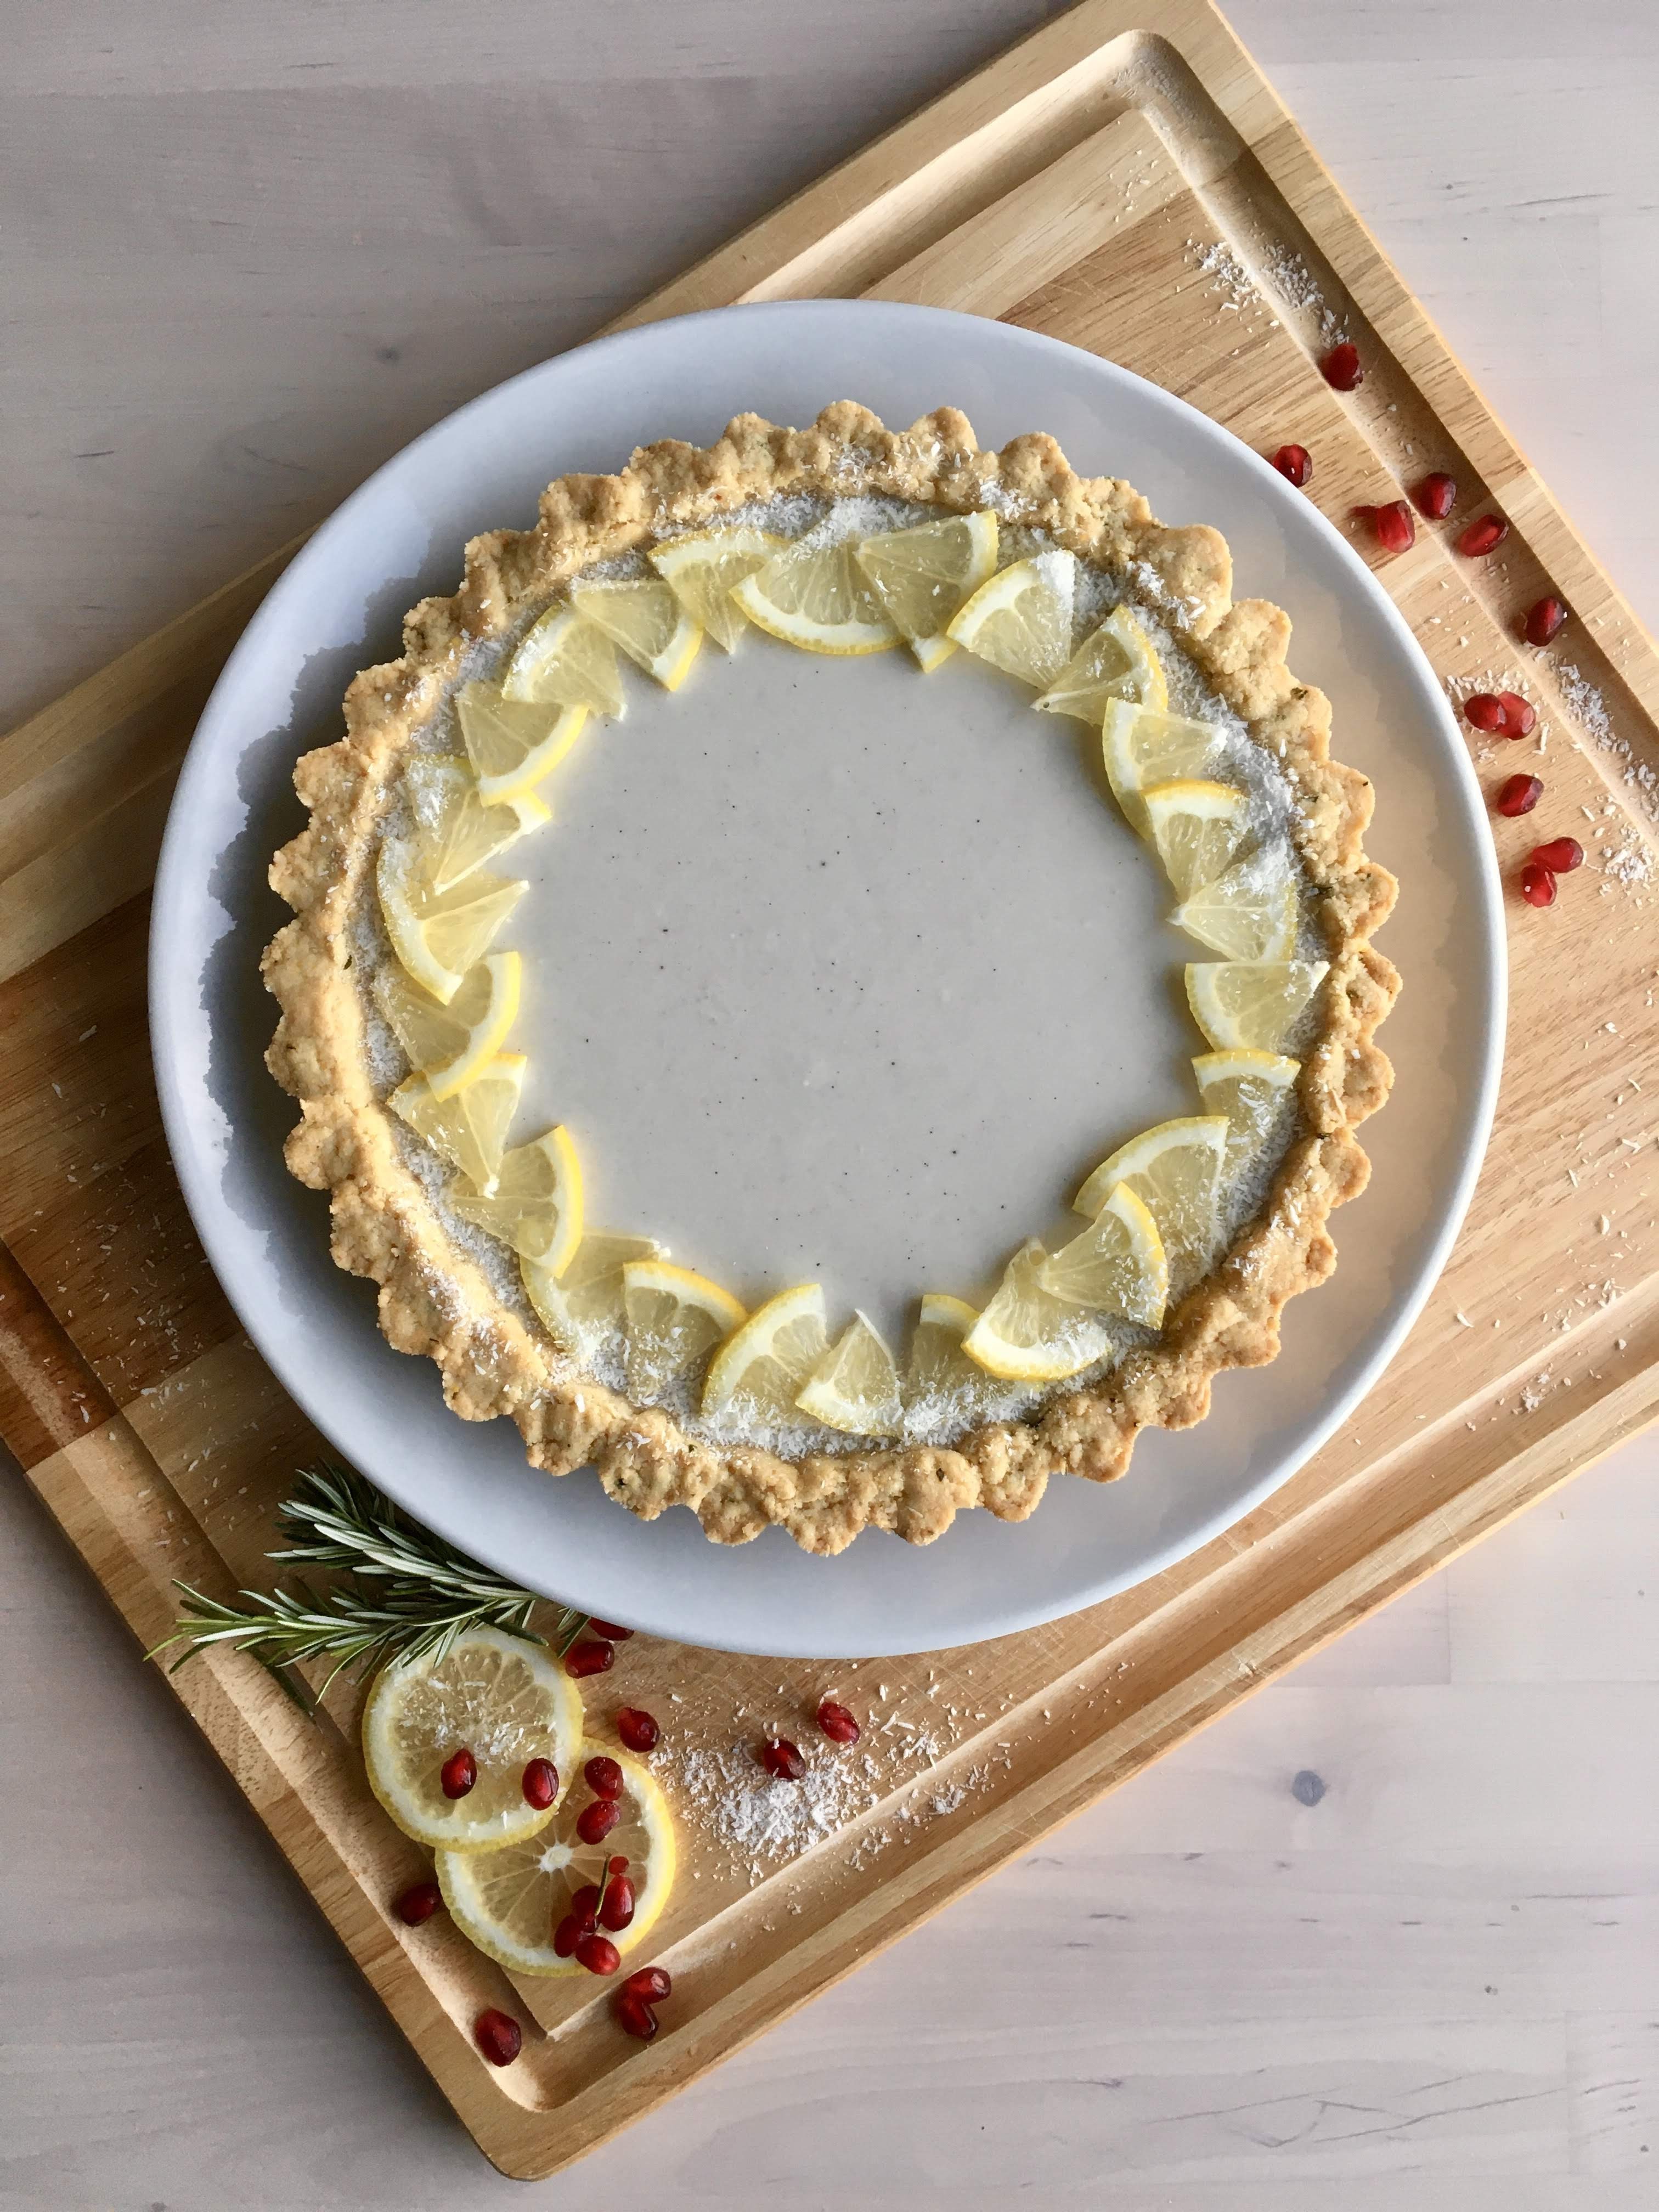
This tart is gluten free, dairy free and refined sugar free – lightly sweet and definitely citrusy. There is chocolate too, but just a little – I didn’t want it to overpower the lemon in the panna cotta or the lime in the crust. The crust reminds me of a shortbread in its flavor; the whole thing goes well with vanilla ice cream or flies solo and shines when sliced into pretty wedges.

Happy weekending!

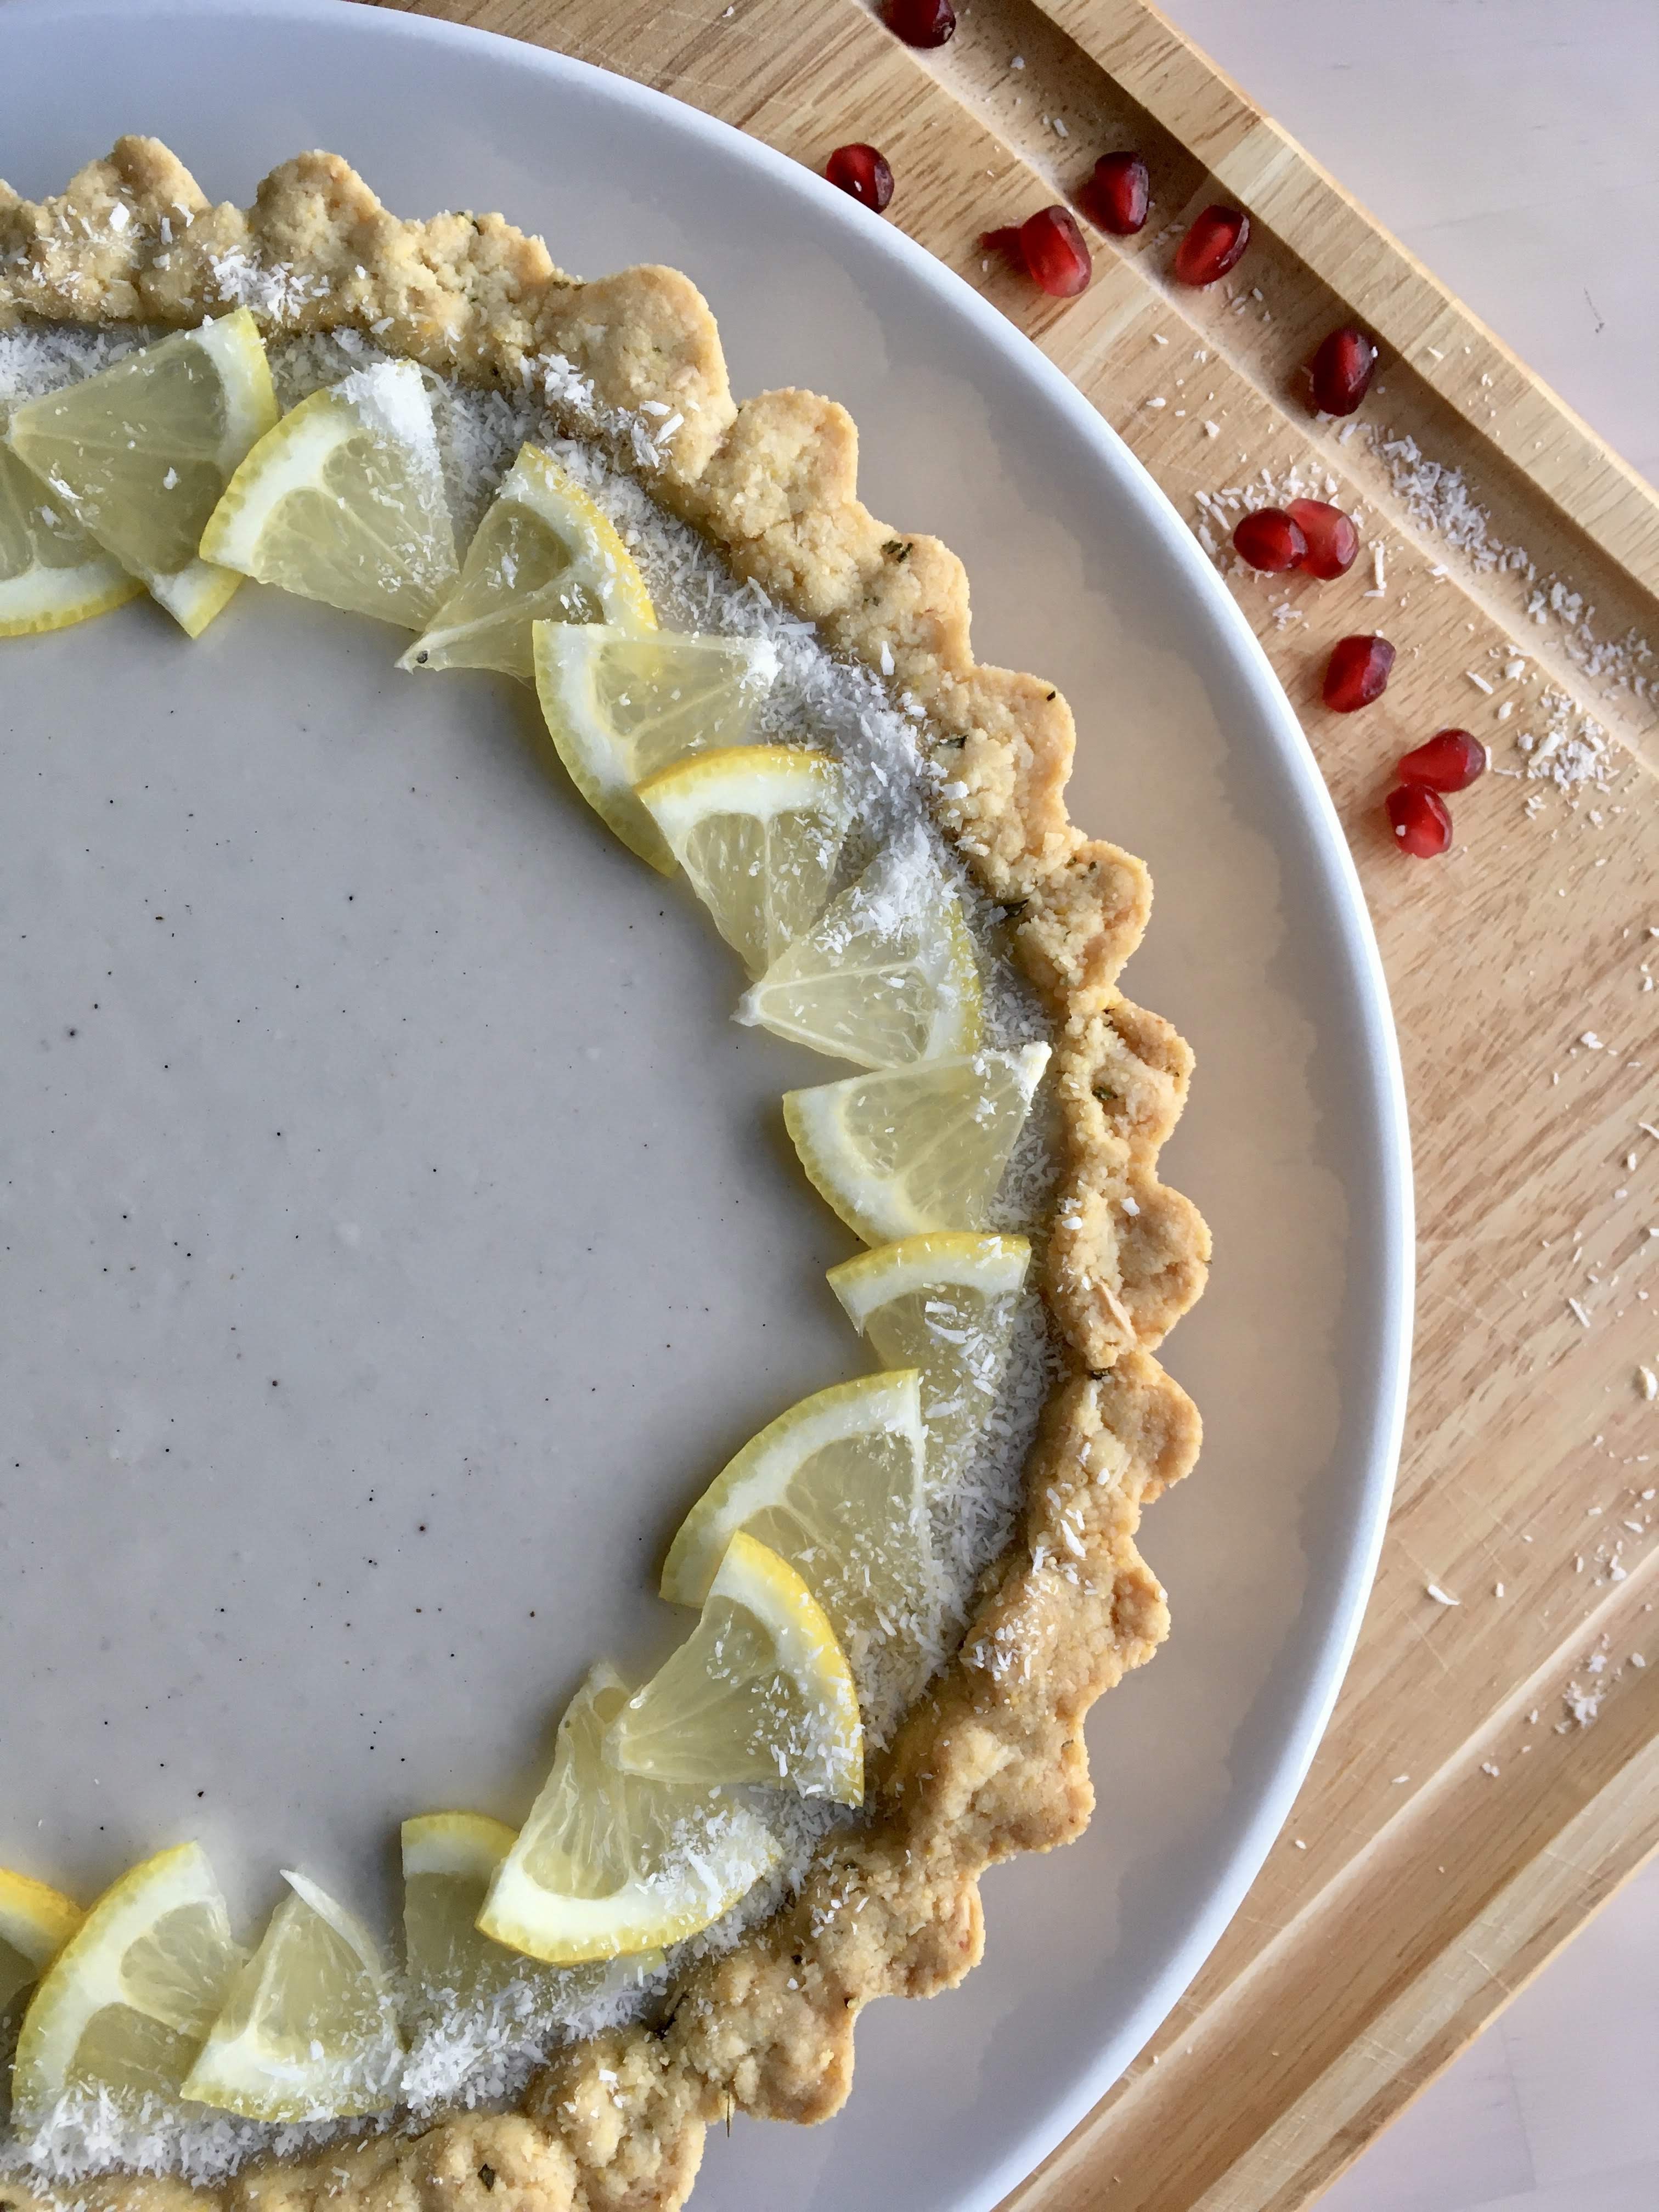
Meyer Lemon Panna Cotta Tart on an Almond, Lime and Chocolate Crust

Gluten free, refined sugar free, and dairy free. Yield: 1 9″ tart, serves several. A Wait are those Cookies original.

For the crust:

1.5 c almond flour
1/3c unsweetened shredded coconut
1/3c cornmeal
heaping 1/4 tsp sea salt
1/2 tsp baking soda
zest & juice of two small limes
2 tsp vanilla extract
1/4 tsp almond extract
2 tbsp pure maple syrup
6 tbsp coconut oil, melted
2 tbsp dark chocolate

In a large bowl, stir together almond flour, shredded coconut, cornmeal, sea salt, and baking soda. Add in lime zest and juice, vanilla extract, maple, and melted coconut oil, and stir until completely combined. The dough will look crumbly, but you’ll be able to press it together with your fingers.

Preheat the oven to 350, and lightly grease a 9″ tart pan (w/ removable bottom) with coconut oil. Press the crust into the plate and up the sides with a spoon or your fingers, creating a smooth edge (or not, your call!). Poke the bottom with a fork a few times, and bake for 15 minutes. Remove from the oven and set aside. Once the crust is out, melt the dark chocolate in a double boiler or the microwave until smooth, stirring frequently. Spread a thin layer over the bottom of the crust. Let the whole thing cool to room temperature – once it’s cool, chill it in the fridge until needed.

For the Panna Cotta:
1 package unflavored powdered gelatin
1 can (14oz) full-fat coconut milk
1 tbsp vanilla bean paste
zest of 2 meyer lemons
2 tbsp maple syrup
Scant 1/4 tsp sea salt
1/2 c lemon juice, divided and chilled

In a small bowl, sprinkle the gelatin over 1/4 cup of the cold lemon juice. Let stand without stirring until the gelatin is moistened, about 10 minutes.

Pour the coconut milk into a small saucepan. Add remaining 1/4 c lemon juice, lemon zest, maple, vanilla, and salt. Bring to a simmer over medium heat, stirring frequently. Remove from heat, strain to remove lemon zest pieces (if they’re large; I use a microplane so often I will just leave them in), and whisk in the gelatin mixture. Whisk until completely dissolved, about 3 minutes. Cool until lukewarm – it should not be starting to set yet. Pour the panna cotta mixture into the cooled tart shell. Place in the refrigerator until set, approximately 4 hours or preferably overnight.

Top with whatever pretty things your heart desires! Serve cold out of the fridge. Store any leftovers covered in the fridge as well.

Sunny Citrus Bars and a Queen Anne Edwardian

Hi friends!

It’s been a minute and feels like an AGE since so much has happened since I posted last. Also. All of these photos look blurry to me and I can’t figure out why wordpress isn’t playing nice…. sorry about that. It’s not your eyes, I promise.

There is so much going on in the world right now… I’m going to take a minute to acknowledge that, but also choose to keep this space for life news and desserts only. I know we are all affected by global events, but sometimes you need to preserve a sunny little corner of the internet.

That being said – I have meyer lemon and lime bars for you today: these feel like a sunbeam incarnated into food form. A bit late in posting on account of a busy weekend (much needed friend & c’s fam time) but these bars were DELICIOUS so I wanted to make sure they made it on here. Not to mention, they’re the first real baked thing I’ve made in this kitchen, aside from cookies (those don’t count, I make them allll the time).

My new oven and I are still getting acquainted, but I think we’re getting there (and I also think my new oven thermometer is lying to me)… my oven is a bit funky, just like the grand dame of a Queen Anne Edwardian that I moved into. She’s a high ceilinged, mildly drafty beauty with a round turret, bay windows, original floors and gingerbready molding – and used to be a boarding house in the early 1900s!

Started the year before the 1906 earthquake, finished the year after. I am LOVING my new space, though admittedly having growing pains – what on earth do I do with this much space, I’m only one person?! I doubled my square footage after having lived in a studio for a loooot of years…. this feels enormous, but I’m getting used to it. New furniture helps too ;)

I’ll post some pictures one aforementioned furniture actually arrives – but for now a few little vignettes of my jungle deco (yes, that is an extremely accurate name for my aesthetic) beauty.

original rolled glass!

Okay okay back to the bars. Gluten free, refined sugar free and dairy free – easily grain free too, if need be (swap the cornmeal for an equal amount of almond flour, and use tapioca instead of cornstarch). A perfect dessert for this time of year when it seems like citrus is the only fruit that is really shining. Highly suggest the meyer lemon + lime pairing, though all lime or all meyer lemon (or regular lemon) would also be just fine.

Sending happy, sunny citrus vibes from my kitchen to yours!

+ plant. obviously.

Meyer Lemon and Lime Bars with a Hazelnut Crust

Tart, citrusy and nutty – a perfect dessert or snack. Gluten free, refined sugar free and dairy free. A Wait are those Cookies original. Yield: 1 9″ pan – serves several.

For the crust:

1.5 c almond flour (packed)
1/4 c unsweetened shredded coconut
1/2 c cornmeal
1/3 c hazelnuts, finely chopped
heaping 1/4 tsp sea salt
1/2 tsp baking soda
2 tsp vanilla extract
2 tbsp pure maple syrup
6 tbsp coconut oil, melted

Preheat the oven to 350, and lightly grease a tart pan with coconut oil. I use a 9″ tart pan with a removable bottom, but a deep pie dish or a square 9×9 would also work. You’ll be pouring the filling directly into the hot crust, so plan accordingly.

In a large bowl, stir together almond flour, shredded coconut, cornmeal, chopped hazelnuts, sea salt, and baking soda. Add in vanilla, maple, and melted coconut oil, and stir until completely combined. The dough will look crumbly, but you’ll be able to press it together with your fingers. Press the crust into the plate and up the sides with a spoon or your fingers, creating a smooth edge. Poke the bottom with a fork a few times, and bake for 15 minutes. Remove from oven and lower the oven temp to 325.

For the lemon bar filling:

4 eggs
2/3 fresh citrus juice (I used 6 small meyer lemons + 1 large lime)
1-2 tbsp citrus zest*
1/3 c maple syrup
1 tsp vanilla
2 tbsp cornstarch (or tapioca starch)

*I zested all of my small meyers and half the lime since it was so big. I’d just zest all the citrus you use – waste not, want not! I had just shy of 2 tbsp

While the crust is baking, make the filling. In a large bowl, quickly whisk together eggs, citrus juice and zest, maple, and vanilla until the egg is fully incorporated – there shouldn’t be much (if any) white visible. Whisk in the cornstarch until fully combined. Pour the filling into the hot crust, and stick it back in the oven for 20-25 minutes. The filling should be set; no jiggle when you shake it. Remove and let cool completely before slicing – ideally, chill it for few hours before serving. Leftovers keep well overnight, refrigerated.

Citrus Saturday

More citrus!

Couldn’t resist; I haven’t made a citrus curd in a bit, and I love using blood oranges while I can get them in season. Plus, C’s meyer lemon tree has been producing again so I figured I’d take advantage.

This is one of those desserts that looks and sounds fancy and intimidating, but it’s not! Break it down into its component parts and it’s pretty straightforward. It’s also grain & gluten free, plus of course refined sugar free – and actually, there is only 1/4c of maple in the whole thing! It’s perfect for those of us who like our desserts on the tart side of sweet, ha. The crust is actually naturally sweet from the almond flour though anyway, so it really balances out the citrus curd.

I took a field trip out to visit Goldie today – Karl wouldn’t come out to play but Goldie and I played hide and seek for awhile while I hiked the bluffs to batteries trail. All told, it was 7mi from the Lincoln steps > coastal trail > Baker Beach > bluffs to batteries > bay area ridge trail (presidio) > home, about two hours and a beautiful day.

hi Goldie!

Swam most days than not this week (see photo evidence), found some really pretty blooming things & watched a few gorgeous sunsets (yay western exposure from my apartment! amazing at all times except when it’s hot)

YES I wear a wetsuit, the water is currently 52 degrees so, yes.

Also, of course – I made a tart! Citrusy and nutty and delicious. Highly recommend, while we’re still in blood orange season (at least out here on the West coast/best coast.)

Happy weekending! Go get outside :)

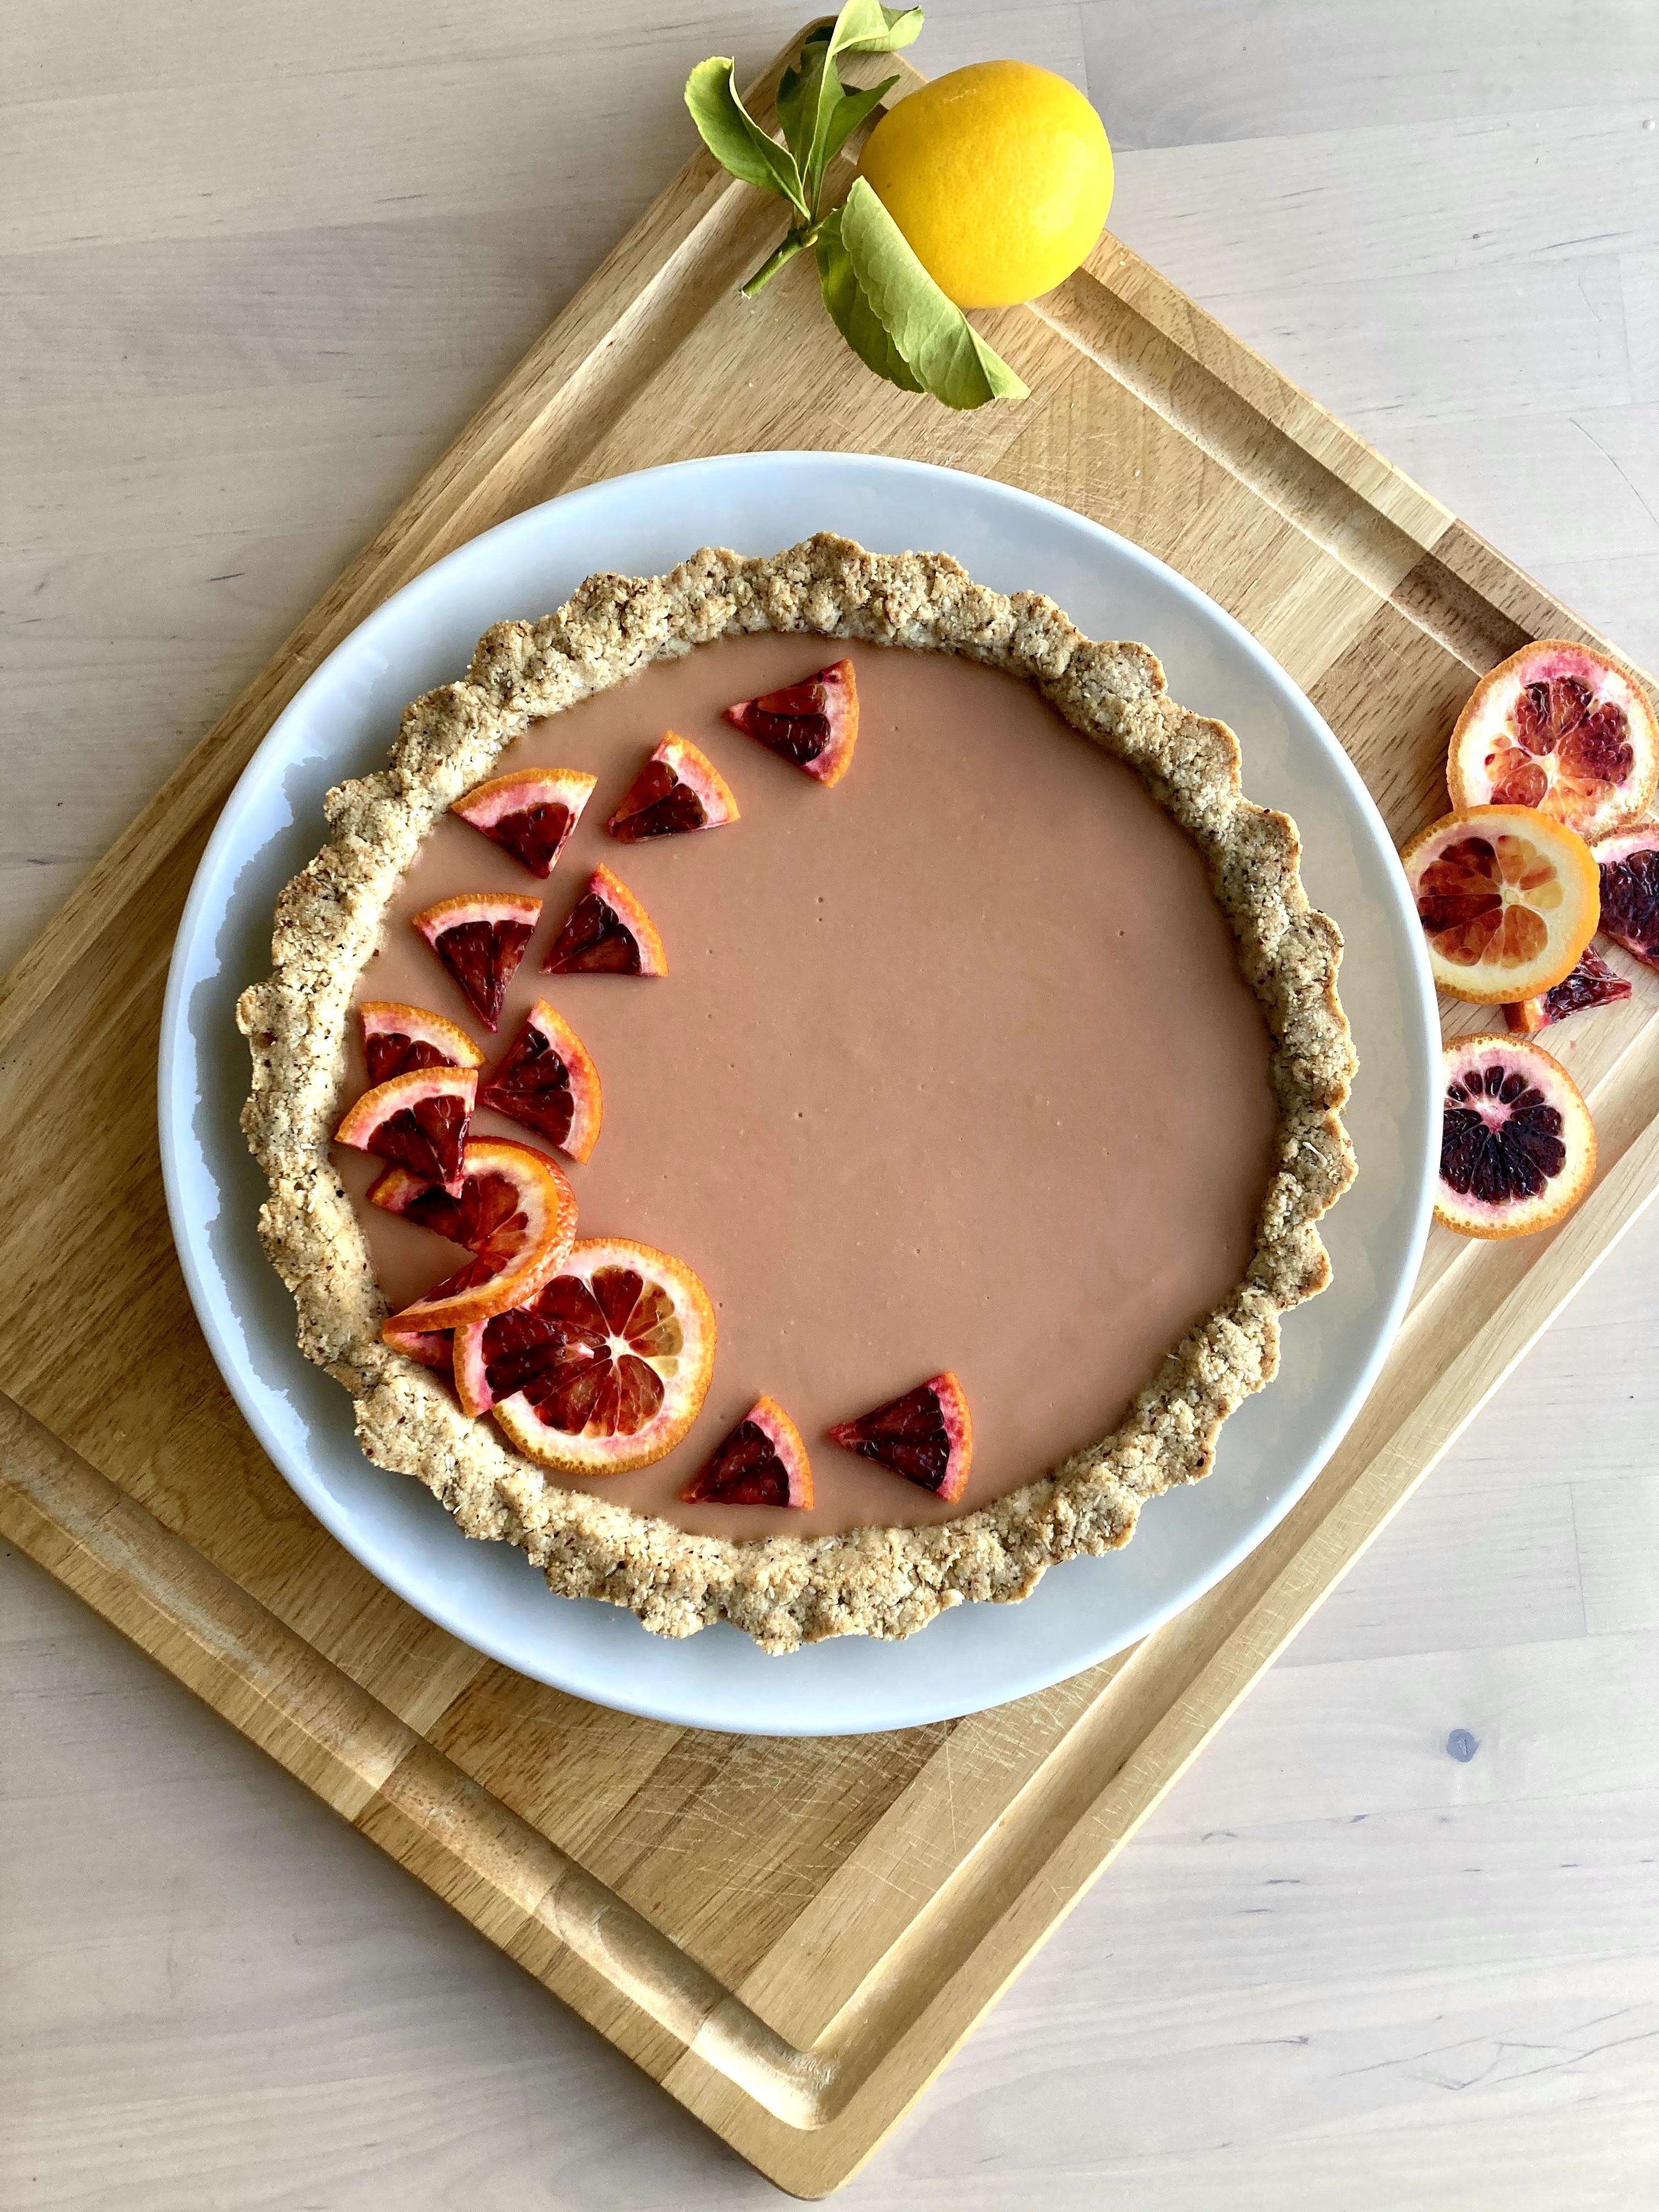
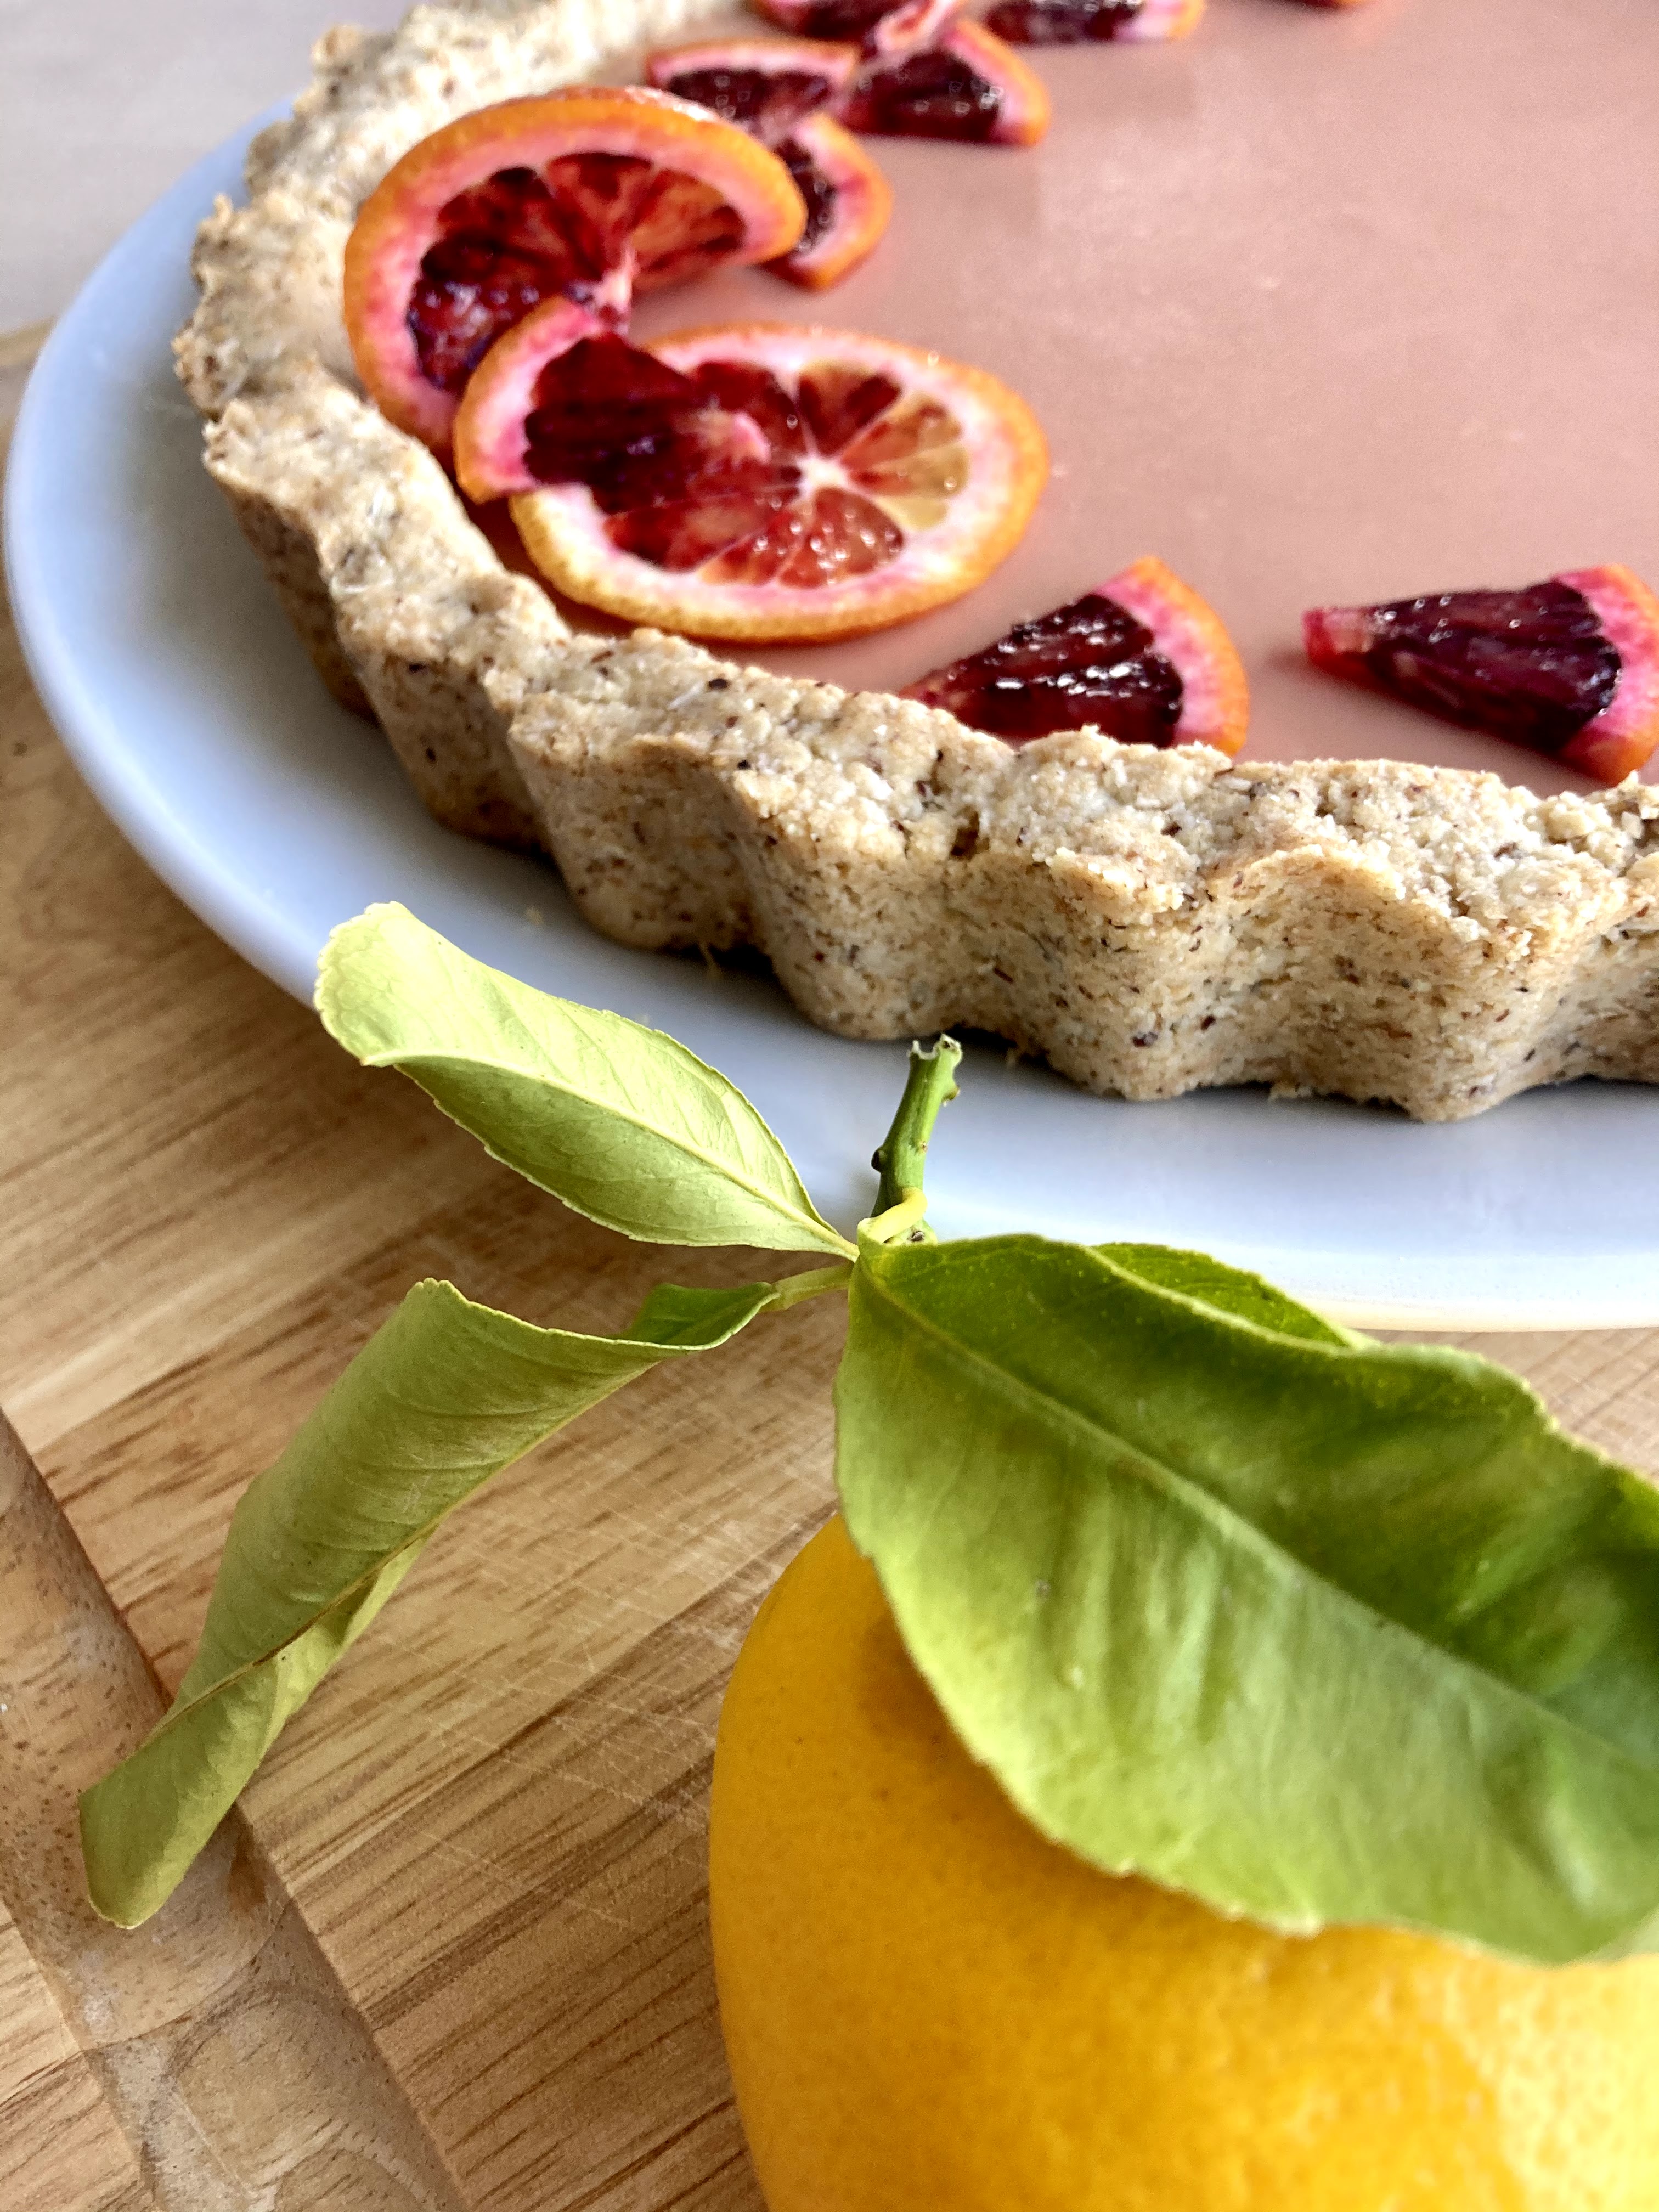
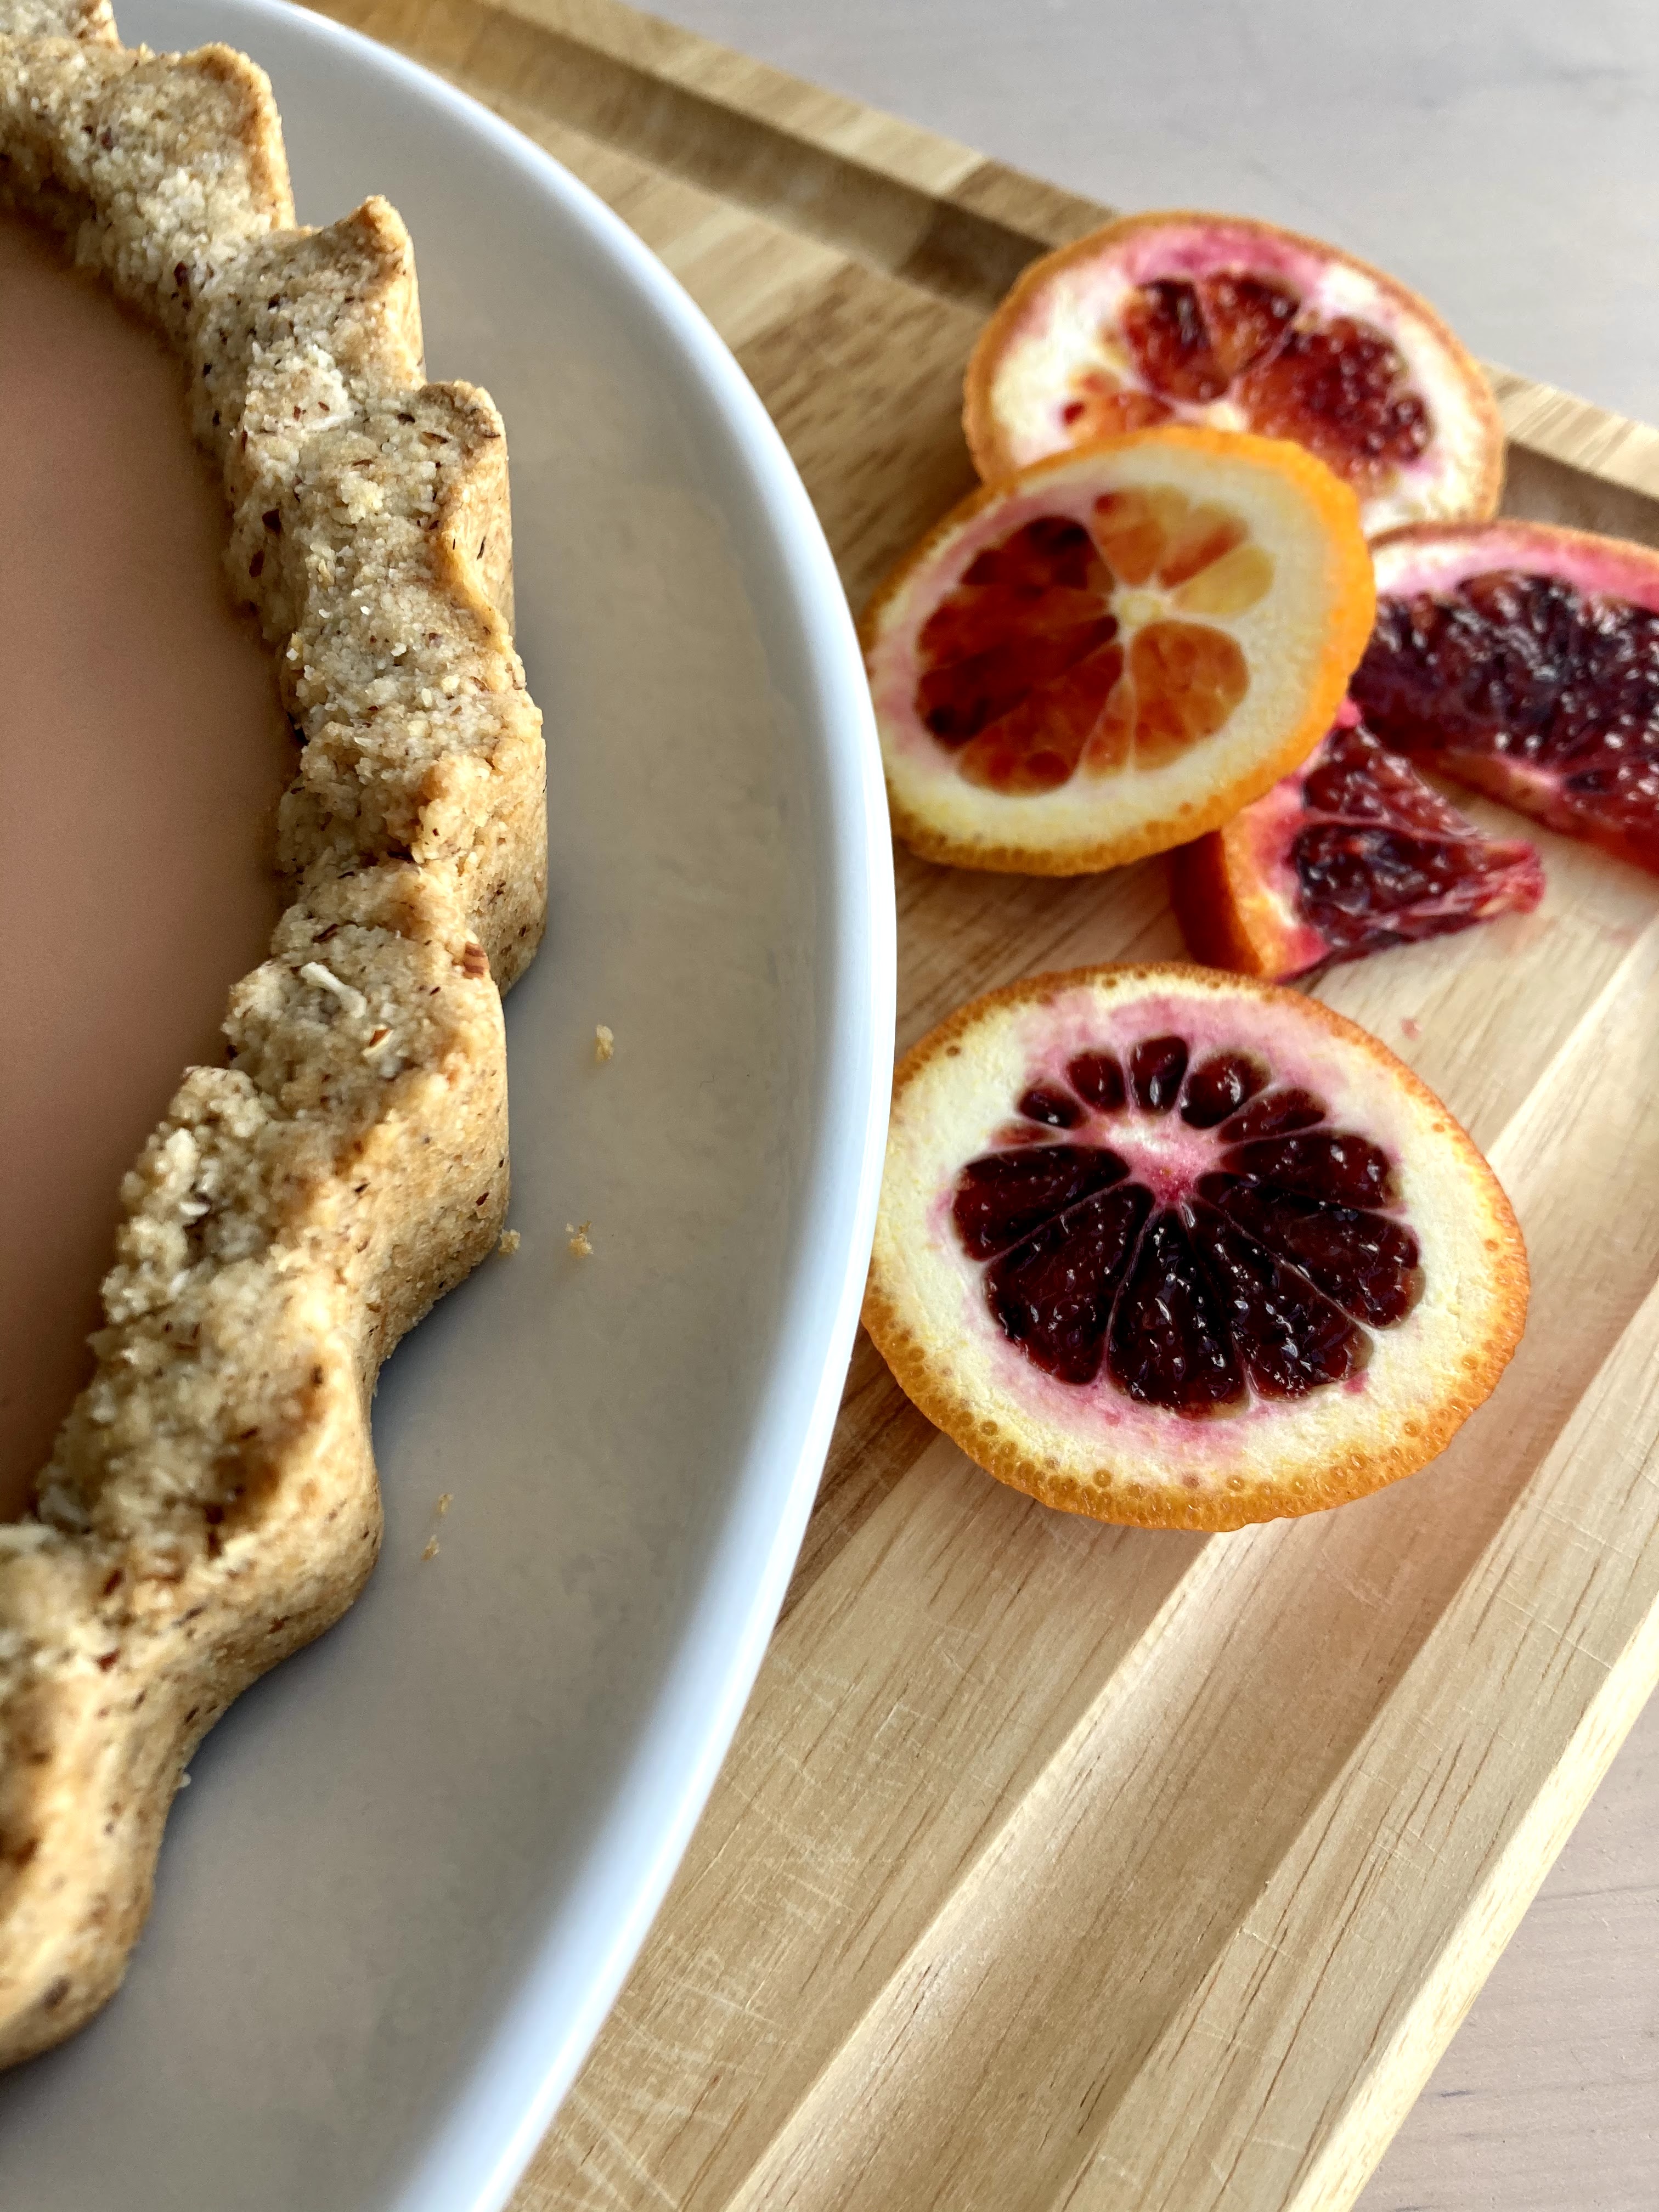
Blood Orange & Meyer Lemon Tart on a Hazelnut Almond Crust

Gluten & grain free; refined sugar free. I included a couple of options for the order of making this, so read through the whole thing before you get started :) A Wait are those Cookies original. Yield: 1 9″ tart; serves several.

I stabilized the curd for this tart with gelatin, as I was after the texture of a panna cotta more than a softer curd tart for slicing and serving. I’m including an option for a baked tart, if you’d prefer to avoid gelatin or are out.

For tart assembly:

~1c of blood orange & meyer lemon curd, recipe below (I use all of what the recipe makes for a 9″ tart)
1 tart shell, recipe below
1/4 c cold meyer lemon juice (I used two lemons)
1 packet powdered gelatin
1 blood orange, sliced

I suggest making the crust first and letting it cool. Once it’s cooling, start the curd – then just adding the softened gelatin into the already warm curd once the curd is finished cooking.

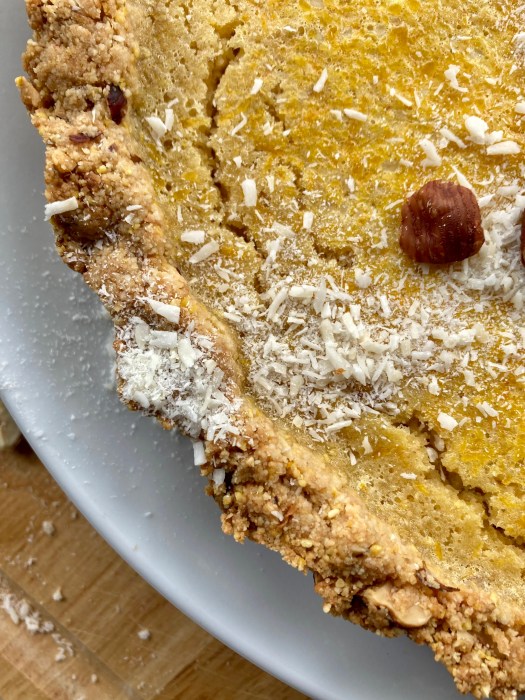
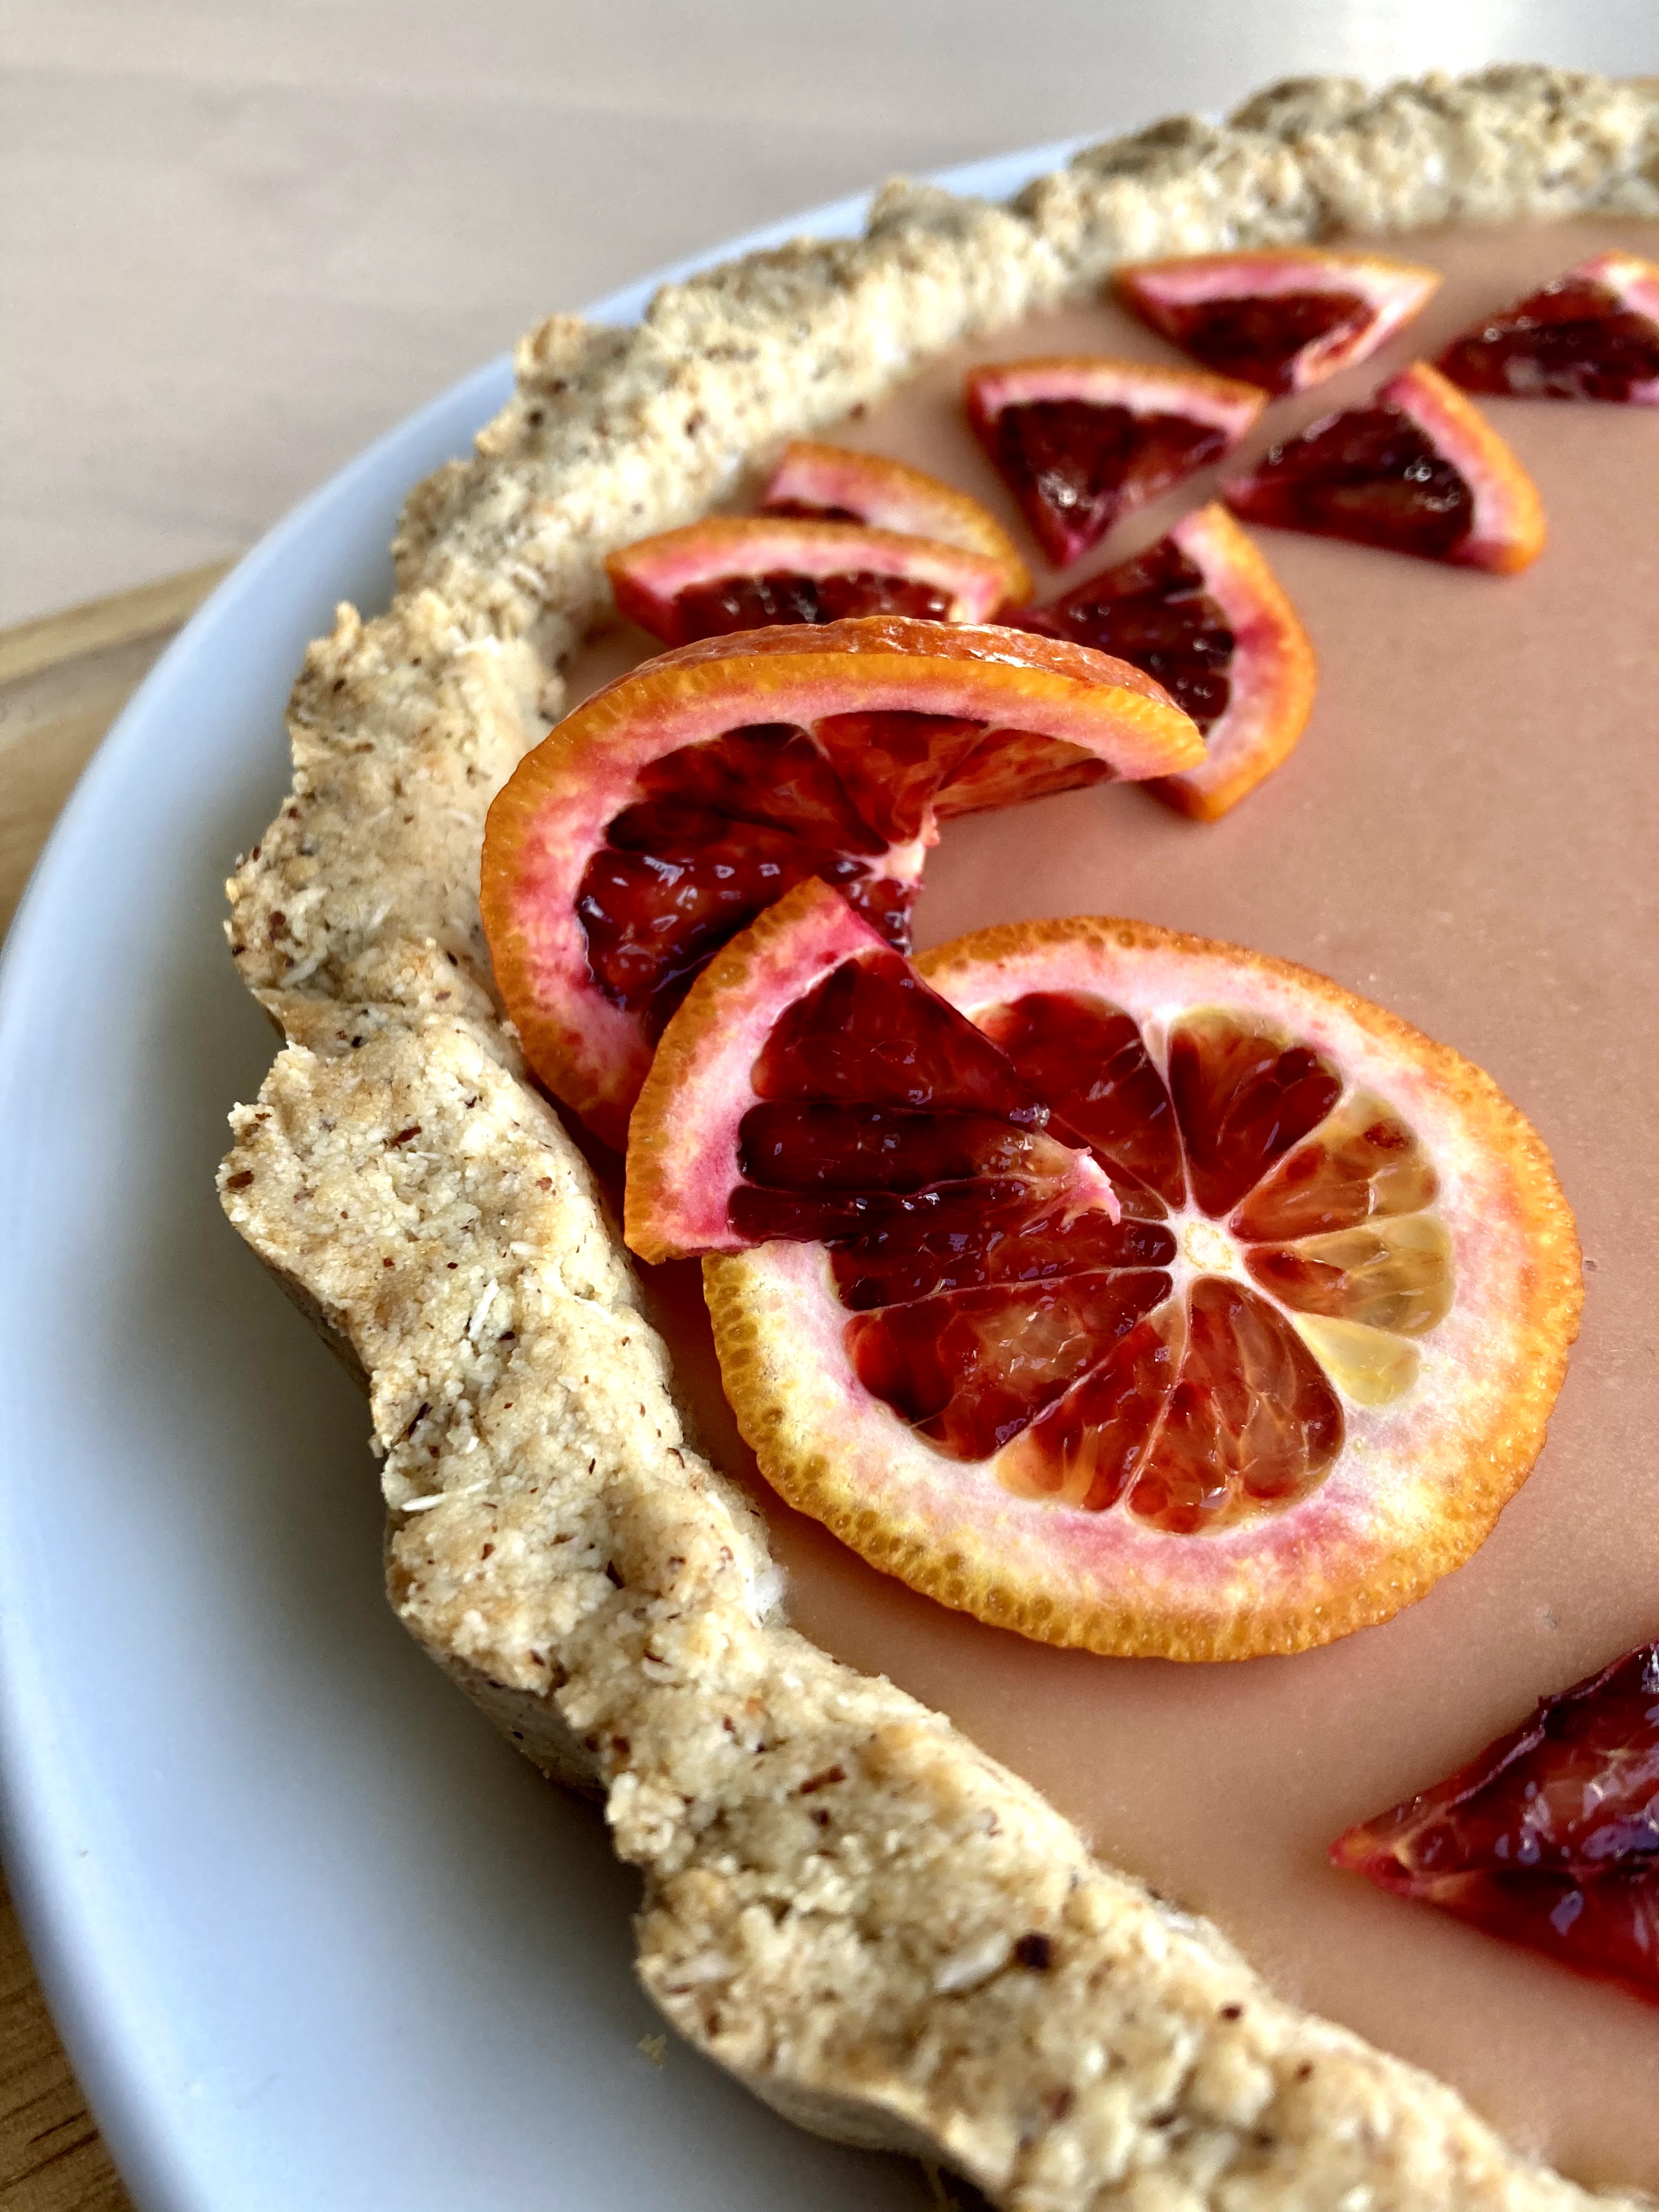
In a small bowl, sprinkle 1 packet of gelatin over 1/4c cold meyer lemon juice. Stir until incorporated and let sit for a minute. Once softened, stir into the warm curd, whisking until the gelatin is dissolved completely (give it 1-2 minutes of continuous whisking). Strain the curd through a fine metal strainer into a bowl to cool a bit, before pouring the curd into the baked crust shell and transferring to the fridge to cool completely – preferably overnight but at least 4 hours. Top with sliced blood oranges, etc. Store the tart in the fridge until serving. Leftovers keep well overnight, refrigerated.

If you prefer not to use gelatin, you can also set the curd by pouring it into the pre-baked tart shell, and baking the whole thing at 350 for 8-10 minutes, then letting cool completely and refrigerating for at least 4 hours before serving. I prefer the gelatin method with this curd since it will set completely – the baked version might have more wobble / lose some structural integrity when sliced, but it’s a pretty solid second option & is definitely still delicious.

Blood Orange & Meyer Lemon Curd:

3 whole eggs
2 egg yolks
1/2 c blood orange + meyer lemon juice (I used 2 blood oranges + 1 large lemon)
zest of 2 blood oranges
zest of 1 meyer lemon
pinch of sea salt
2 tbsp maple syrup
4 tbsp butter, unsalted
1 tsp vanilla

I use a double boiler for this lemon curd, which I highly recommend! You don’t have to, but in my experience it makes for a better cooking process. Heat water in the bottom of the double boiler until it’s at a high simmer. In the top of the double boiler, whisk together eggs, egg yolks, citrus zest and juice, sea salt, and maple syrup. Add in the butter one tbsp at a time, whisking continuously, not adding the next tbsp until the first is completely melted. Whisk in vanilla. Cook, stirring constantly, until the curd thickens and will coat the back of a spoon (or your whisk leaves tracks) – usually around 5 to 8 minutes. It’s a noticeable change when it happens, so just watch the cooking magic! Remove from heat, and whisk in gelatin (see notes above); strain through a metal strainer to remove zest and any bits of cooked egg and let cool until room temp before pouring into the tart shell.

For the crust:

1.5 c almond flour
1/2 c hazelnut flour/meal
1/3 c unsweetened shredded coconut
heaping 1/4 tsp sea salt
1/2 tsp baking soda
2 tsp vanilla extract
1/2 tsp almond extract
2 tbsp pure maple syrup
6 tbsp coconut oil, melted

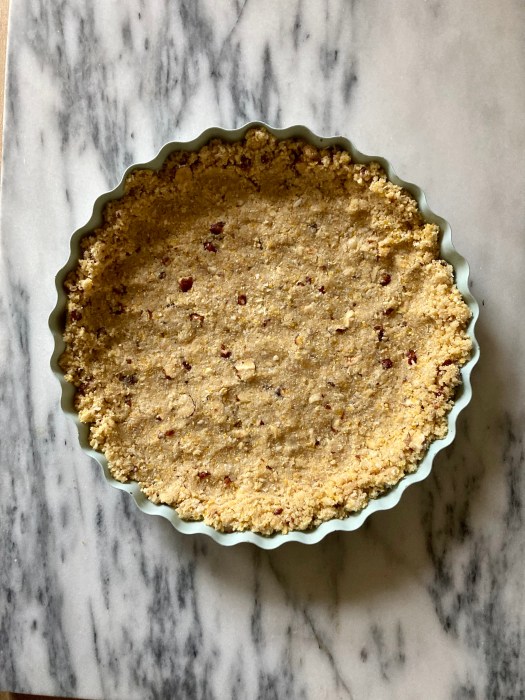
In a large bowl, stir together almond & hazelnut flours, shredded coconut, sea salt, and baking soda. Add in vanilla, almond extract, maple, and melted coconut oil, and stir until completely combined. The dough will look crumbly, but you’ll be able to press it together with your fingers.

Preheat the oven to 350, and lightly grease a 9″ tart pan (w/ removable bottom) with coconut oil. Press the crust into the plate and up the sides with a spoon or your fingers, creating a smooth edge (or not, your call!). Poke the bottom with a fork a few times, and bake for 15 minutes. Remove and let cool.

More citrus! Shocked? I thought not.

Wow jeez apparently all I make anymore are citrus galettes! We both love them, they’re fast and easy, and citrus is perfect right now.

This week was a little better on the autoimmune front. Not perfect by any stretch of the imagination, but at least better for the moment. I took a sanity break/mental health day on Thursday and C and I went up for a skiing day trip! Super fun, it felt so good to be back on skis. Haven’t done that much driving in a looooong time, but the Prius handled itself admirably in the snow AND a long fun day was followed by a faceplant into a carnitas burrito and a giant plate of nachos. Win win win all around.

I’ve also been swimming in the Bay lately! I LOVE IT. It’s very cold obviously – wet suit necessary – but omg. It feels so good. Maybe I’m just a freak of nature but I really like cold water. I’m not far from Aquatic Park either so it makes for a great lunchtime break.

very red little ice blocks pretending to be feet

I love living in the Bay for that reason: skiing one day, swimming in the bay the next. It is so worth the ridiculous rents… mental health > high rent, always!

hull breach!

But anyway. Back to the topic at hand: galette! Hopefully you’re not sick of seeing yet another iteration of citrus galette…. I swear they’re delicious. This one had a hull breach, as you can see… but I like when they’re less than perfect. I use a jam that is only fruit-sweetened, so this little guy is technically free of added sugars, wooo! It’s also full of whole grains. I posted the link to a gluten/grain free crust too, if needed – I love that one too, it comes together really easily in the food processor.

Happy weekend! I hope yours is full of outside time and sunshine.

Grapefruit, Blueberry & Hazelnut Galette

Refined sugar free and whole grain! If you need a grain and gluten free crust, I like this one. I used two small grapefruit for this – you might be able to get away with one large one and more blueberries. Lightly sweet and perfectly citrusy! Yield: 1 galette, serves several. A Wait are Those Cookies original.

for the crust:

1 c whole wheat flour
1/2 c cornmeal
1/4 c hazelnut flour
1/2 tsp sea salt
4oz/1 stick of unsalted butter, cubed
1 tsp vanilla extract
1/2 tsp almond extract
2-3 tbsp ice water

In a food processor, pulse together whole wheat flour, cornmeal, hazelnut flour, and sea salt. Add in cubed butter and pulse until it resembles coarse sand. Add vanilla & almond extract, and then the ice water. I typically add three tbsp water, pulse a few times, then add more if need be, 1tbsp at a time, stopping just when the dough starts to come together. Turn it out onto a board and knead it into a ball. I like to roll it immediately since it’s most pliable – typically I haven’t had trouble with this dough sticking or cracking if rolled immediately. I roll it between two sheets of parchment paper and use the bottom one to bake the galette on; makes an easy transferral method between cookie sheet & cooling rack. If you’re not rolling immediately, stick it in the fridge on a plate. Can be made ahead the night before if need be. If you are rolling immediately, roll it out into a circle about 1/4″ thick.

for the filling:

2 grapefruits, peeled & sliced crossways
1/2 c wild blueberries (mine were frozen; no need to thaw)
2 tbsp apricot jam (I use St. Dalfour’s, which has no added sugar – just fruit juice)
milk/half and half for brushing

Preheat the oven to 425. Spread the apricot jam over the middle of the dough, leaving a 1″ border, then pile on the sliced grapefruit and blueberries. Fold up the sides of the dough over the fruit. Brush the dough with milk or half and half. Pop in the oven and bake for 30-35 minutes, until the crust is lightly browned. Remove to a cooling rack and let cool completely before slicing and serving. Store leftovers in the fridge overnight – it’s great for breakfast :)

First galette of 2021

Hi internet friends!

Wow what a week. I don’t have much I think I can even say, other than I think most of us took a big psychic hit this week. Over here in my corner of the internet, we’ll keep it to in-season produce and pretty things. By no means am I ignoring what is going on – merely attempting to provide a momentary brain break before diving back into the mental fray.

I’ll leave you with this recipe for a simple, seasonal galette that is as pretty as it is delicious. Blood oranges and grapefruits are totally in season right now – at least in California, yay west coast citrus season! The crust is a whole wheat and cornmeal, which is completely adaptable if you need one that is gluten and/or grain free. I laid a layer of almond butter and apricot jam between crust and fruit for bubbly, jammy goodness. It reminds me almost of a grown up pb&j.

Galettes are inherently adaptable and forgiving, which I think is very necessary and important right now. Let’s not complicate things where we don’t have to, hmm?

In other news, I’ve been trying to get back into the drawing groove by drawing daily. Here’s a favorite from this week:

you can also see the back of the previous day’s bialetti hiding on the opposite page…
a pretty flower. we need more pretty things.

Give yourself a brain break and make some dessert – that happens to be free of all sweeteners. That being said, eat it with ice cream if that makes you happy – I am certainly not going to stop you.

Happy Saturday!

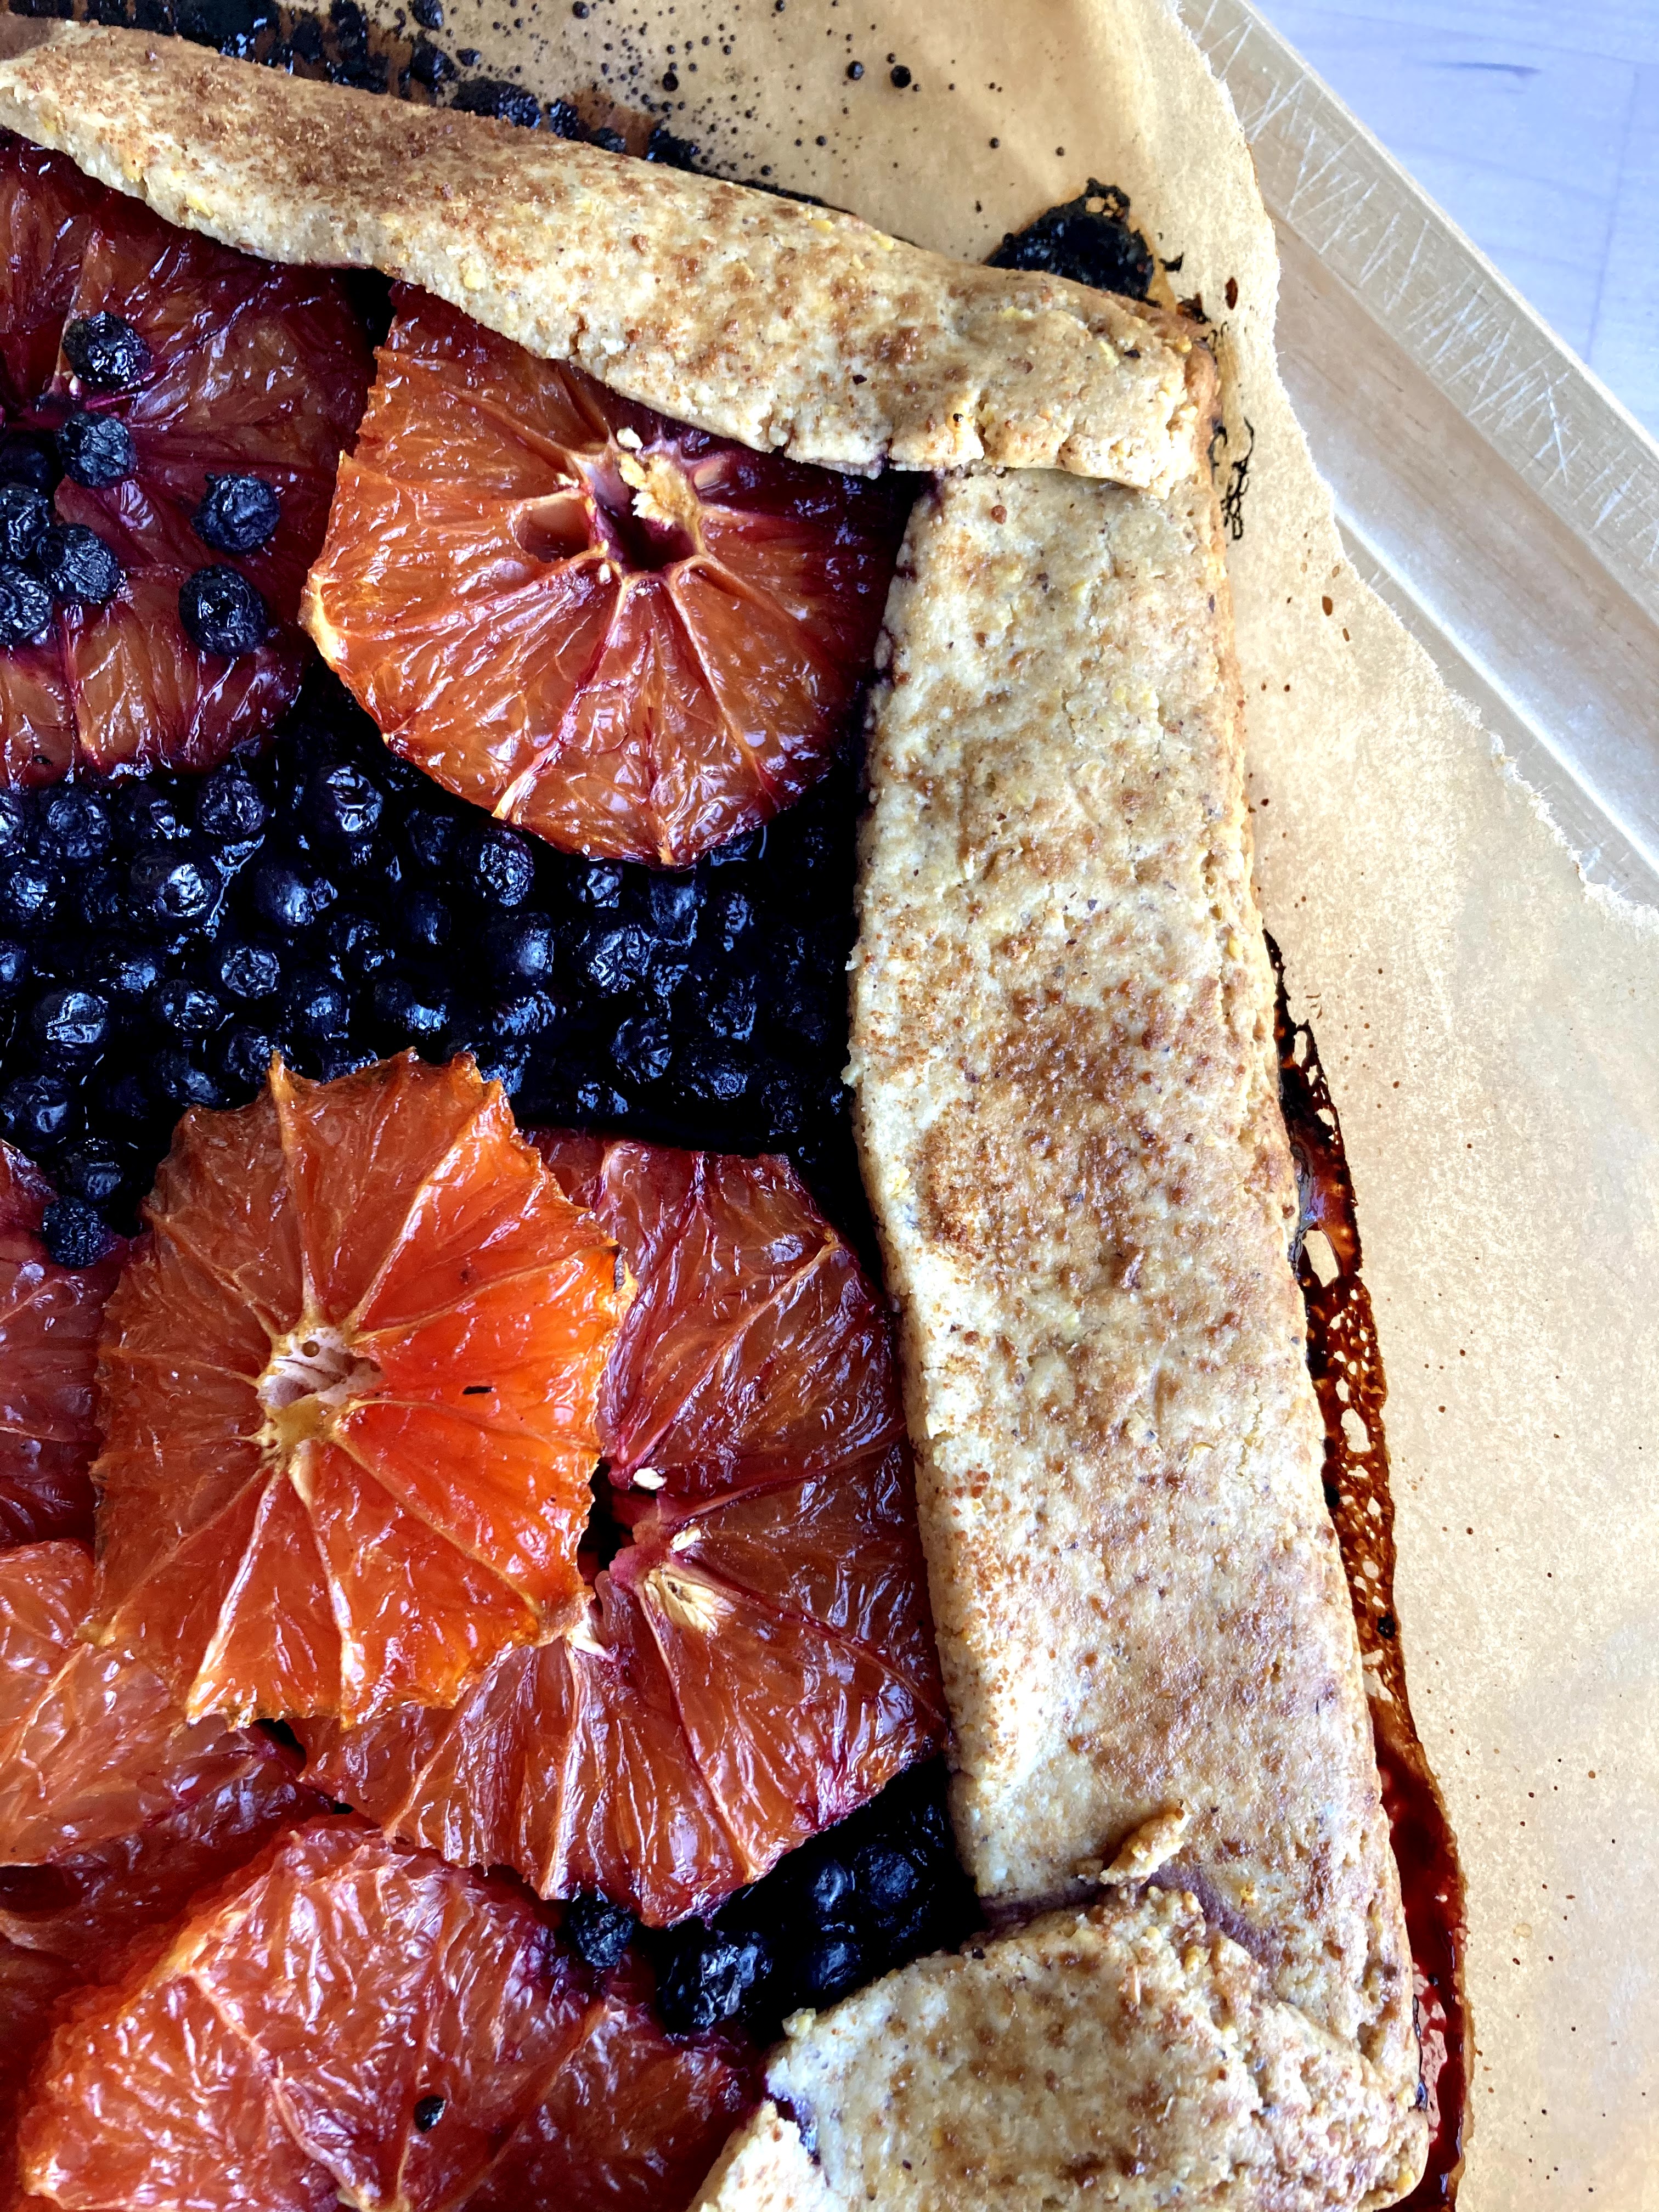
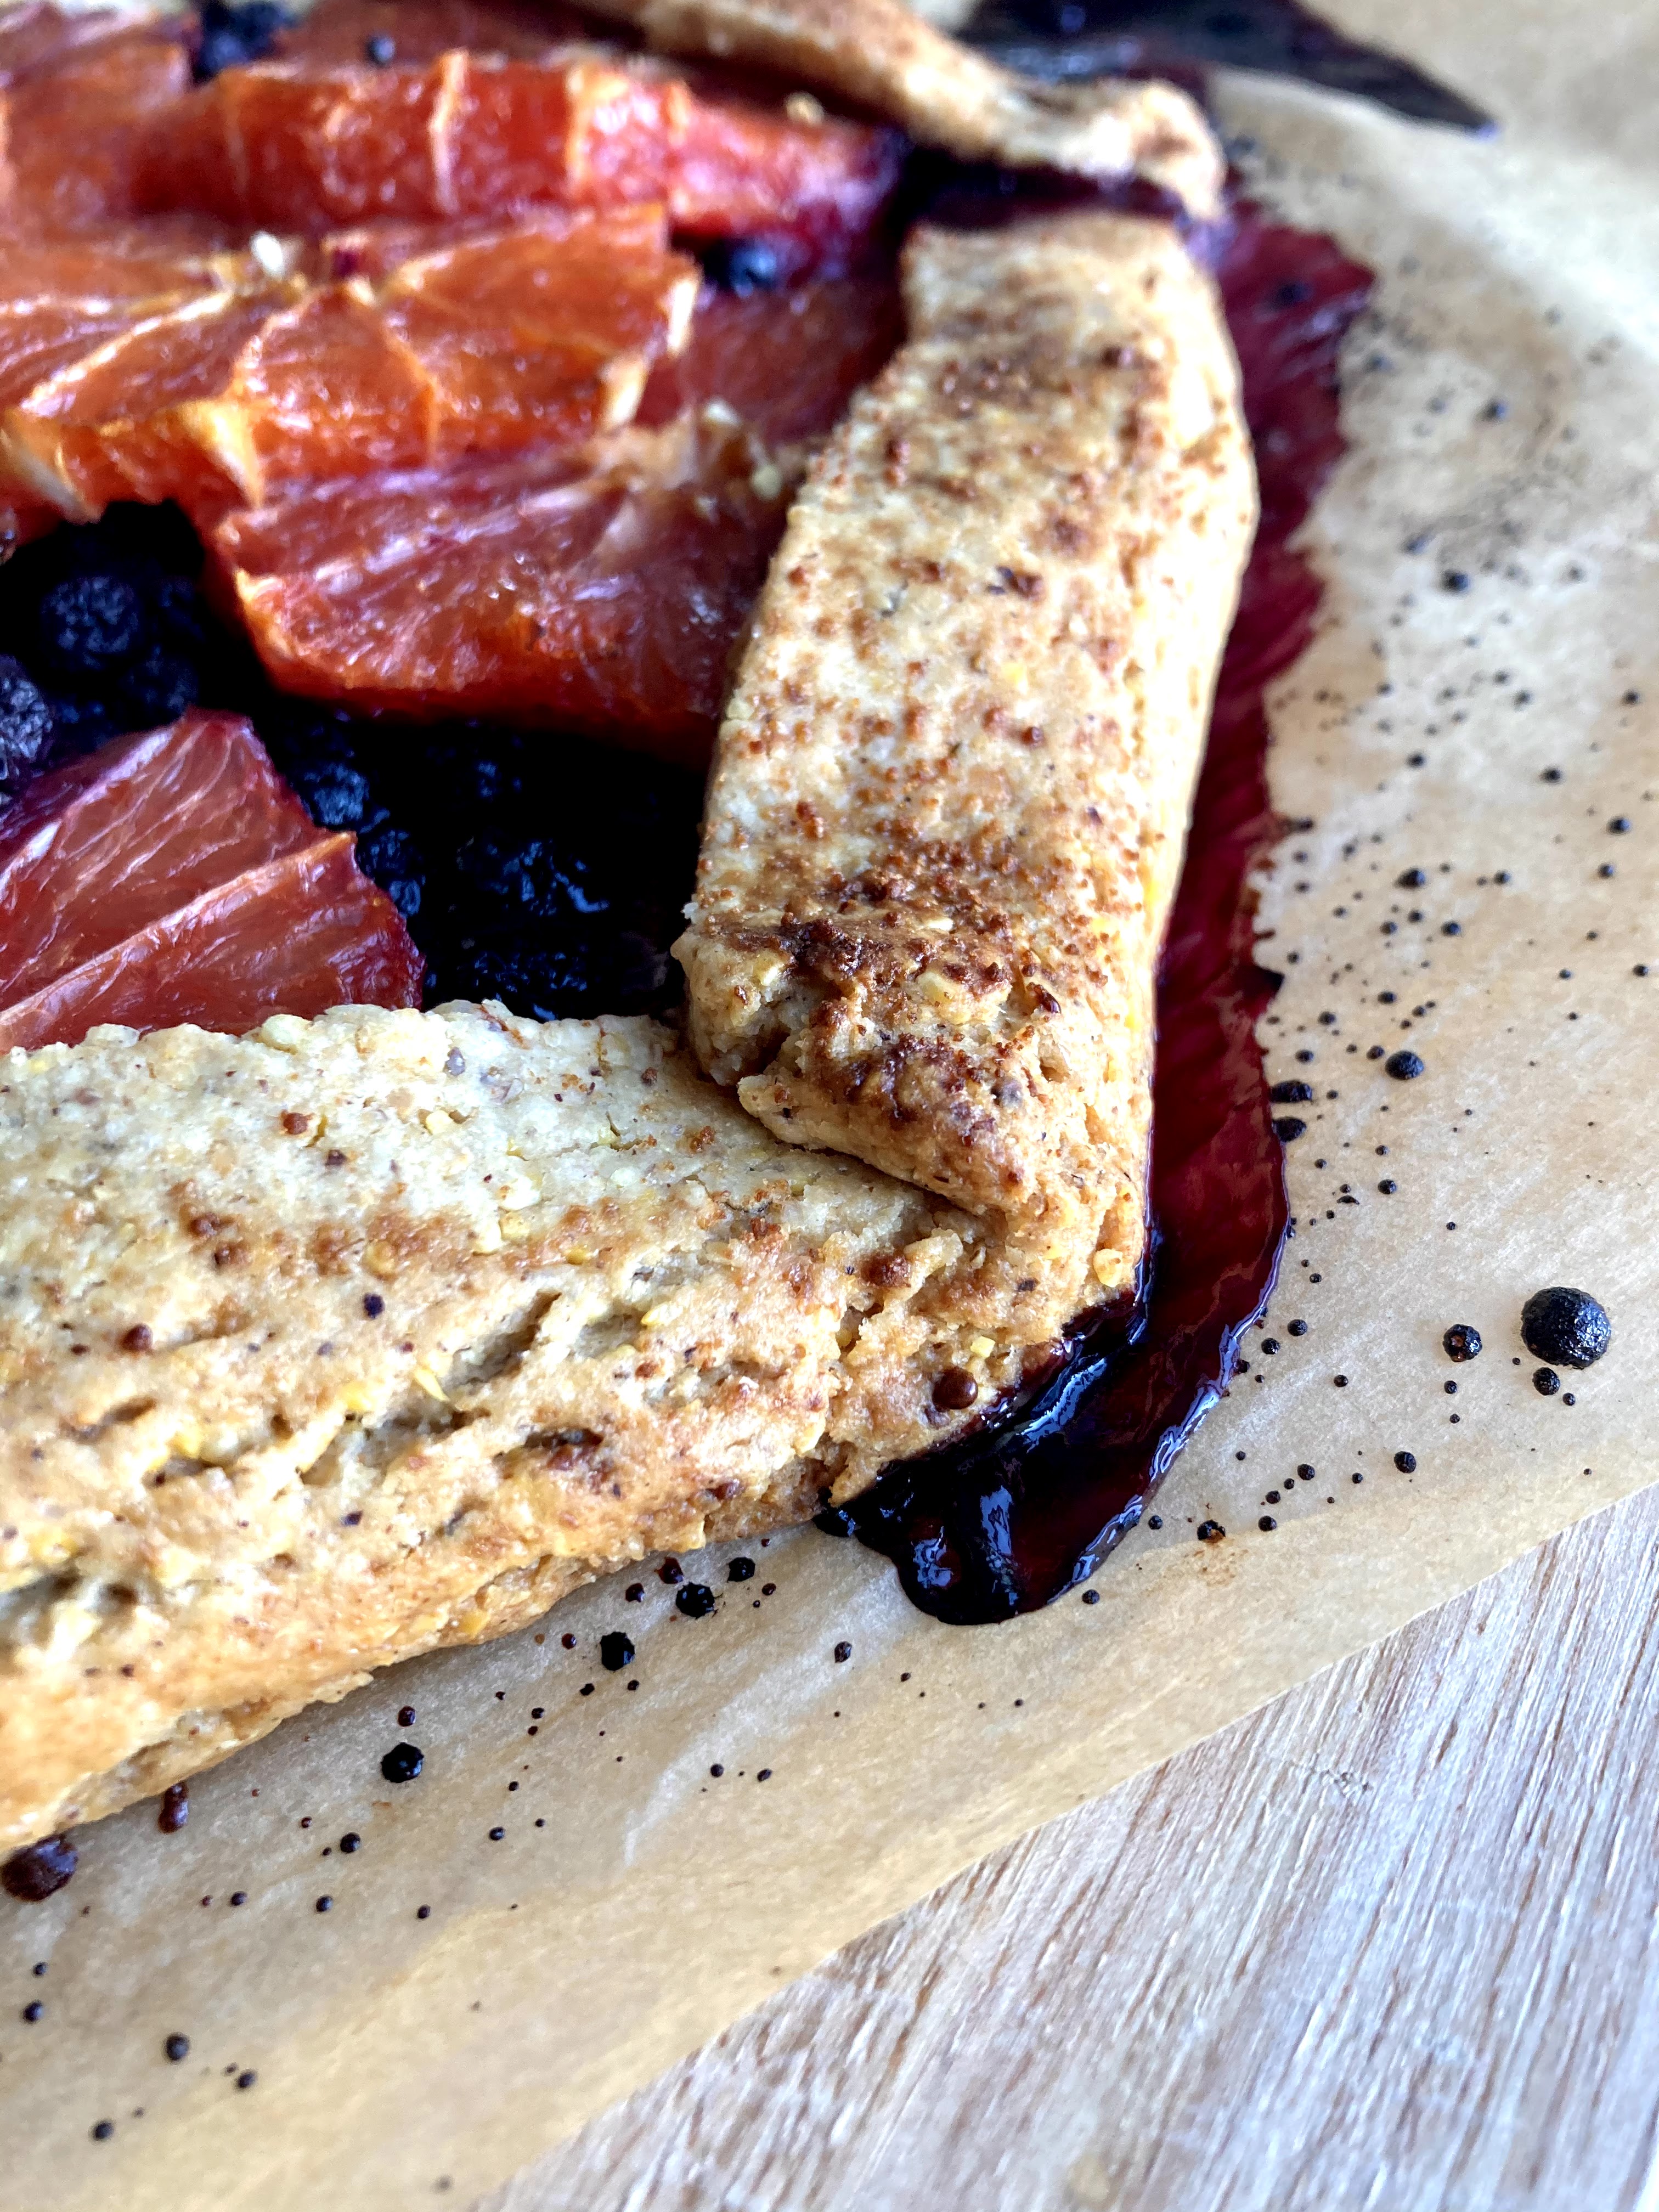
Citrus and Almond Galette with a Cornmeal Crust

A Wait are those Cookies original. Yield: 1 galette, serves several. The crust is whole grain; if you need one that is gluten & grain free, I like this one. Completely free of any added sweeteners – I use St. Dalfour’s apricot jam that is made of fruit only (not sponsored of course, I just love it!)

for the crust:
1 c whole wheat flour
1/2 c cornmeal
1/2 tsp sea salt
4oz/1 stick of unsalted butter, cubed
2-3 tbsp ice water

In a food processor, pulse together whole wheat flour, cornmeal, and sea salt. Add in cubed butter and pulse until it resembled coarse sand. Add the ice water 1 tbsp at a time until the dough starts to come together. Turn it out onto a board and knead it into a ball. I like to roll it immediately since it’s most pliable – typically I haven’t had trouble with this dough sticking. I roll it between two sheets of parchment paper and use the bottom one to bake the galette on; makes an easy transferral method between cookie sheet & cooling rack. If you’re not rolling immediately, stuck it in the fridge on a plate. Can be made ahead the night before if need be.

For the fruit:

3 small blood oranges, peeled & sliced
2 grapefruit, peeled & sliced
2 tbsp almond butter
2 tbsp apricot jam (I use St. Dalfour’s, which is just fruit – no sweetener)
a few dabs of butter & splash of milk or half and half

Preheat the oven to 425. Roll out the dough between two pieces of parchment paper until it’s about 1/4″ thick. Spread the almond butter and jam in a thin layer over the middle of the dough. Pile the sliced citrus in the center, leaving a border of about 3″. Fold up the sides of the dough over the fruit. Brush the dough with an milk or half and half. Dot fruit with butter if you like, though it’s not strictly necessary. Pop in the oven and bake for 35-40 minutes, until the crust is lightly browned. Remove to a cooling rack and let cool completely before slicing and serving. Store leftovers in the fridge overnight – it’s great for breakfast :)

Beautiful Blood Oranges

img_0167

Ew gross, I hate losing an hour! I end up feeling so… cheated.

img_0163

Plus, it’s Sunday so I’m trying not to have the Sunday yucks. C and I had a great morning – slept in a little, spent some quality time at the climbing gym, ate delicious bfast and drank coffee. All the appropriate Sunday happenings.

img_0174

My apartment is clean and I have food to prep for the week (ground chicken stirfry with fennel and radish and cauliflower rice I think). It’s cloudy, I’ve moved on to tea and am feeling at least peaceful, if not totally at ease with the fact that it’s Sunday afternoon. I’m rationing my news consumption lately because of just… everything… so I am planning to finish at least one book this evening, maybe two. We’ll see.

img_0169

In other news, this galette got a rave review the instant C took a bite this morning – pretty sure the bite wasn’t even all the way eaten before he says, “omg this is INCREDIBLE!” so… I’ll just leave it at that.

img_0176

img_0172-1

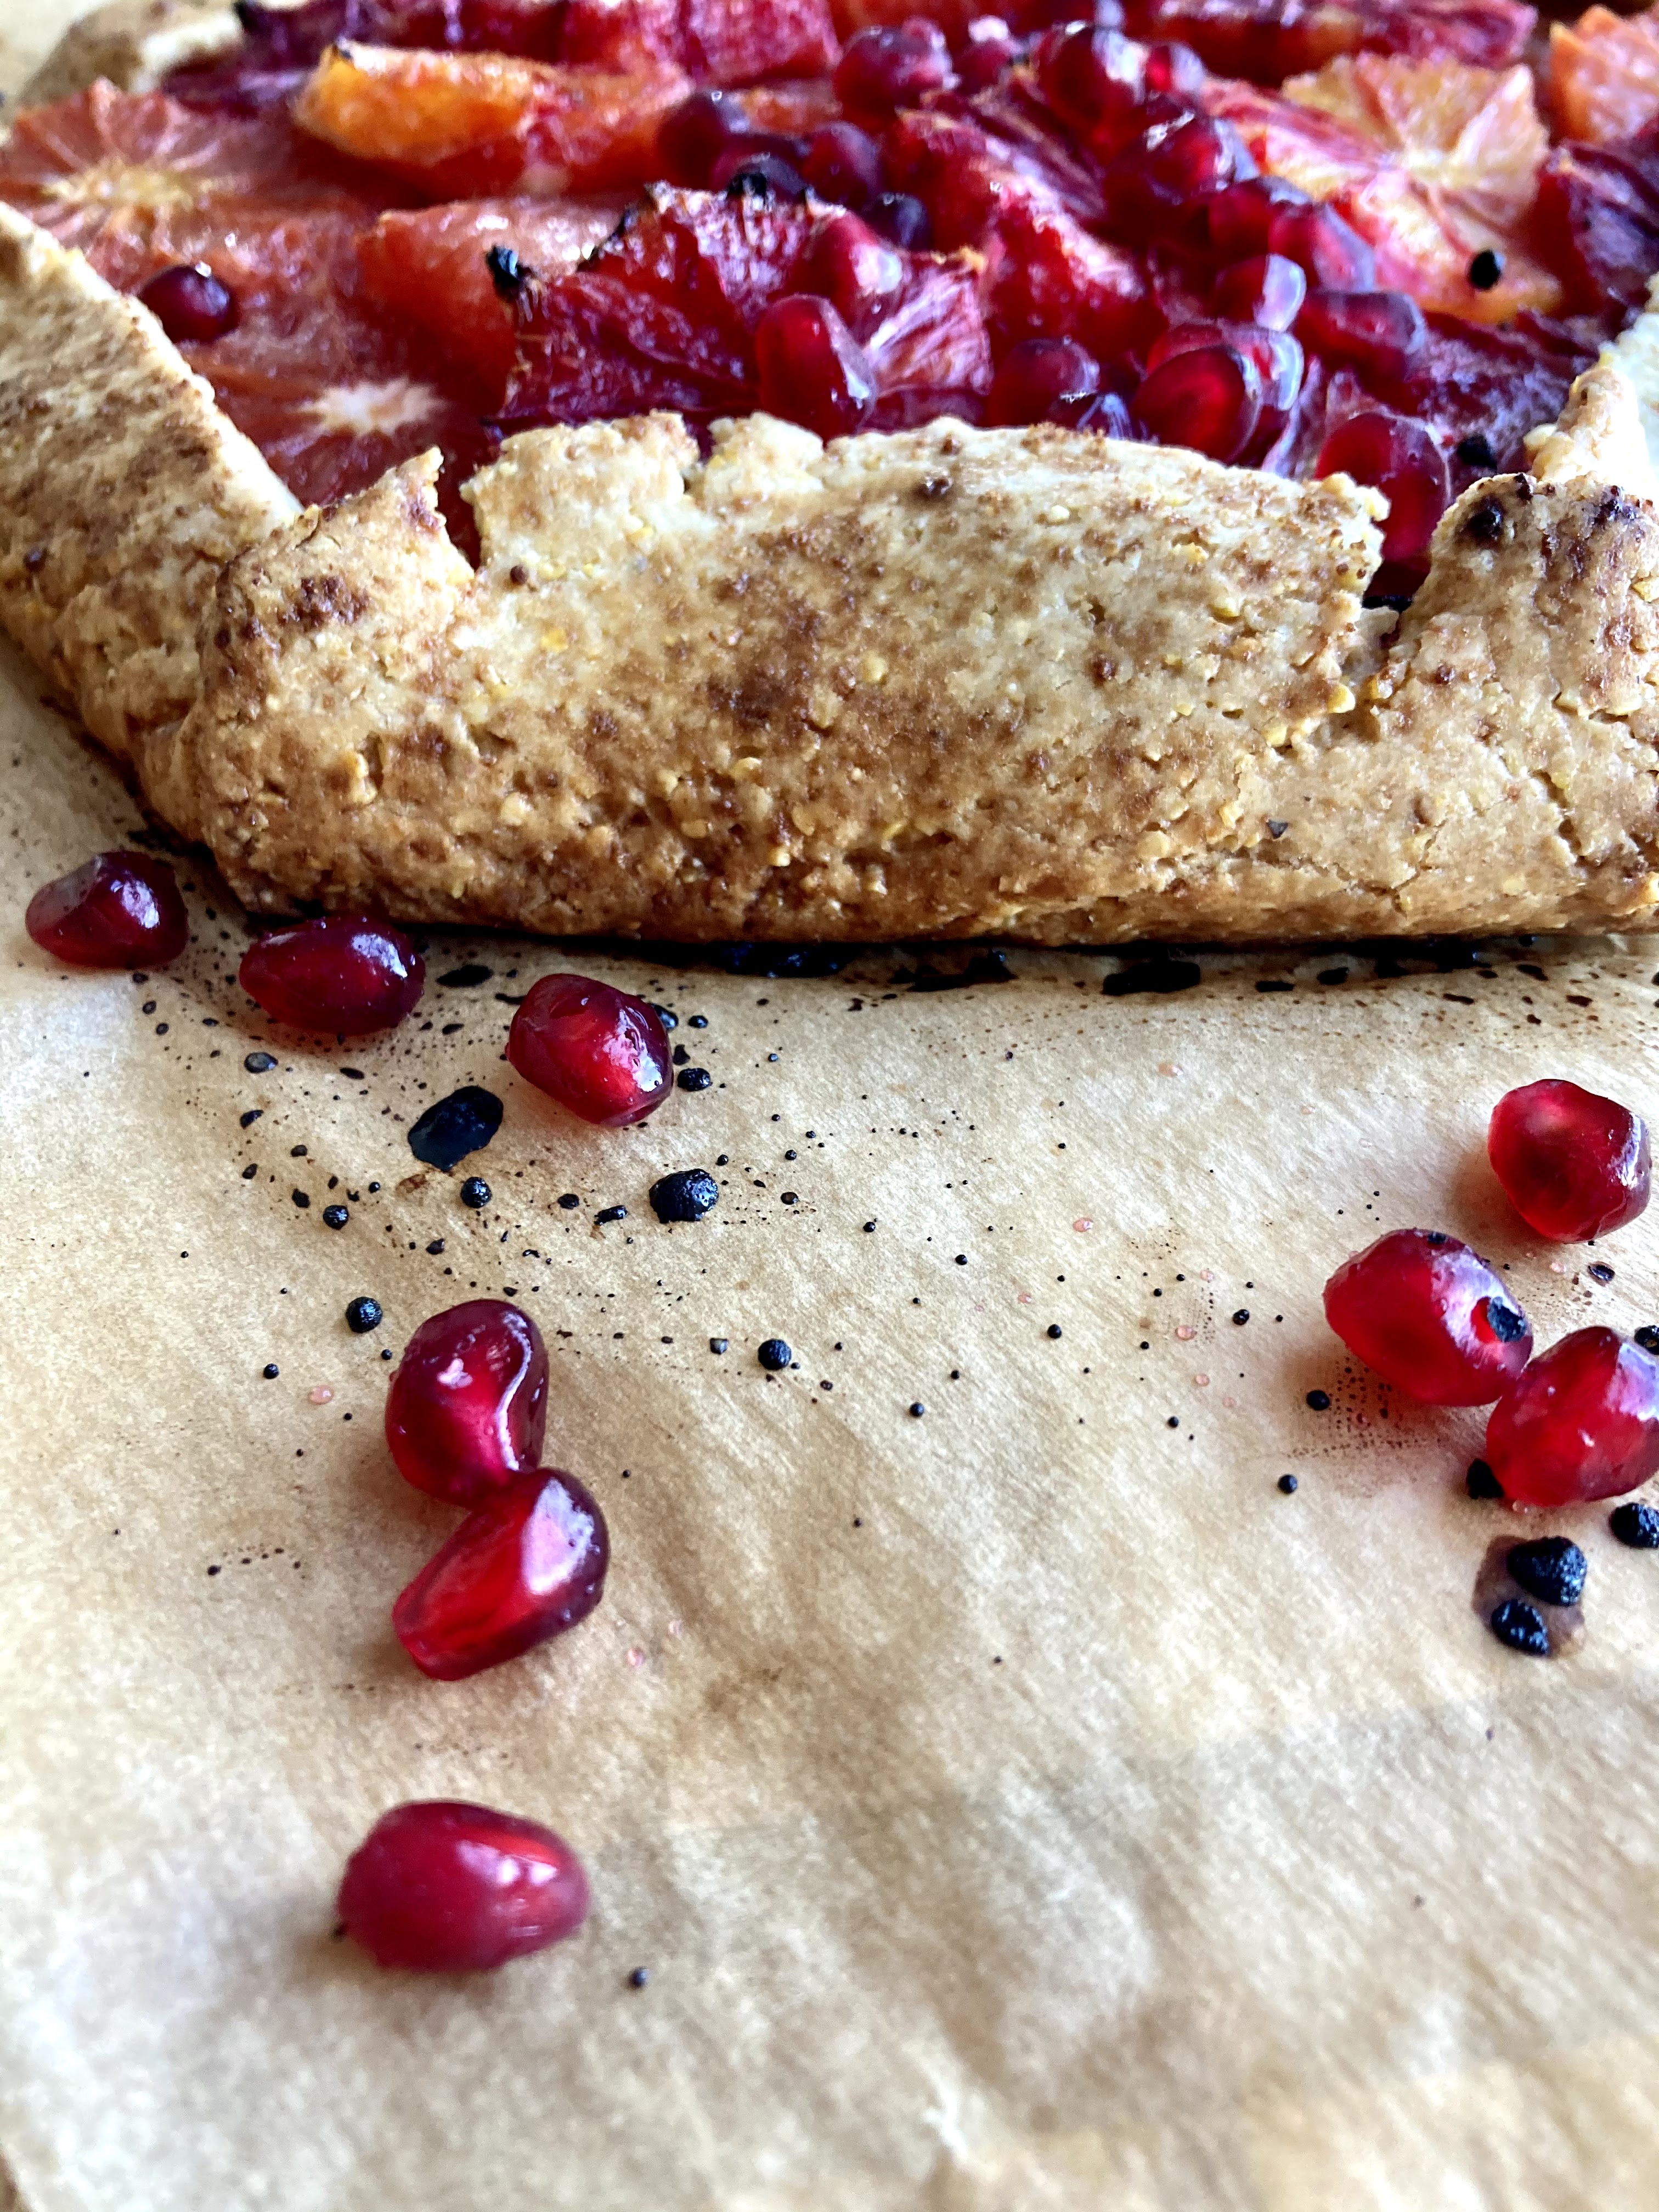
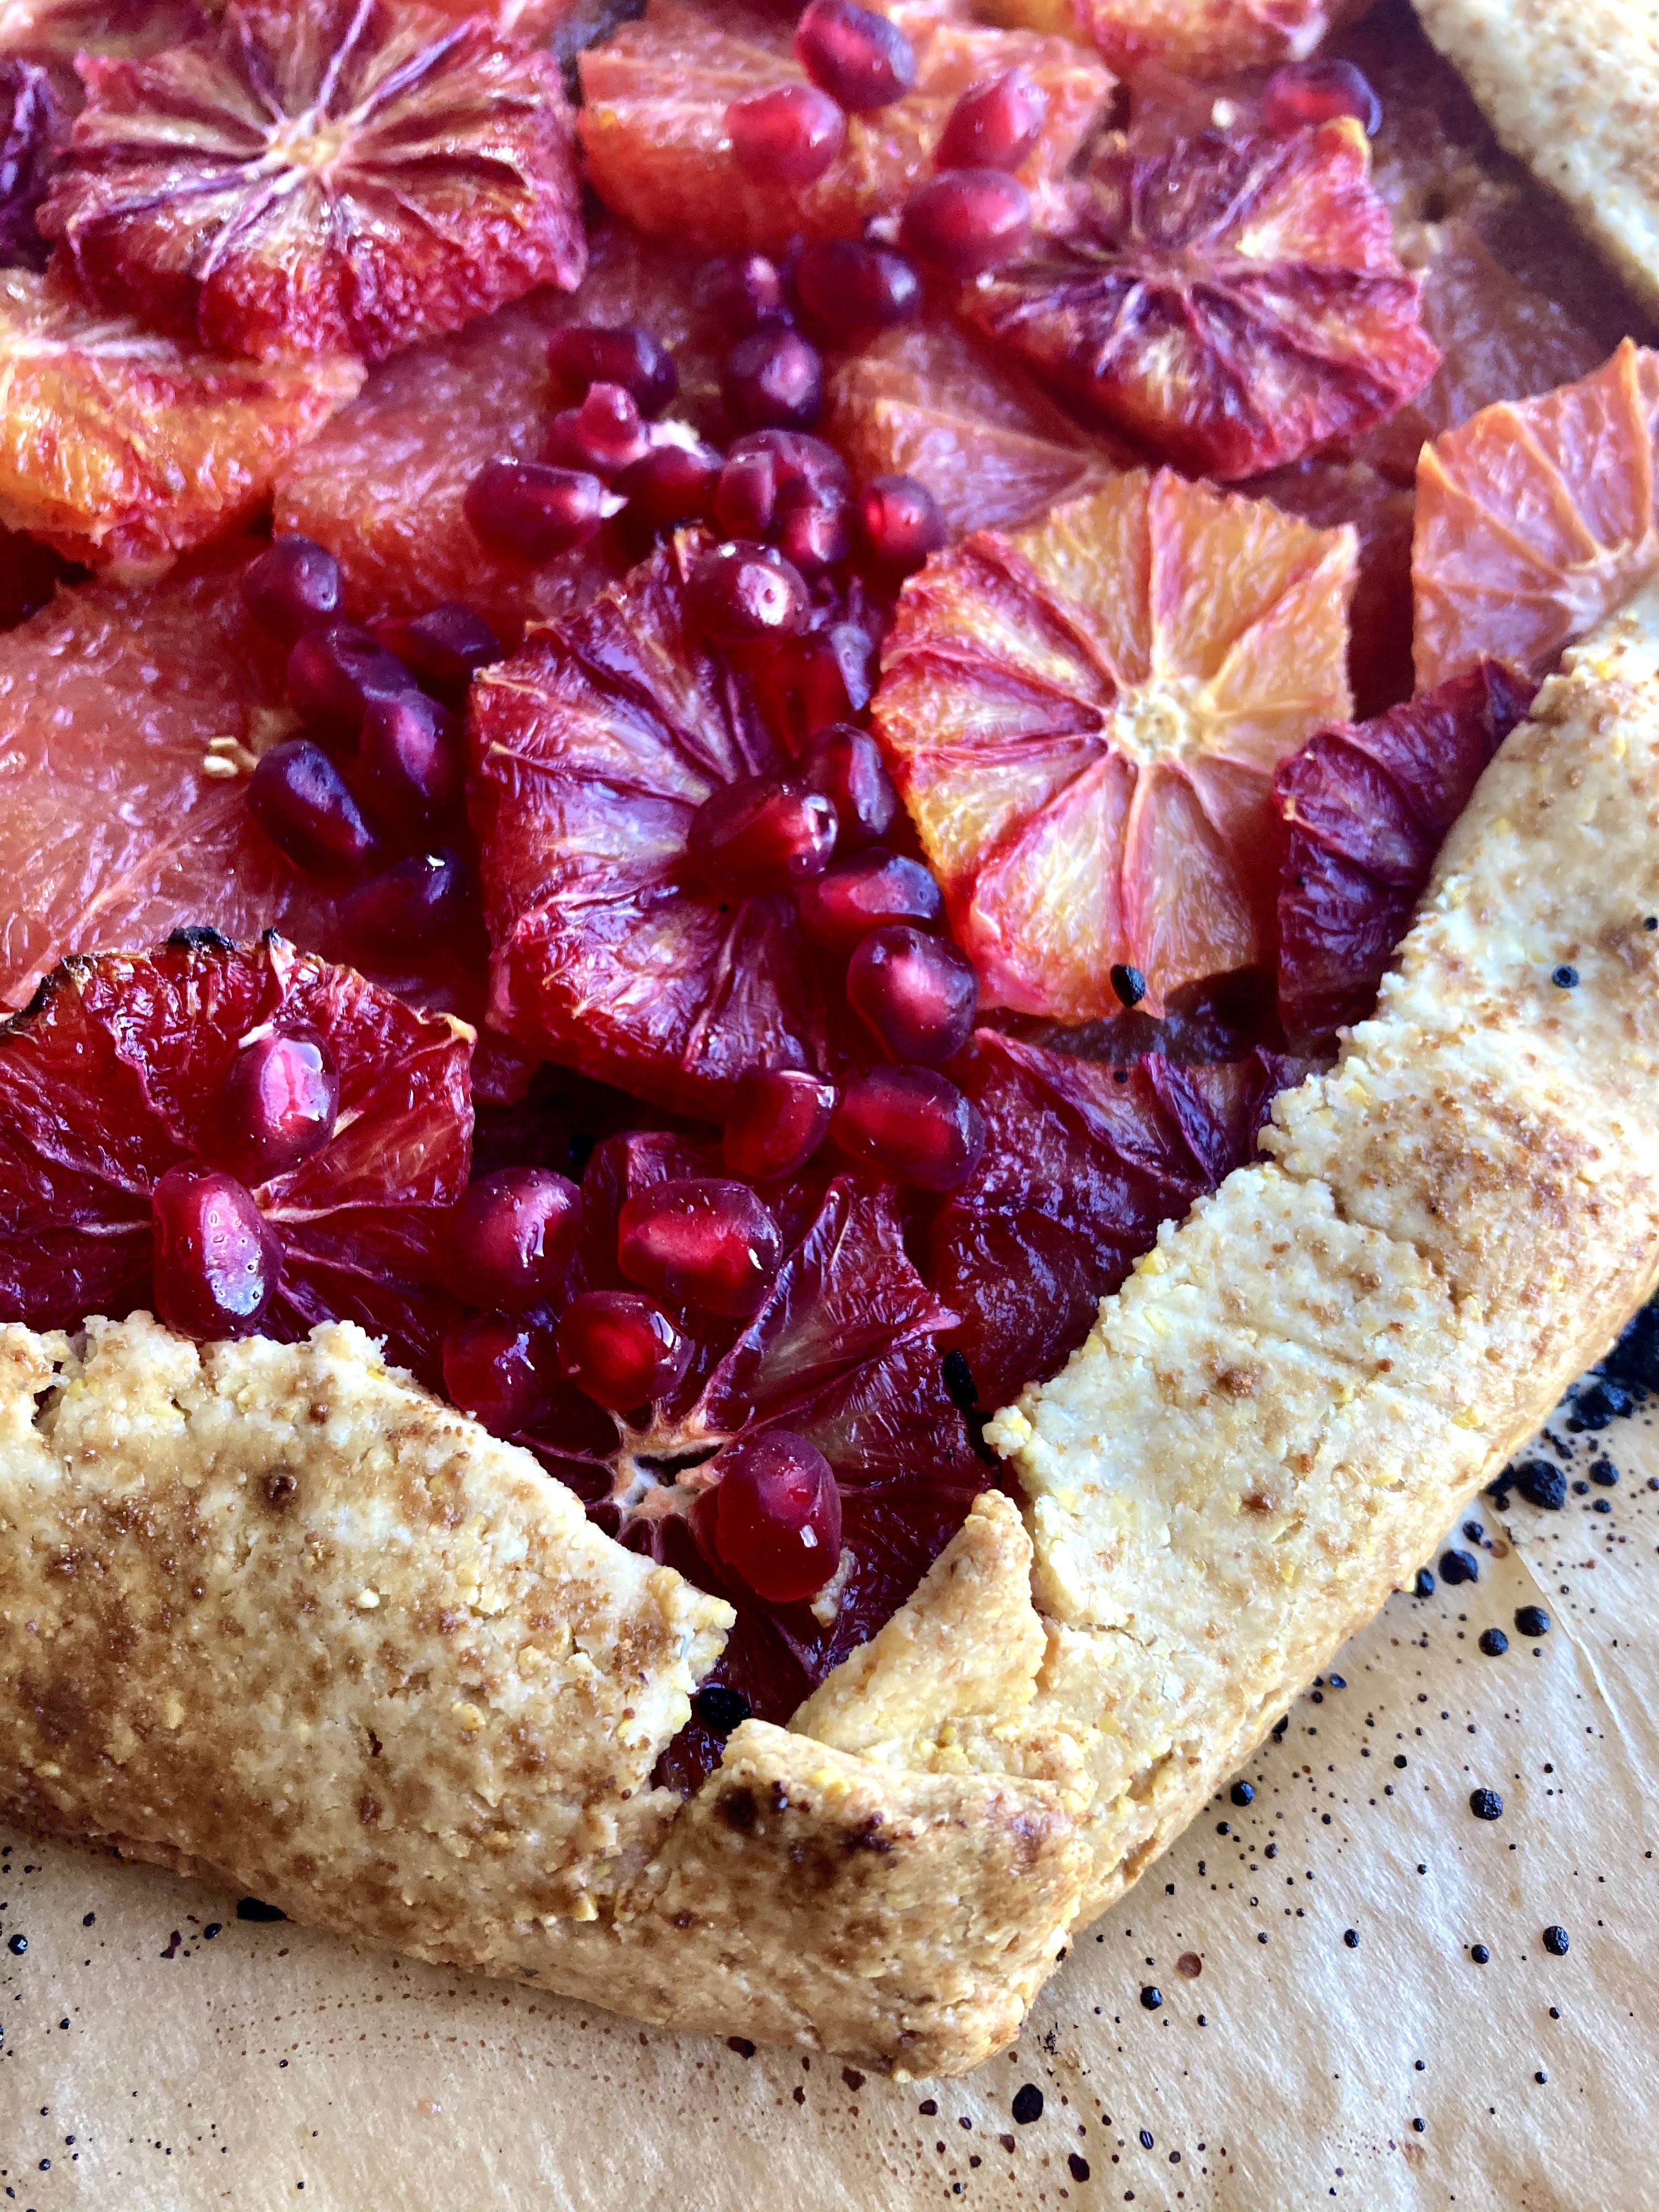
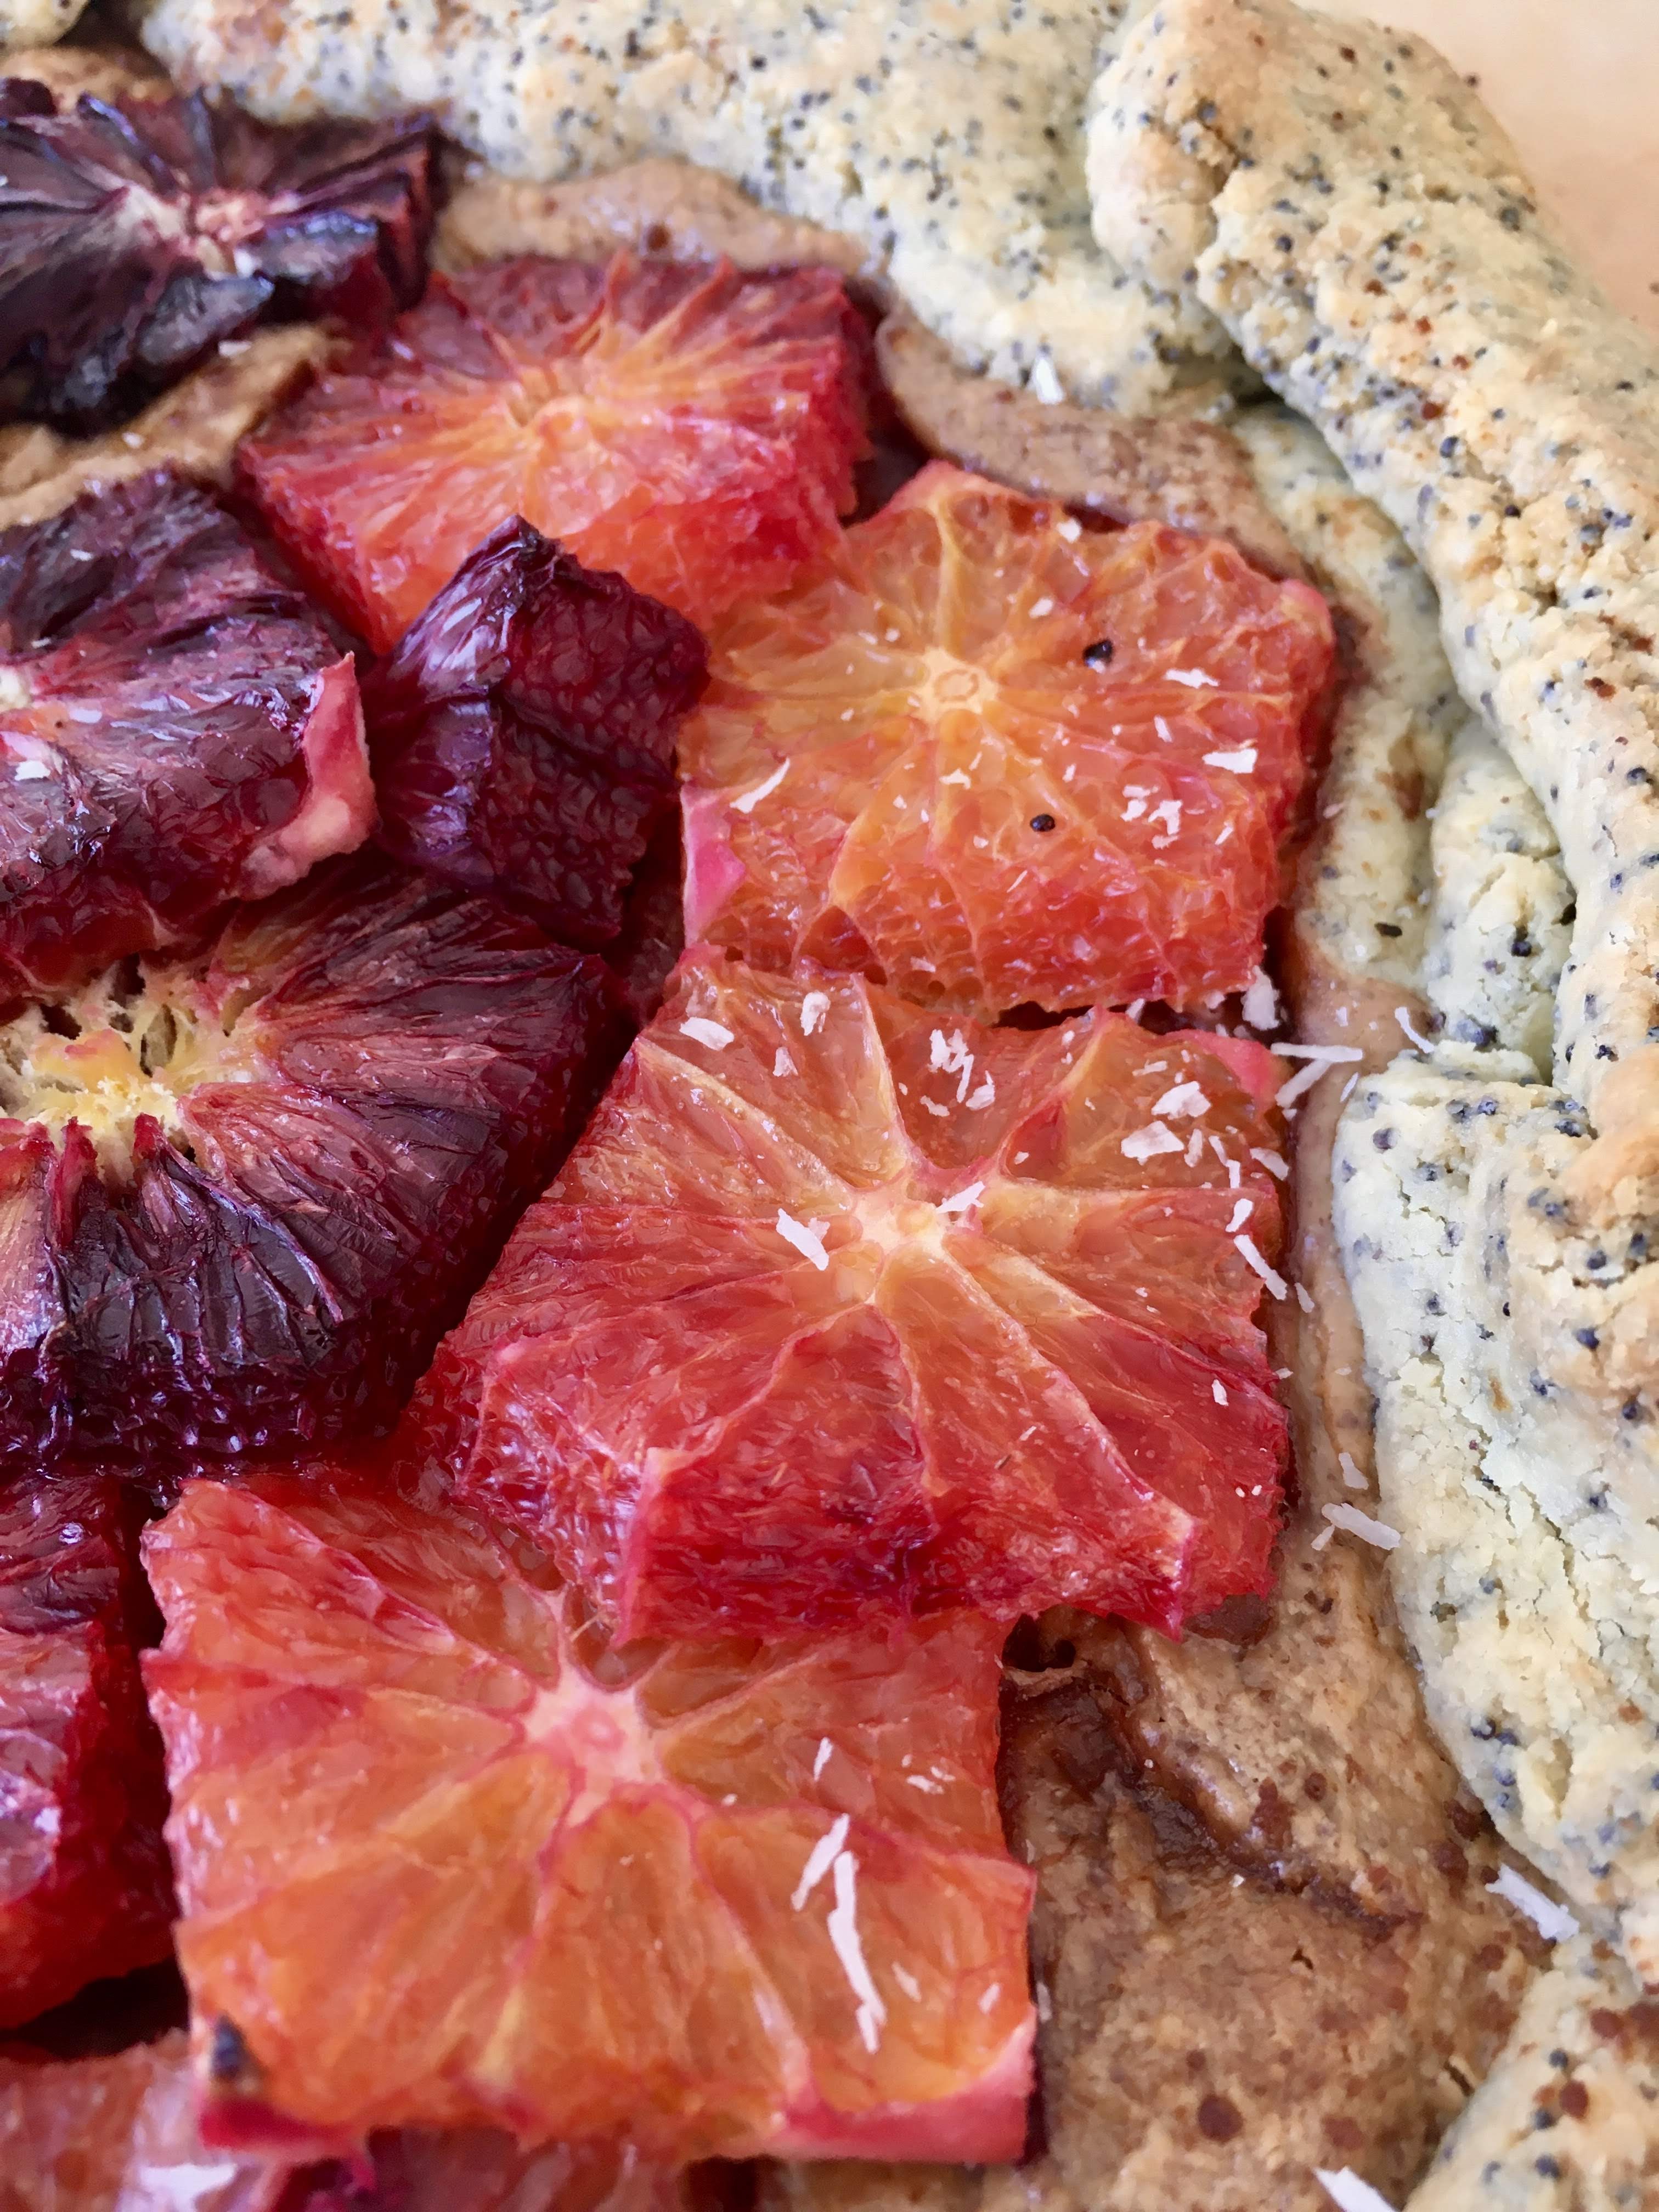
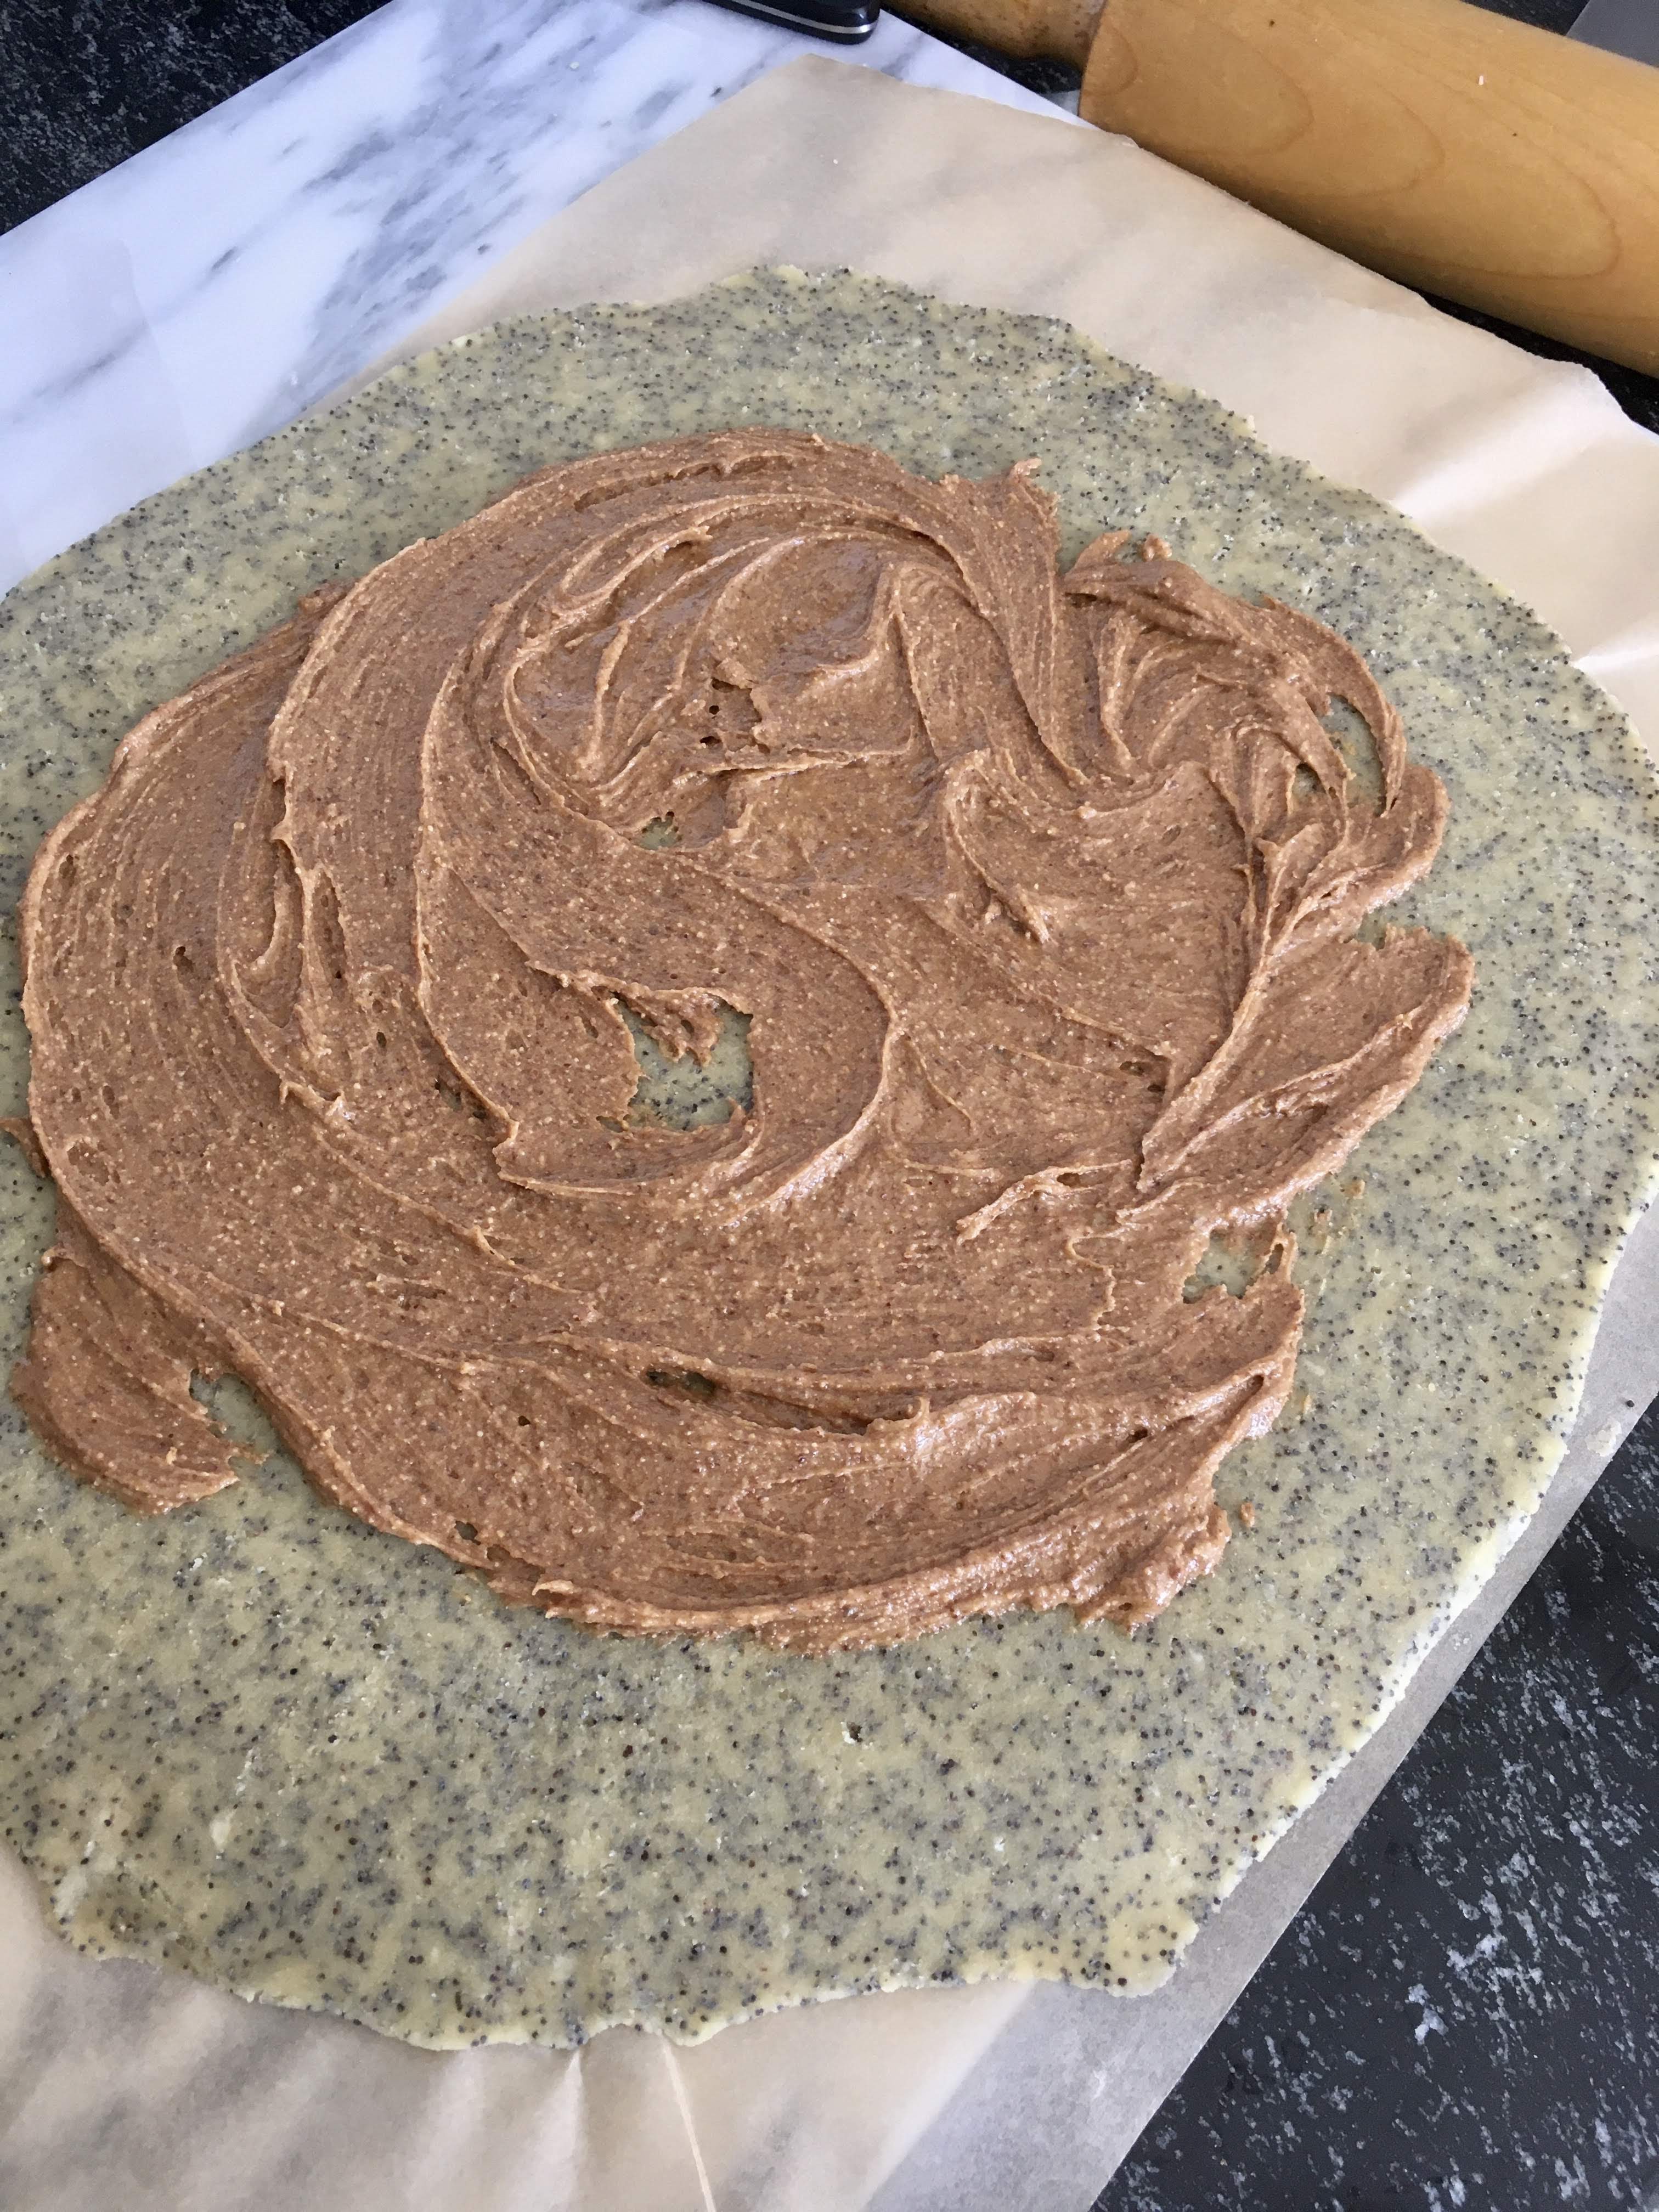
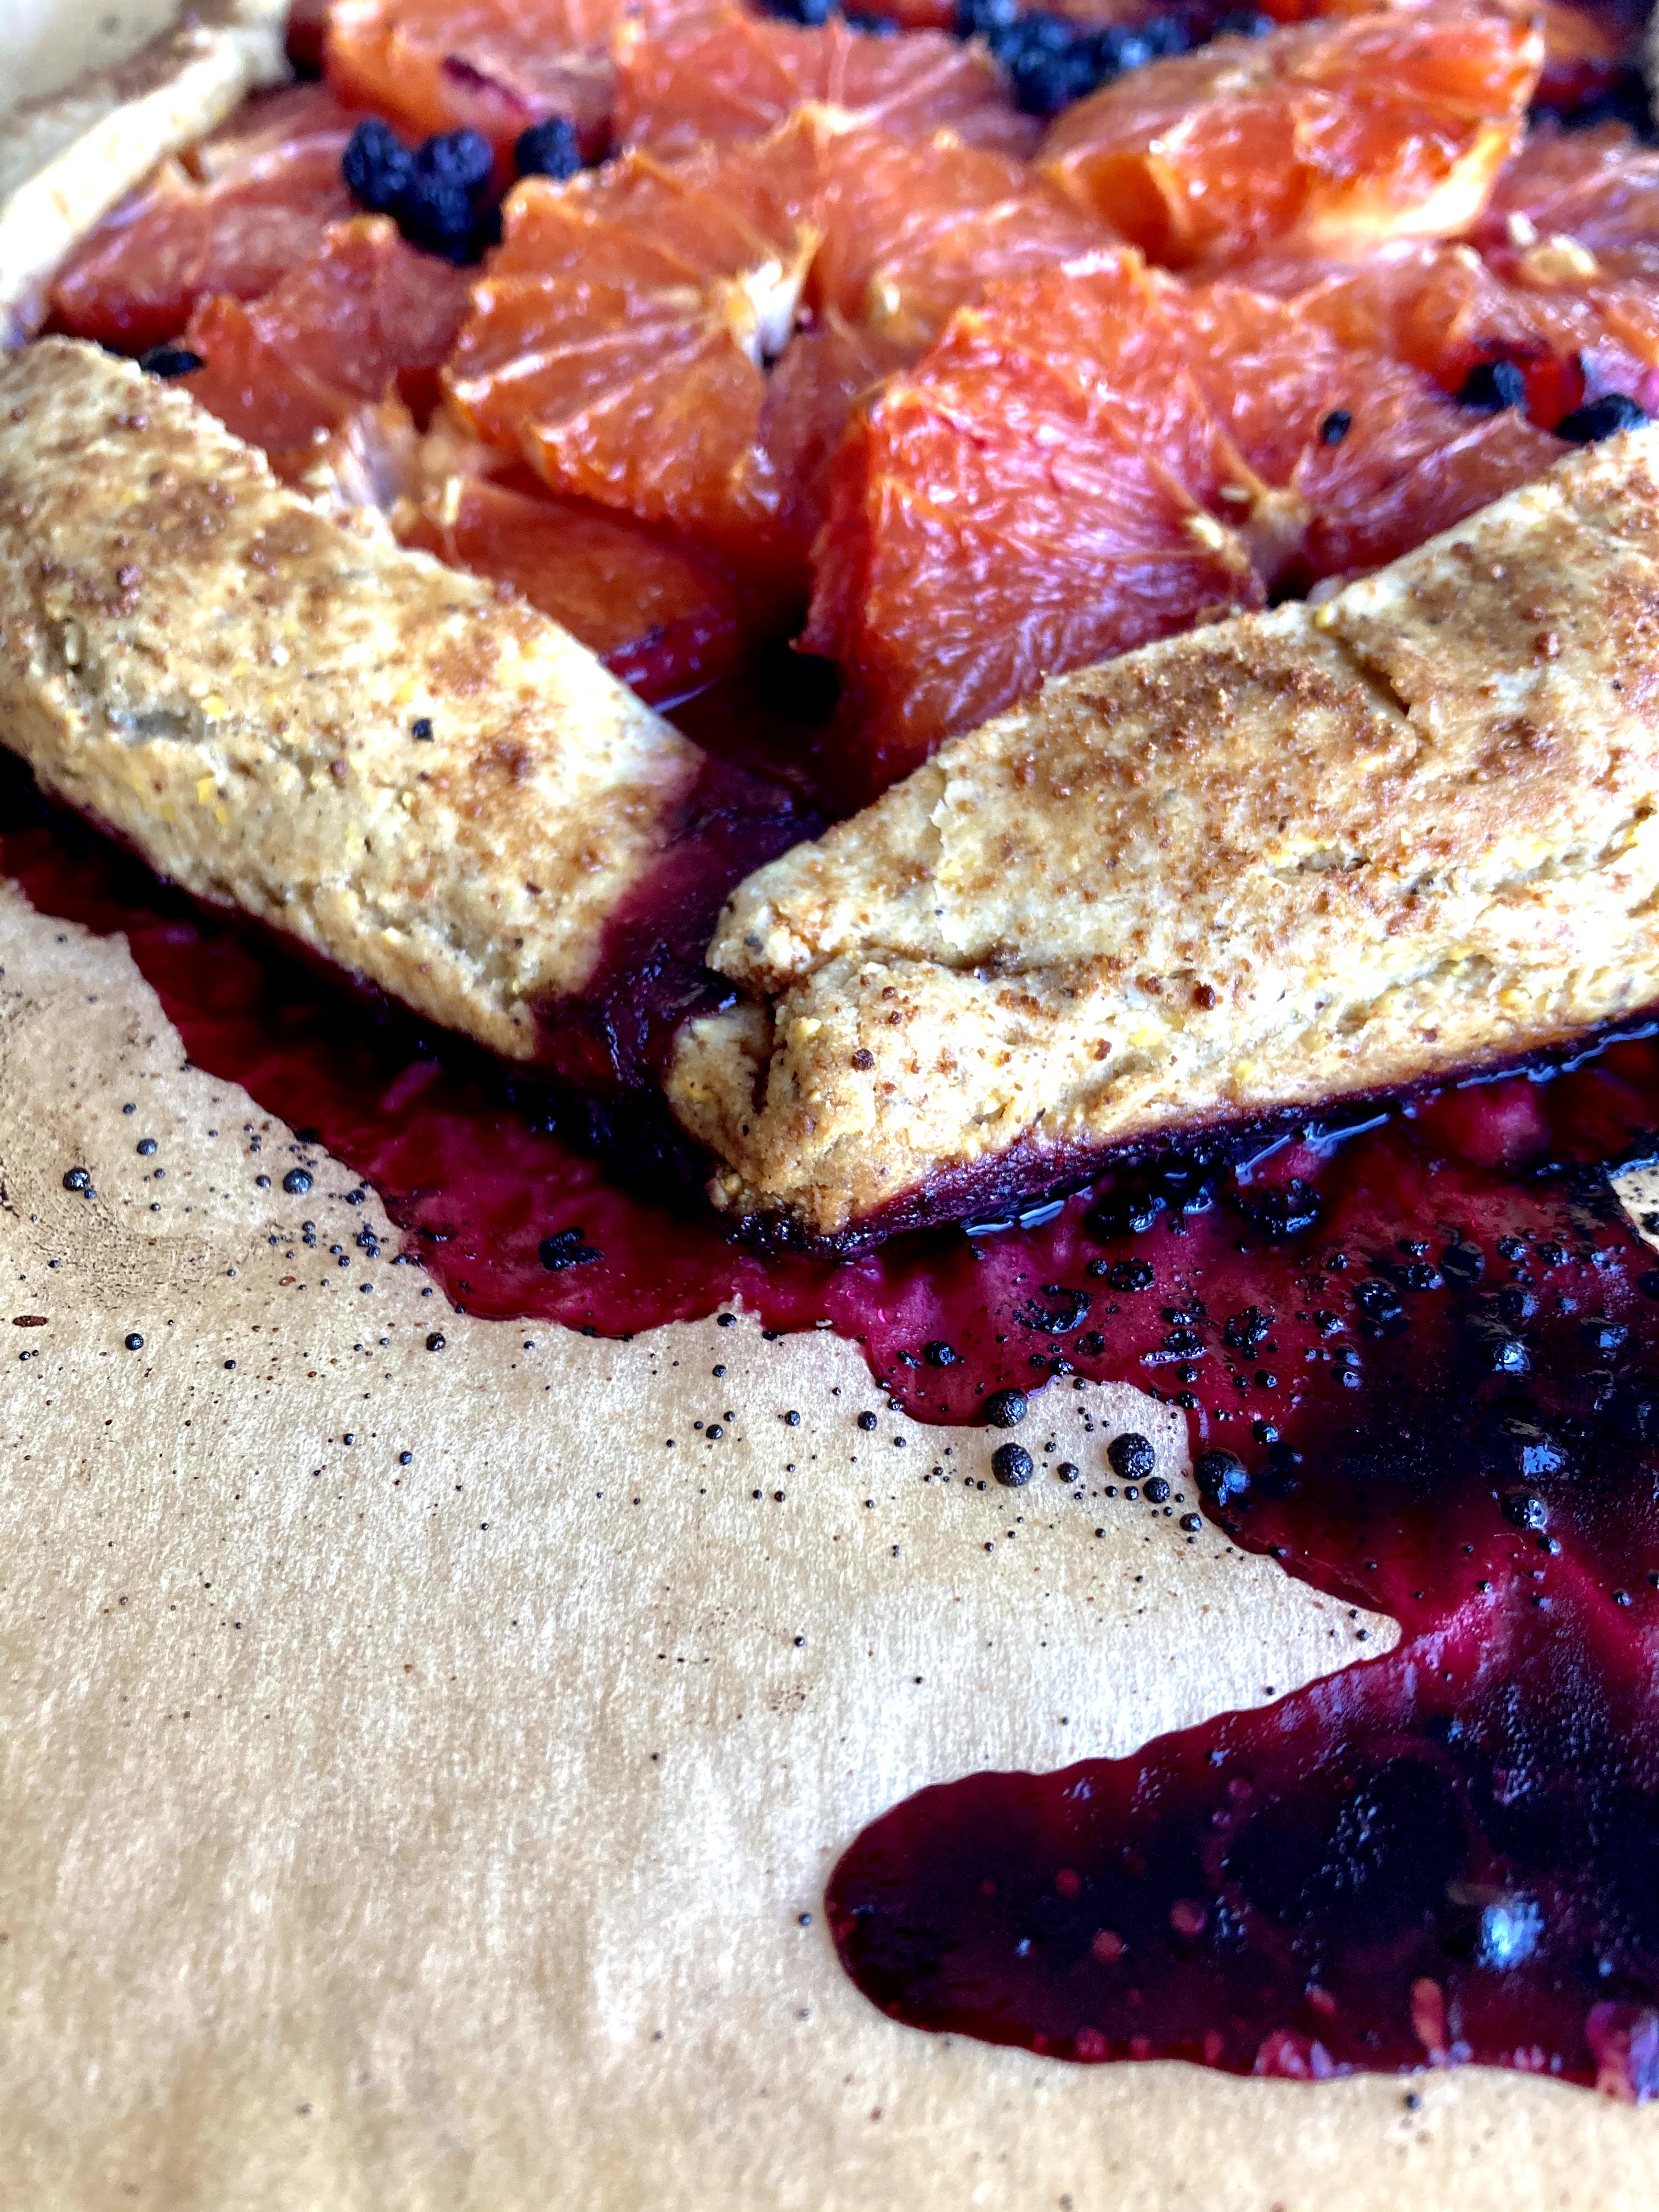
Almond poppy seed galette with blood oranges: there is almond in here three ways, between the almond flour and extract in the crust, and the almond butter in the filling. Blood oranges have a shortish season so I always try to get on them asap – they are just so incredibly beautiful.

img_0161

I mean, look at these things! Mother Nature is a boss lady.

Happy International Women’s Day to Mother Nature and all the other bossbitch ladies in my life out there, you inspire me every day <3

img_0181

Almond Poppy Seed and Blood Orange Galette

Gluten, grain and refined sugar free. Lightly sweet – perfect for those who like a little citrus-forward dessert. Easy to throw together, and the blood oranges are naturally beautiful. Poppy seeds are just a win all around, obviously. A Wait are Those Cookies original. Yield: 1 galette, serves several.

For the galette dough:

1.5 c almond flour (not meal; you want the finer flour variety)
1/2 c tapioca flour
1/4 tsp fine sea salt
3 tbsp poppy seeds
6 tbsp salted butter, chopped (or ghee)
1 egg*
1 tbsp vanilla extract
1/2 tsp almond extract

For the filling:

1/3 c almond butter
1 tbsp maple
pinch of sea salt

4-5 blood oranges, peeled and sliced

*alternately you can use a flax egg with very similar results (3tbsp water + 1 tbsp ground flaxseed)

In a food processor or high-power blender (I used a food processor), pulse almond flour, tapioca starch, poppy seeds, salt, and butter to combine until it looks like coarse meal. Add in egg, vanilla and almond extract and pulse just until combined. Turn out onto a piece of plastic wrap, shape into a disk and chill in the fridge for at least an hour, or up to overnight.

In a smallish bowl, stir together almond butter, maple and sea salt. It should be on the runnier and spreadable side – if not, warm it up briefly on the stove top or in the microwave.

Once the dough has chilled, preheat the oven to 375. Roll out the dough between two pieces of parchment paper, keeping the circle to about 1/4″ thickness. Peel off the top piece of parchment, and slide the rolled out dough on its parchment onto a baking sheet. Top with the almond butter filling, spreading it gently in a circle across the center of the dough. On top of that, add sliced blood oranges and dust them with coconut sugar. Begin folding up the sides, creasing them together as you go – if the dough rips, that’s okay (you can crimp the cracks back together; remember: galettes are forgiving and rustic!); you can use the bottom piece of parchment to help fold up the sides.

Dot the blood oranges with butter. Bake for 35-40 minutes until edges are golden brown — mine came out just fine at 35 minutes, so check accordingly.

Let cool for a few minutes on the baking sheet, then carefully slide the whole galette onto a cooling rack to let it cool completely. Serve with your fave ice cream or whatever of choice! Keeps well covered in foil on the counter or in the fridge.

img_0162

img_0163

The Twenties have returned!

img_1855

Happy New Year, blog friends!

img_1861

I’m excited that the 20’s are back – can we also bring back the fashions, please? I’m all about the flapper style.

img_1862

Here’s hoping that 2020 will be a better year for everyone, no matter what kind of year you had last year. Sending love from my kitchen to yours! I bring you a light and bright tart, in hopes that light and bright follow you into 2020 and beyond. It’s such a nice round number for a year, and a fresh start for a new decade!

img_1864-1

In my fam, it’s tradition to take the tree down and get all the decorations put away before the new year, to have a fresh start. I did that yesterday, and also opened up all my windows and let the fresh (slightly chilly) air in and it felt AMAZING.

img_1858

My walk home from work was brisk and beautiful yesterday – this city has such great vistas.

img_1850

img_1851

On another note, my bookshelf plants (Kuzco and Kronk) are going ape, and I love it. Kuzco especially seems very happy in his sunny new home – my apartment is west-facing, and boy do my plants (and I) love it.

img_1869

I’m ready for 2020. Time for some new exciting things!

In the meantime, I finished out 2019 baking and eating tart, so what else is new. This one is very lightly sweet, to balance out all the eating of sweet things I’m sure we’ve all been doing for the last week. It’s even a little earthy with the rosemary happening in there. Besides all that, it’s gluten and dairy free (not to mention refined sugar free of course) because lord only knows I’ve been eating a ridiculous amount of cheese lately and I should probably eat at least SOMETHING that is dairy free. You know, so I can eat more cheese and balance it out. HA.

img_1860

Happy New Year! May there be peace, joy and light in your upcoming year, and beyond.

img_1855-2

Lemon Panna Cotta on a Rosemary Almond Crust

A Wait are those Cookies original! Gluten free, dairy free and refined sugar free. Yield: 1 9″ tart, serves several or enough for a small New Year’s party :) Only lightly sweet to balance out all the eating we’ve all done over the last week. Mildly tart filling plays nicely with the slightly earthy notes from the rosemary in the crust, which is present but not overbearing.

For the crust:

1.5 c almond flour
1/3c unsweetened shredded coconut
1/3c cornmeal
heaping 1/4 tsp sea salt
1/2 tsp baking soda
2 tsp vanilla extract
2 tbsp pure maple syrup
6 tbsp coconut oil, melted
1 heaping tbsp rosemary, very finely chopped

1/4 c chocolate, melted

In a large bowl, stir together almond flour, shredded coconut, cornmeal, sea salt, baking soda and chopped rosemary. Add in vanilla extract, maple, and melted coconut oil, and stir until completely combined. The dough will look crumbly, but you’ll be able to press it together with your fingers.

Preheat the oven to 350, and lightly grease a 9″ tart pan (w/ removable bottom) with coconut oil. Press the crust into the plate and up the sides with a spoon or your fingers, creating a smooth edge (or not, your call!). Poke the bottom with a fork a few times, and bake for 15 minutes. Remove and let cool for a few minutes.

With a pastry brush or a spoon, coat the bottom the crust with an even layer of melted chocolate. Refrigerate until chocolate sets, about 10 minutes.

Panna Cotta:
1 package unflavored powdered gelatin
1.75 cup full-fat coconut milk
1 tbsp vanilla bean paste
zest of 1 lemon
Scant 1/4 cup maple
Scant 1/4 tsp sea salt
1/4 c lemon juice, cold

In a small bowl, sprinkle the gelatin over 1/4 cup of the cold lemon juice. Let stand without stirring until the gelatin is moistened, about 10 minutes.

Pour the coconut milk into a small saucepan. Add lemon zest, maple, vanilla, and salt. Bring to a simmer over medium heat, stirring consistently. Remove from heat, strain to remove lemon zest pieces, and whisk in the gelatin mixture. Stir until completely dissolved, about 3 minutes. Cool until lukewarm. Pour the panna cotta mixture into the cooled tart shell. Place in the refrigerator until set, approximately 4 hours or preferably overnight.

Top with whatever pretty things your heart desires! Serve cold out of the fridge. Store any leftovers covered in the fridge as well.

img_1866

Yuzu & black sesame = made for each other

5780752D-0B6B-4A02-97F5-3324F3BAFC18

Hi friends,

It’s so hard to be upbeat about dessert and life when my beautiful state is on fire, out of power, and struggling so hard. I’m going to try my best to keep it positive in my little corner of the internet, if only to give us something pretty to look at in the midst of all this.

5E37C7B7-5725-4660-BD00-1004AE819392

23AC32D2-03F1-4DC9-AB3A-EB8C909A692E

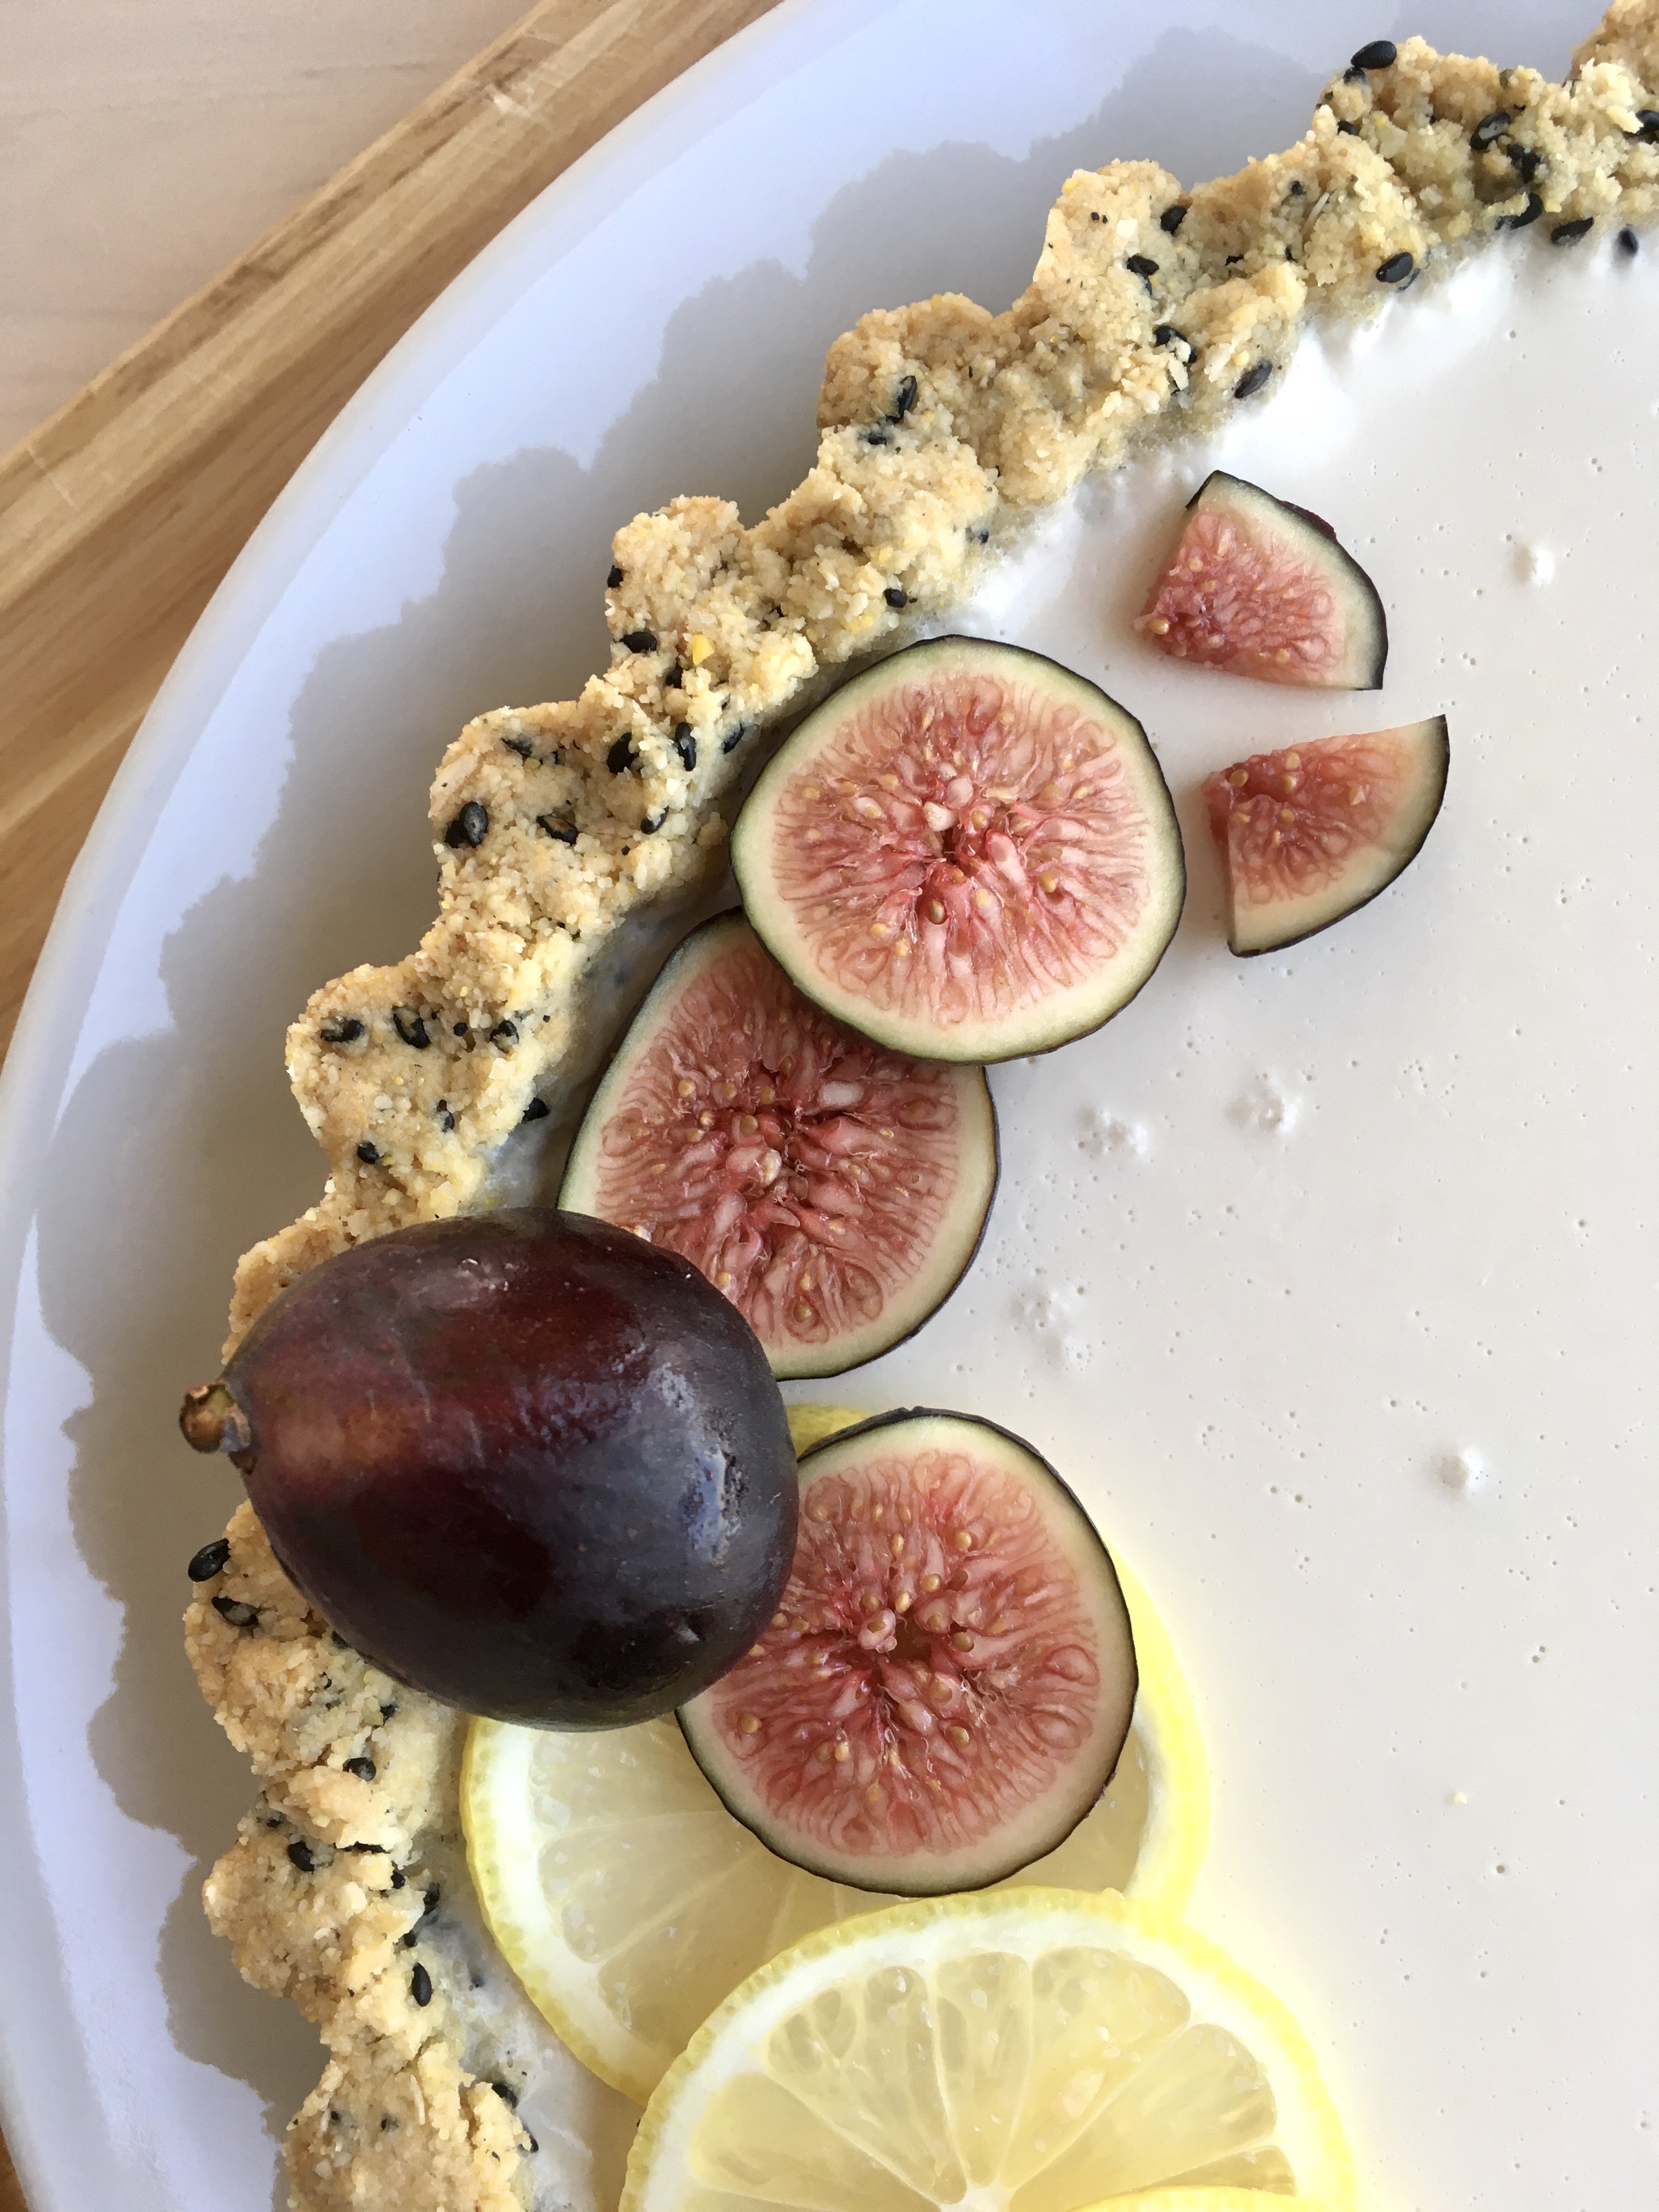
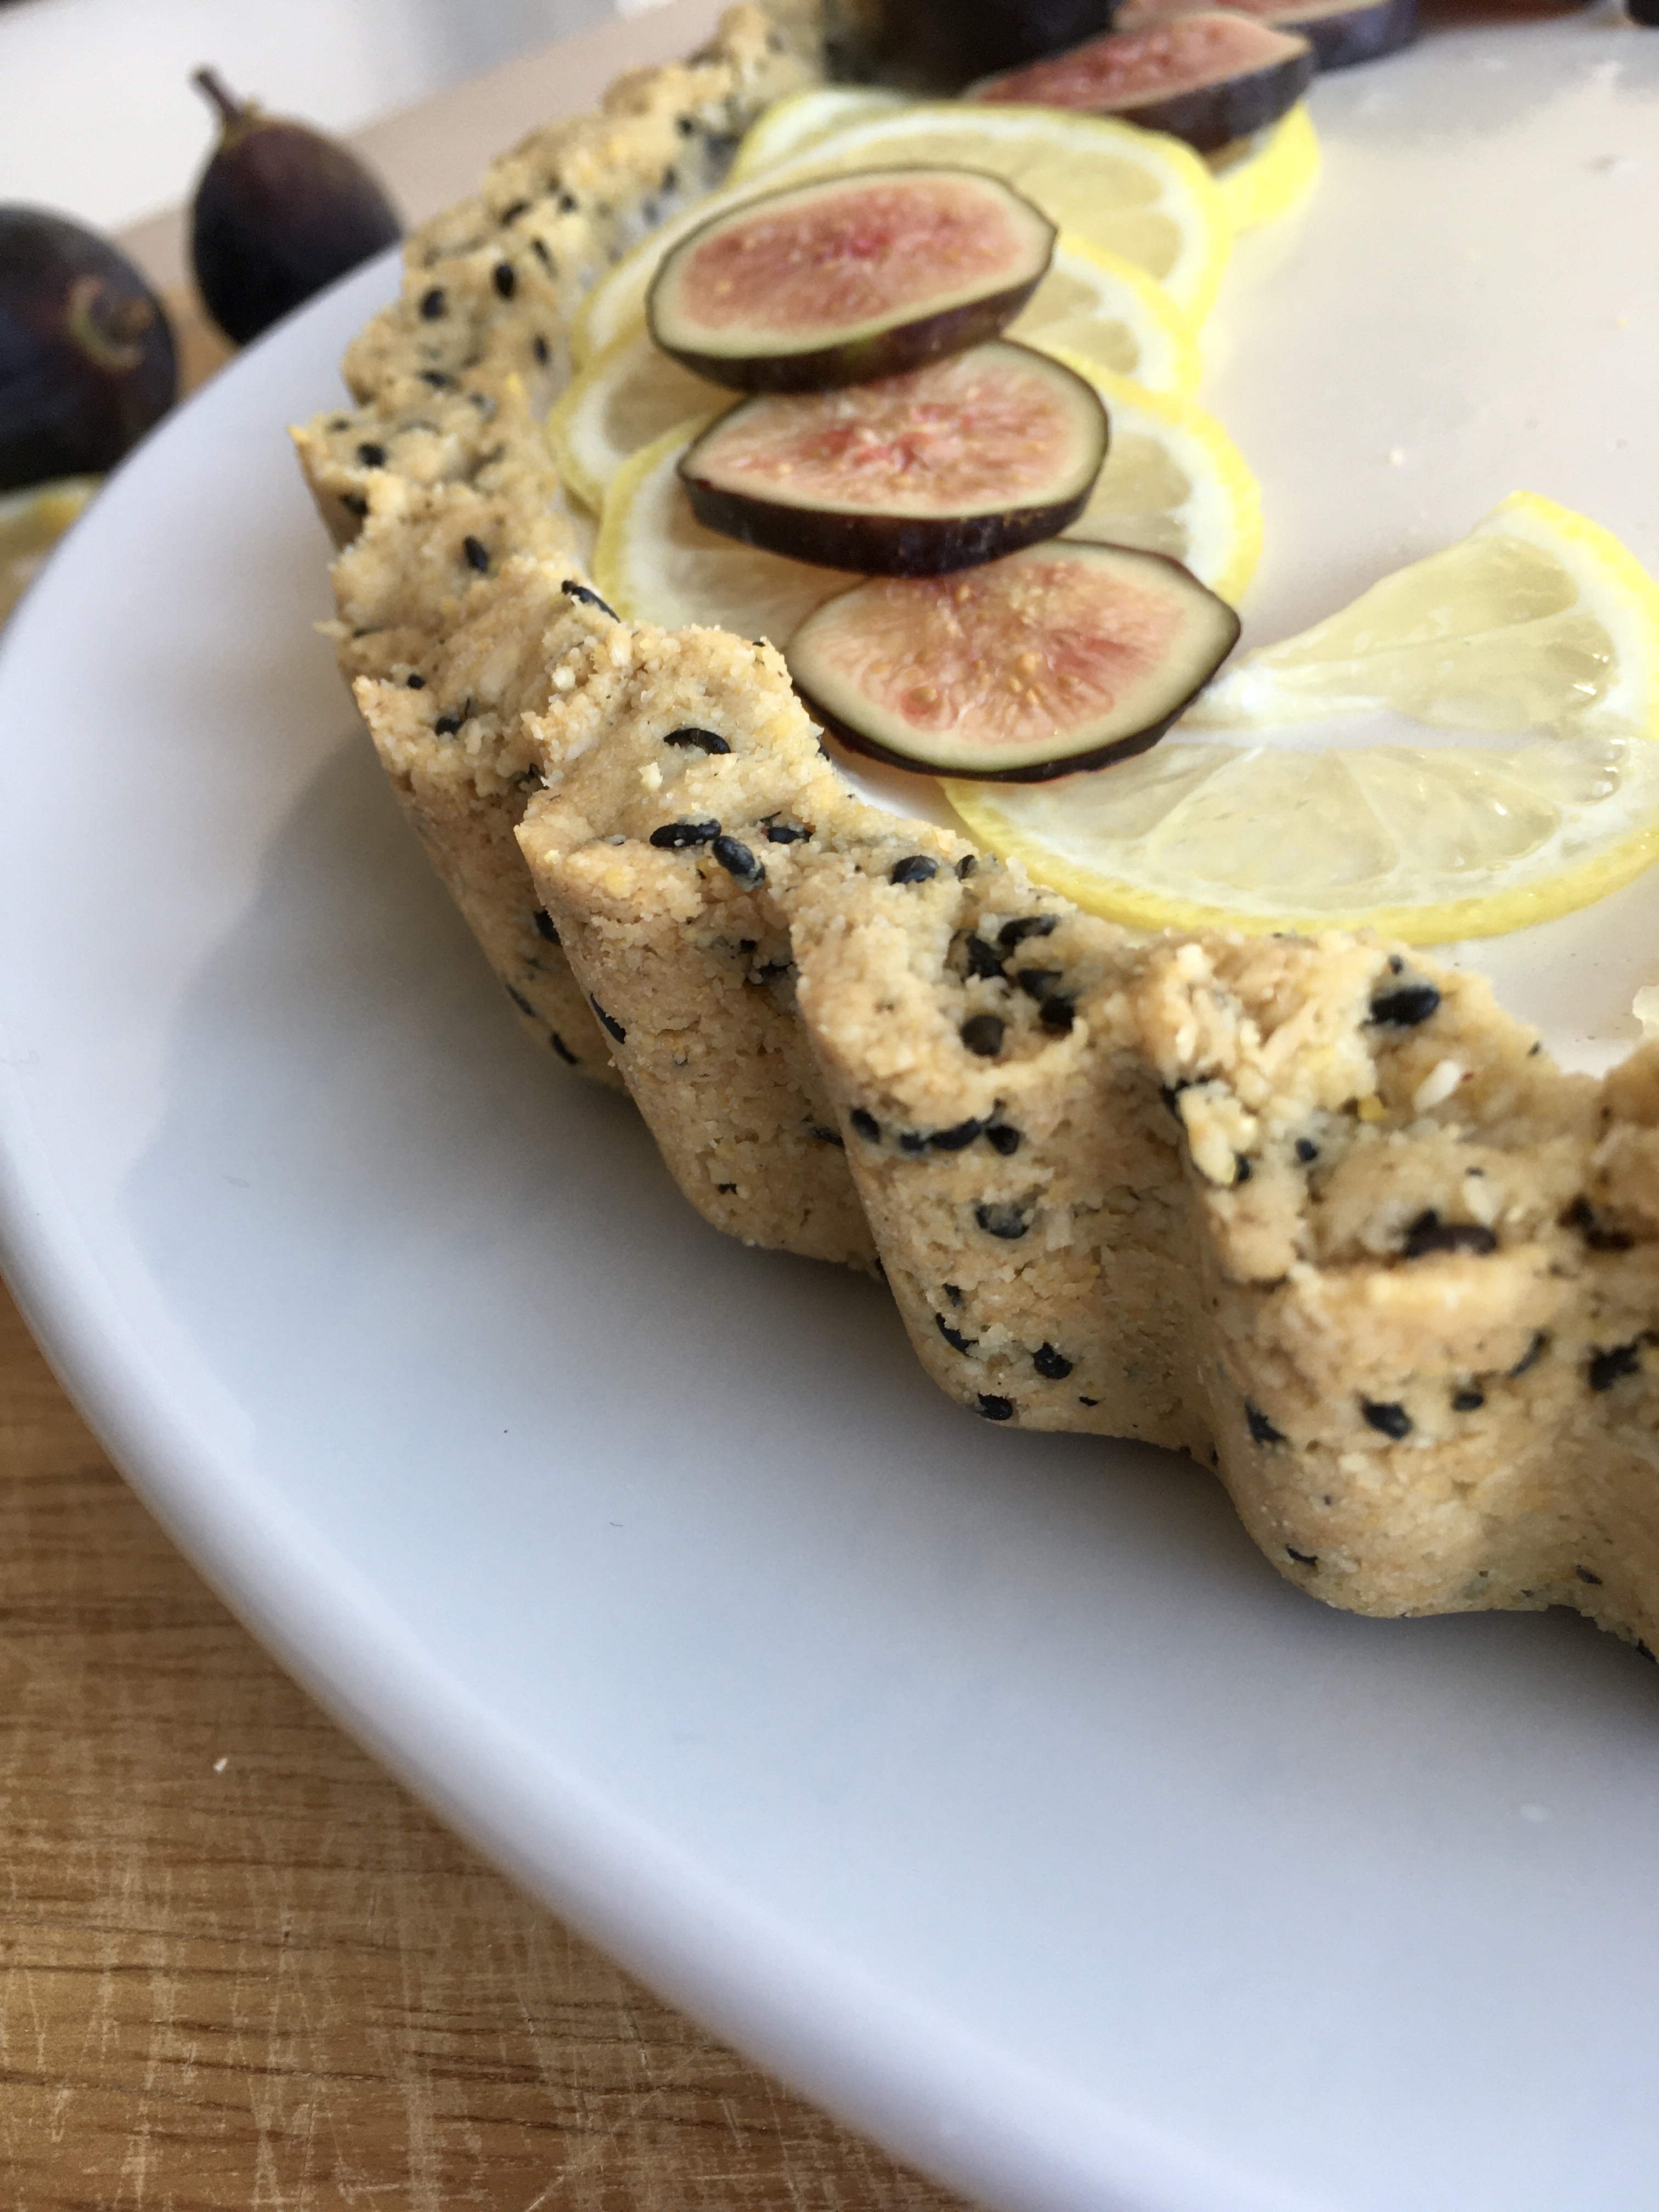
Today, I have a yuzu and black sesame panna cotta tart for you – I made it over the weekend and it was much loved by all! I’m pretty obsessed with everything black sesame at the moment so rest assured you’ll be seeing more of it here in future posts.

Also, I needed to use (yuz-u… ha see what I did there) up the last of my yuzu juice so this was a great way to do so.

6171F09E-4A60-4D71-B33E-6B67A15BCD8B

This was (emphasis on was – it’s long gone, and not only because I’m late in posting, ha!) a great combination of tart, nutty, and creamy all at the same time. The citrusy tartness of the yuzu pairs so well with black sesame – they’re made for each other.

D907666B-0626-4C4C-BE1C-DDA82E040663

As per usual – great for breakfast, dessert, snacks: all of the above.

A couple shots of Fort Funston since I headed out that way this weekend and it was as beautiful as always.

12DFA8D8-6341-493C-8685-644E689AA4FF

CB0CD012-AE76-479B-95BF-44459264F6B4

Short and sweet today: love your peeps. Make them tart!

3EF34AC9-B58D-4E66-A65C-00D895DE11E0

Yuzu and Black Sesame Panna Cotta

Gluten free, dairy free & refined sugar free! A nice balance of tartness and creaminess and nuttiness. Yield: 1 9″ tart, serves several. A Wait are Those Cookies original.

For the crust:

1/4 c black sesame seeds
1.5 c almond flour
1/3c unsweetened shredded coconut
1/3c cornmeal
heaping 1/4 tsp sea salt
1/2 tsp baking soda
2 tsp vanilla extract
2 tbsp pure maple syrup
6 tbsp coconut oil, melted

In a small sauté pan over medium-low heat, toast black sesame seeds, shaking the pan occasionally, until you hear the first one pop. Remove from heat. Using a mortar & pestle, grind up the seeds until they’re a gritty, flour-like consistency. You’ll probably have a few larger pieces in there, which is totally fine.

In a large bowl, stir together sesame seeds, almond flour, shredded coconut, cornmeal, sea salt, and baking soda. Add in vanilla, maple, and melted coconut oil, and stir until completely combined. The dough will look crumbly, but you’ll be able to press it together with your fingers.
Preheat the oven to 350, and lightly grease a 9″ tart pan (w/ removable bottom) with coconut oil. Press the crust into the plate and up the sides with a spoon or your fingers, creating a smooth edge (or not, your call!). Poke the bottom with a fork a few times, and bake for 15 minutes. Remove and let cool for a few minutes.

Panna Cotta:
1 package unflavored powdered gelatin
1.75 cup full-fat coconut milk
1 tbsp vanilla
Scant 1/4 cup maple
1/4 c yuzu juice
Scant 1/4 tsp sea salt
1/4 c water, cold

In a small bowl, sprinkle the gelatin over 1/4 cup of the cold water. Let stand without stirring until the gelatin is moistened, about 10 minutes.

Pour the coconut milk into a small saucepan. Add maple and salt. Bring to a simmer over medium heat, stirring consistently. Stir in yuzu juice and vanilla. Remove from heat, and whisk in the gelatin mixture. Stir until completely dissolved, about 3 minutes. Cool until lukewarm. Pour the panna cotta mixture into the cooled tart shell. Place in the refrigerator until set, approximately 4 hours or preferably overnight.

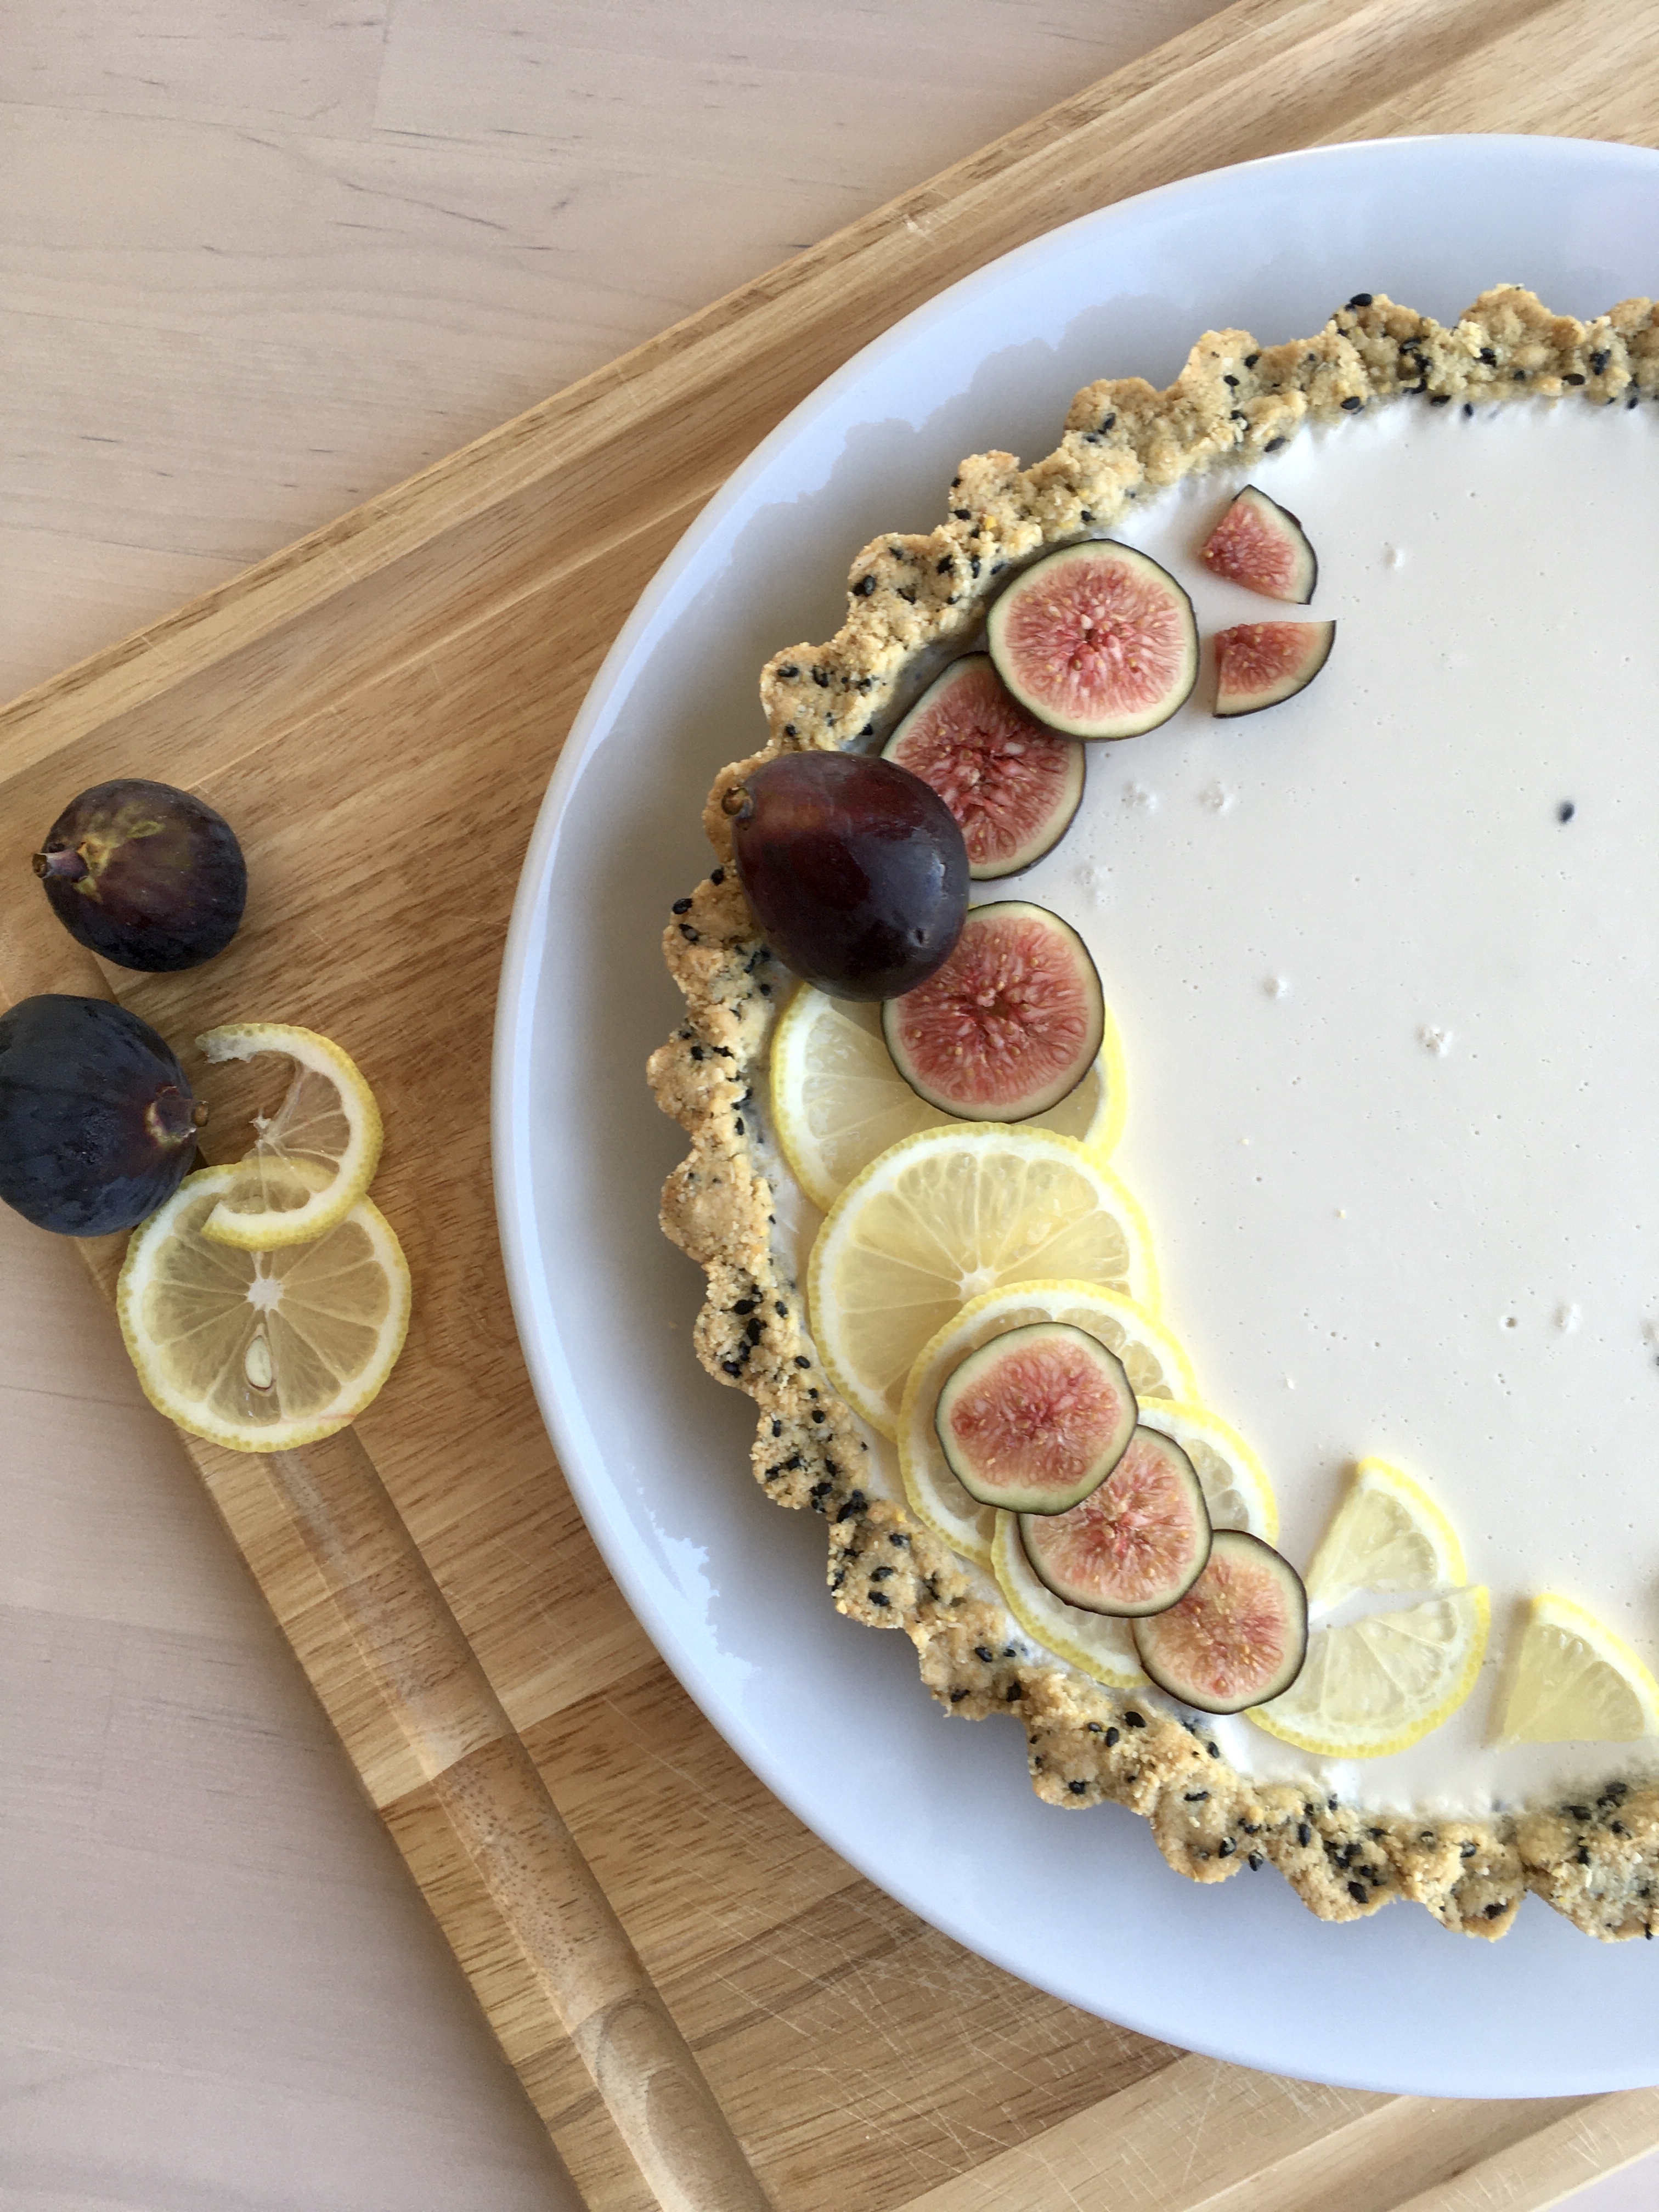
Top with sliced citrus, figs, etc.

Store in the fridge – keeps well overnight for breakfast or snacks the next day.

07B17E40-4554-4540-BD34-AD5AA6F0C519

Yuzu da bomb (see what I did there?!)

fullsizeoutput_2772

Hi friends!

fullsizeoutput_2768

Hey, we made it through Monday! Not sure about you, but I’ve been counting the hours till I could get back in bed, starting when I got out of bed this morning. Lucky for me, that time is nearly upon me.

fullsizeoutput_2784

At least I got to wake up to some rain this morning! SF got a bit of heavy drizzle / real rain, and it smelled soooo good. More of that please! I might be in the minority there but I love the rain, unashamedly.

I had a really delightful day yesterday being super productive with all my usual weekly cleaning / laundry / market shopping / exercise / etc but also made some nice me-time for myself: brunch (pictured below), a long walk, my book, and a sun puddle. Fave human dropped by in the evening to share yuzu tart with me, so all in all a really solid day.

fullsizeoutput_276c

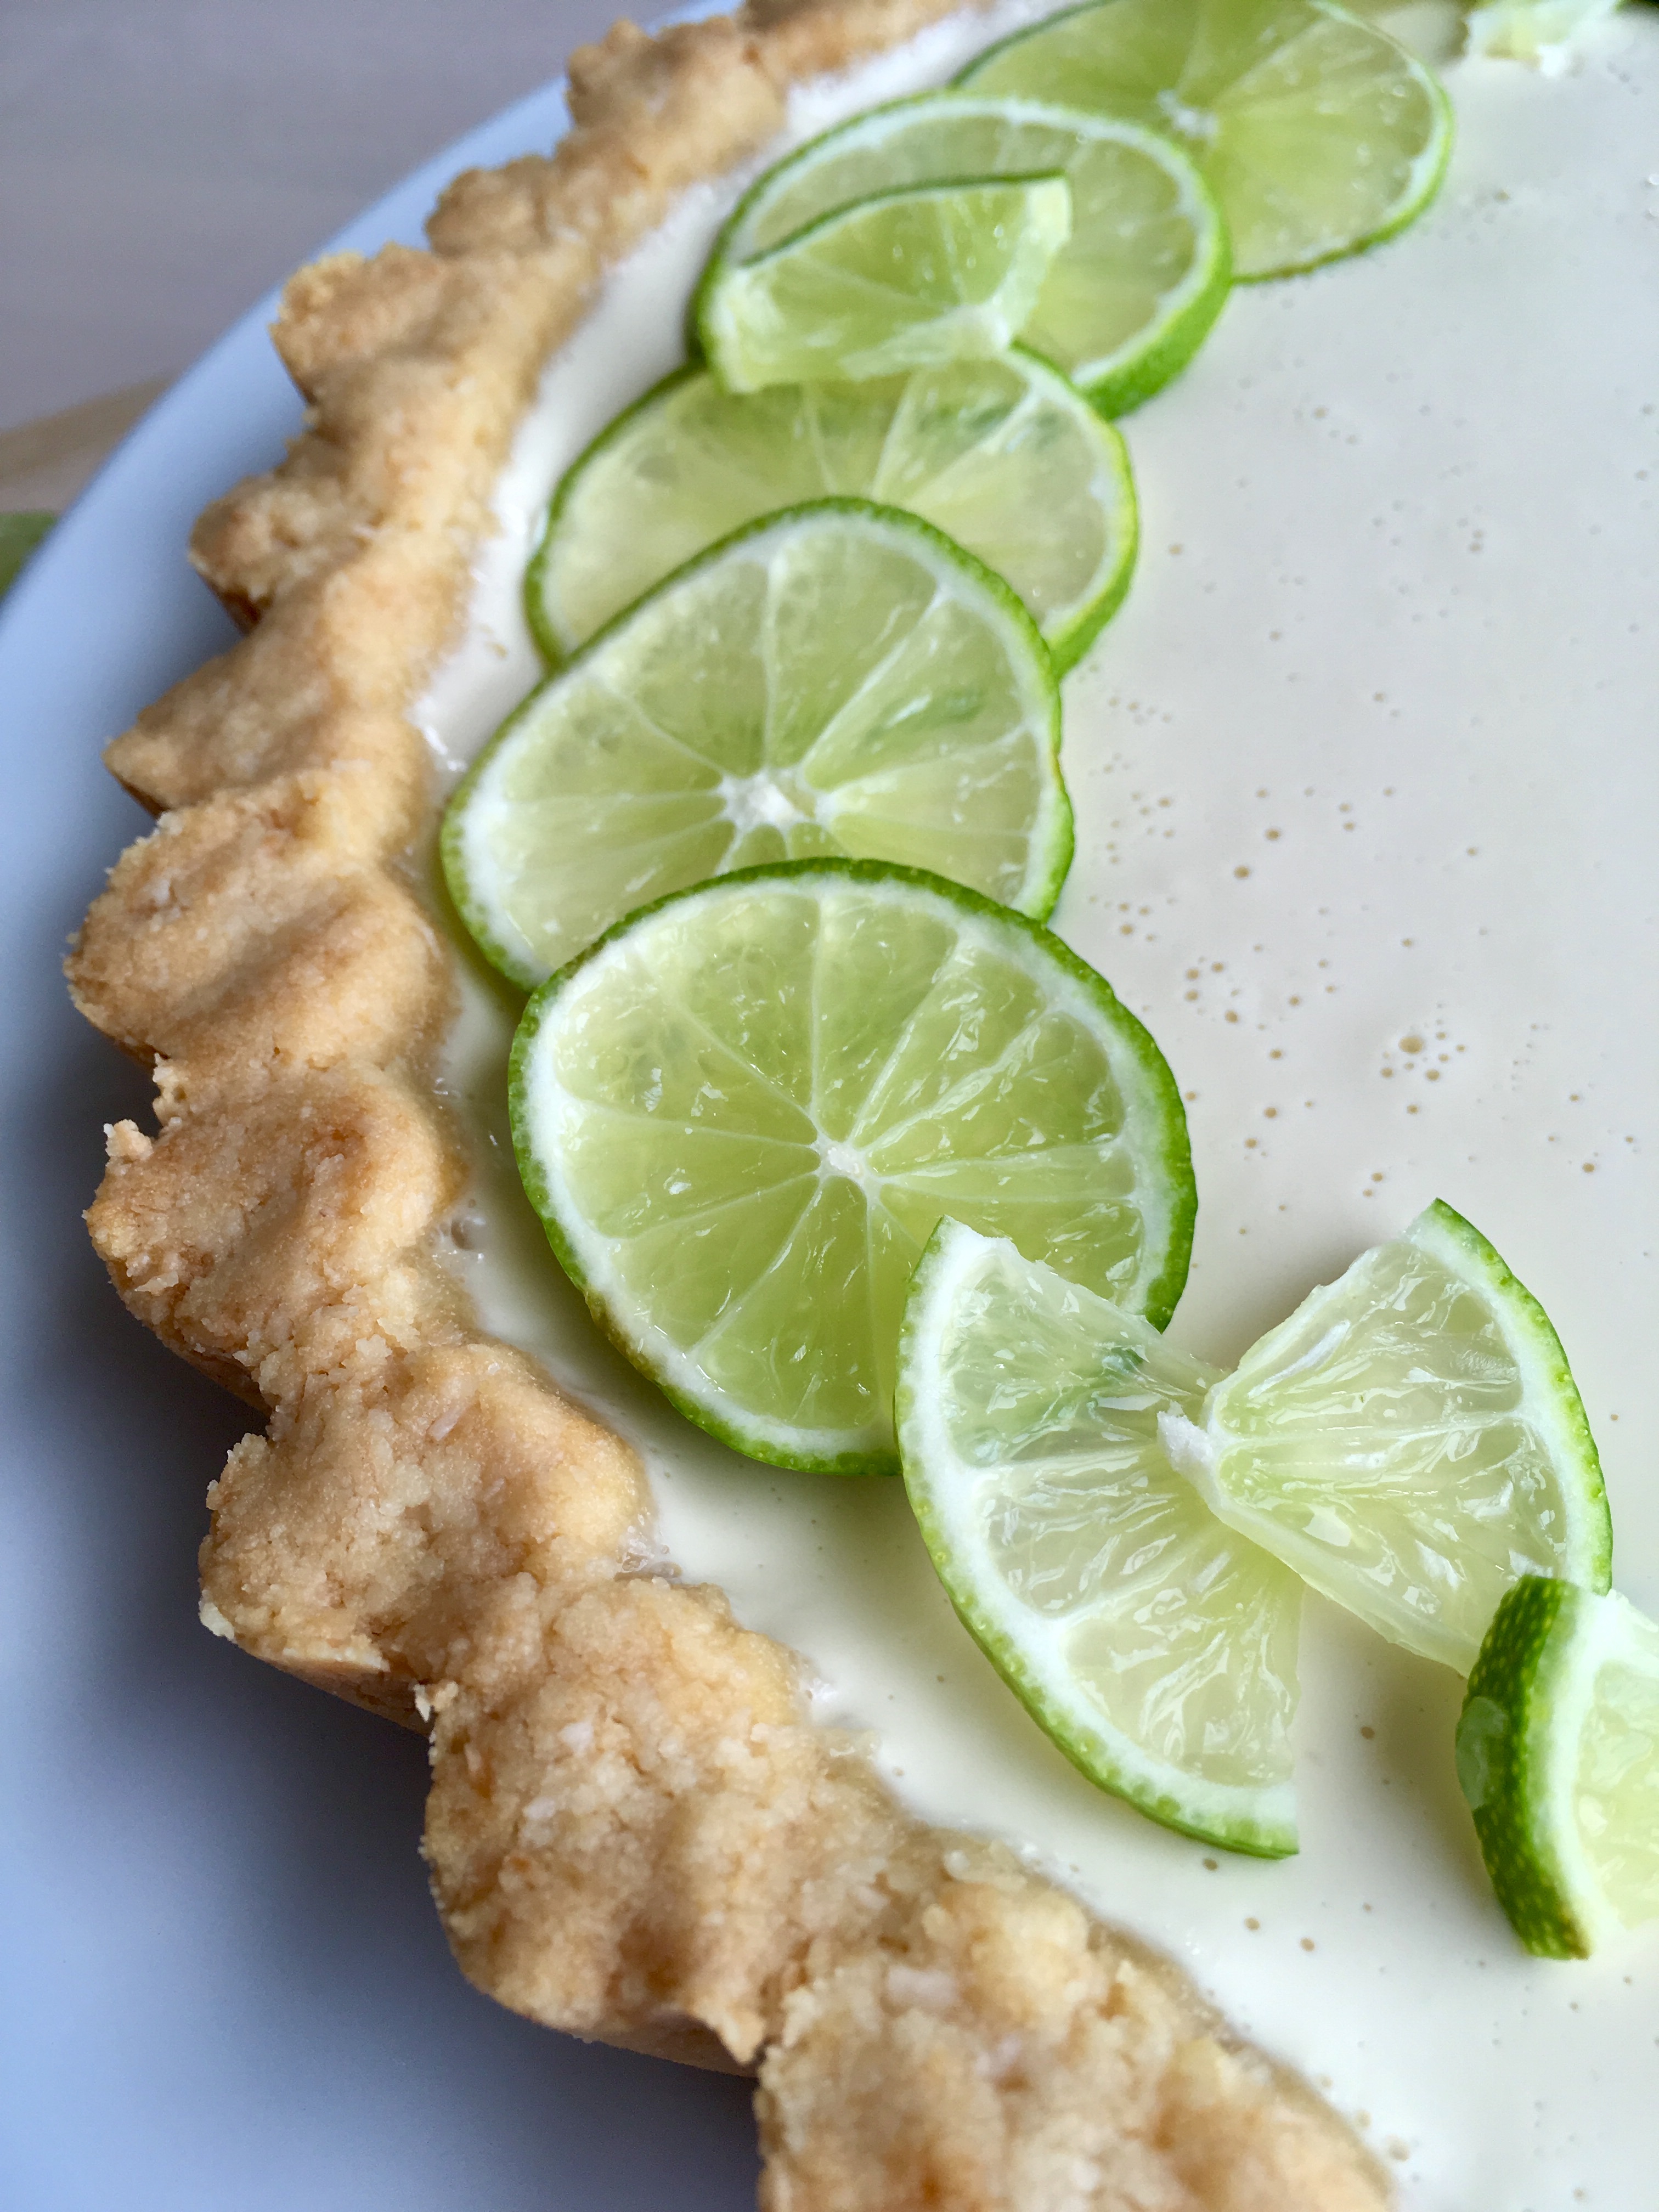
I have yuzu tart for you today! Yuzu is a citrus fruit commonly found in Japanese and Korean cooking – I happen to live right across from Japantown, which makes sourcing yuzu juice exceptionally easy. Happy days! I love yuzu. Well actually, it would be factually more accurate to say that I love all things citrus, but yuzu is fun because it reminds me quite a bit of key lime. I hardly ever (maybe never?!) do anything with key limes since it seems like they’re hard to find out here, but yuzu makes an arguably better substitute.

fullsizeoutput_2780

The cream-based filling of this tart is silky smooth – it’s light, but satisfying. The citrus keeps it from feeling overwhelming or heavy, and it plays extraordinarily well with the salty almond crust.

fullsizeoutput_276e

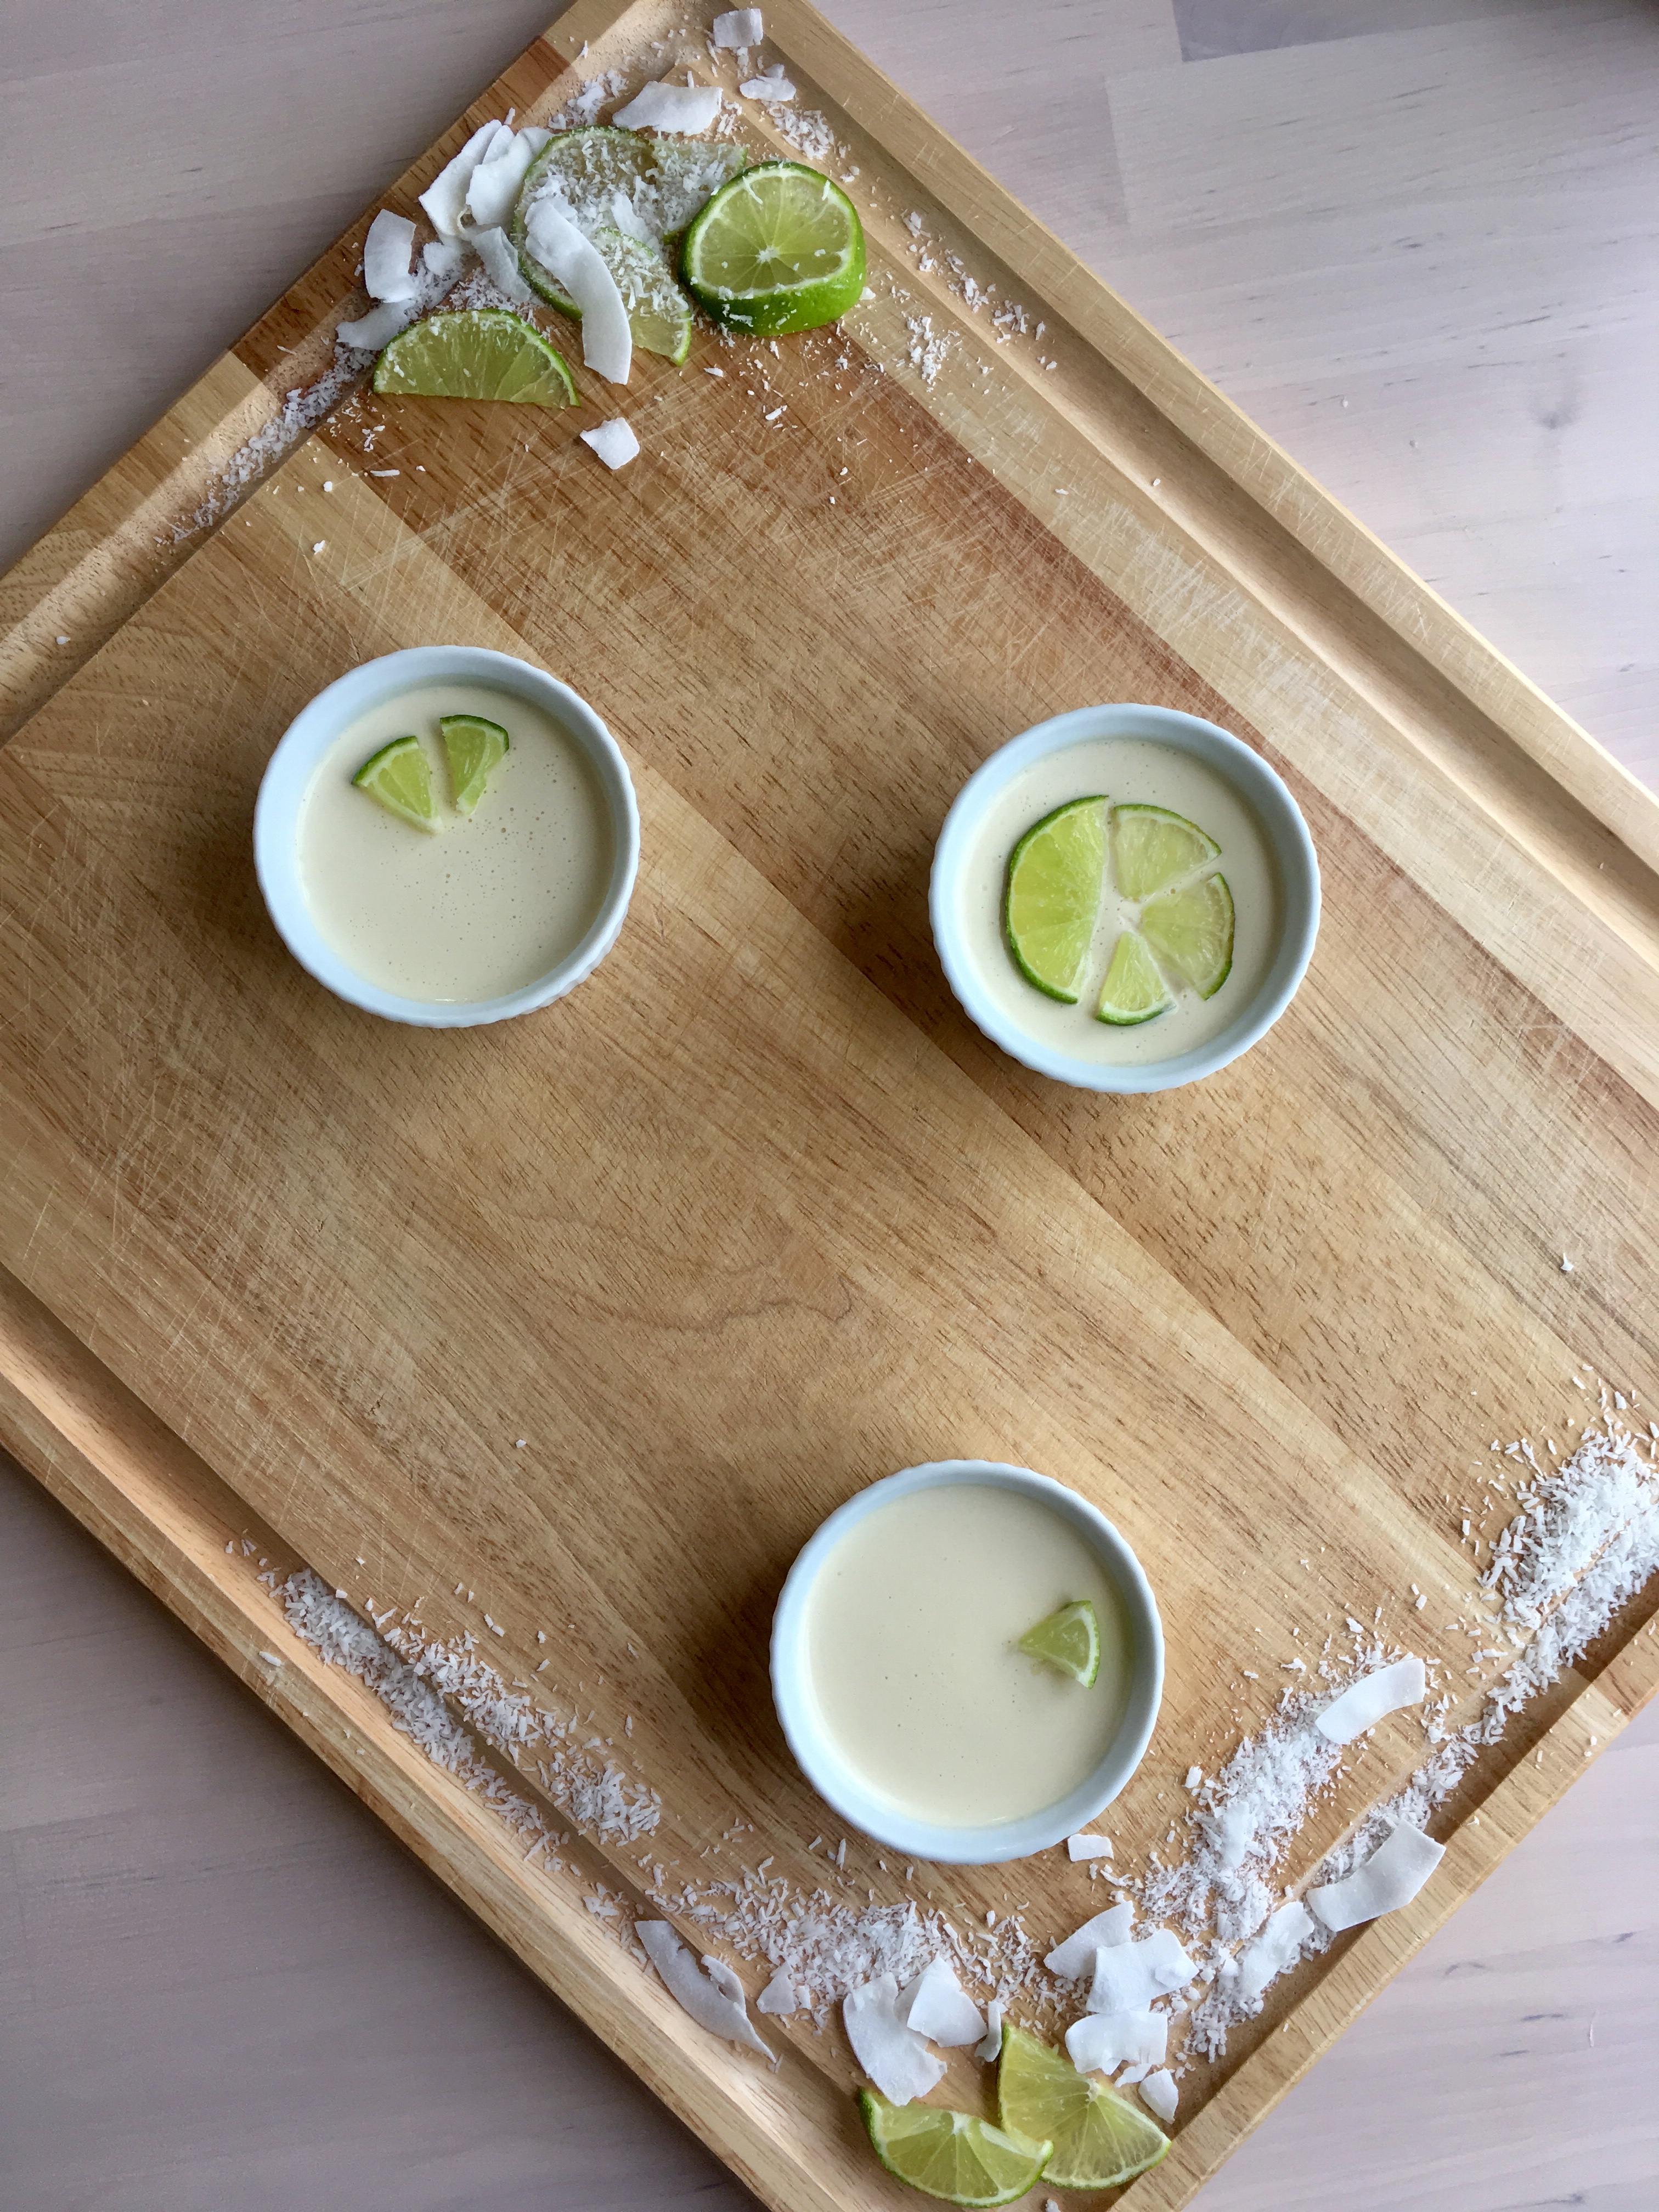
I had some leftover filling that I tossed into tiny ramekins, and then couldn’t resist decorating. Of course. You’re shocked, I know.

fullsizeoutput_2775

fullsizeoutput_2785

fullsizeoutput_2763

I’ve never made a tart with a boiled cream filling – the texture is much softer than a panna cotta, and so easy! ALSO, there aren’t any eggs in it, so if you’re baking for any allergies, it’s ideal. I am definitely adding this to the rotation. Simply boil cream, let cool, and pour into the crust: it sets in about 2 hours in the fridge (though I’d say chill it at least 4 before serving). I will say that because it’s a softer tart, it doesn’t slice as cleanly, so if presentation is your ultimate endgame, you might want to go the panna cotta route.

fullsizeoutput_2770

Either way, it’s delicious and I’m so glad that a) I made it and b) that I have leftover yuzu juice. Stay tuned! More yuzu shenanigans are coming your way.

Have a great week!

fullsizeoutput_2764

Yuzu Cream Tart on a Salted Almond Crust

Creamy, citrusy & fresh – the best of all worlds. Yuzu reminds me of key lime, so the creamy filling of the tart plays really well against the salty-ish almond crust. Gluten, grain and refined sugar free. Could be dairy free – just use coconut cream (minus the water) instead of heavy cream. Yield: 1 9″ tart, serves several. Tart filling & method inspired by / modified from Half Baked Harvest, here! Crust is a Wait are Those Cookies original.

For the crust

1.75c almond flour
1/2 c shredded unsweetened coconut
1/2 tsp baking powder
Scant 1/2 tsp sea salt
1 tbsp vanilla extract
2 tbsp maple syrup
6 tbsp coconut oil, melted

In a large bowl, stir together almond flour, shredded coconut, sea salt, and baking soda. Add in vanilla, maple, and melted coconut oil, and stir until completely combined. You’ll be able to press the dough together with your fingers.

Preheat the oven to 350, and lightly grease a 9″ tart pan (w/ removable bottom) with coconut oil. Press the crust into the plate and up the sides with a spoon or your fingers, creating a smooth edge (or not, your call!). Poke the bottom with a fork a few times, and bake for 15 minutes. Remove and let cool for a few minutes.

For the filling

3.5 c heavy cream
1/4 c raw honey
Zest of 2 limes (or fresh yuzu, if you can find it)
1/3 c yuzu juice
Pinch of salt
1 tbsp vanilla extract

Combine heavy cream, honey, and lime zest in a large pot (cream tends to boil over, so use something bigger than you high is necessary!) Bring to a boil over high heat, stirring occasionally. Boil for 5 minutes, stirring occasionally, and then remove from the heat. Whisk in the yuzu juice, vanilla, and salt. Let cool for at least 10 minutes (mine probably cooled for more like 20 min), then carefully pour the cream into the baked tart shell. Let set in the refrigerator at least 4 hours before serving.

Keep leftovers covered in the fridge!

fullsizeoutput_2788

Limes, coconuts & vacation things

fullsizeoutput_2384

Hi friends!

fullsizeoutput_236f

fullsizeoutput_2375

It’s been a little while… I took a tropical vacation (much needed) with my mama to Hawaii, and we had a blast! Photo evidence below, since word on the street says pics or it didn’t happen…

fullsizeoutput_22b7

fullsizeoutput_228f

fullsizeoutput_22ac

fullsizeoutput_22f1

fullsizeoutput_2302

fullsizeoutput_22a4

IMG_0926

This also means it’s been about three weeks since I’ve baked anything substantial (one batch of cookies for the plane doesn’t count) – this felt good! I wanted to carry over the nice island vibes, hence the coconut – not like I don’t use coconut all the time anyway, hahaa…

fullsizeoutput_2367

fullsizeoutput_2385

This one was delicious! I very rarely bake with limes – mostly because I get annoyed juicing a zillion of them for just a little bit of juice – but they work fabulously here with the coconut and poppyseed. C and I decided that panna cotta makes the perfect vehicle for all the winter and early spring citrus, since it really lets the citrus shine.

fullsizeoutput_2365

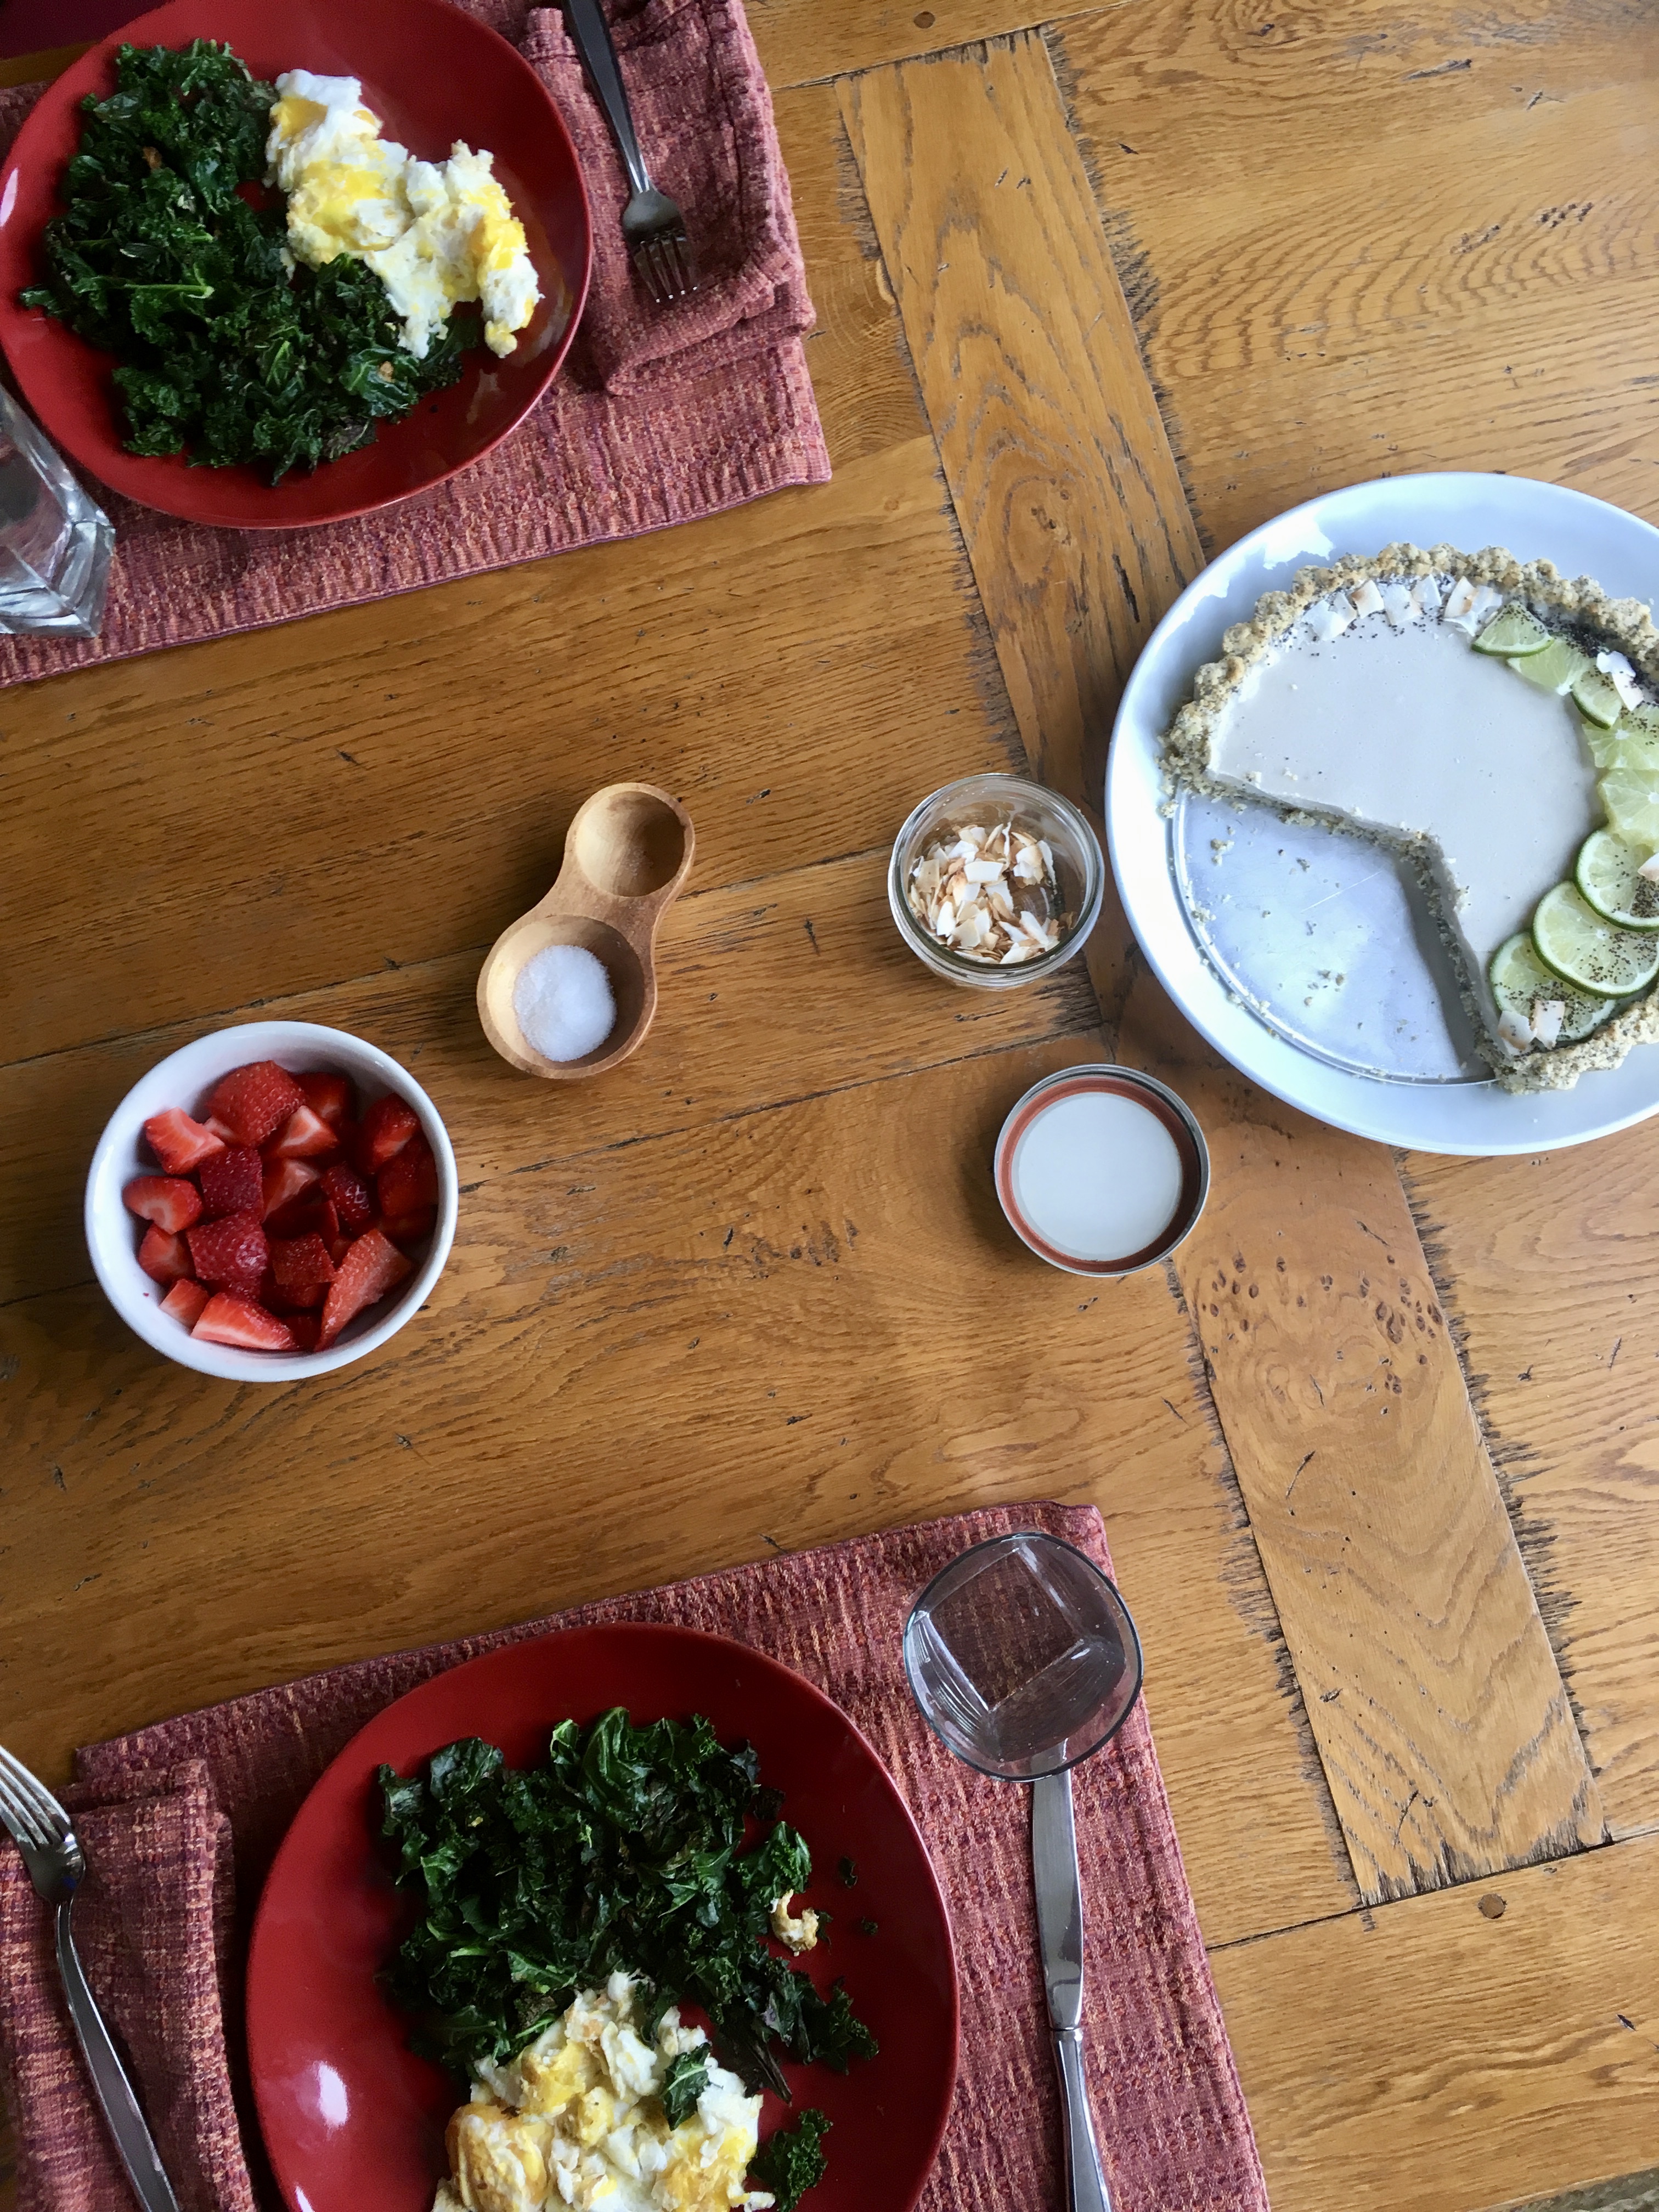
As per usual, it made a great dessert and late brunch post-hike. We further decided that it’s a little too easy to eat… as in, nothing stops you from eating the whole thing in one sitting! Ha, kidding, not like we’ve done that…. More like, it’s so light and delicate that it doesn’t way you down the way some desserts do.

fullsizeoutput_2393

fullsizeoutput_2392

Regardless, it’s become a huge favorite of ours, which if you read this regularly, you’ve probably noticed!

fullsizeoutput_2383

It’s nice to be back in the blogspace! I hope all of my blog friends are doing well :) Happy spring!

fullsizeoutput_236e

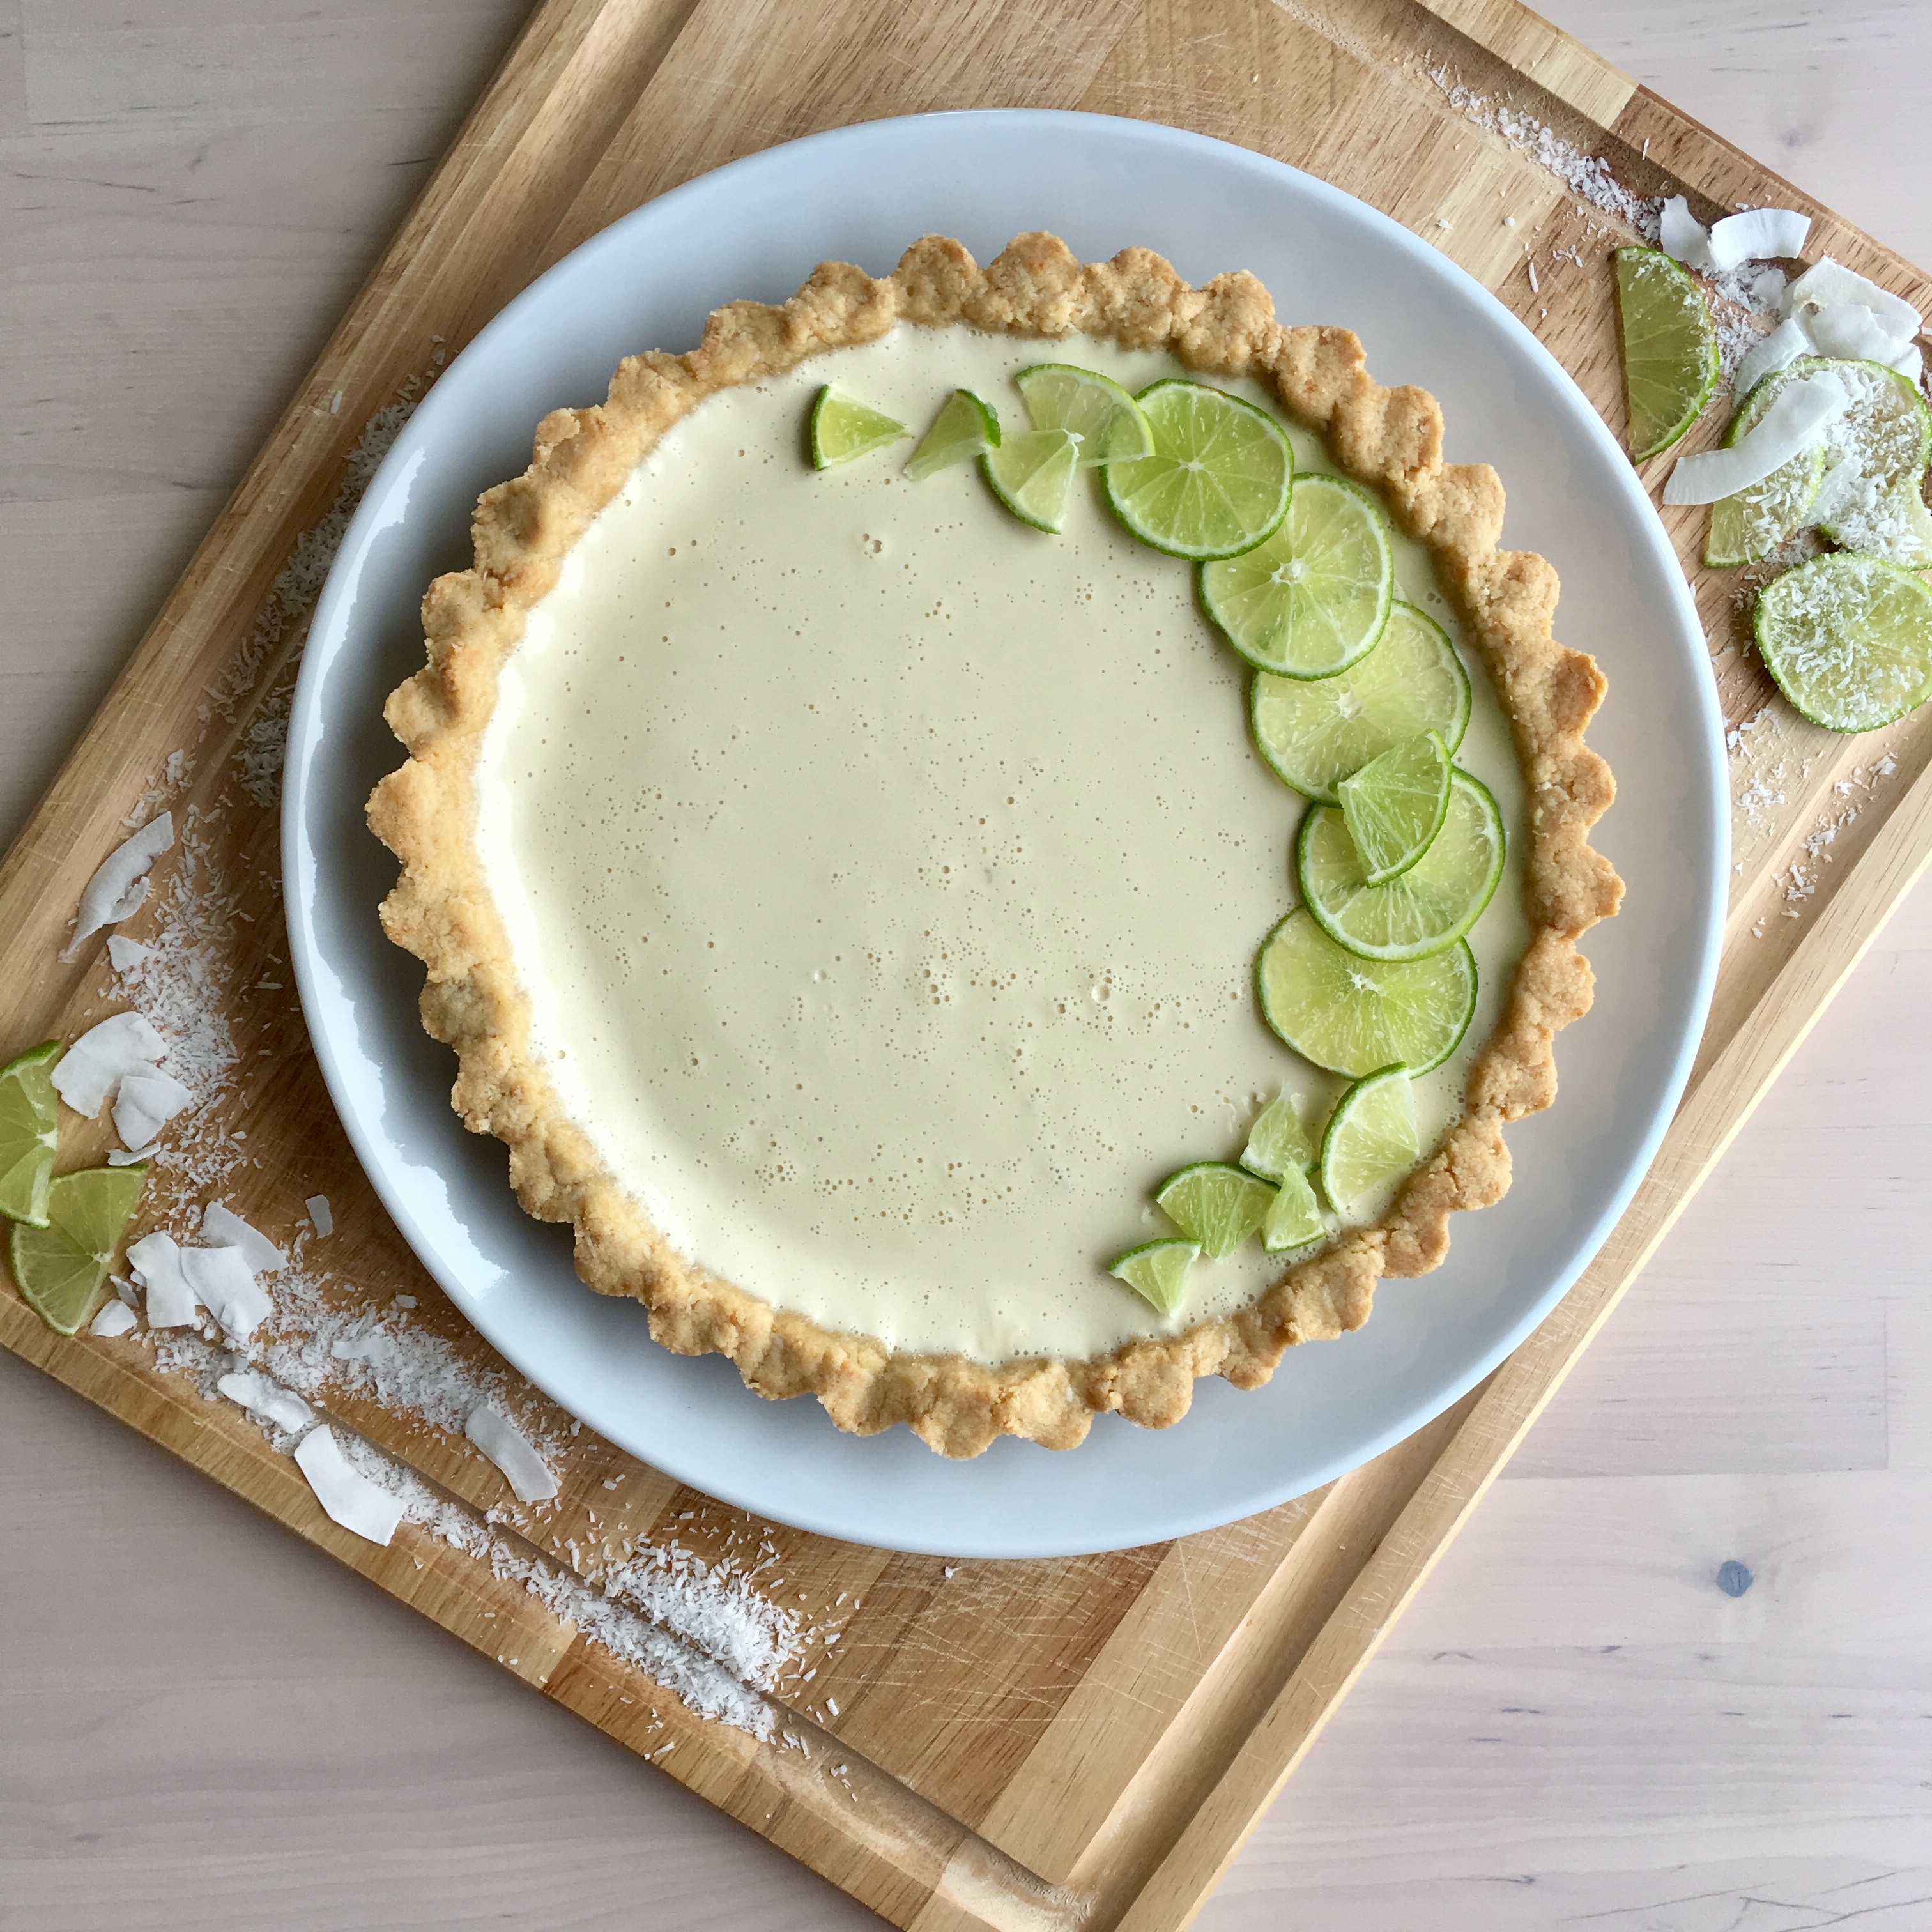
Toasted Coconut & Lime Panna Cotta Tart on an Almond Poppyseed Crust

Gluten free, dairy free and refined sugar free! A Wait are those Cookies original. Yield: 1 9″ tart, serves several.
For the crust:

1.5 c almond flour
1/3 c unsweetened shredded coconut
1/3 c cornmeal
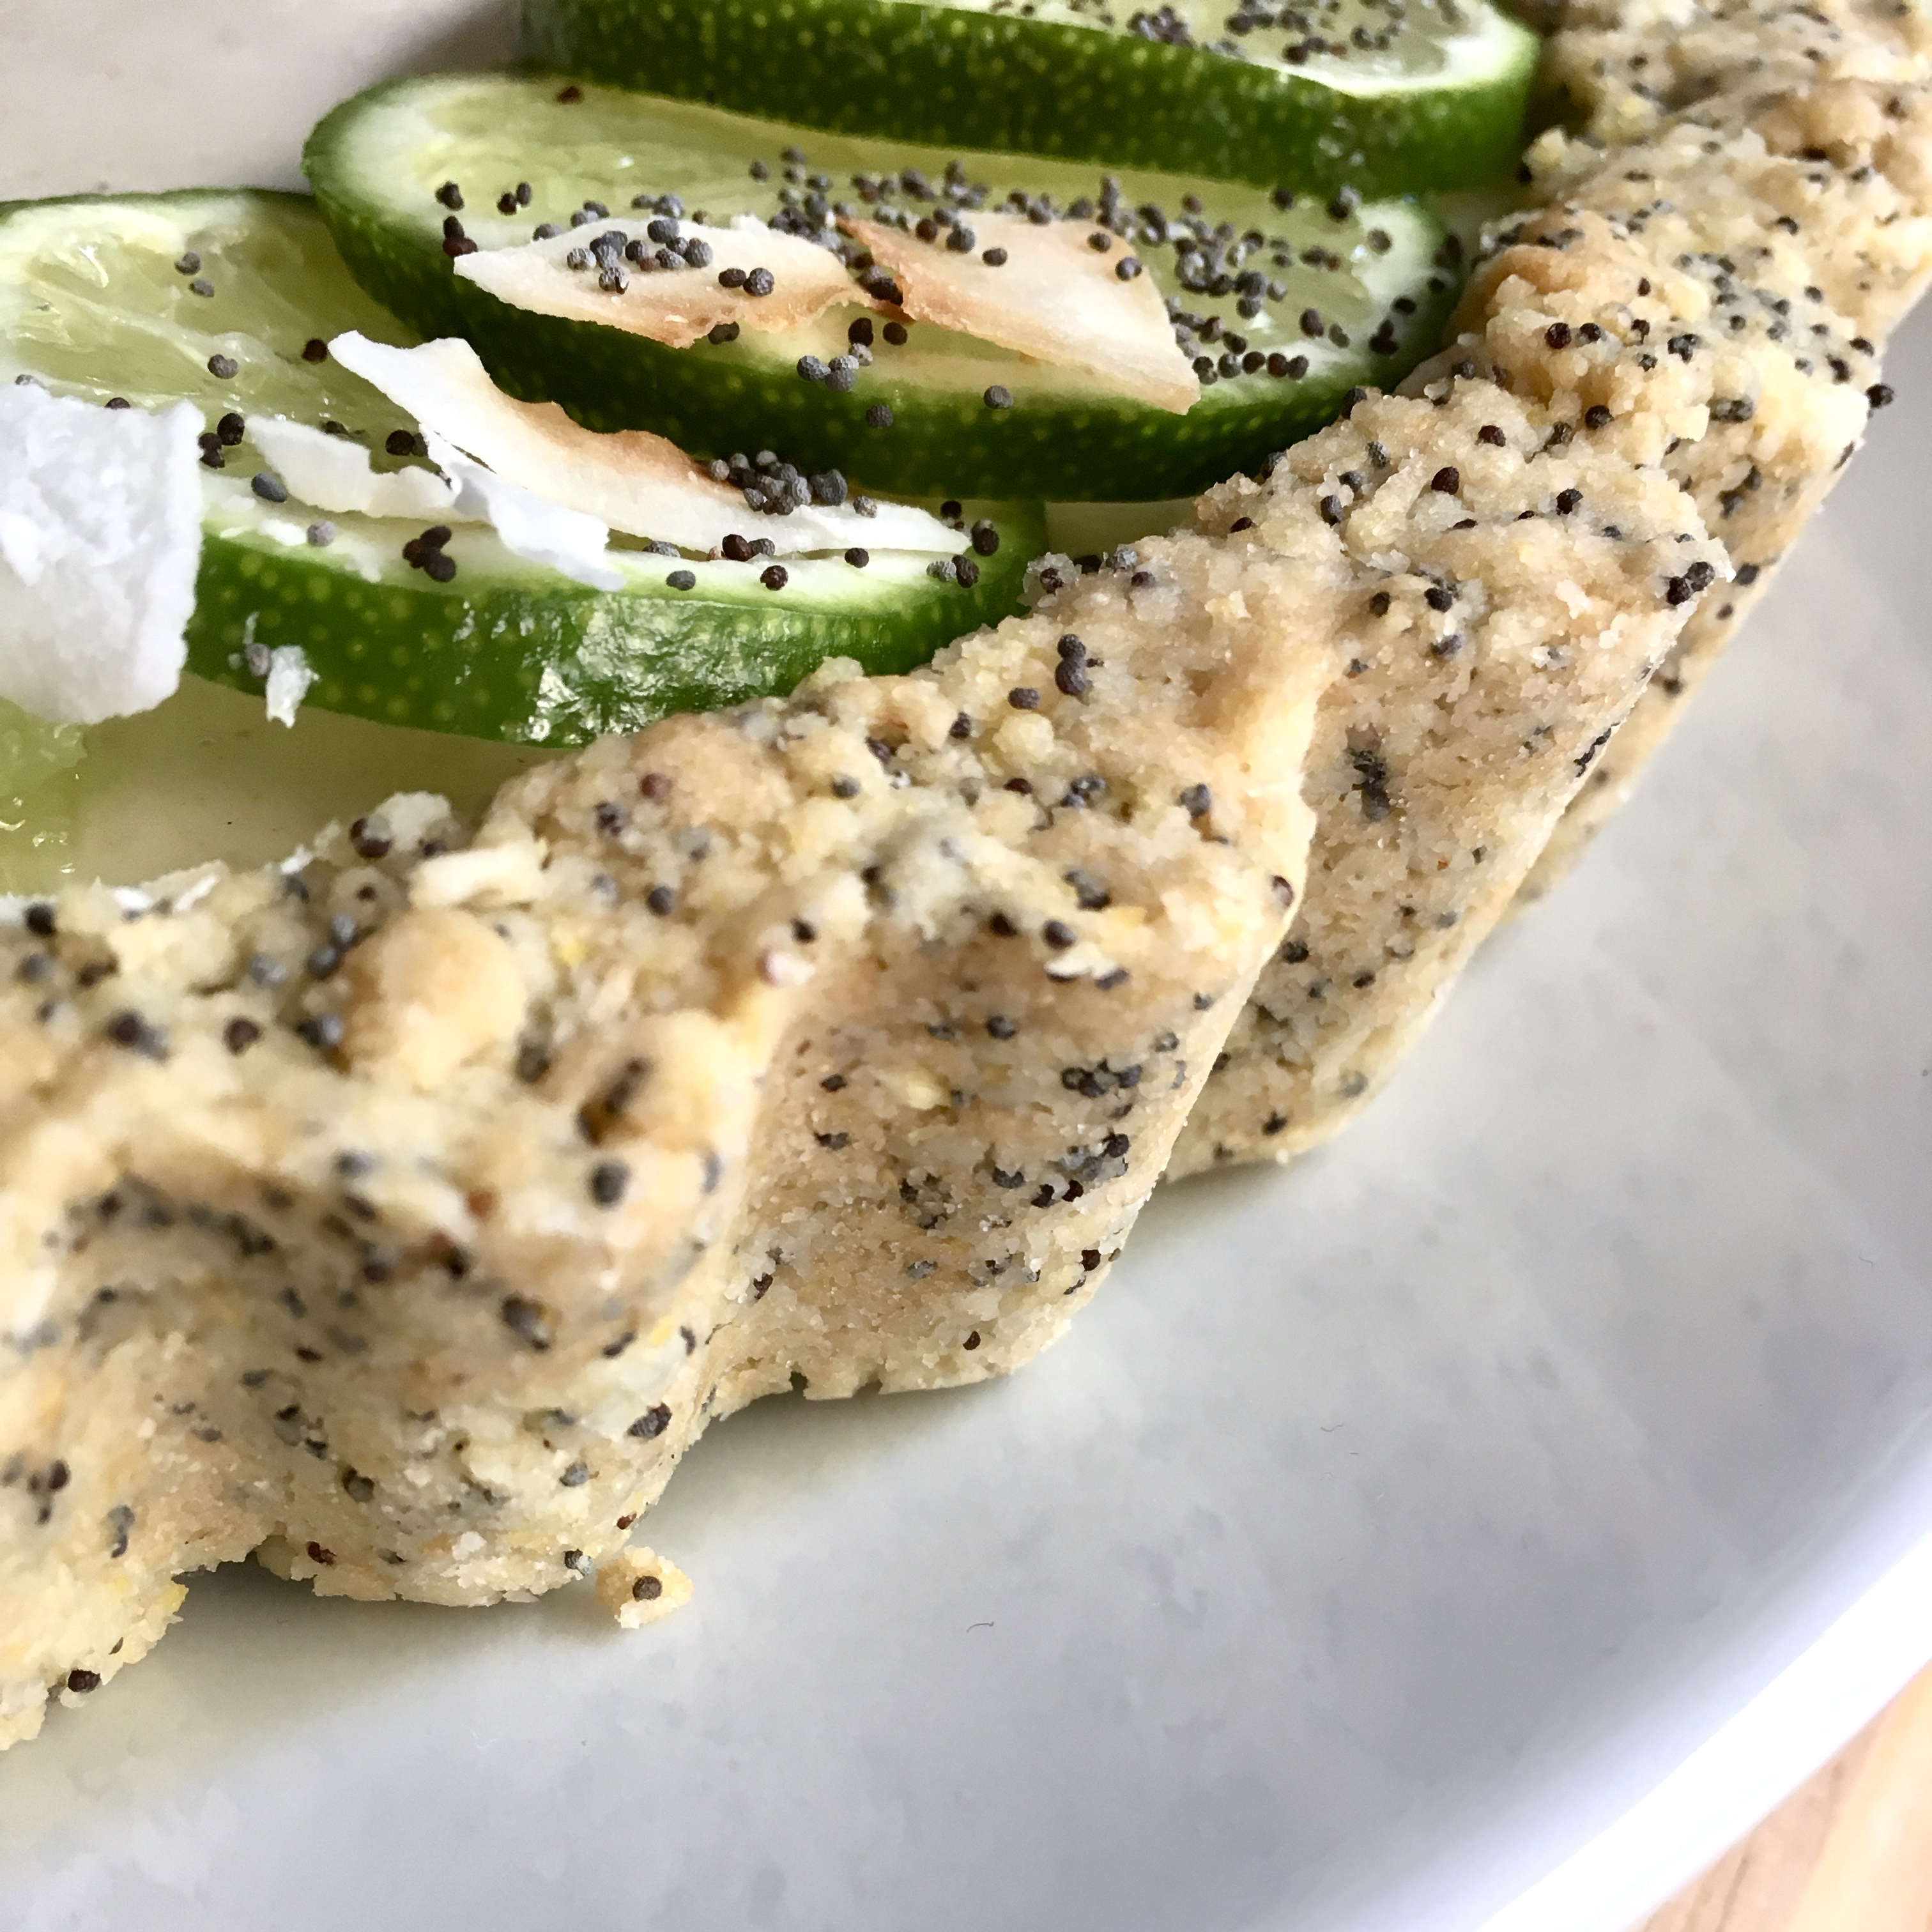
3 tbsp poppy seeds
heaping 1/4 tsp sea salt
1/2 tsp baking soda
2 tsp vanilla extract
1/2 tsp almond extract
2 tbsp pure maple syrup
6 tbsp coconut oil, melted

In a large bowl, stir together almond flour, shredded coconut, cornmeal, poppy seeds, sea salt, and baking soda. Add in vanilla, maple, and melted coconut oil, and stir until completely combined. The dough will look crumbly, but you’ll be able to press it together with your fingers.
Preheat the oven to 350, and lightly grease a 9″ tart pan (w/ removable bottom) with coconut oil. Press the crust into the plate and up the sides with a spoon or your fingers, creating a smooth edge (or not, your call!). Poke the bottom with a fork a few times, and bake for 15 minutes. Remove and let cool for a few minutes.

For the panna cotta:

1 package unflavored powdered gelatin
1.5 cup full-fat coconut milk
1.5 tbsp vanilla bean paste
1/4 c lime juice
1 tbsp lime zest, finely chopped
scant 1/4 cup maple
Scant 1/4 tsp sea salt

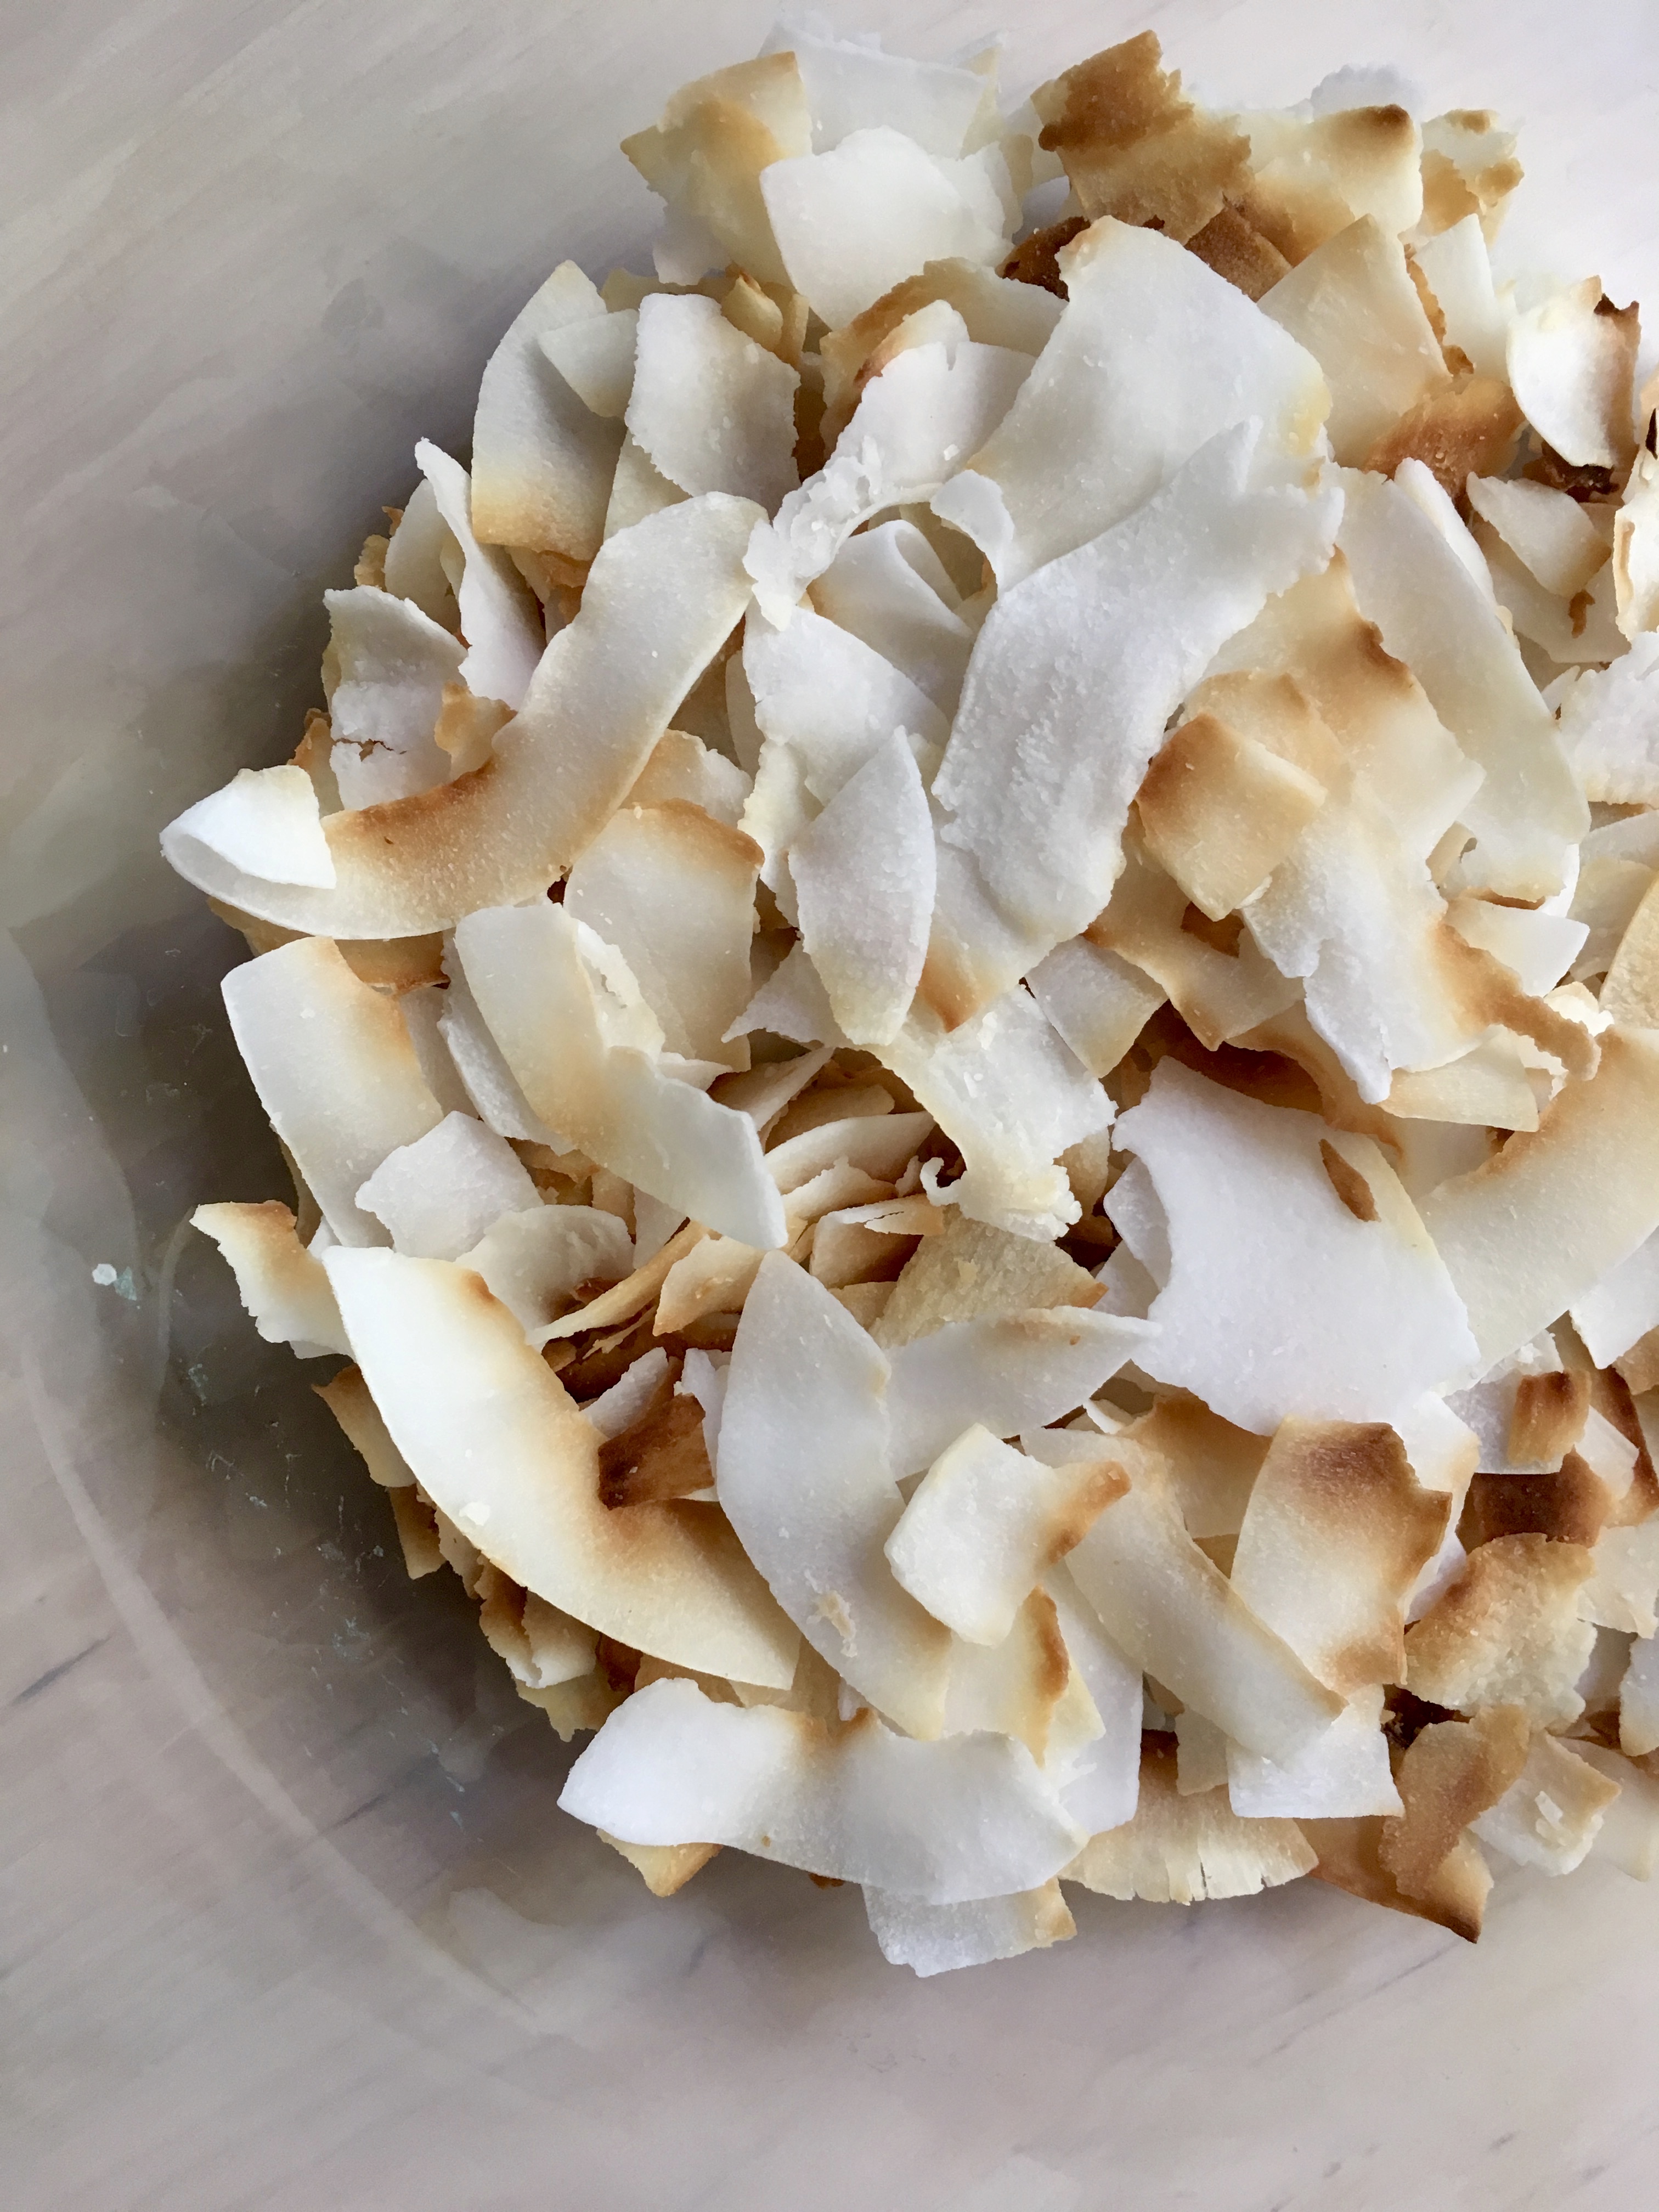
For garnish: sliced limes + toasted coconut

In a small bowl, sprinkle the gelatin over the lime juice. Let stand without stirring until the gelatin is moistened, about 10 minutes.

Pour the 1.5 cups of coconut milk into a small saucepan. Add vanilla, maple, salt, and lime zest into it. Bring to a simmer over medium heat, stirring consistently. Remove from the heat. Add the gelatin mixture and stir until completely dissolved, about 3 minutes. Cool until lukewarm, about 5 minutes. Pour the panna cotta mixture into the cooled tart shell. Place in the refrigerator until set, approximately 4 hours. Top with sliced limes, toasted coconut & sliced almonds.

Store in the fridge – keeps well overnight and is EXCELLENT for breakfast the next morning :)

fullsizeoutput_2369