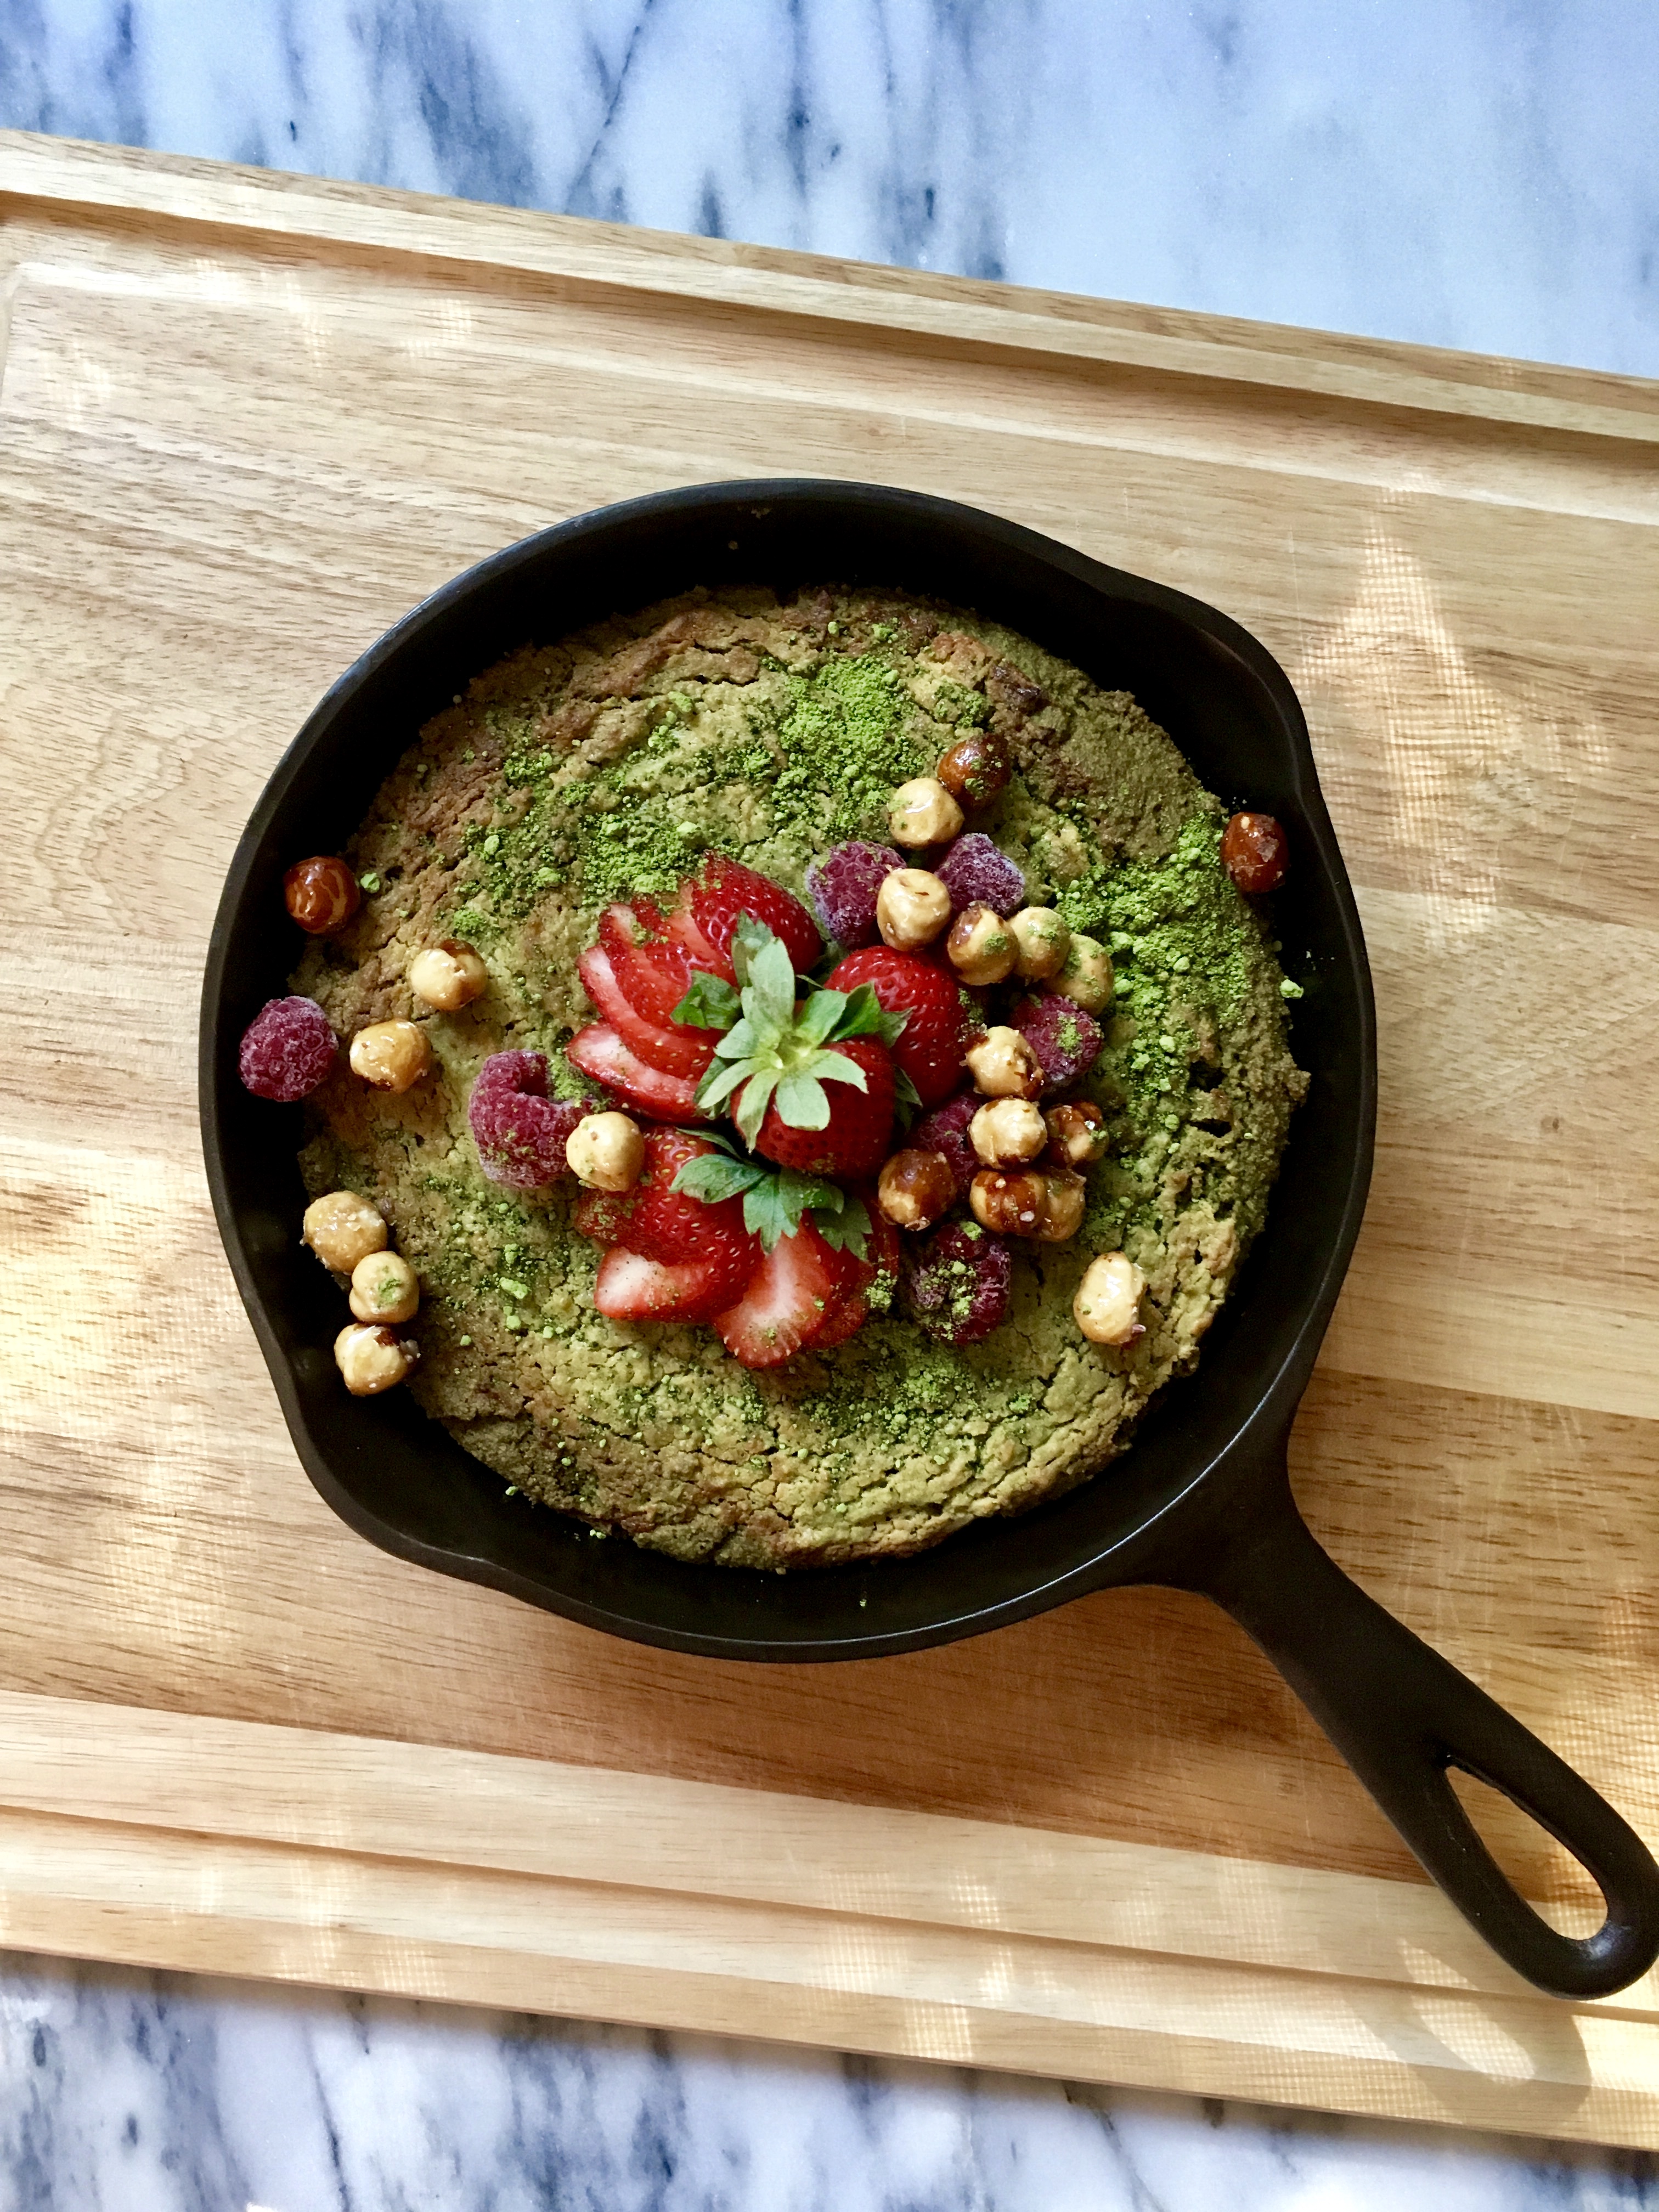
Cake!
It feels like I hardly ever make cake anymore, but boy am I glad I broke that streak.
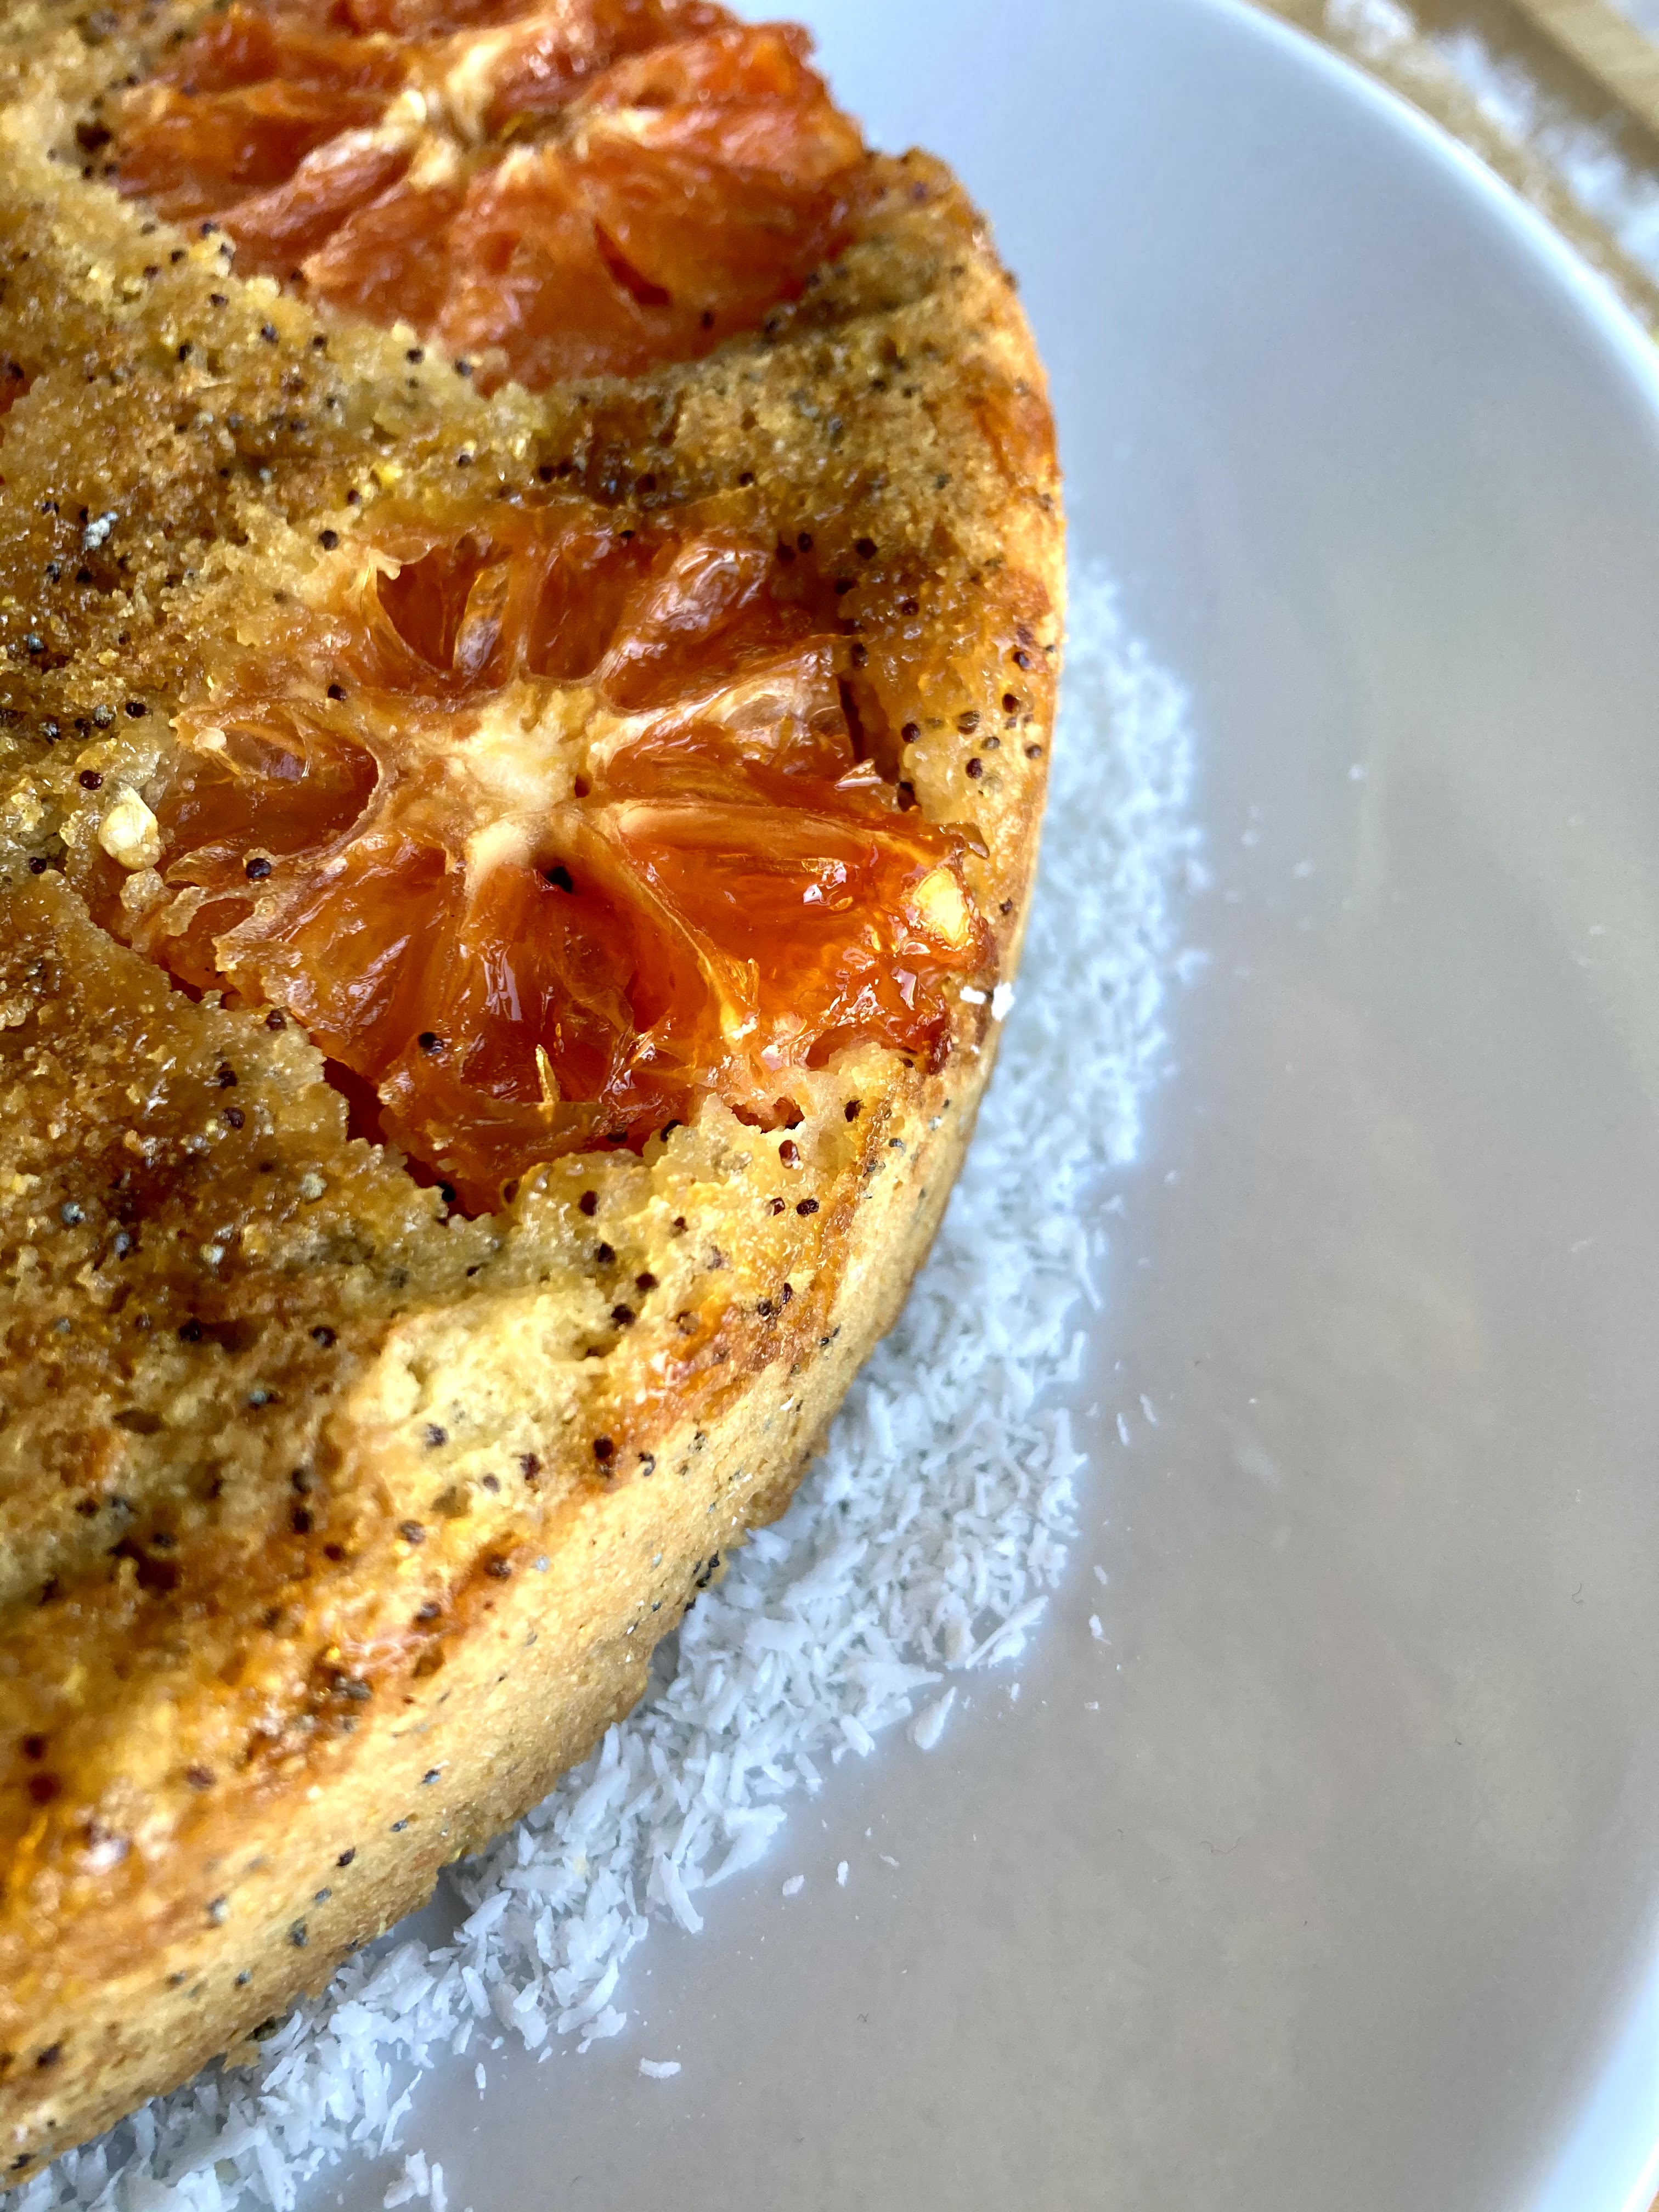
I was intrigued by the idea of an upside-down cake, but I’ve never liked them that much since they are always SO full of sugar and way overly sweet. I liked the idea in theory but I was curious to see if I could pull it off with just a bit of fruit-only jam & coconut sugar. Turns out, it works marvelously! This guy is gluten & dairy free + refined sugar free; could probably be pretty easily vegan too with an egg replacement.

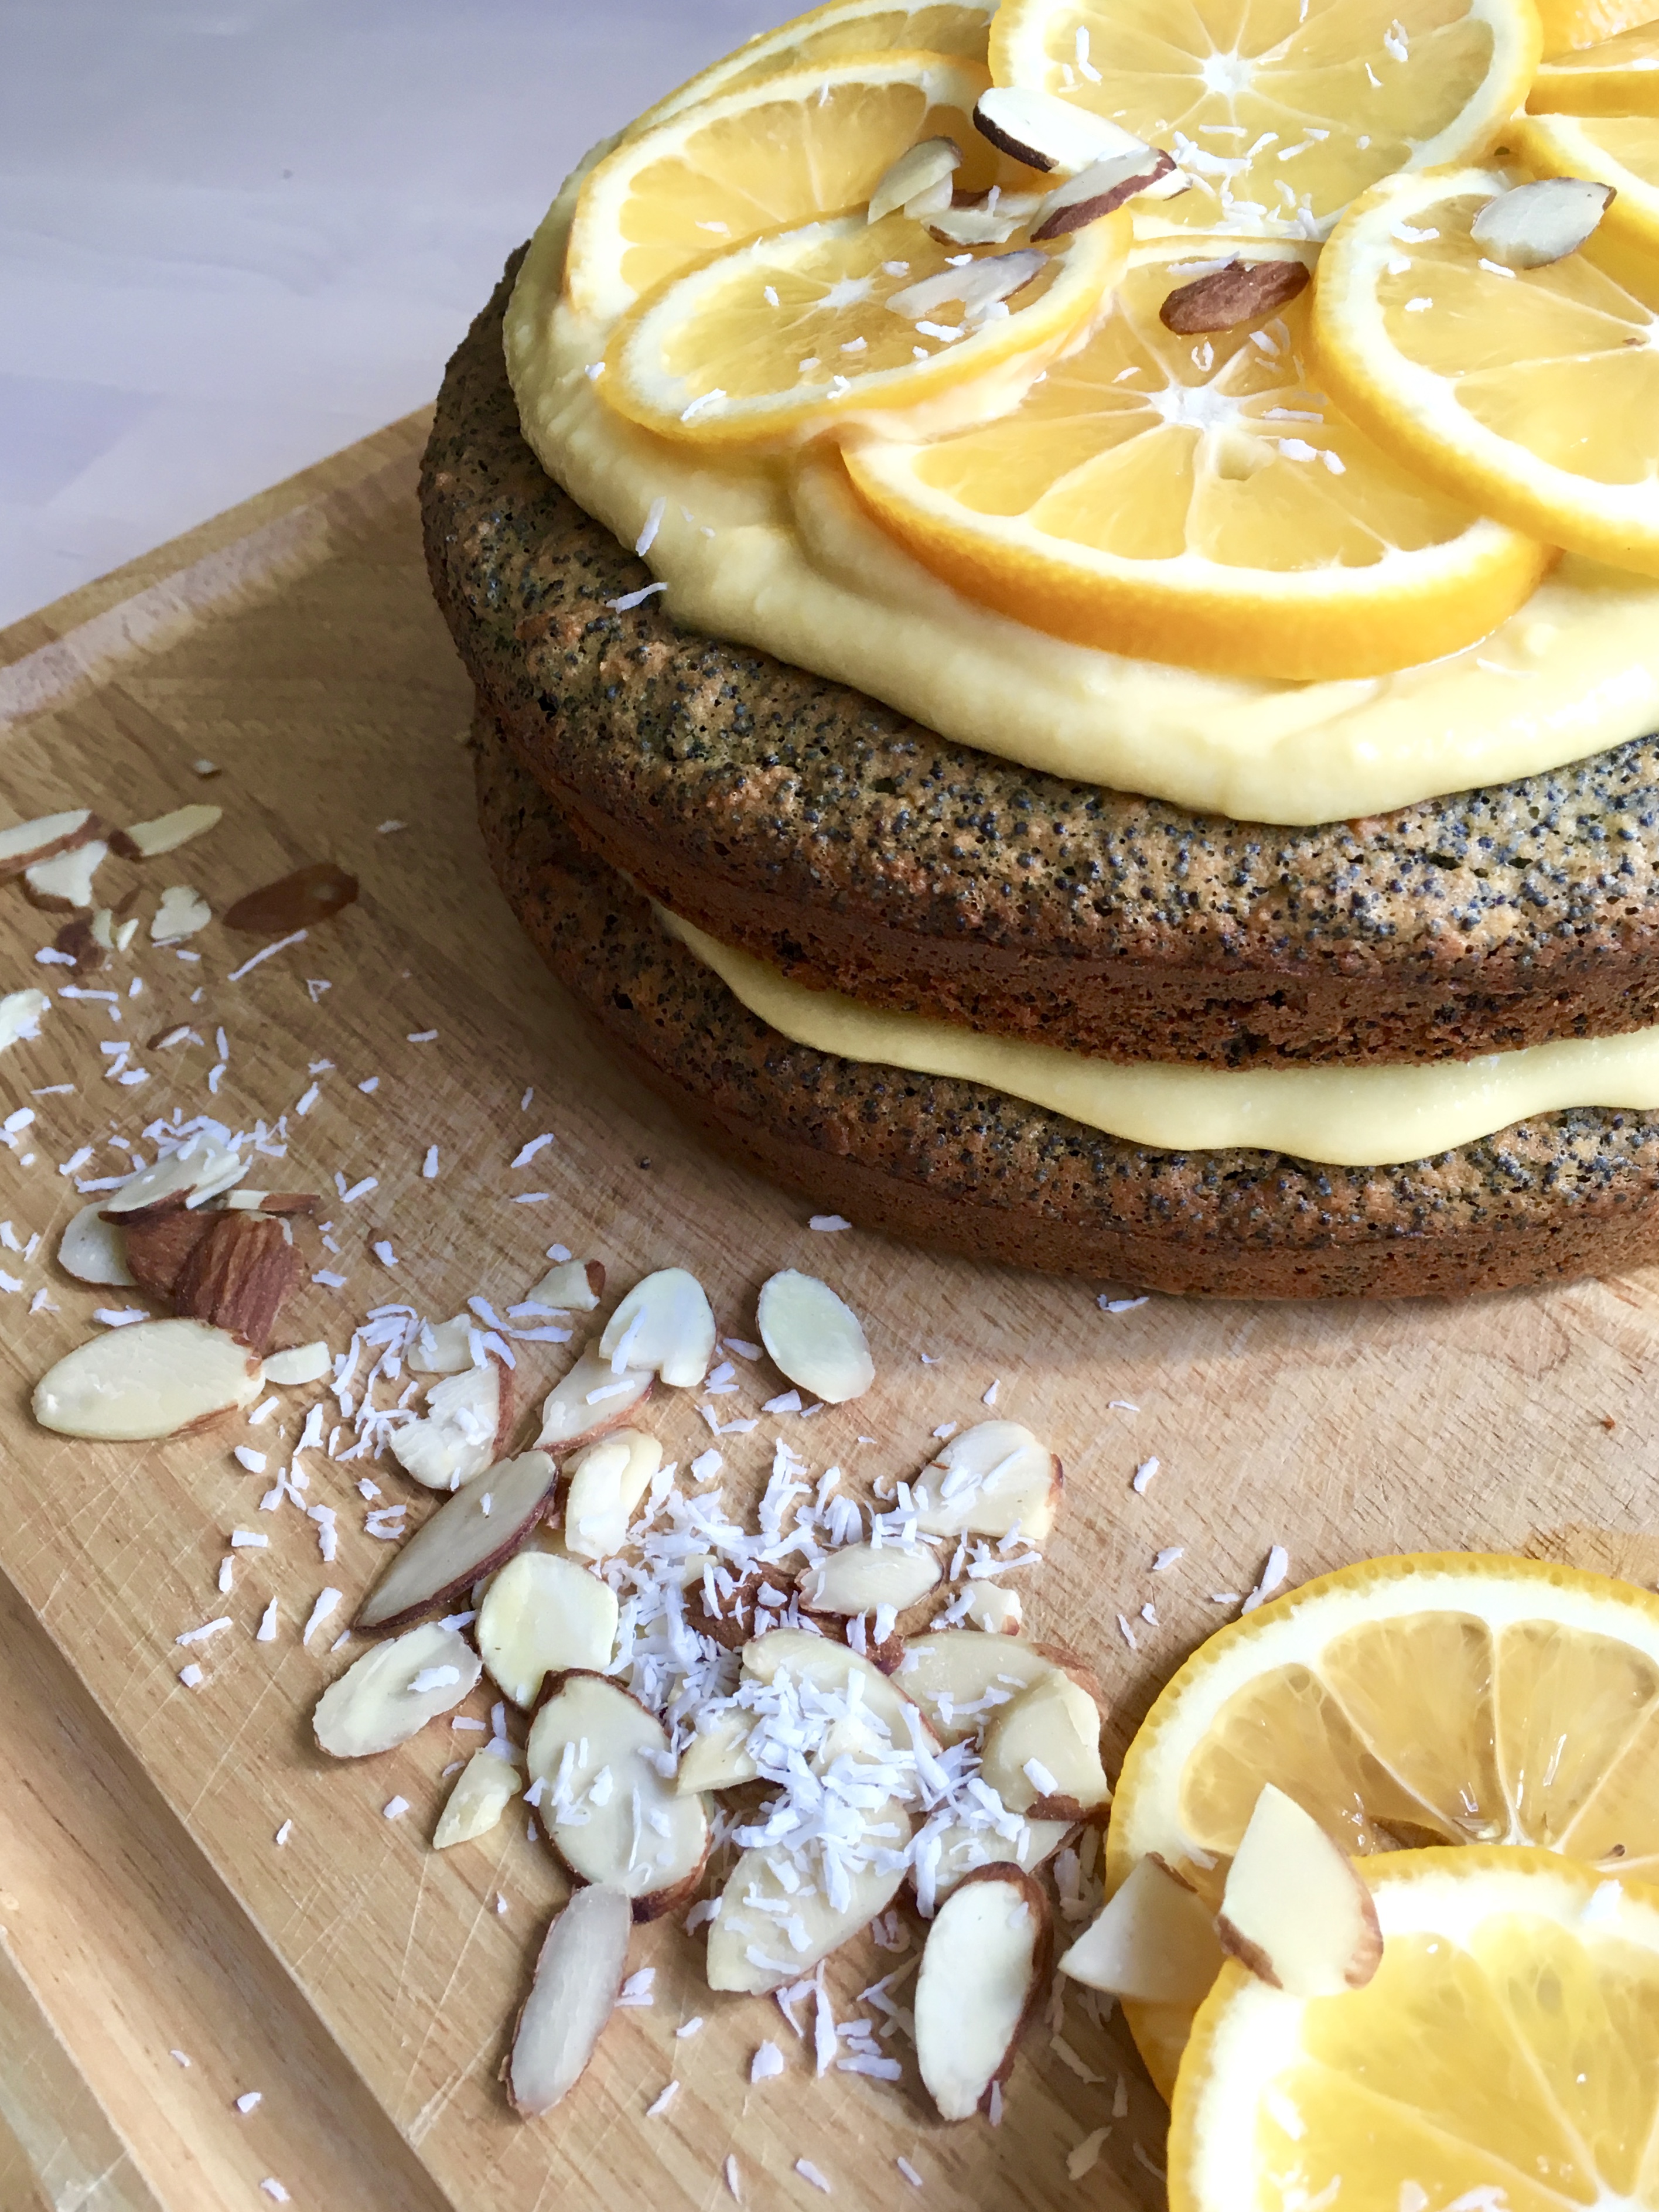
It’s citrusy and sunny with a satisfying crunch from the poppyseeds; the texture is great with a combination of almond flour & cornmeal. It’s not really dense exactly, but more like a cake/quick bread hybrid.

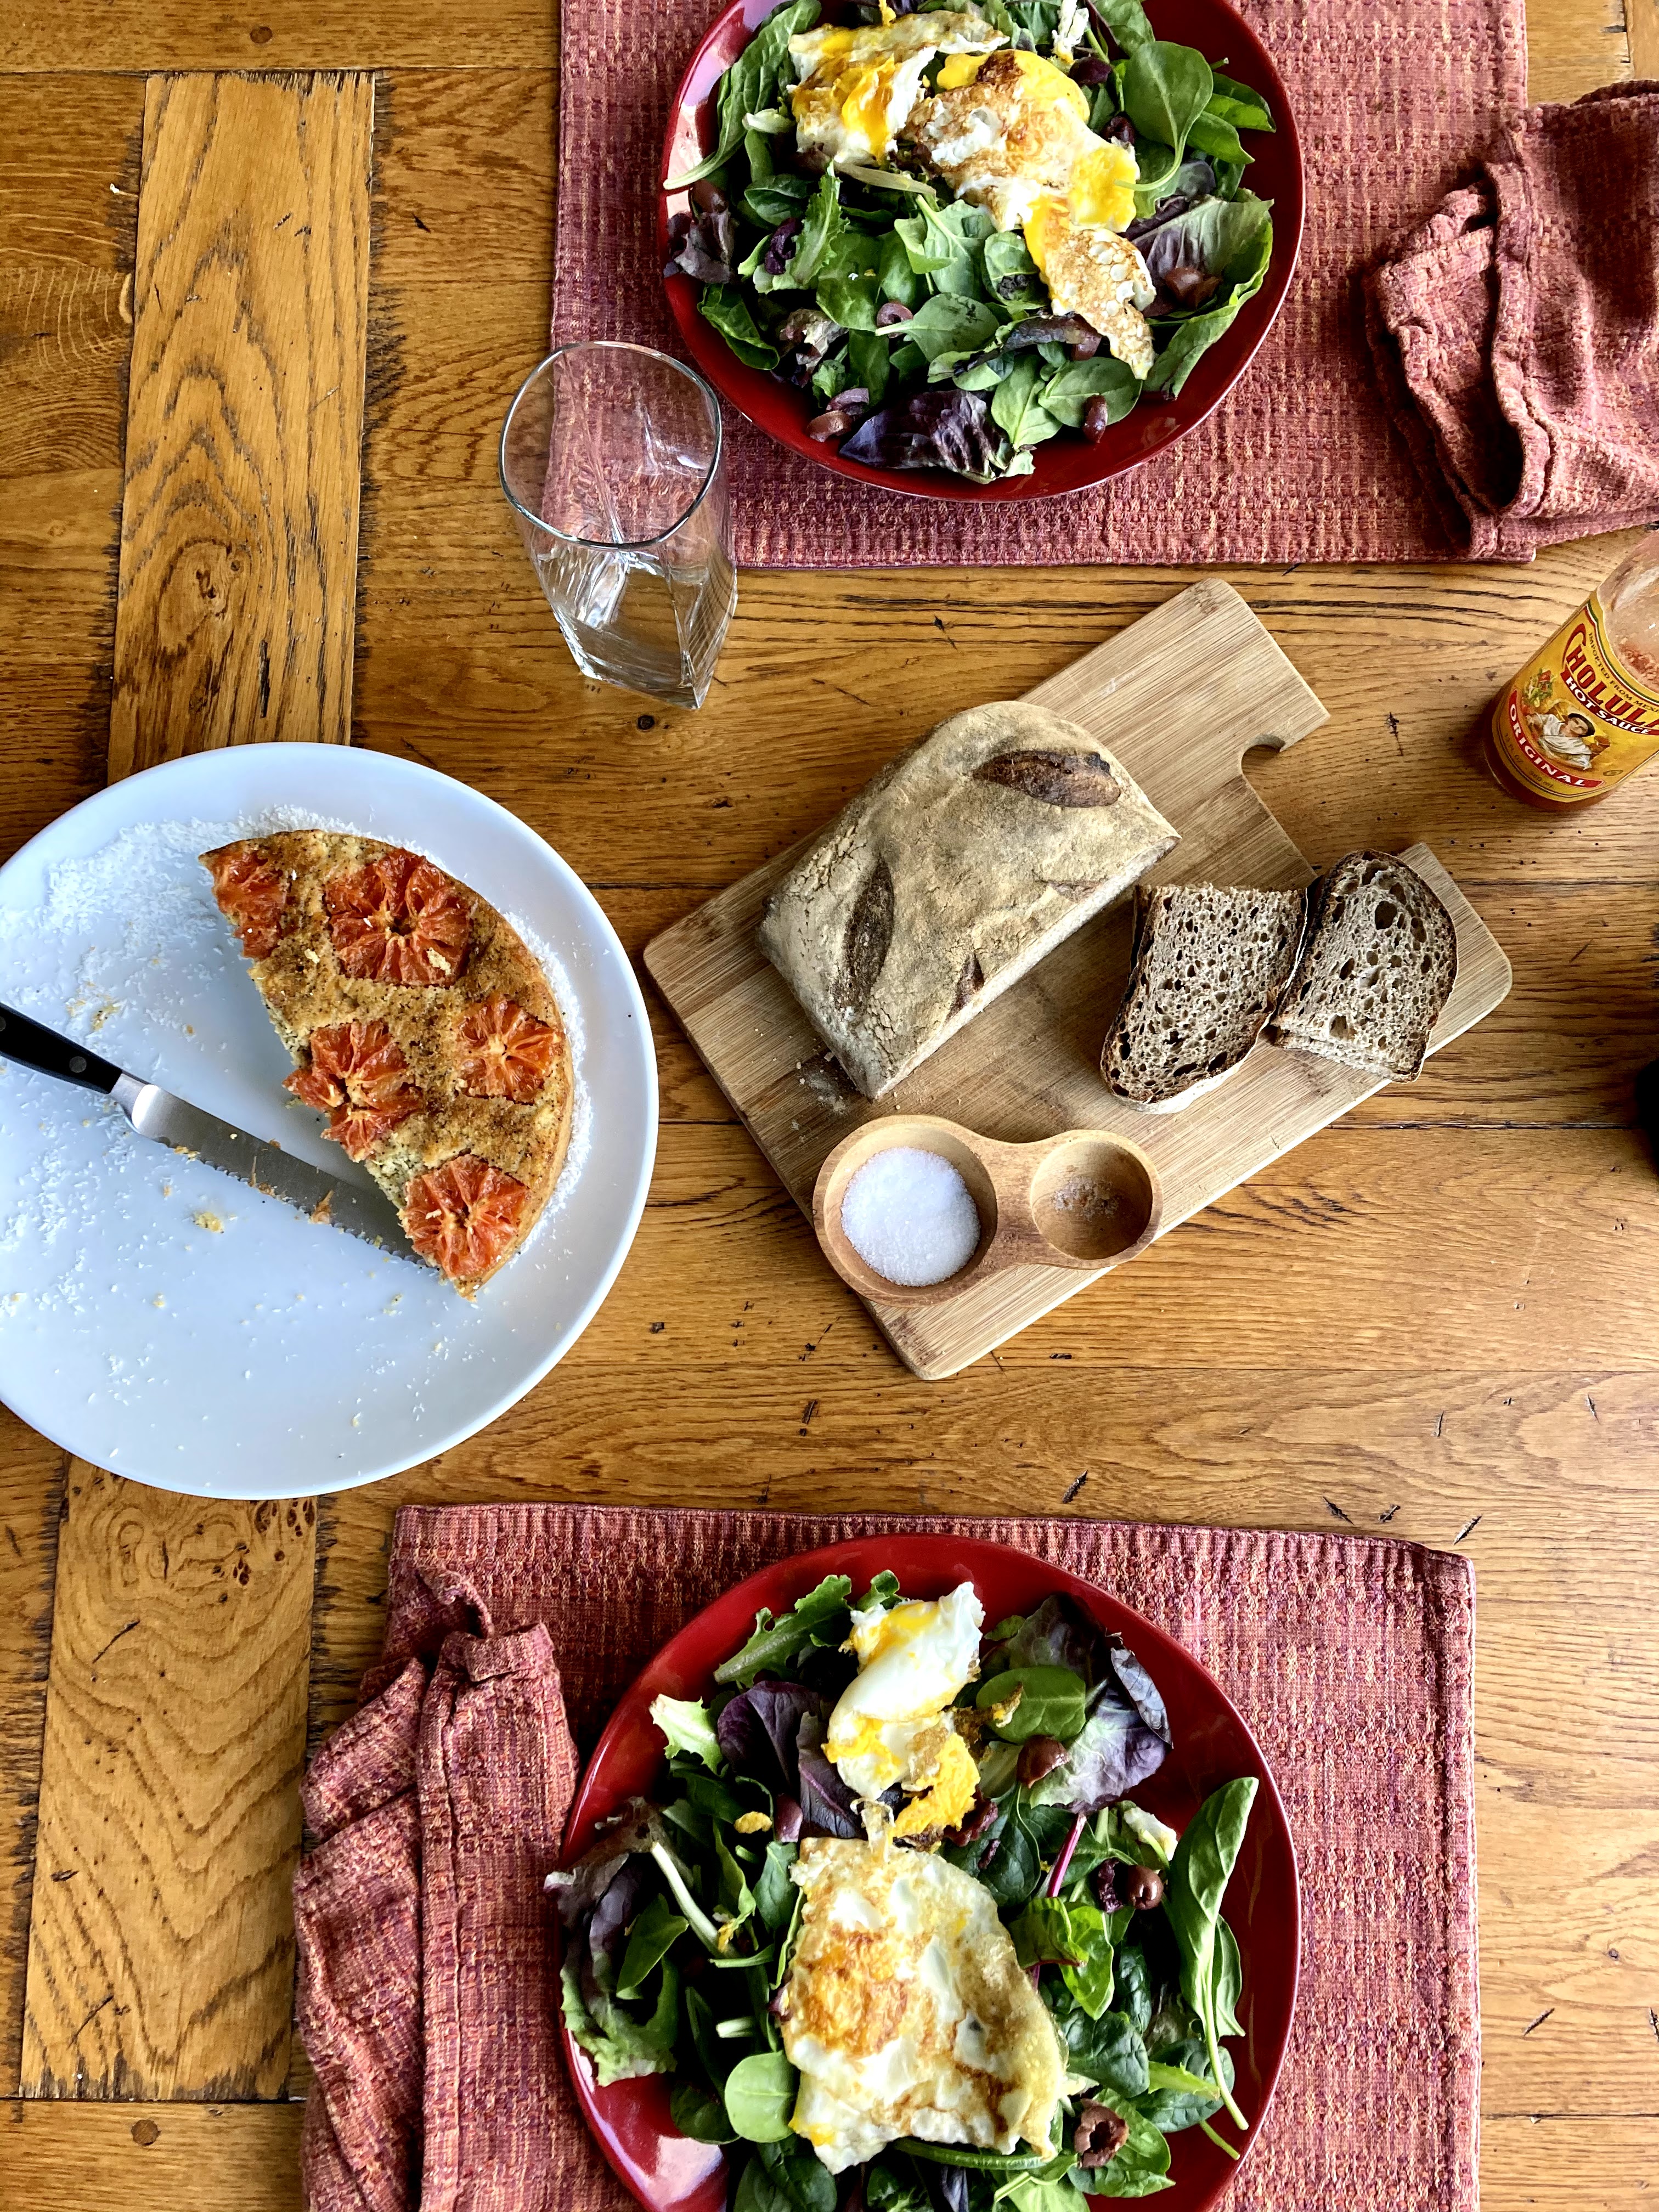
We both love poppyseed anything, so it was an easy sell. Both of us really enjoyed the cake aspect of it too, so I might put cake back in the rotation more frequently. This one is arguably best for breakfast; we ate it both for dessert and for breakfast per usual, but it reminds me quite a bit of a muffin (in a good way.)
Took a nice long walk on the beach at Fort Funston today; it’s been dry out here and my autoimmune stuff HATES low humidity so I’ve been in the bay or next to the ocean literally every day – and sometimes both.

March already, almost! That’s hard to believe. Definitely wishing I had another day of weekend. Hopefully yours were full of outside time and good food! :)
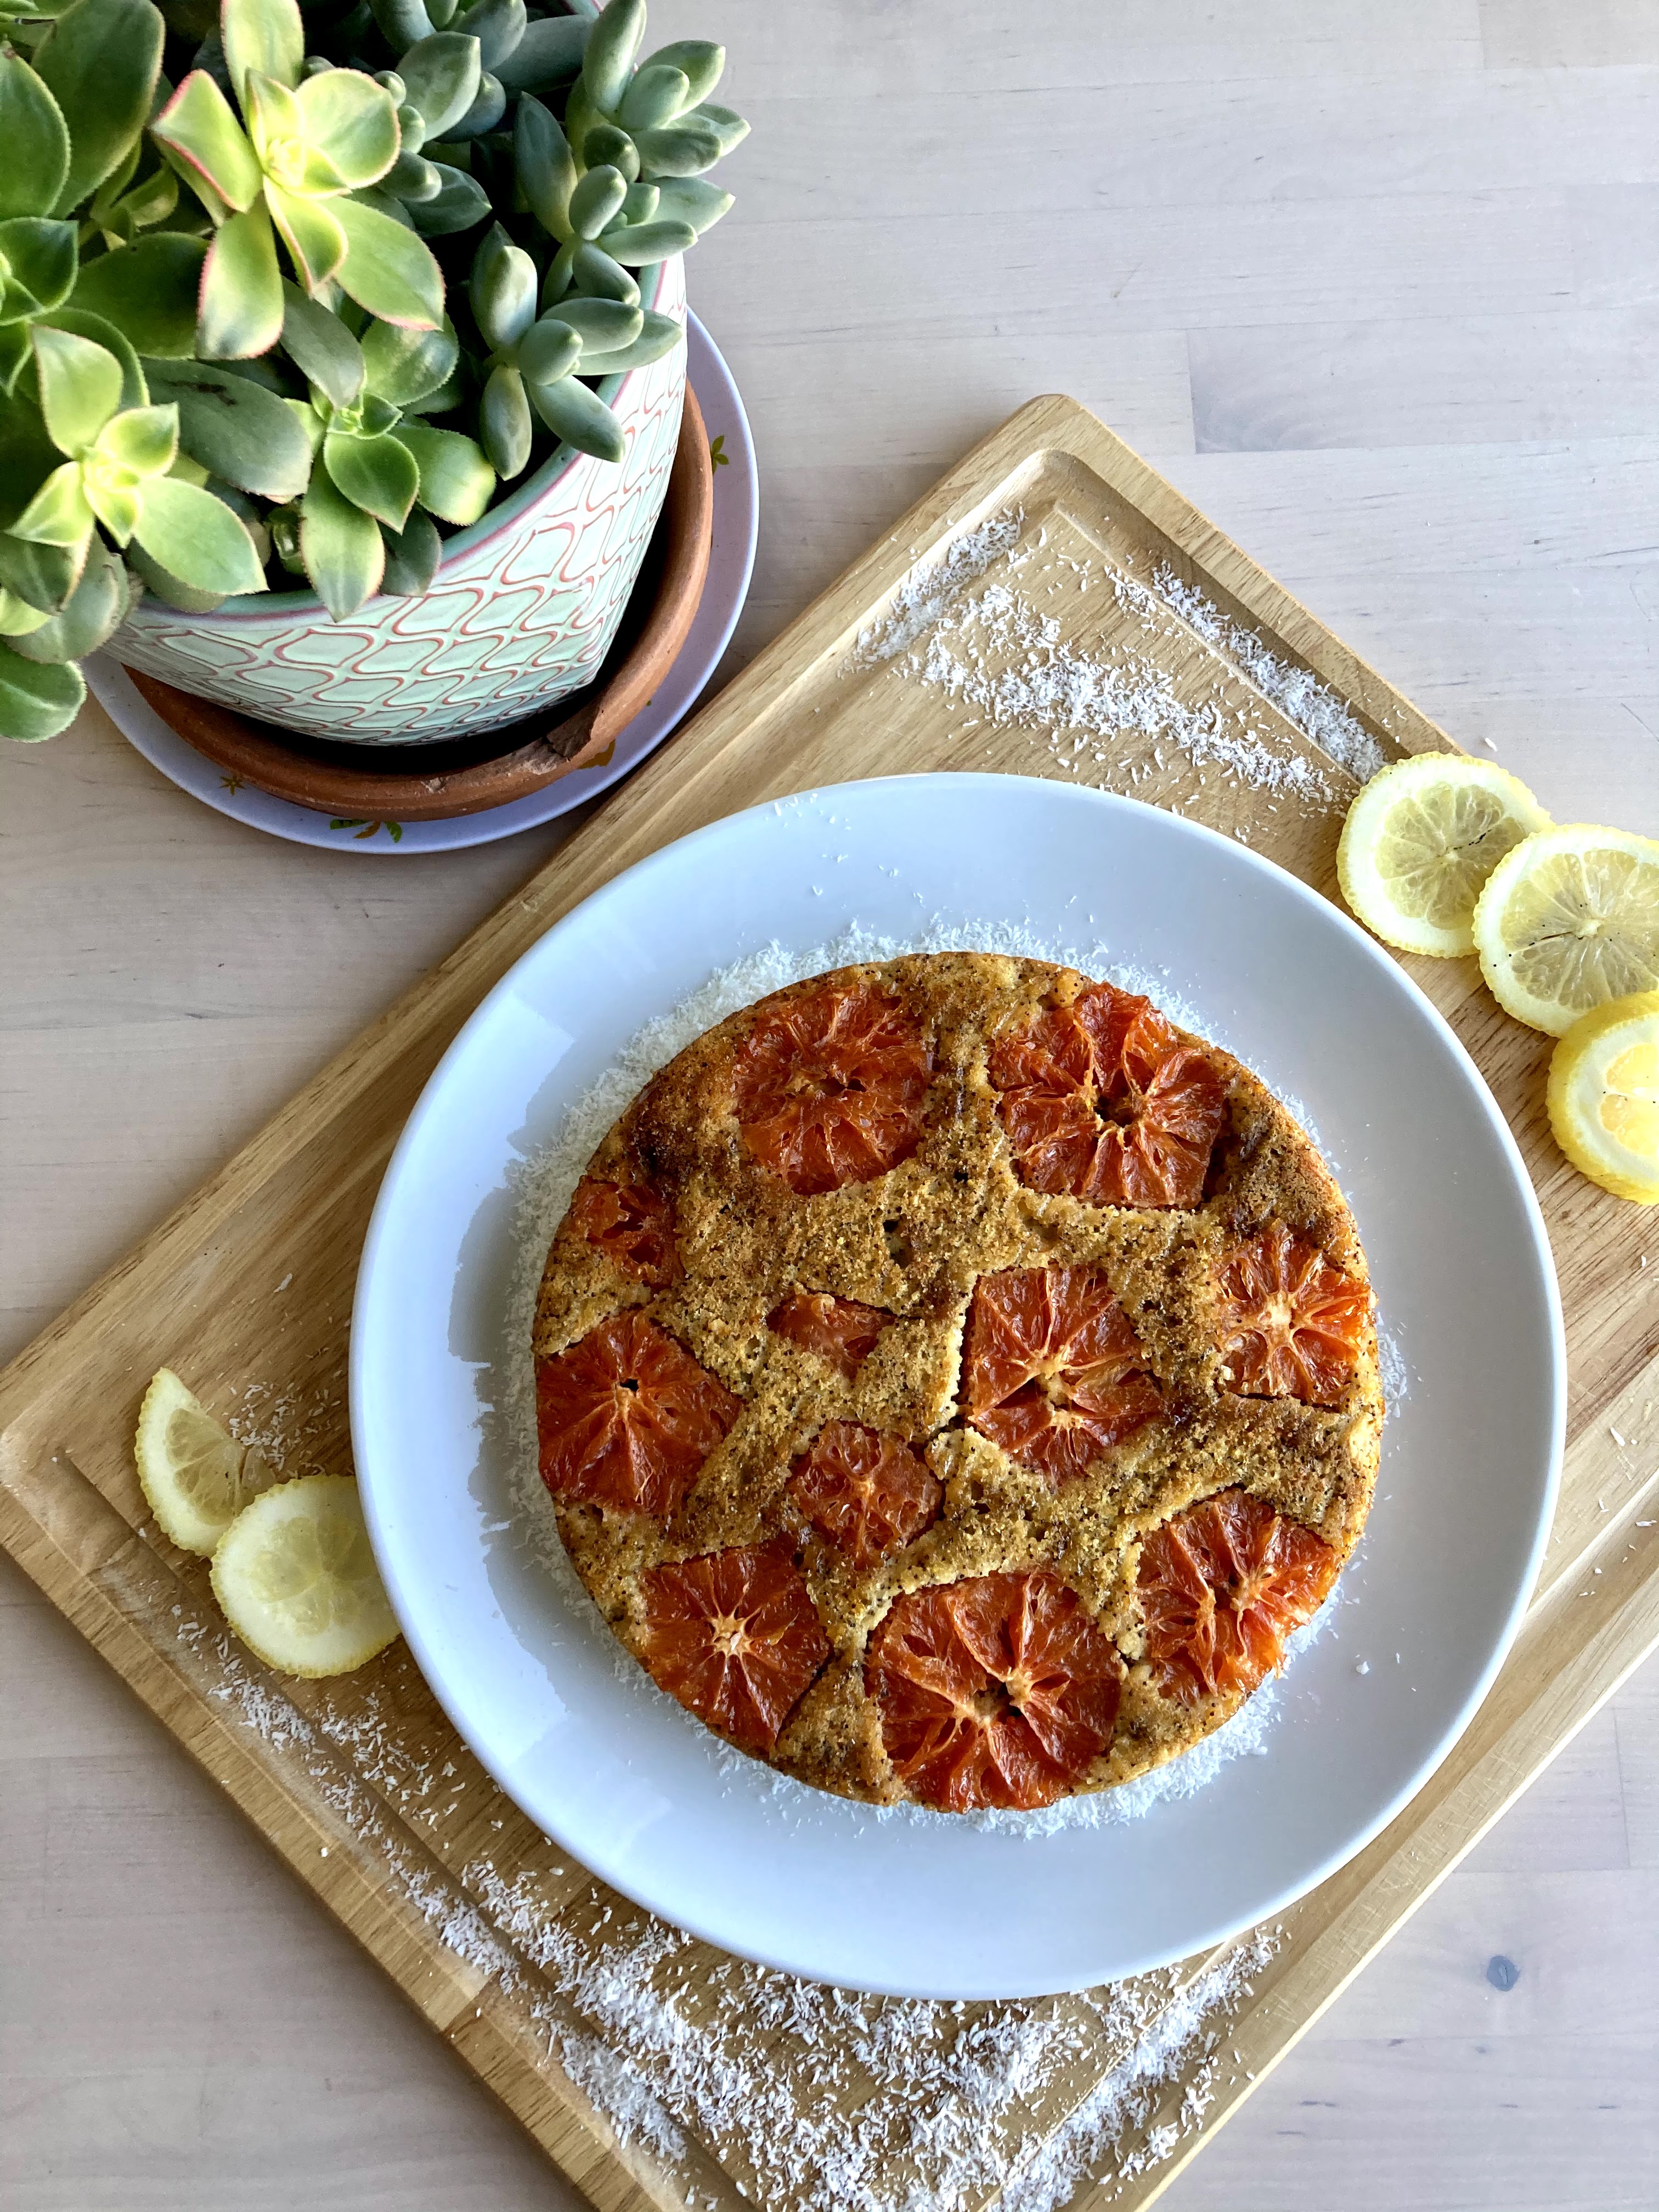
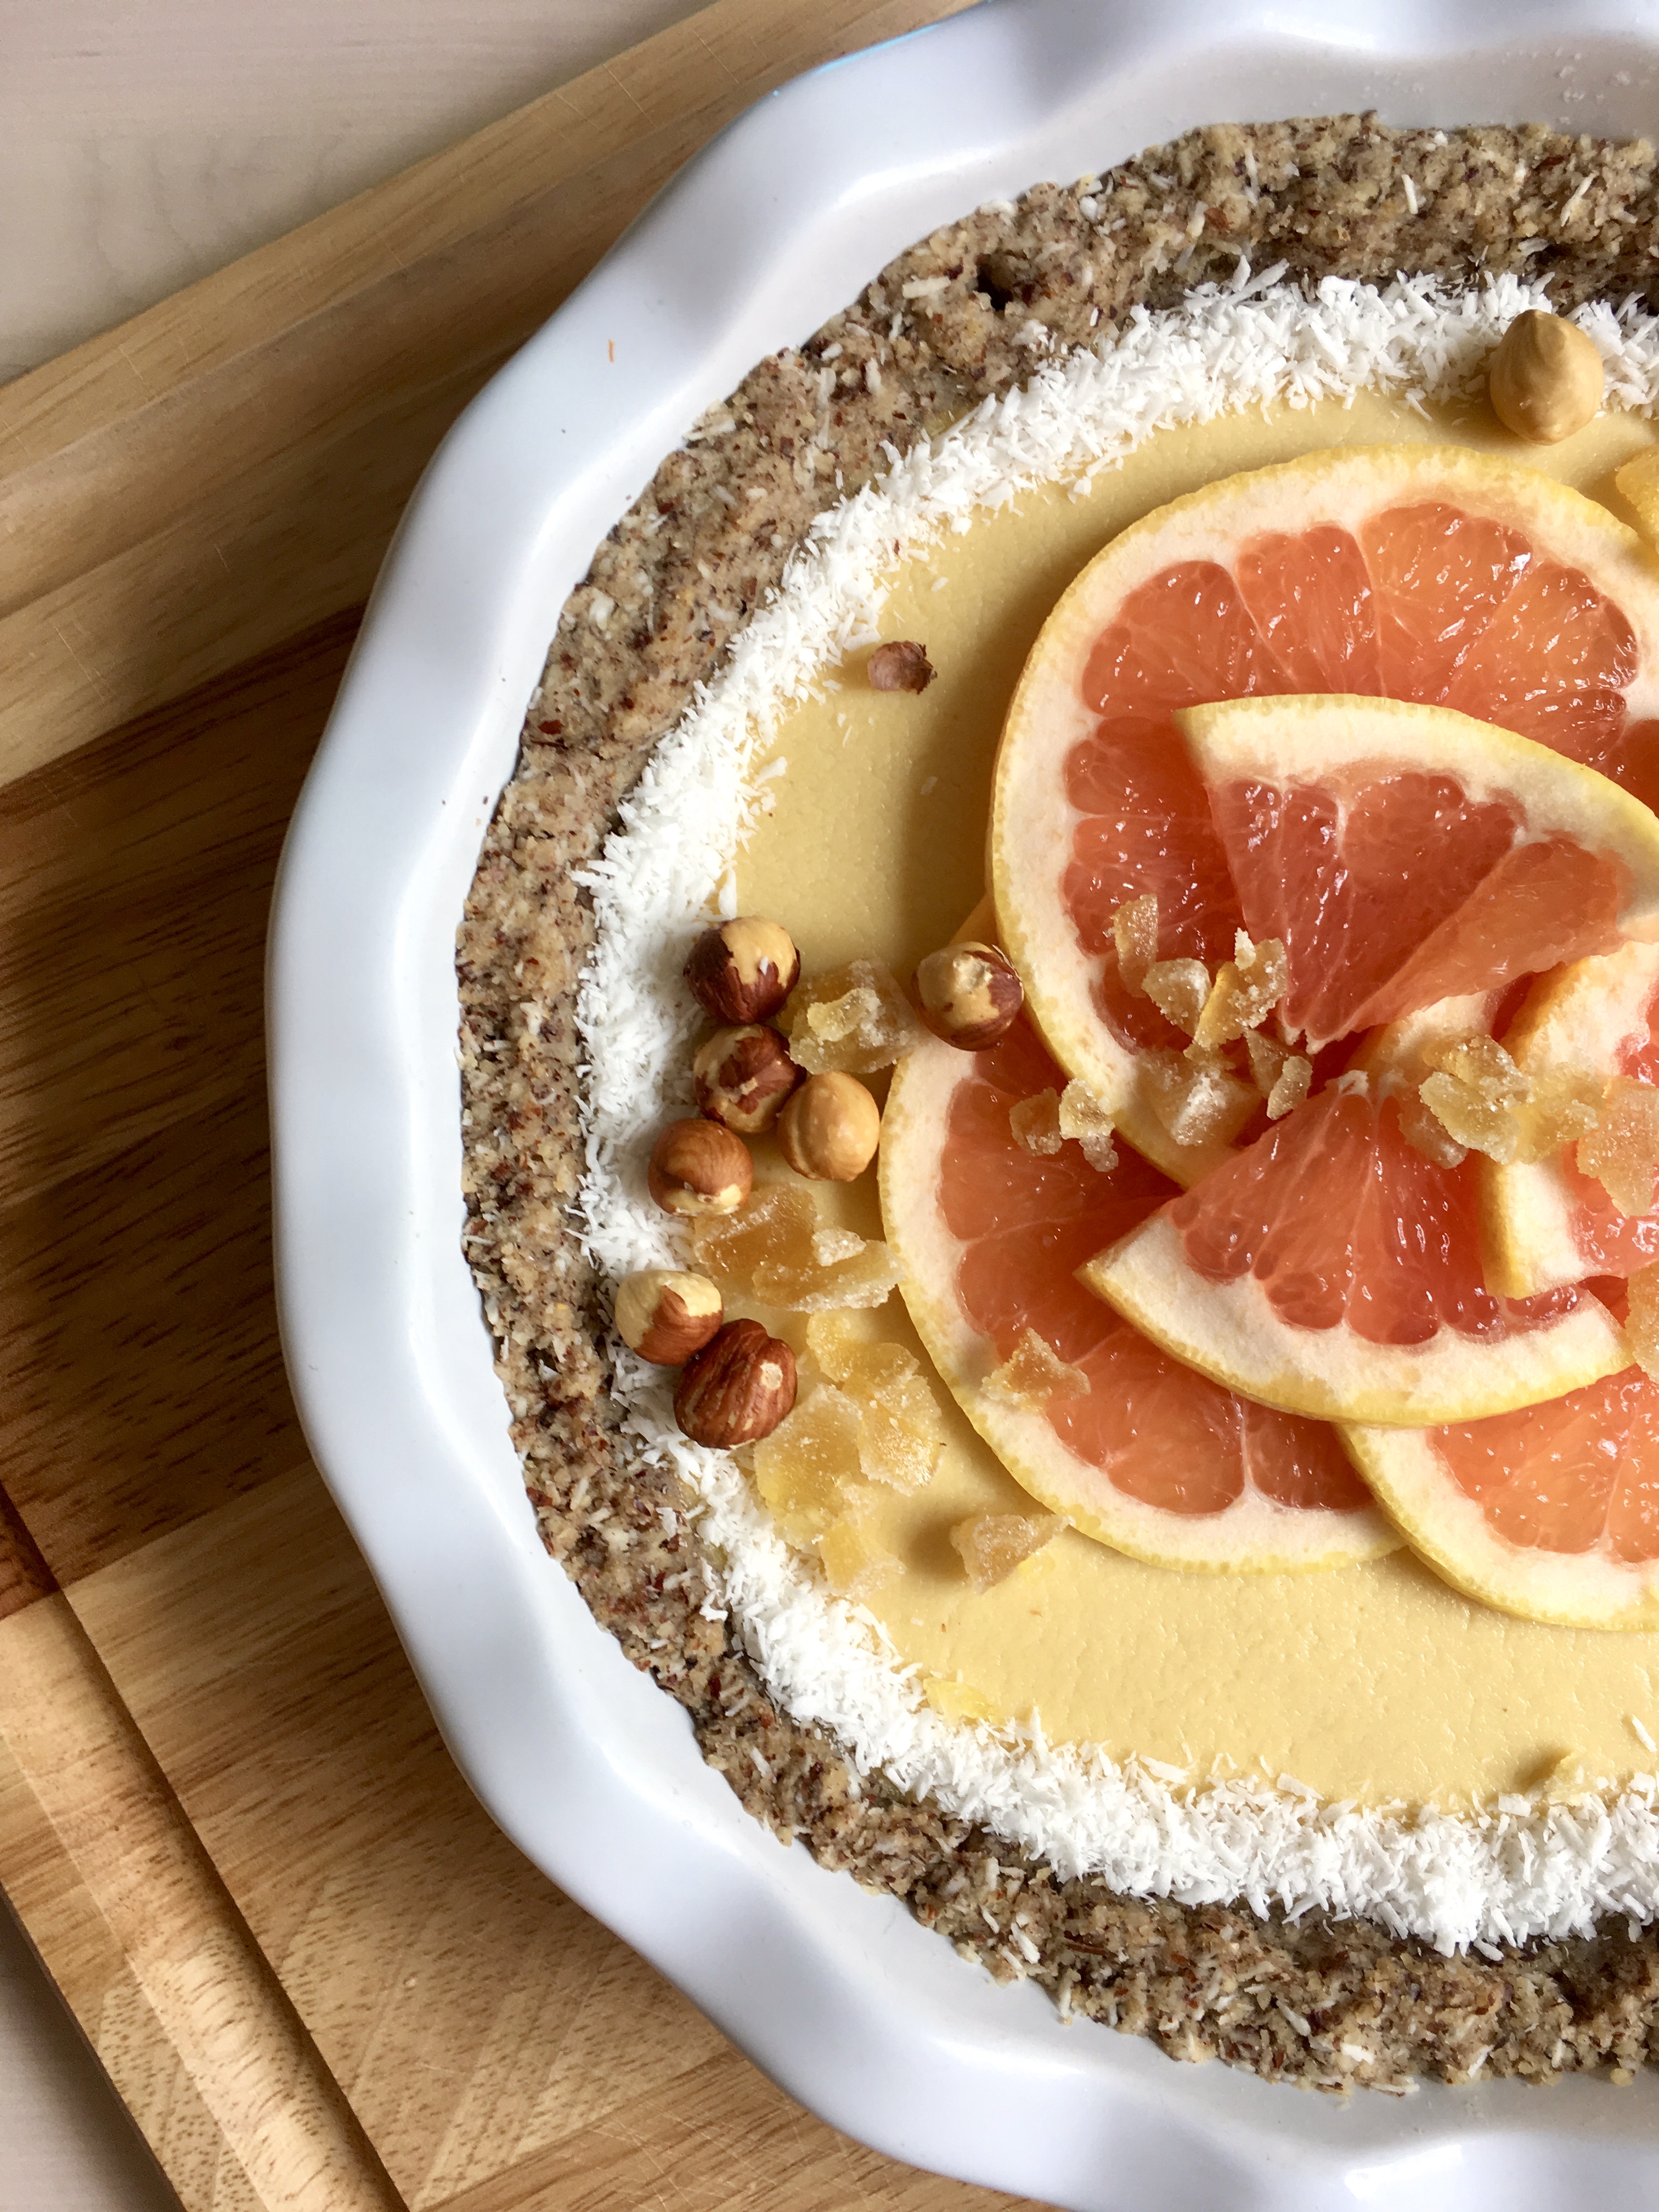
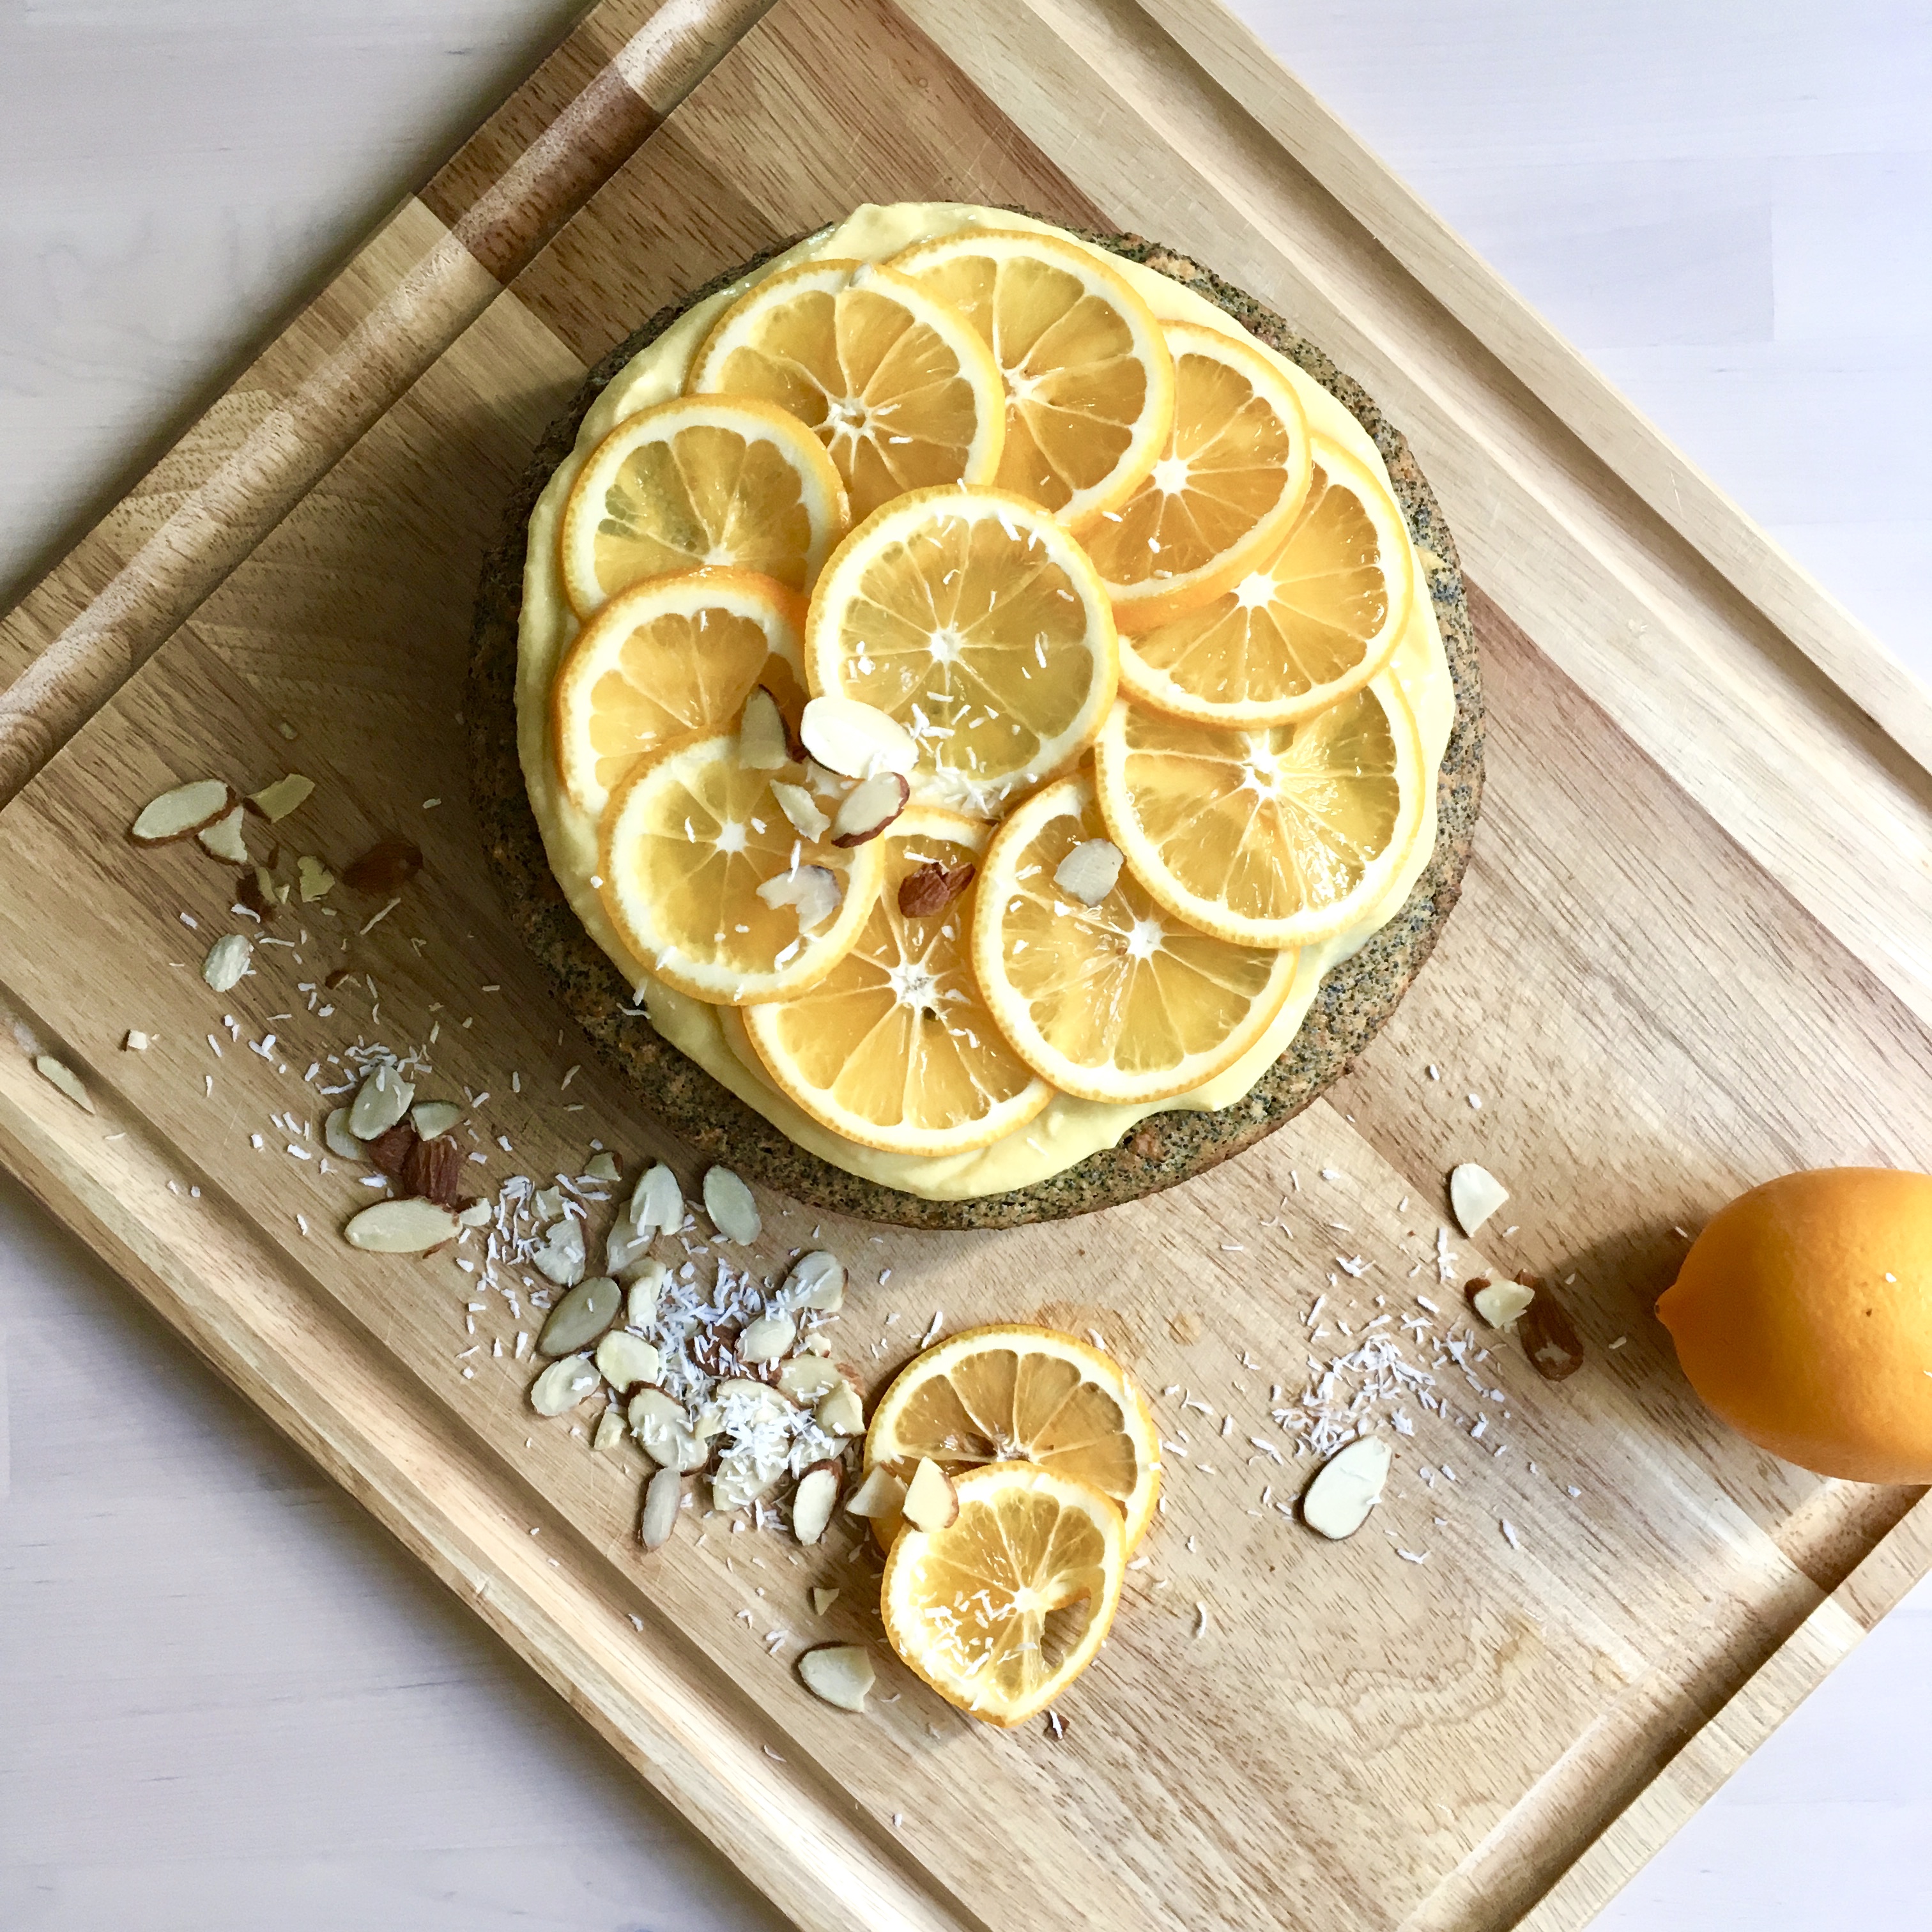
Grapefruit Poppyseed Upside-down Cake
Free of gluten, dairy and refined sugar. MUCH less sweet than a standard upside-down cake, which always contain scary amounts of sugar. This one makes an amazing breakfast cake, so highly recommend saving a bit for the next morning. Yield: 1 8″ cake, serves several. A Wait are those Cookies original.

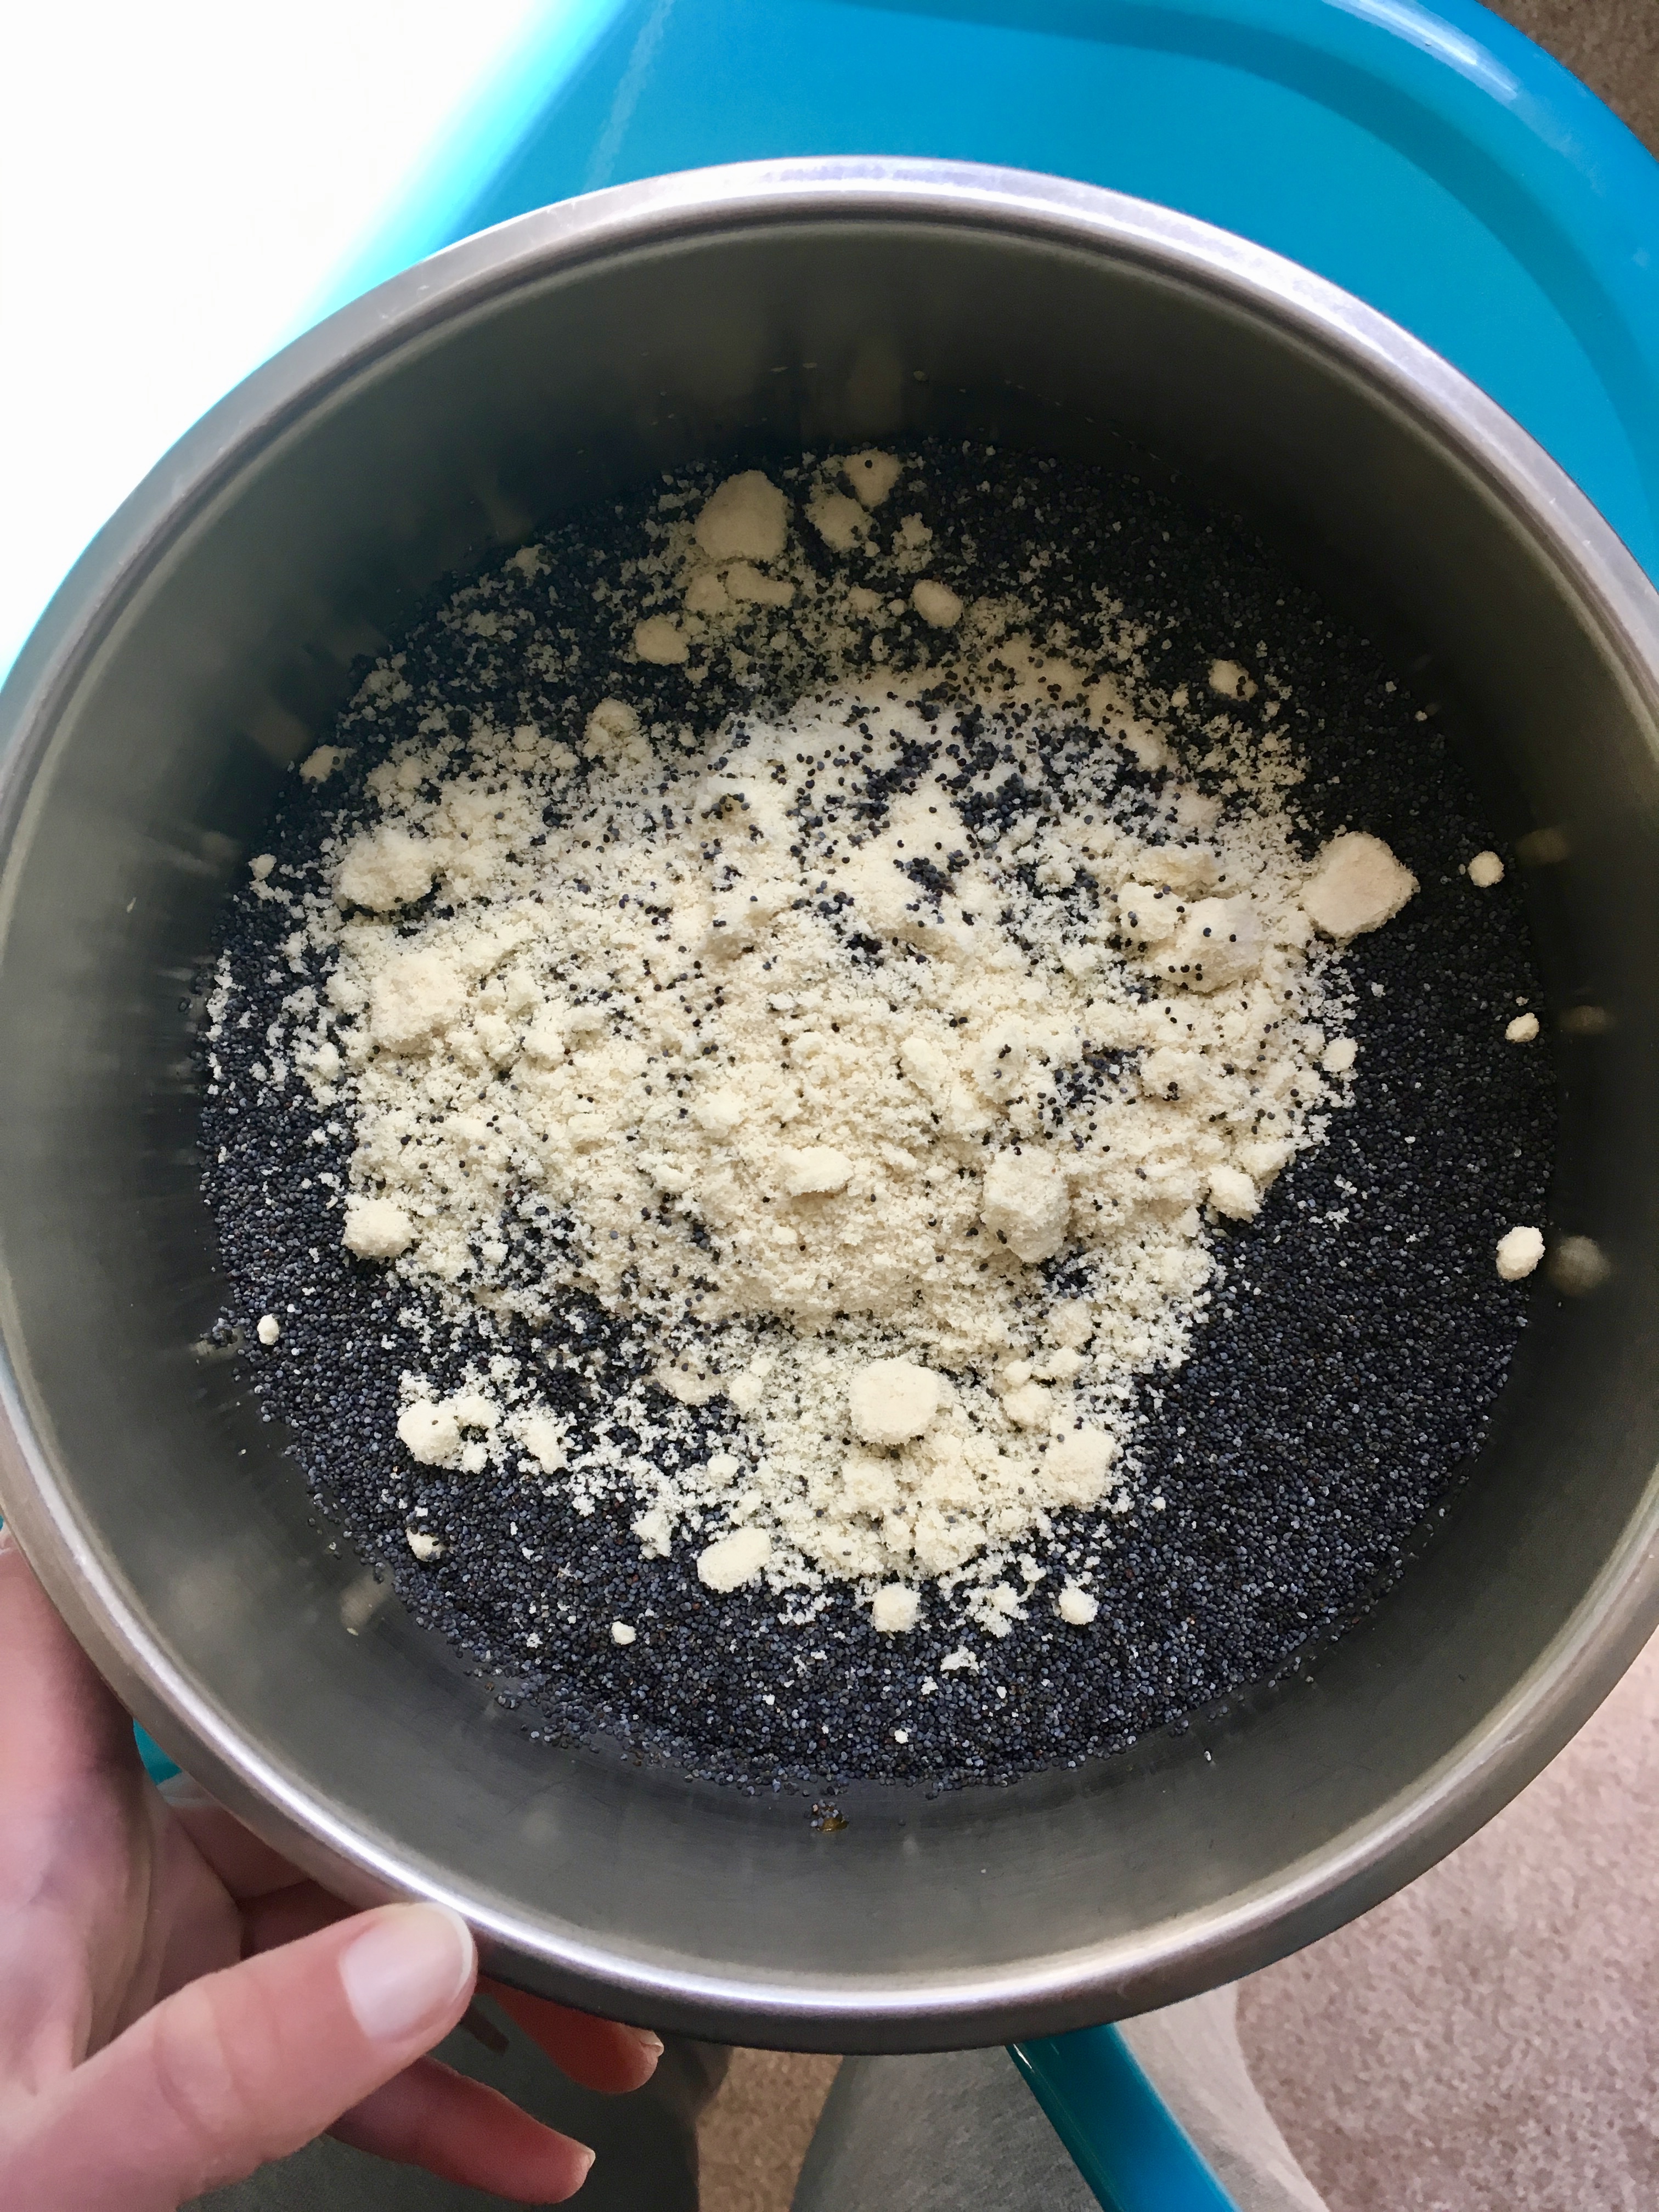
1.5 c almond flour
1/3 c cornmeal
3/4 tsp baking powder
1/4 tsp baking soda
heaping 1/4 tsp sea salt
2 tbsp poppy seeds
2 eggs, lightly beaten
1/4 c maple syrup
1/3 c coconut oil, melted
1.5 tsp vanilla extract
1 tsp almond extract
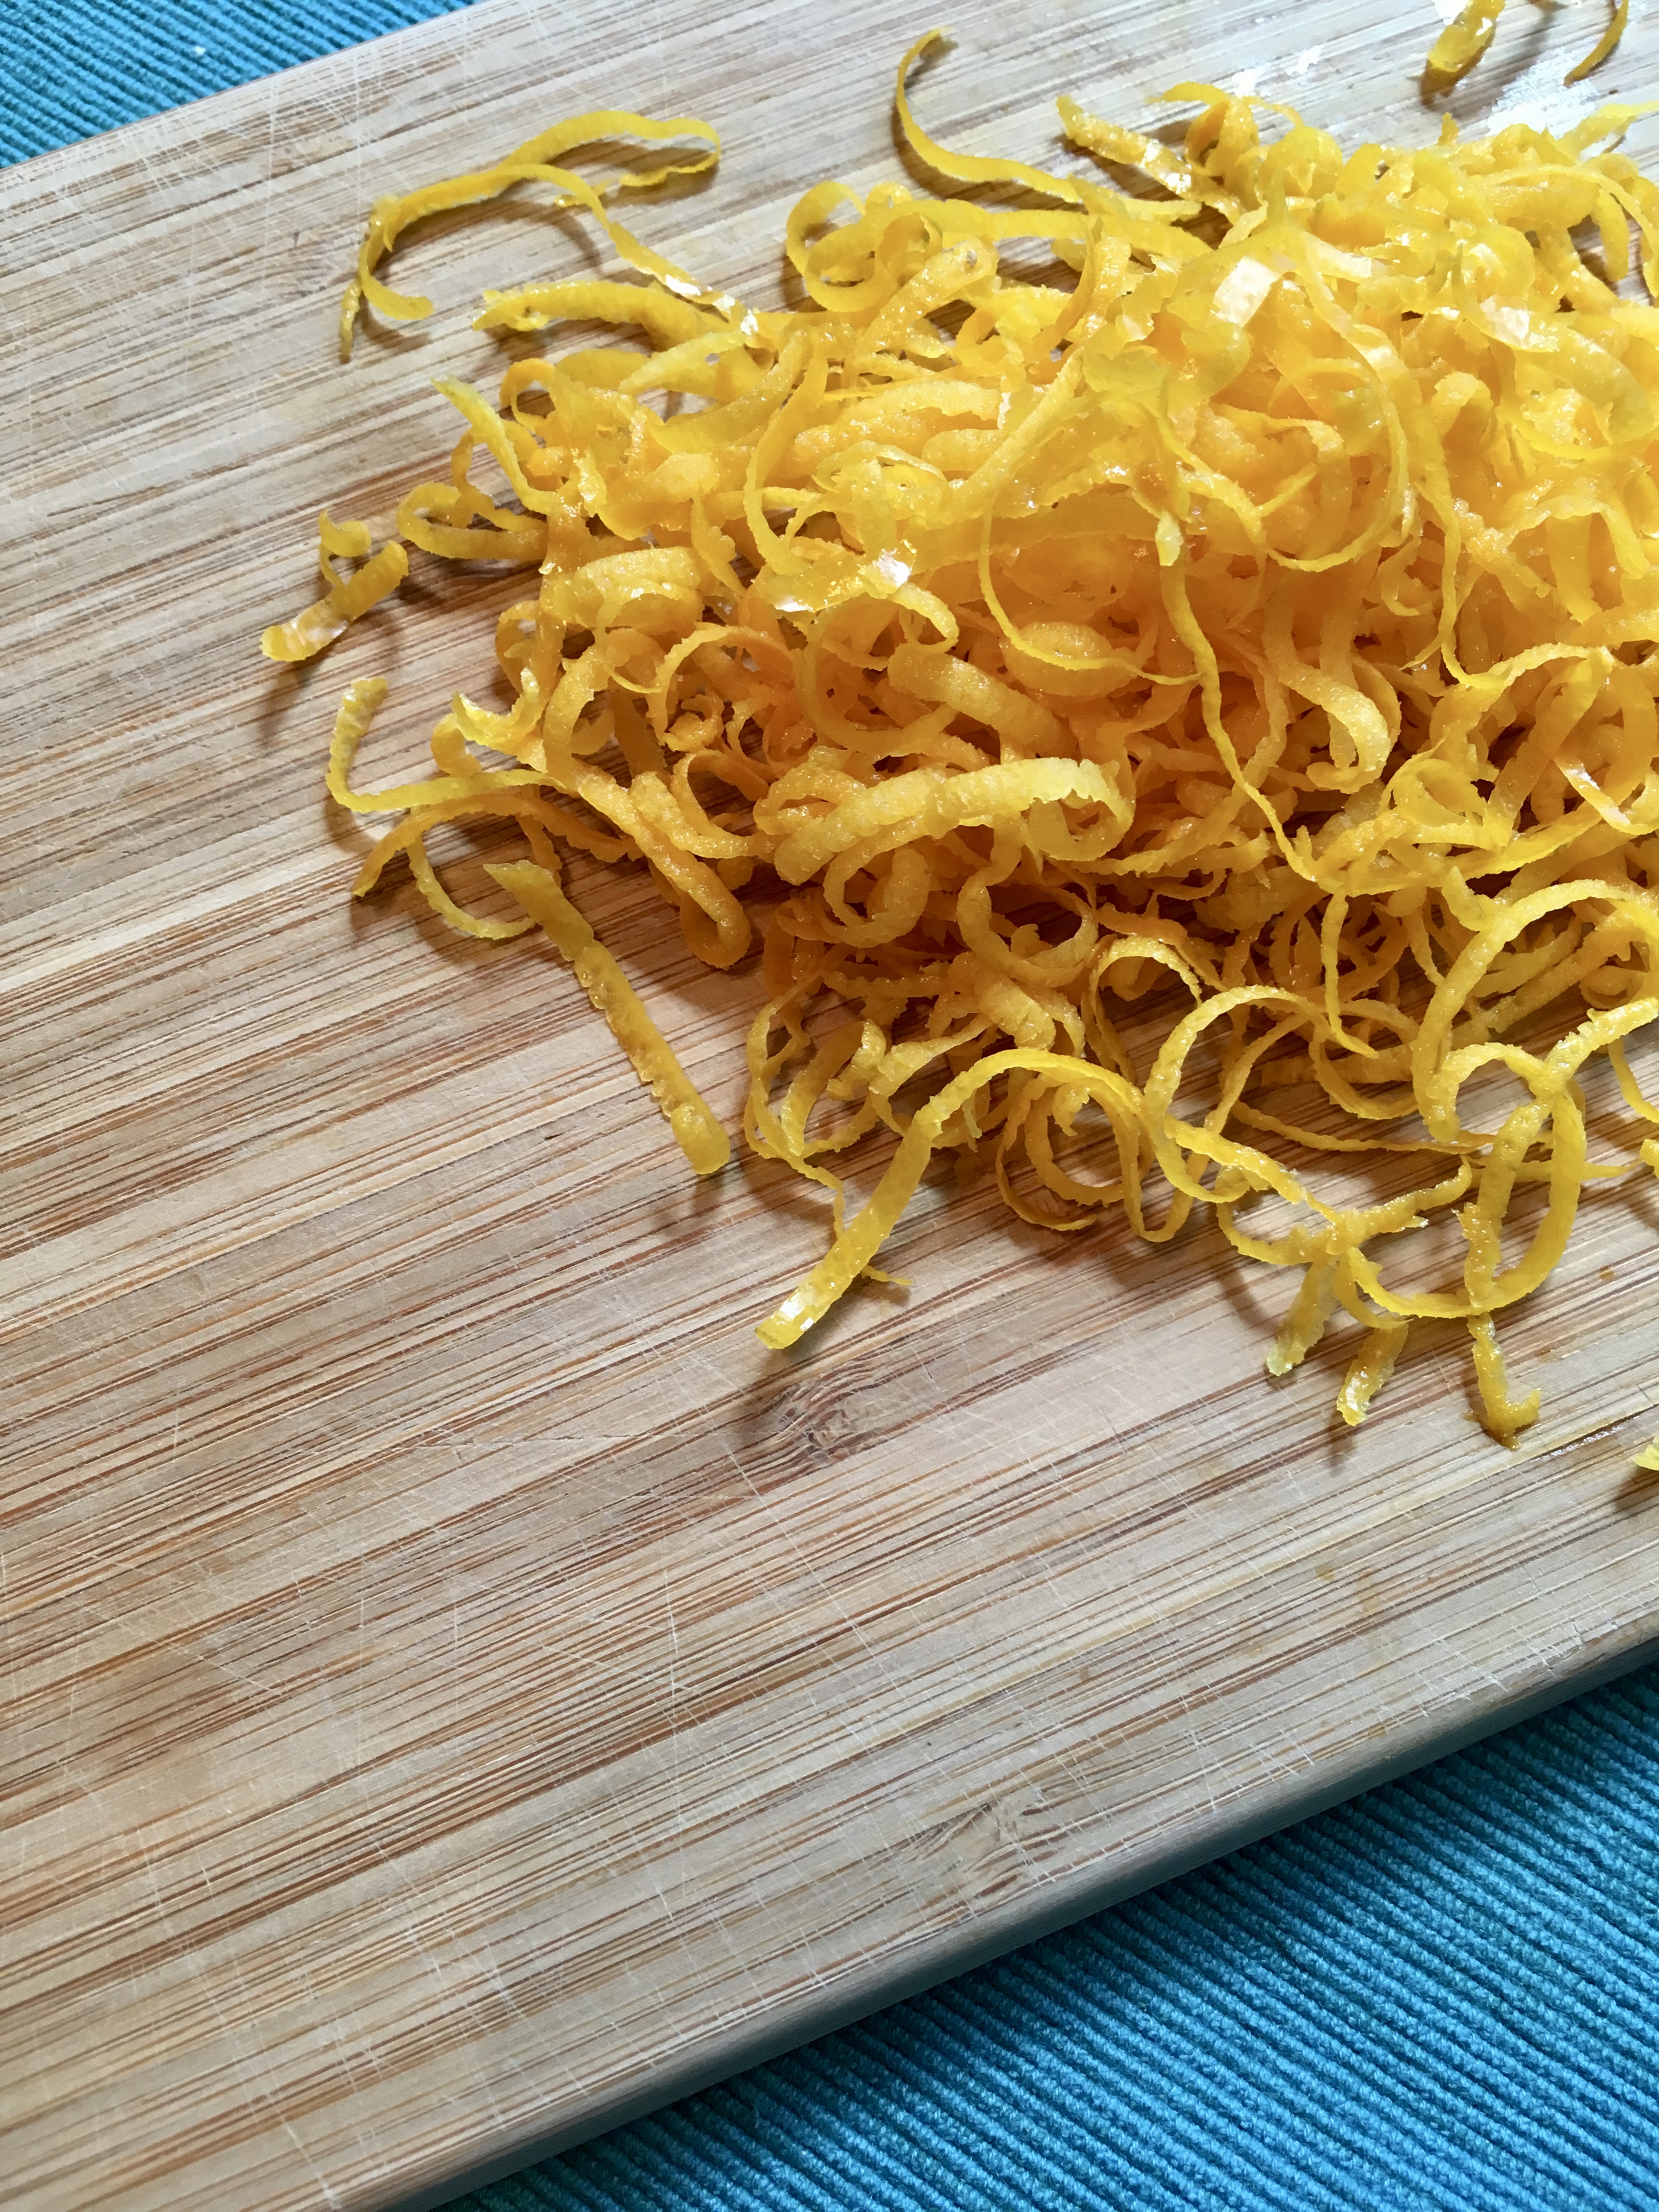
zest of 2 grapefruits
juice of 1 lemon
Two grapefruits, peeled & sliced
1 tbsp apricot jam (mine is fruit sweetened only)
2 tsp coconut sugar
Preheat oven to 325. Lightly grease an 8″ cake pan with coconut oil and line the bottom with parchment paper – I flip it over, trace the outline & then cut, to get a perfectly sized circle. Spread the apricot jam evenly over the parchment, then drop the grapefruit slices into the bottom of the prepared pan. Sprinkle with coconut sugar.
In a large bowl, whisk together almond flour, cornmeal, baking powder, baking soda, sea salt & poppy seeds. Add in eggs, honey, coconut oil, vanilla & almond extract extract, grapefruit zest and lemon juice, and stir until all ingredients are just incorporated. Pour the batter into the prepared pan – it’s thick batter! That’s normal – just even out the top with a spatula. Bake for 35-38 minutes, until the top of the cake is lightly browned, firm, and a tester in the center comes out clean. You can cover the cake with foil during the last 10 minutes of baking if the cake is browning too fast – though mine was done at 37 minutes, and I didn’t need the foil trick. Remove and let cool for a few minutes in the pan before flipping it out onto a cooling rack. Let cool completely before slicing and serving. Stores well overnight in the fridge, and is arguably even better for breakfast.