HELLO!
Wowow it’s been forever! I swear I haven’t abandoned my blog… I’ve just been a) insanely busy and b) making the same cookies on endless repeat. We’ve officially reached the run-up to camp season so things are crazy-making. But! I made this rhubarb cake at some point in the last month (quite honestly couldn’t tell you when exactly…) and I loved it, so I’m finally getting around to sharing. Better late than never.

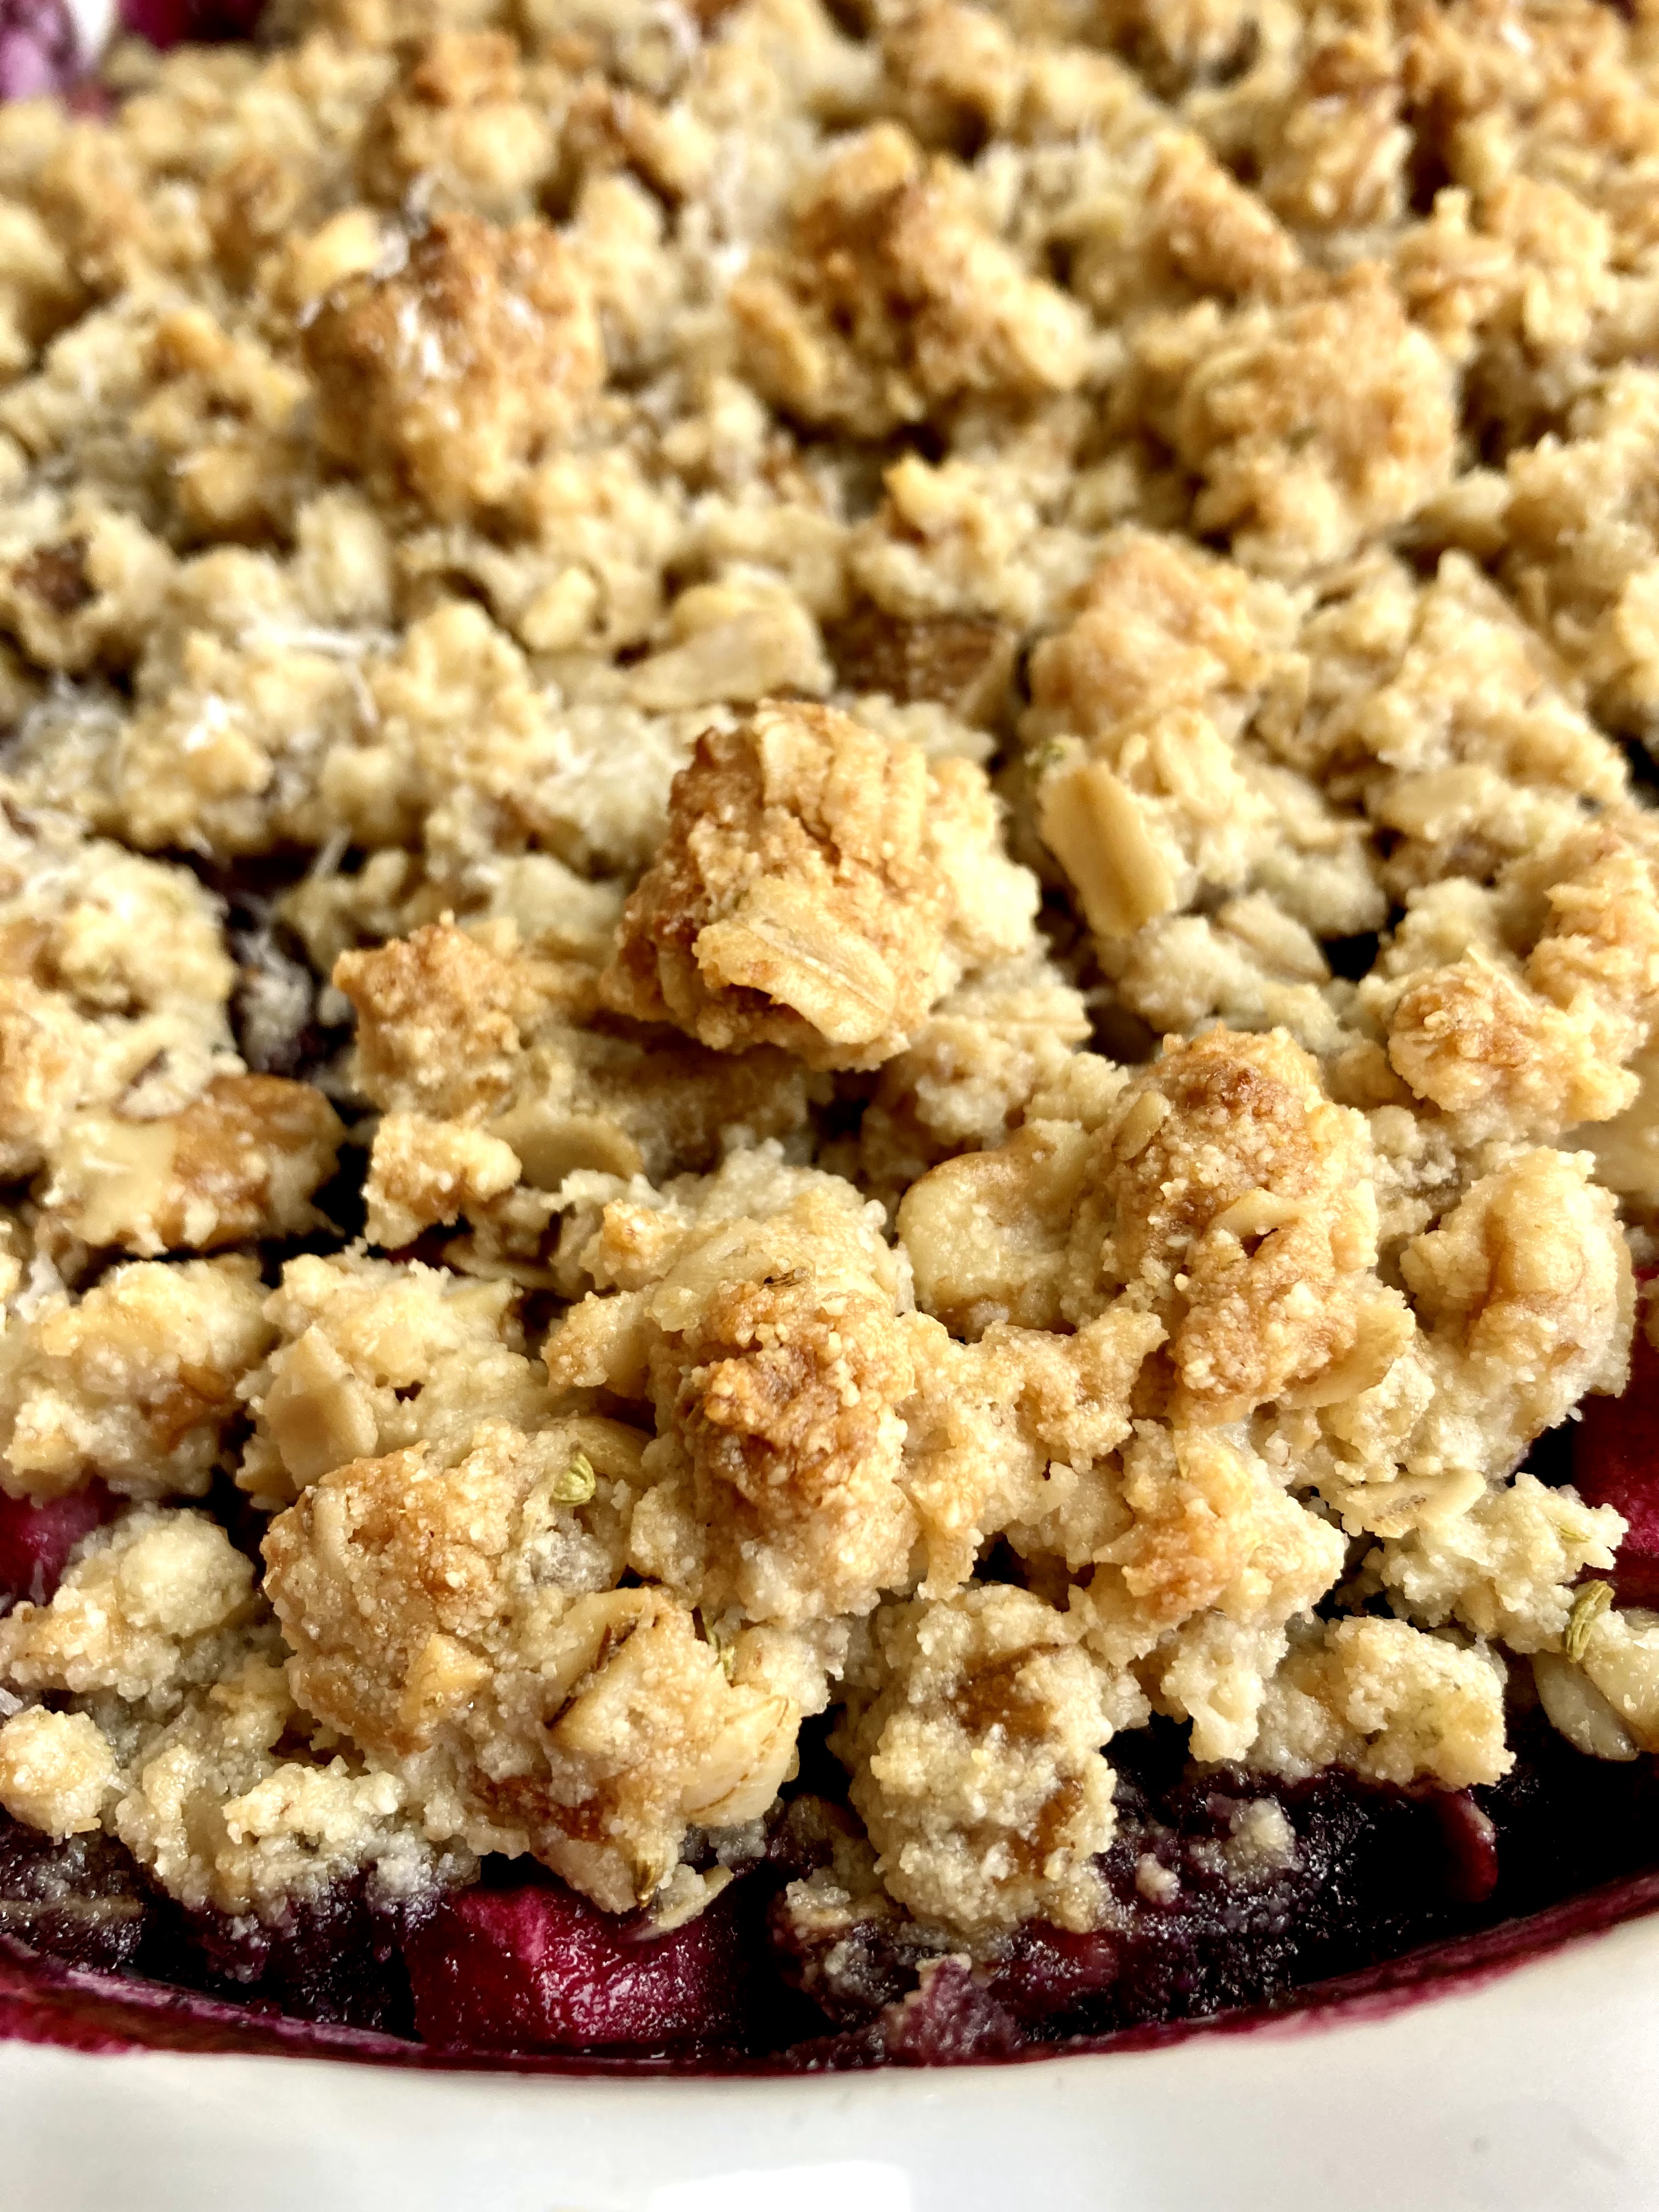
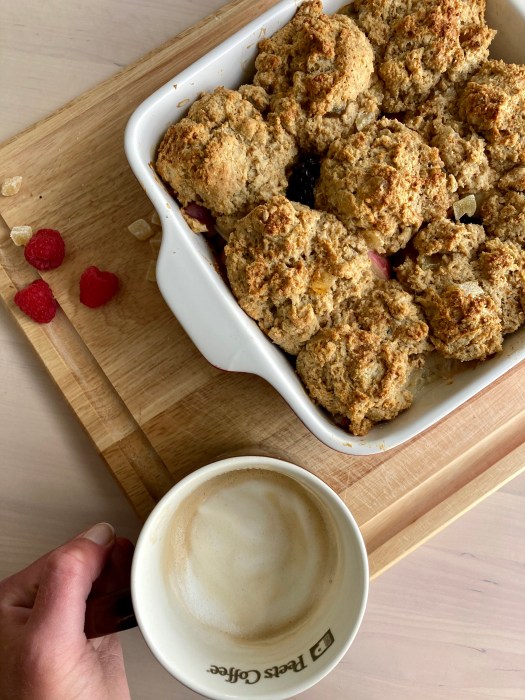
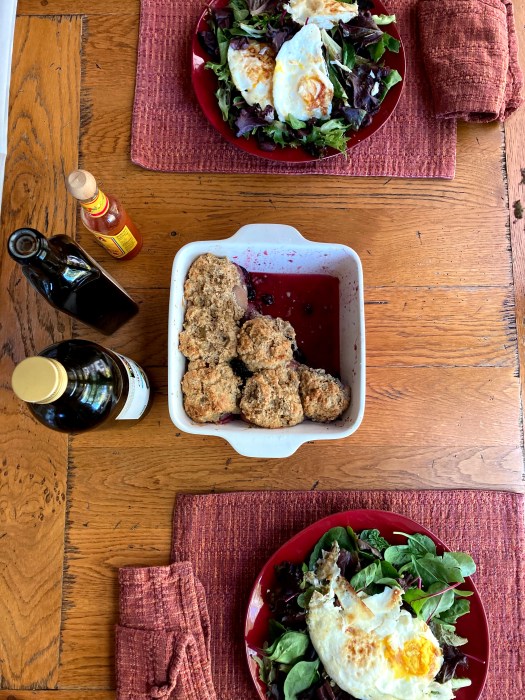
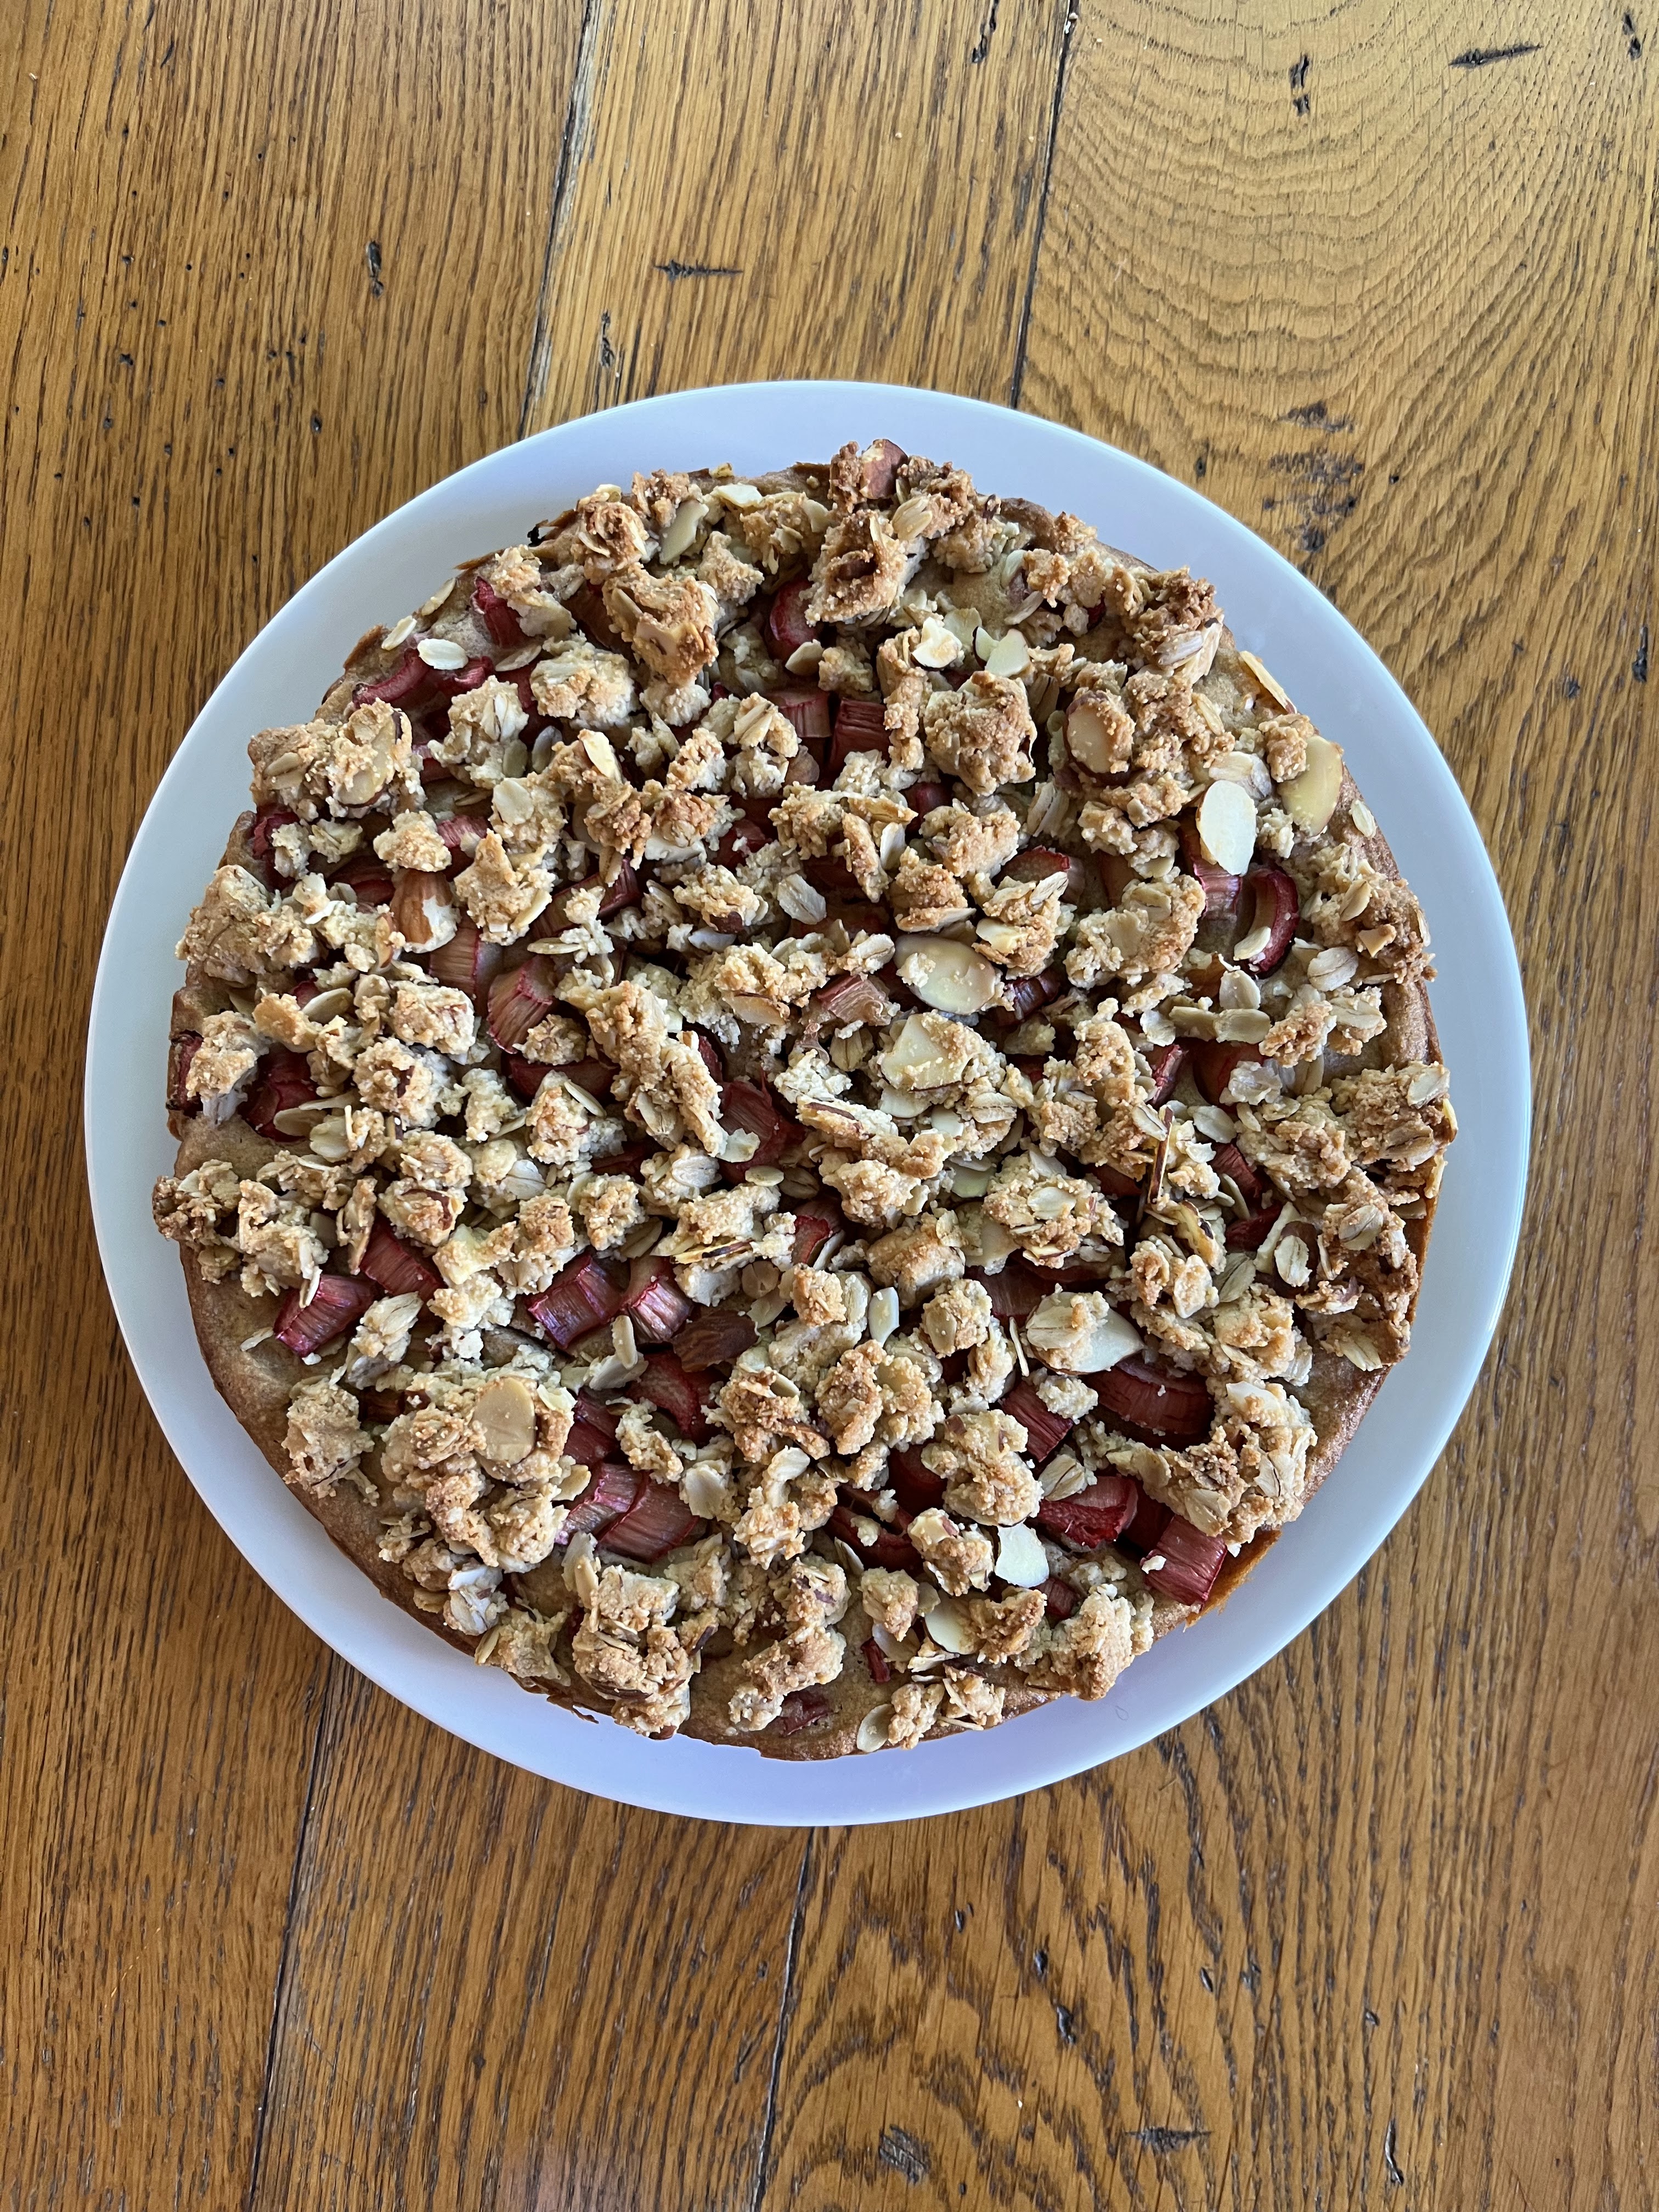
It’s a fantastically springy cake that really lets the rhubarb shine – it’s almost more rhubarb than cake (not mad). It does very well as a breakfast cake, but is also excellent with ice cream – clearly I had to try, for science. Not too sweet, either, with a really great tartness from the rhubarb. It’s my goal to make it at least once more before the end of rhubarb season!

In other news – WordPress pinged me when I logged in today that my blog is 12 YEARS OLD this month! That’s mind boggling. I started this little project when I was recovering from my eating disorder in college and had moved into my first apartment – figuring no one would want to read about the same black bean burrito over and over, so it would force me to make some new things and be semi-publically accountable for feeding myself properly. Very proud and happy to say that 12+ years on, my relationship with food has settled out into a much, much healthier balance. Thanks for keeping me company for the last 12 years, little bloglet!
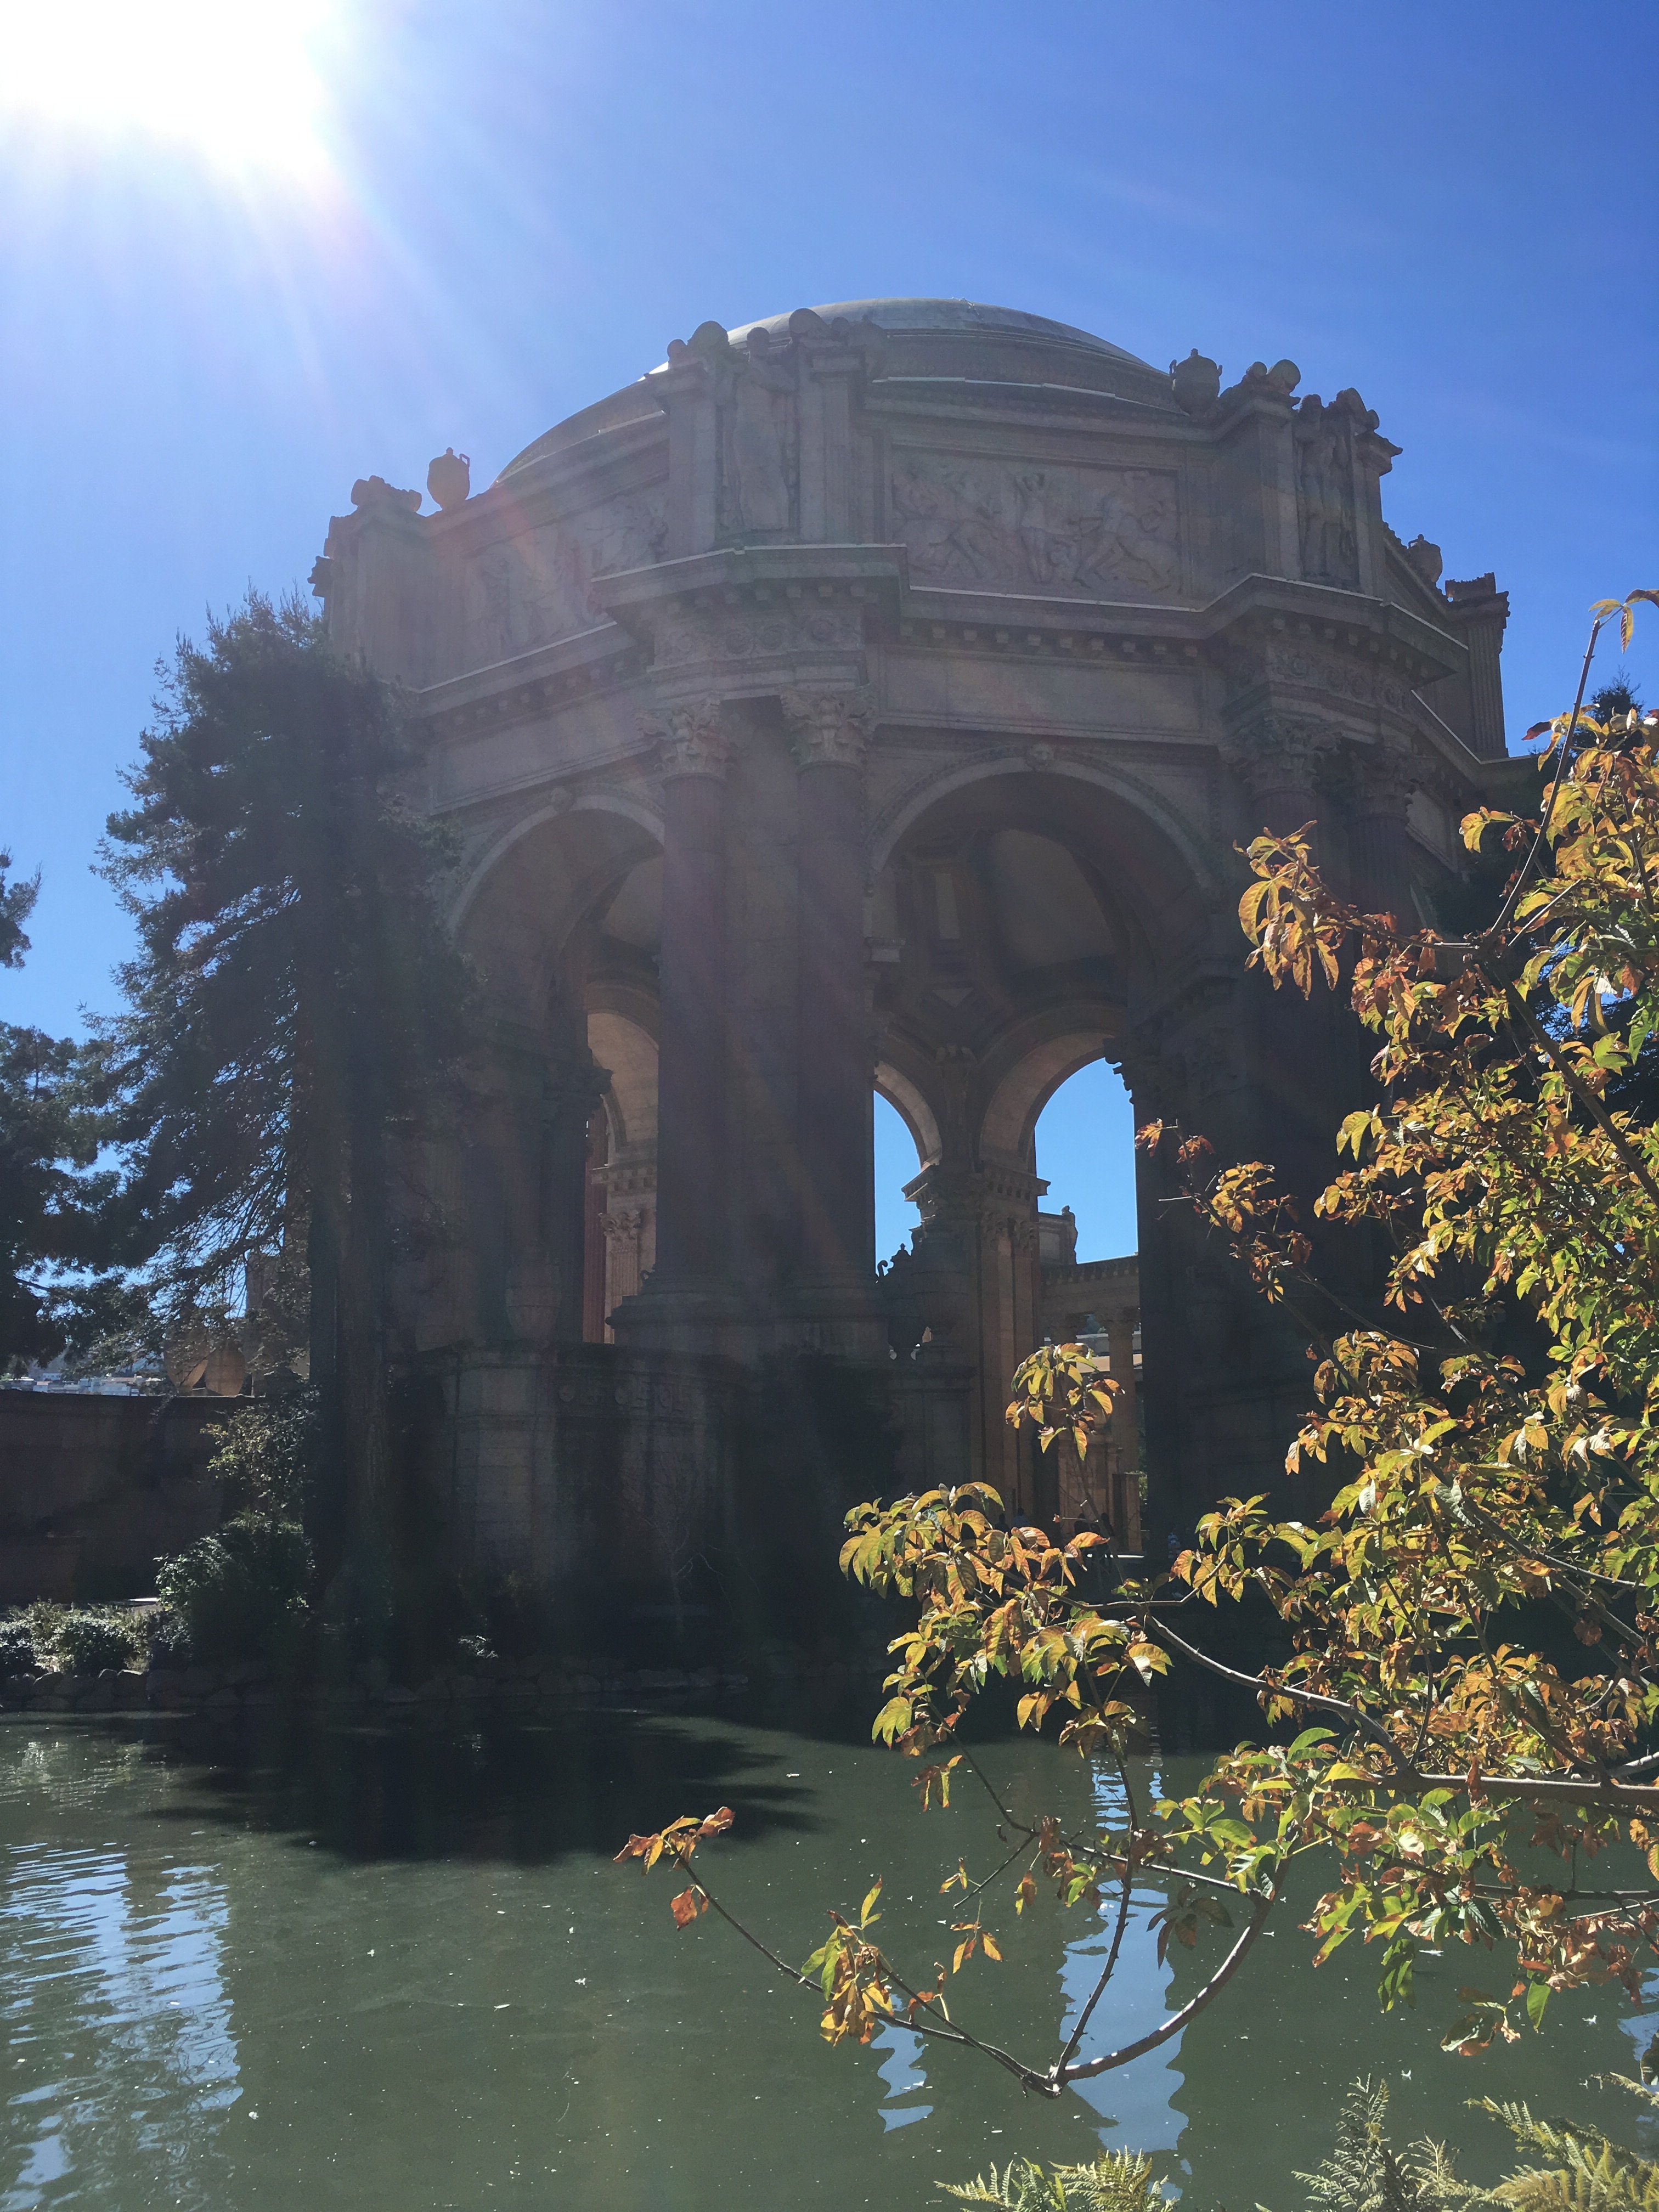
Let’s see, what else is fresh over here…
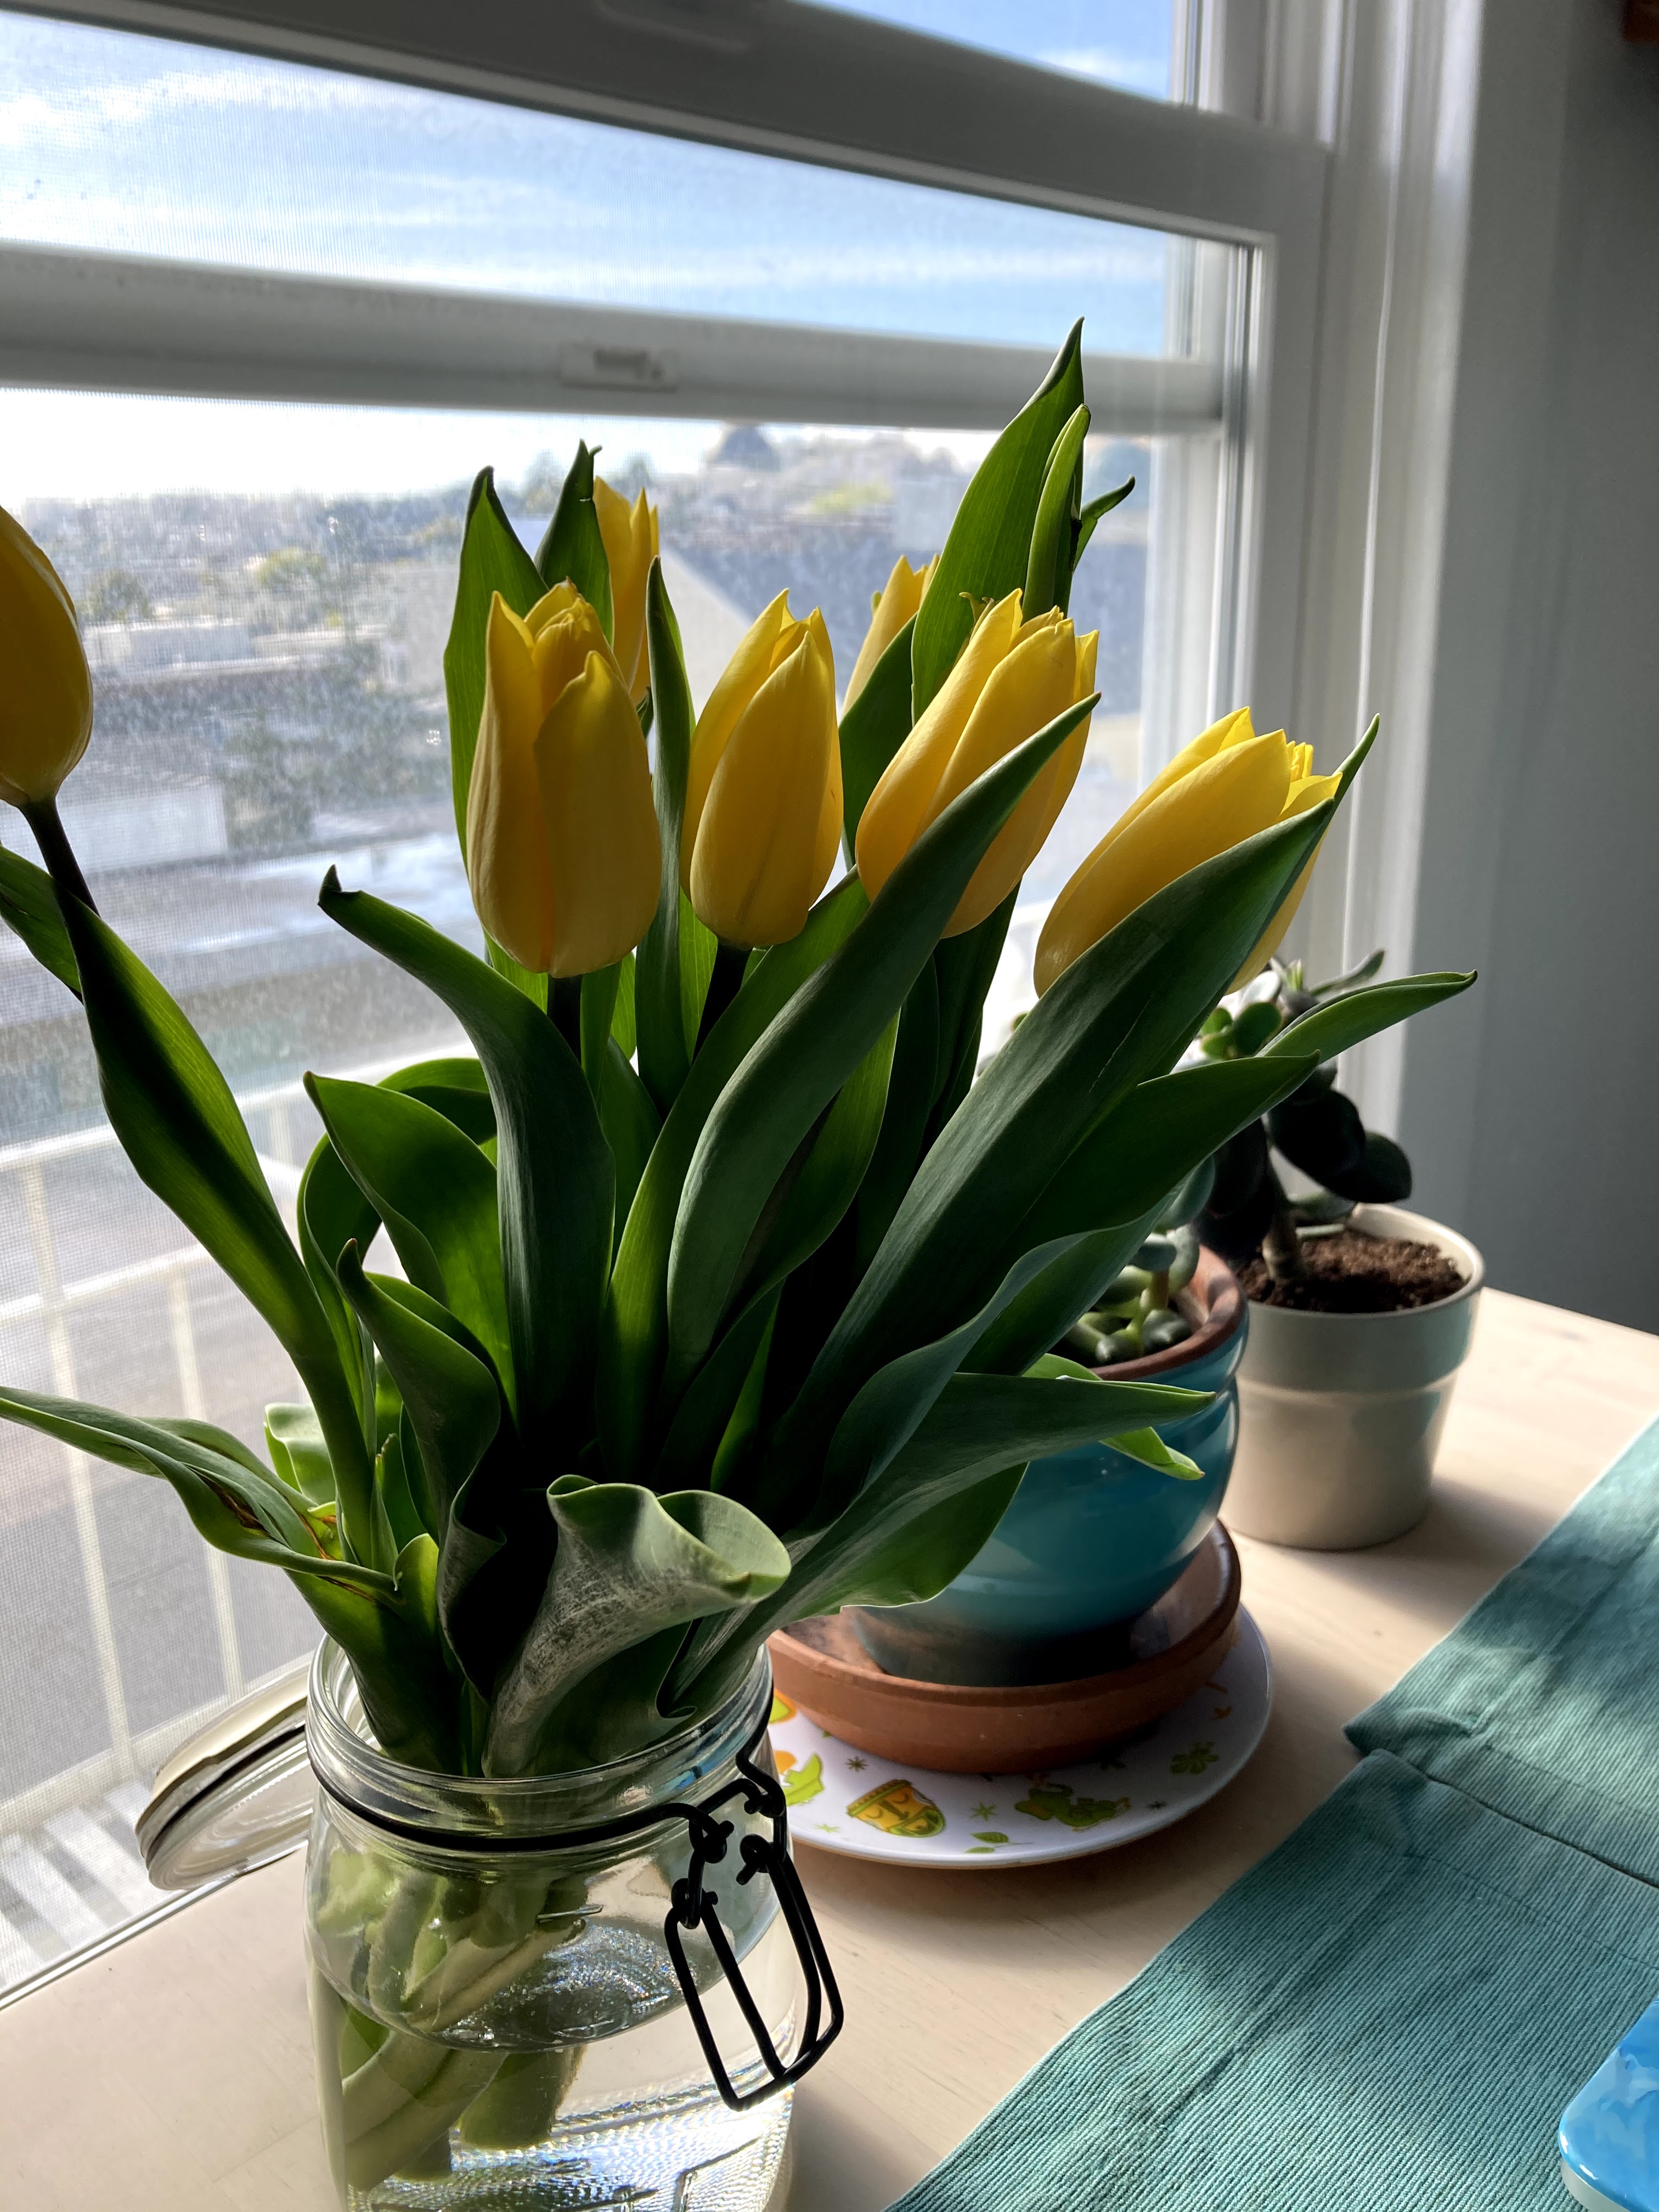
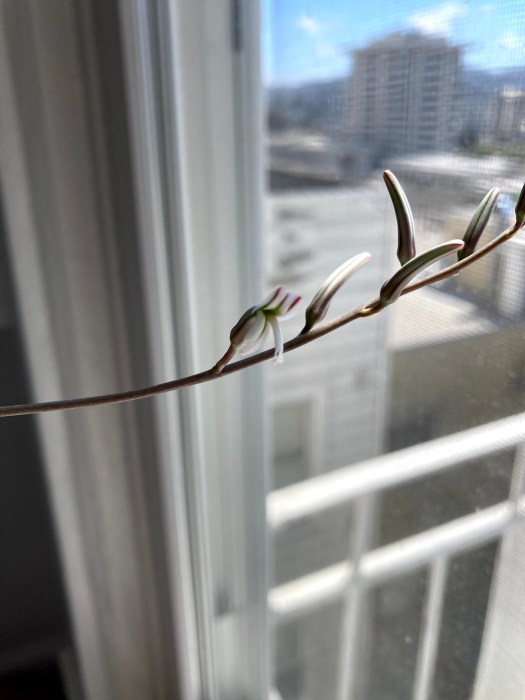
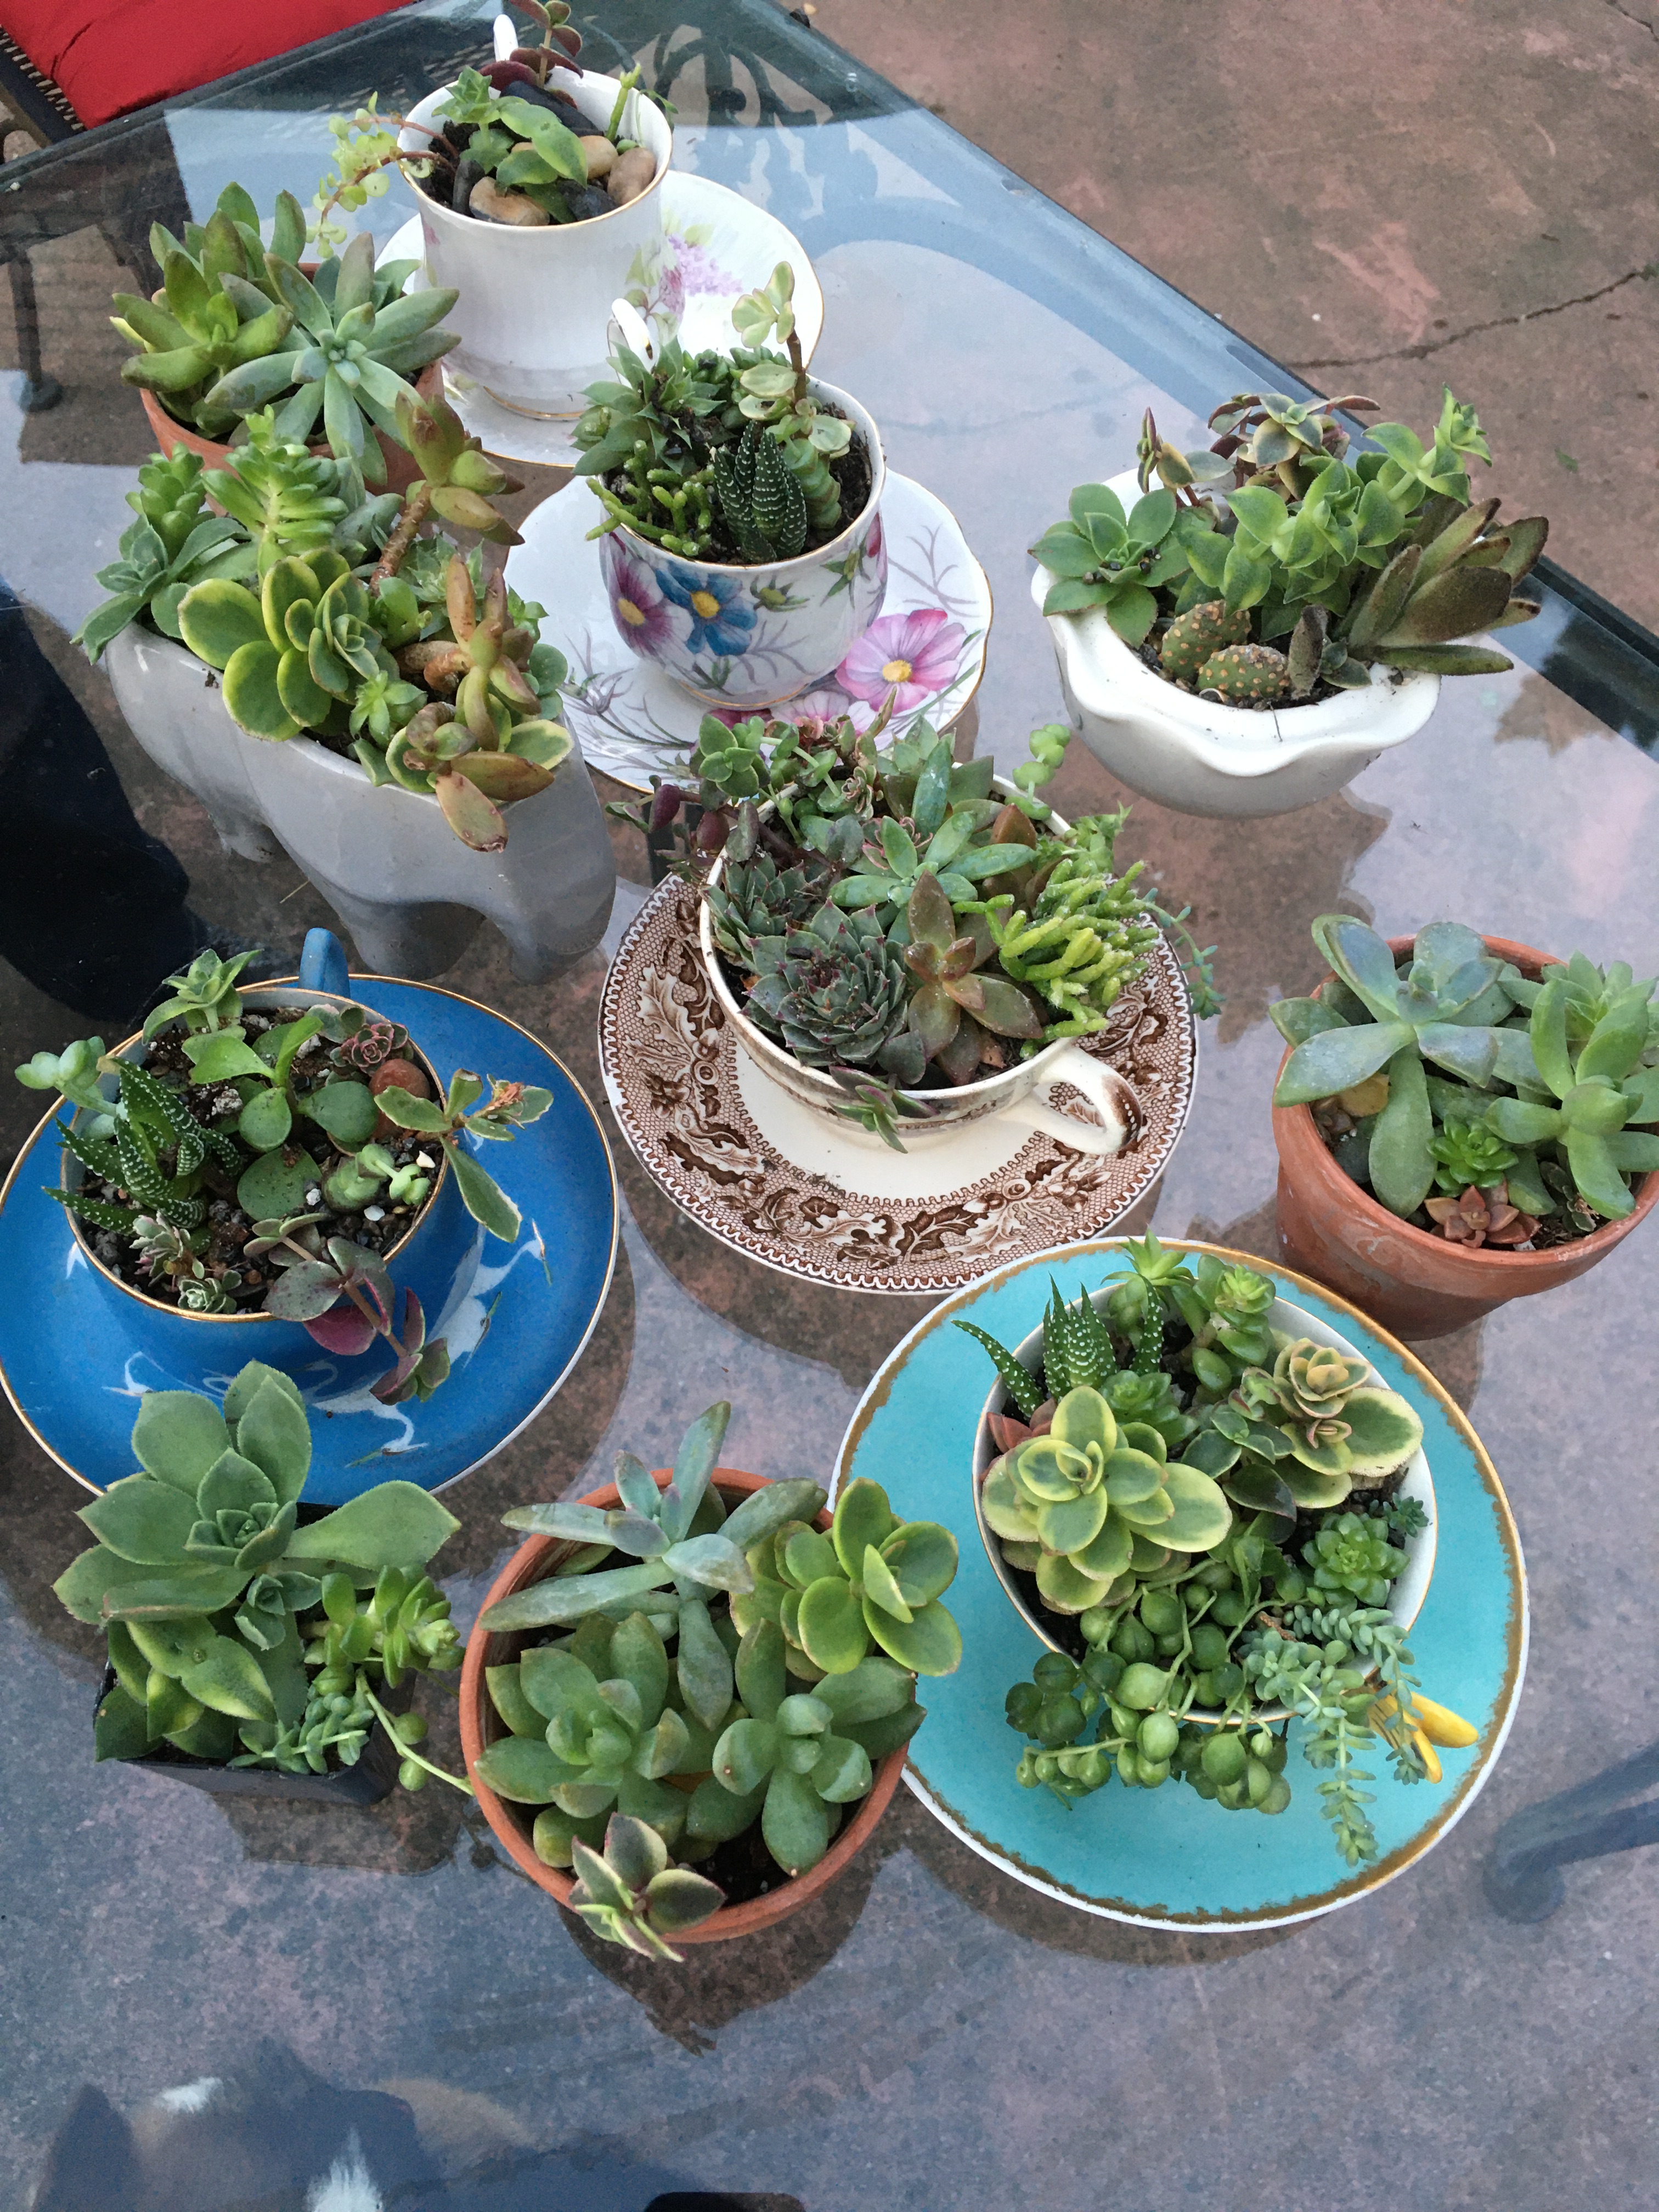
Plant babies are pretty fantastic – I have a bloom on my snake plant, which is crazy… I didn’t know they did that! Number one comment from everyone who comes over: “wow, you have… a lot… of plants” hahha yes thank you, yes I do.


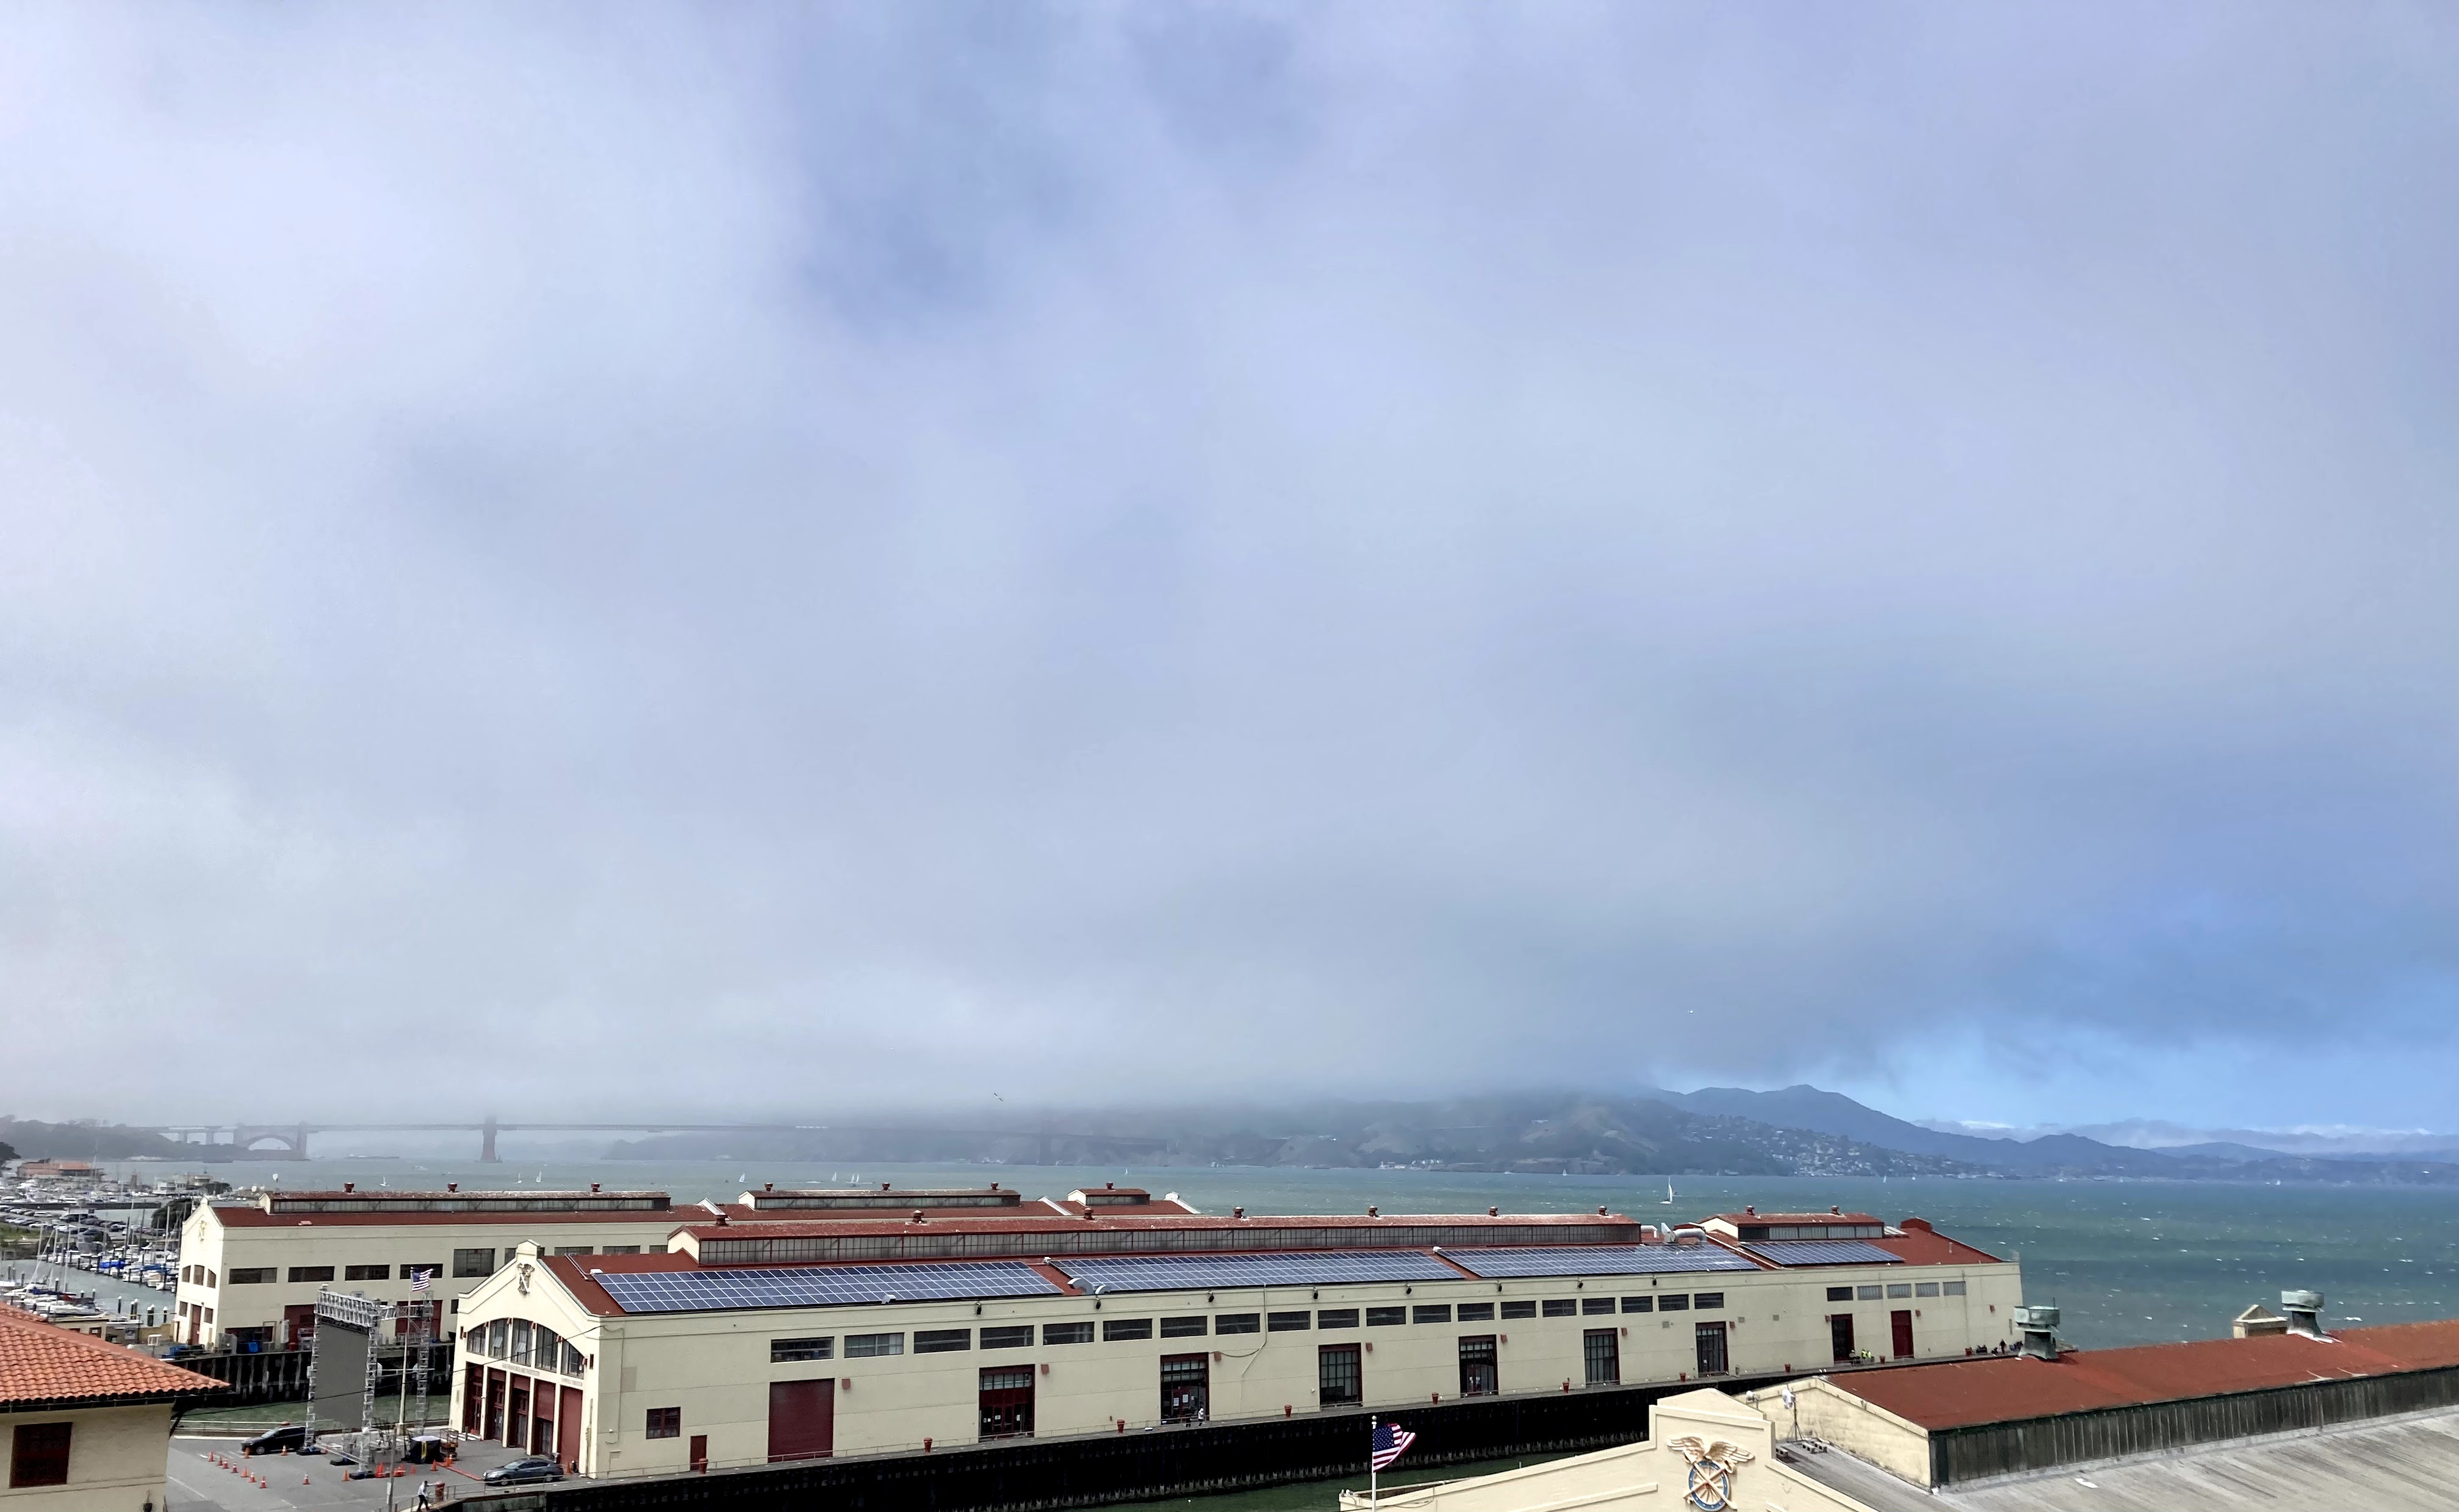
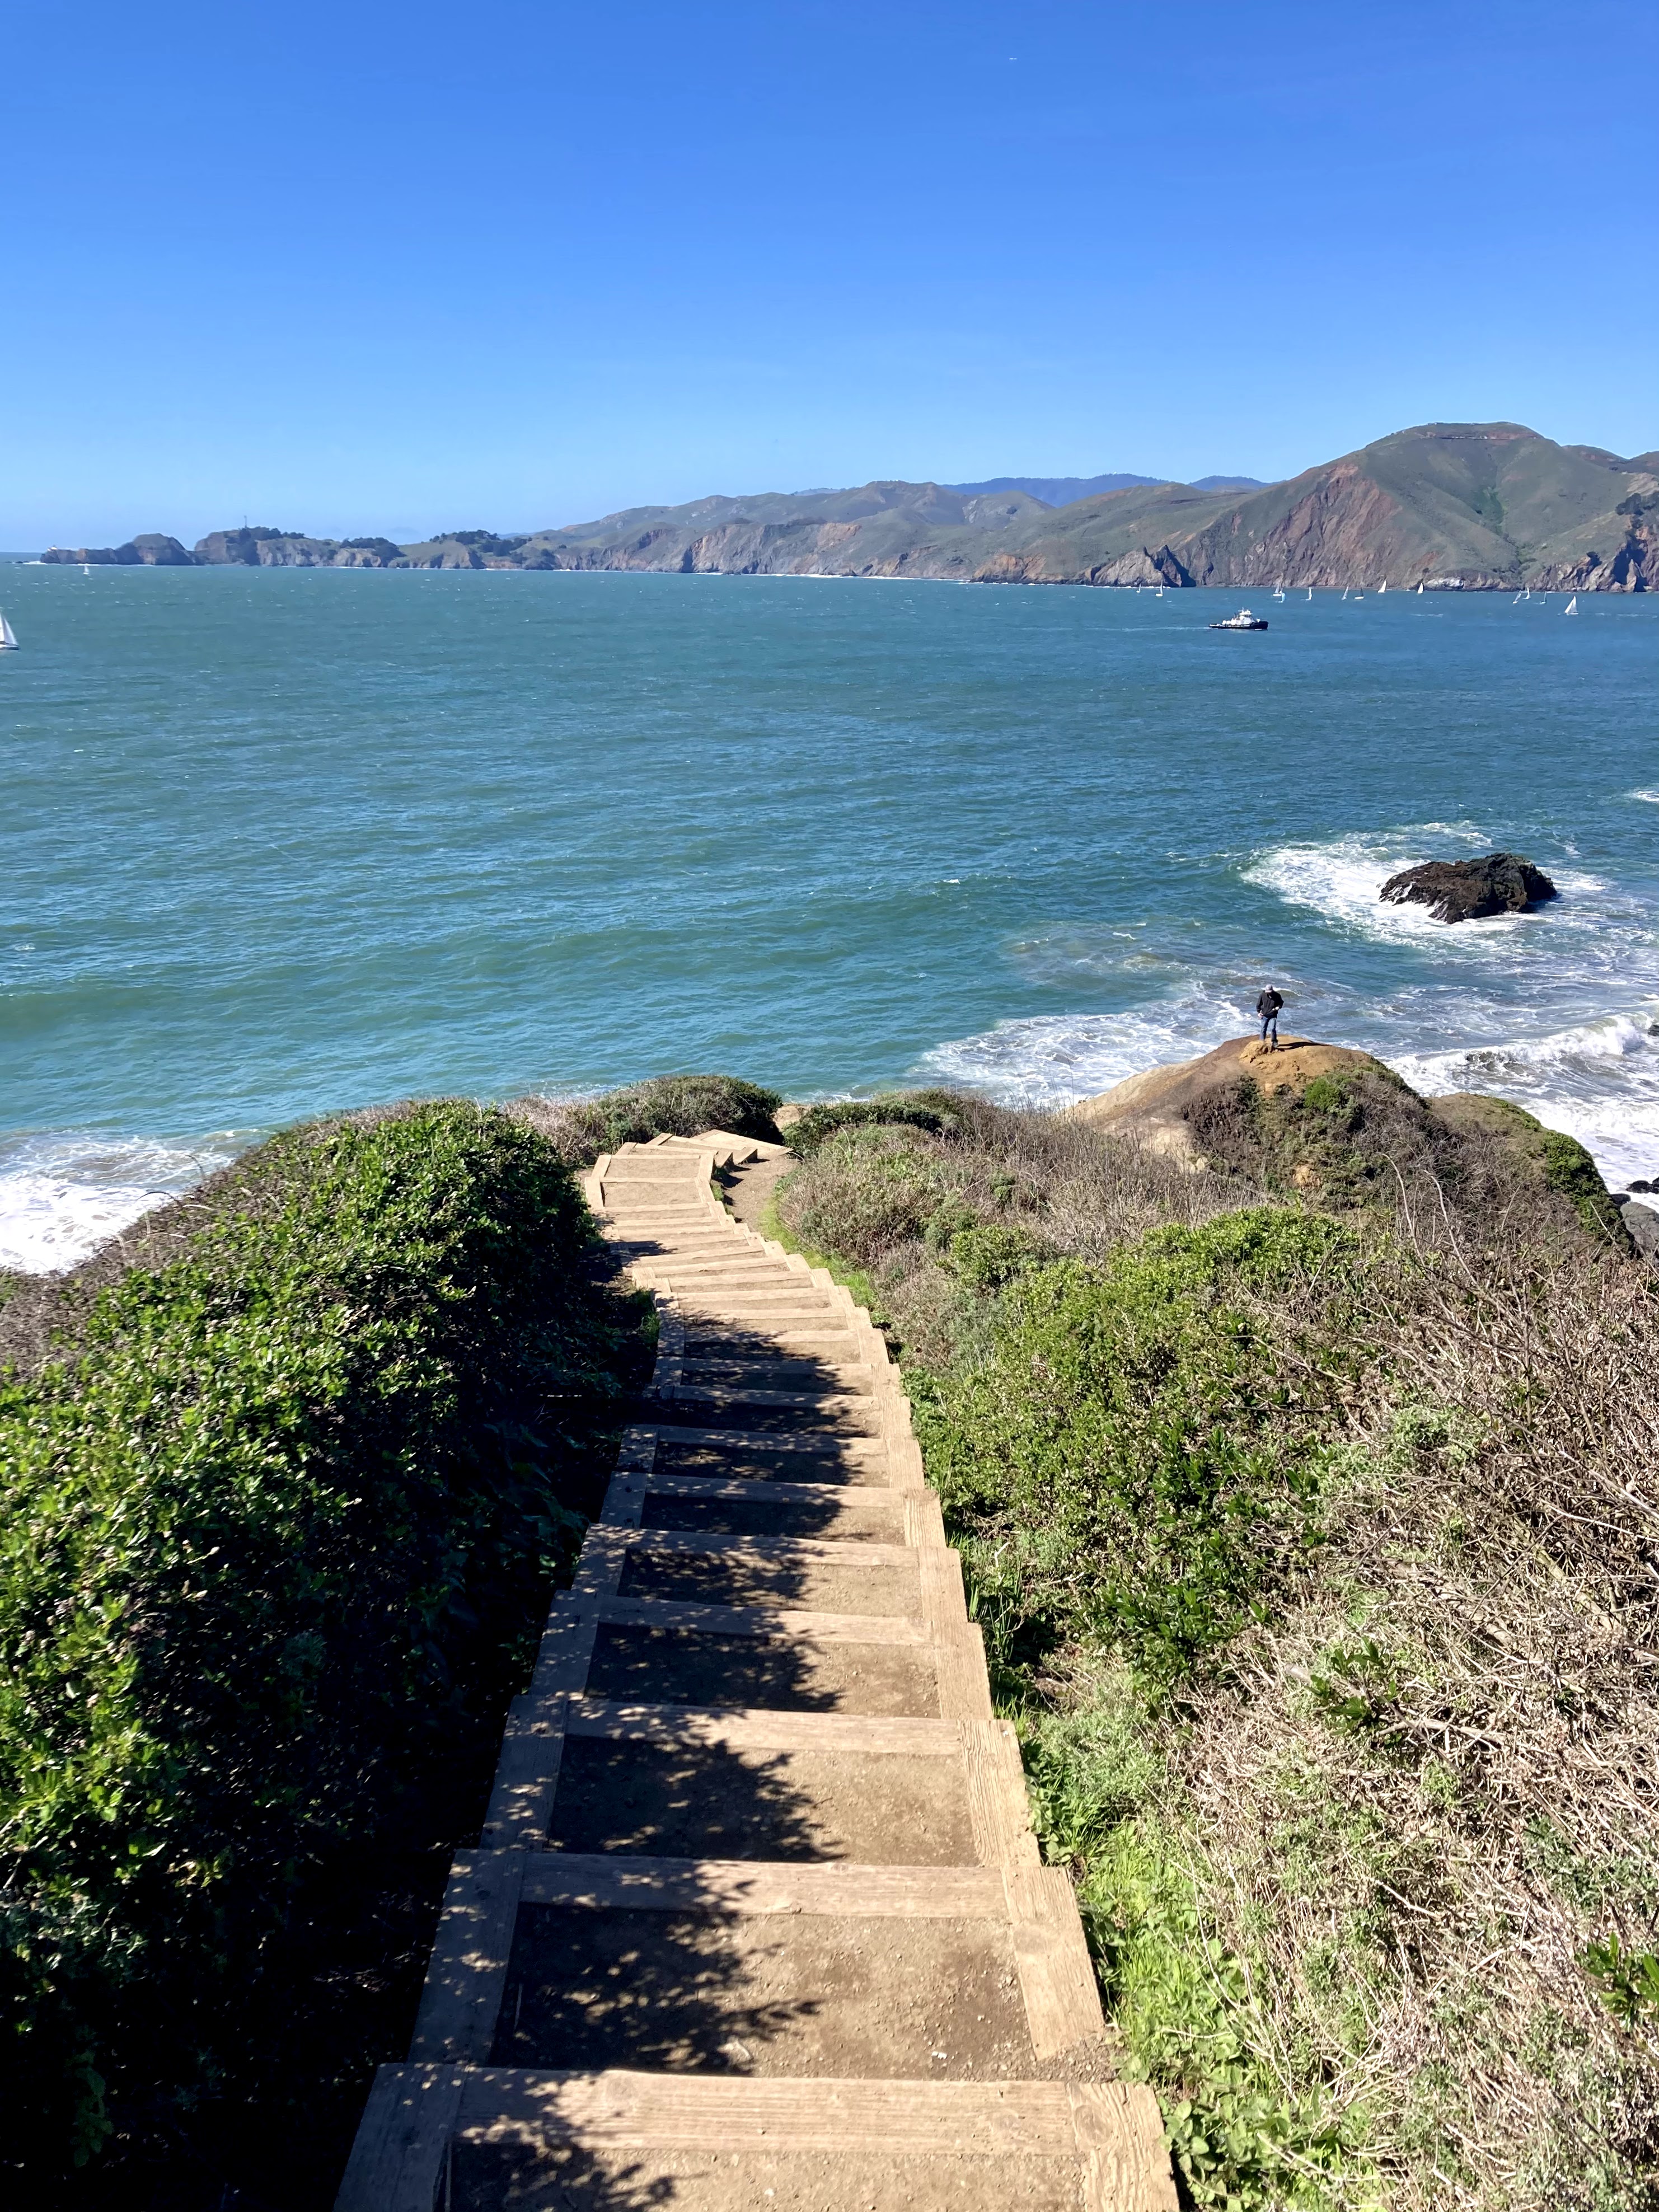
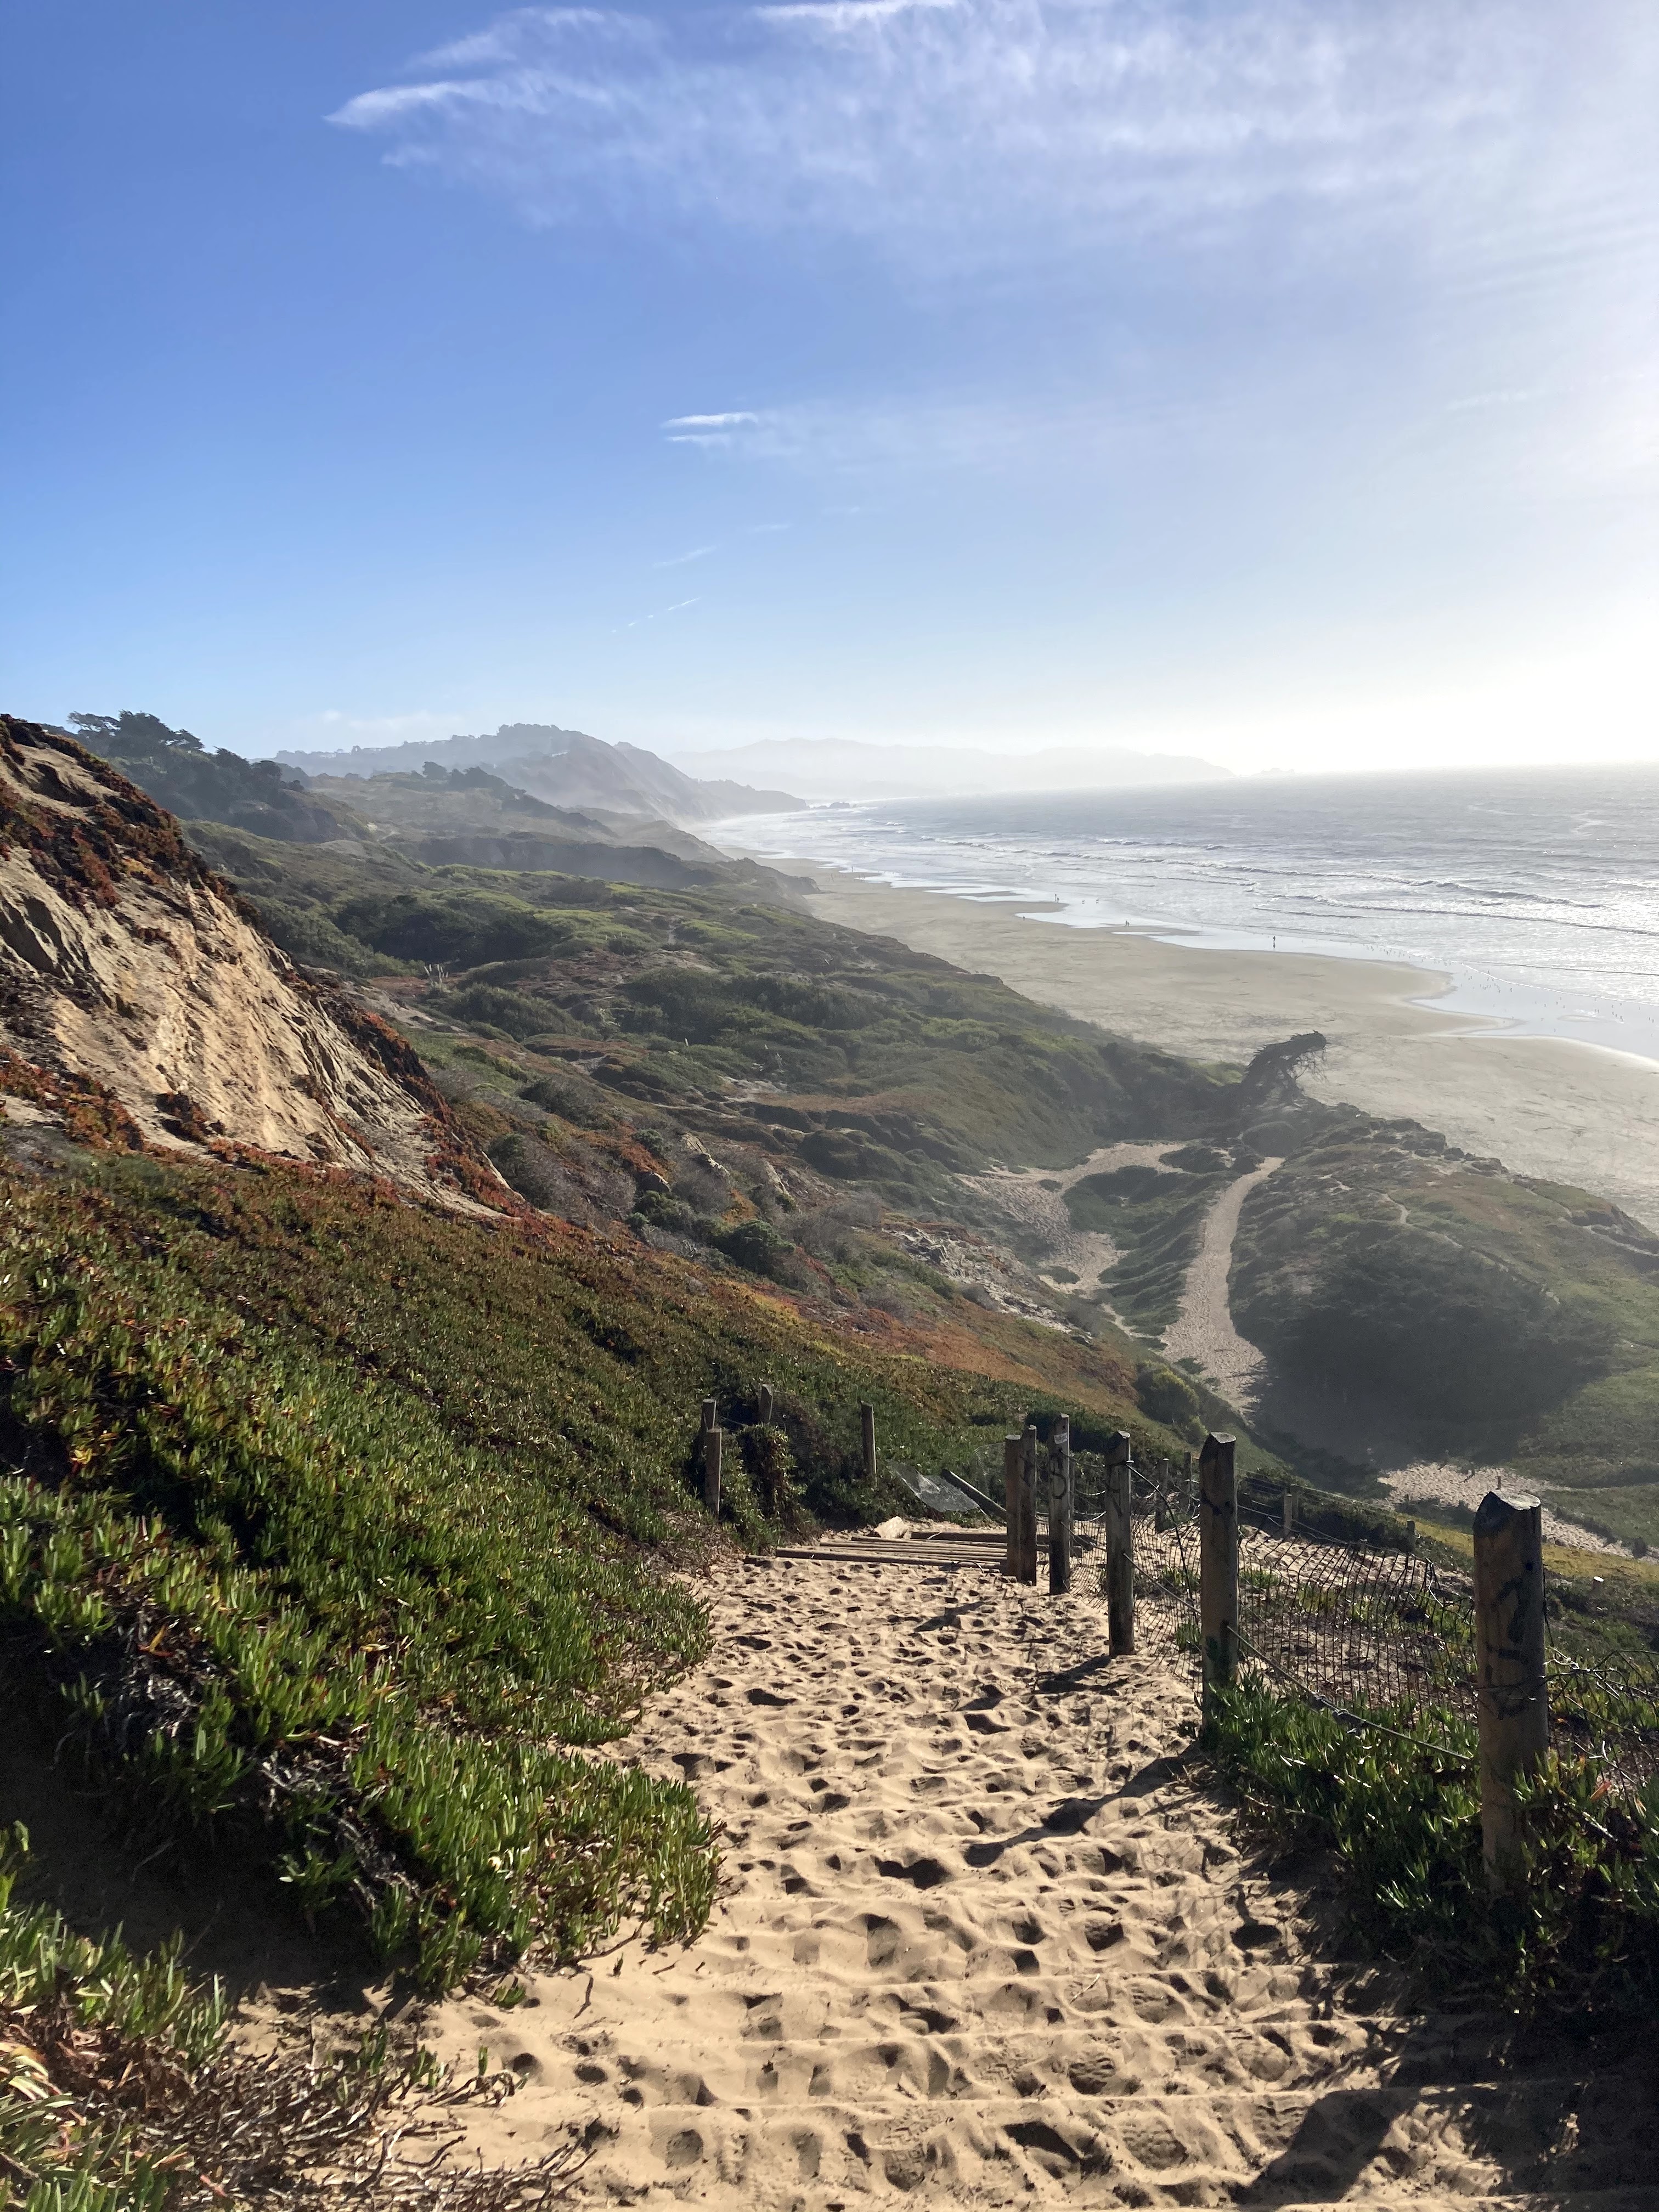
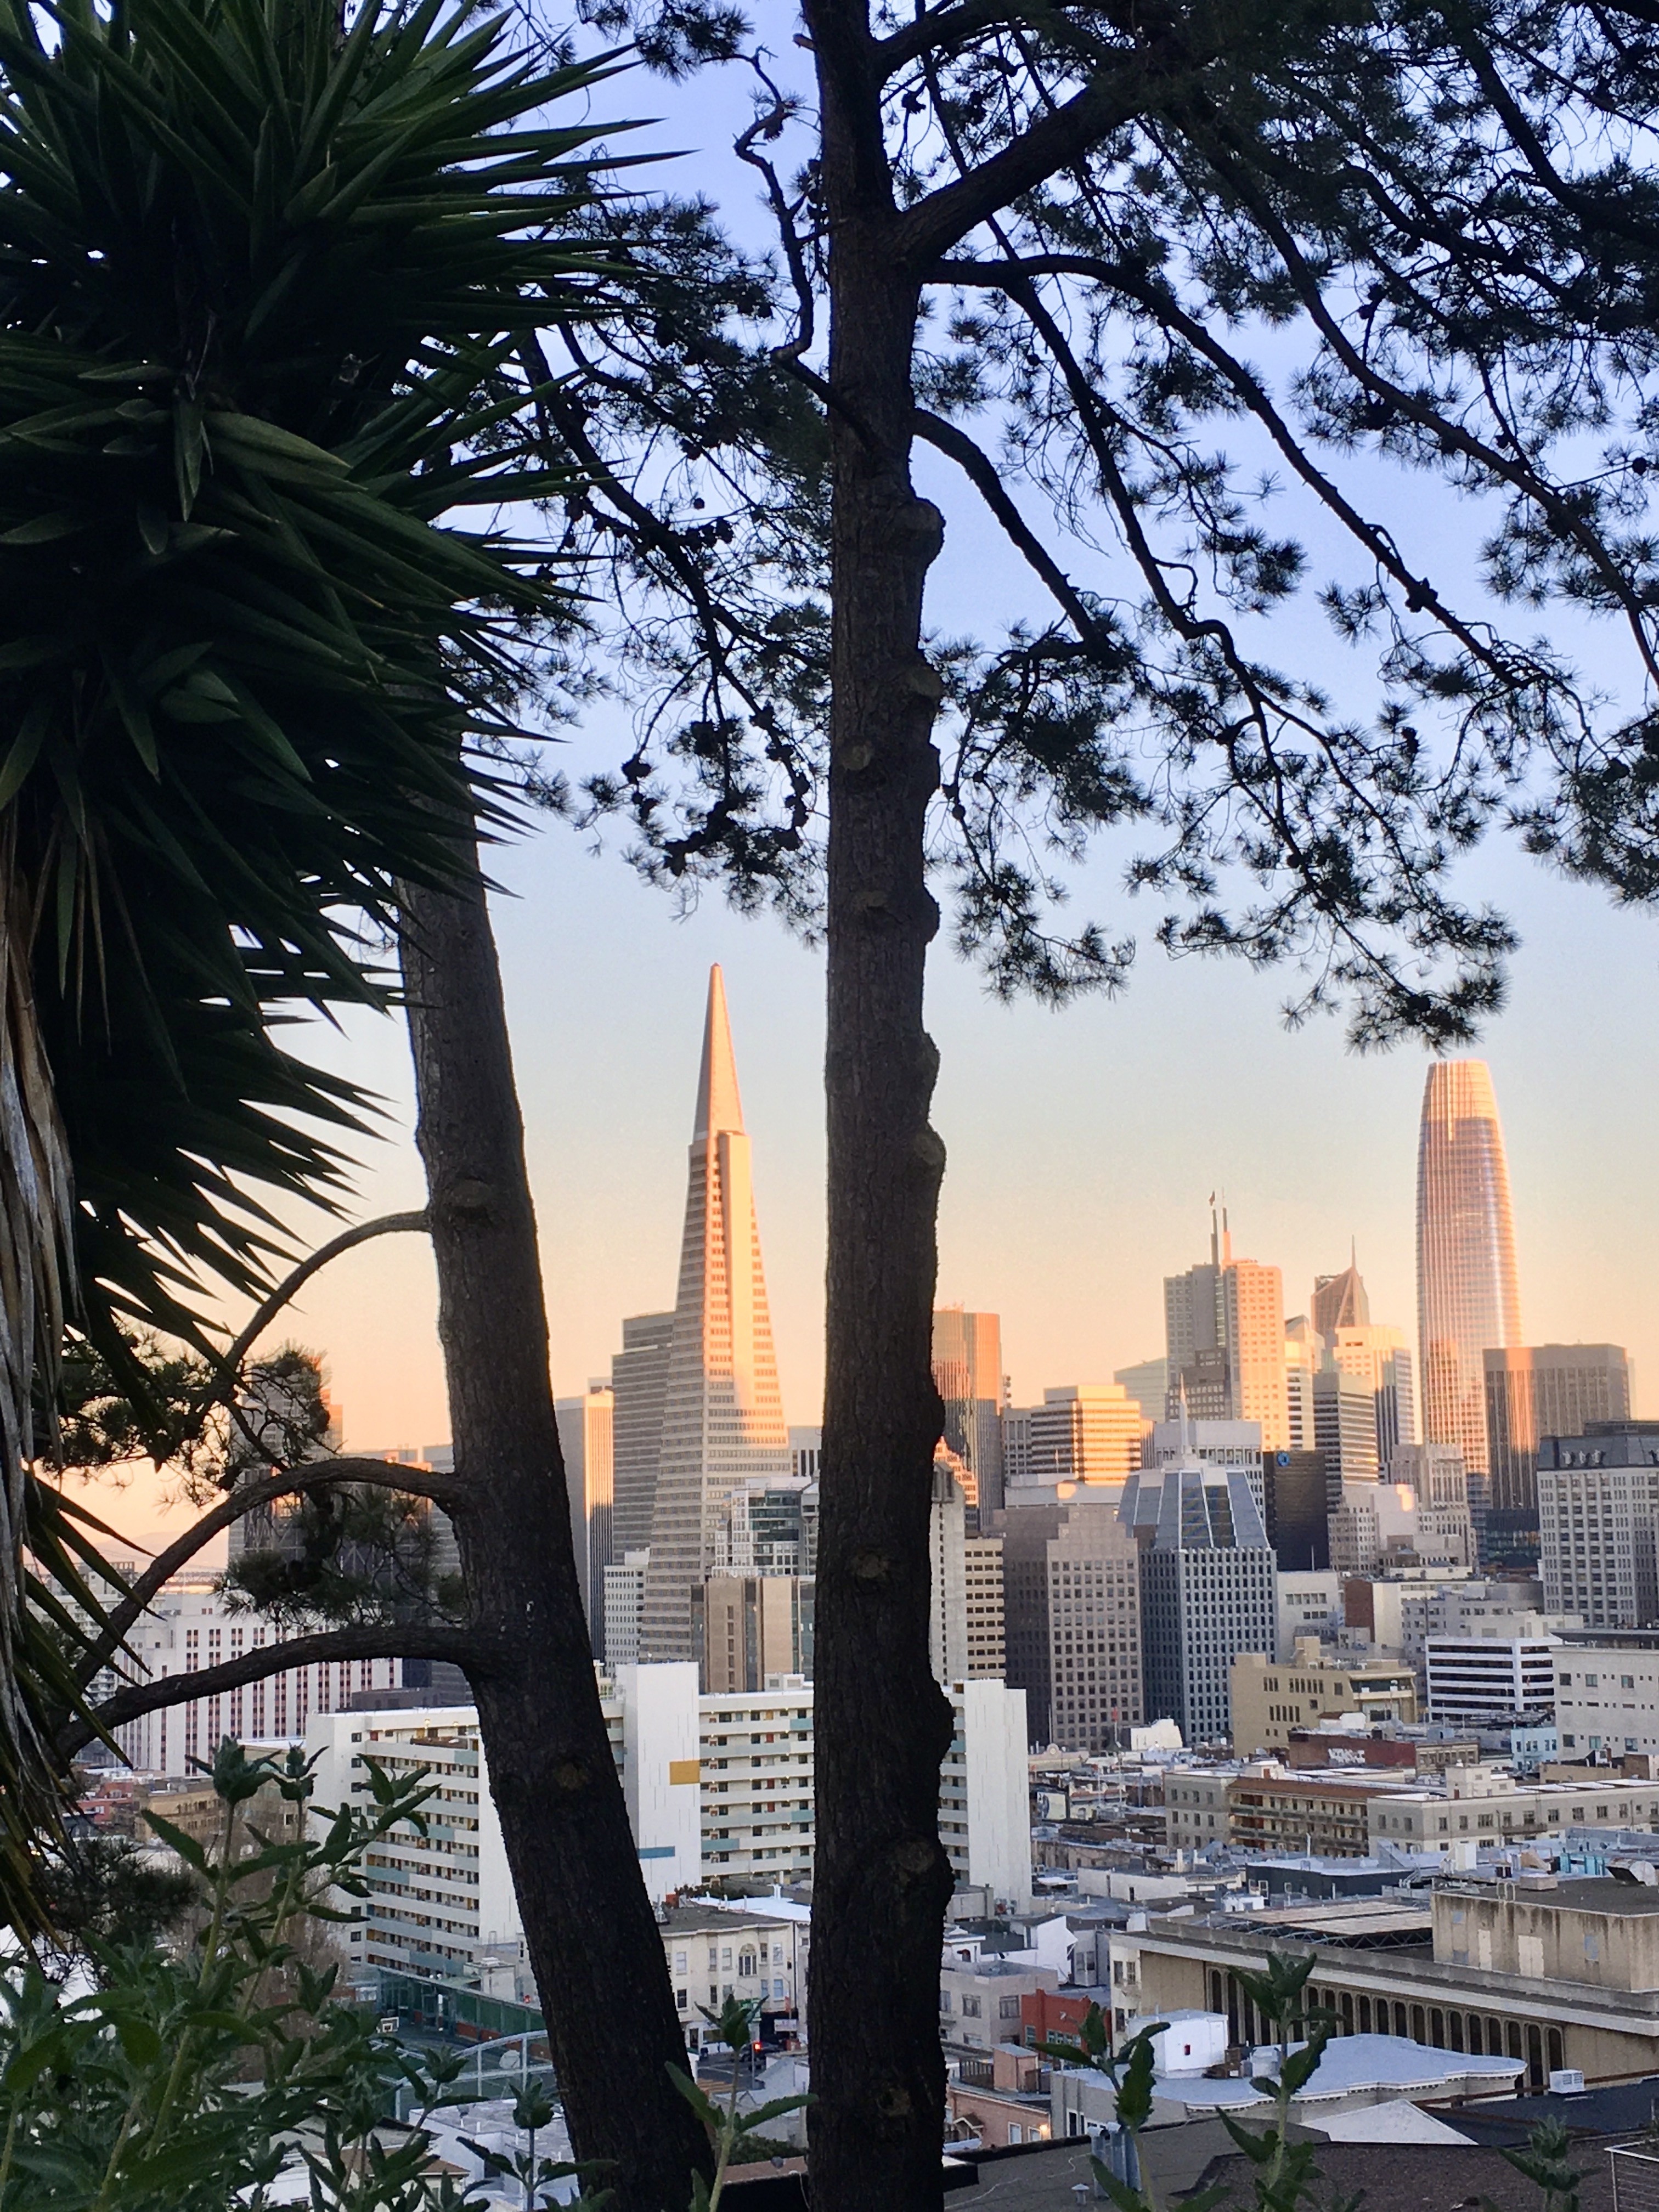
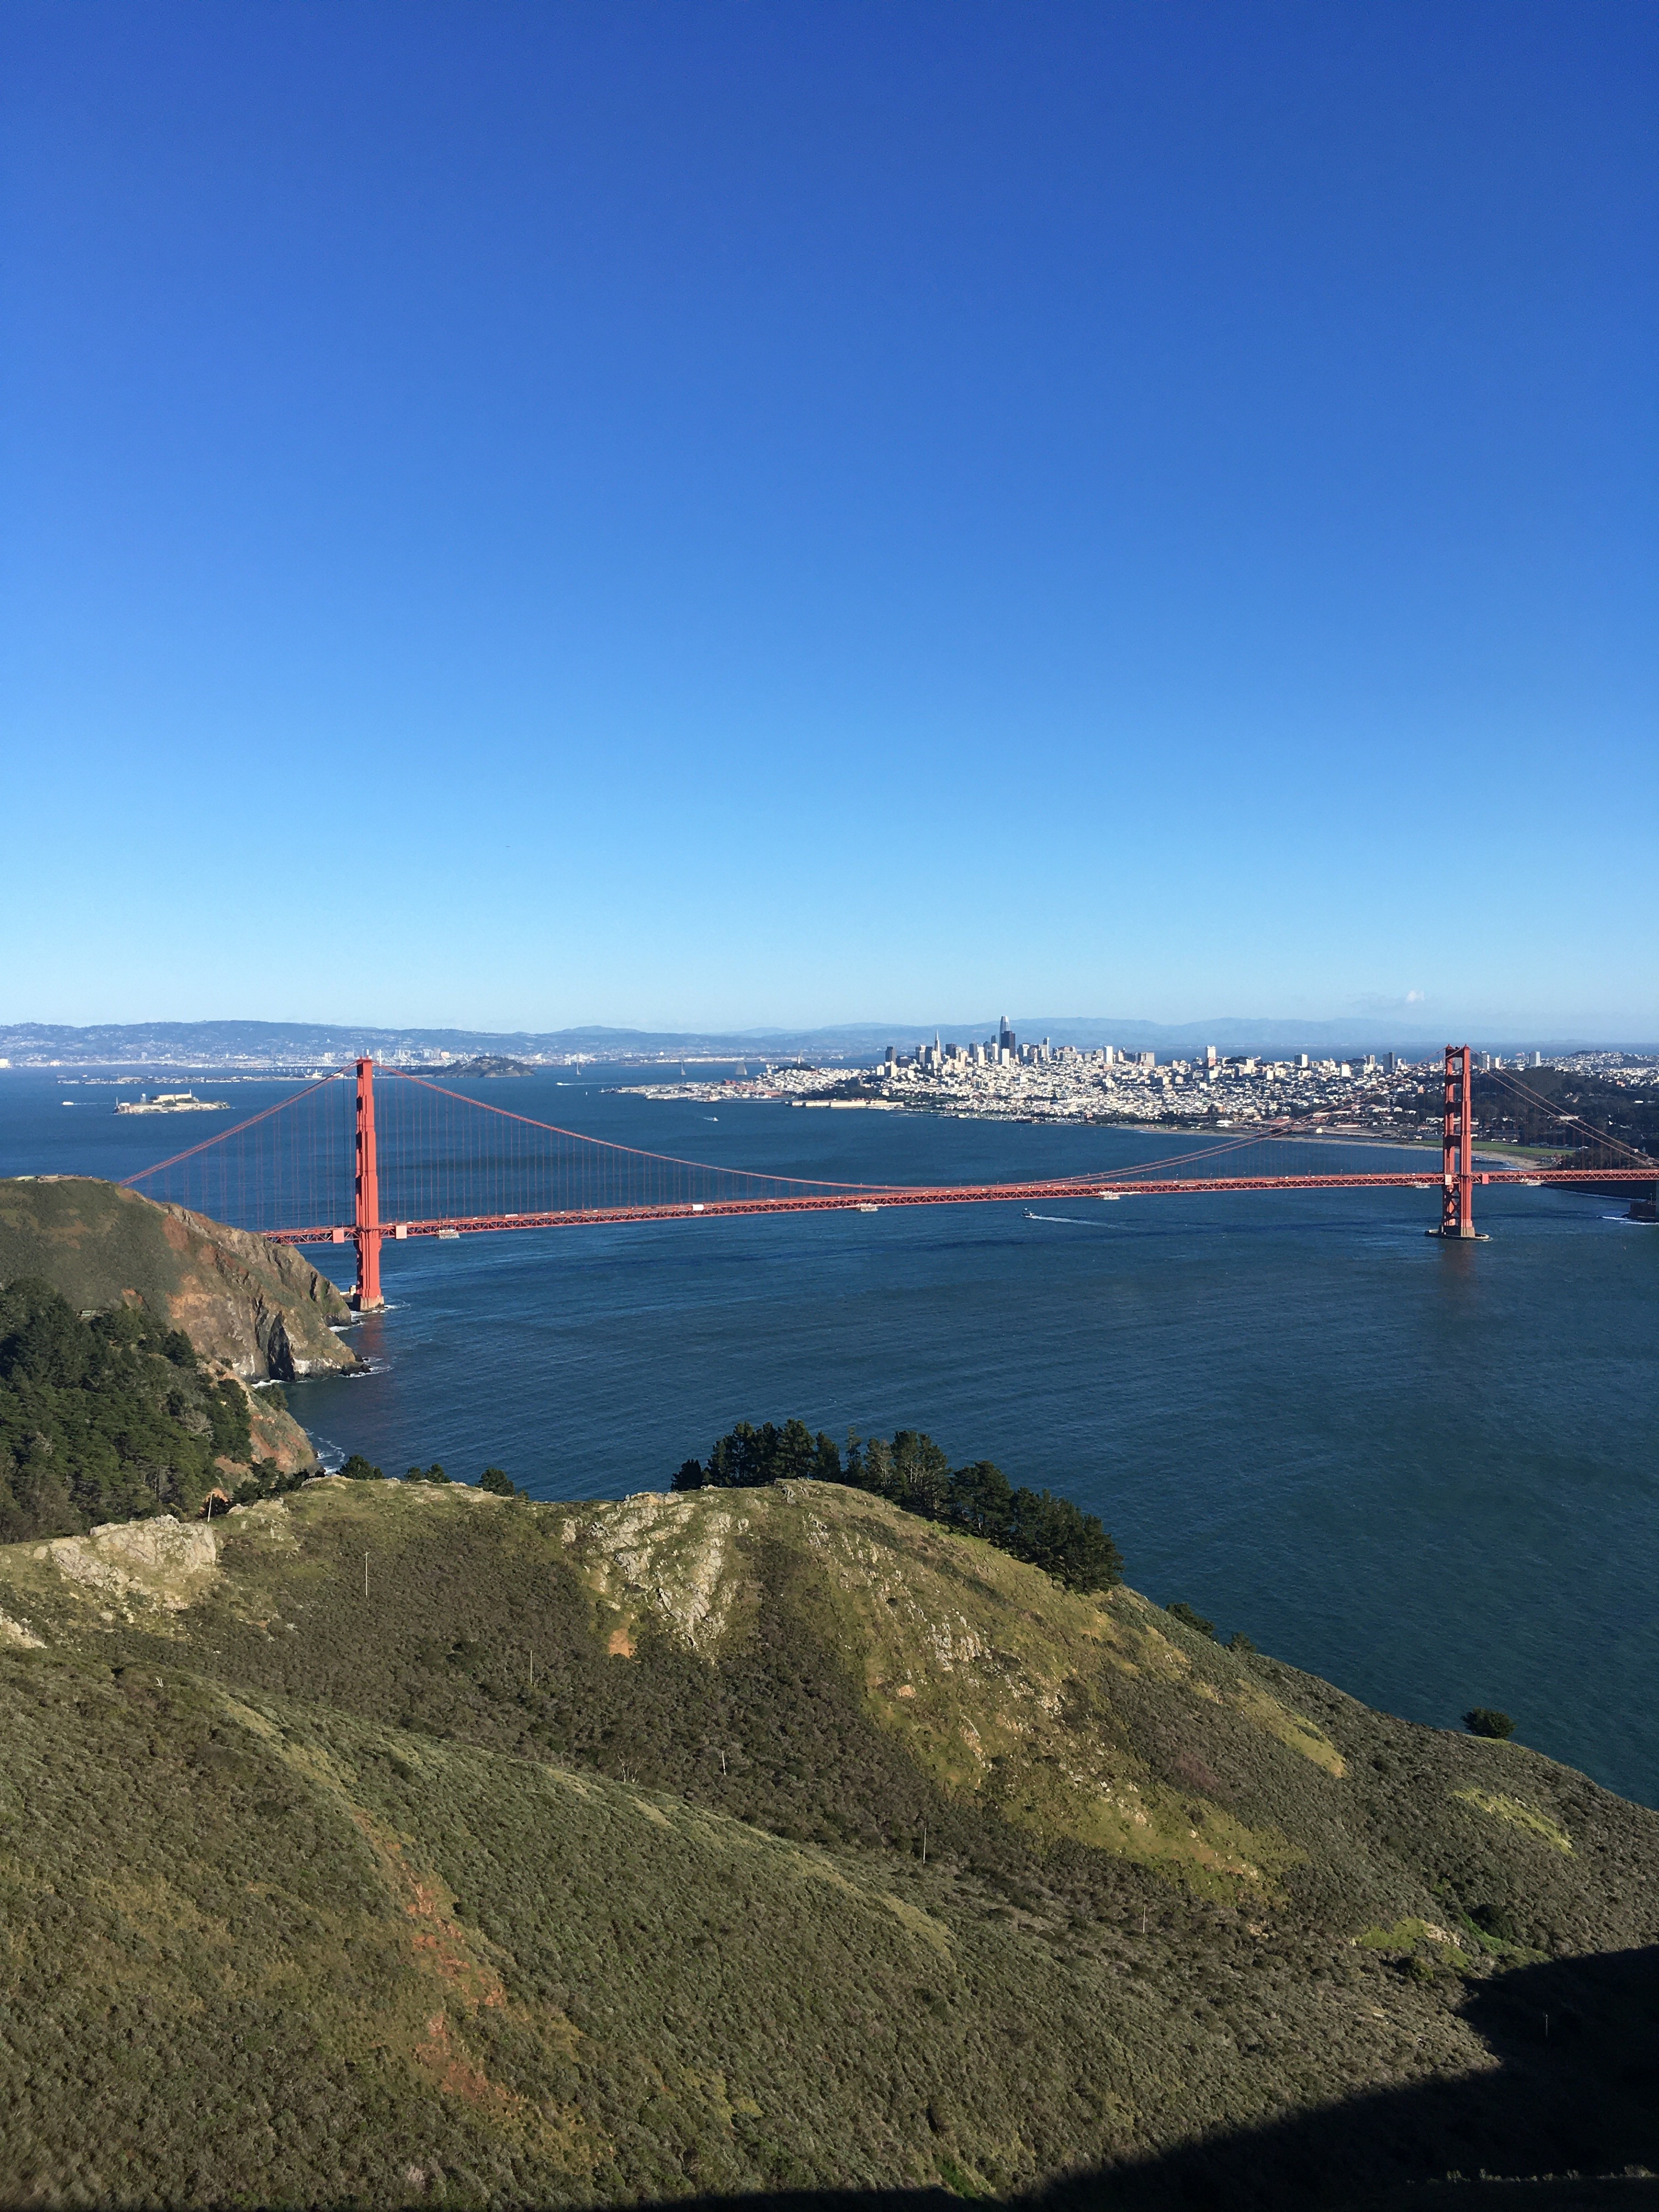
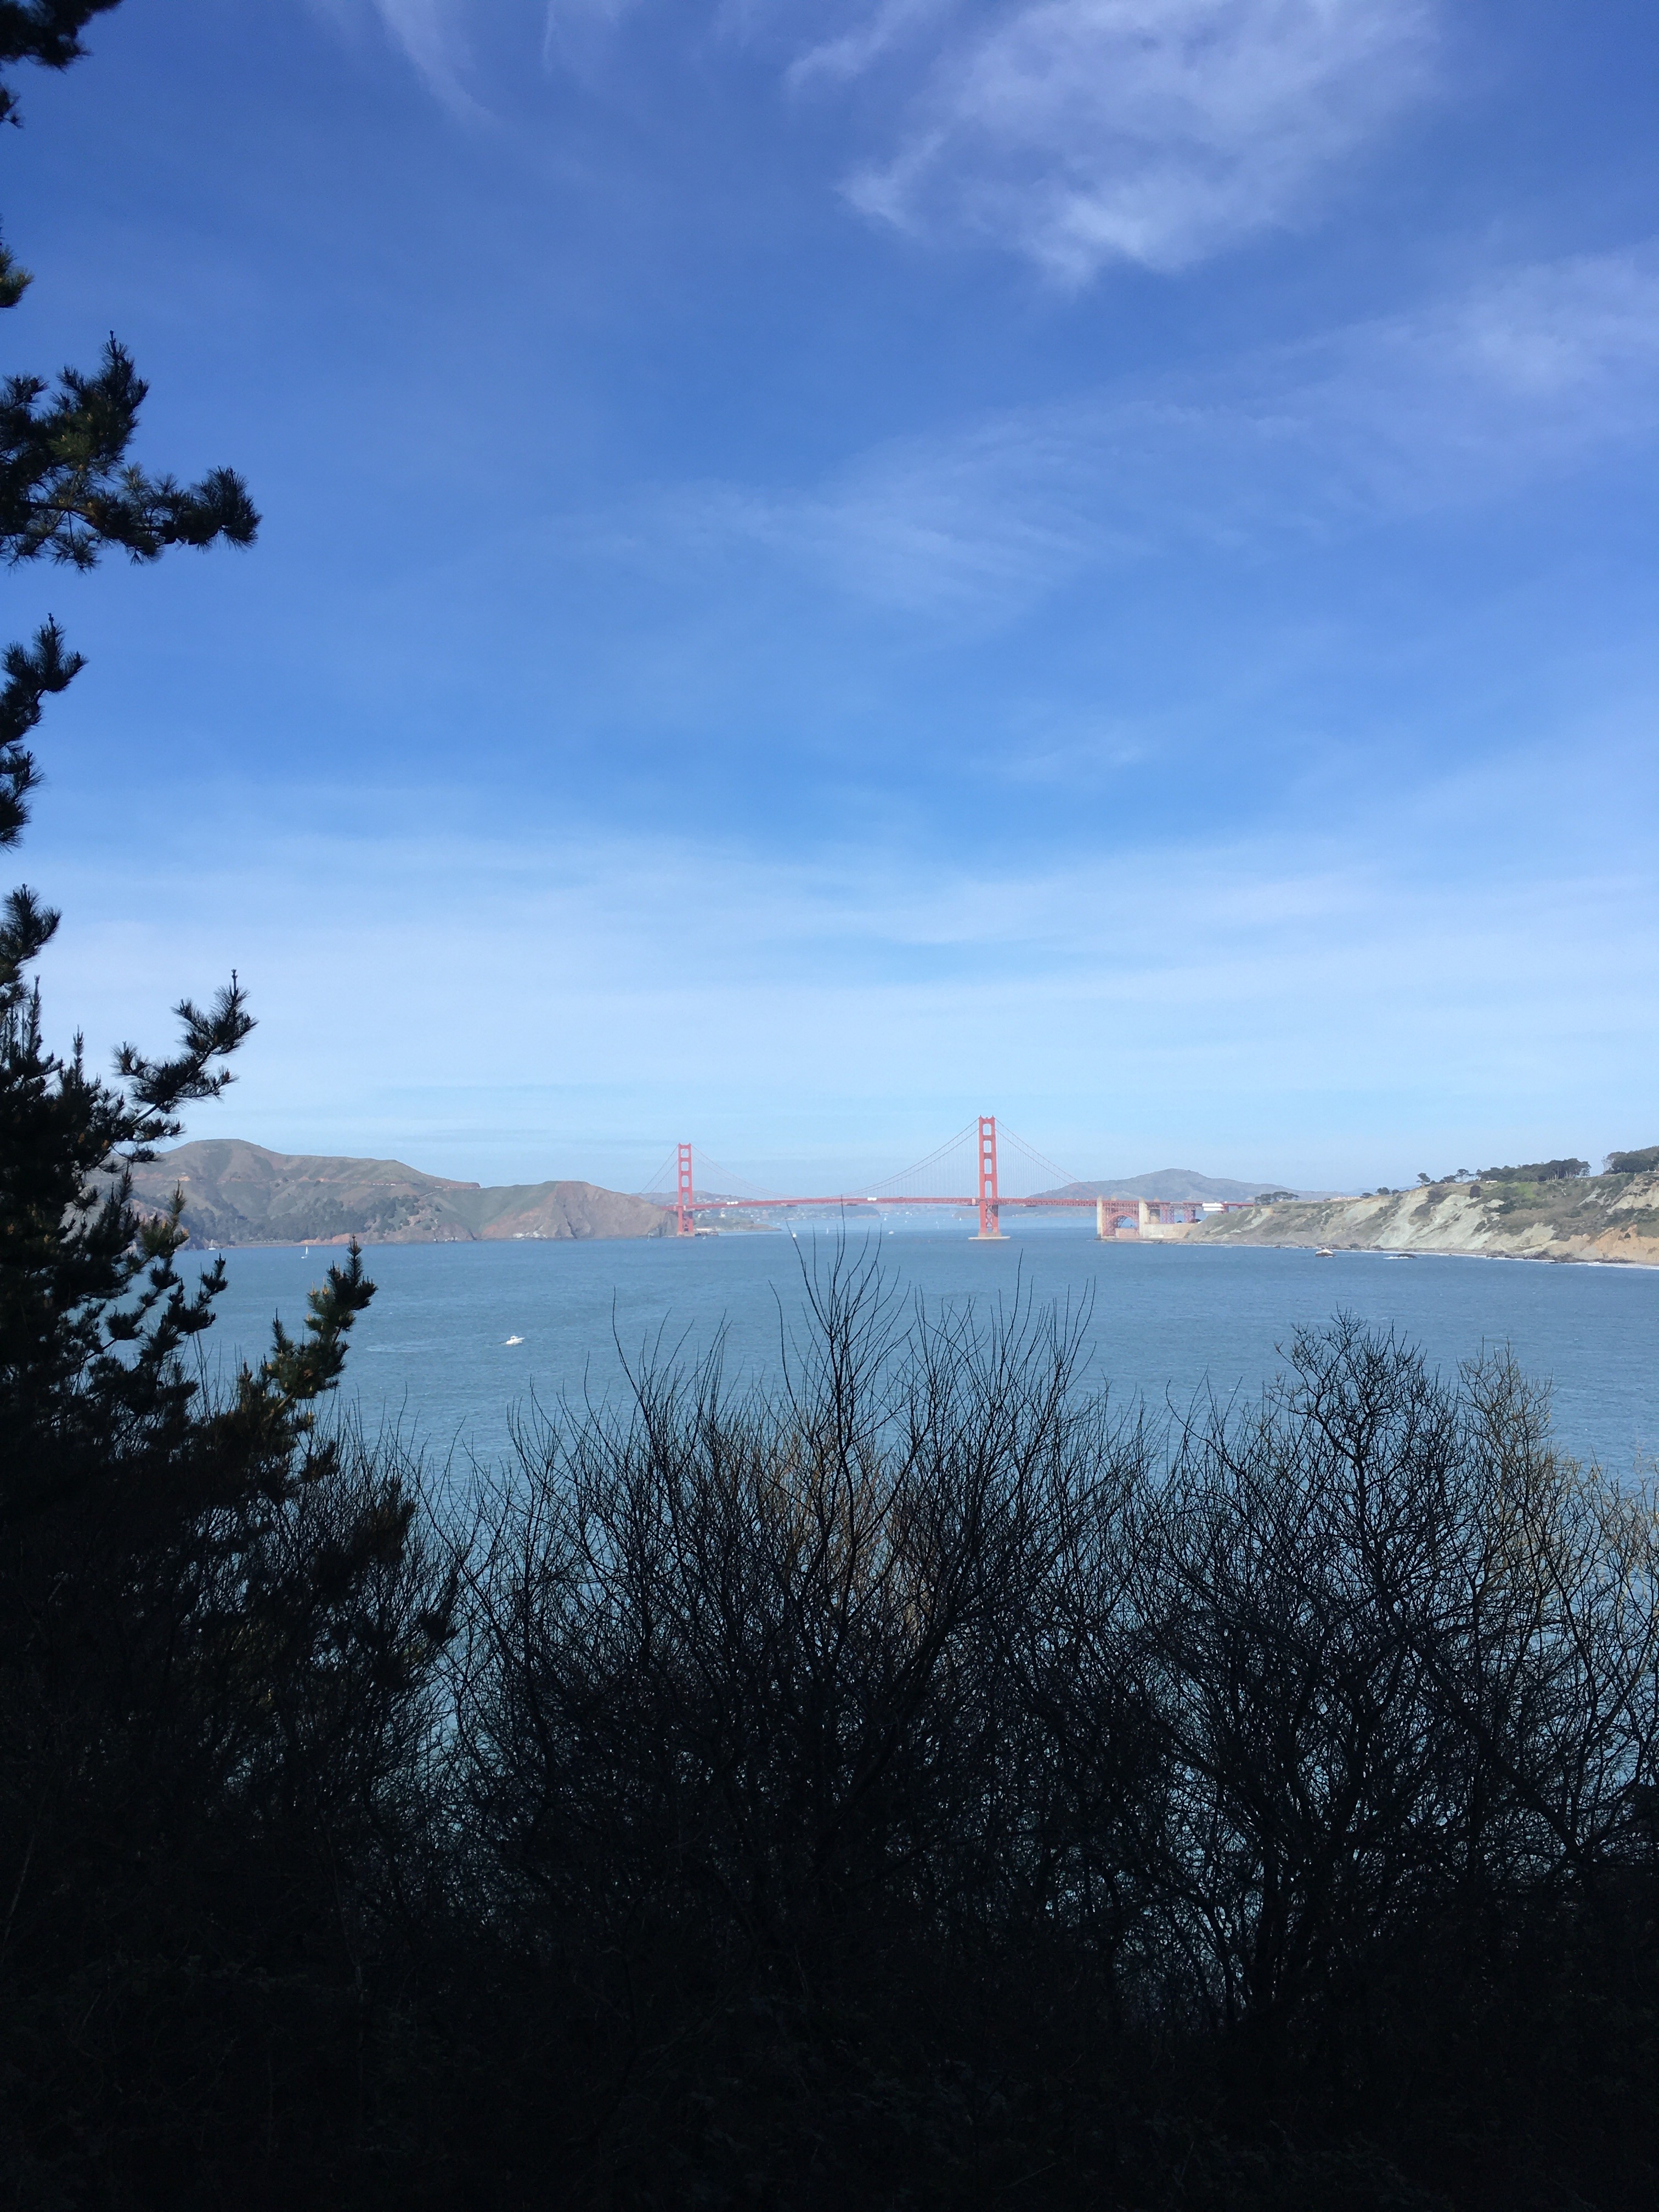
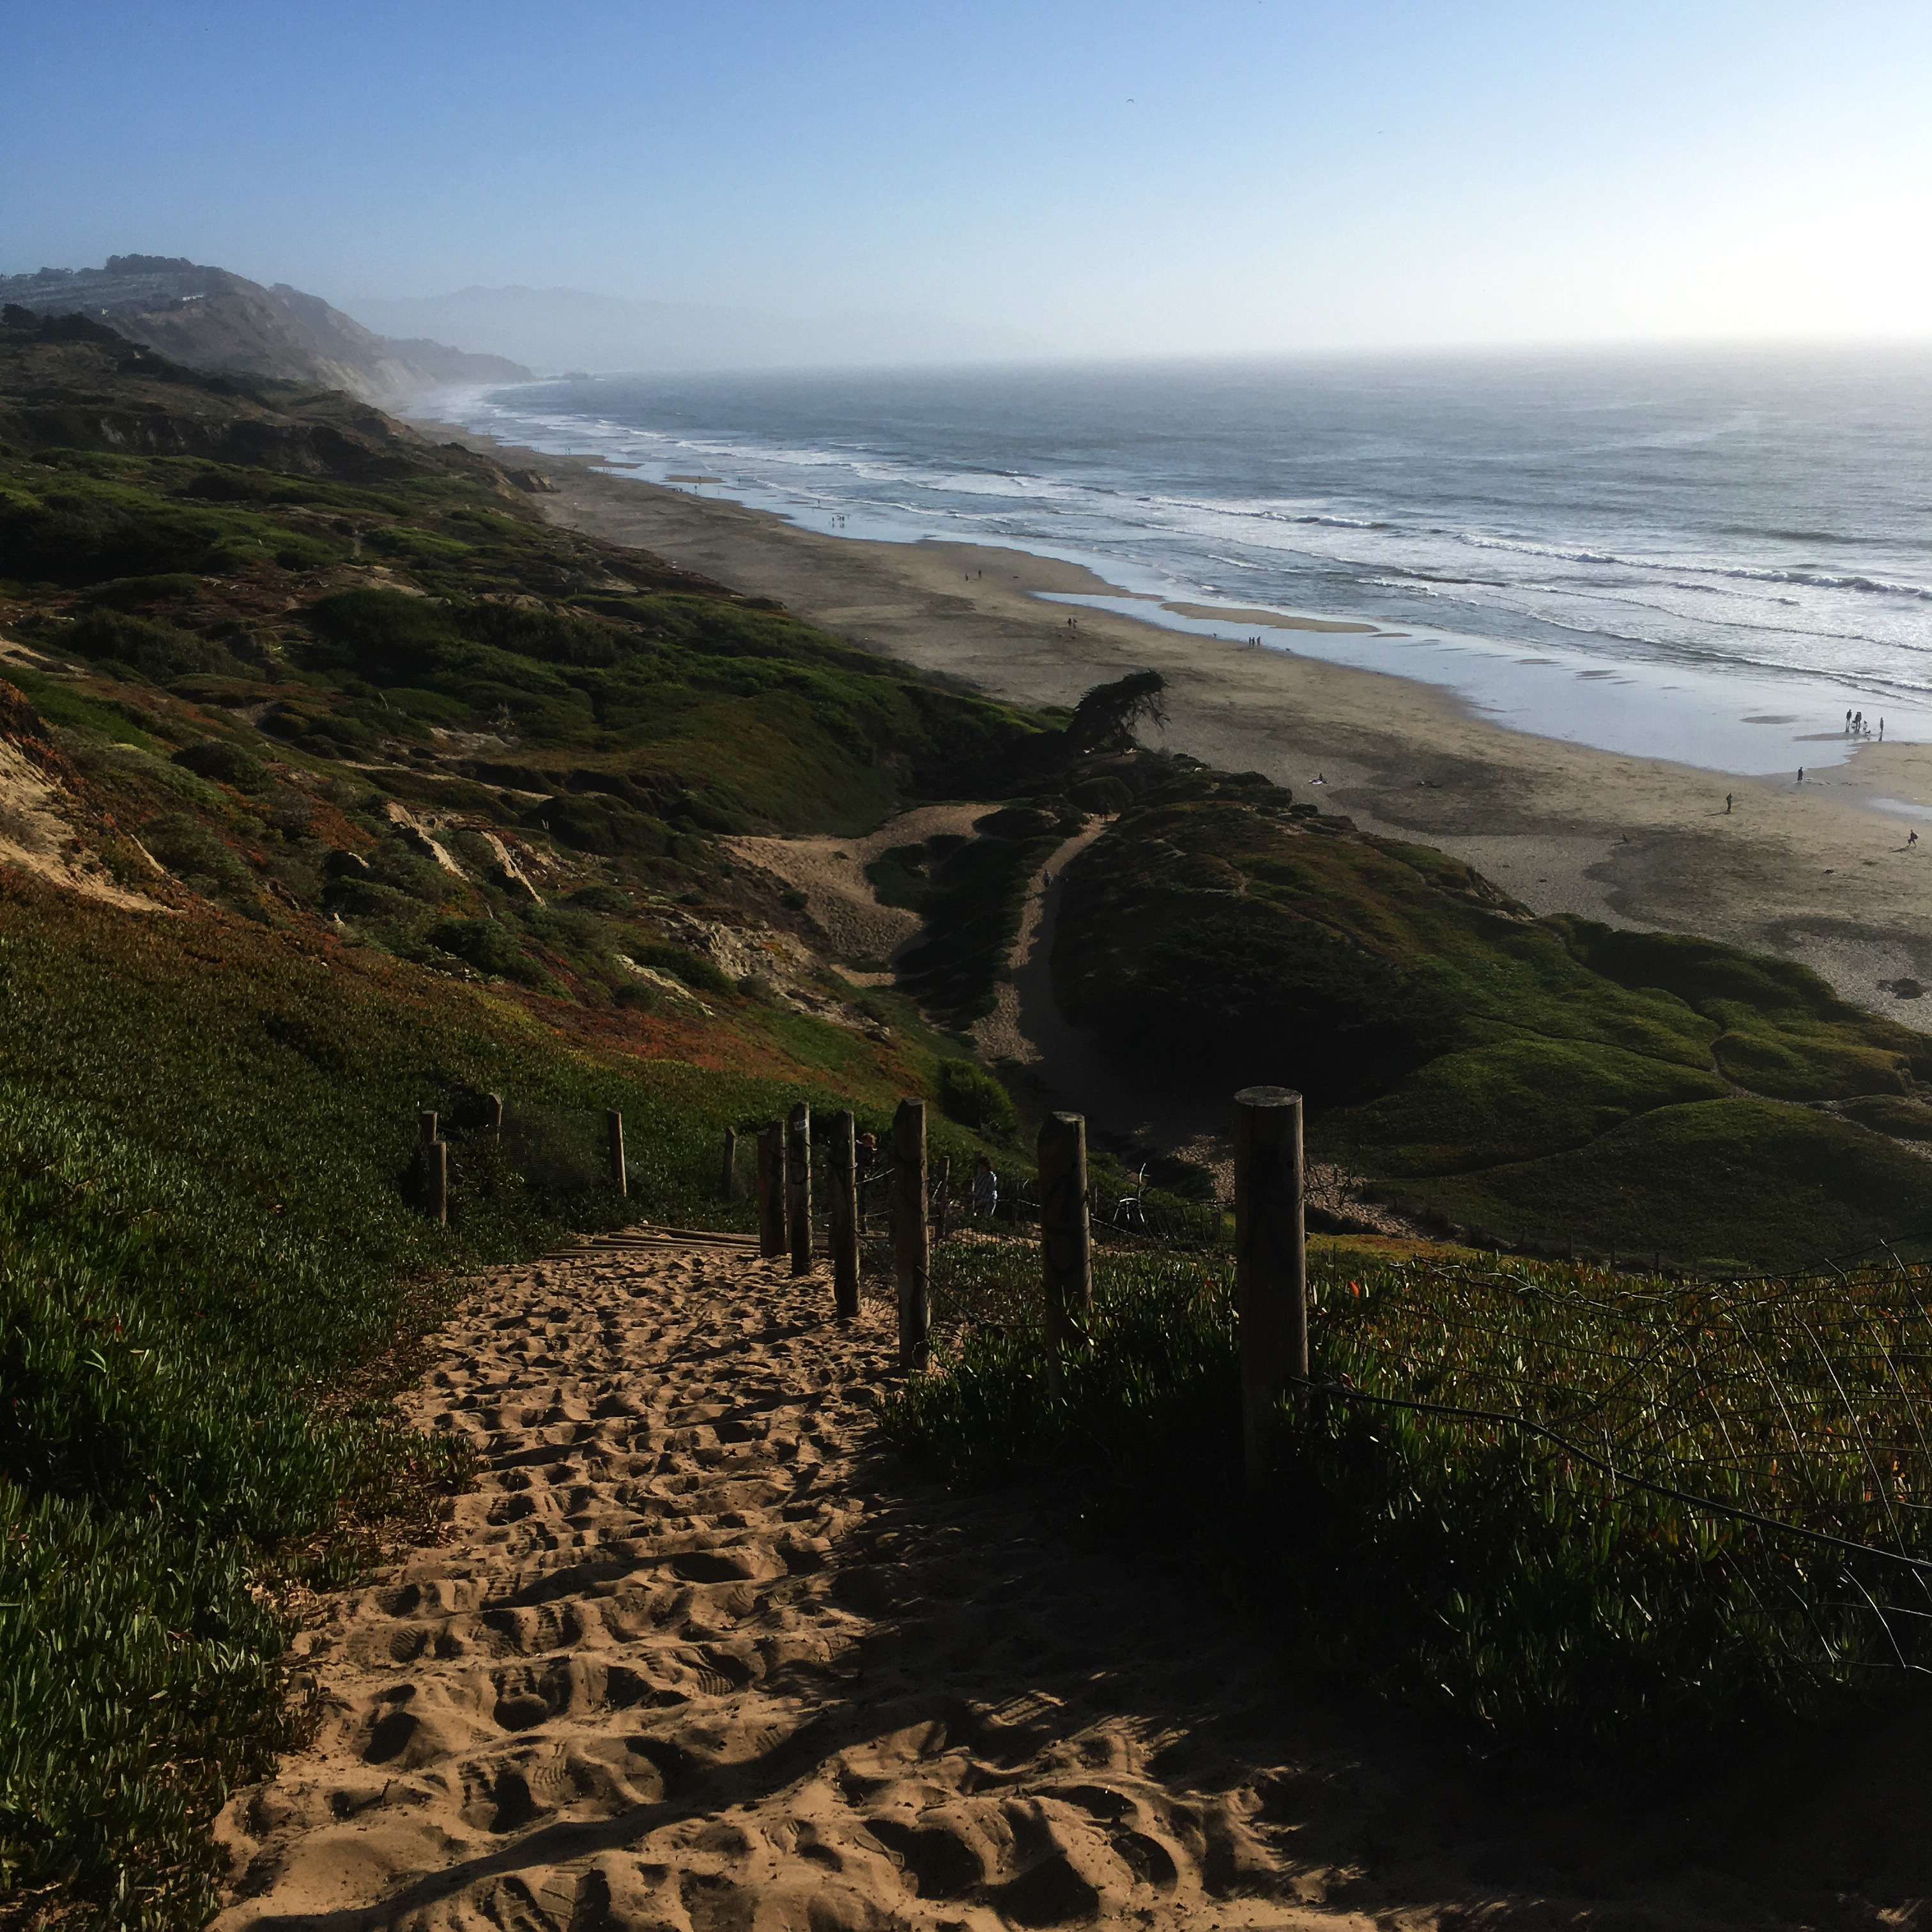
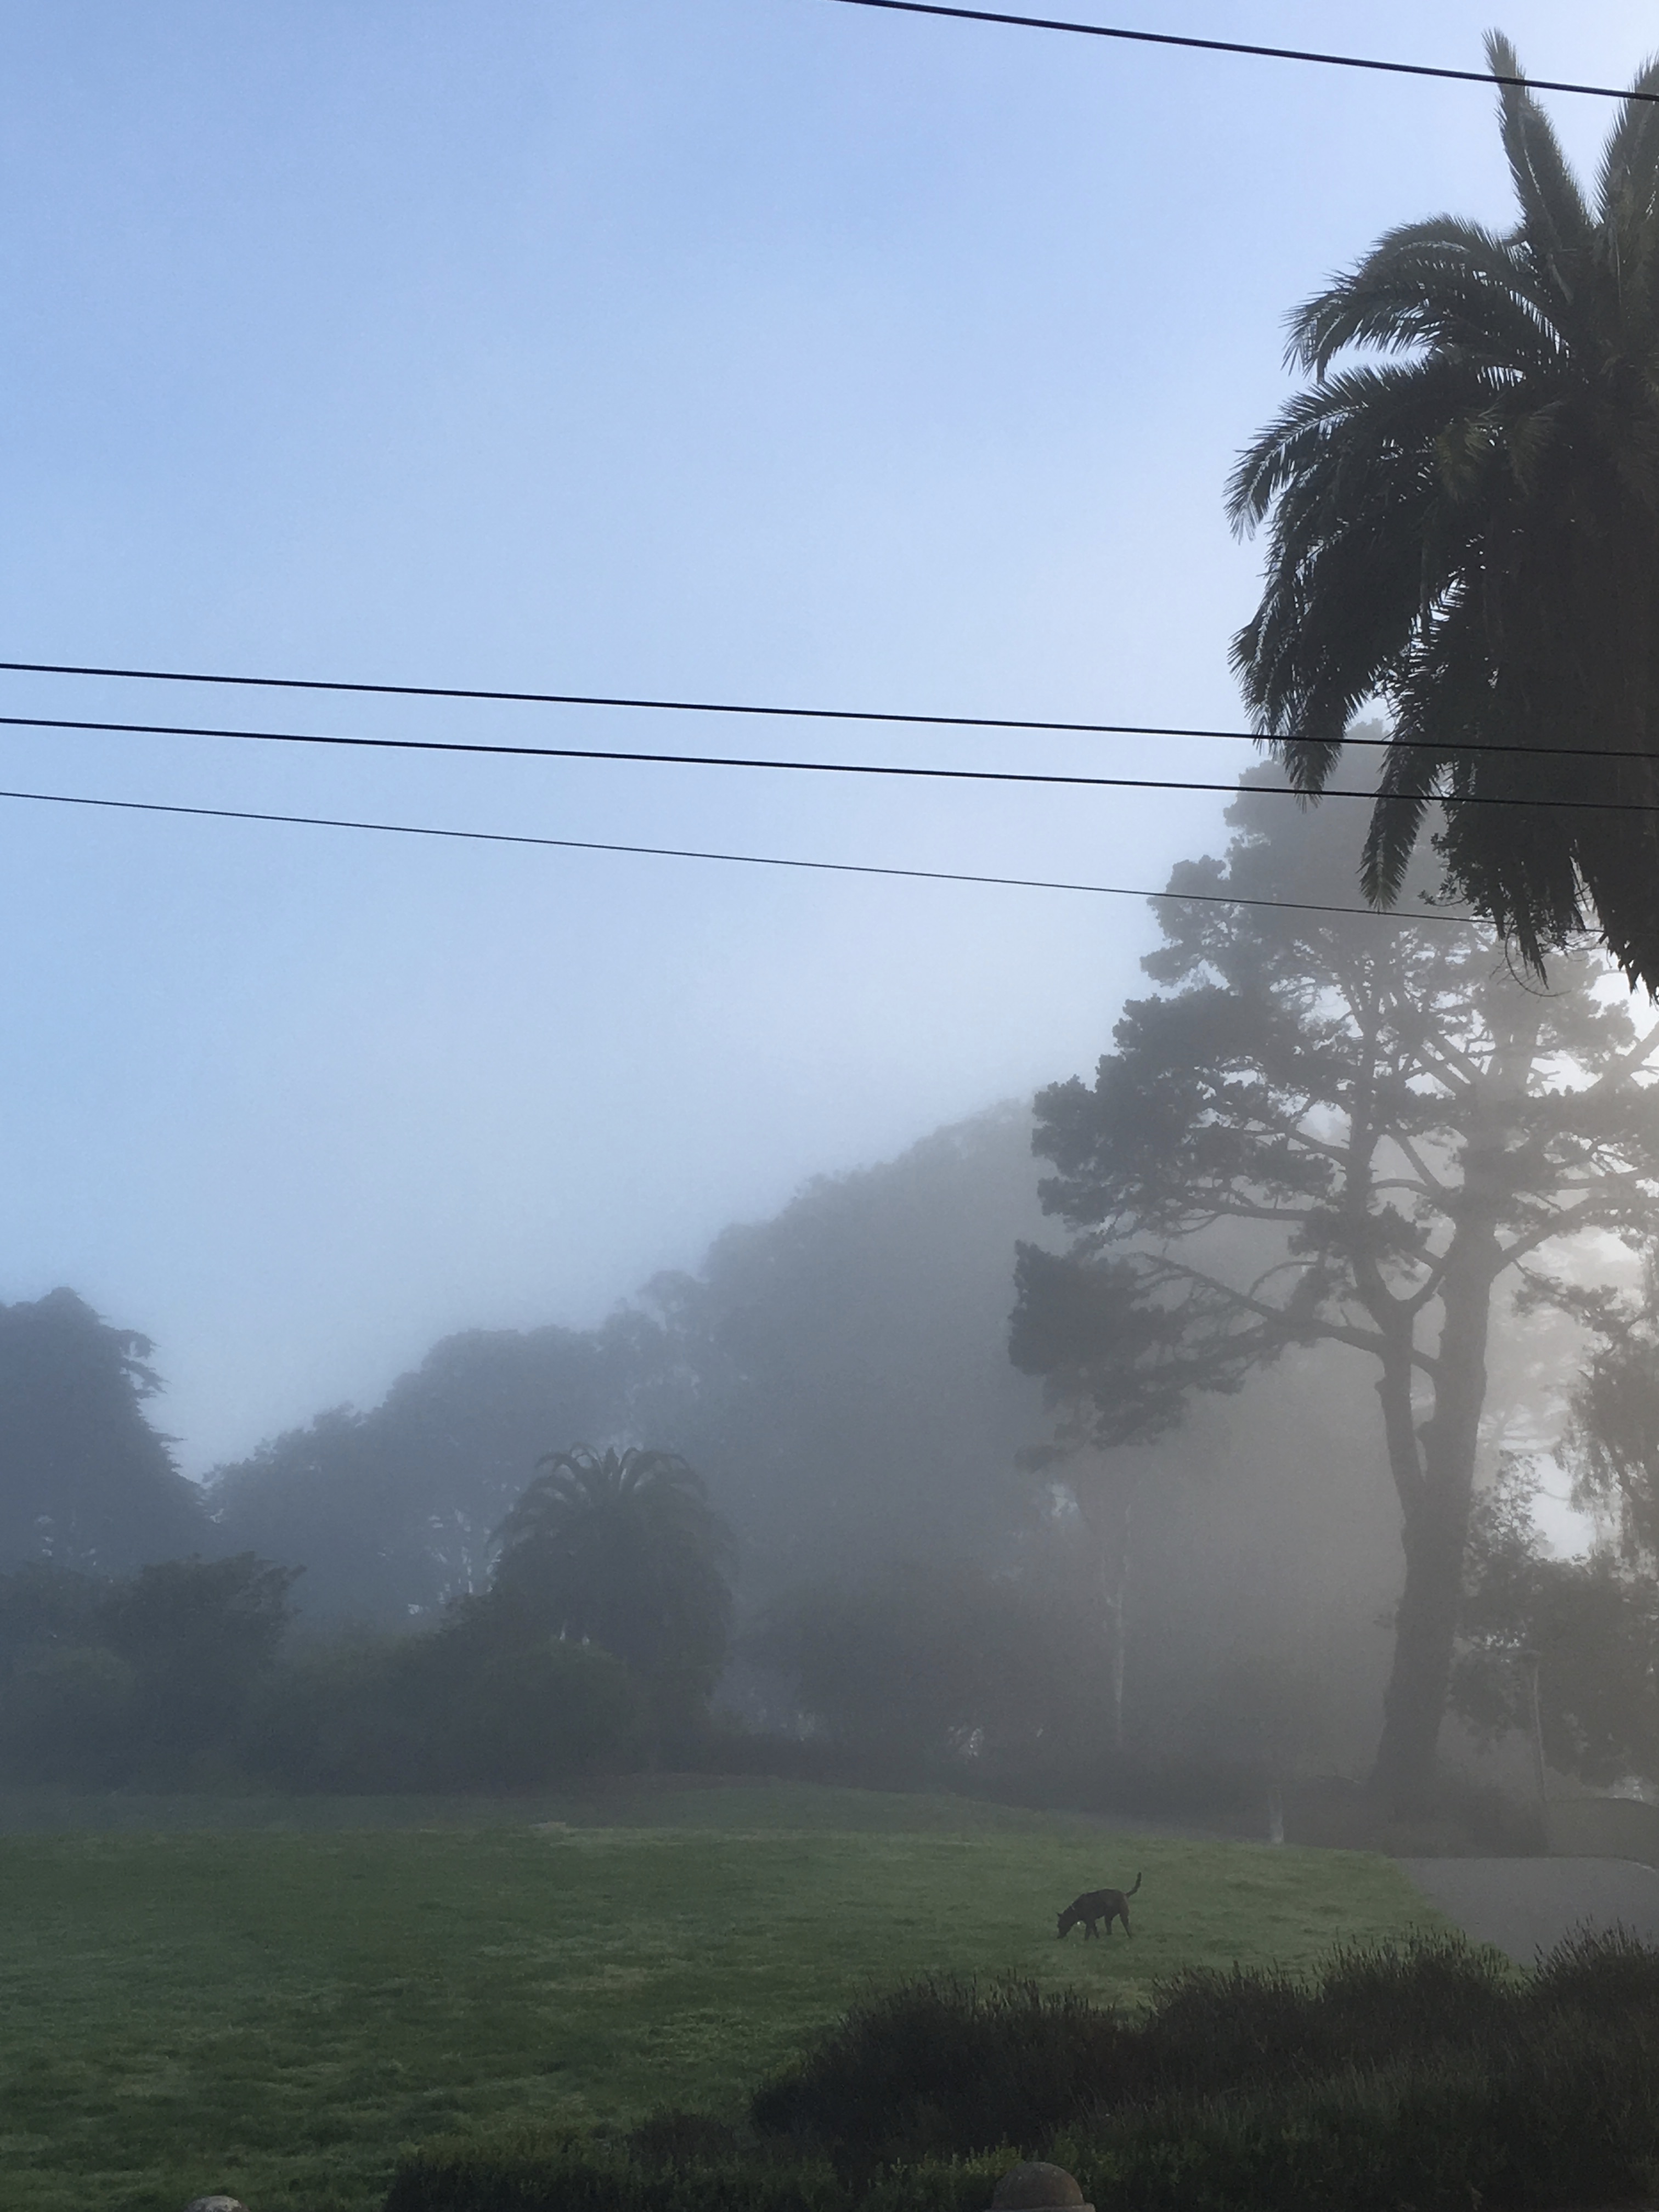
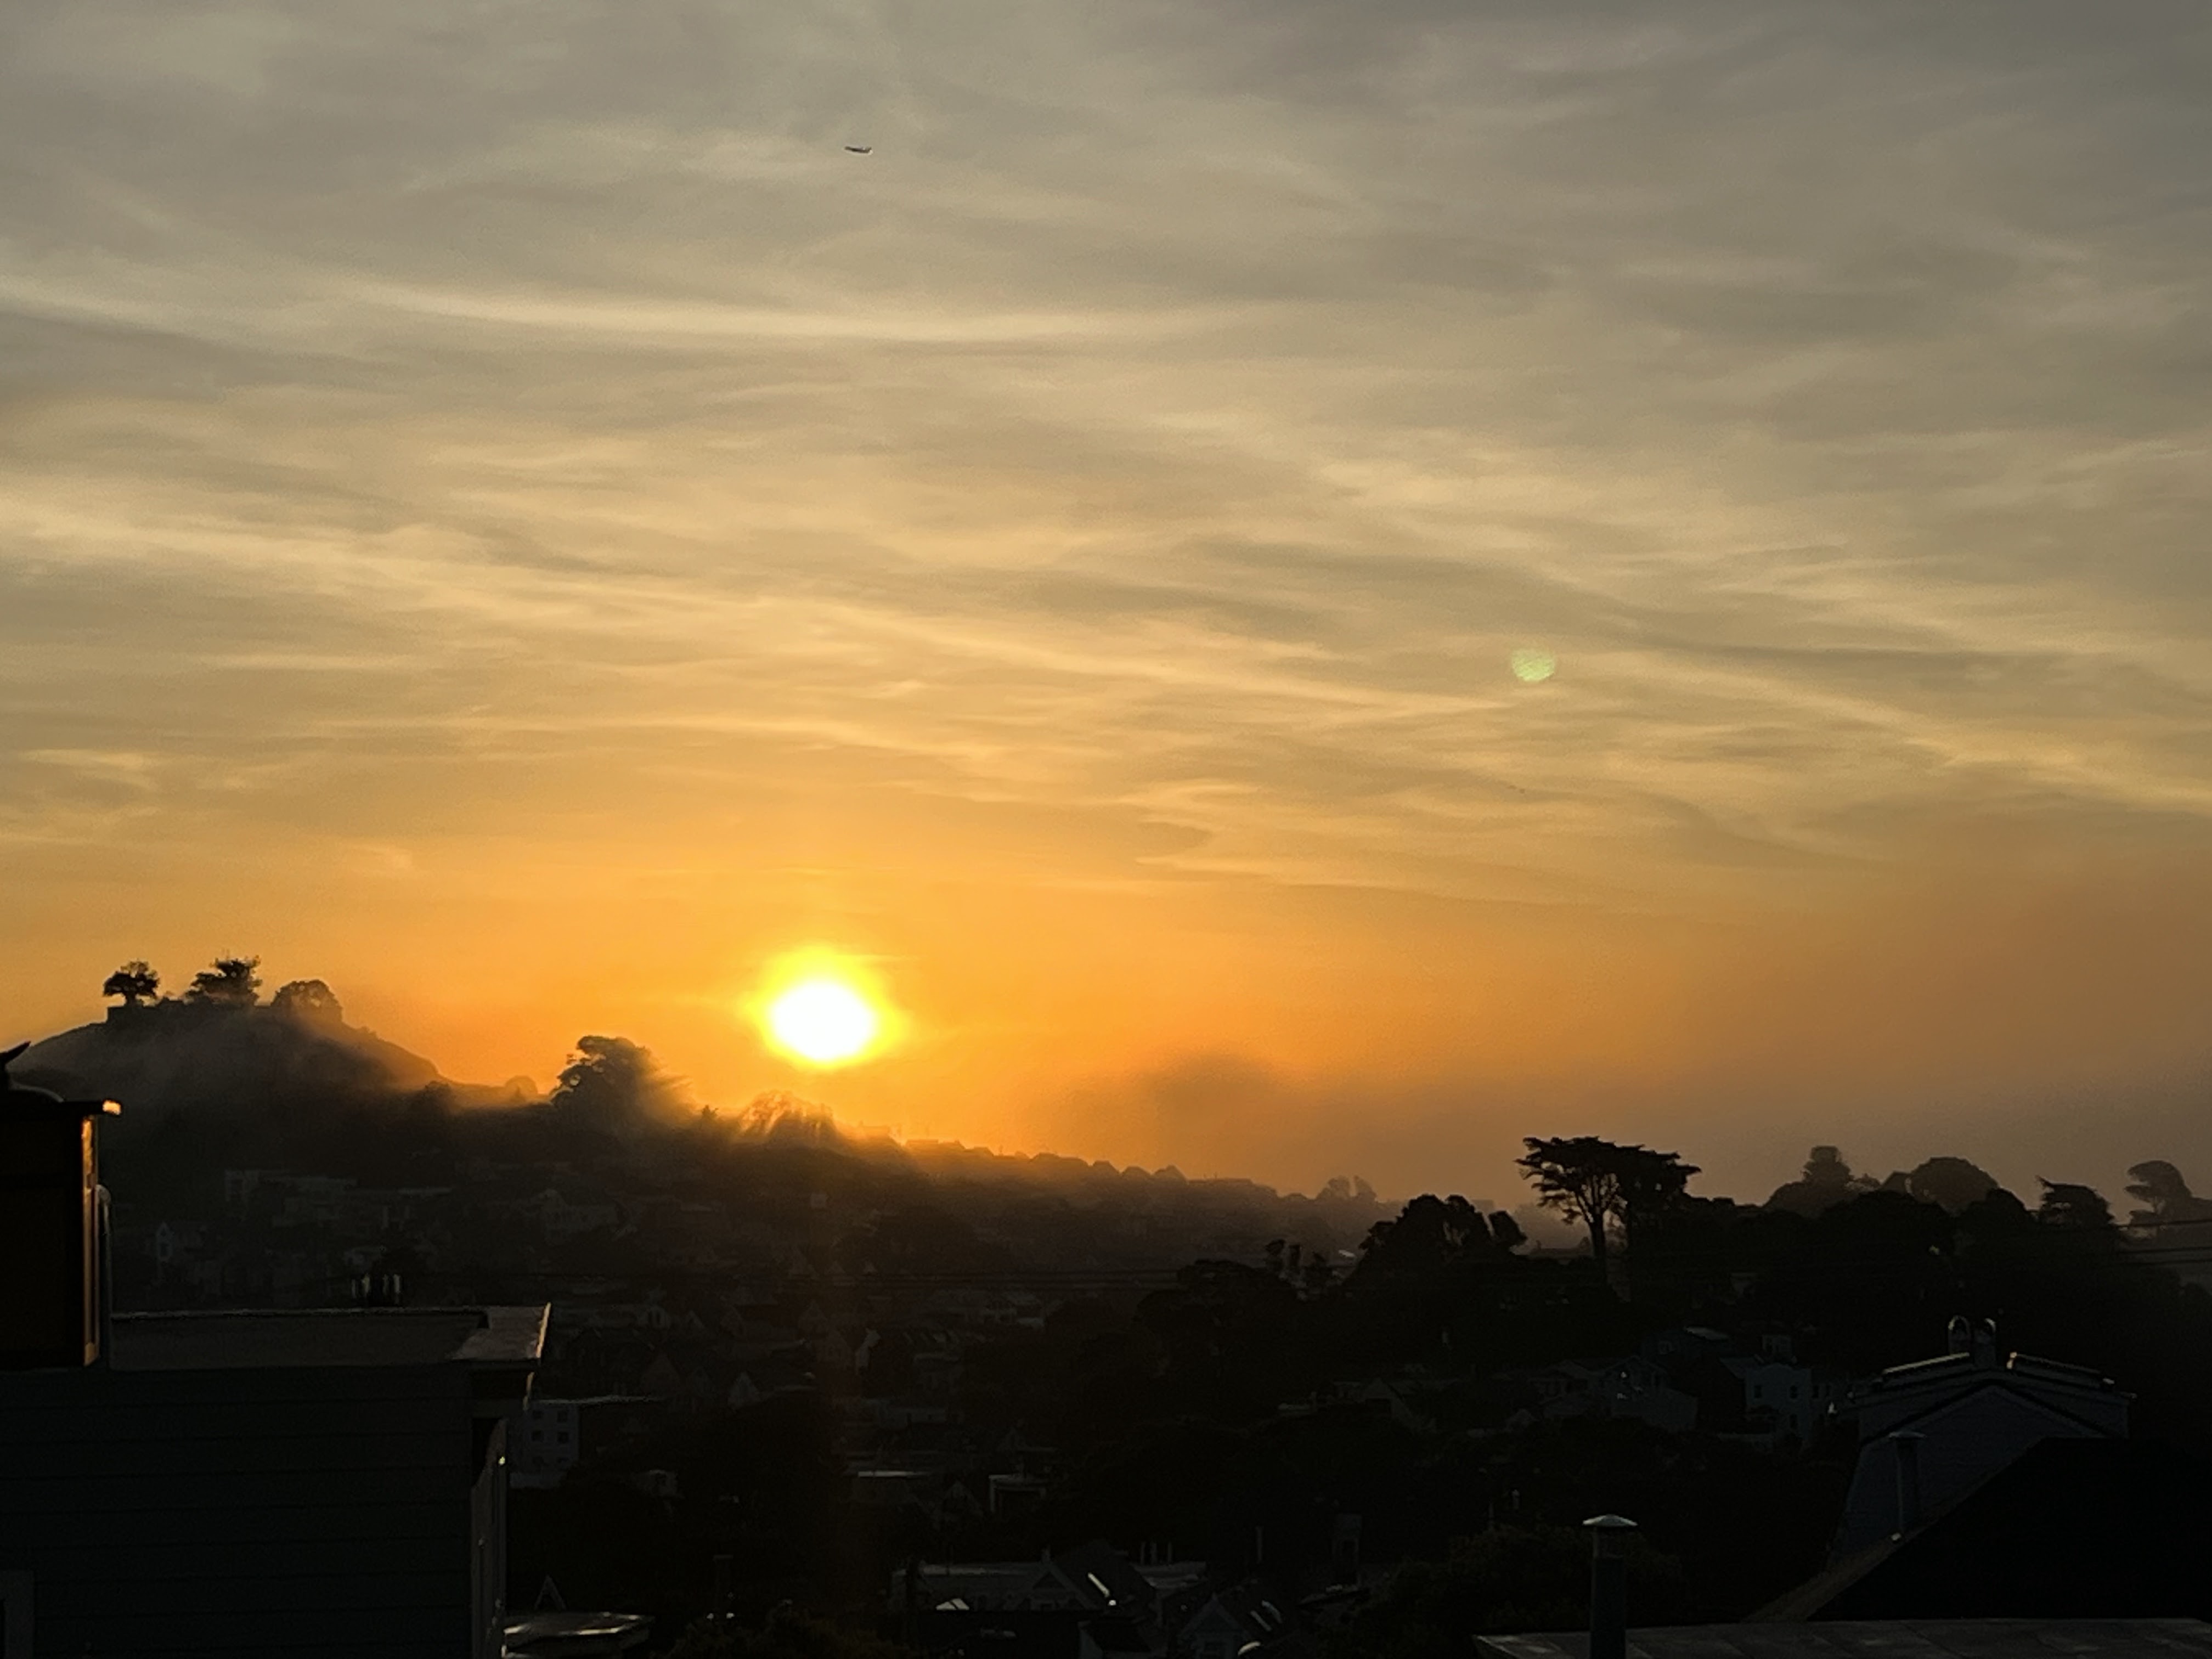
Still swimming of course! This is my favorite time of year where the foggy mornings make for a very liminal, mysterious space where the fog meets the water. It’s magical, and I would be down there every morning if it was feasible.

I doubt I will get much of anything posted before I leave for camp in July (directing session 2, wooo!) but who knows, sometimes I amaze even myself.
Happy June!
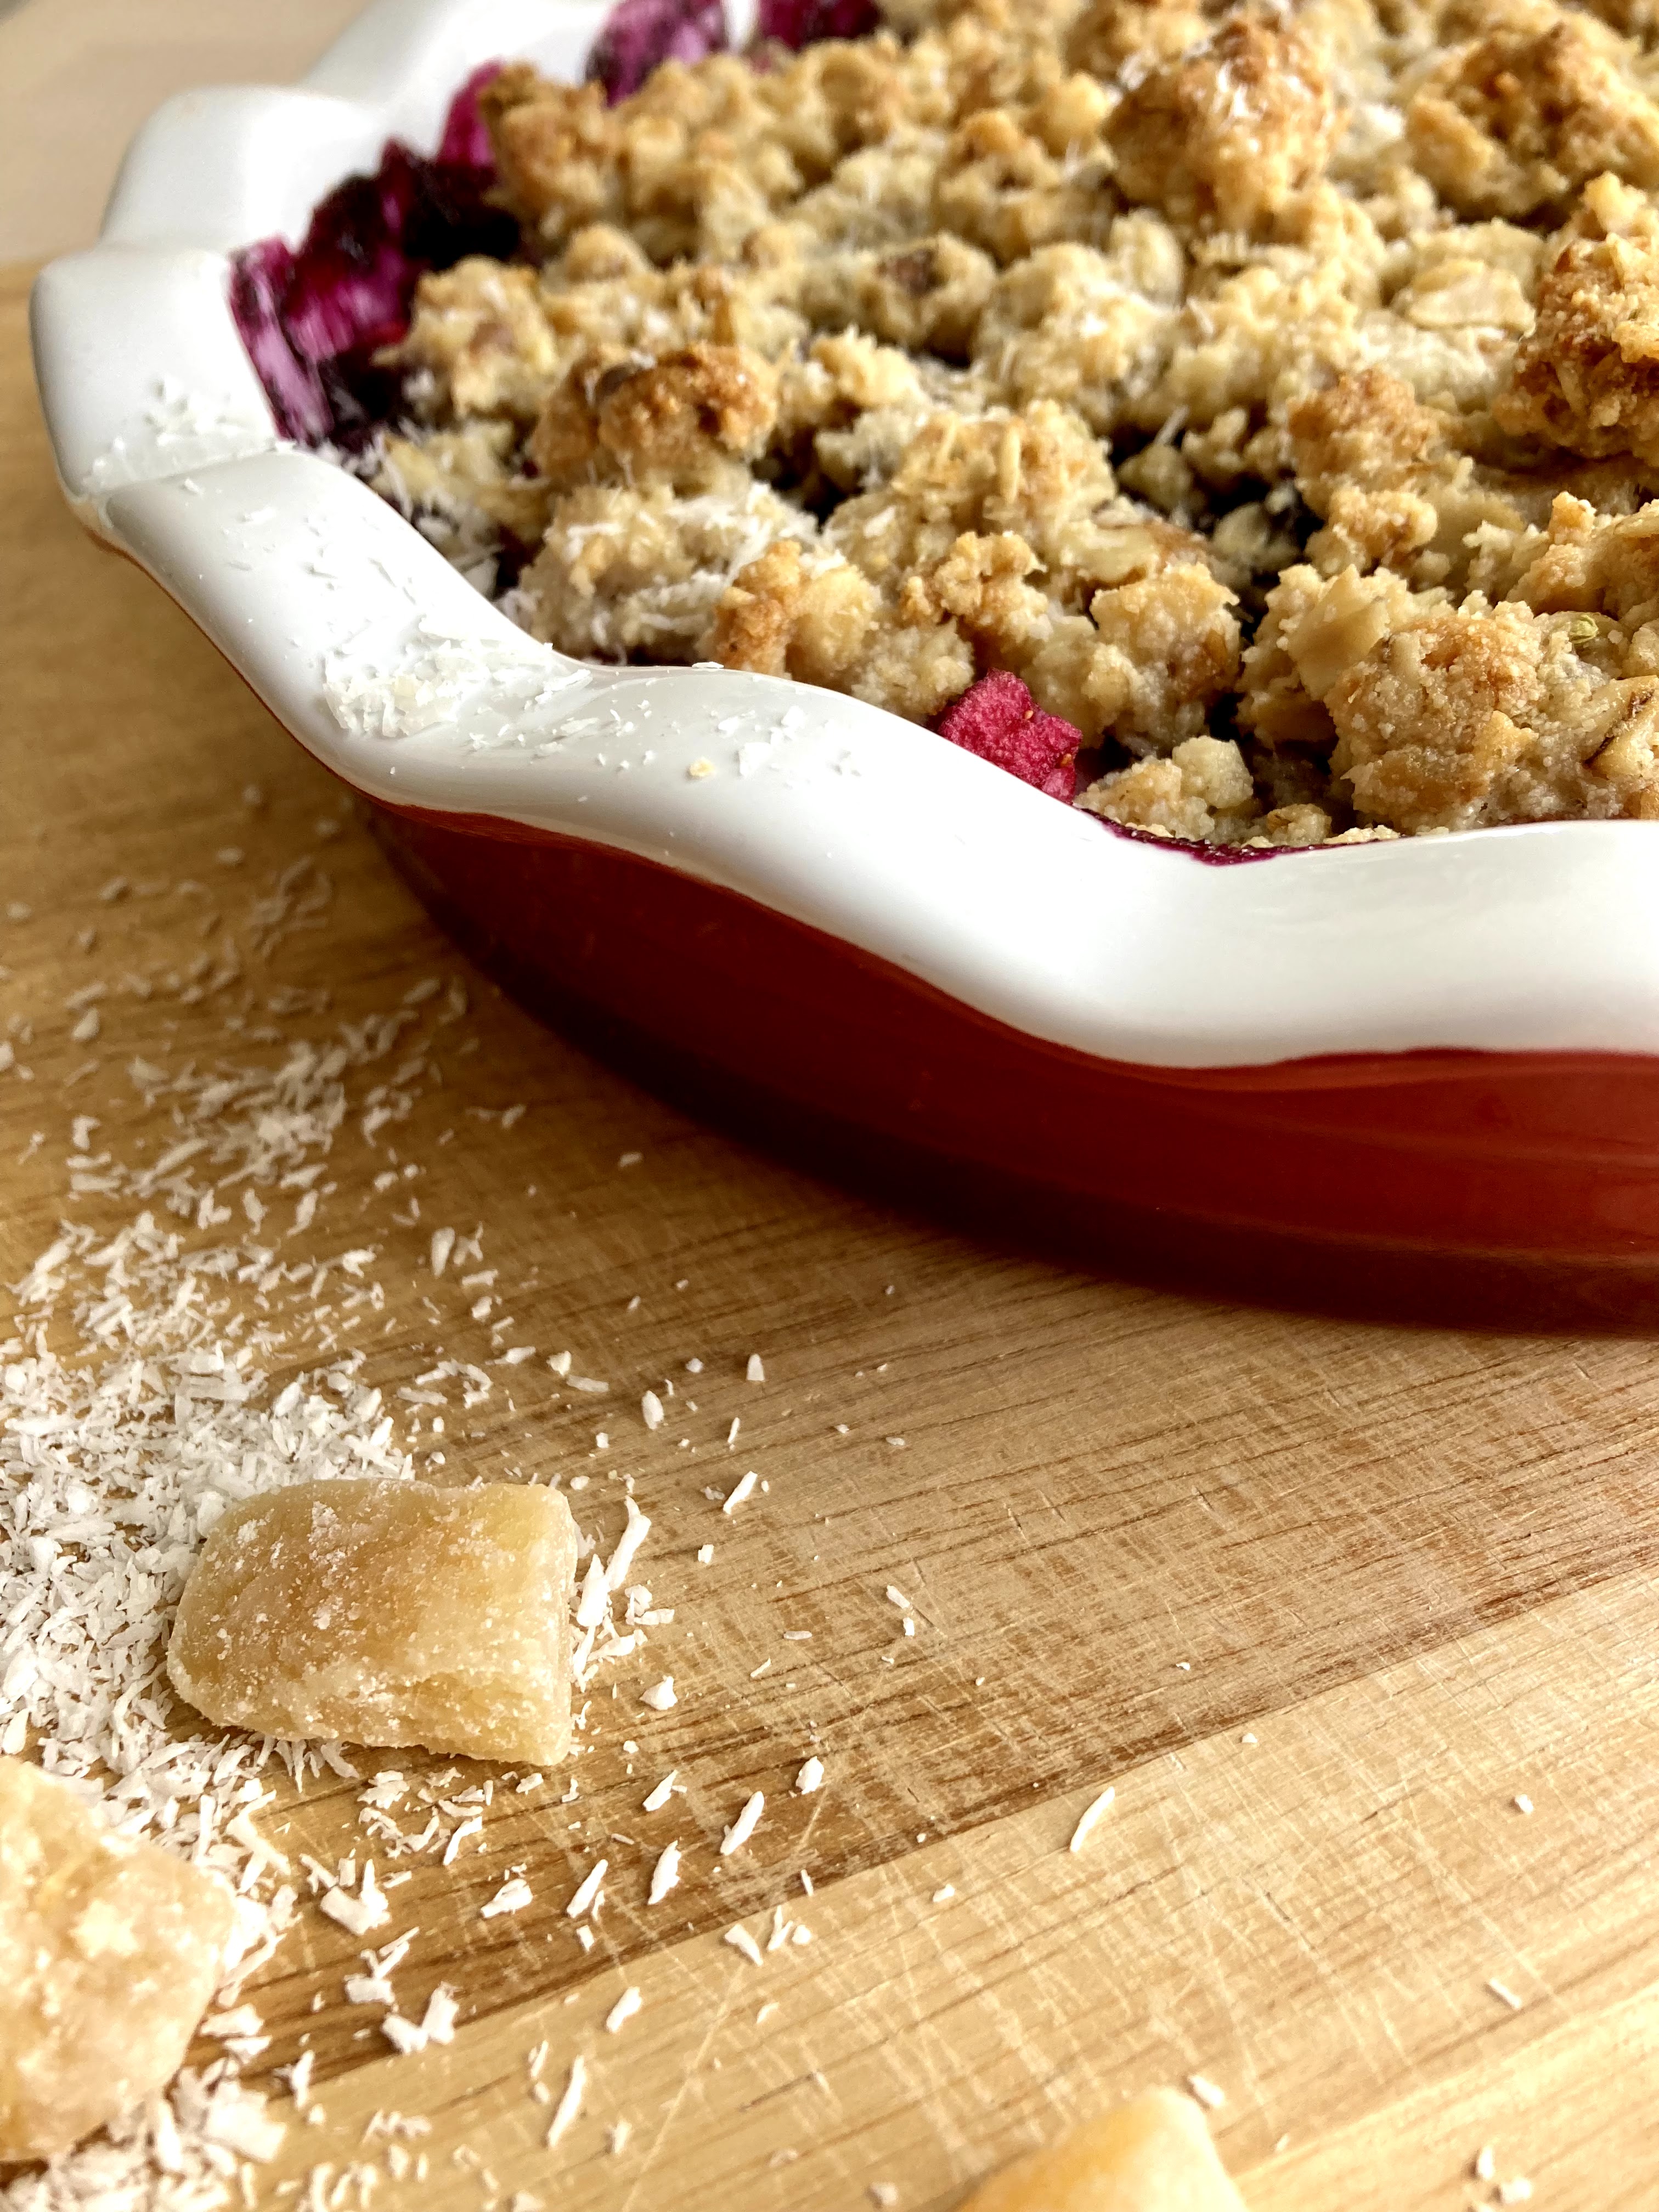
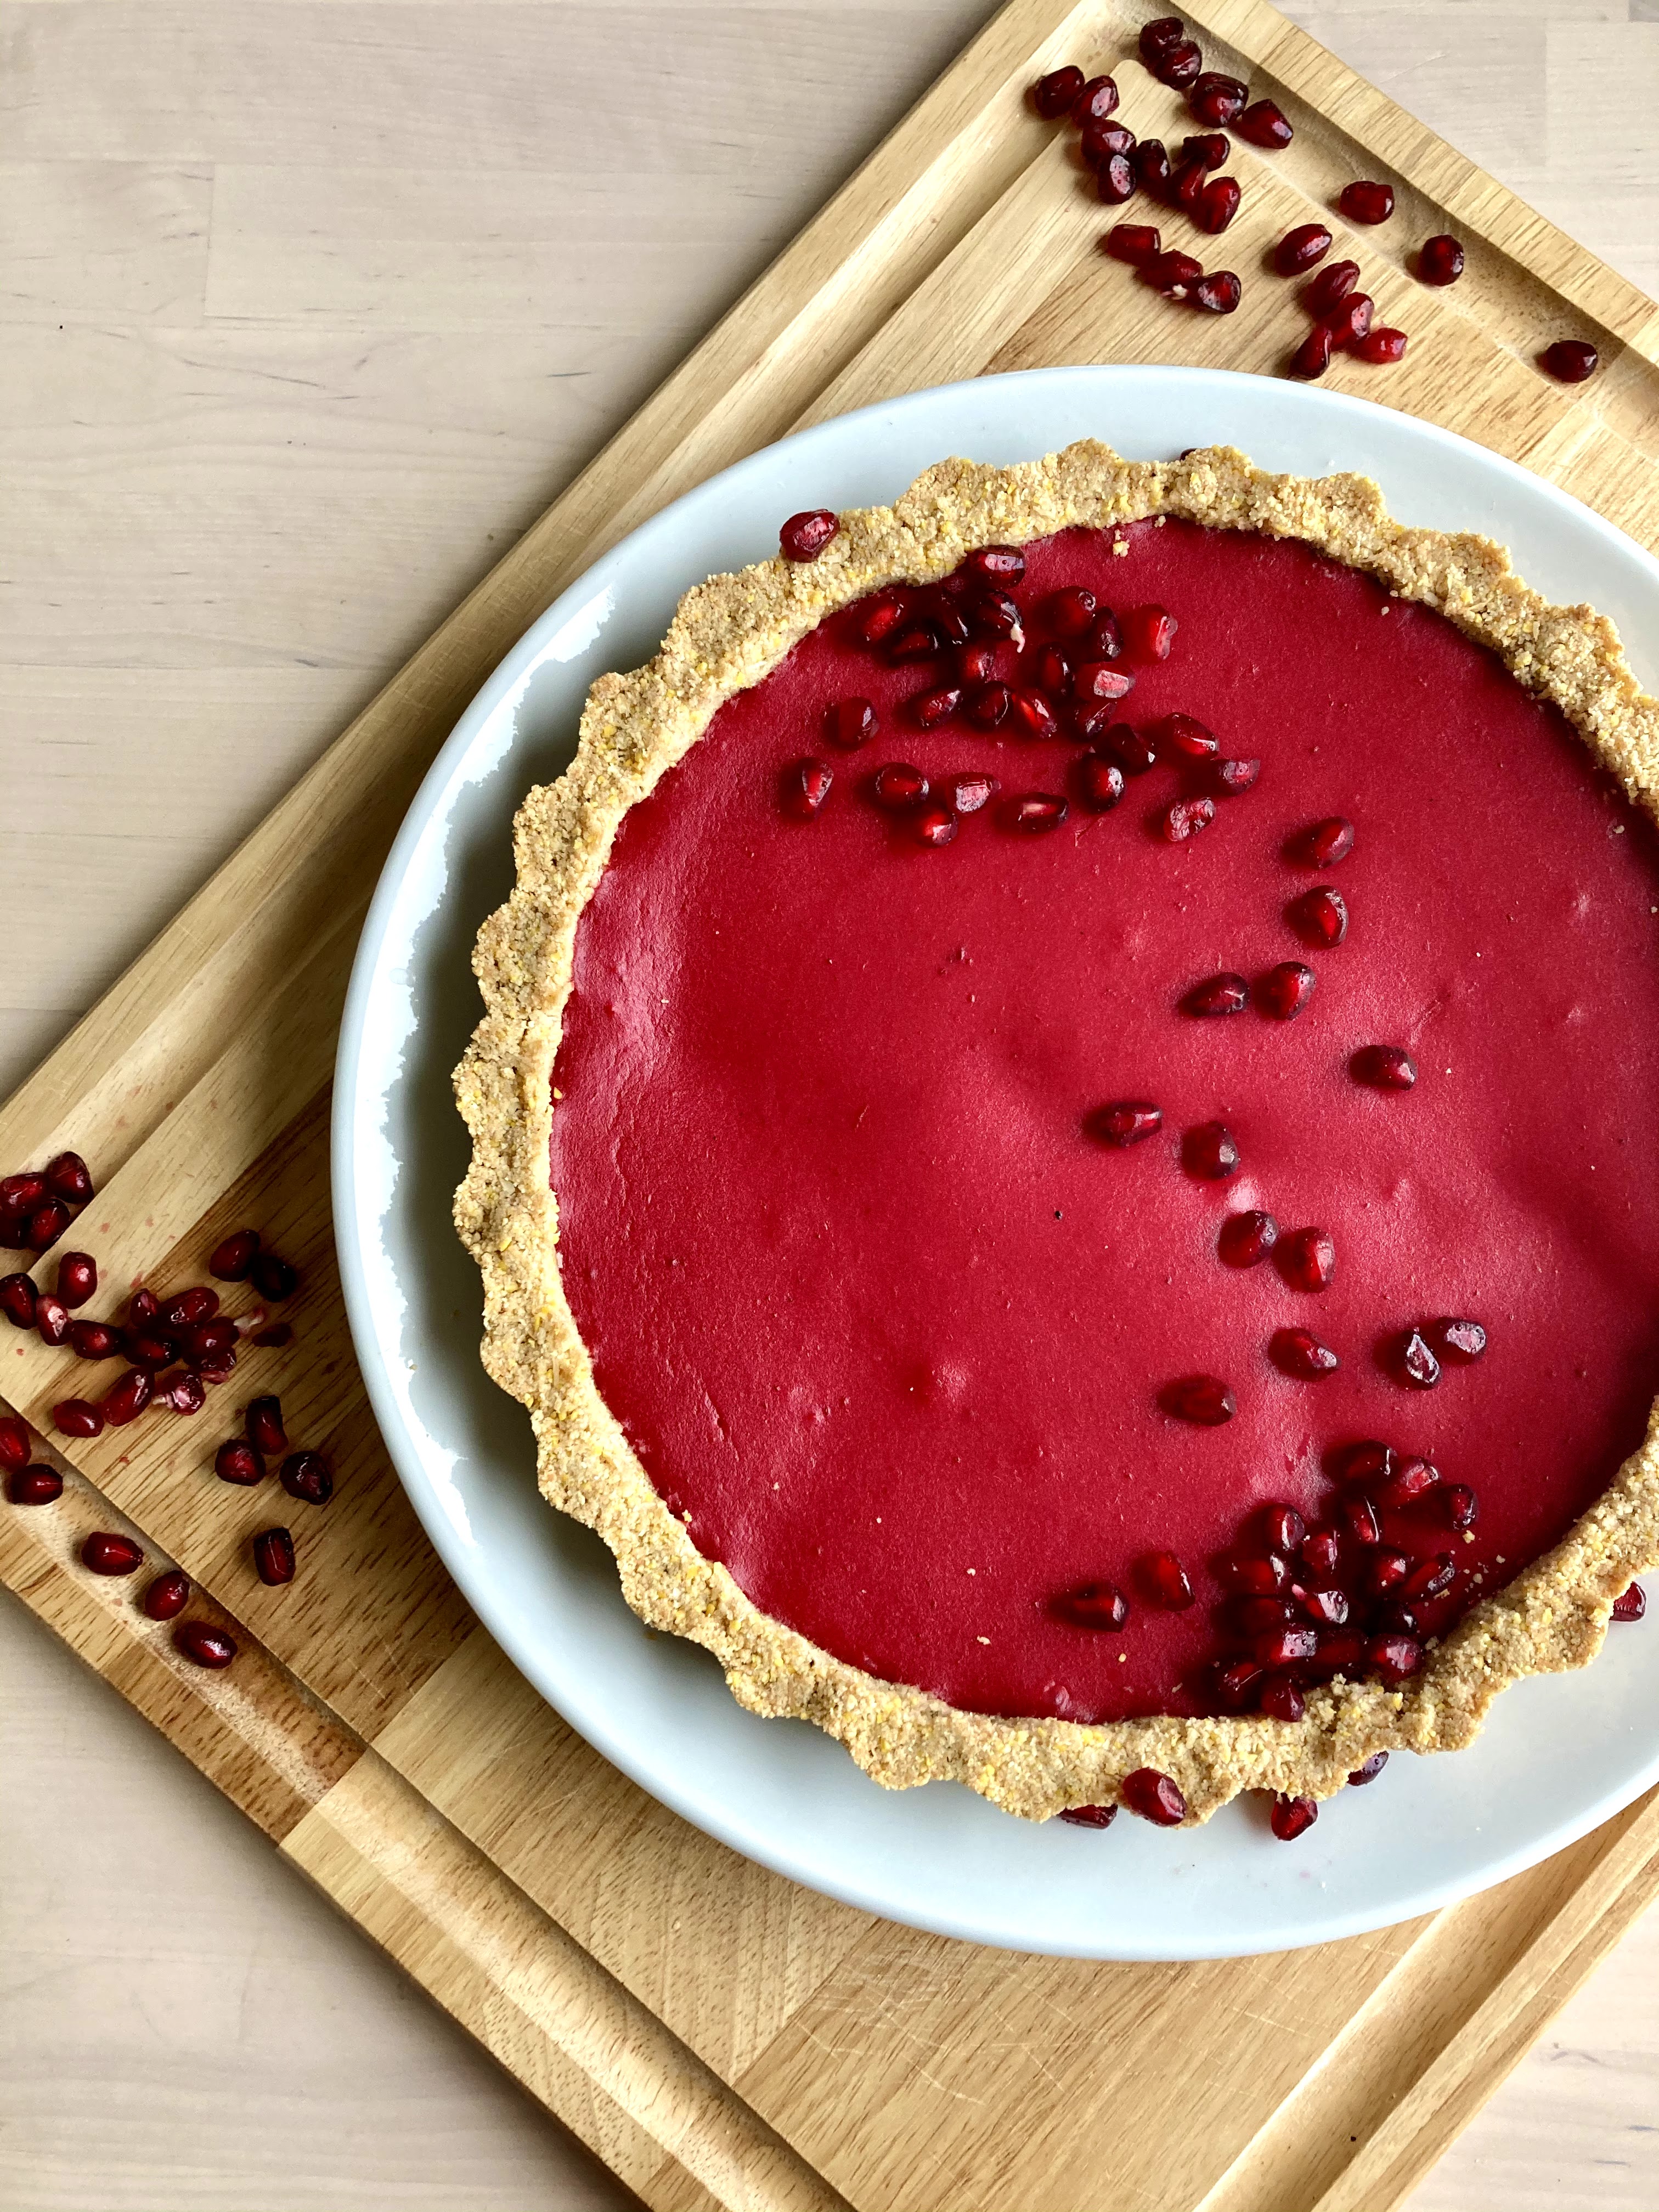
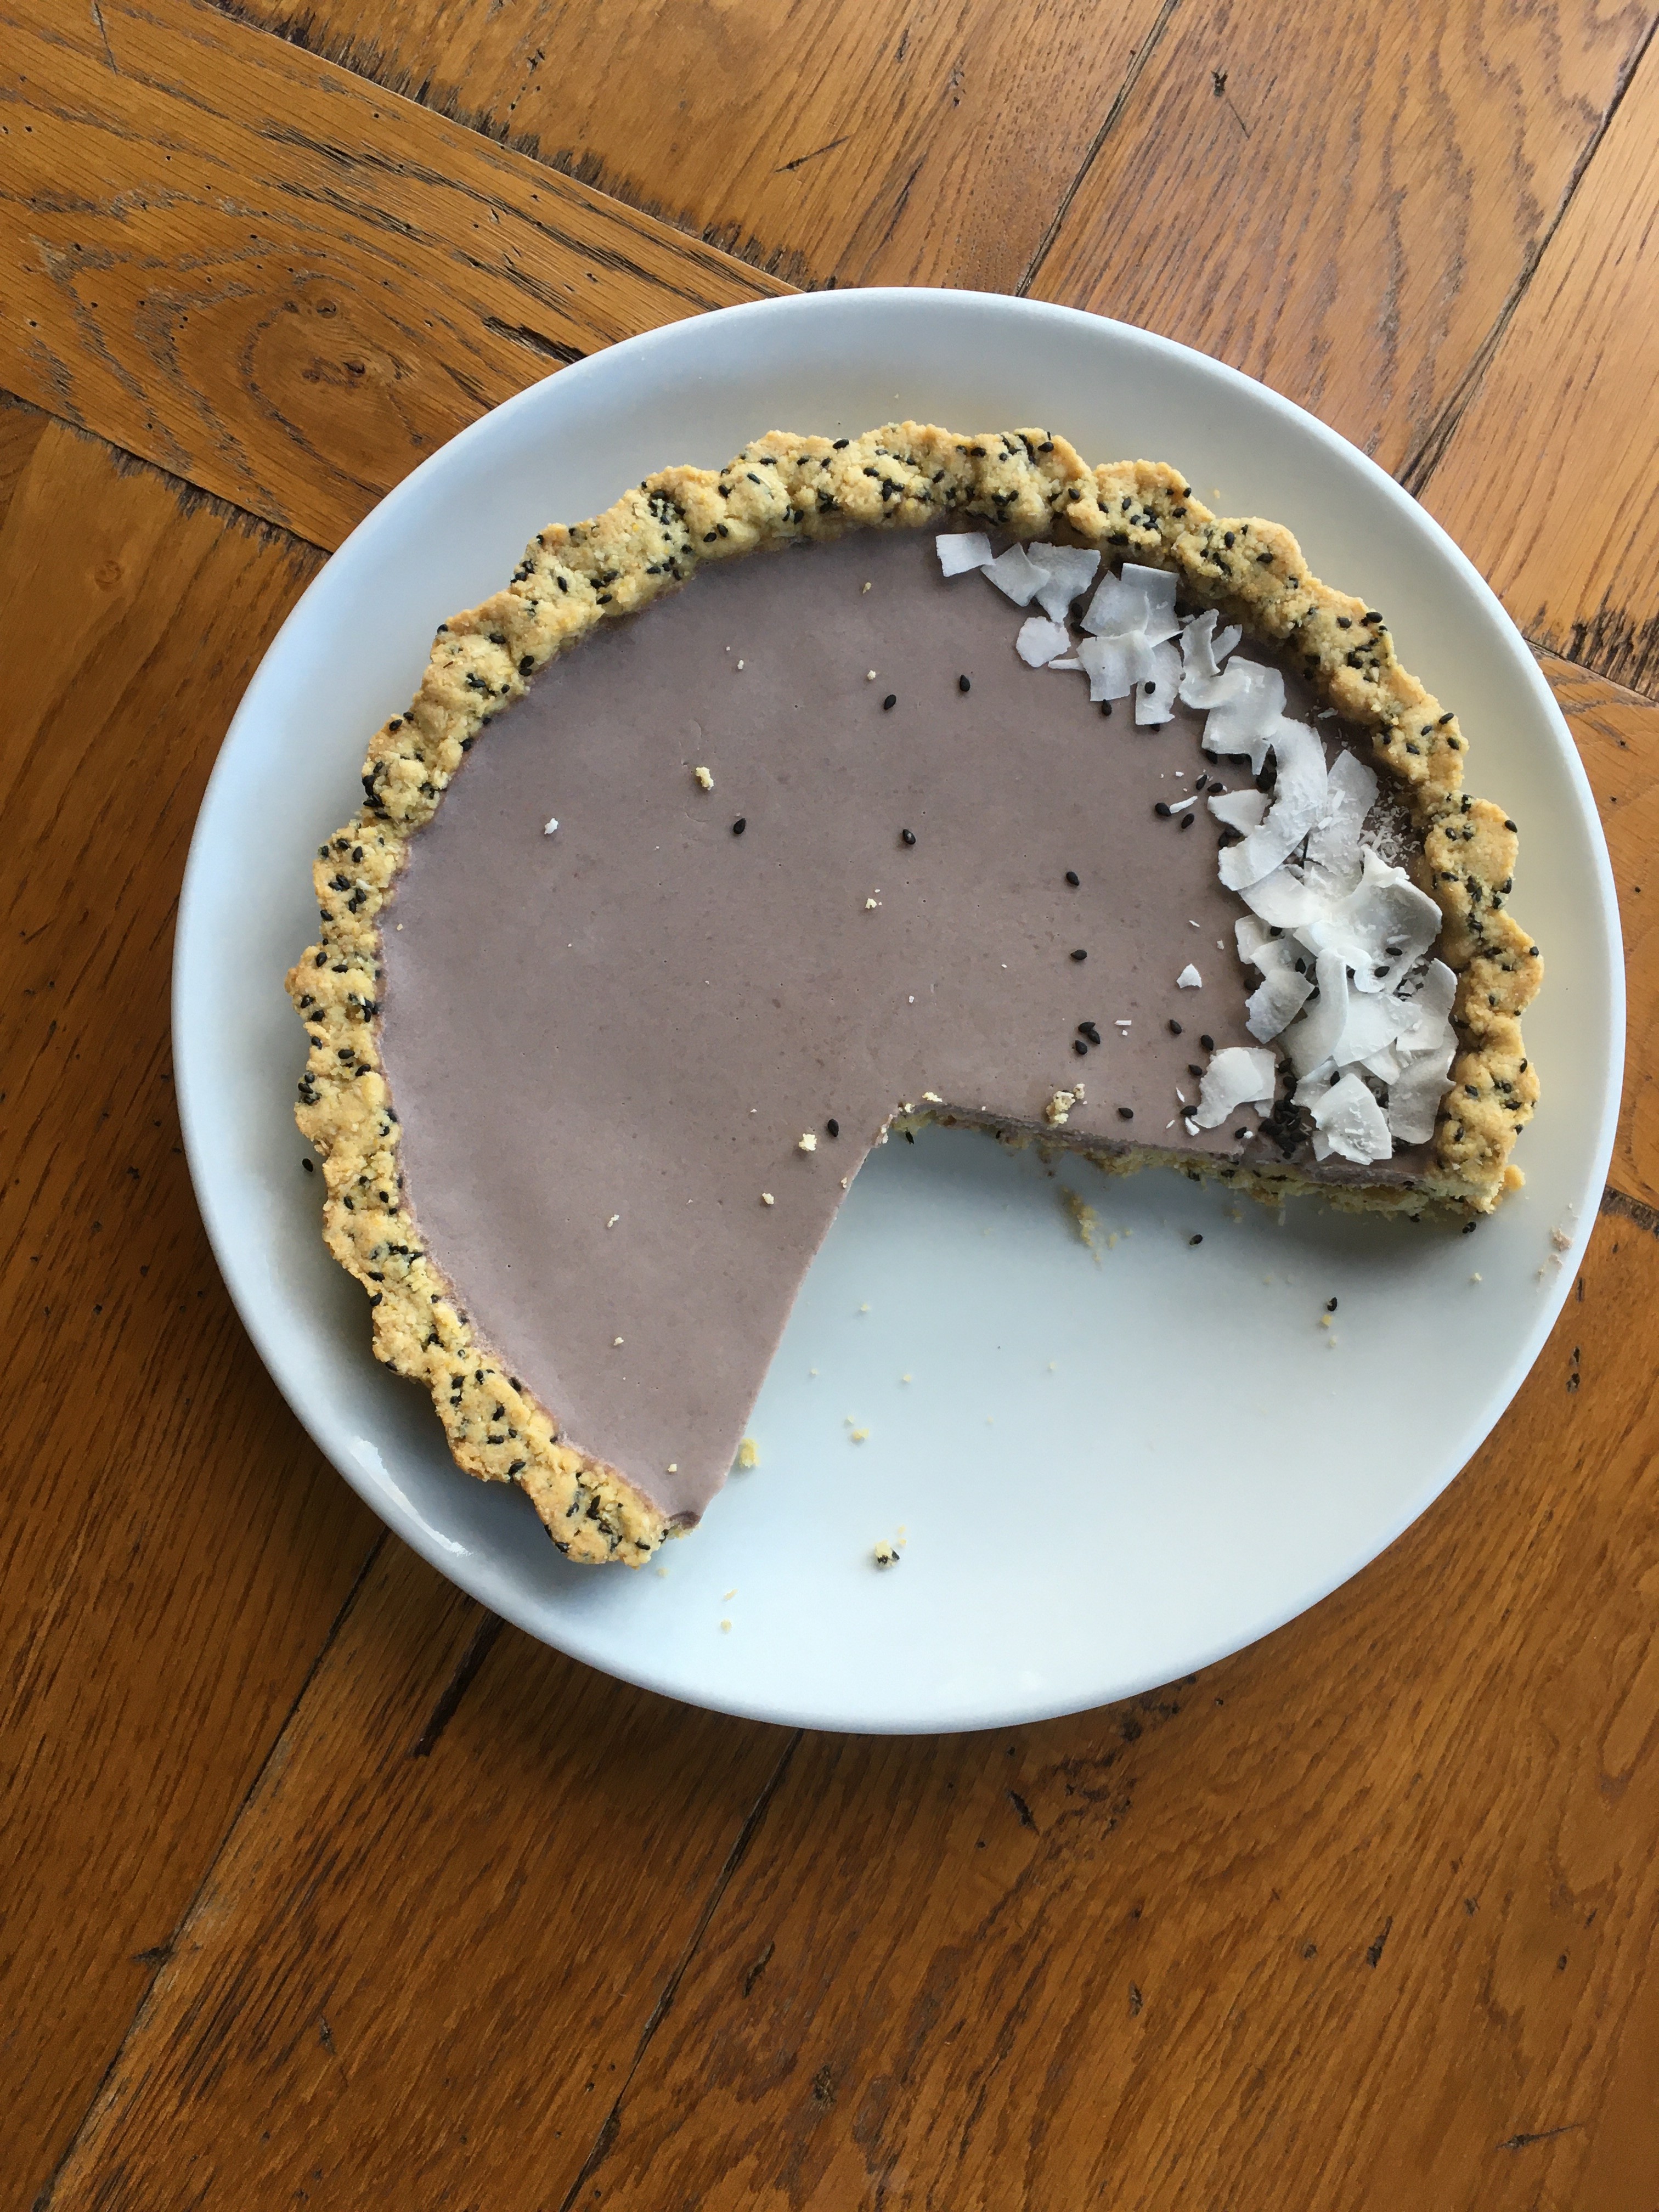
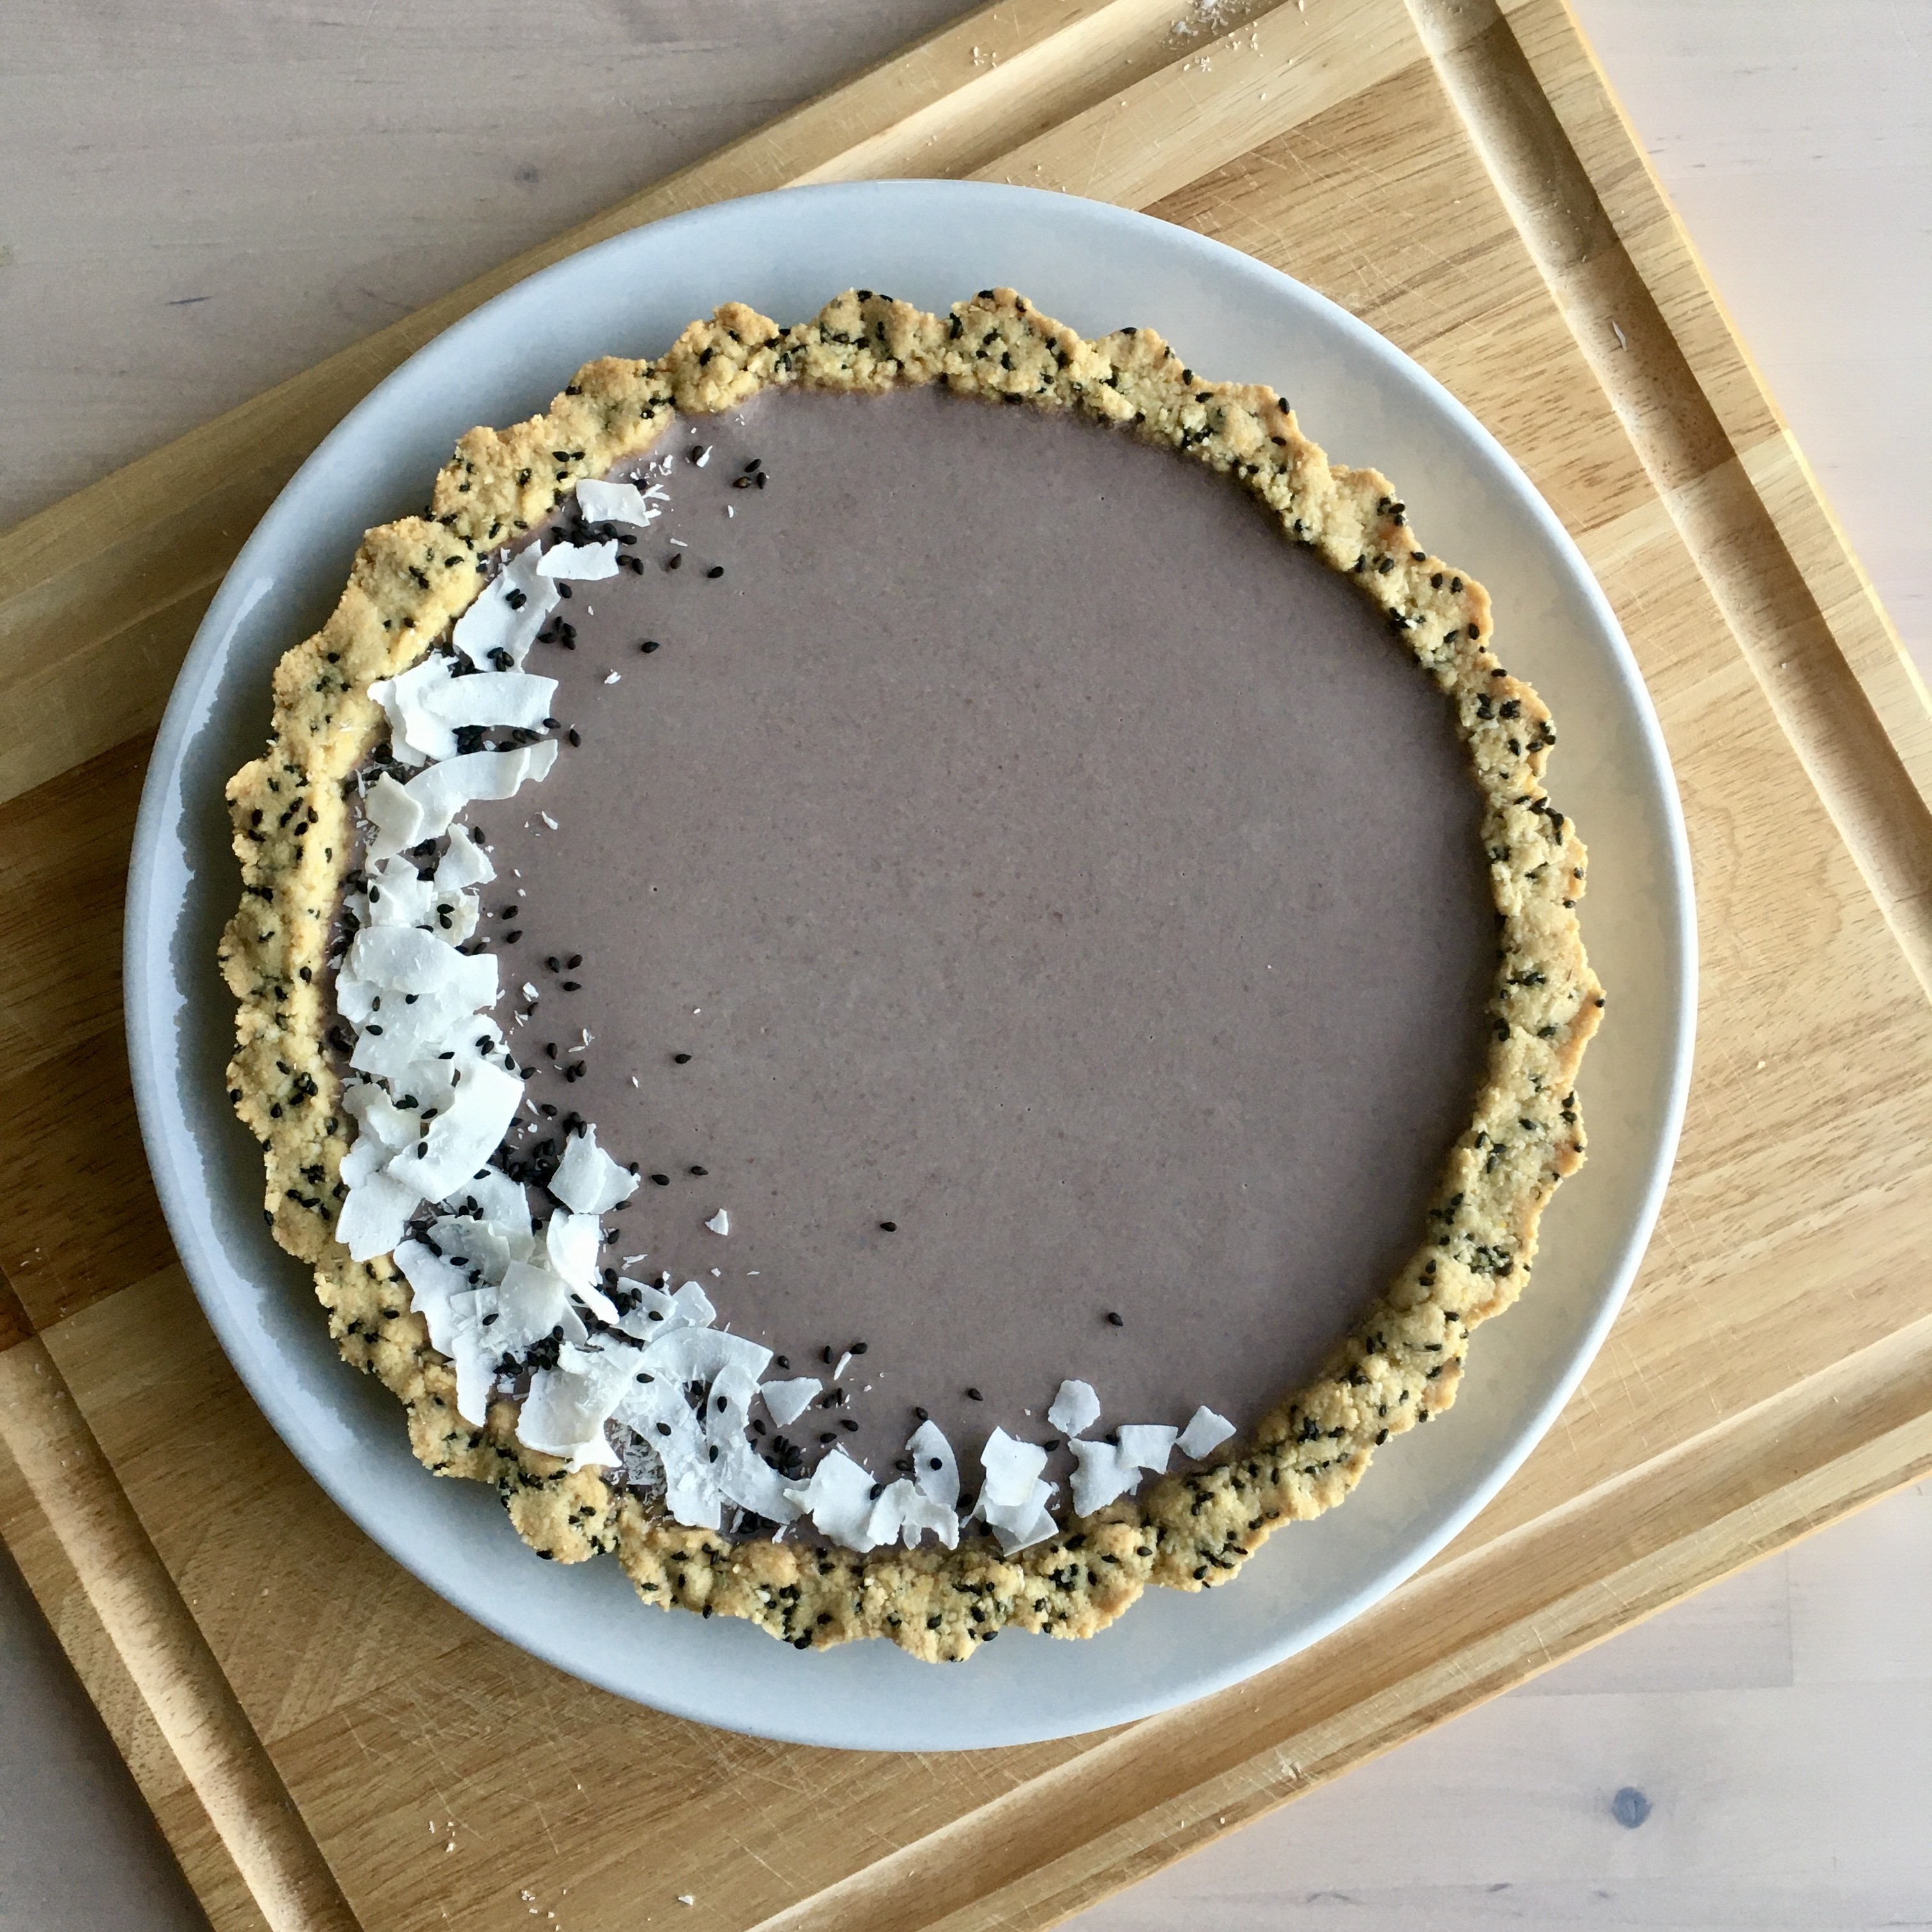
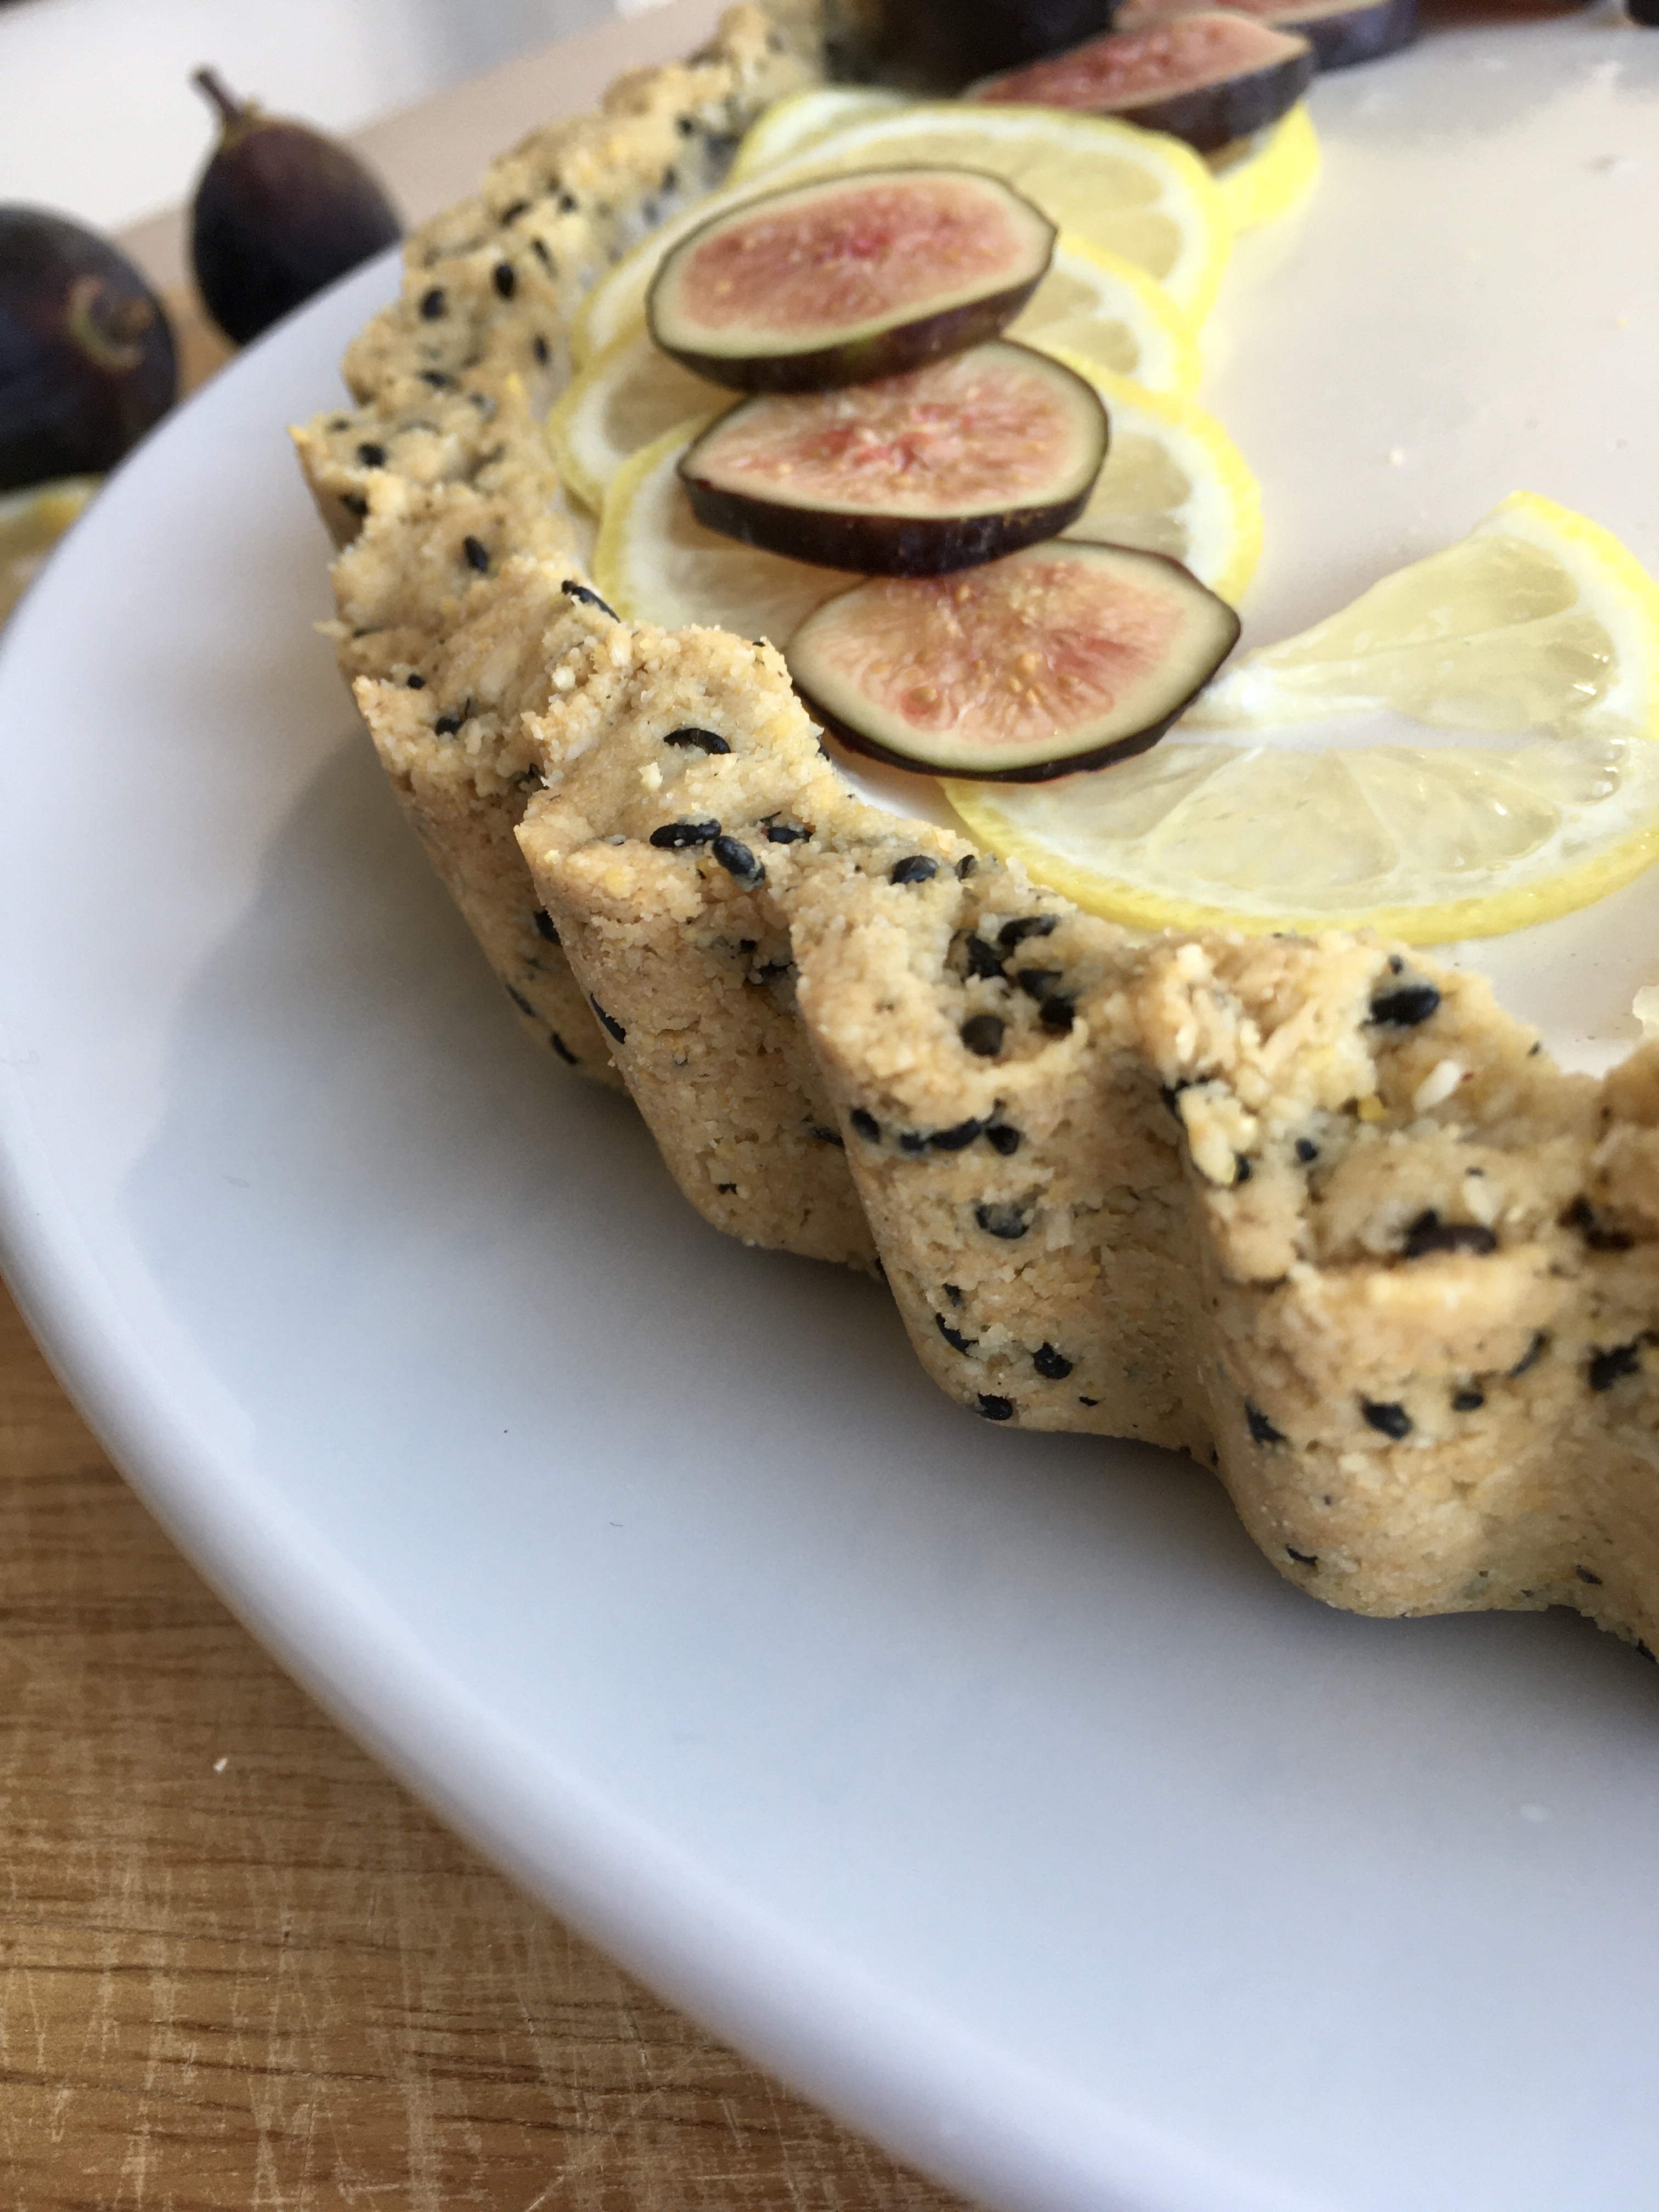
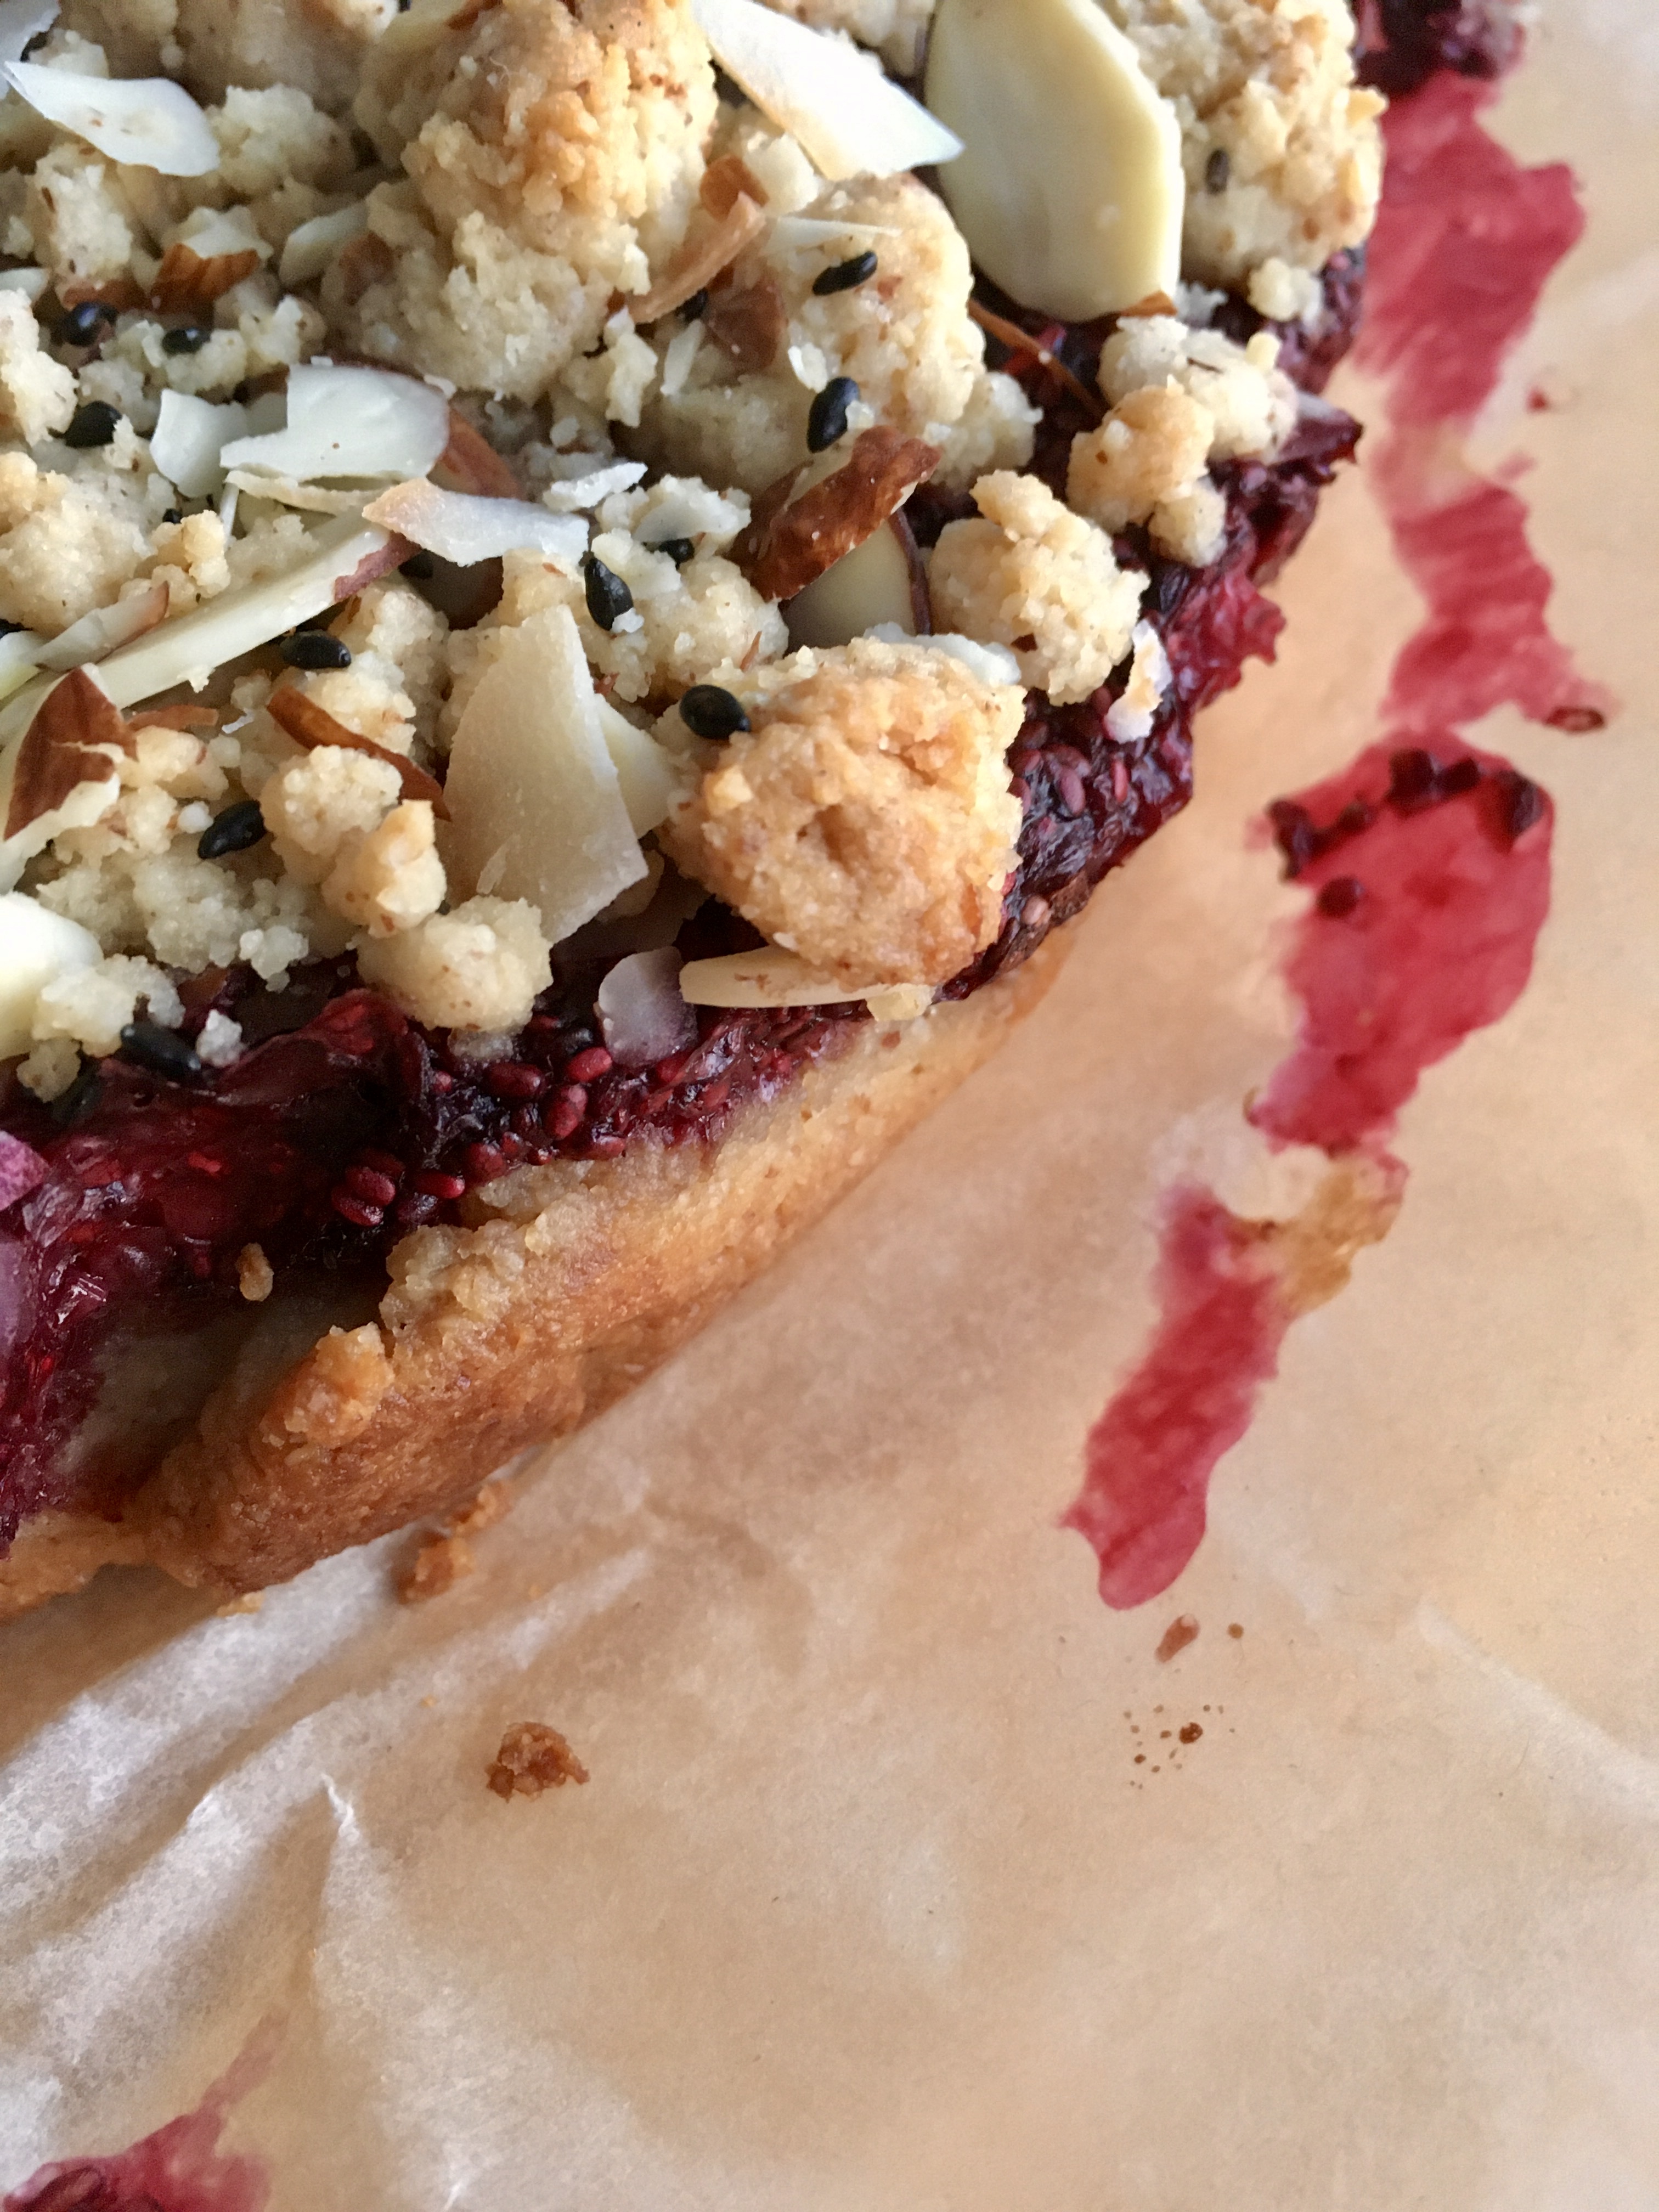
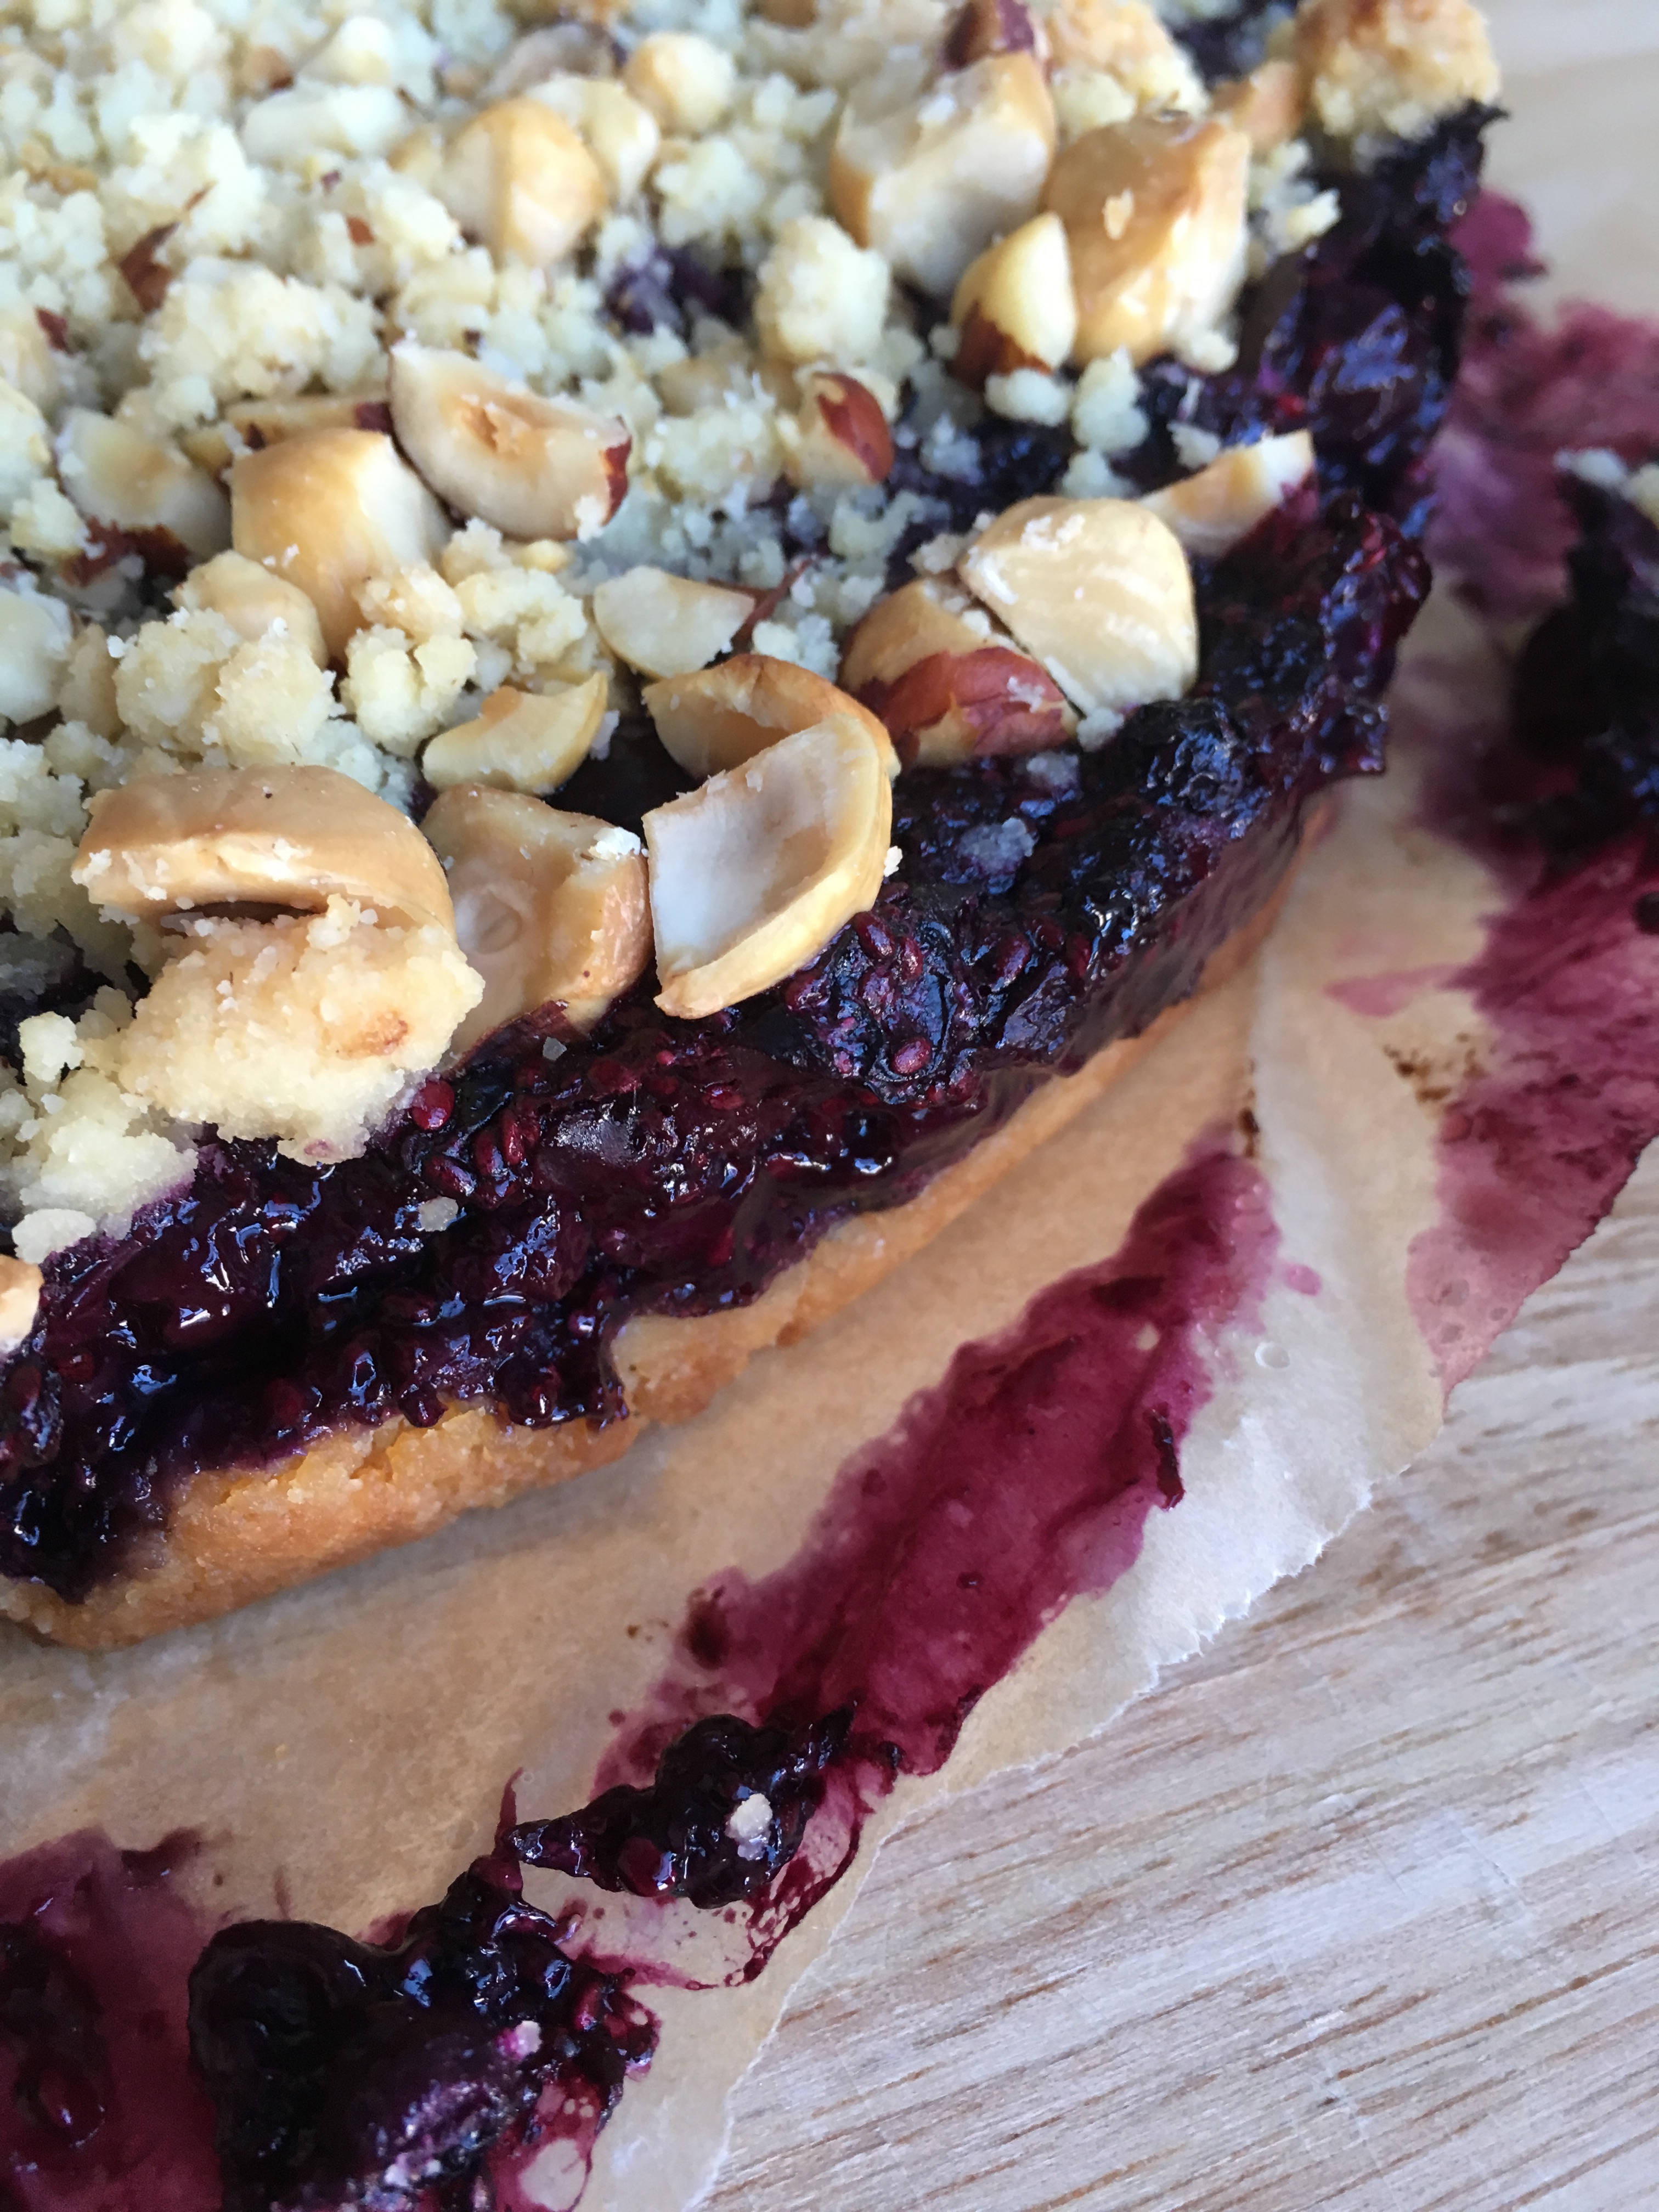
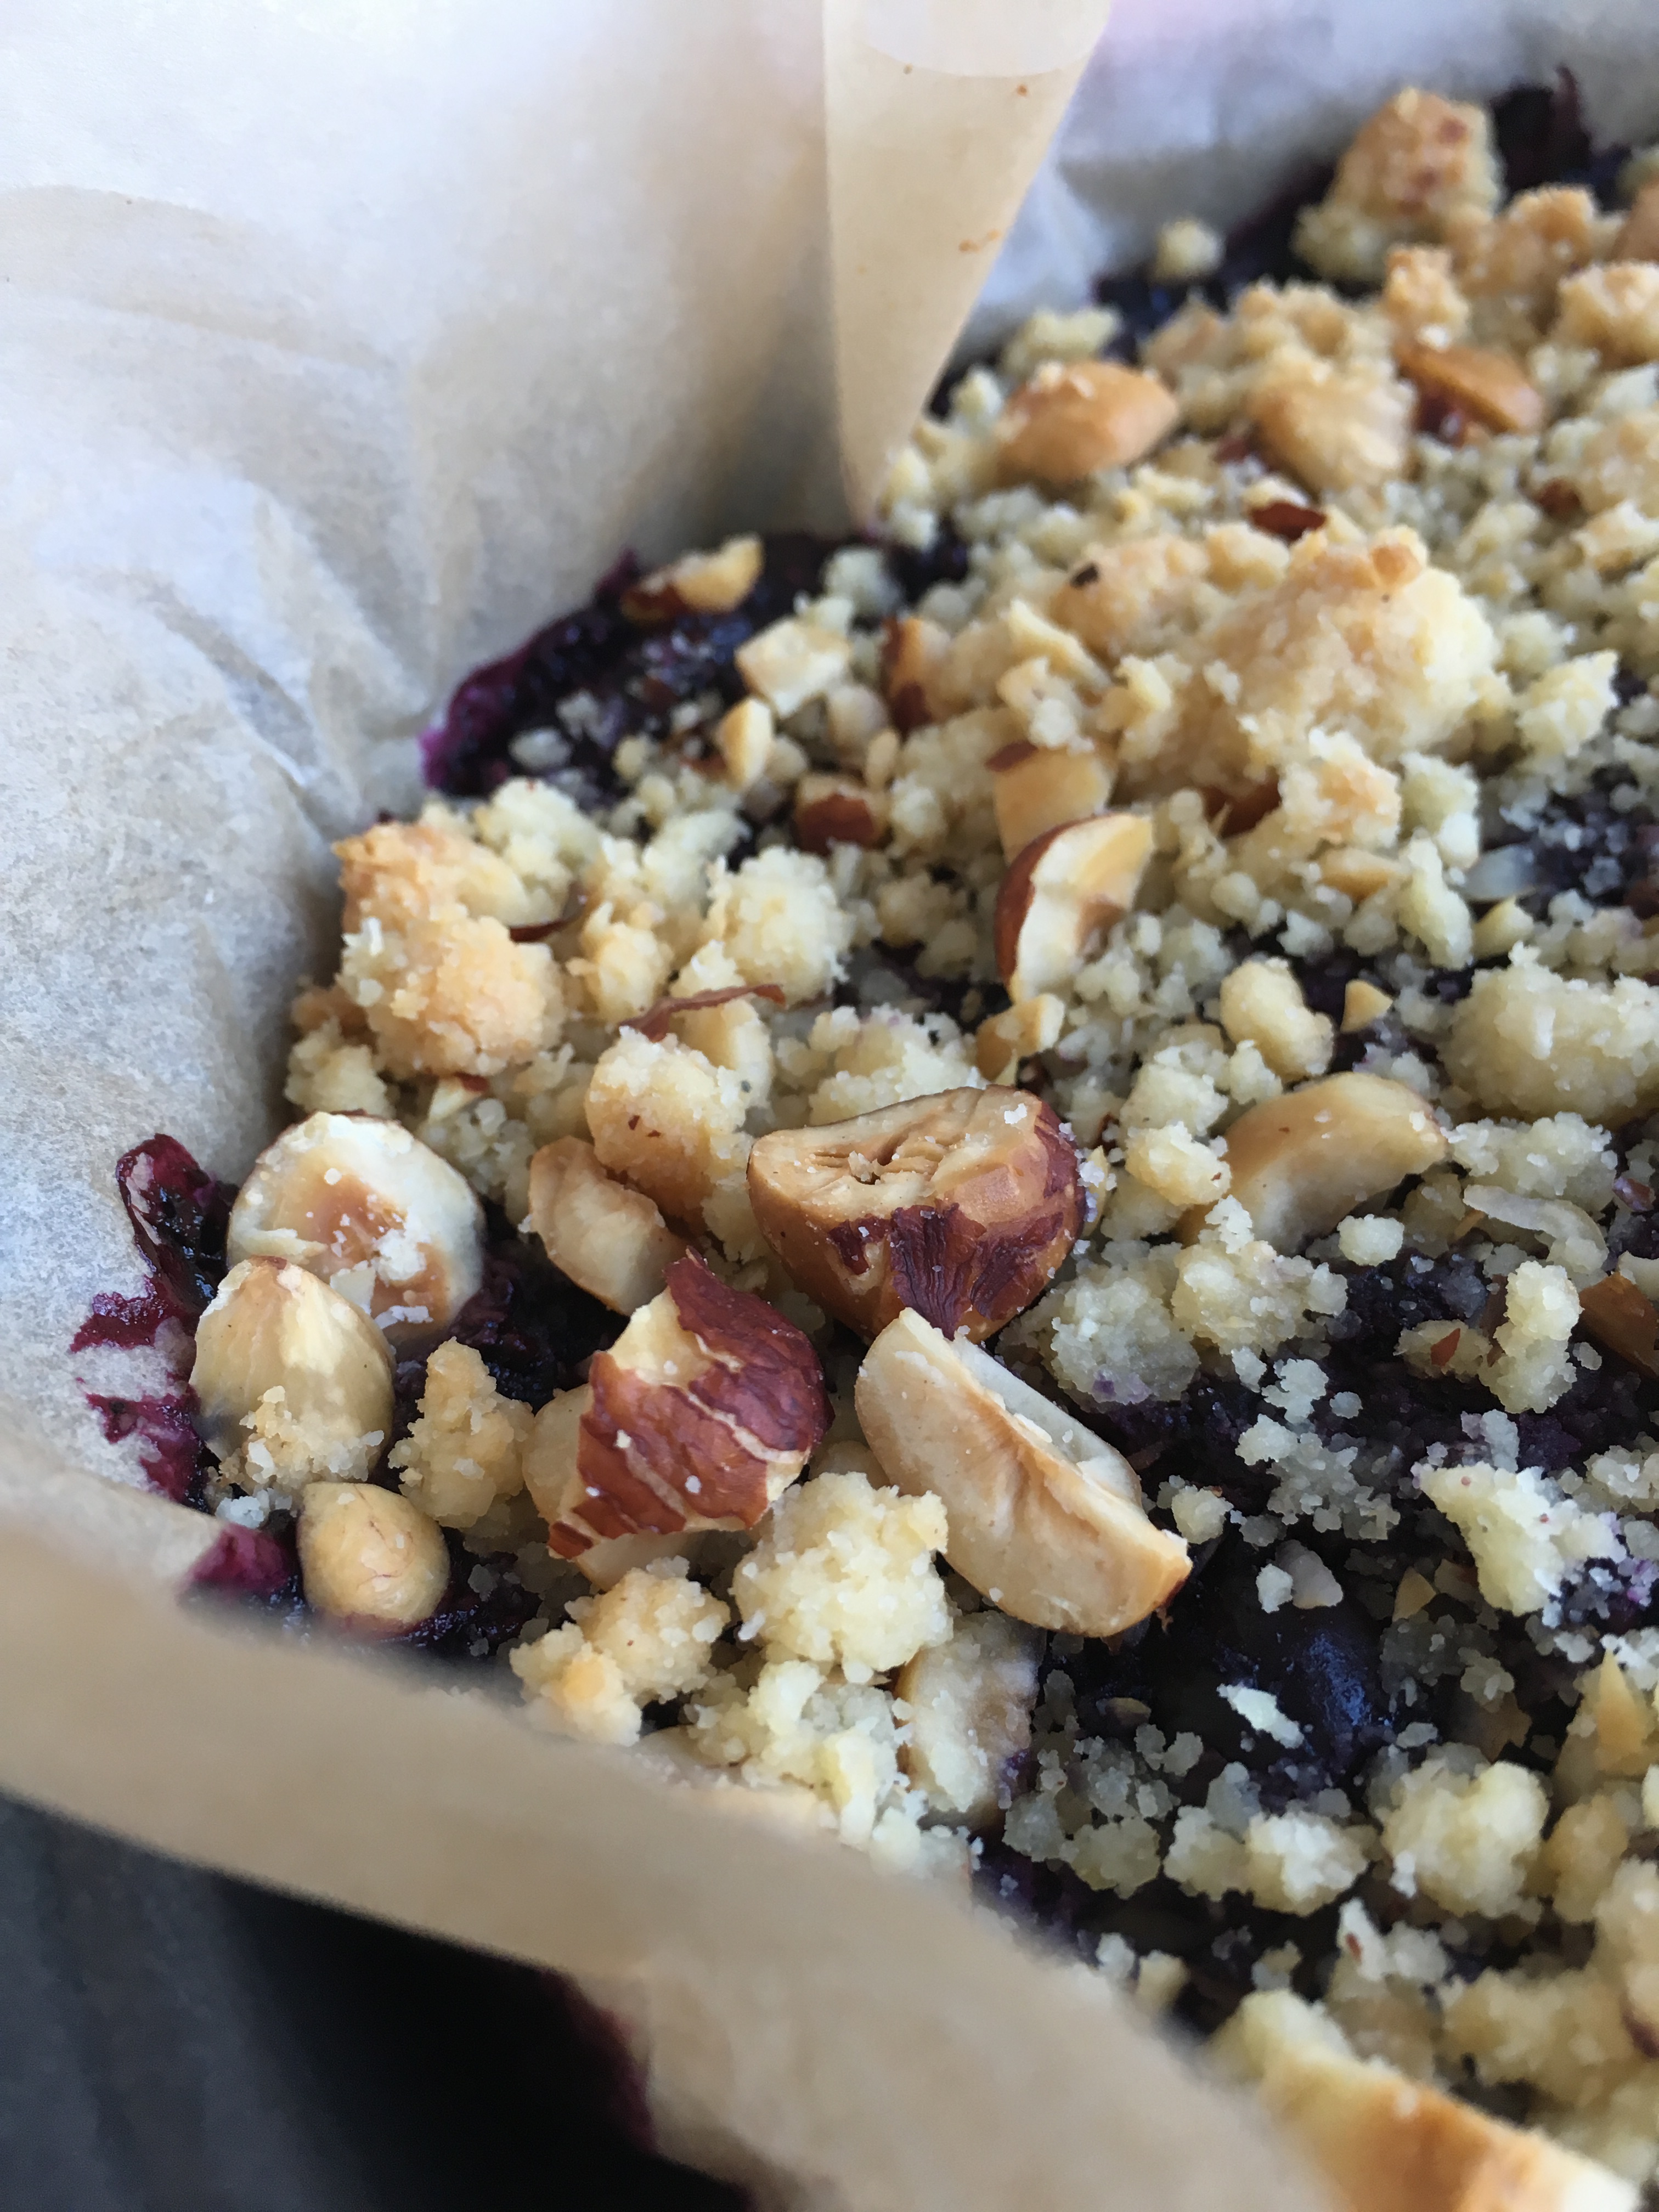
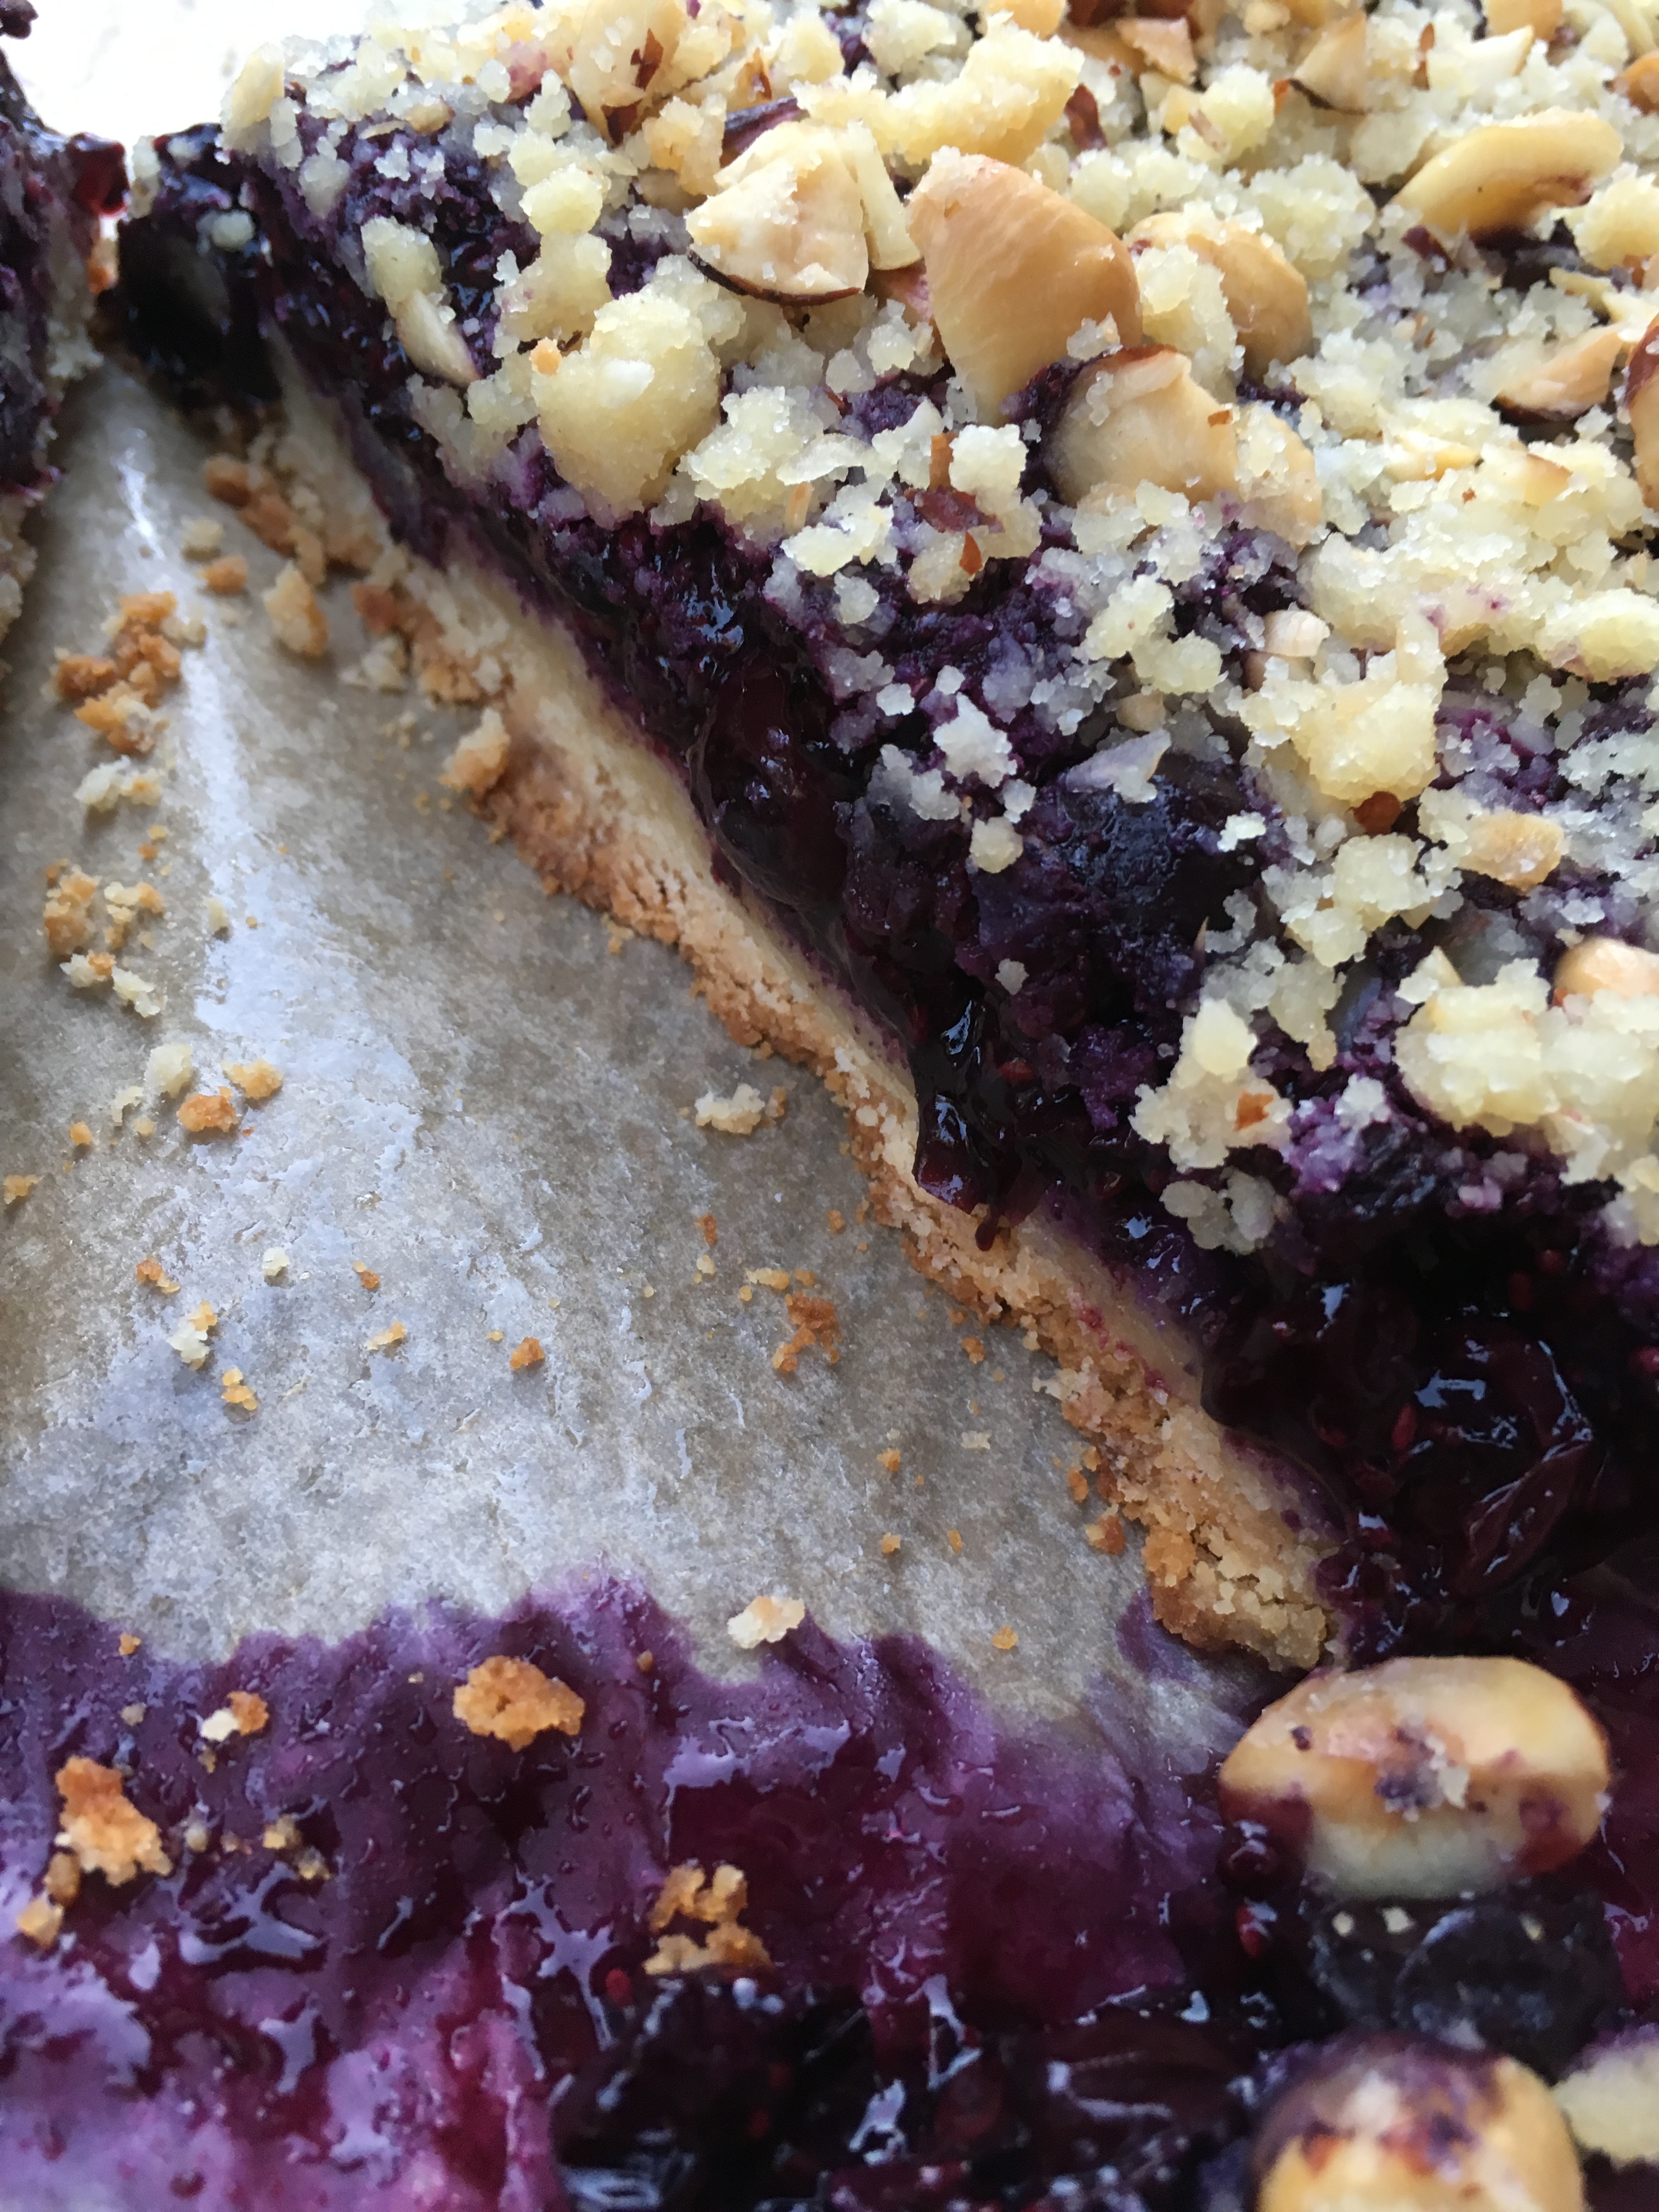
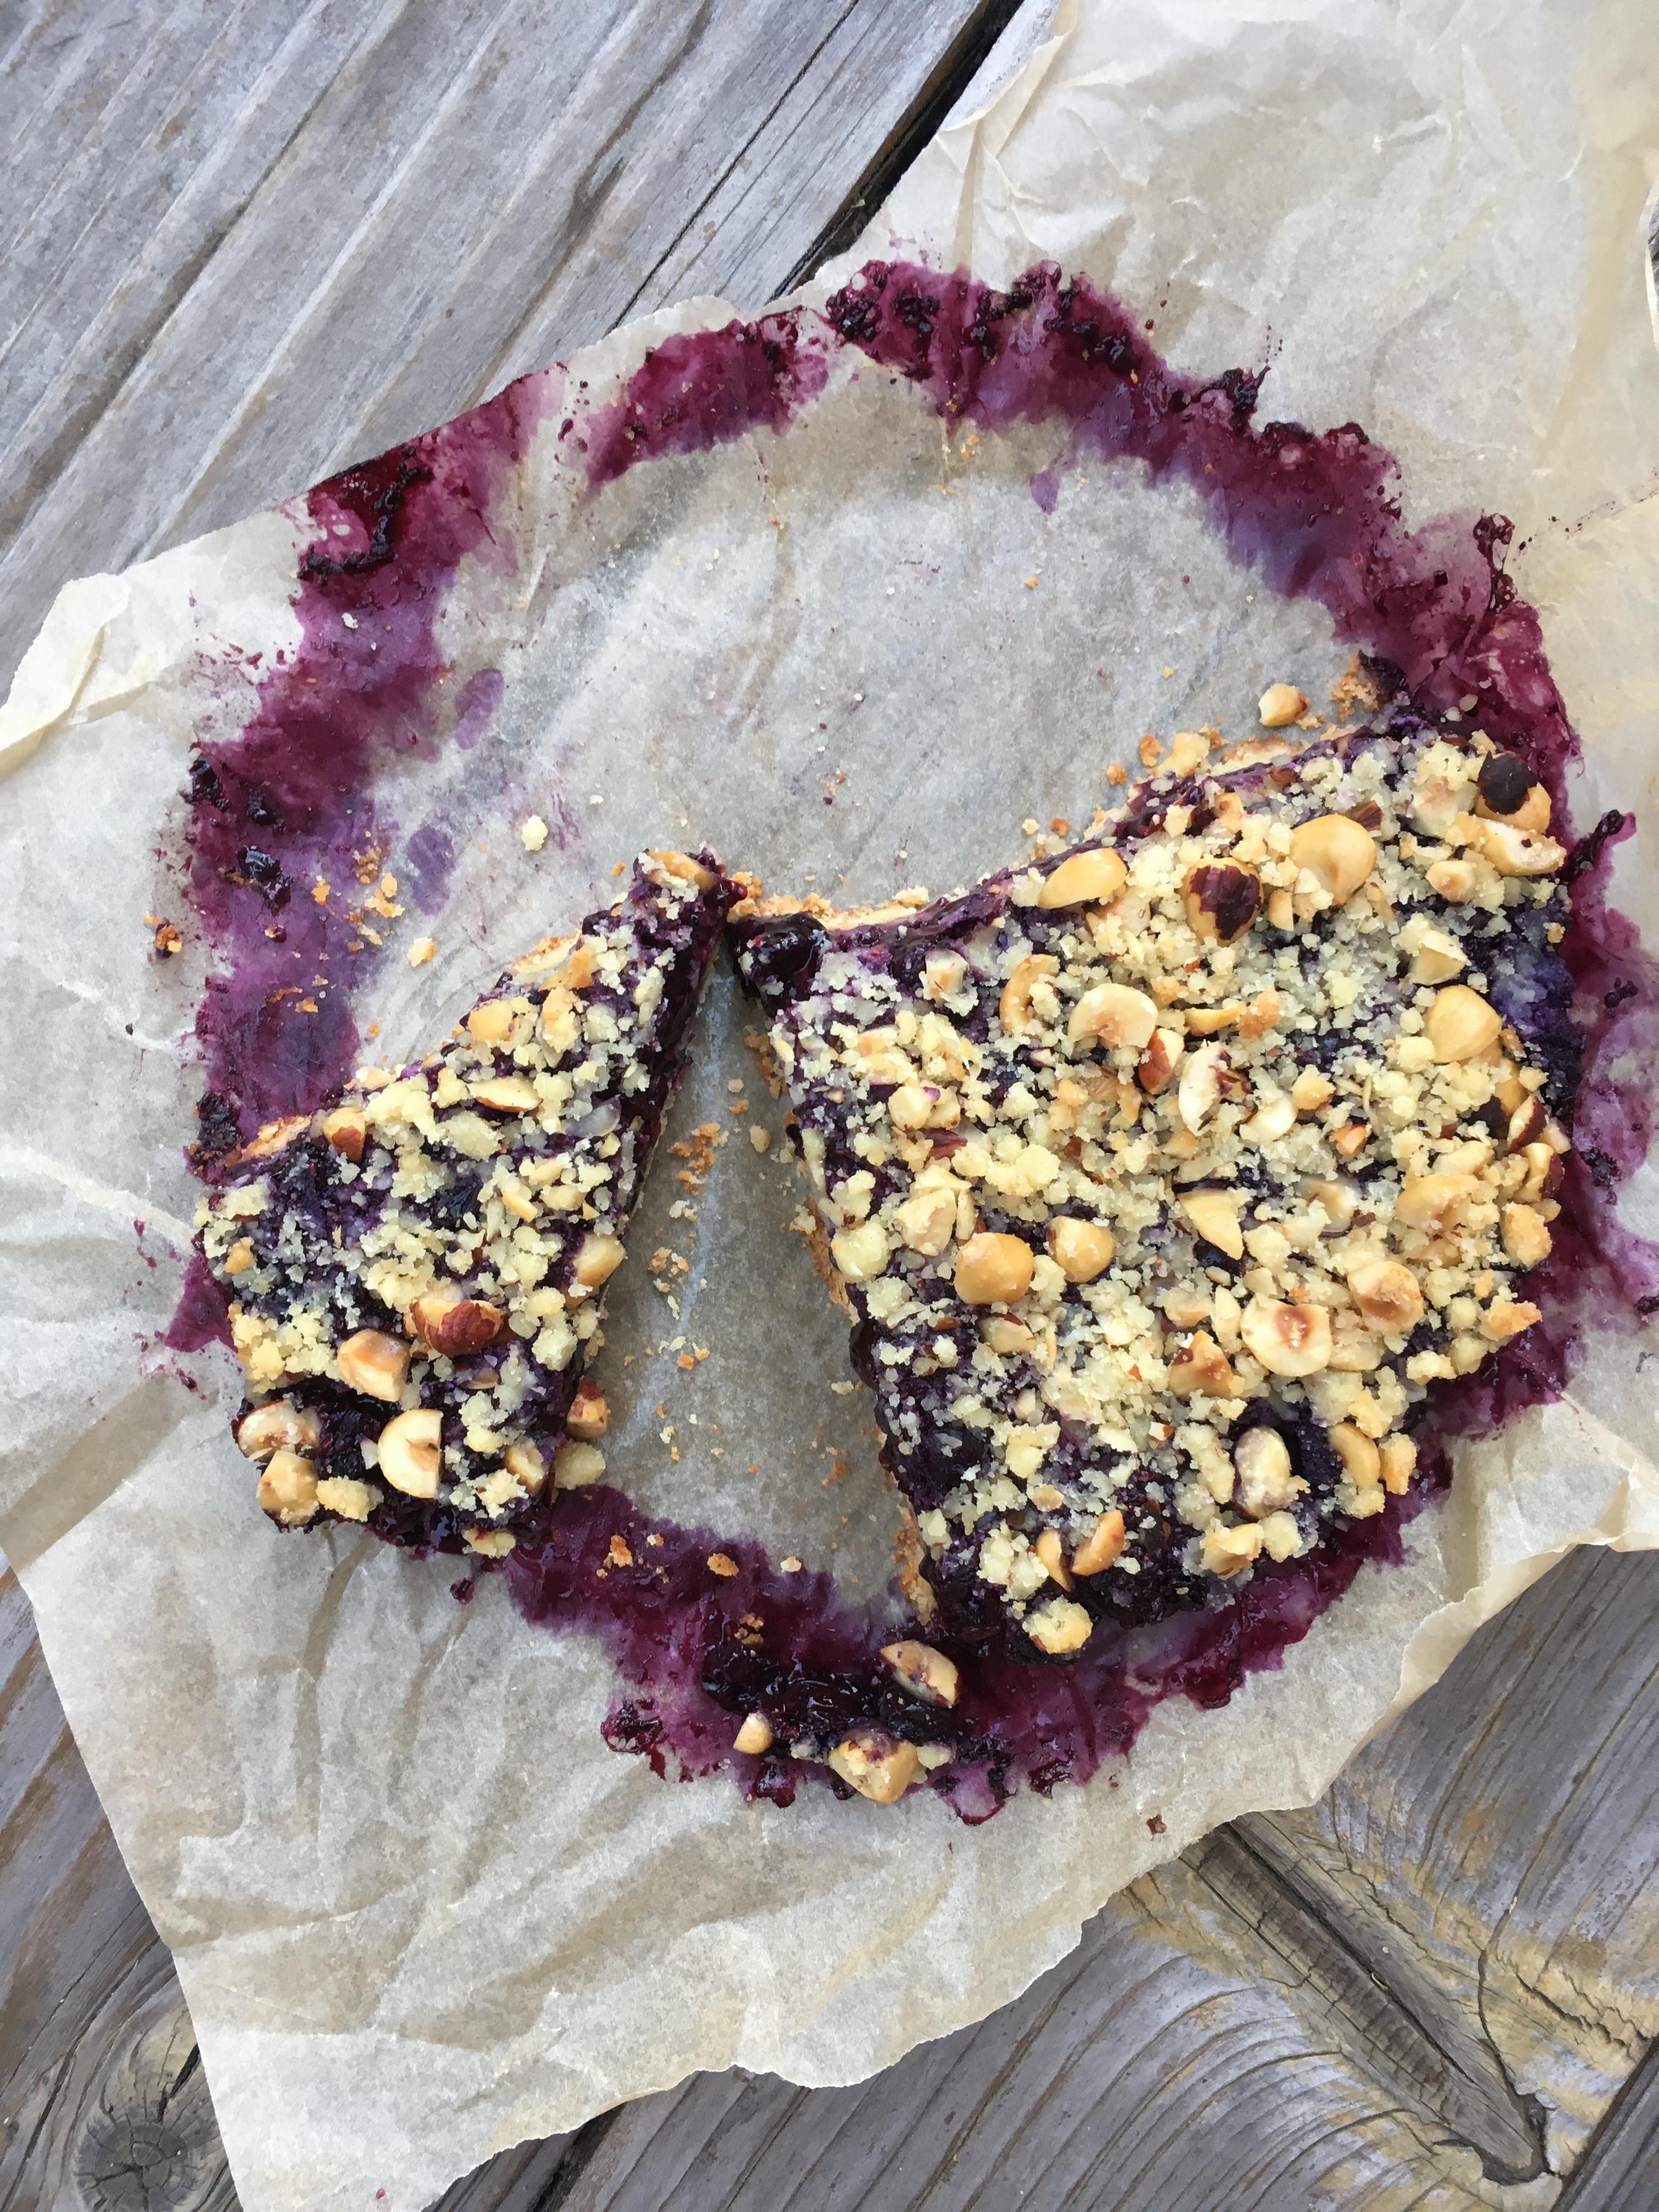
Rhubarb Crumble Cake
Whole grain, refined sugar free and full of rhubarb! Perfect for spring – this is really more of a breakfast cake than anything, but it’s also fantastic with ice cream. Yield: an 8 or 9″ cake, depending on pan of choice; serves several. Recipe adapted from Food52, here.
For the crumble:
3 tbsp almond flour, packed
2 tbsp slivered almonds
2 tbsp rolled oats
2 tbsp maple syrup
1/4 tsp salt
2 tbsp unrefined coconut oil, melted
For the cake:
butter, for greasing the pan
2 large eggs
1/2 c maple syrup
1/4 c coconut sugar
1/2 tsp salt
1 tsp vanilla extract
6 tbsp unsalted butter, melted
1.25 c whole wheat pastry flour
1.5 c rhubarb, cut into 1/2-inch pieces
Directions
Heat the oven to 350° F. Butter the bottom and sides of your chosen pan – I used a 9″ springform since that’s what I had handy, but you could use a fluted tart pan (8 or 9″) or an 8″ deep springform… or probably an 8″ cake pan. It’s not picky.
For the crumb, combine the dry ingredients in a small bowl. Using a fork or your fingers, gently work in the maple and coconut oil until pea-sized lumps are formed.
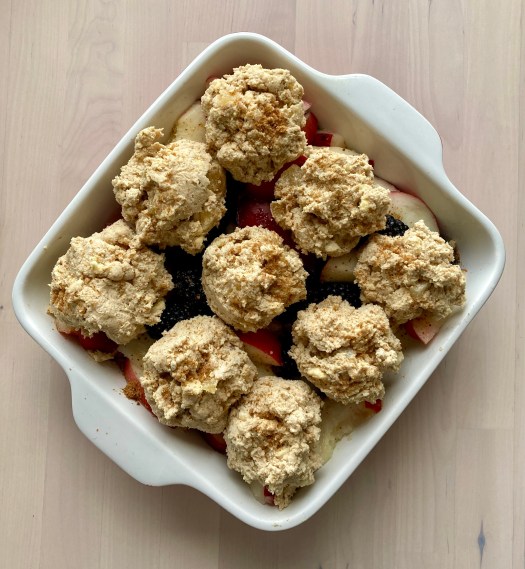
Combine the eggs, maple, coconut sugar, salt, and vanilla extract in a large bowl. Beat on high (or use a whisk like I did, it works just fine) until the mixture triples in volume, about five minutes. If you’re whisking, think of this as a nice bicep workout. Fold in the melted butter, flour, and about half the rhubarb. Evenly spread the thick batter into the prepared pan. Sprinkle the rest of the rhubarb over the top, followed by an even the crumb topping evenly over the top.
Bake for 60 to 75 minutes, until the topping is deeply golden and a toothpick inserted into the center comes out clean. Remove the cake from the pan when it’s completely cool.