2021!

Hello, blog friends in my corner of the internet!

What a year. Not sure I need to say much else on that subject, other than happy new year, and here’s to 2021! Needless to say, let’s hope 2021 is a smoother ride than this absurdity.

Keeping it short with the text today… I’m finishing my ritual new year’s eve cleaning and tidying; freshening up my space to welcome a fresh year. I’m looking forward to getting in one last 2020 workout, and spending a low key evening with C.

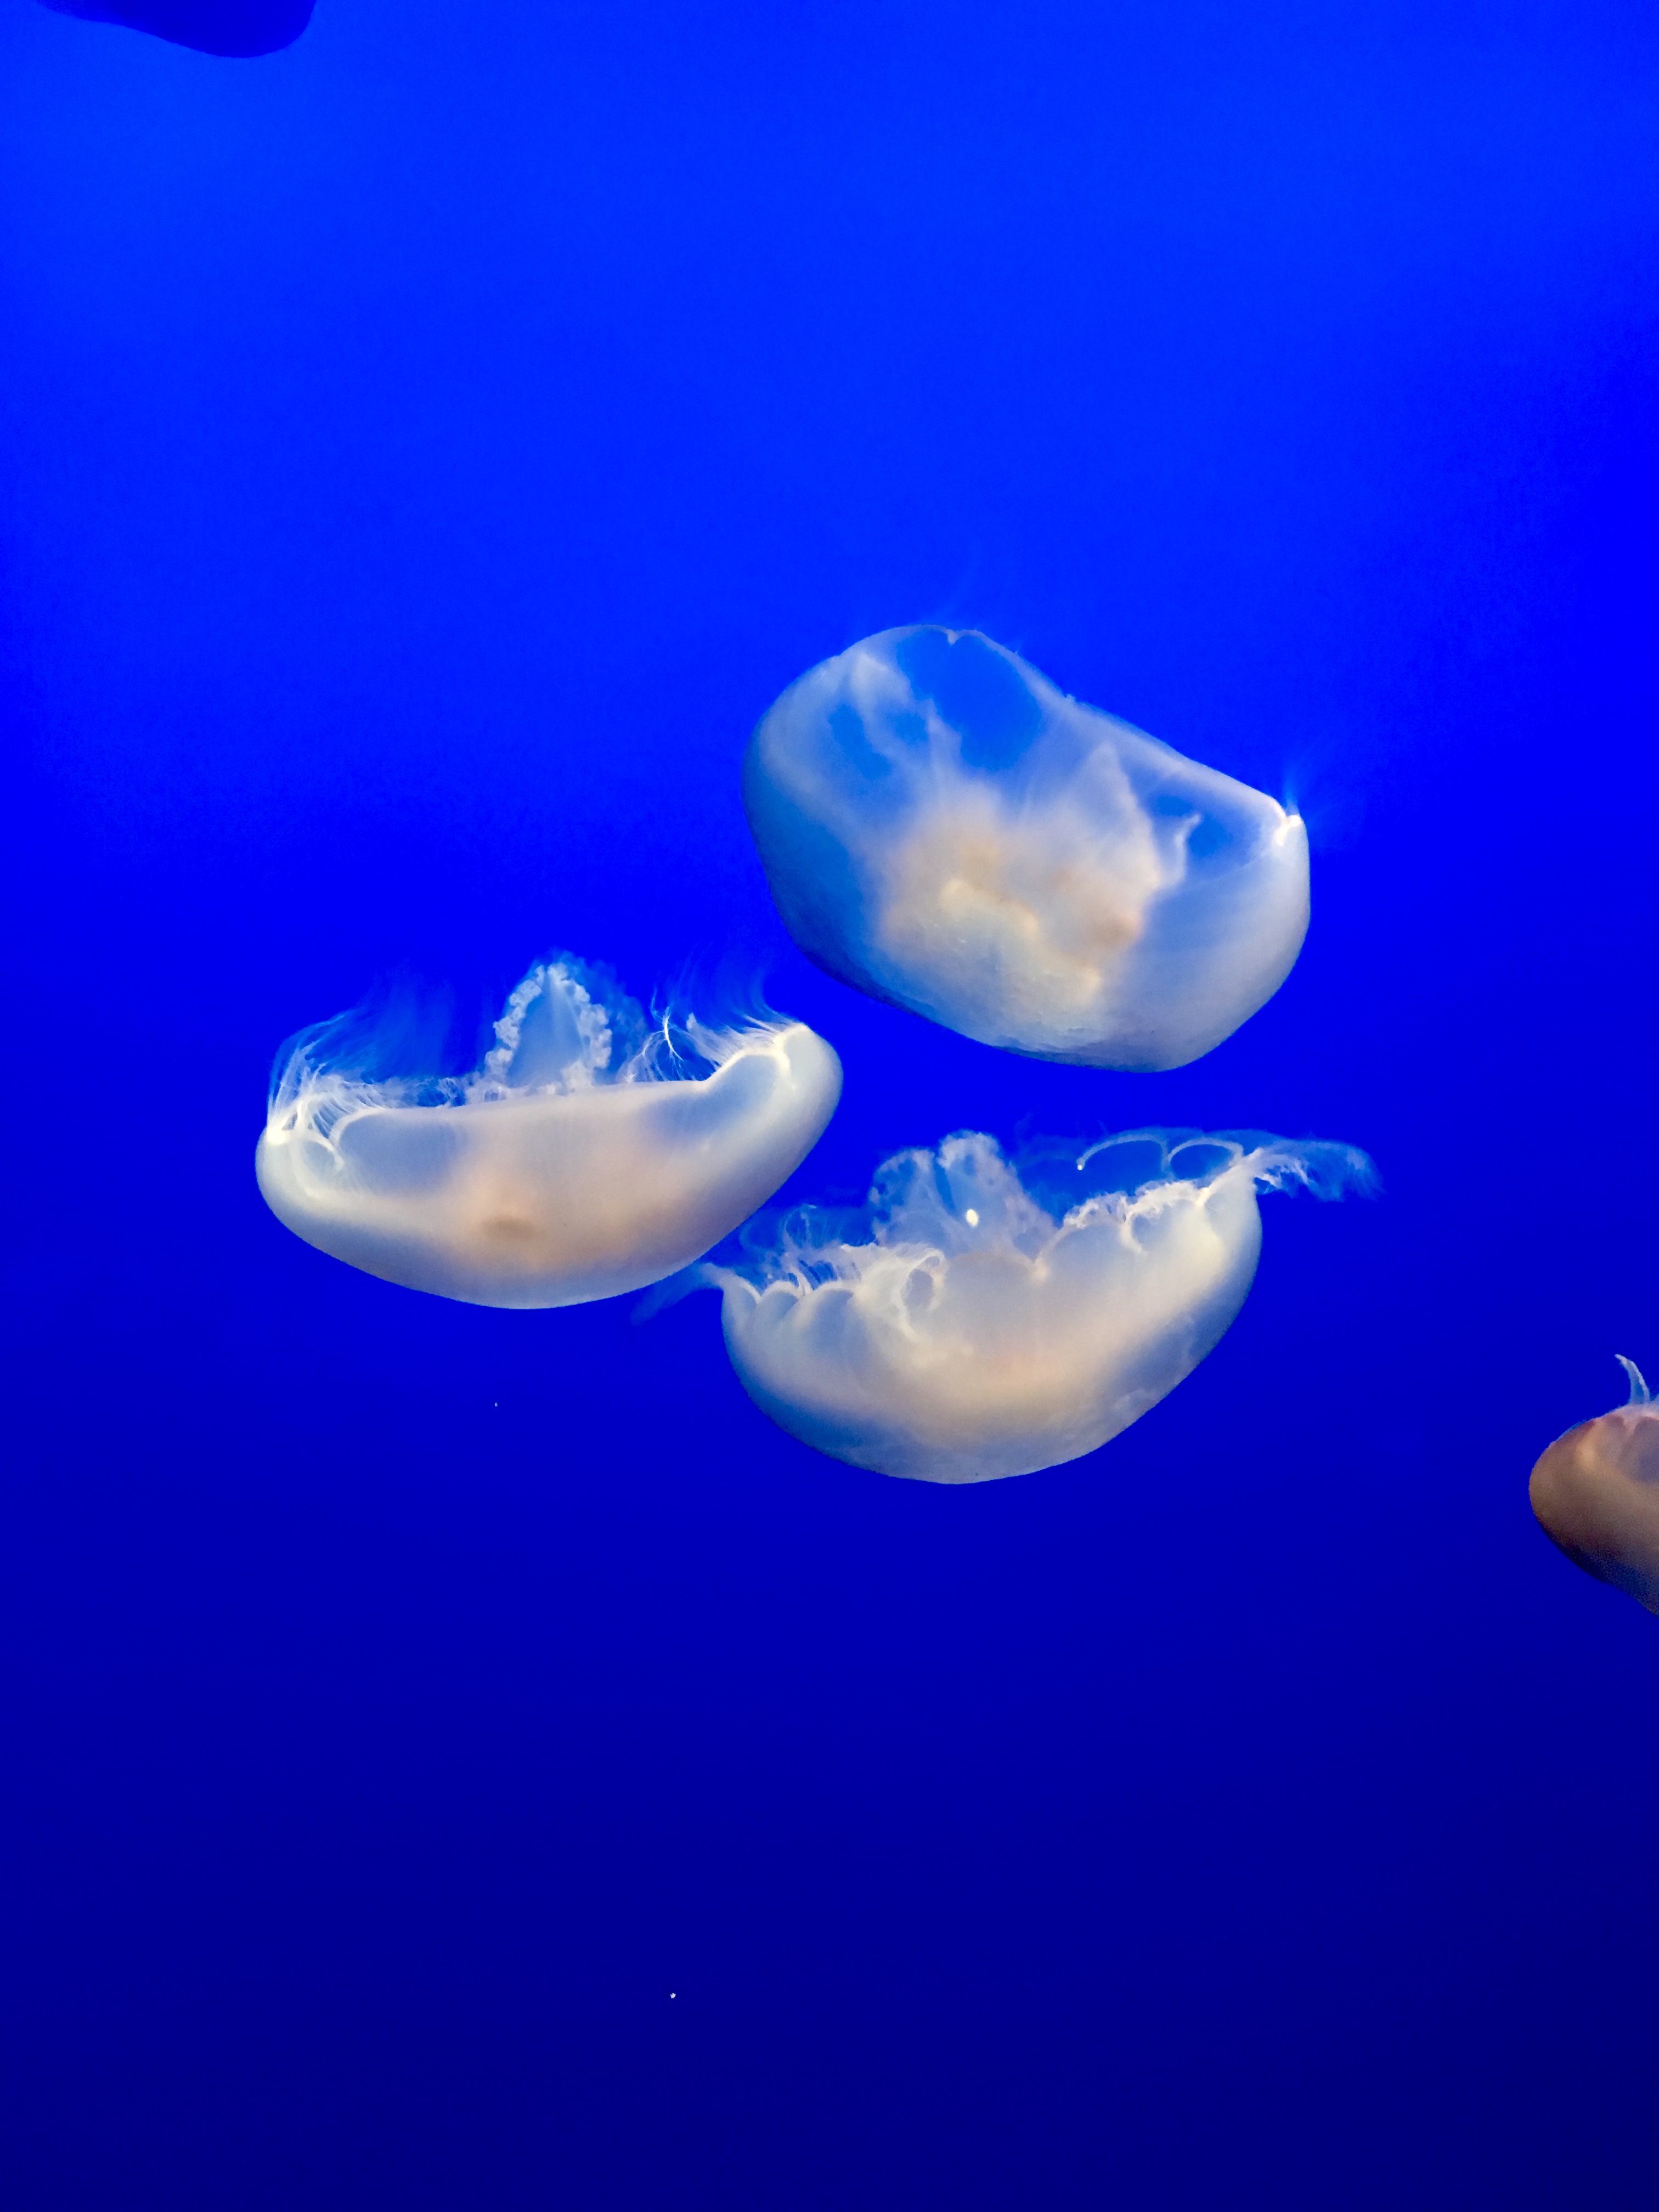
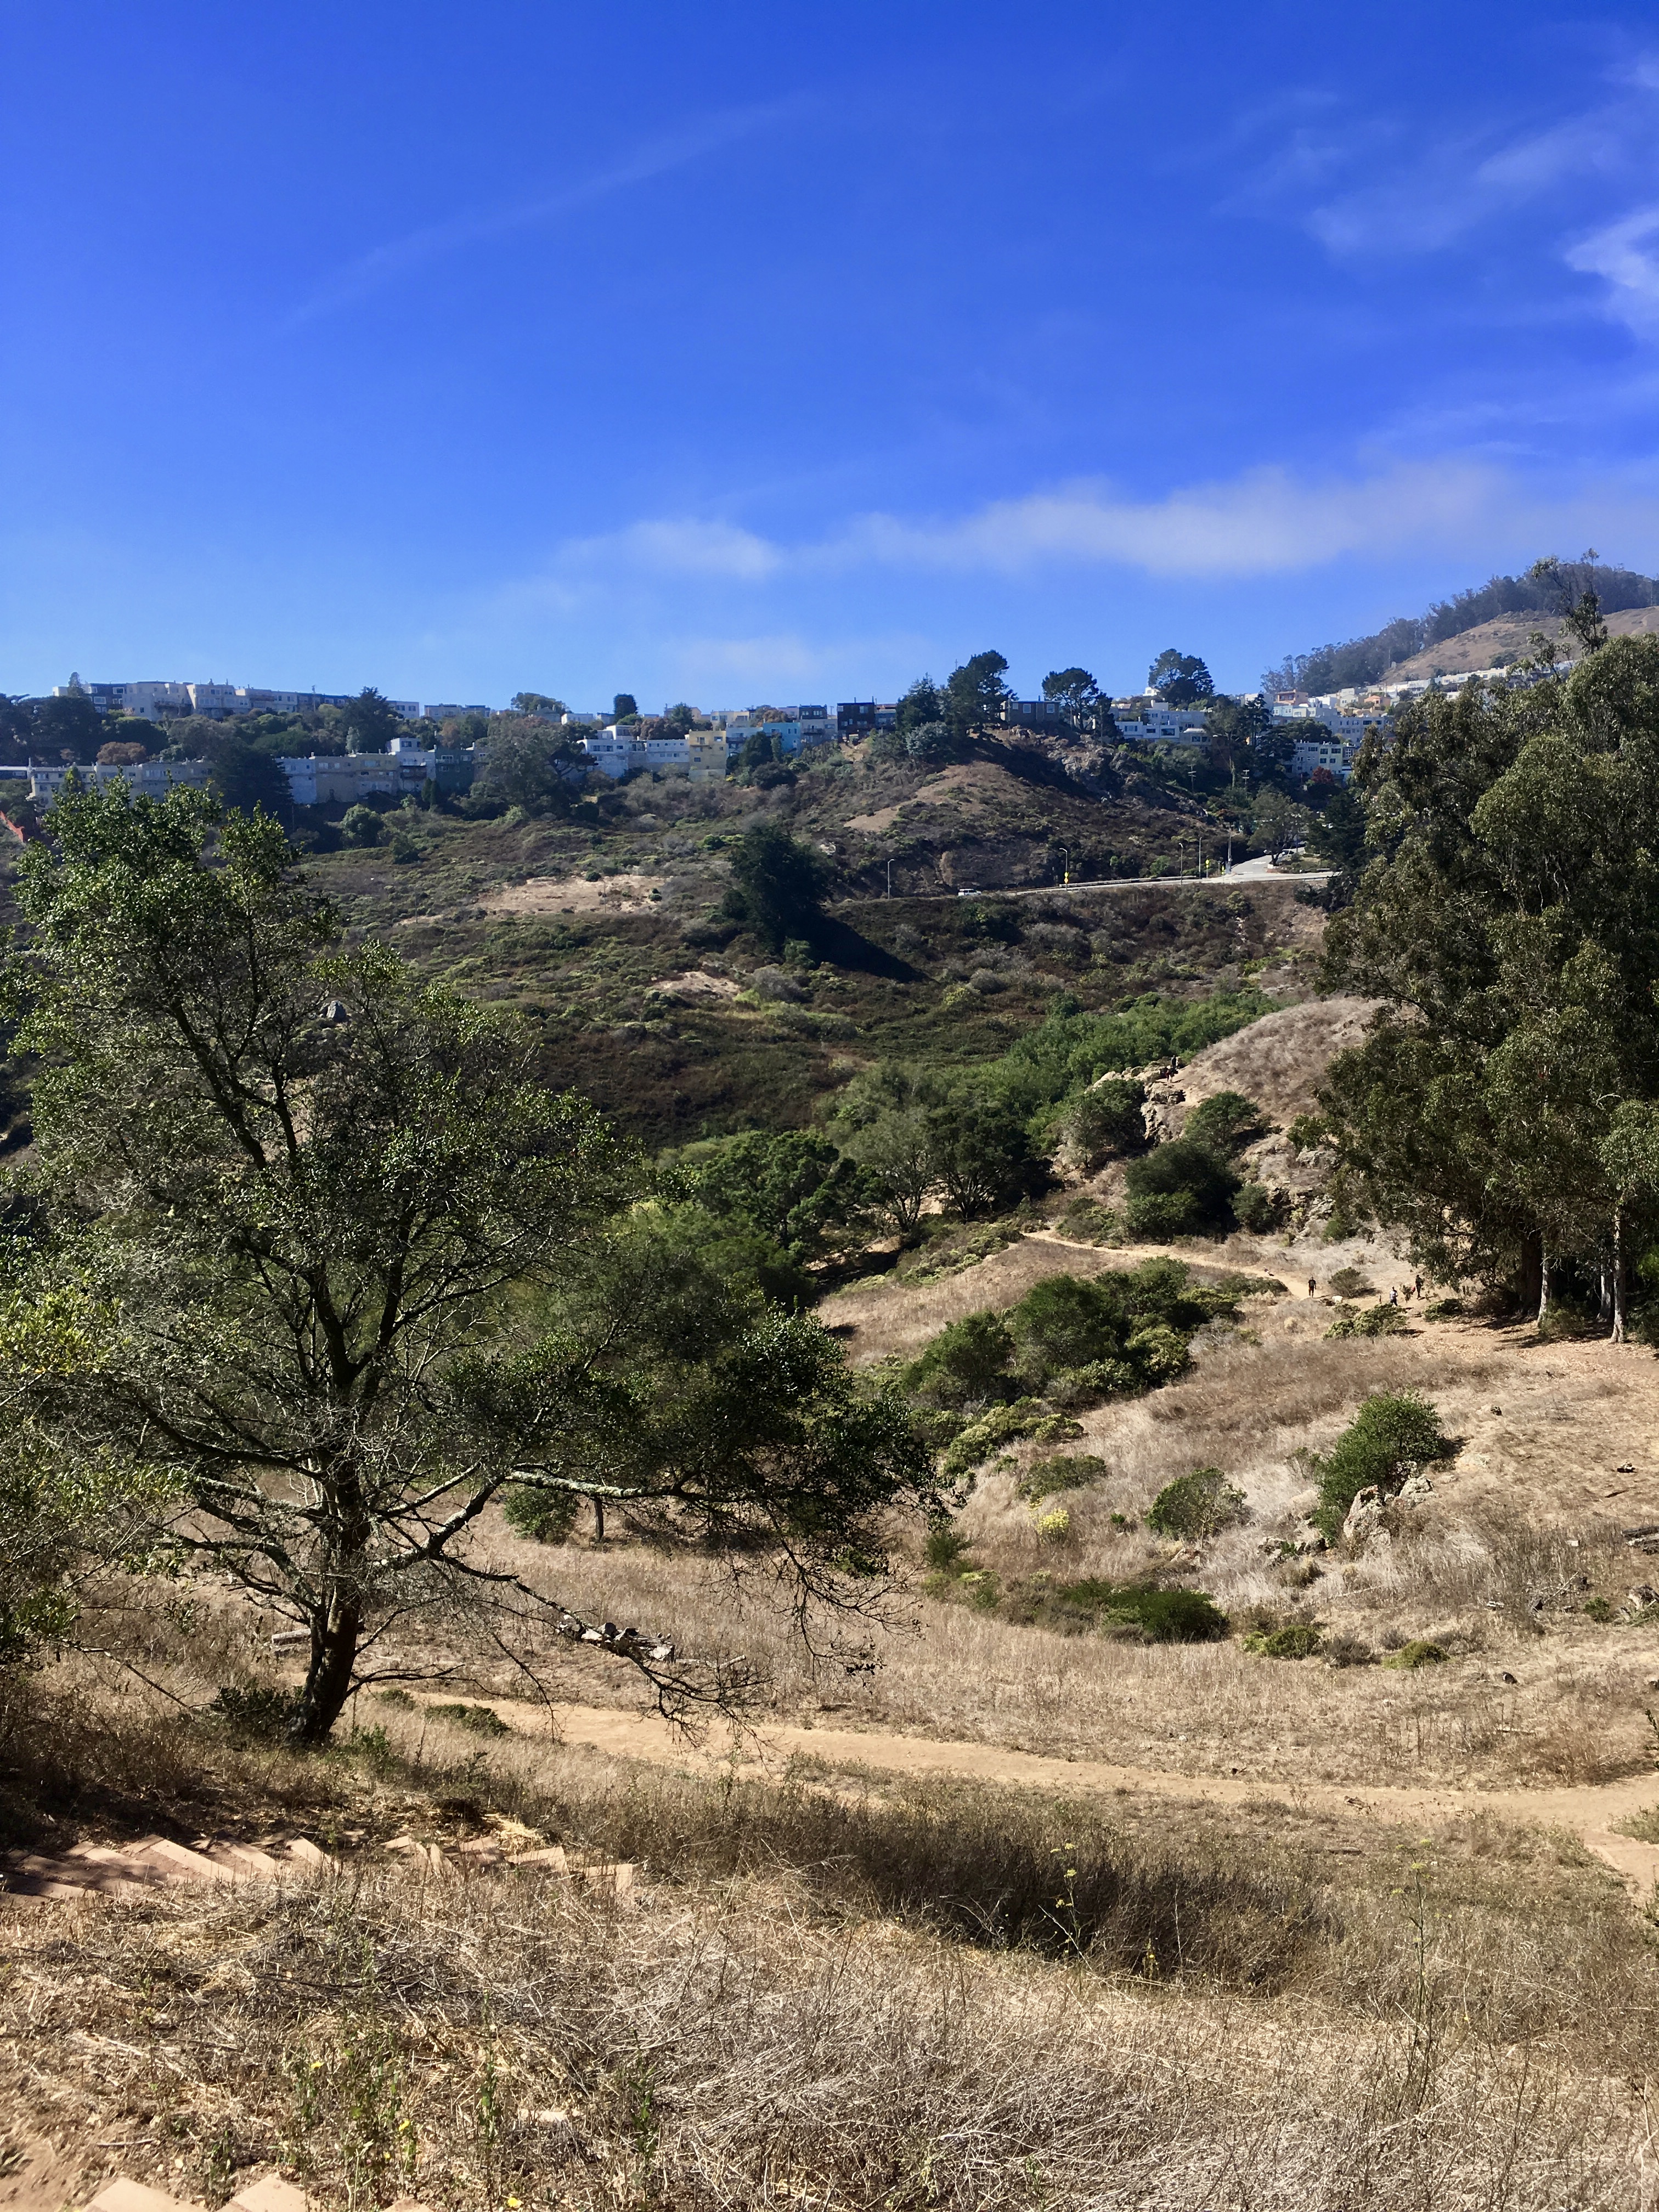
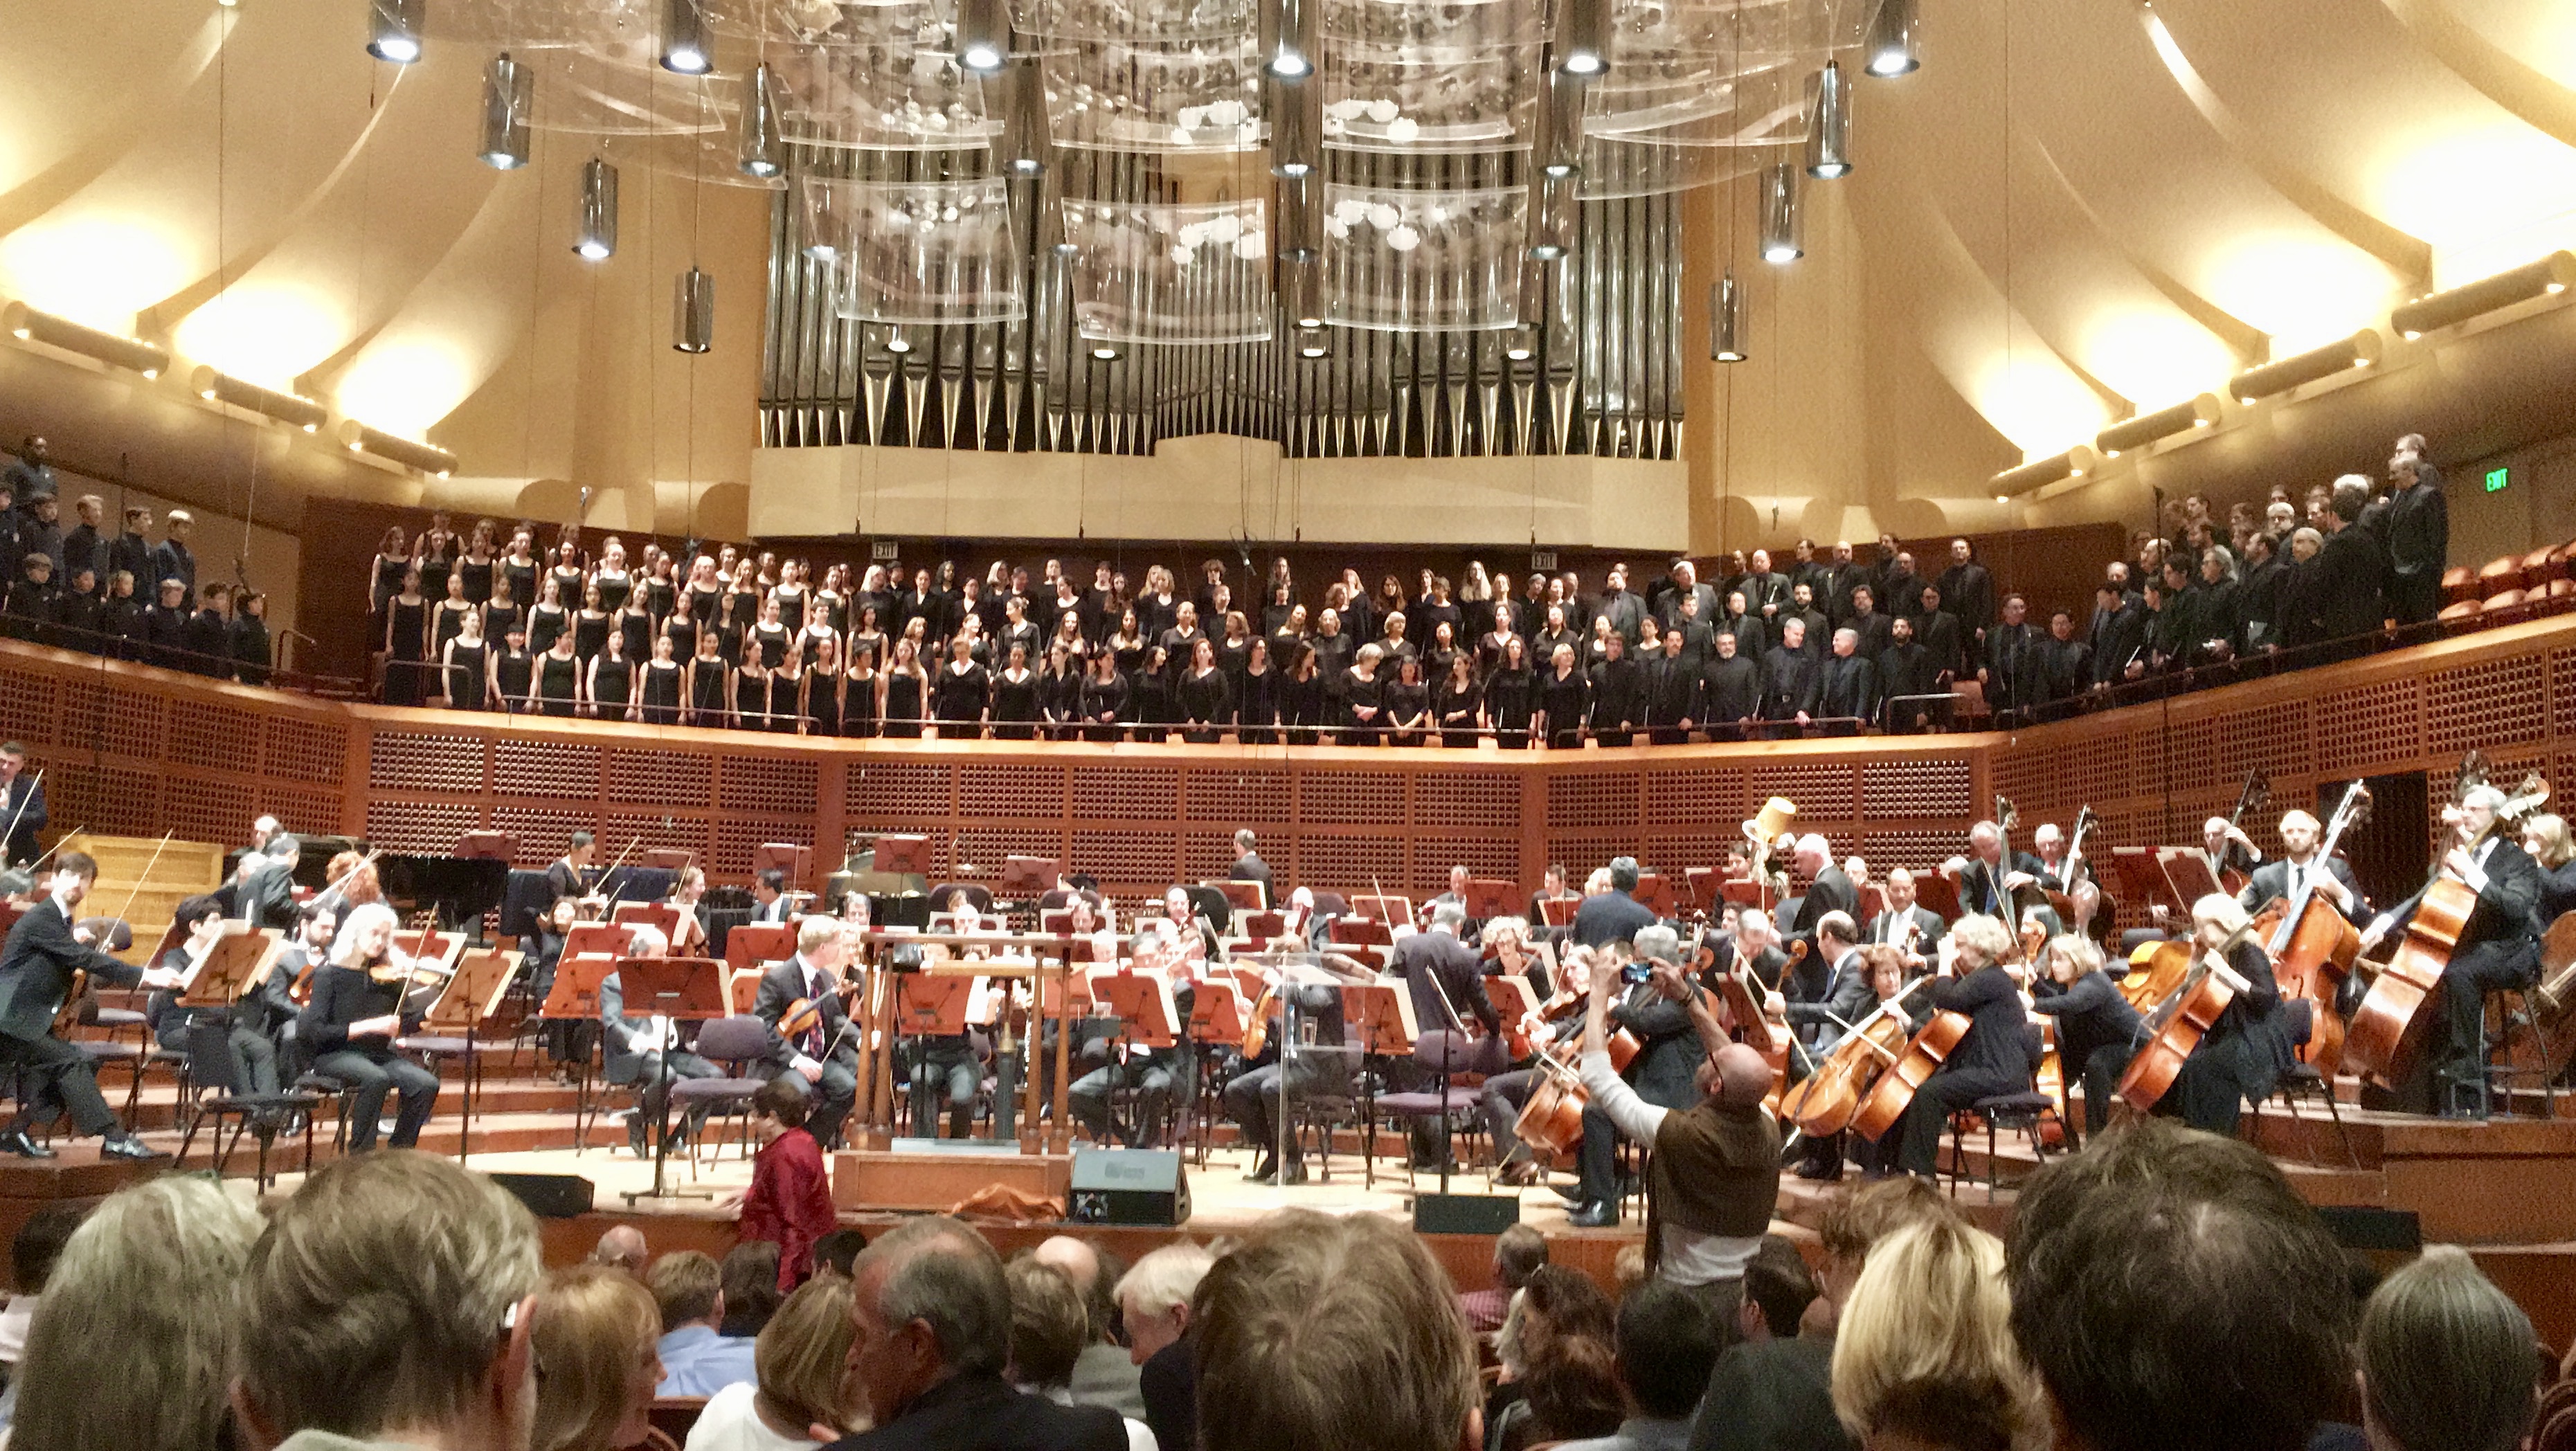
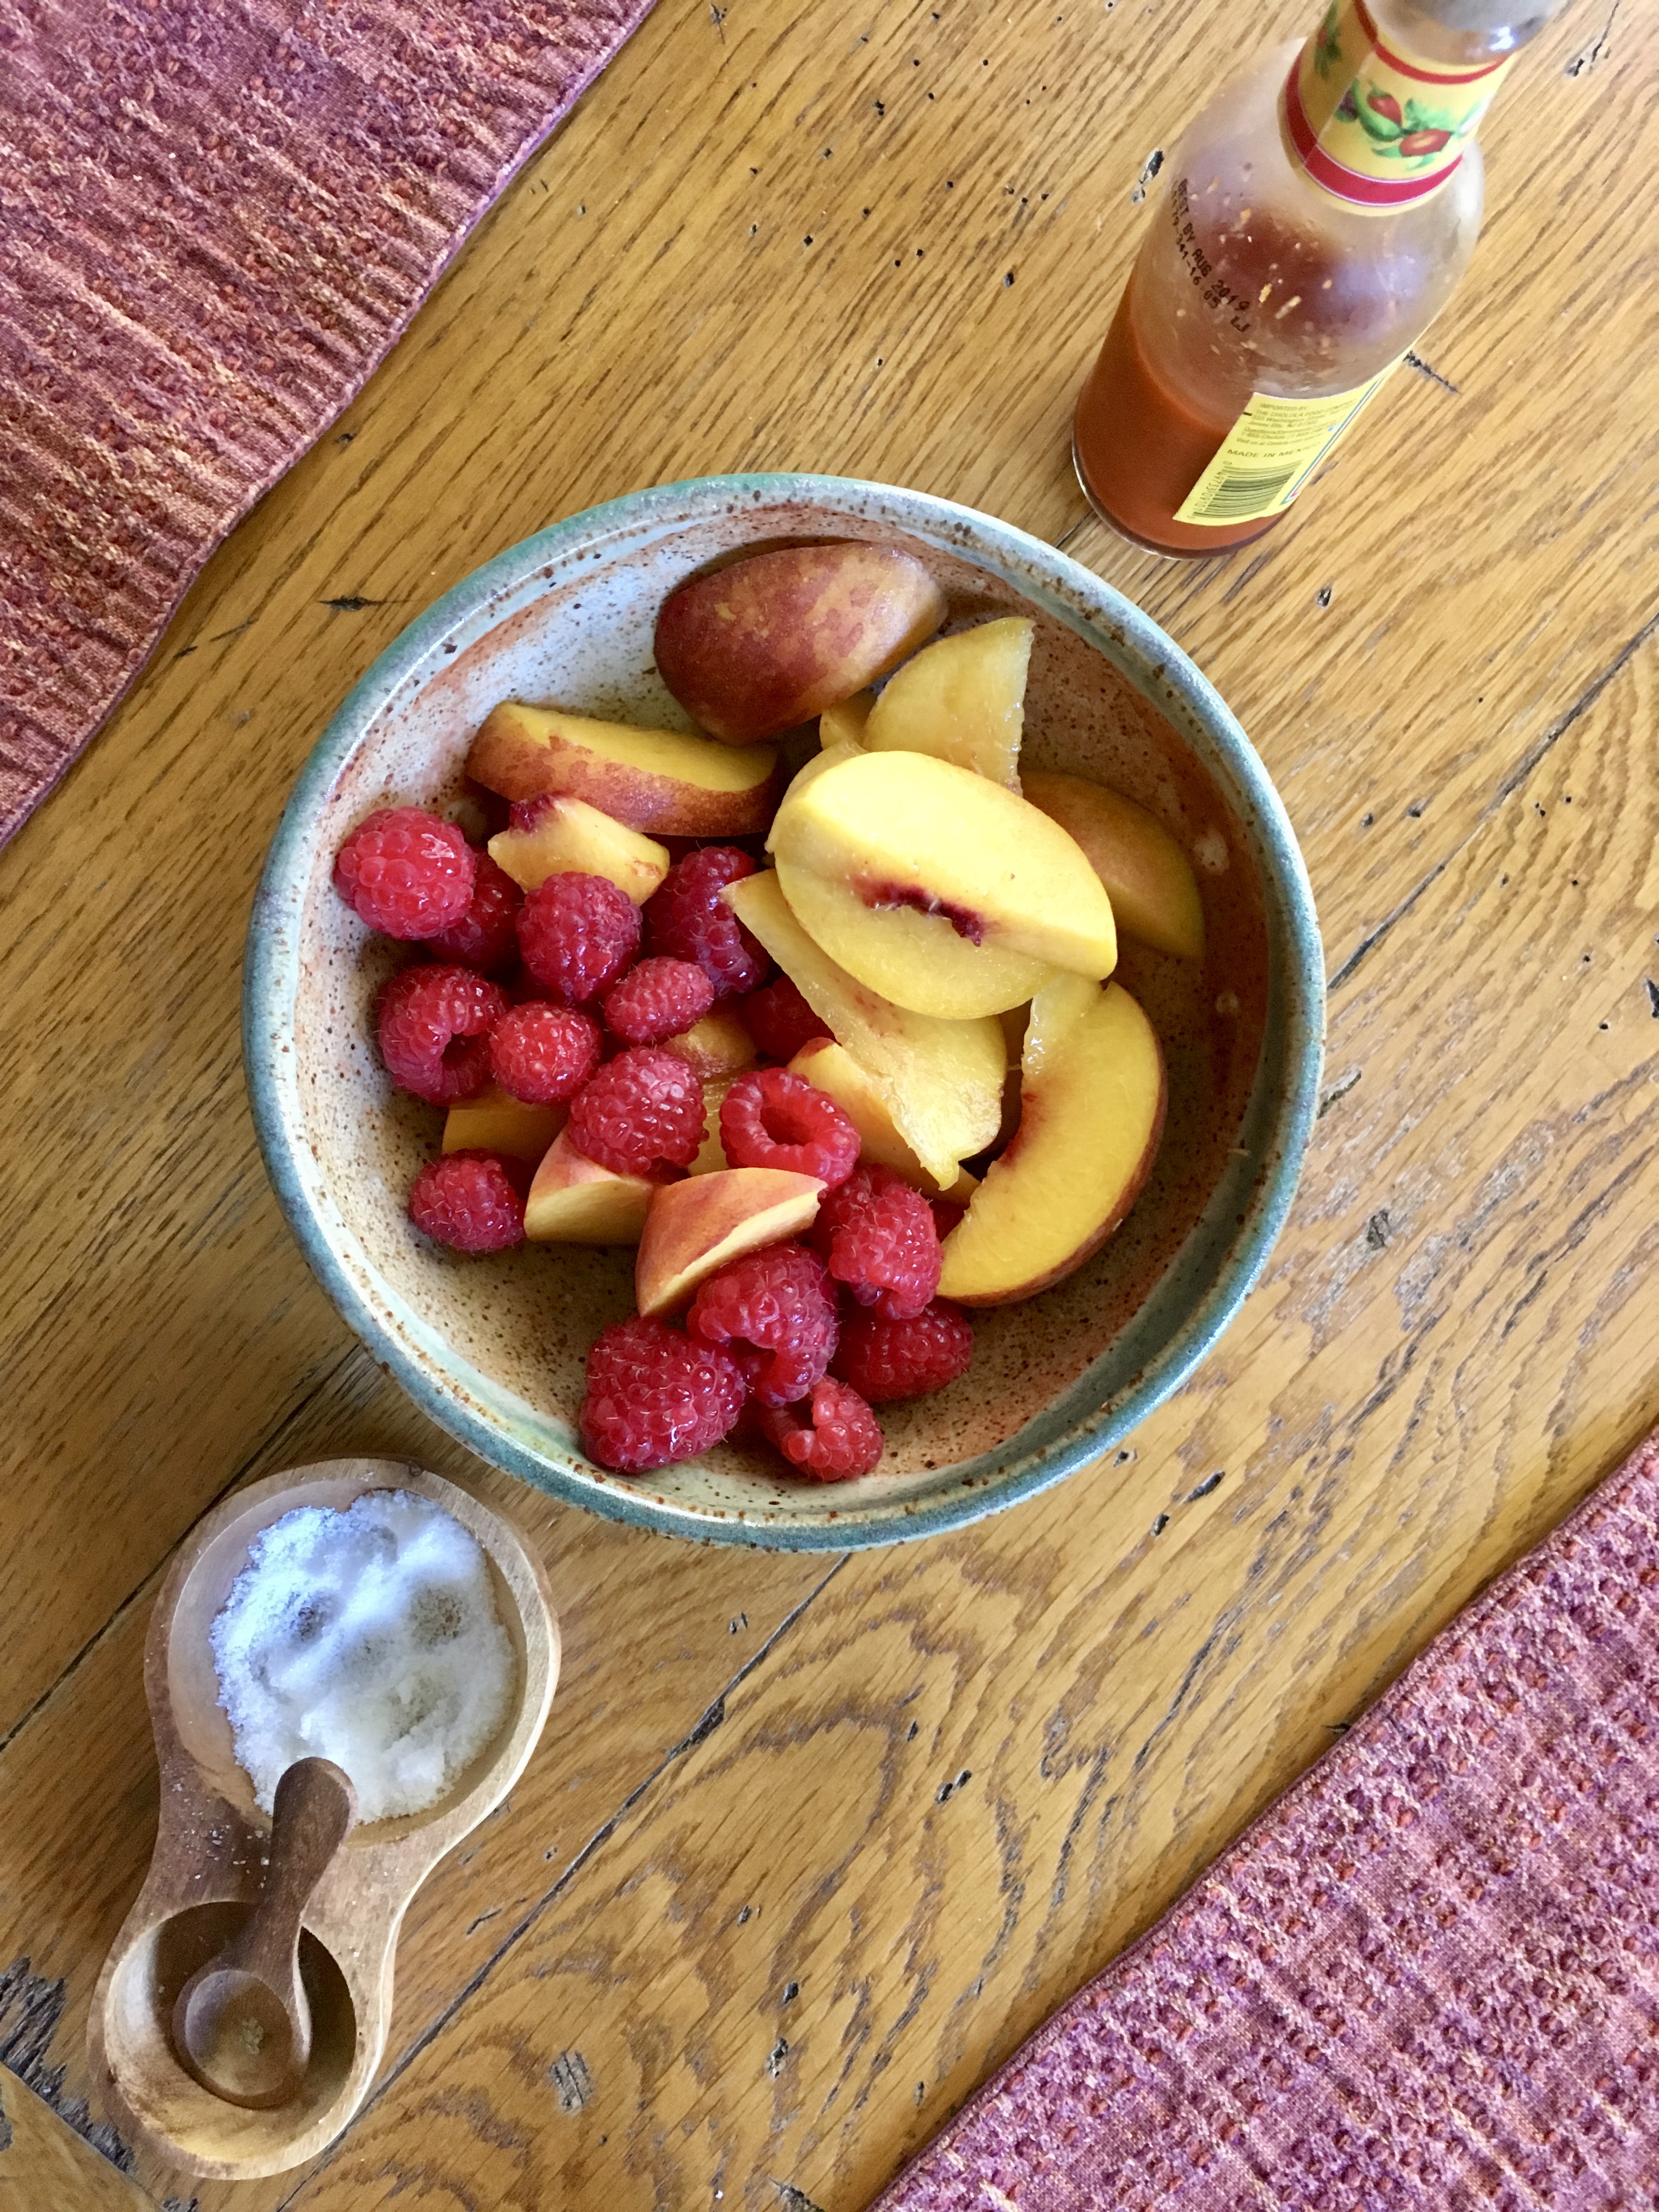
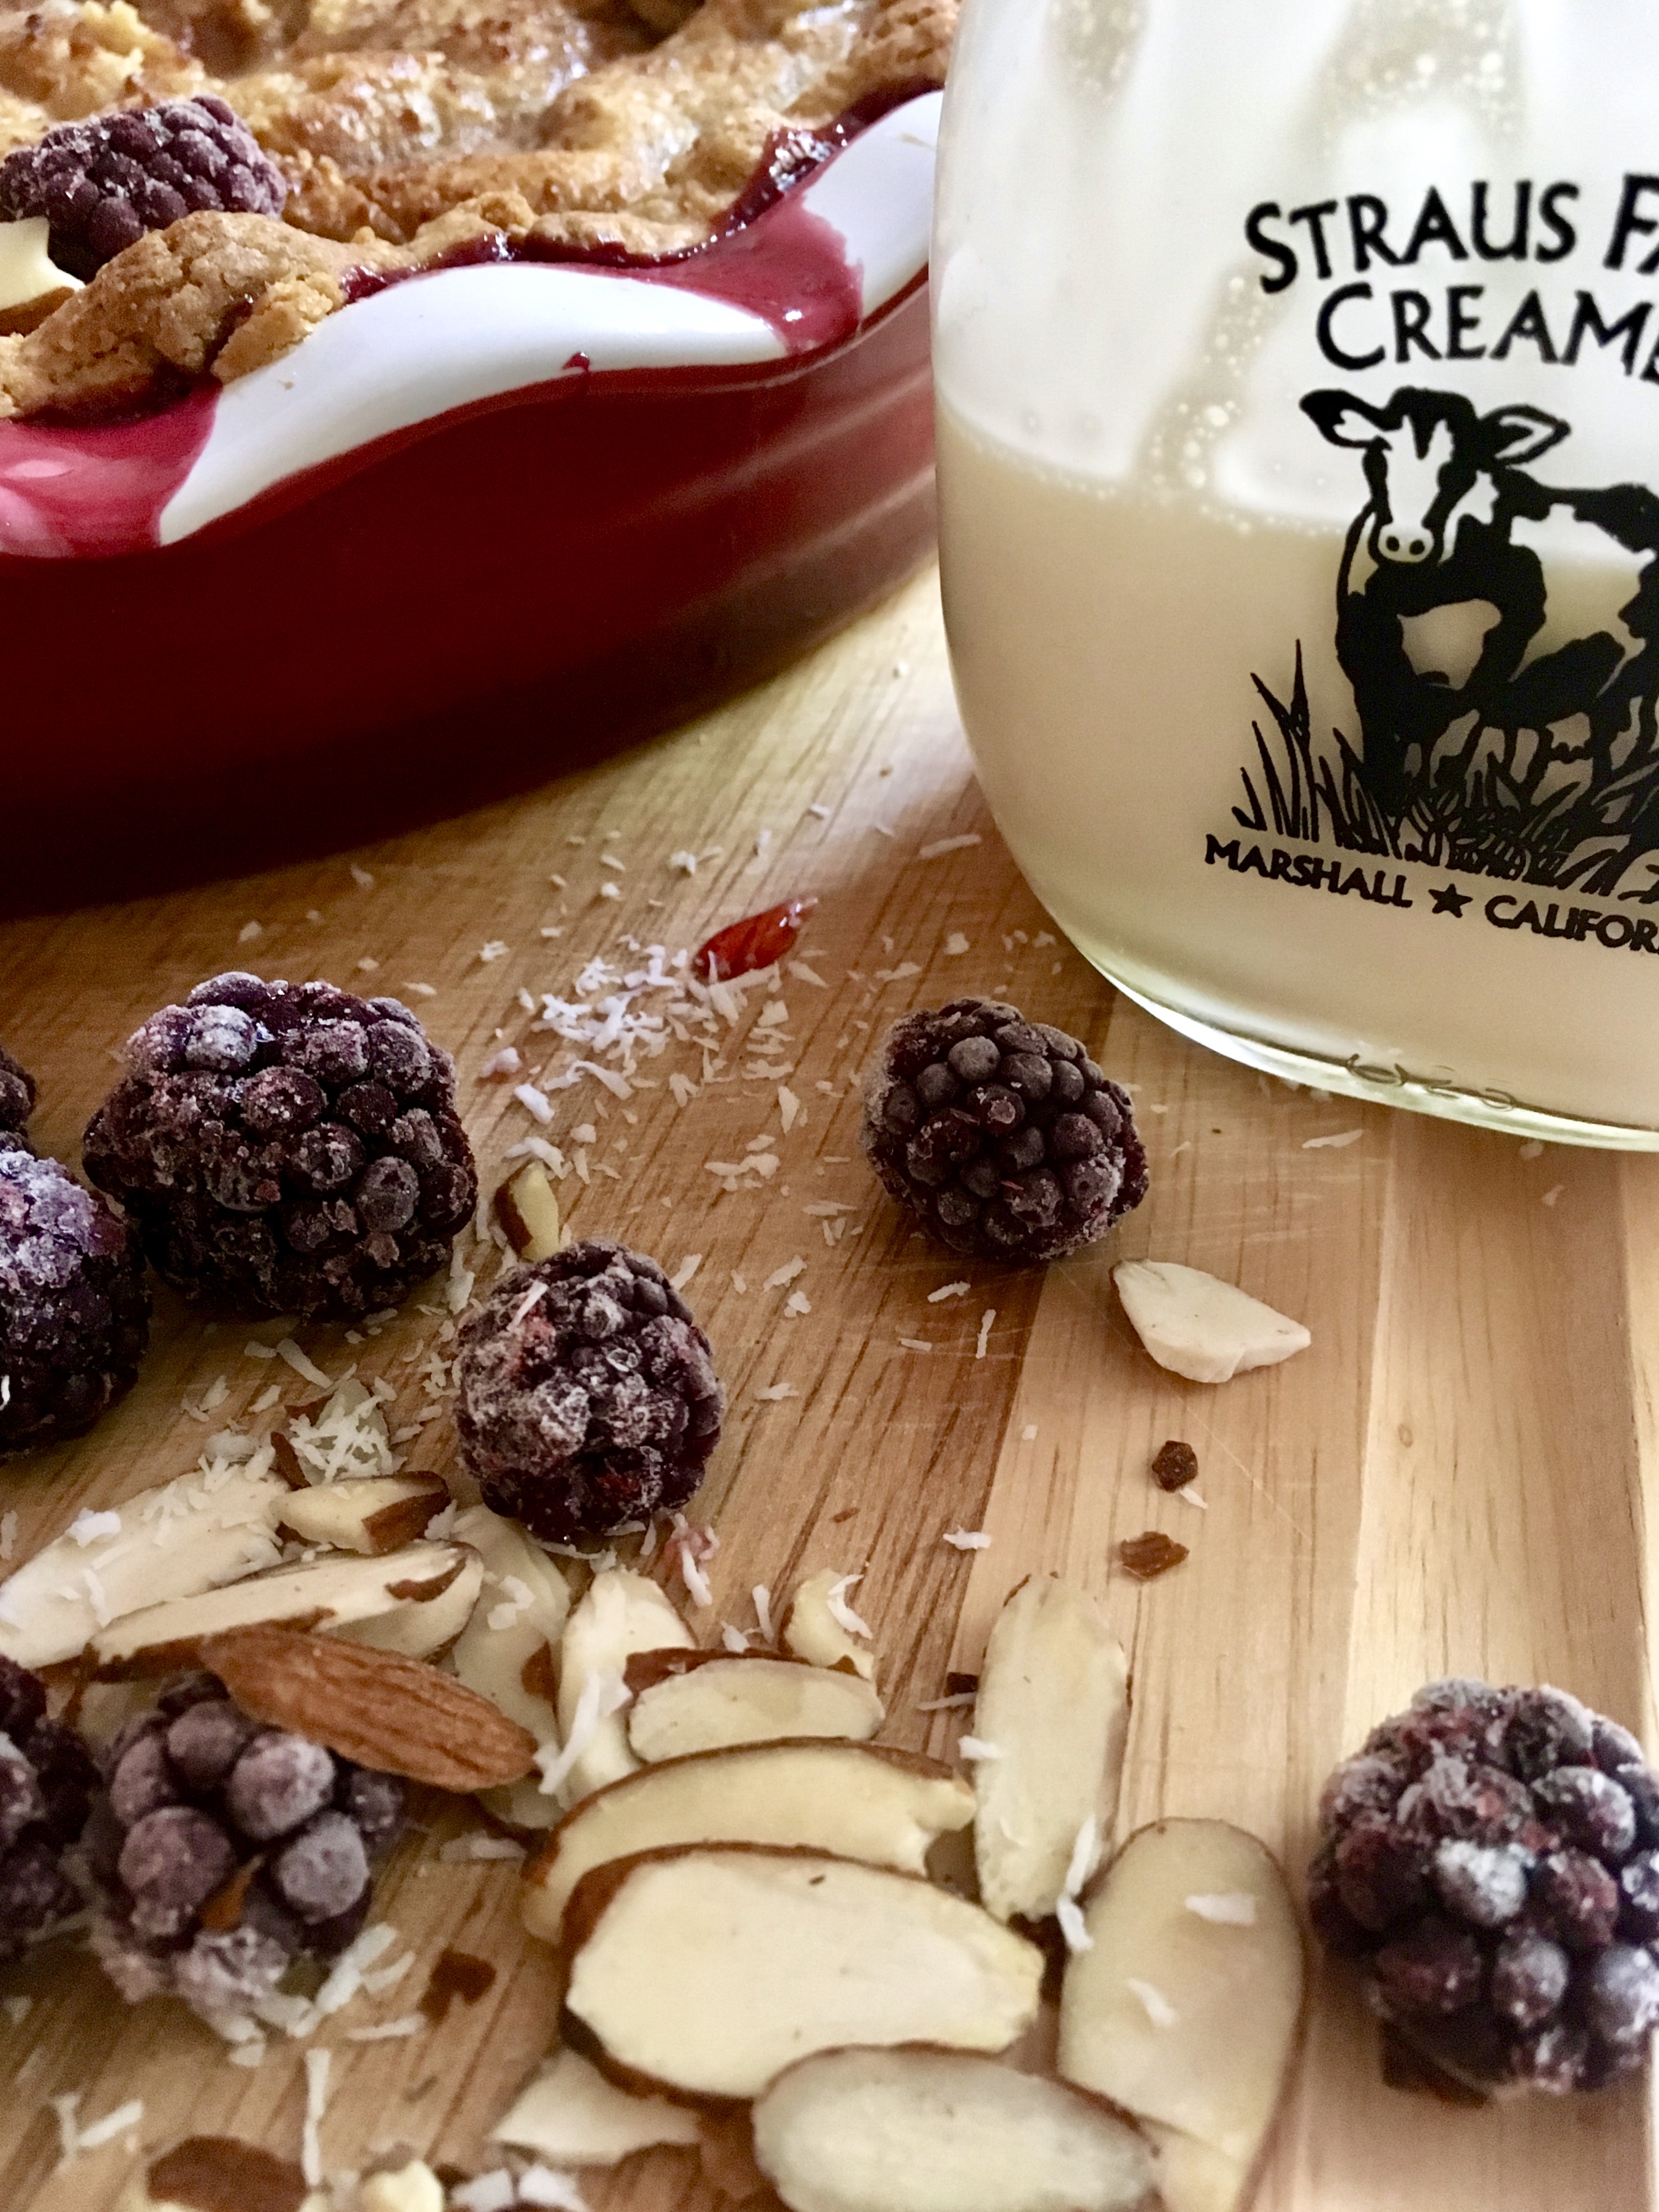
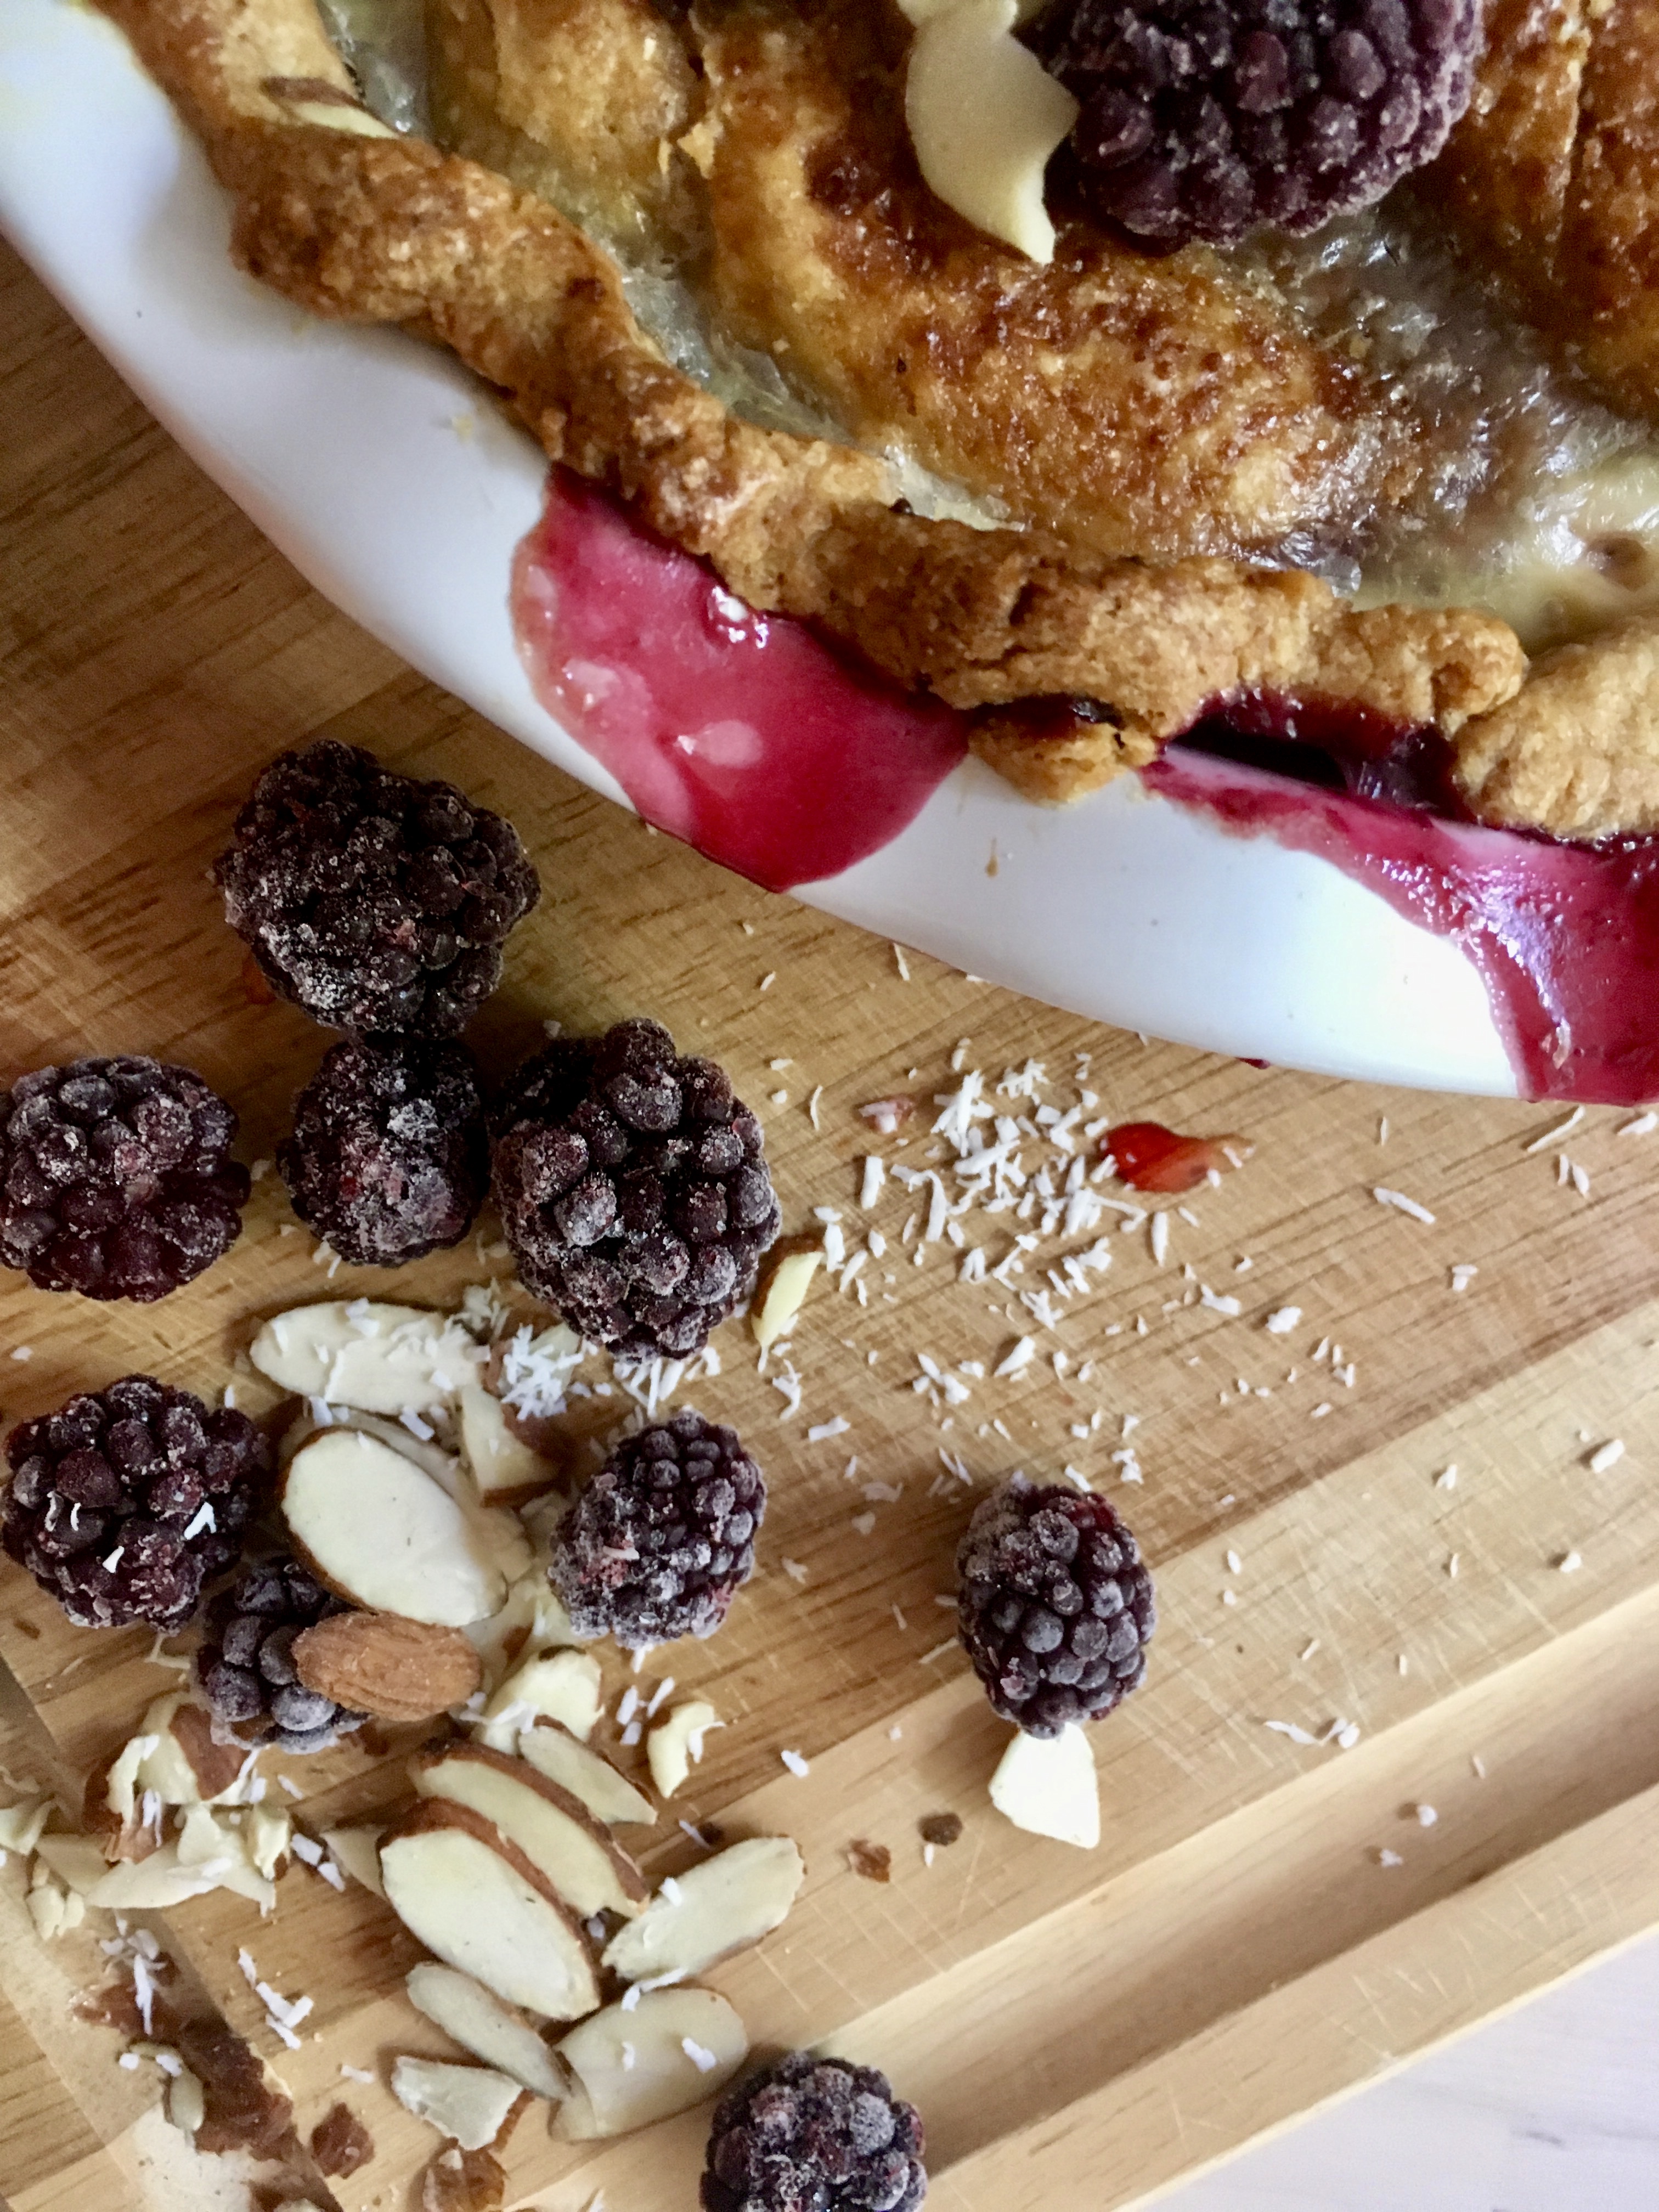
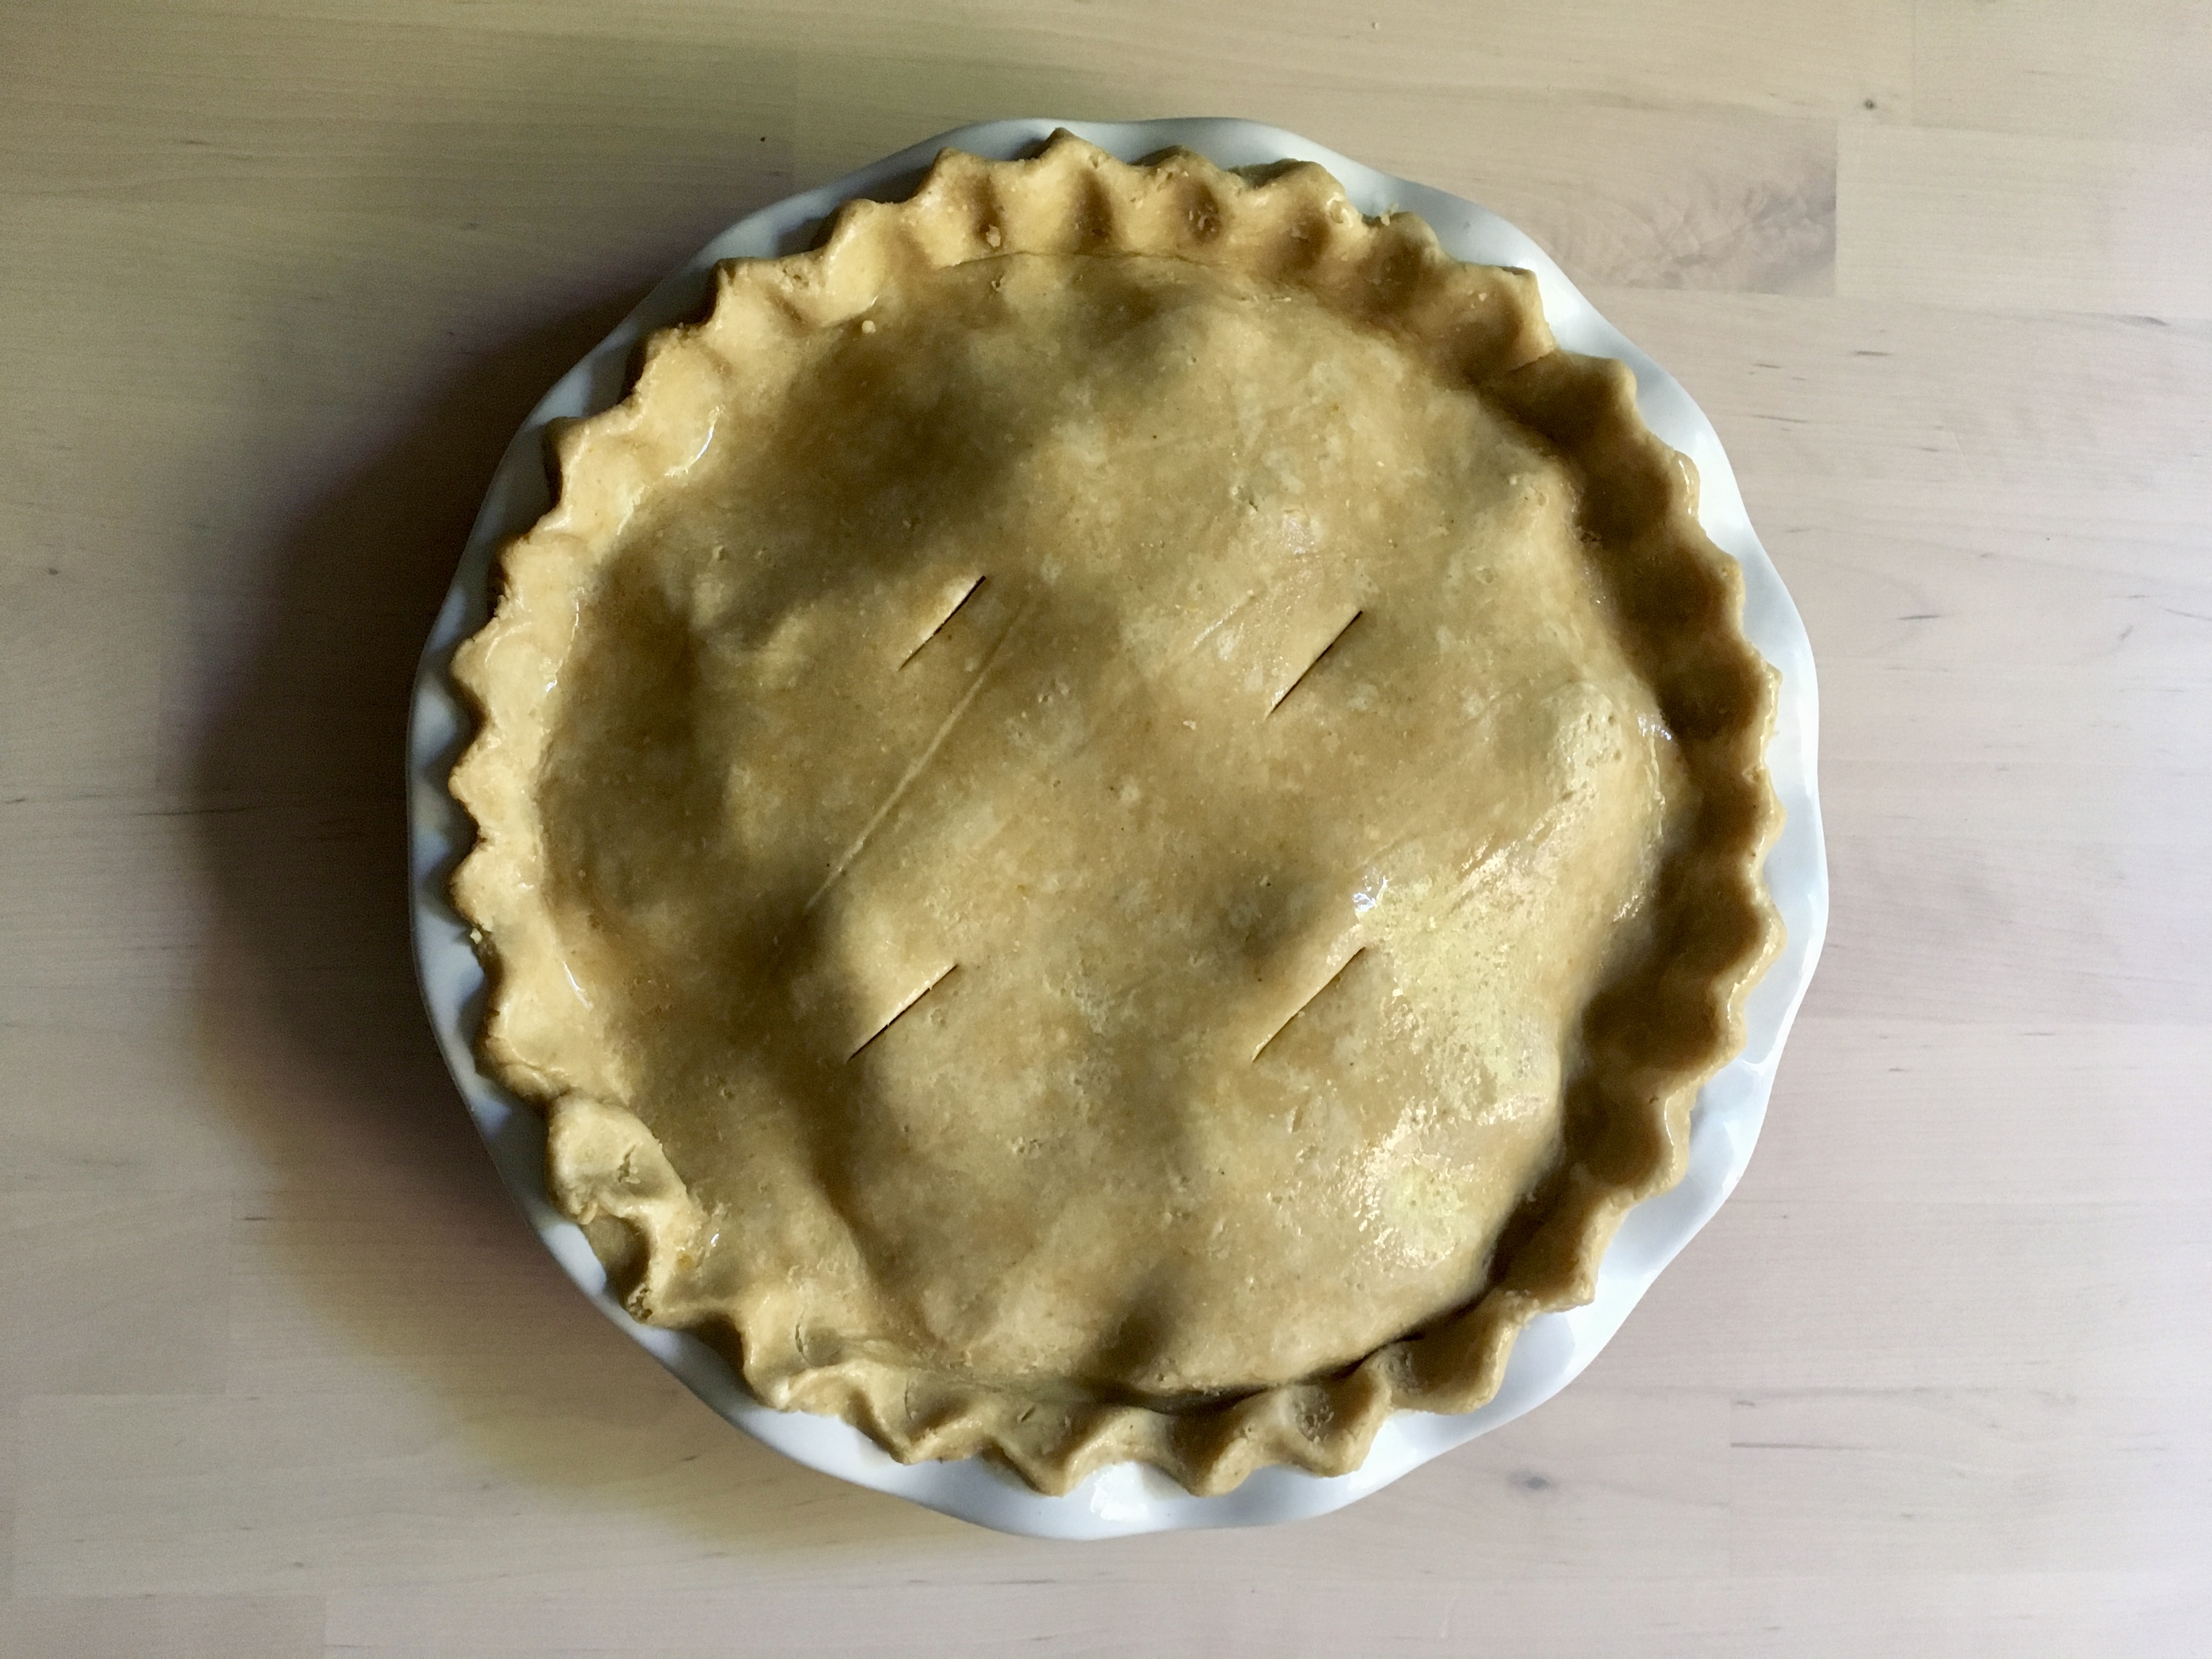
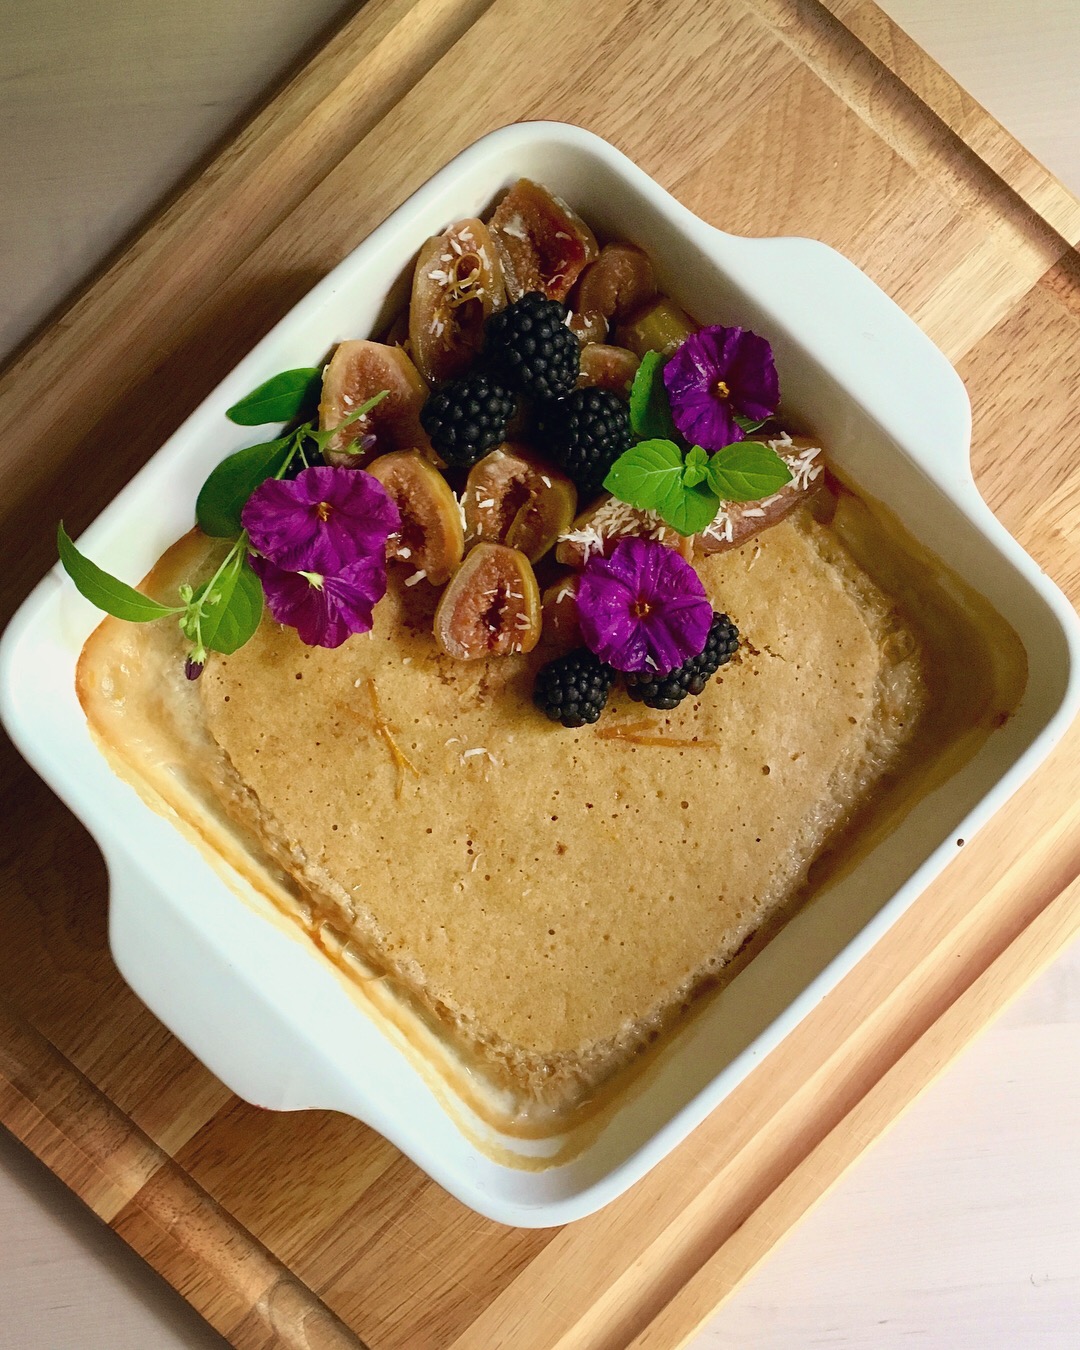
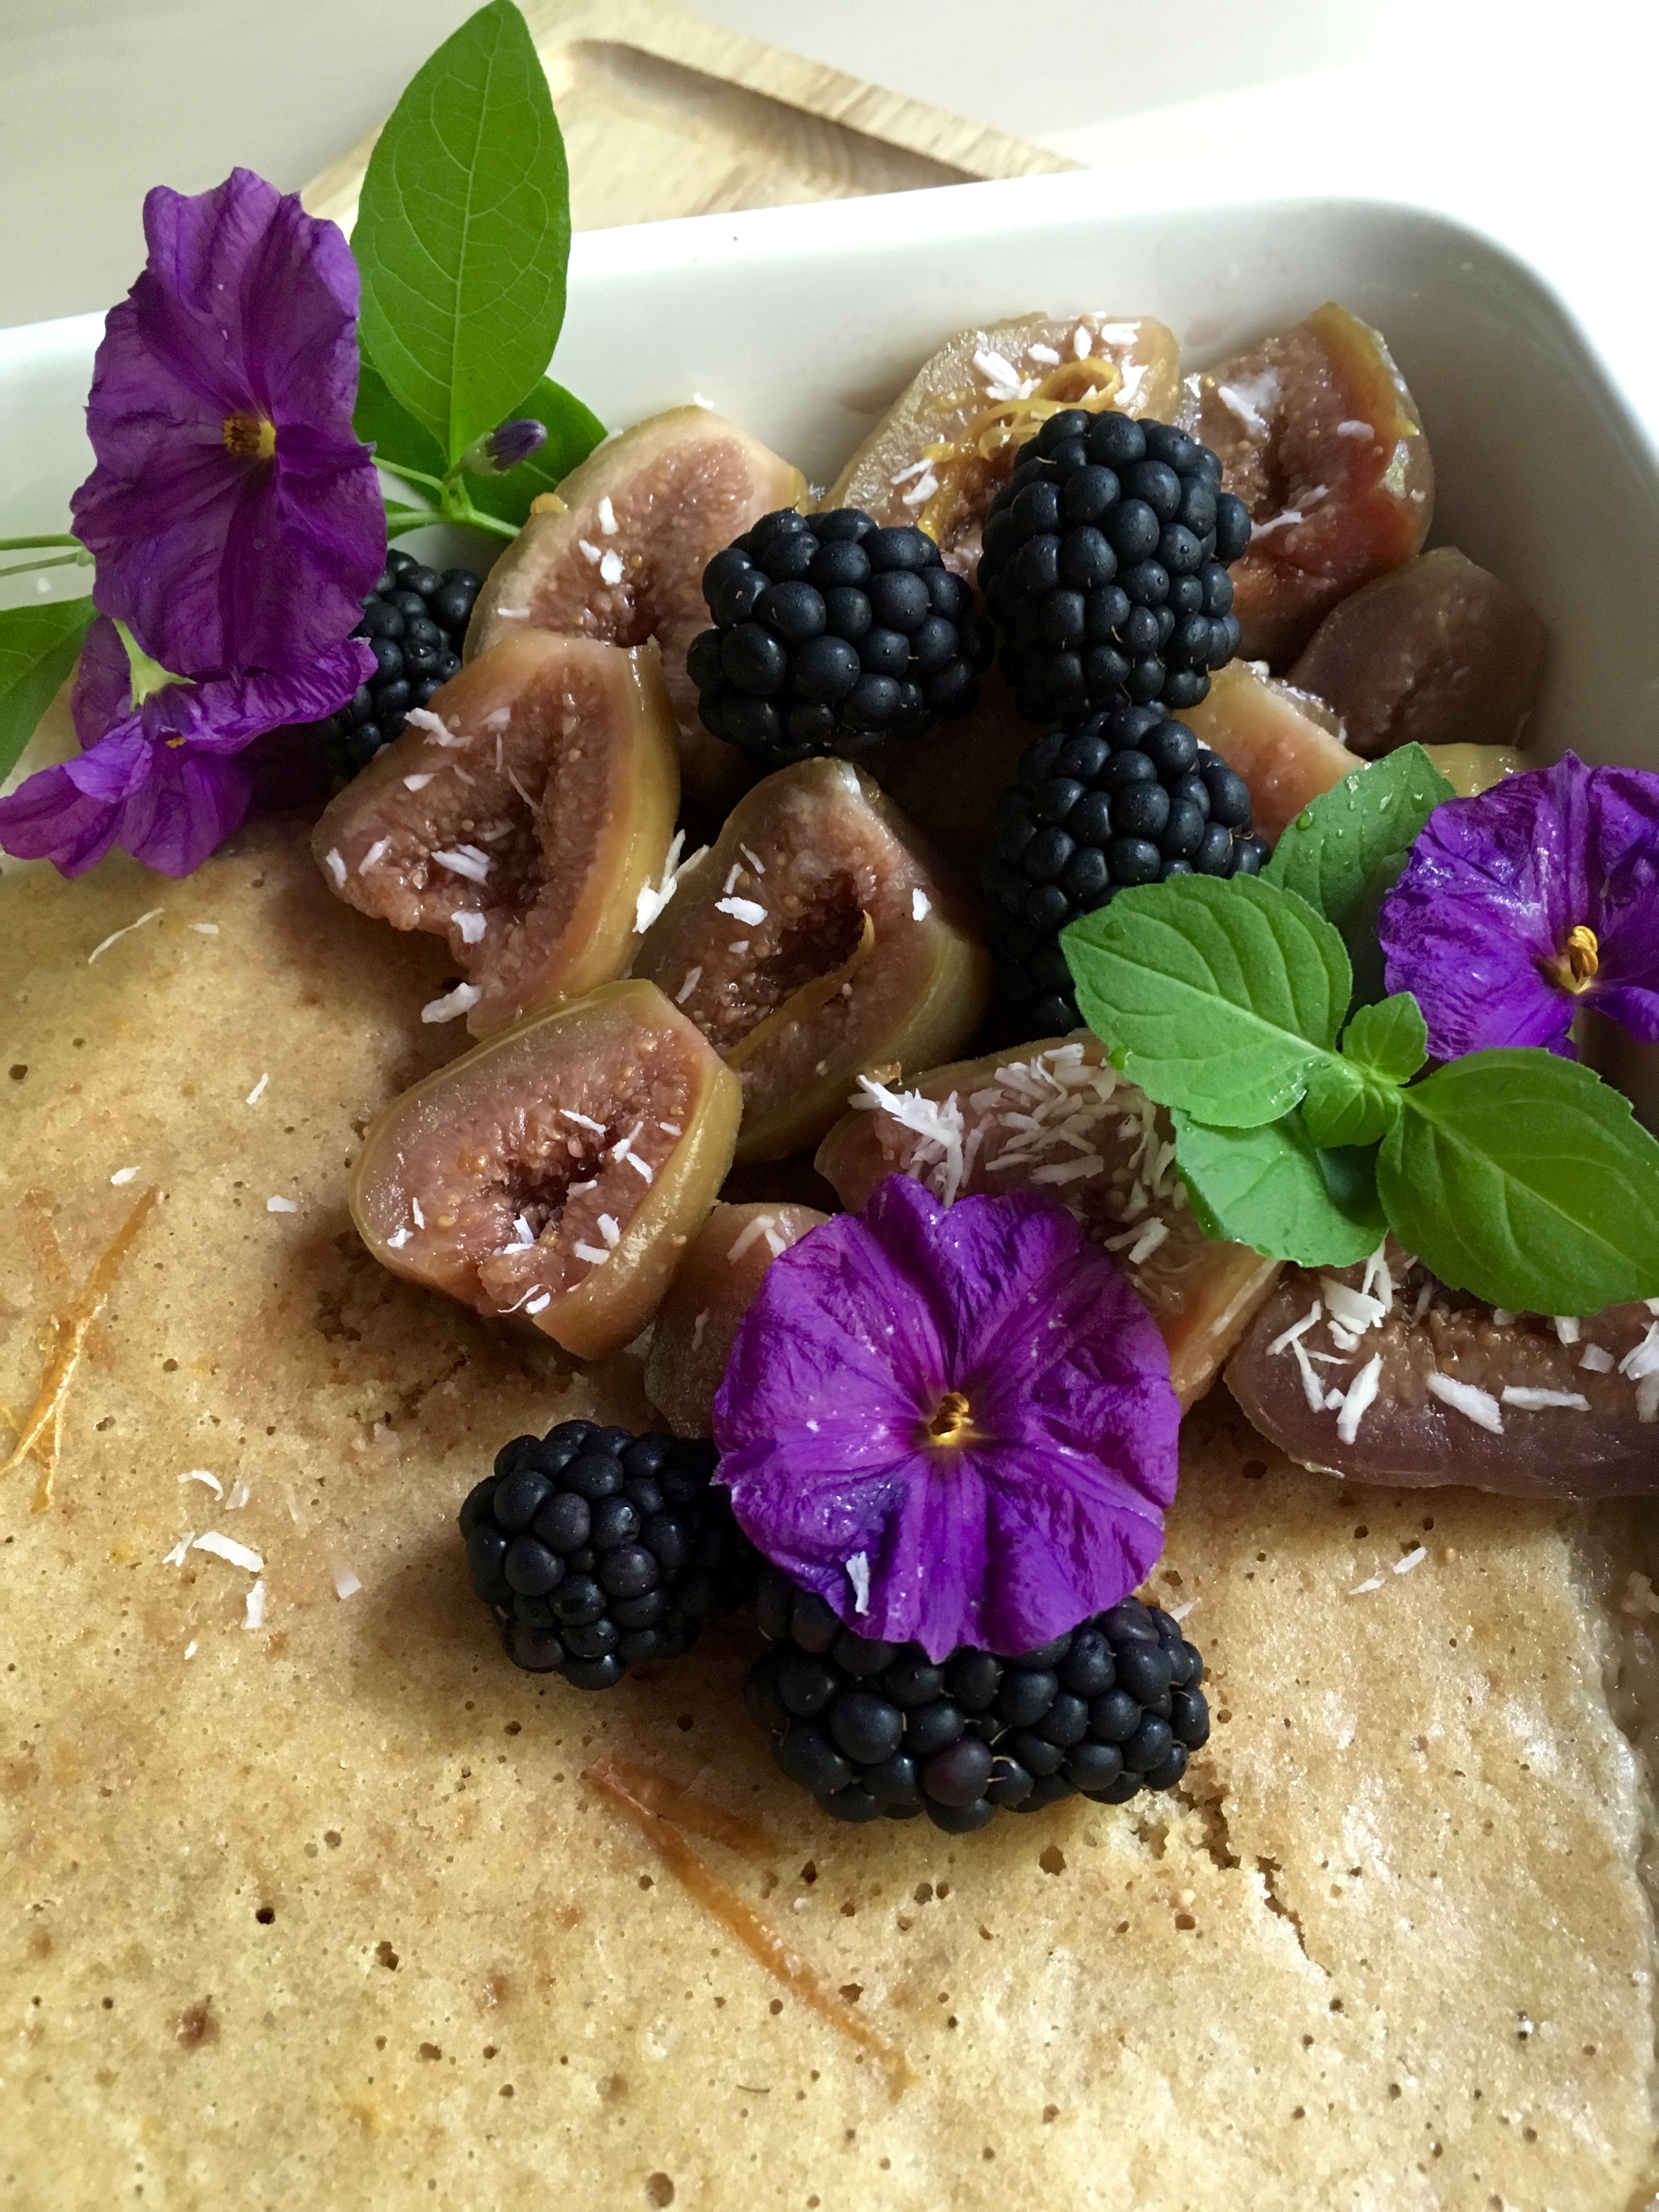
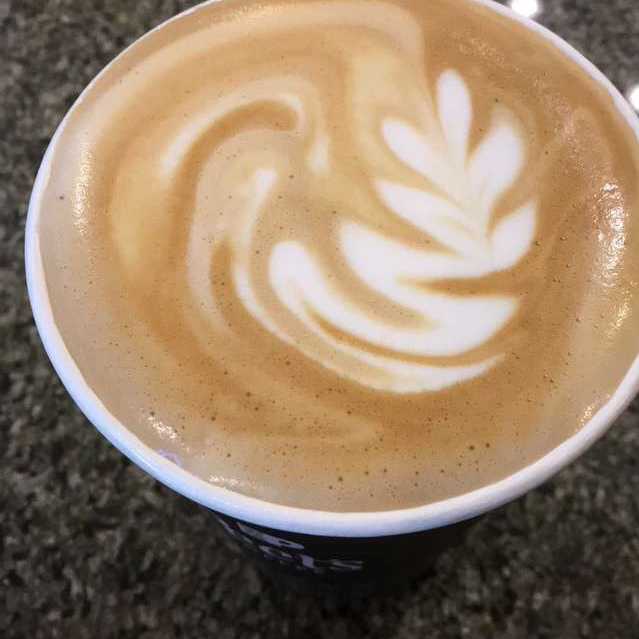
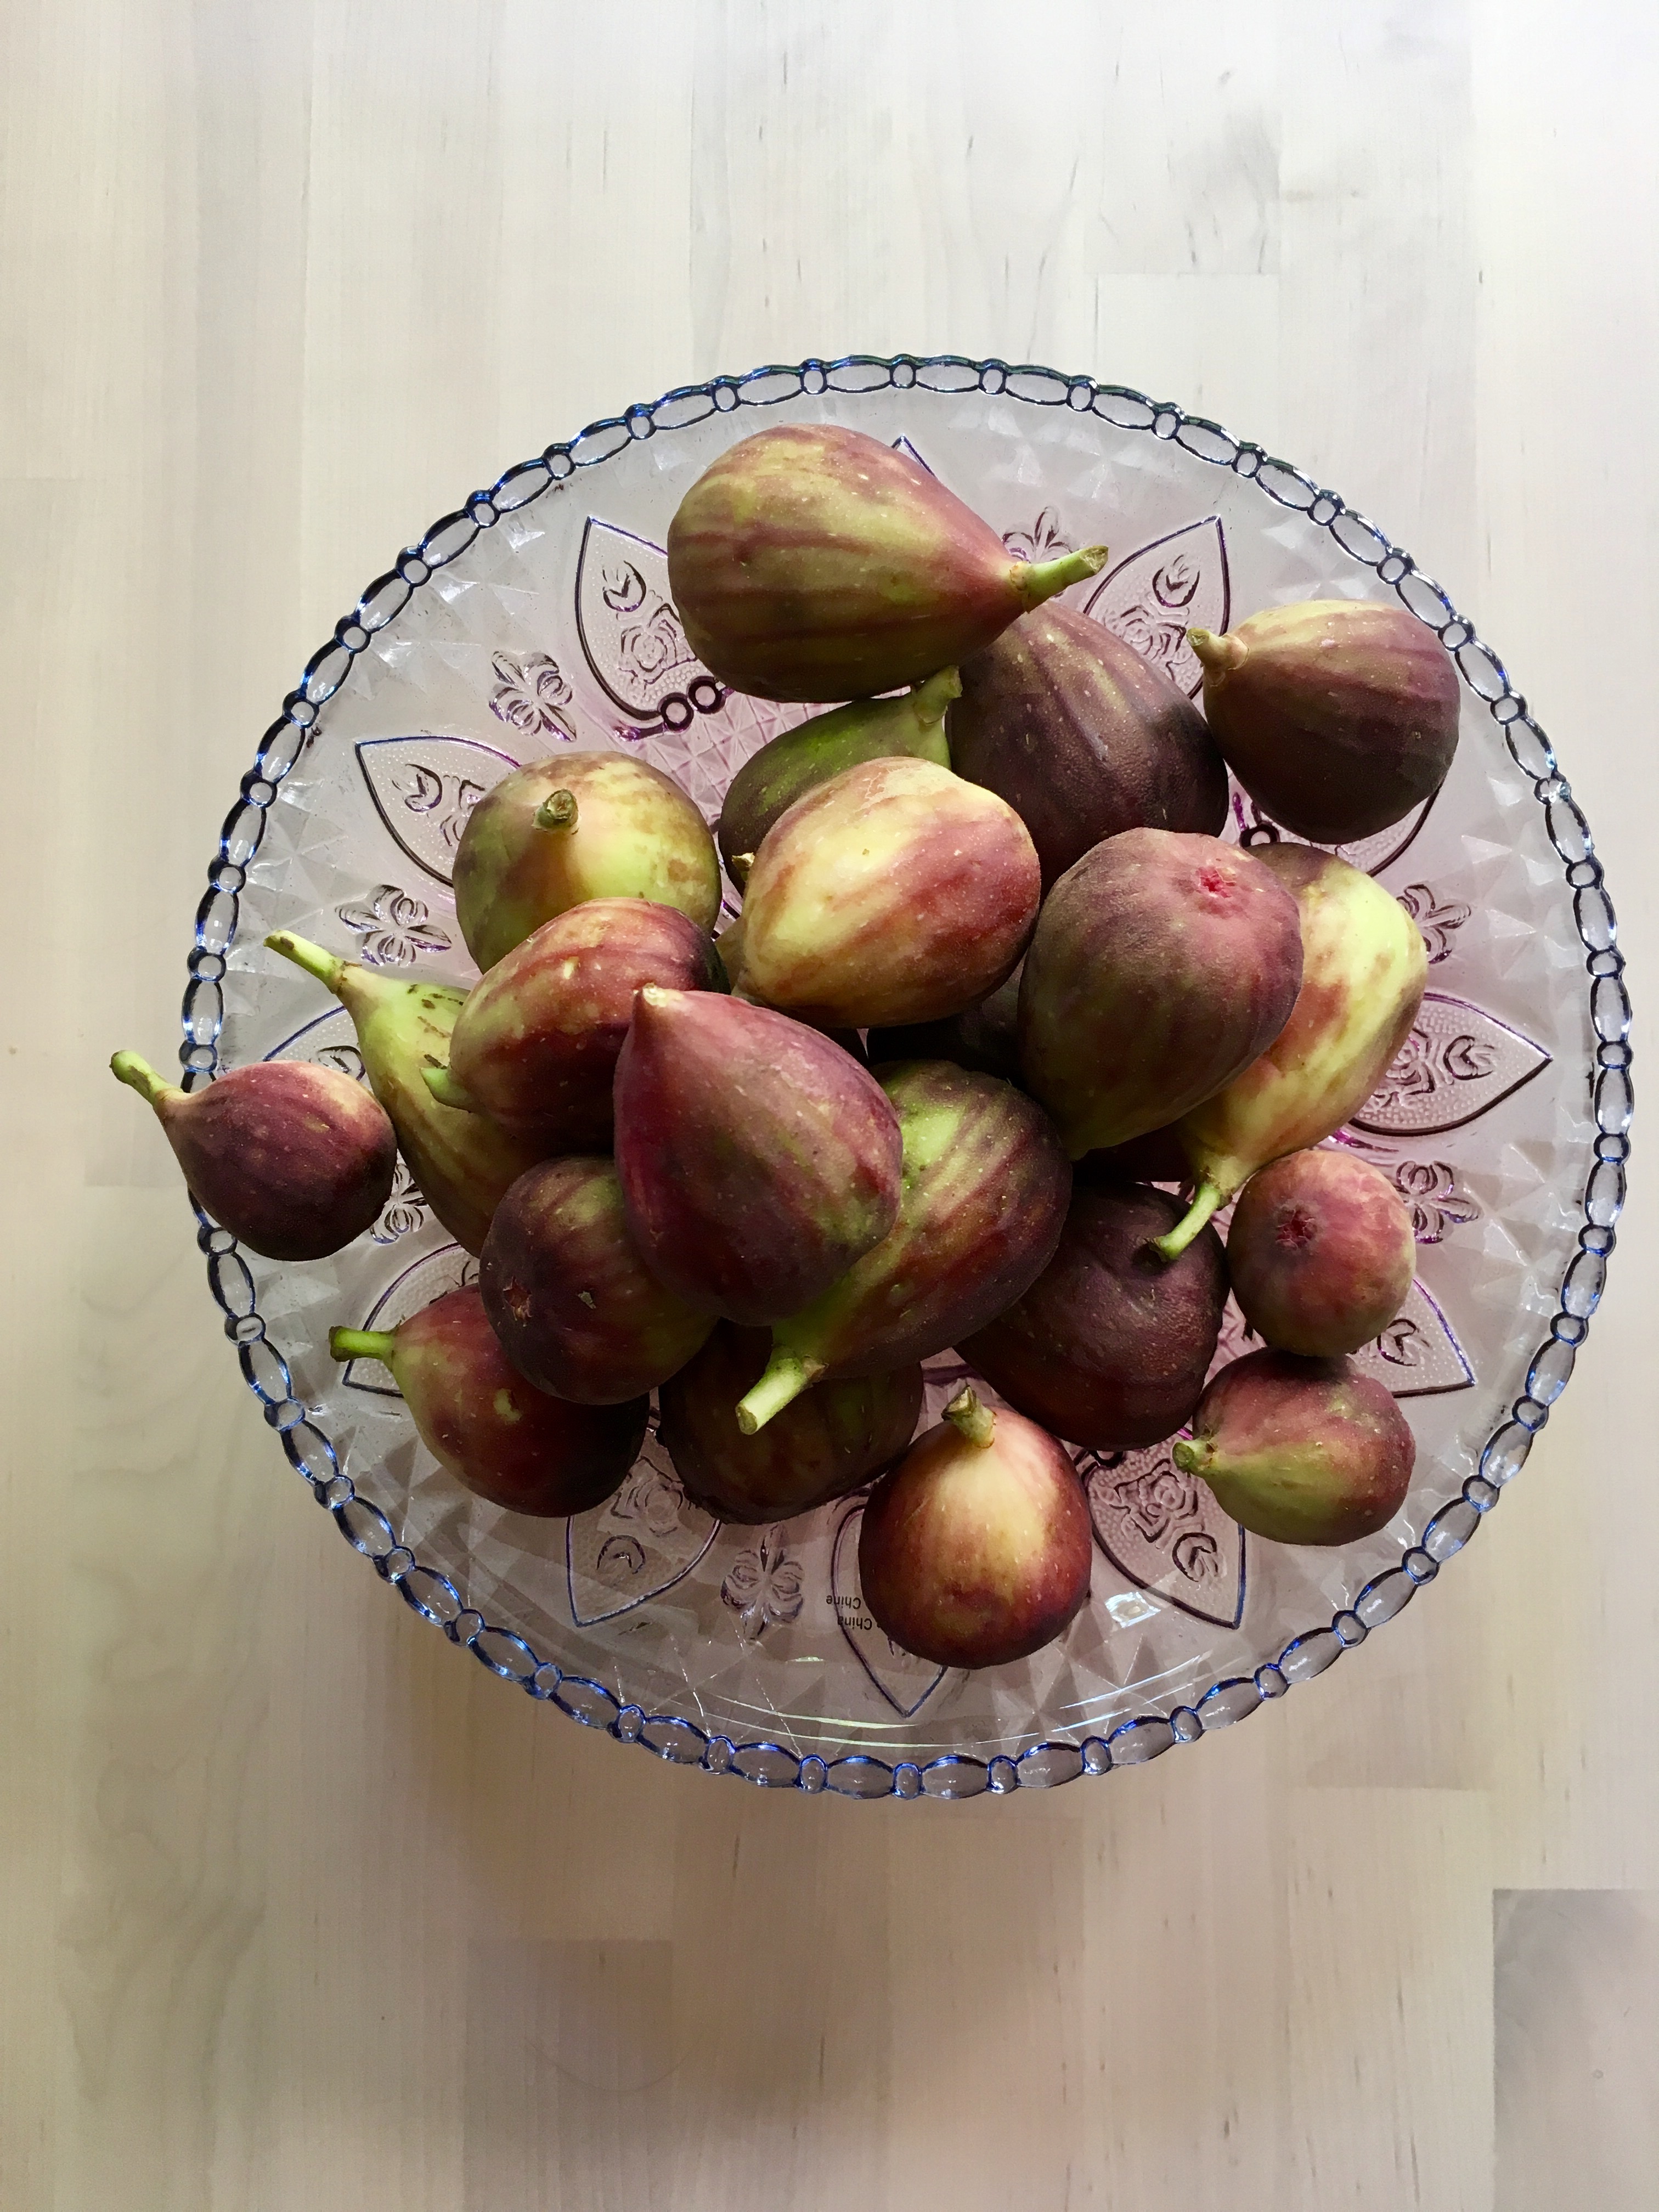
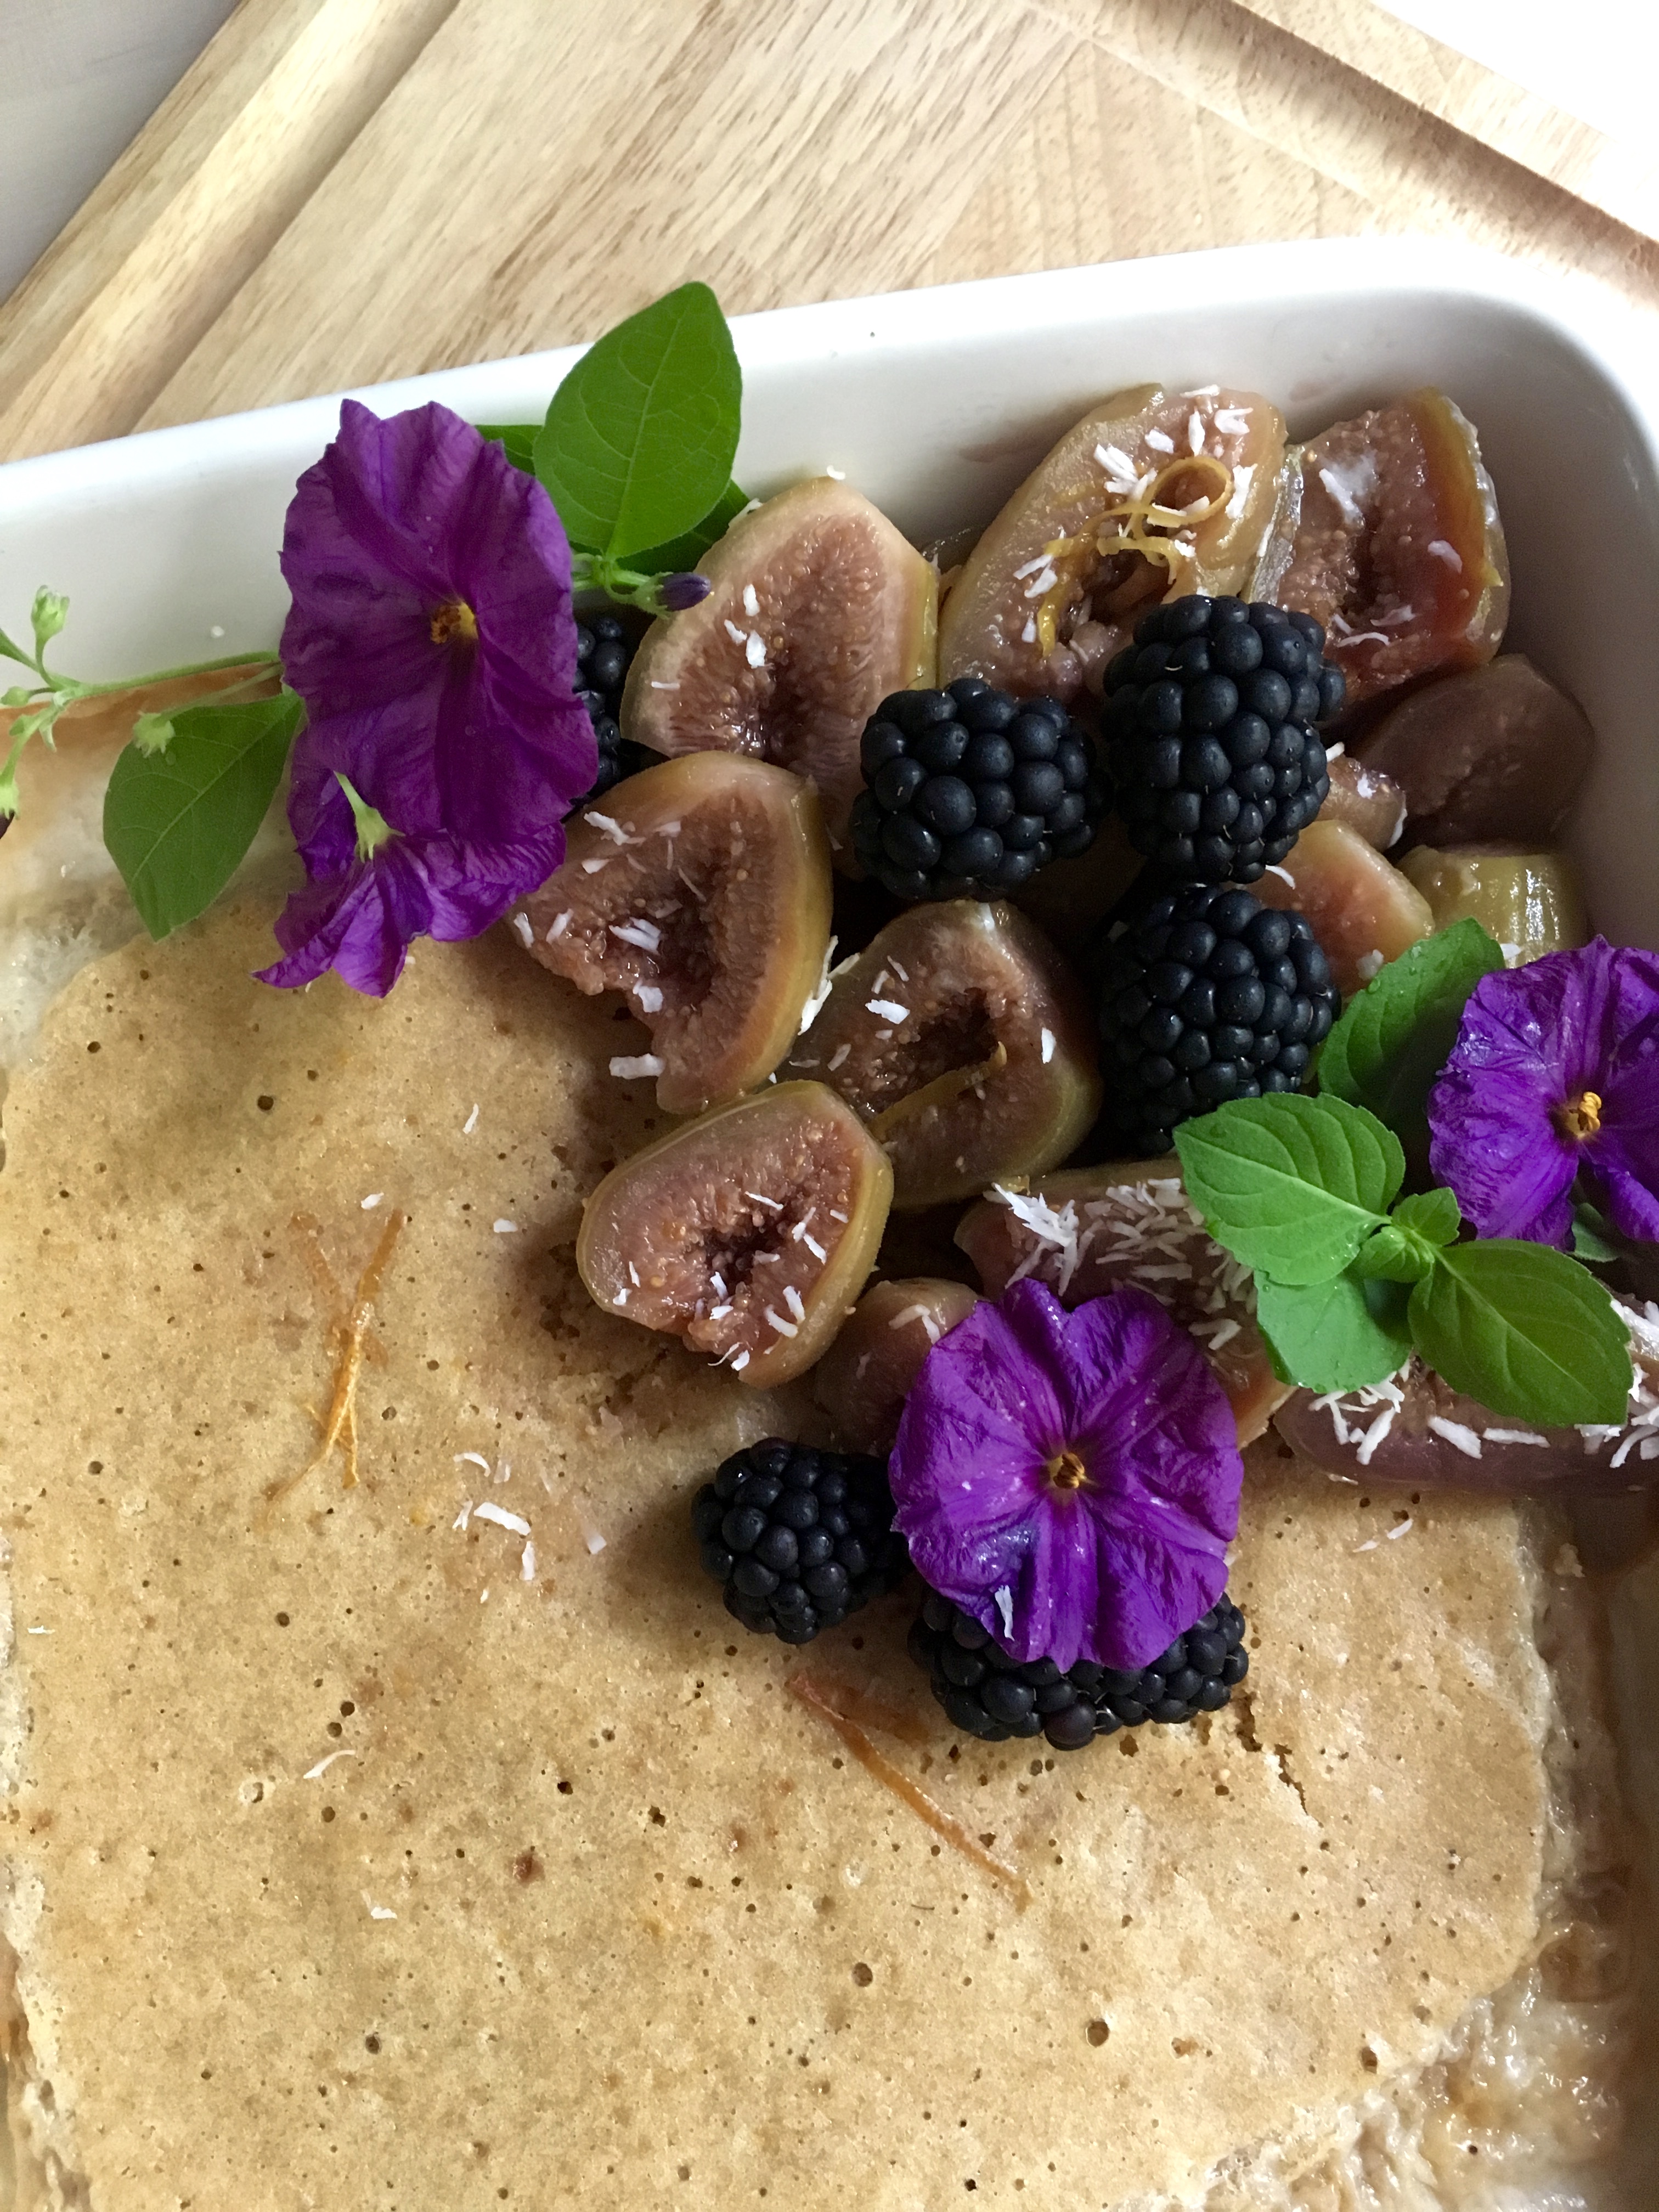
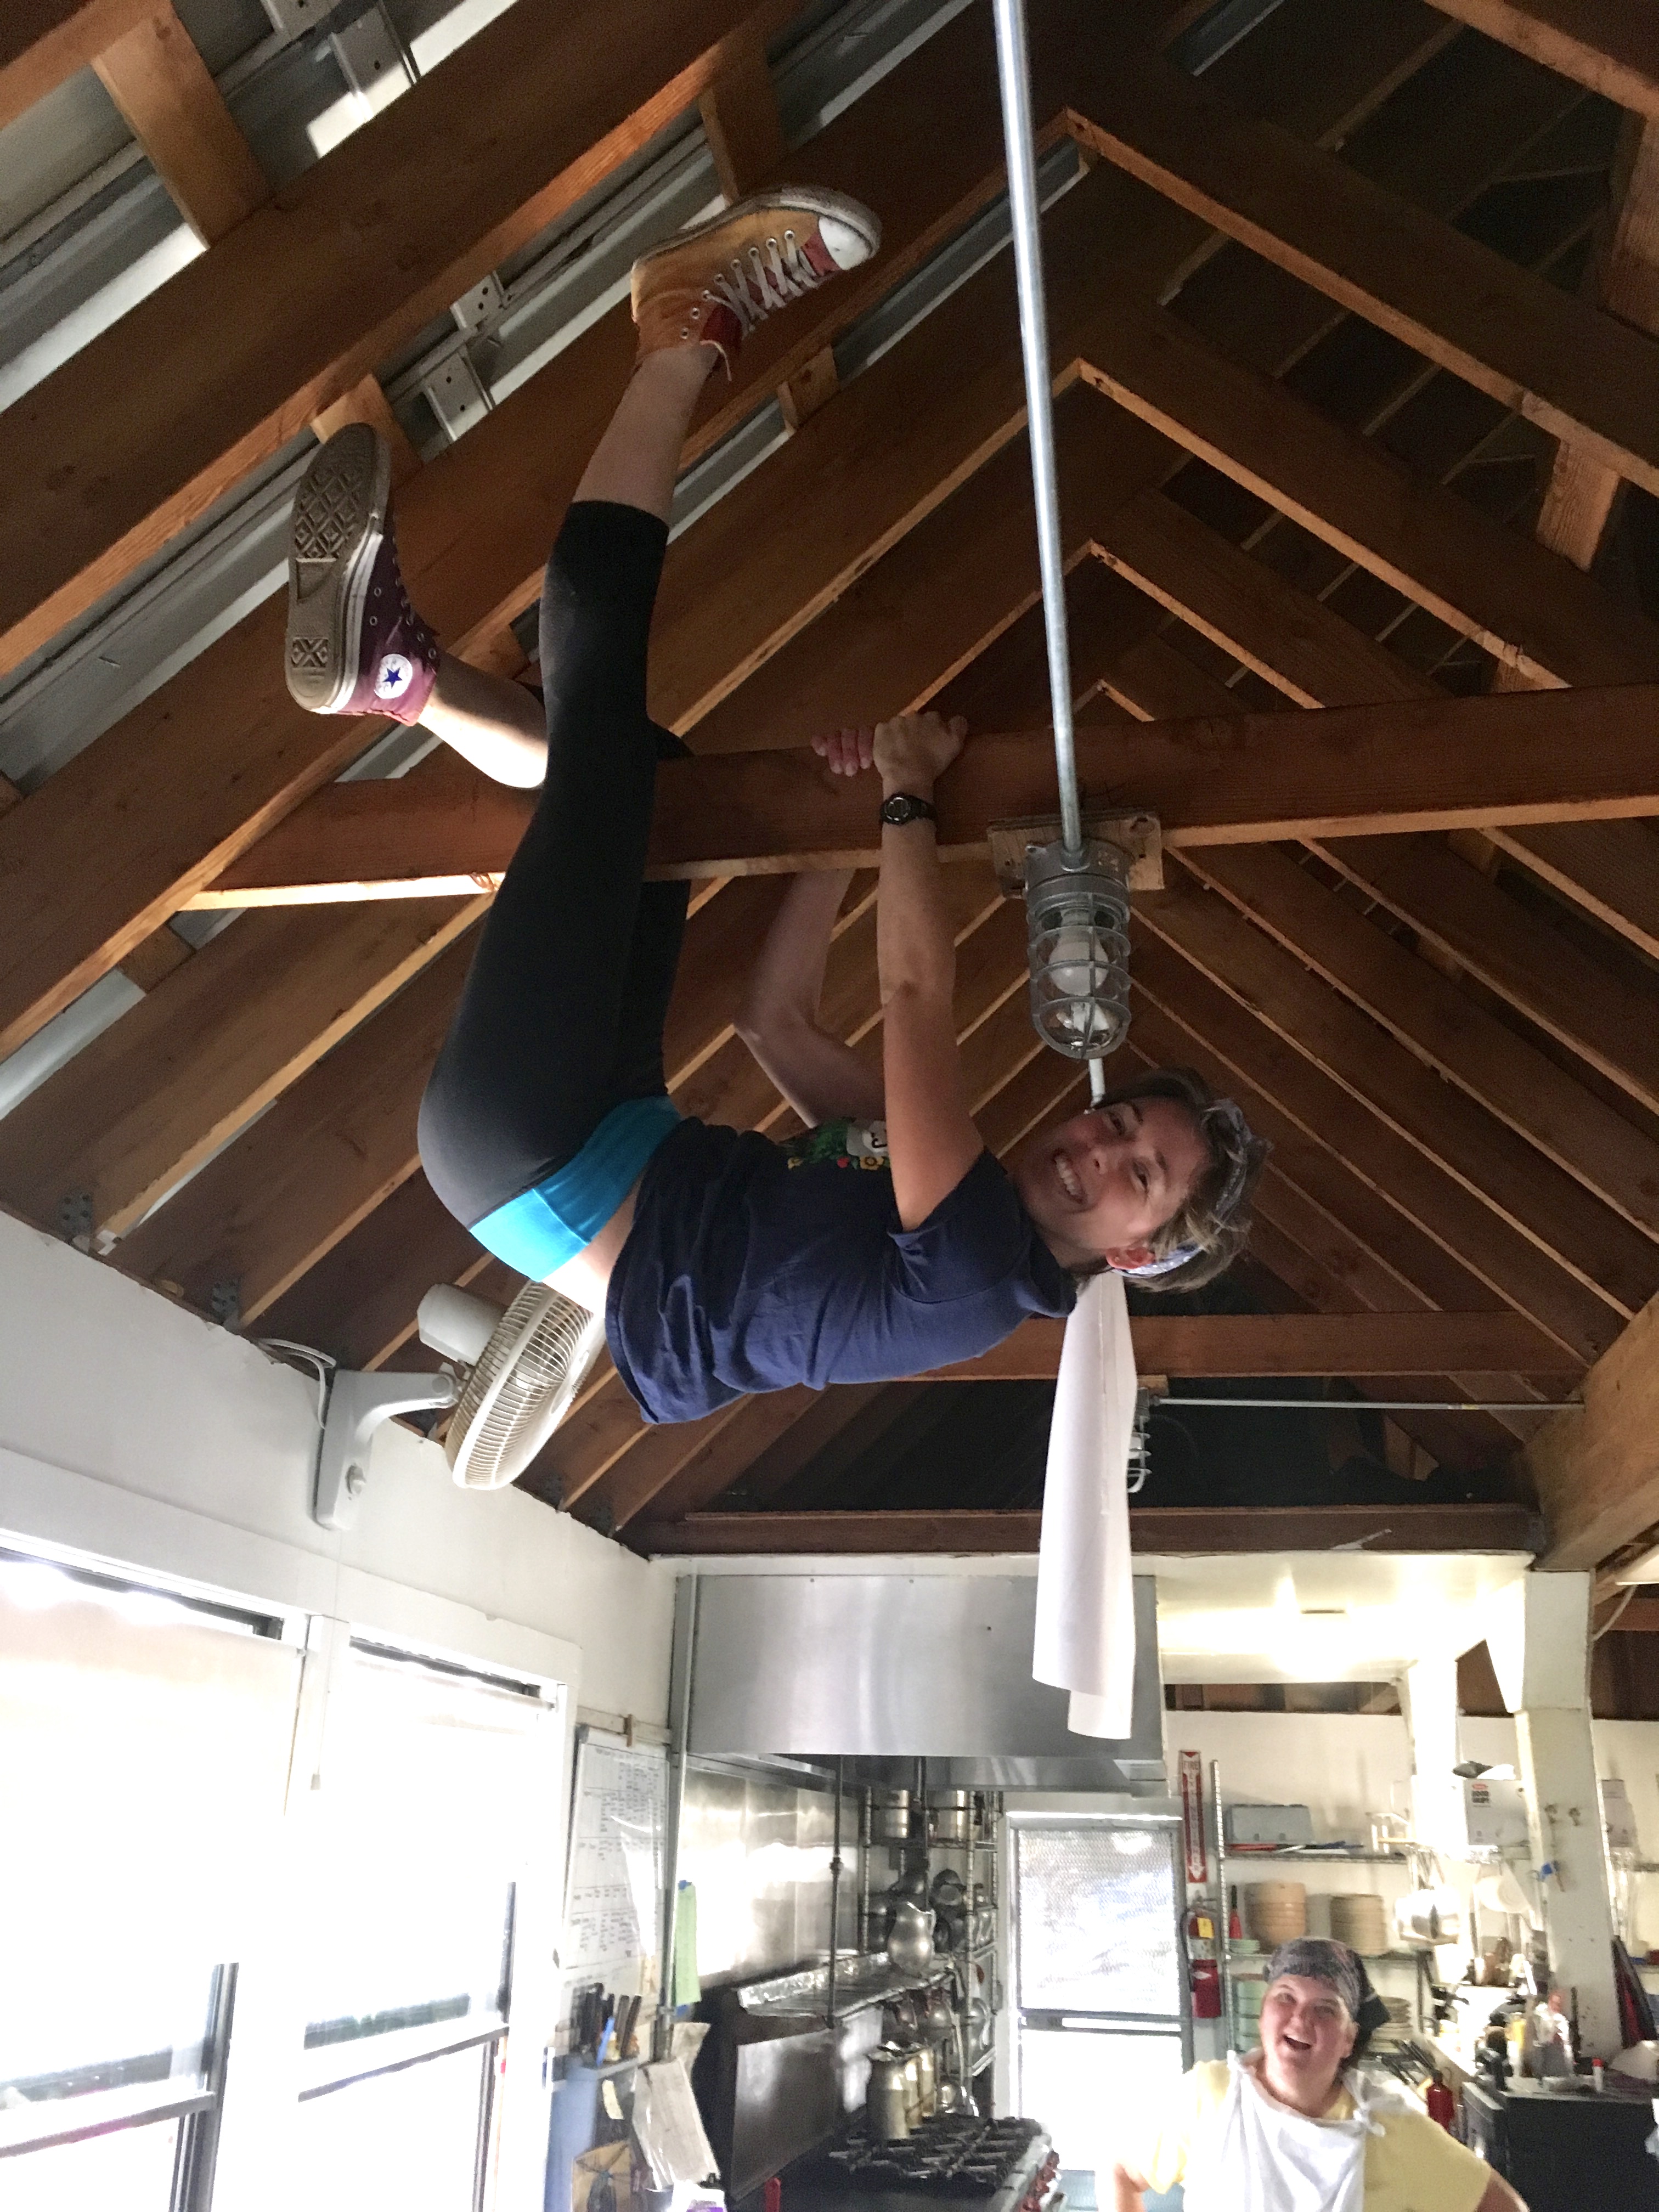
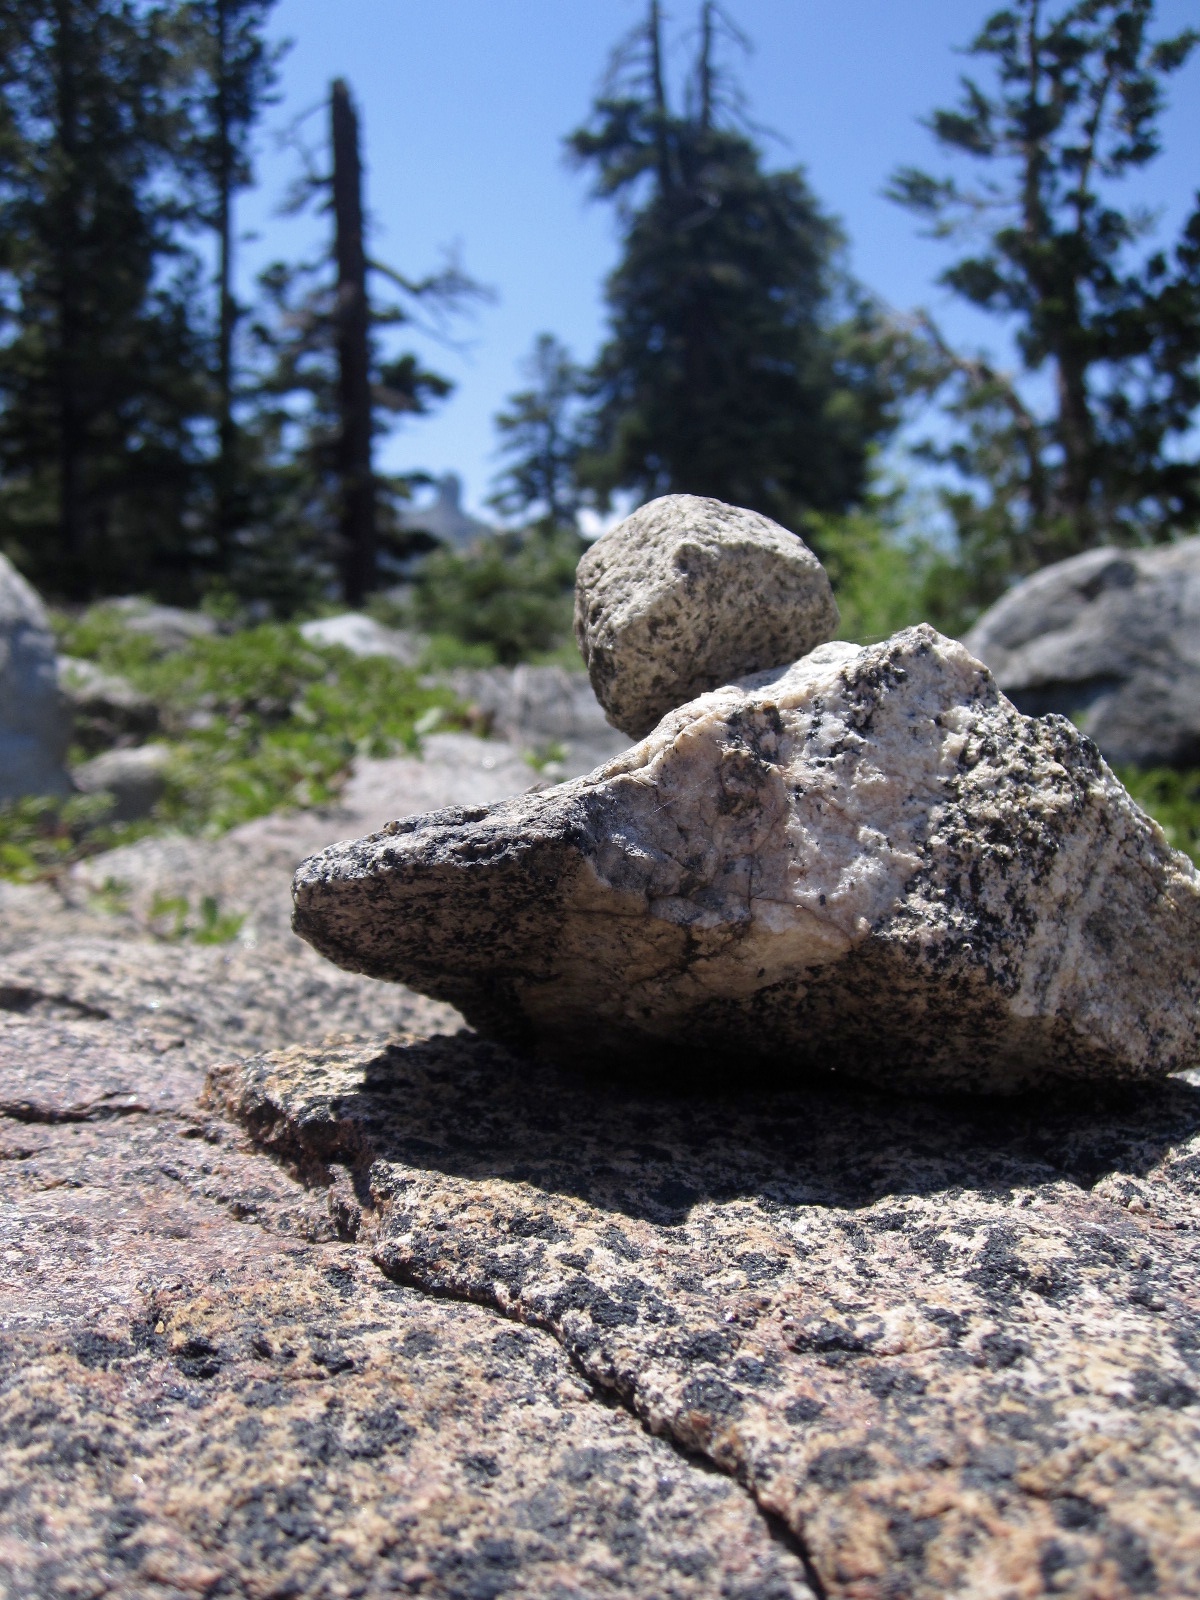
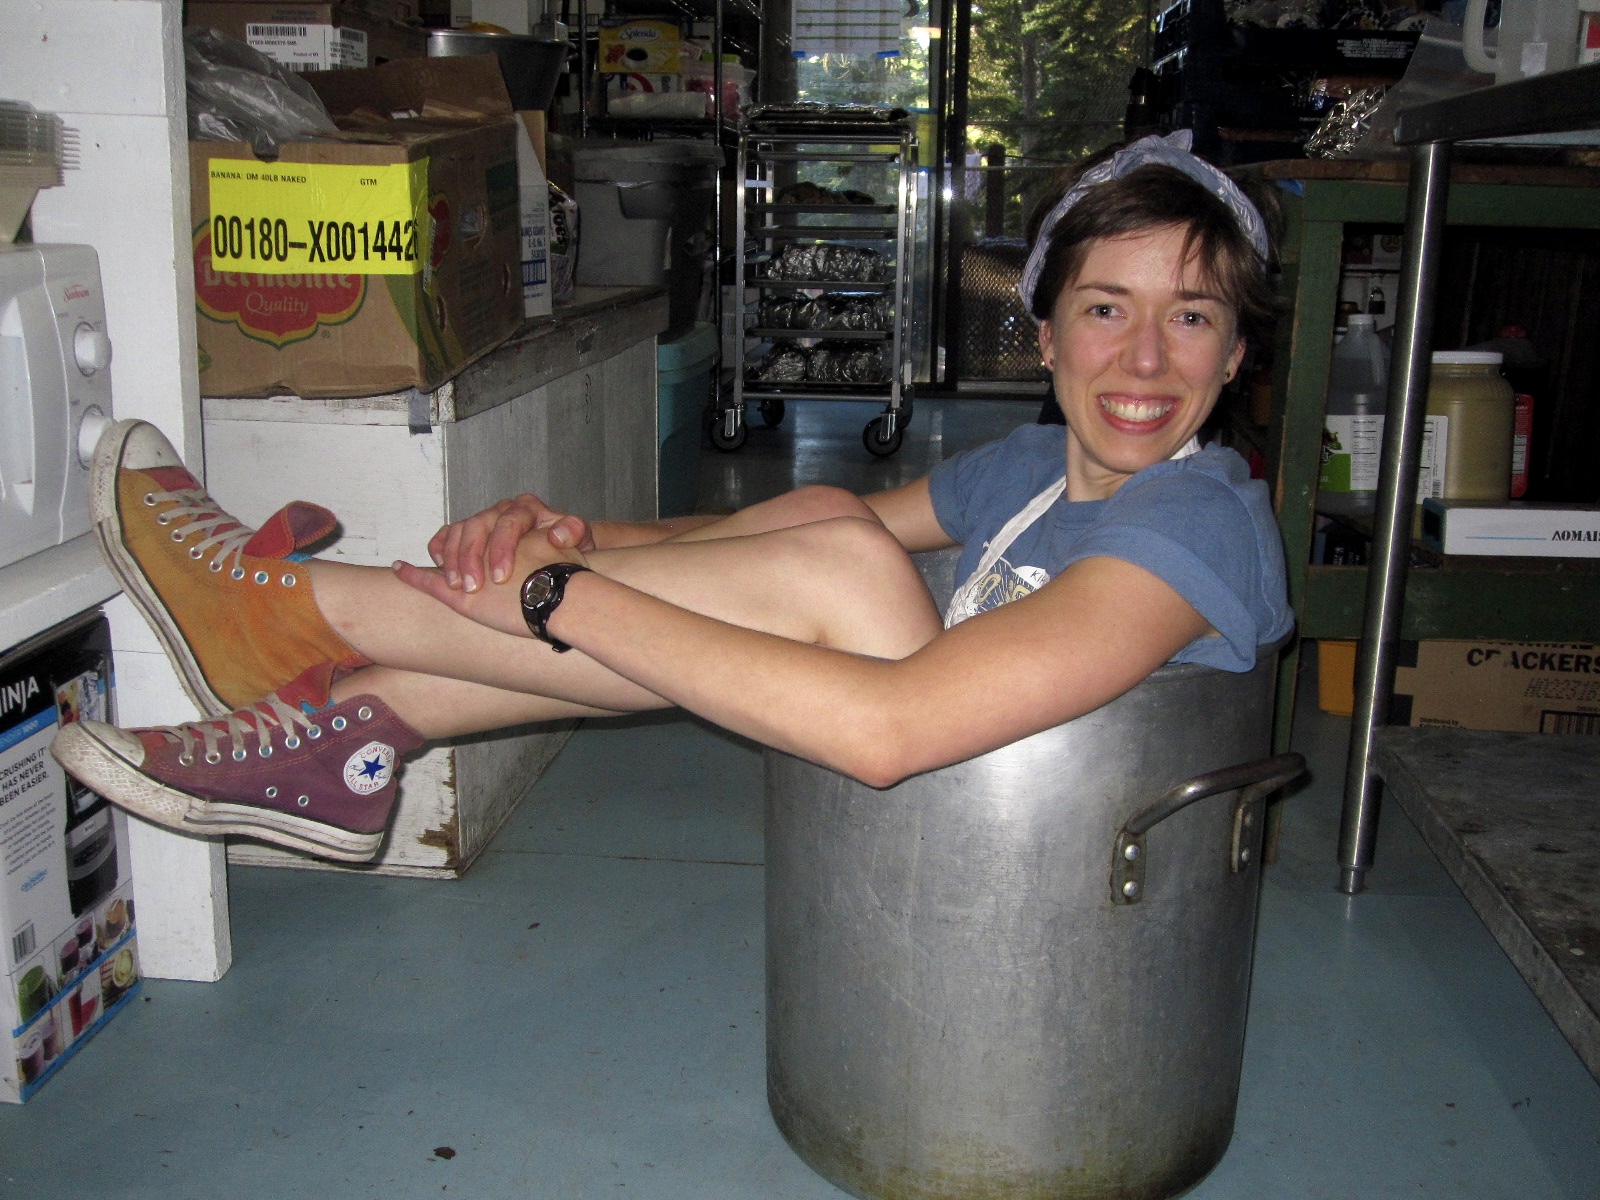
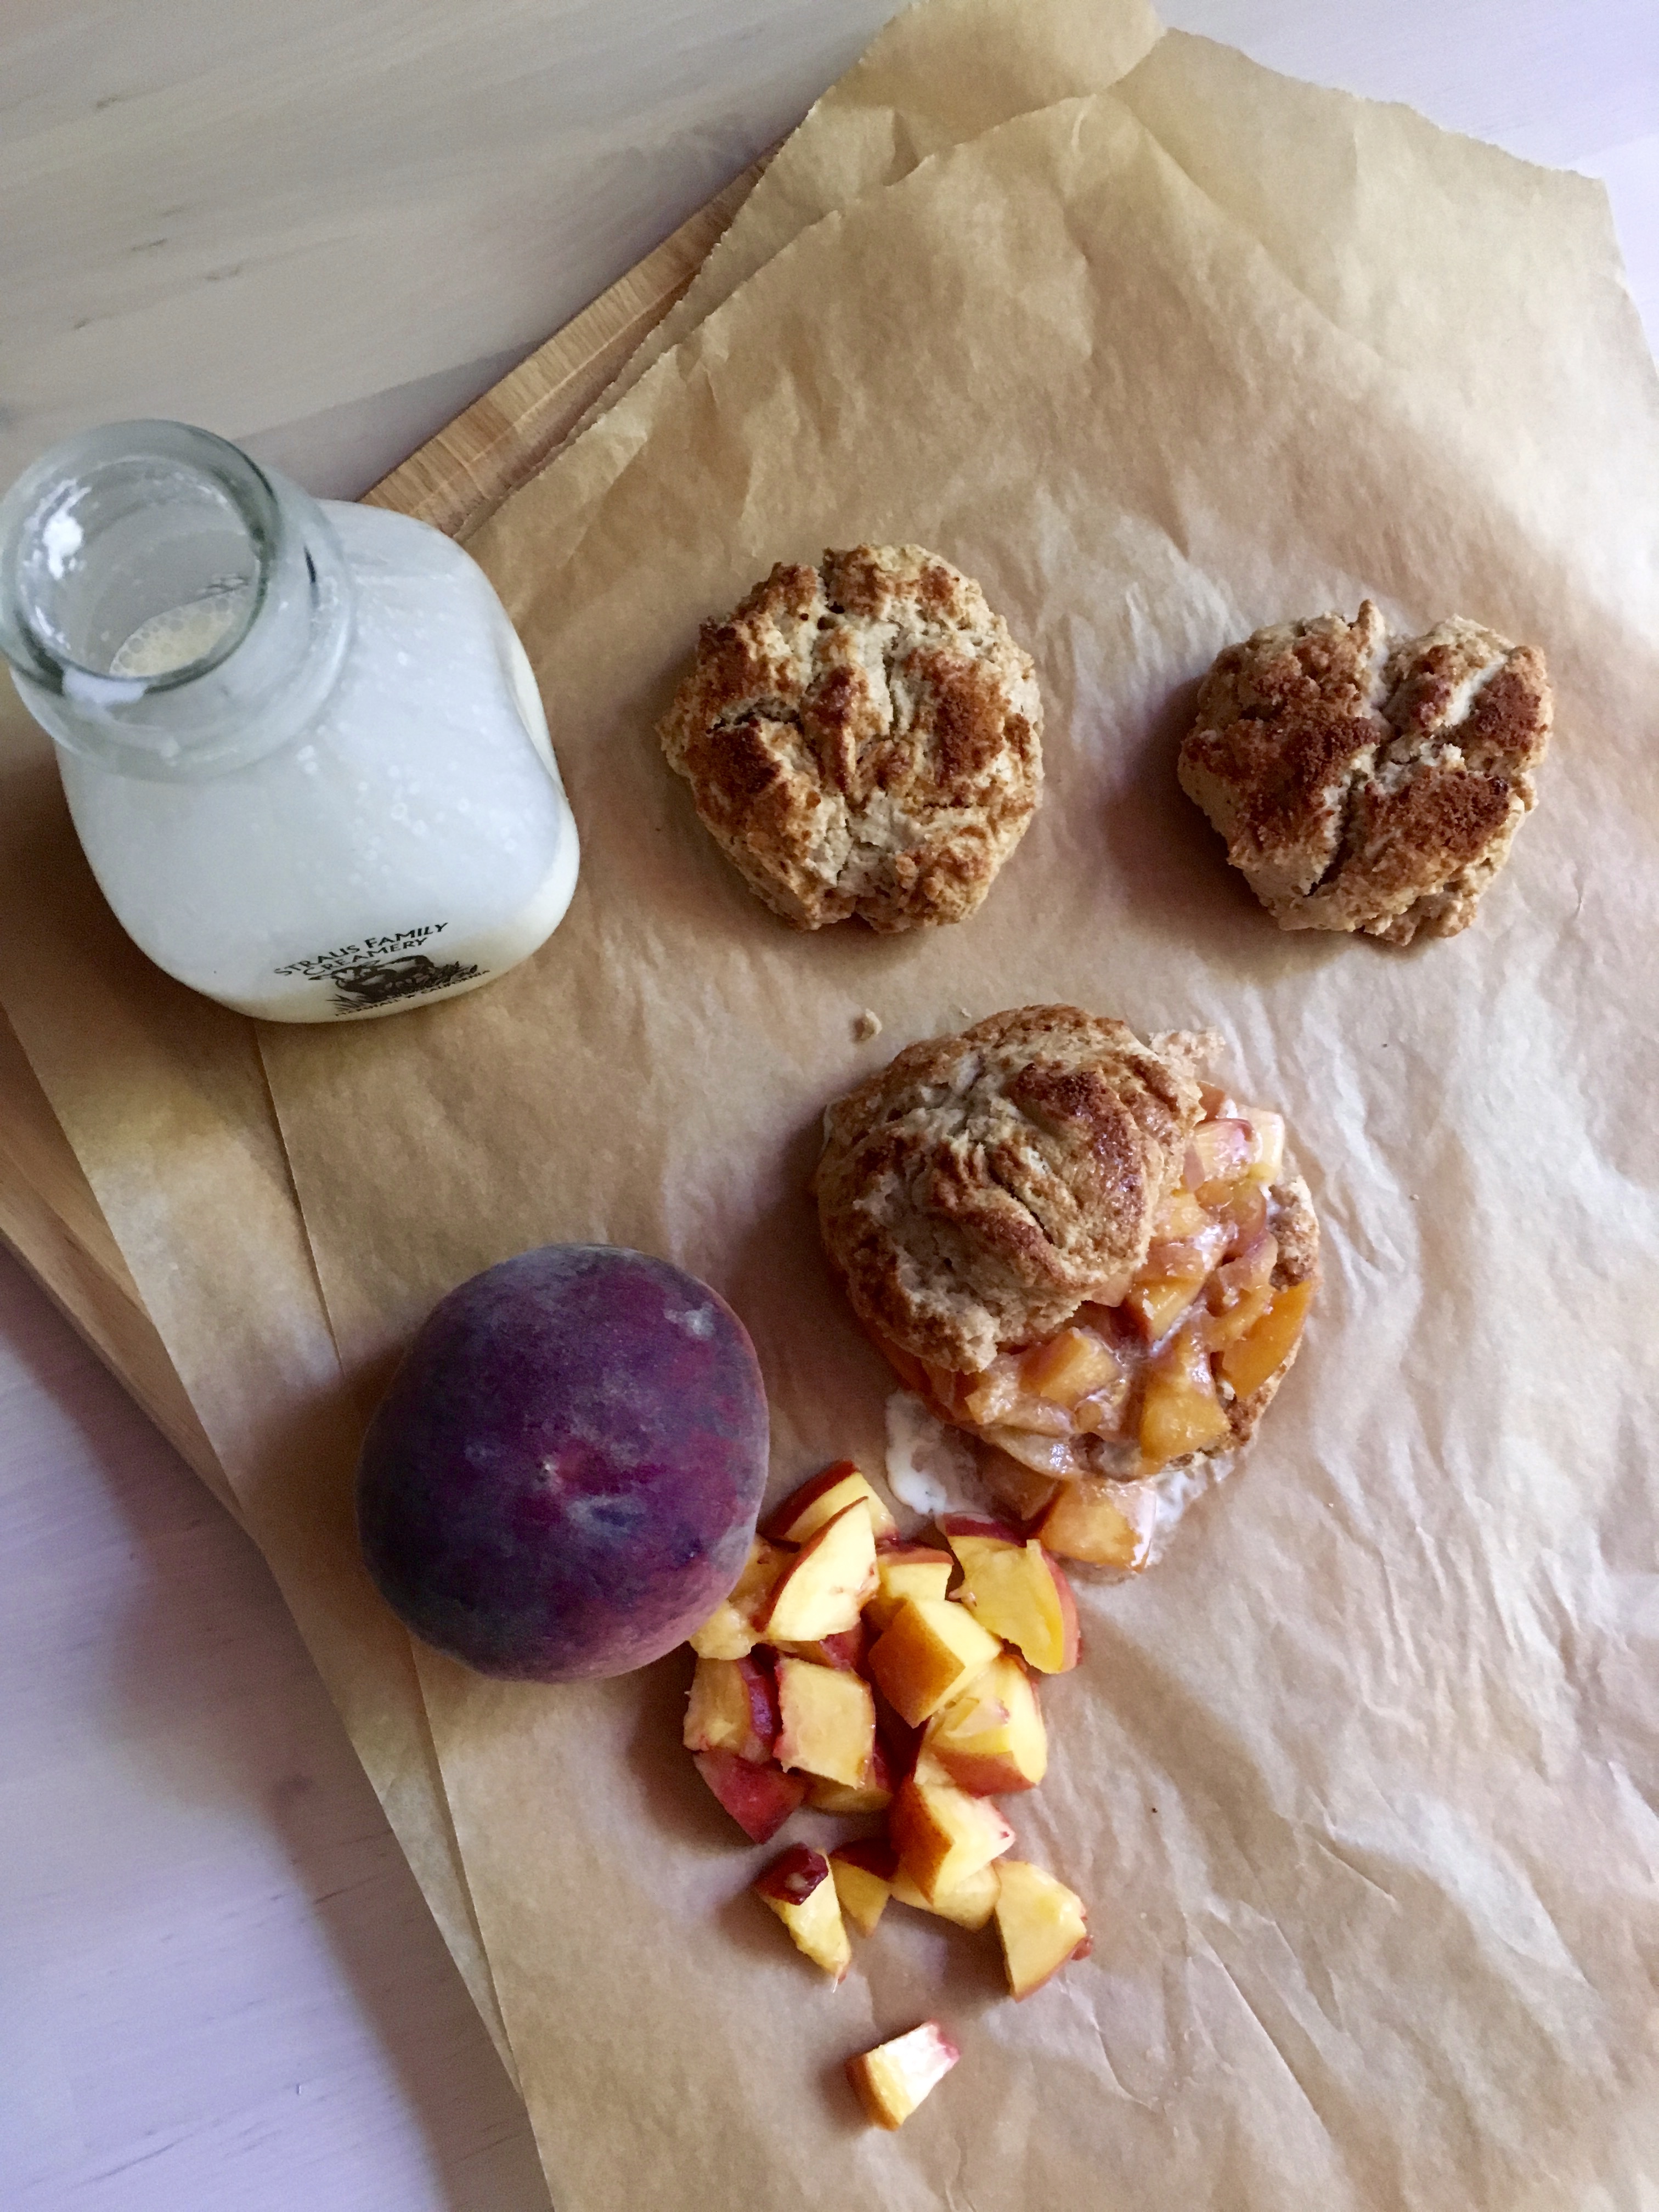
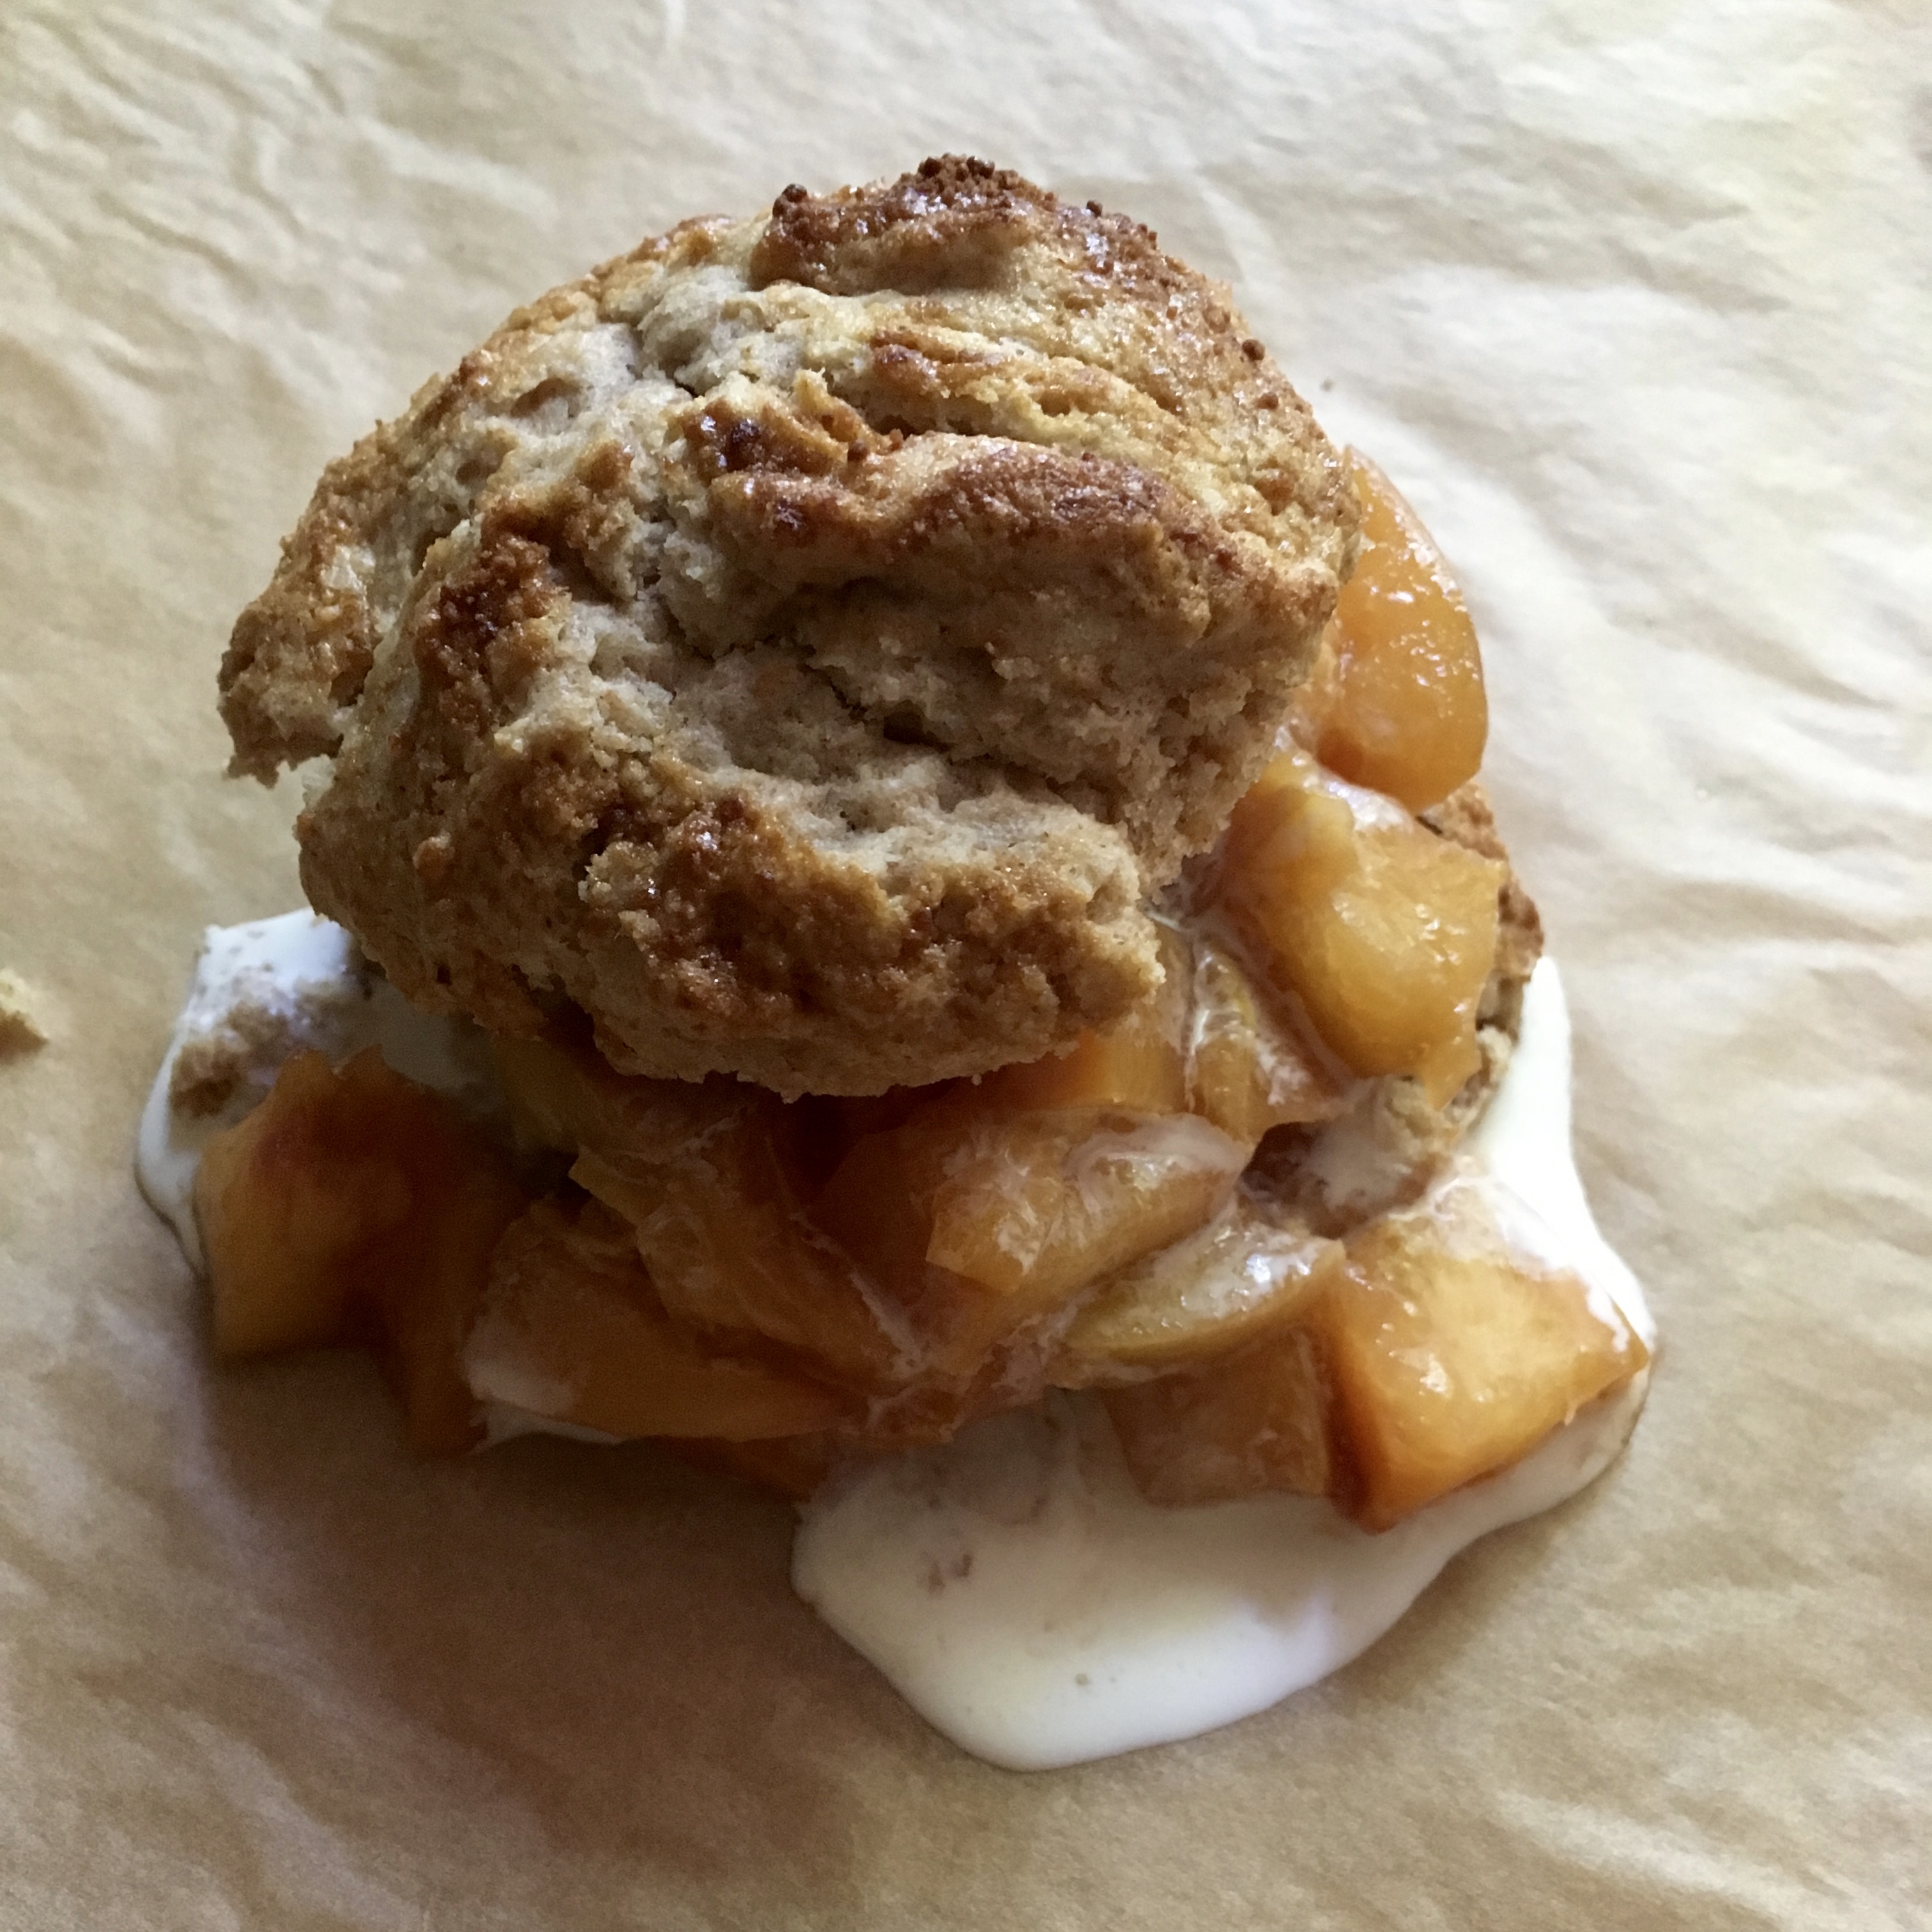
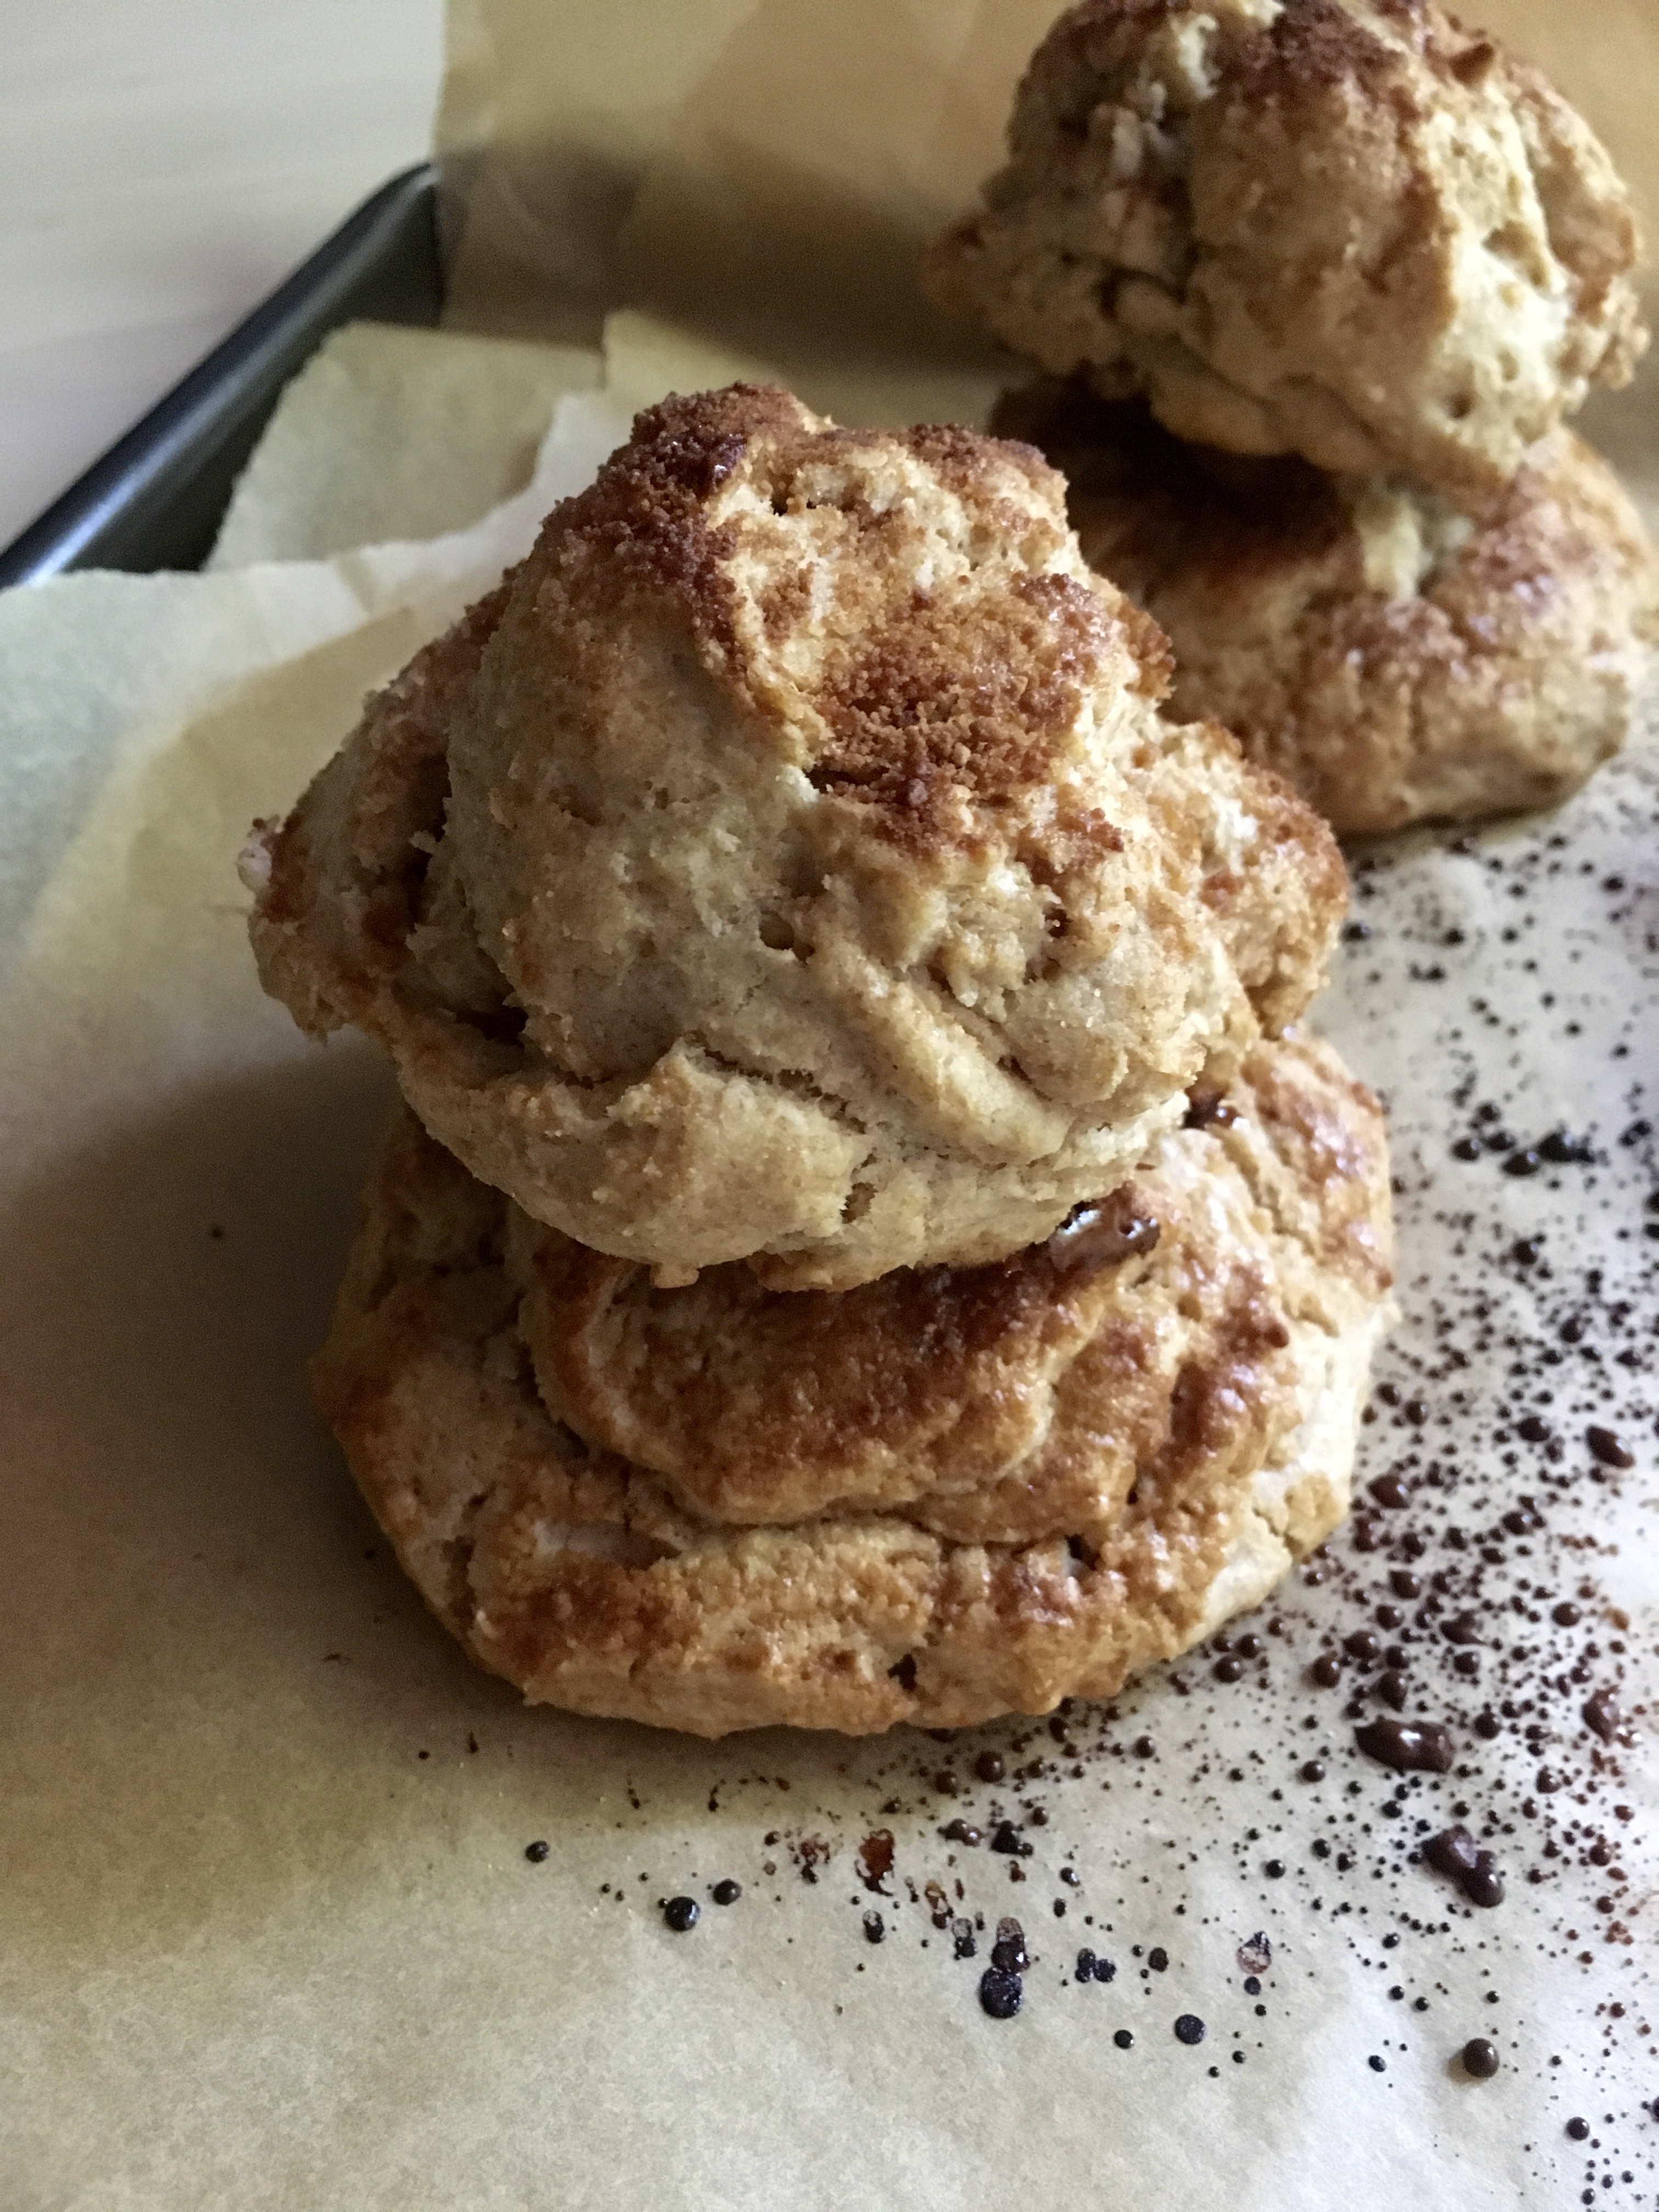
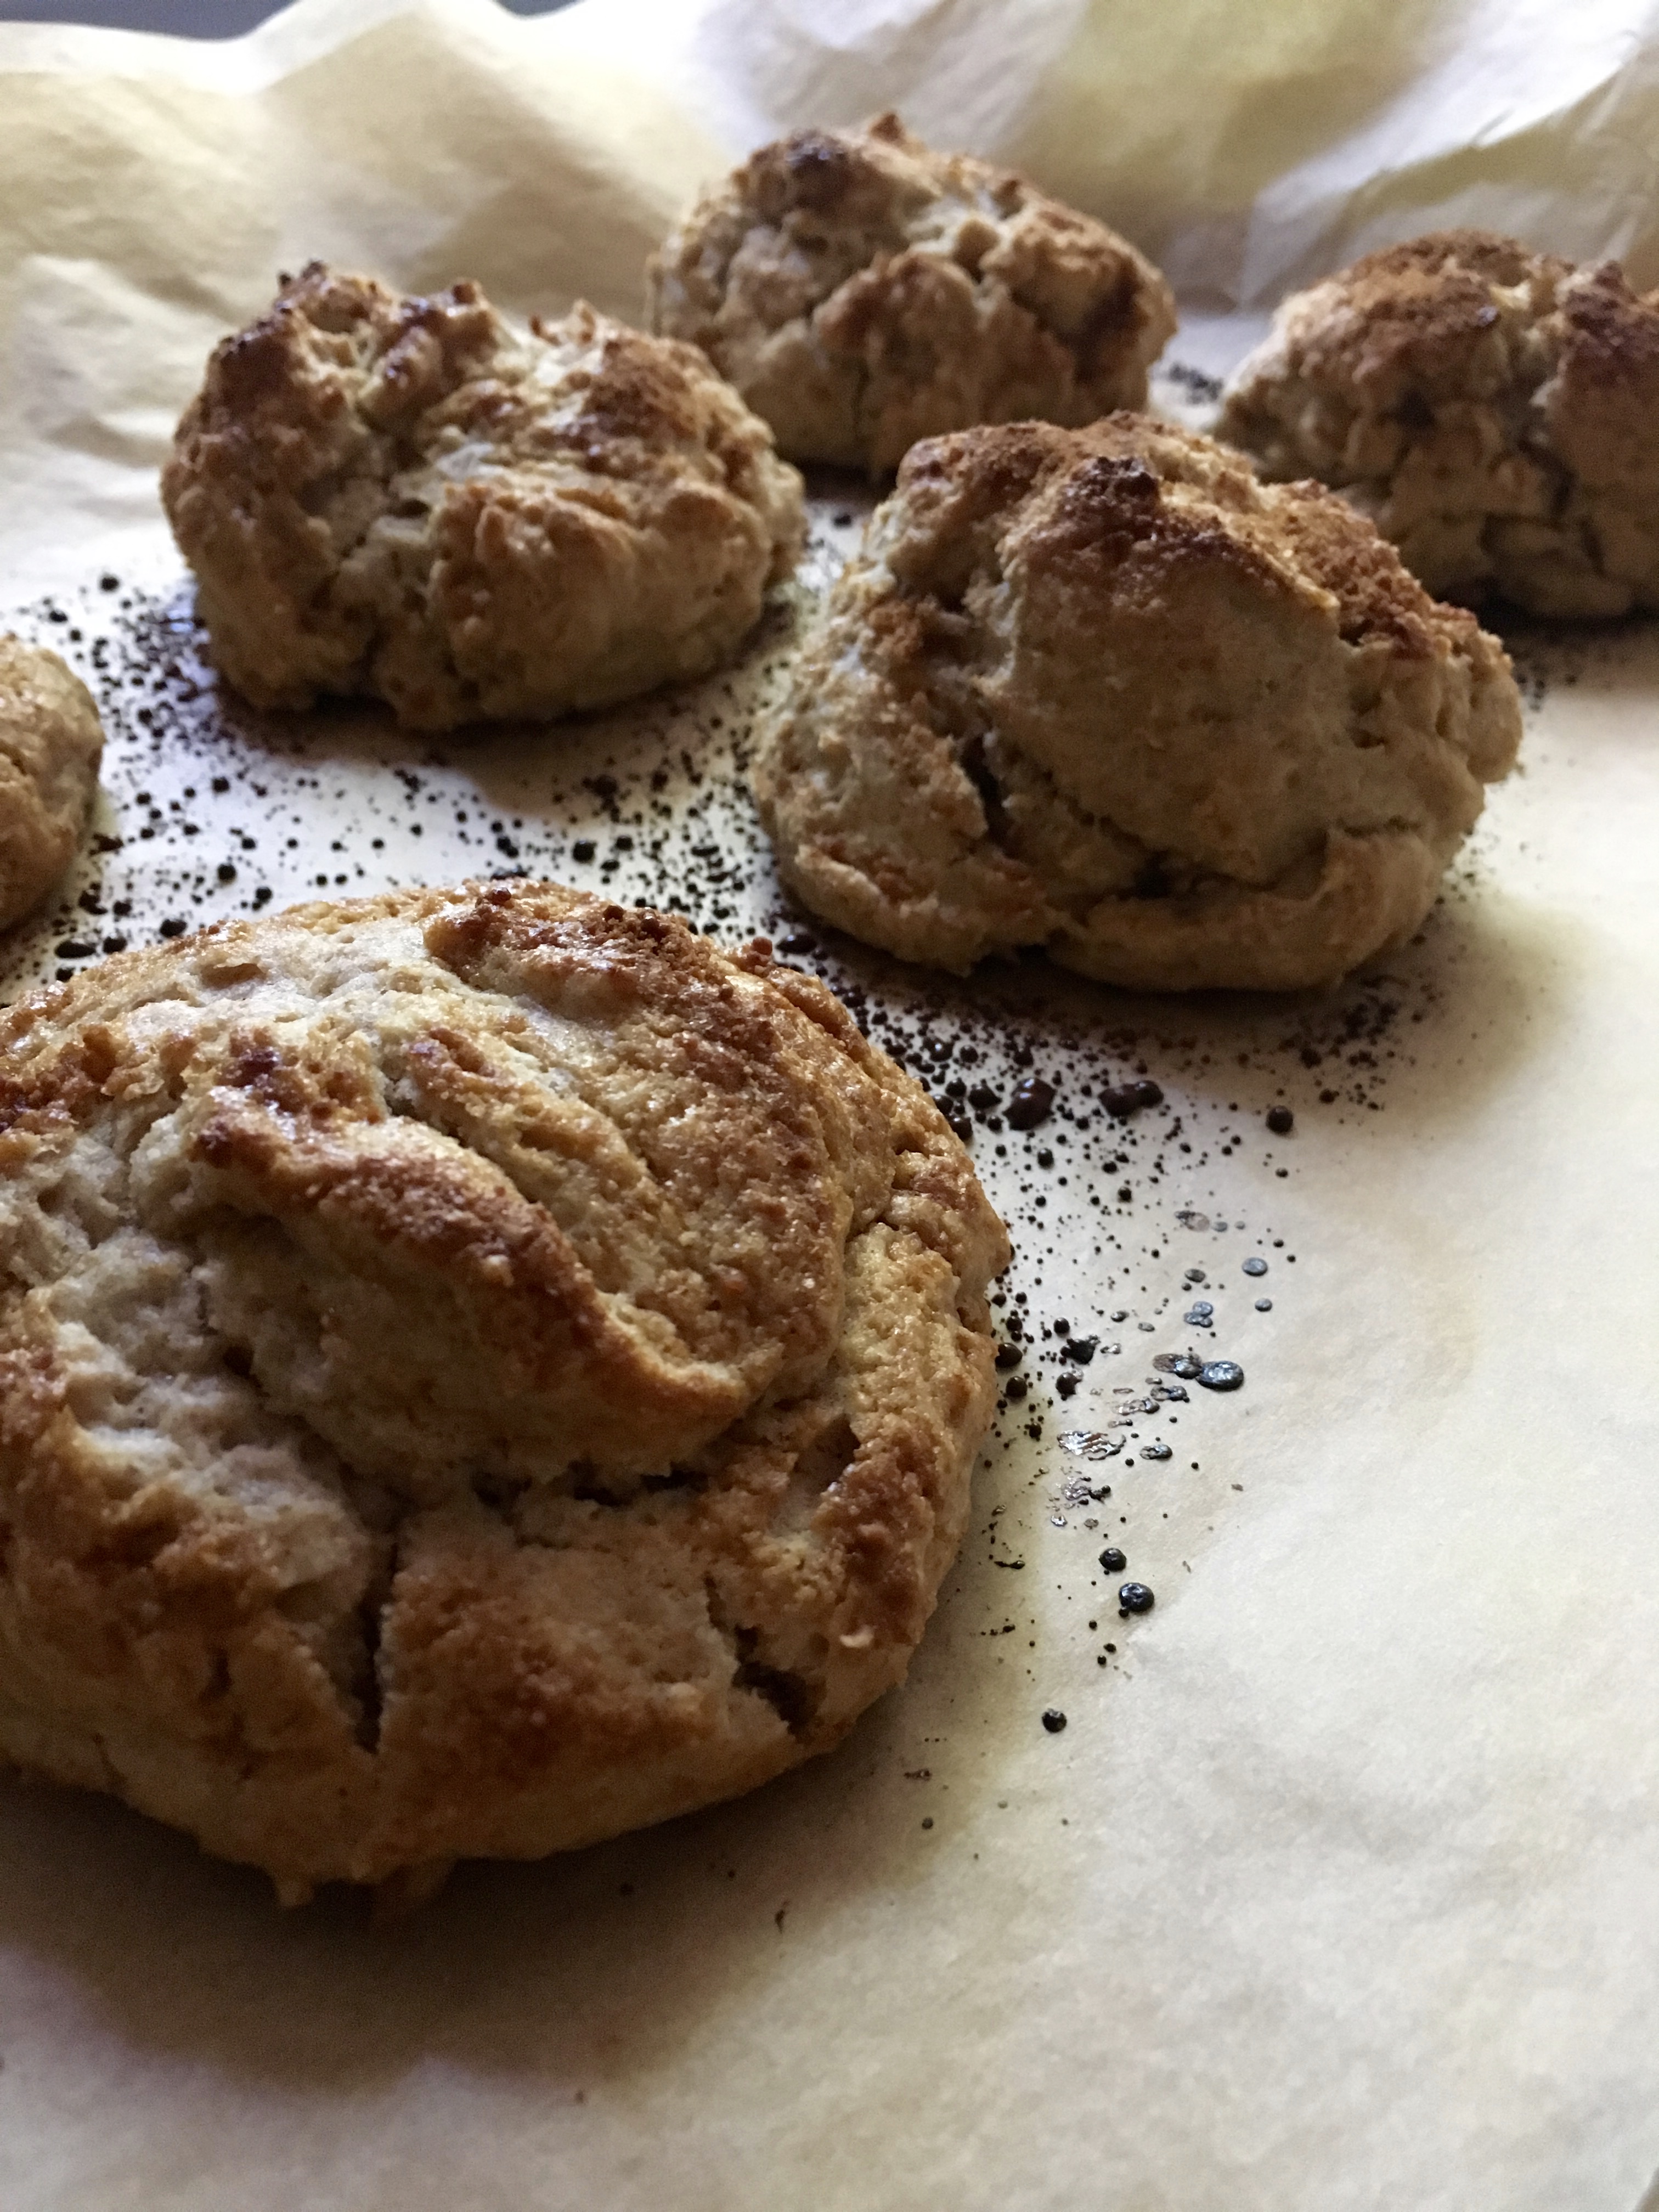
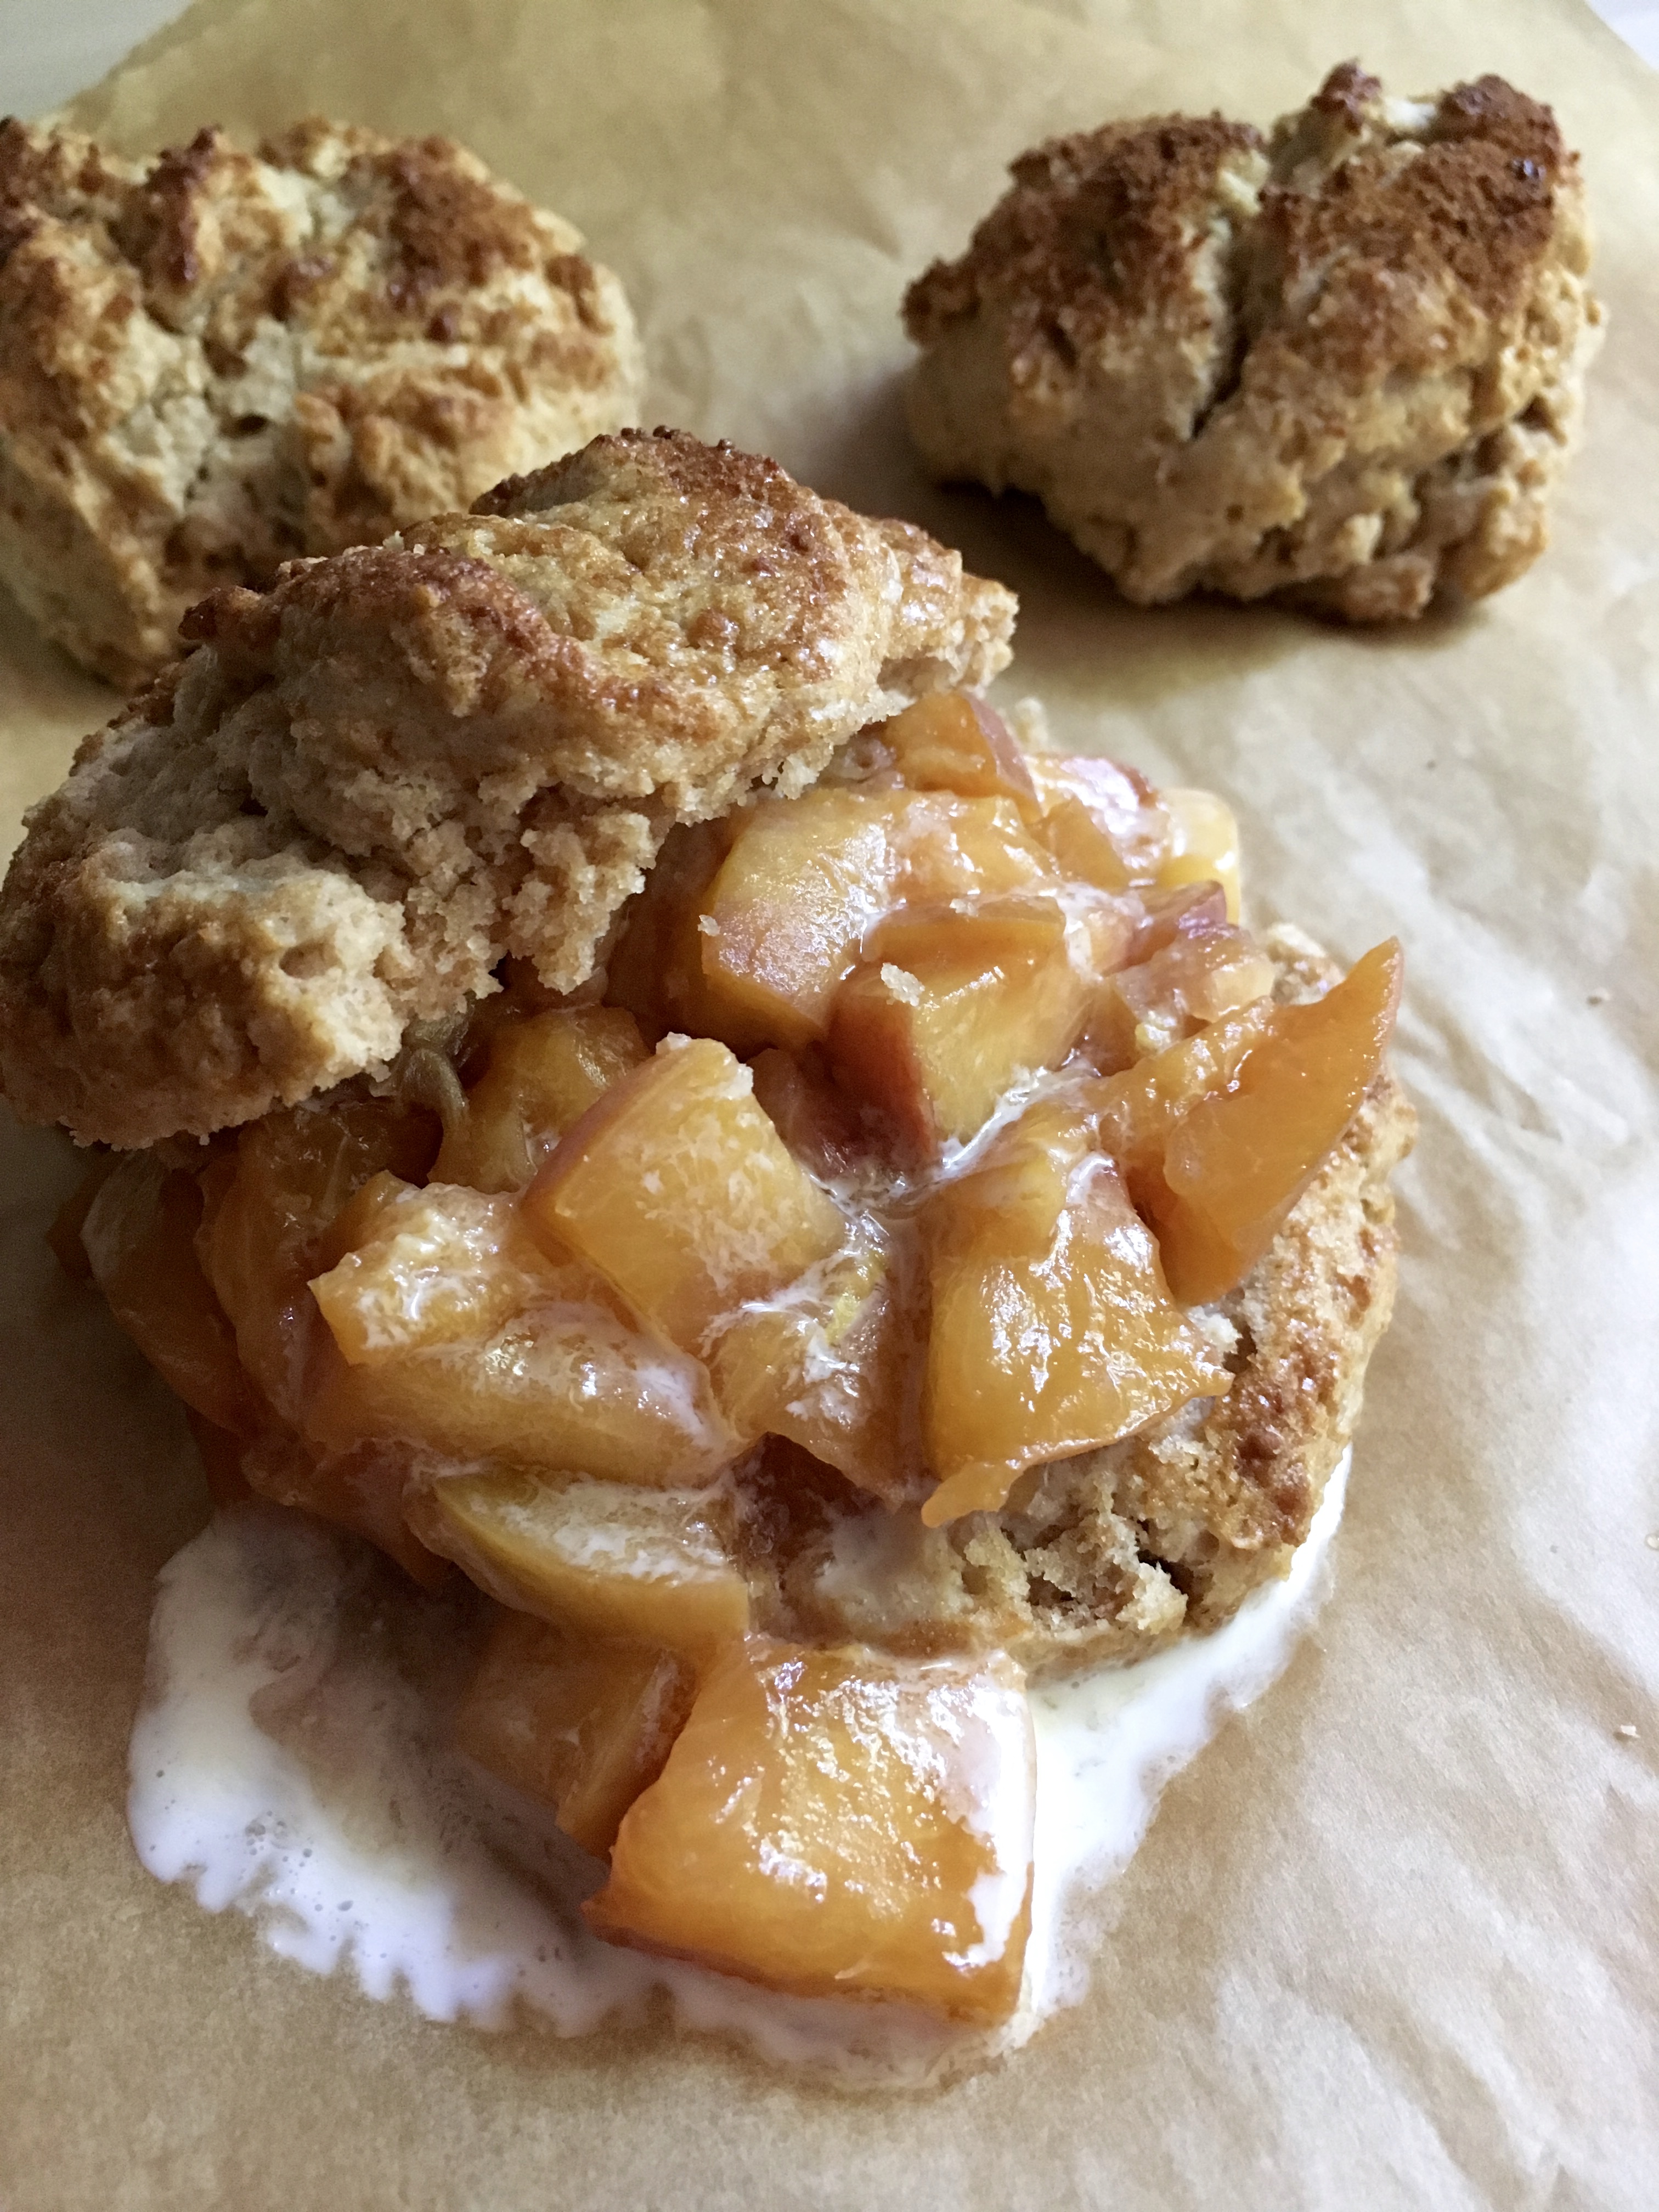
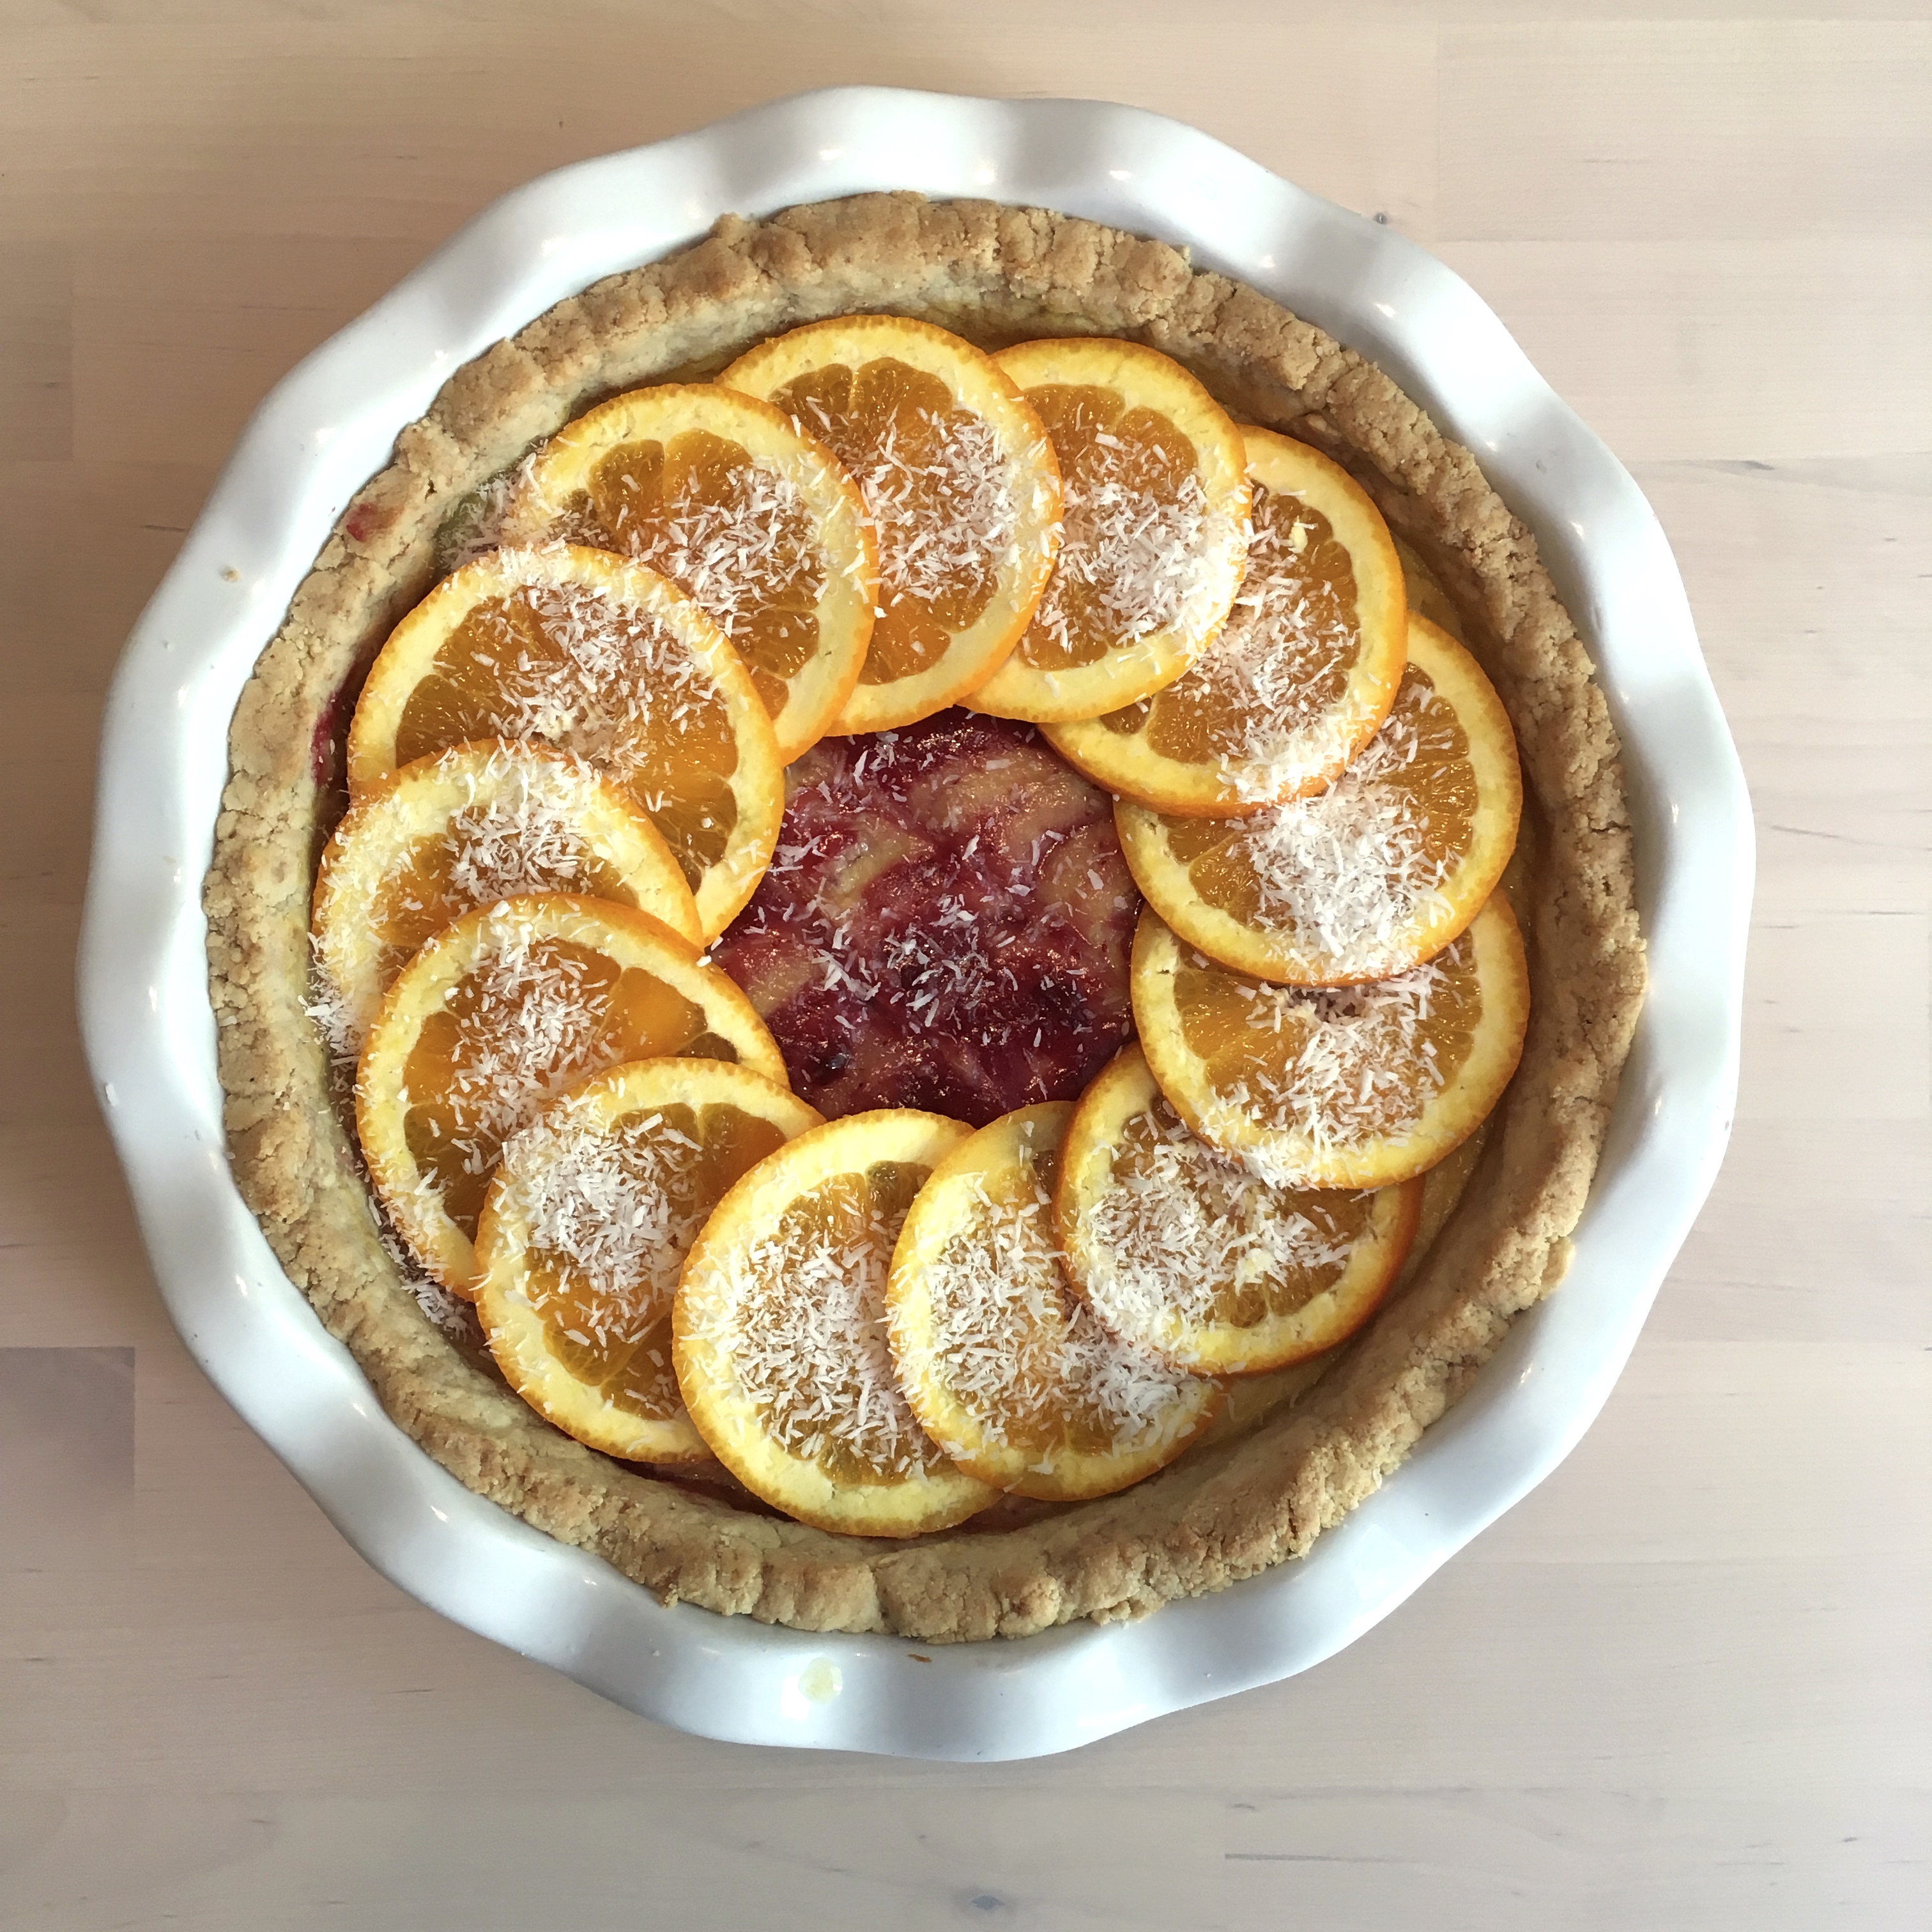
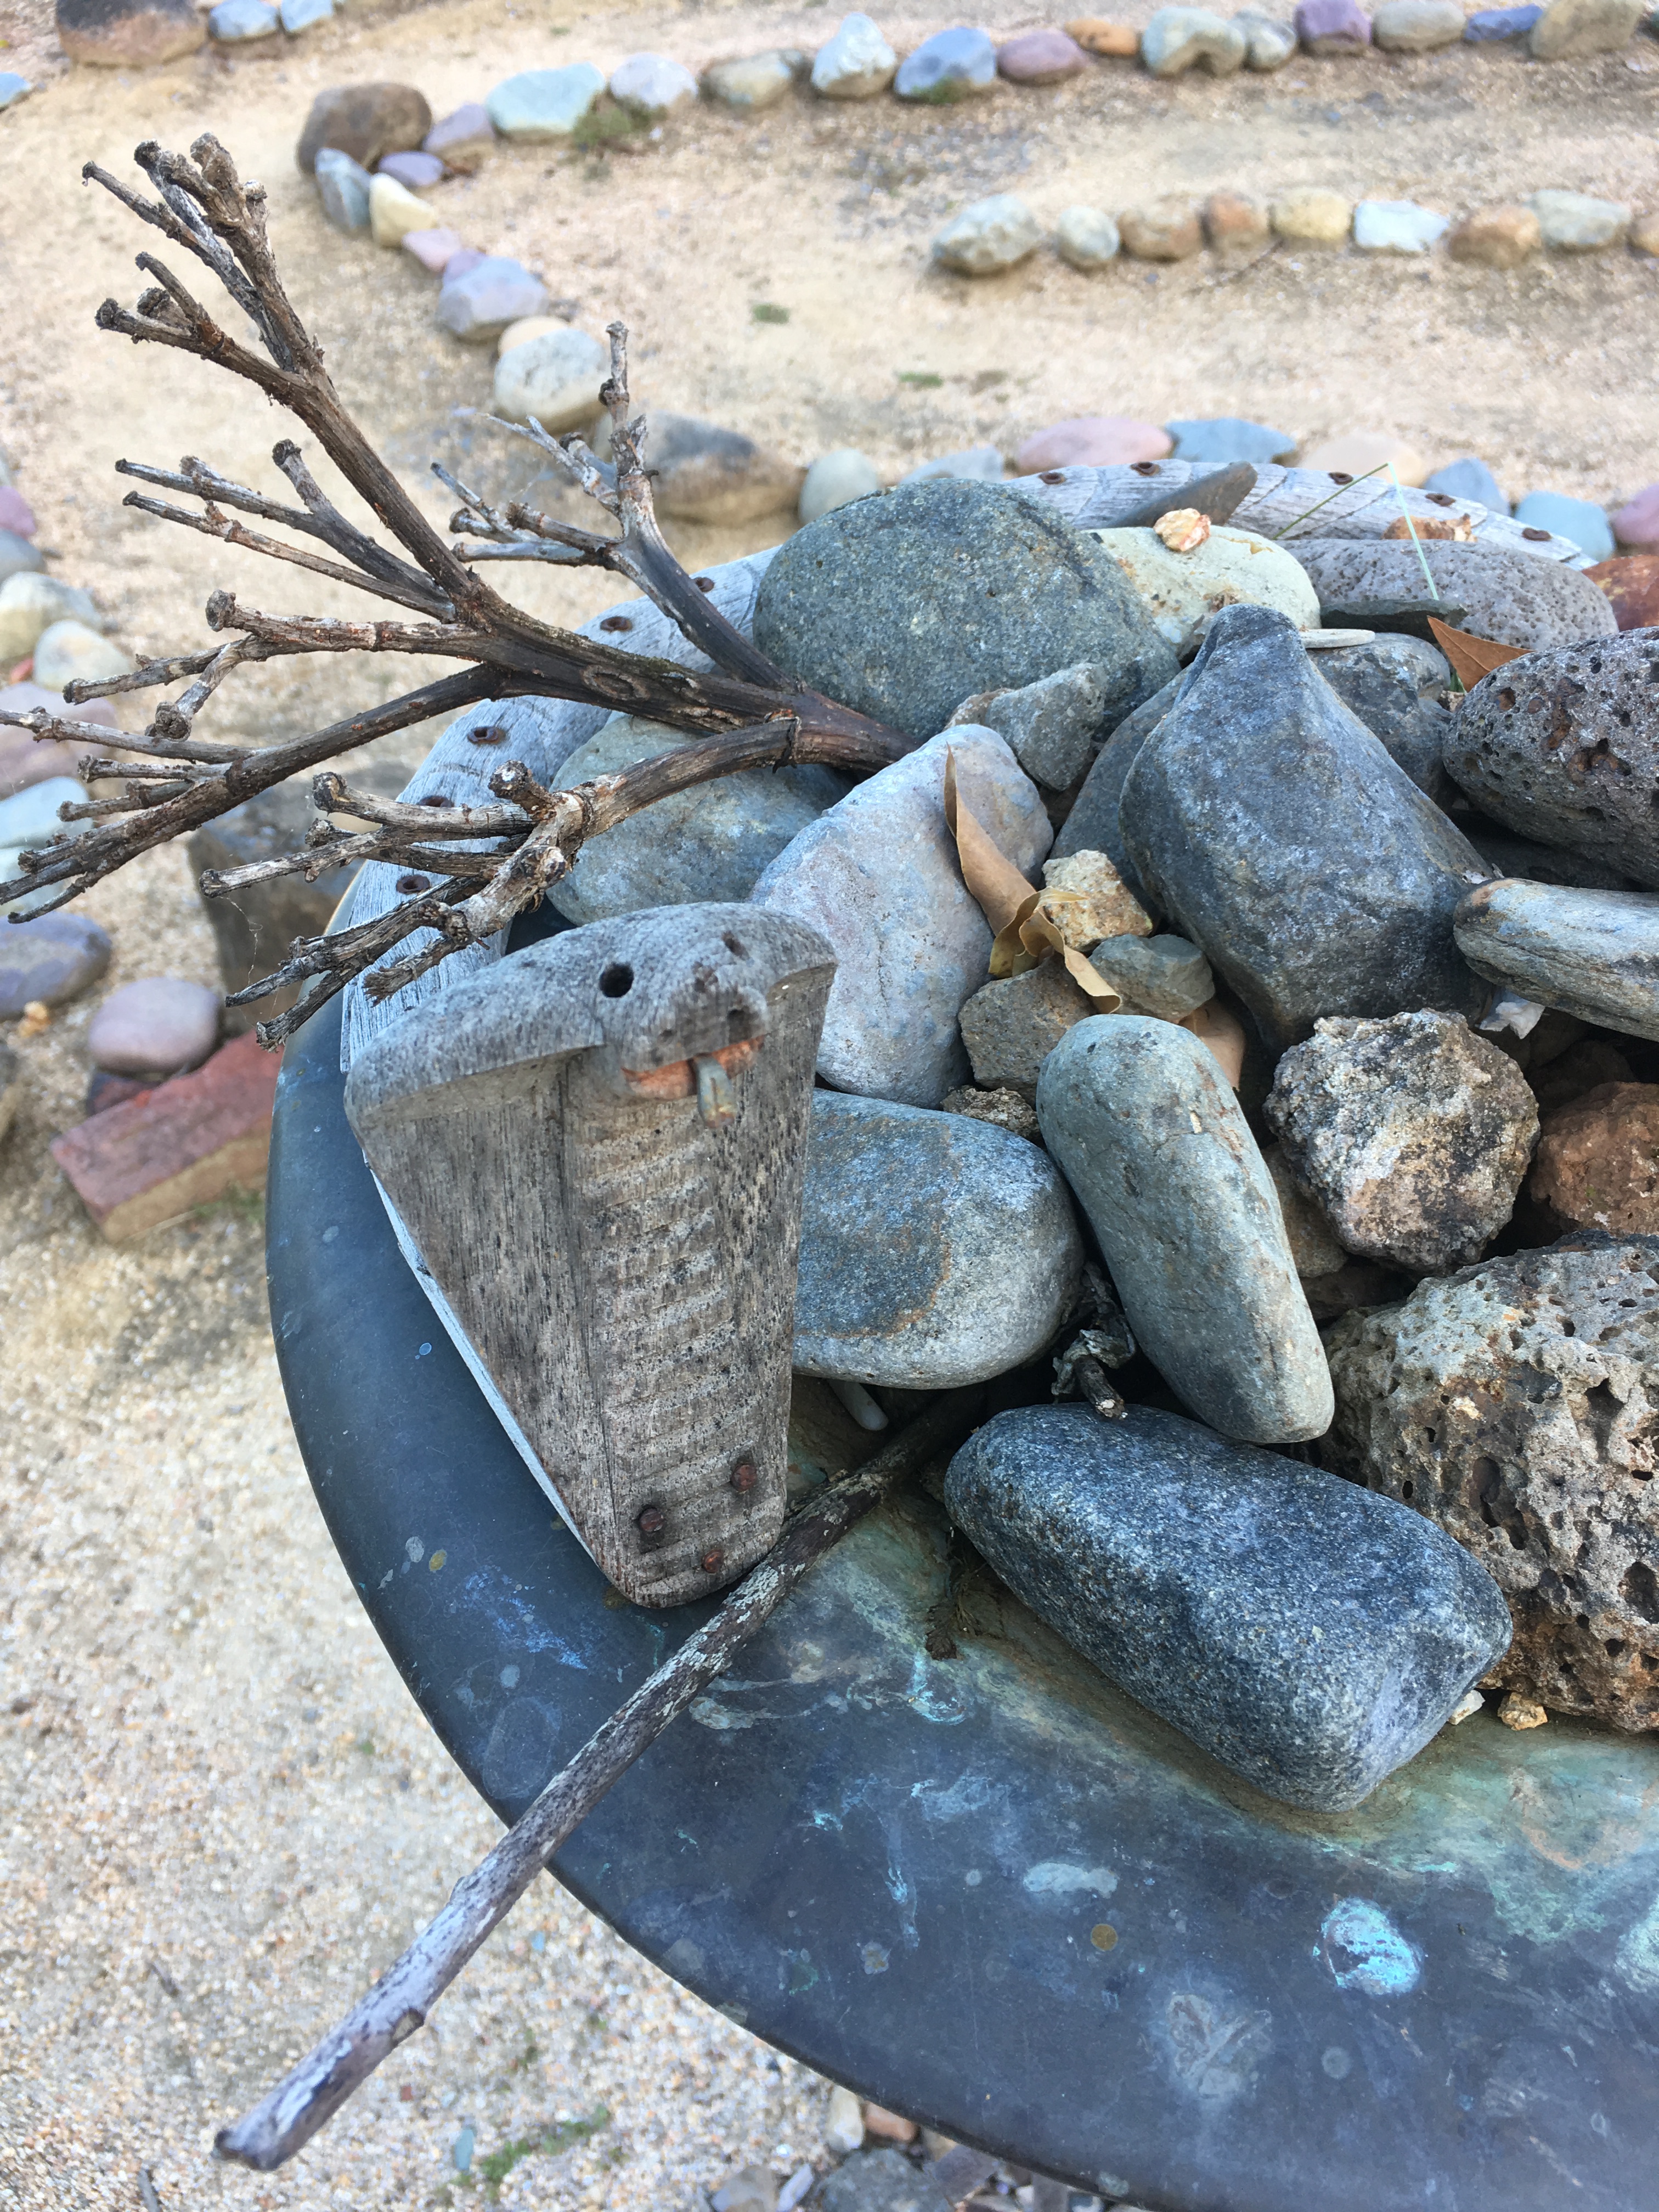
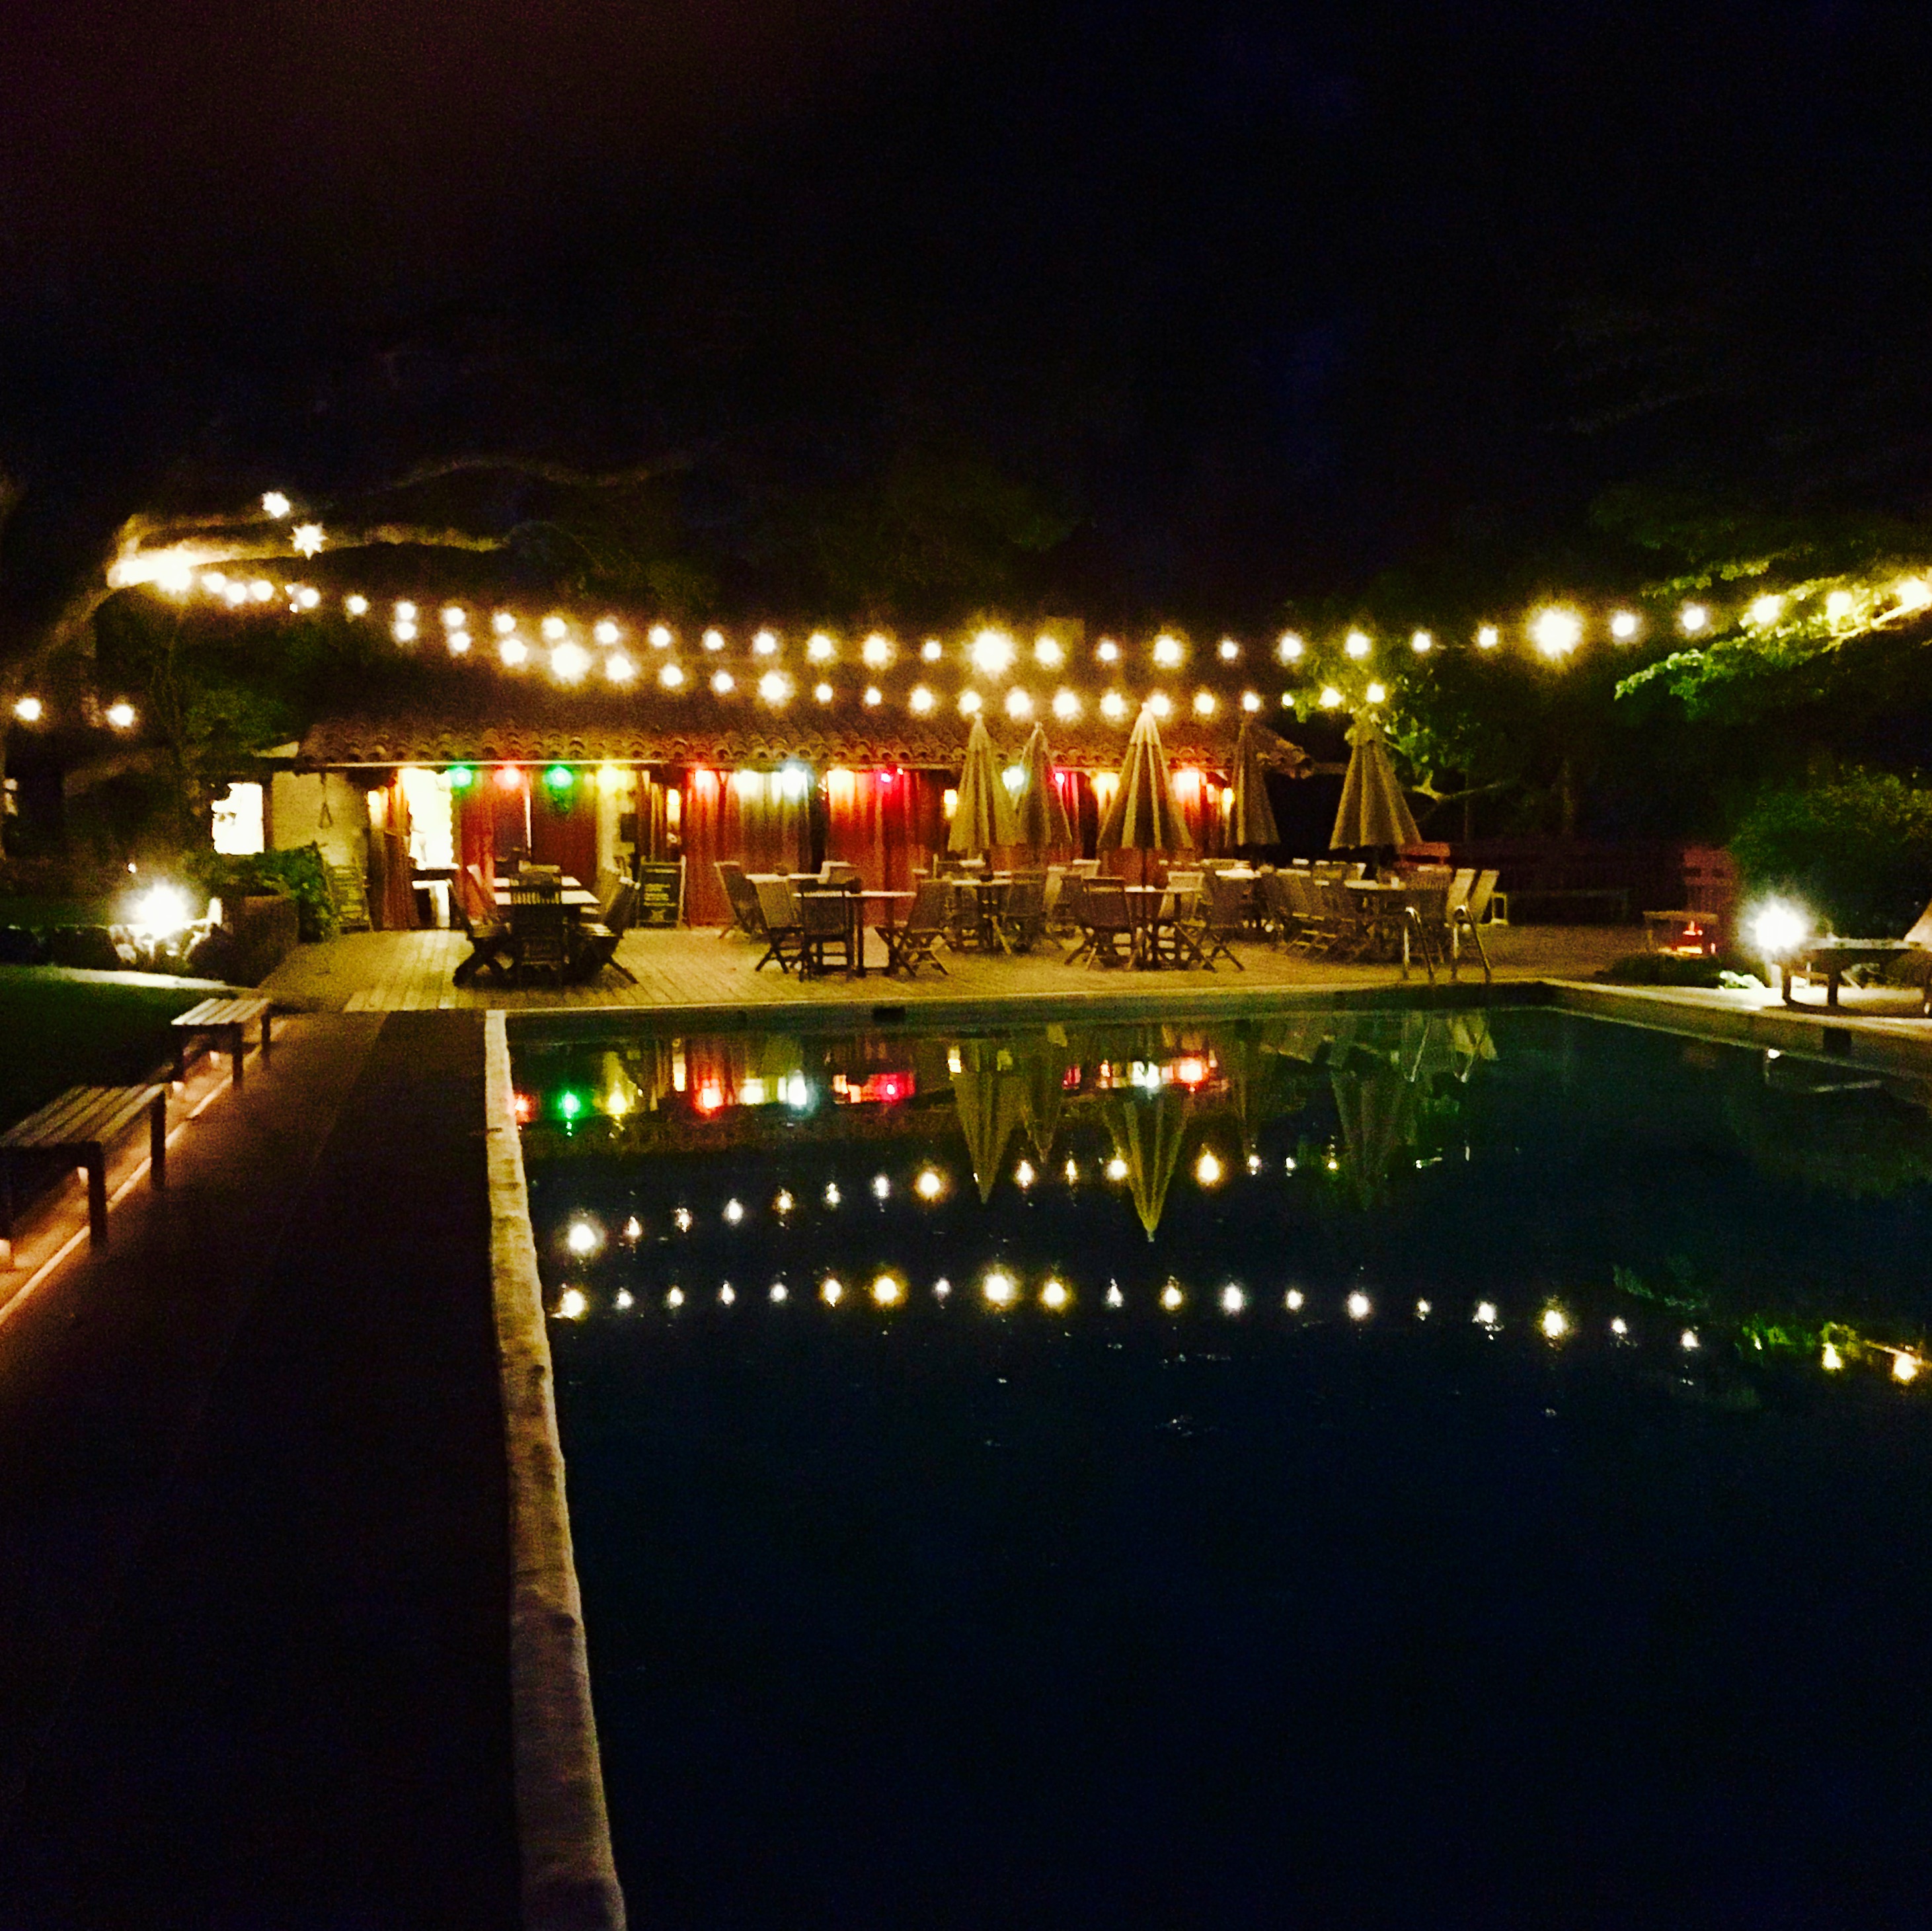
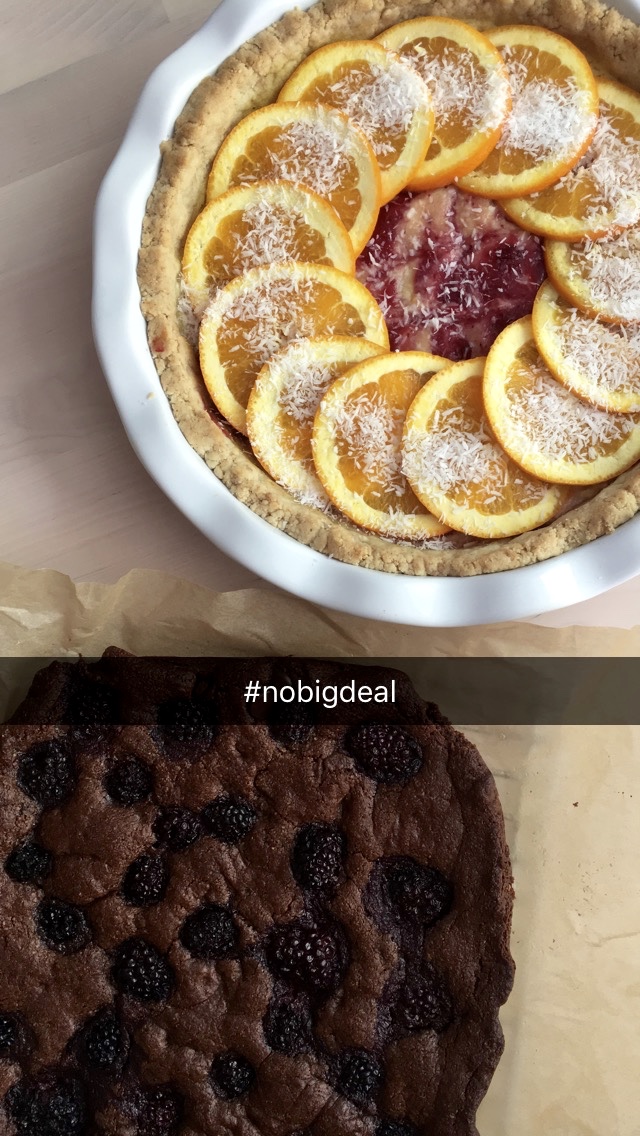
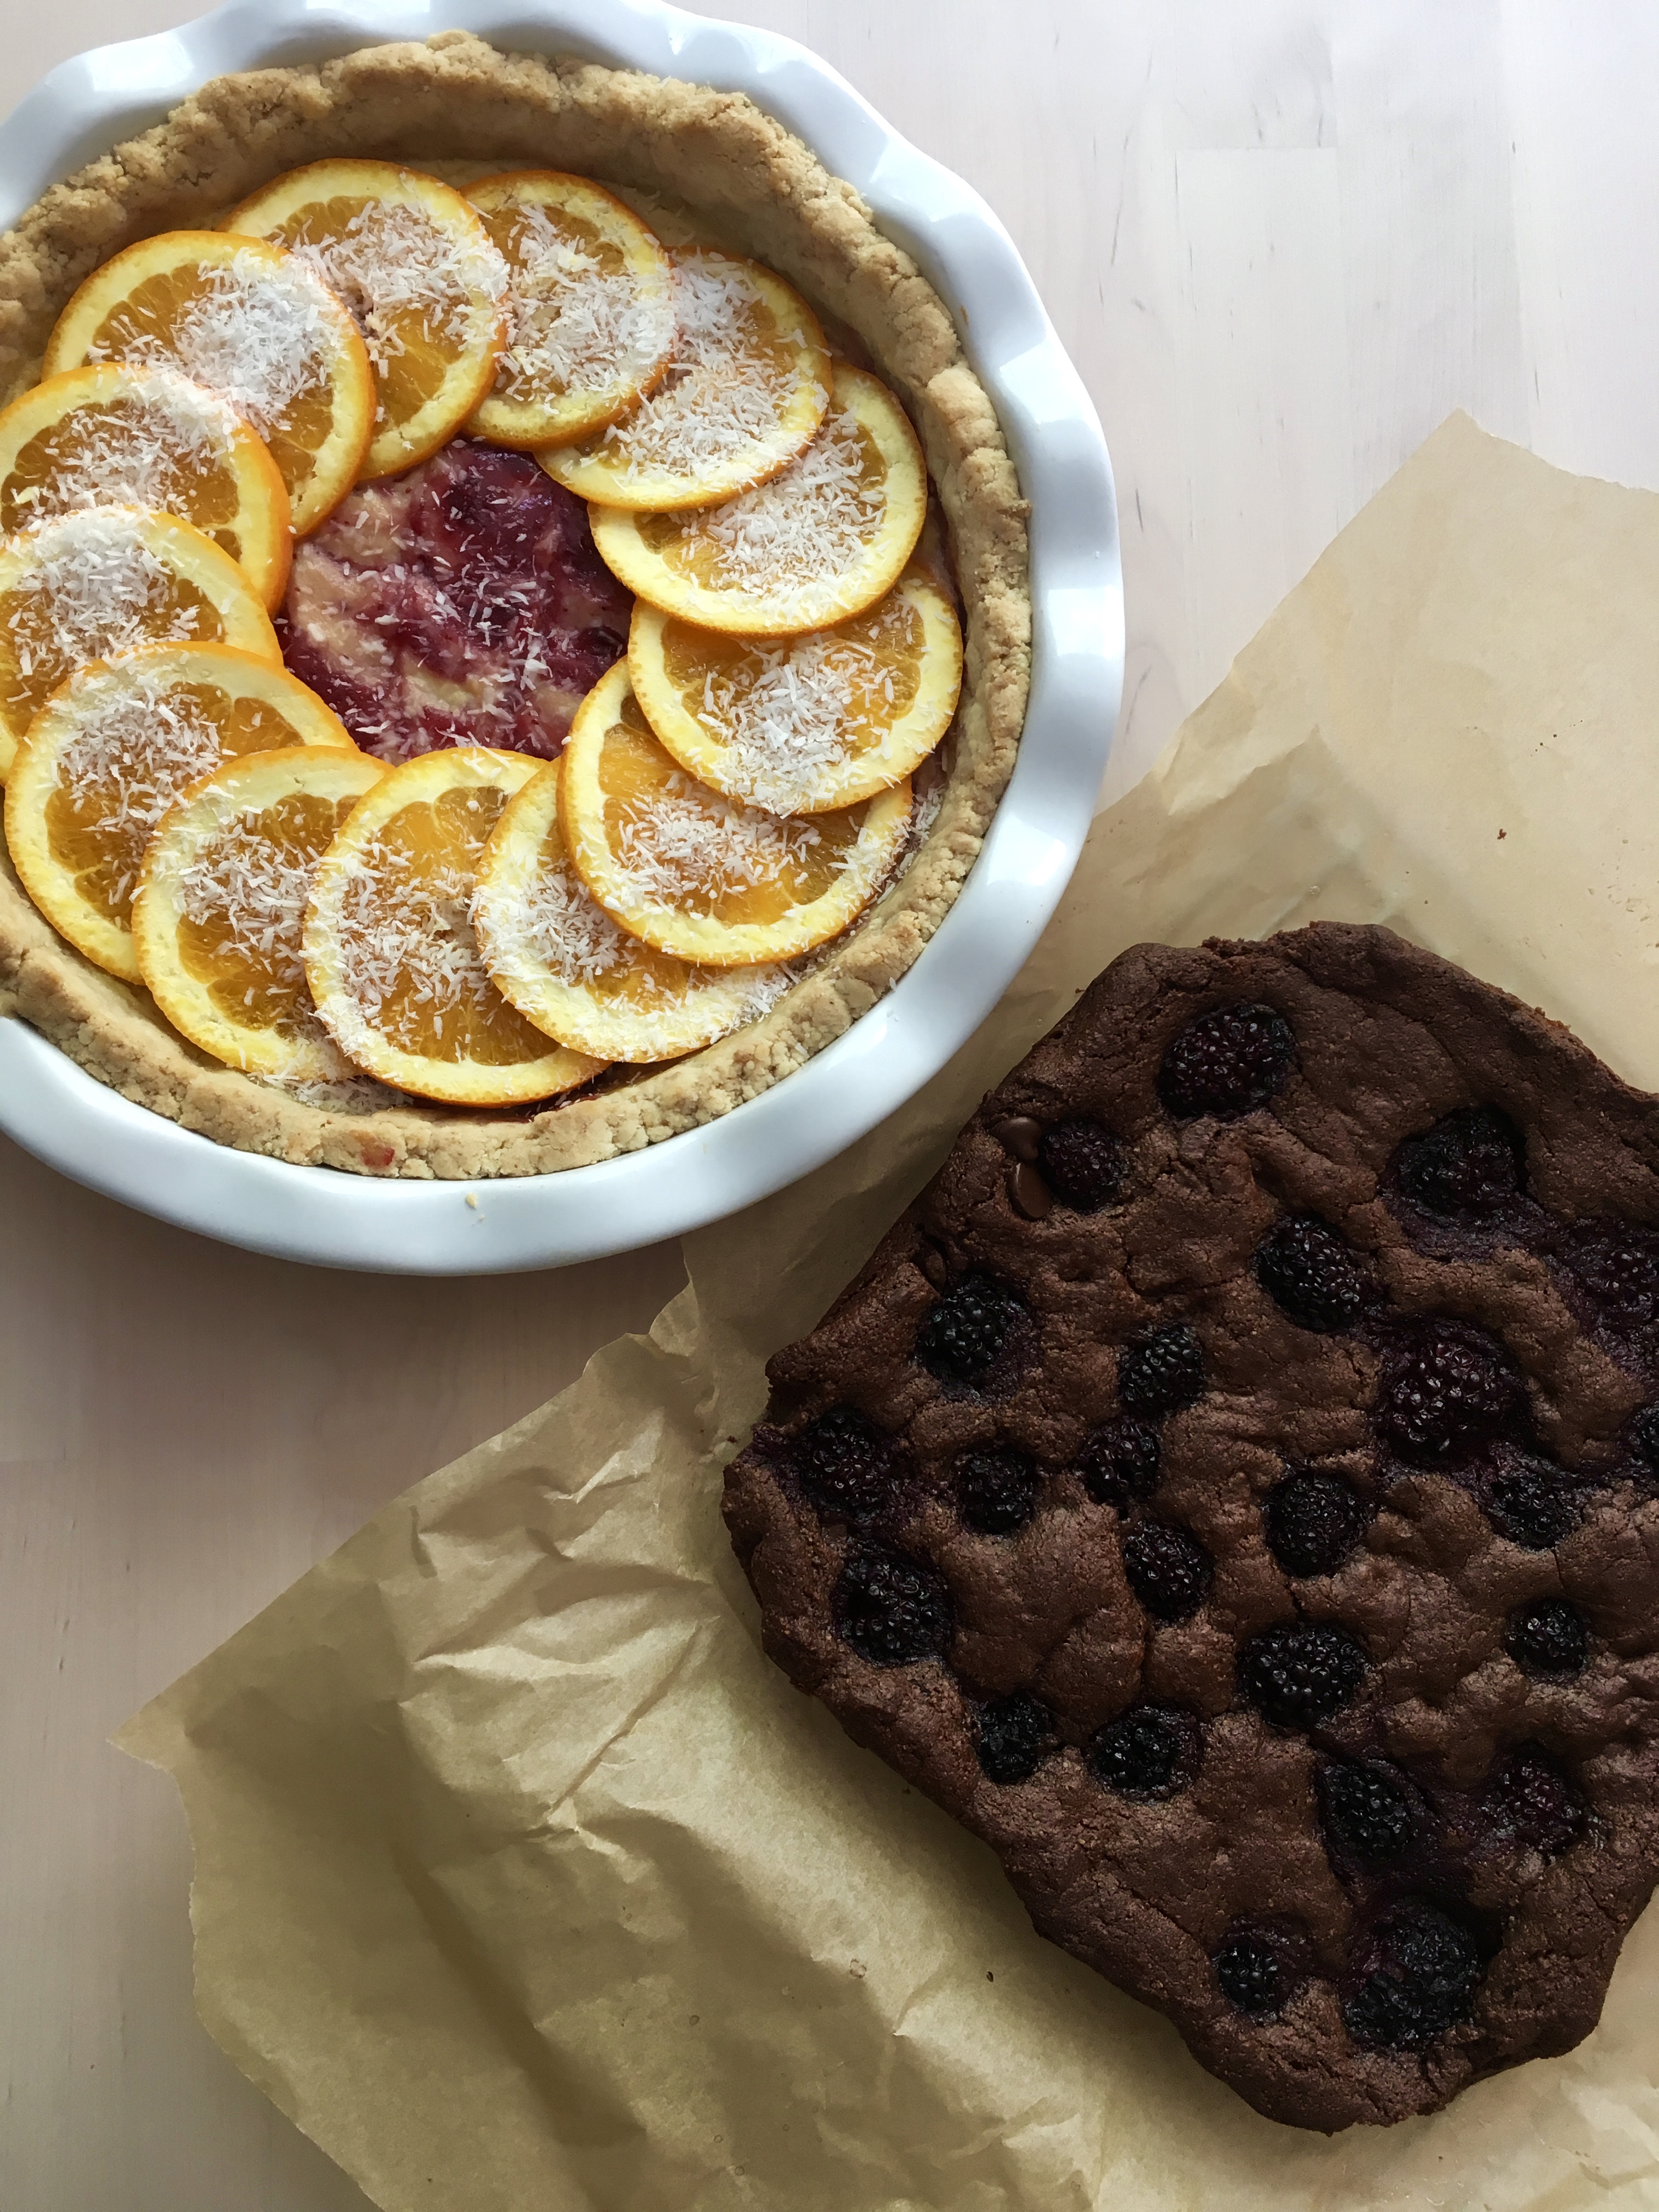
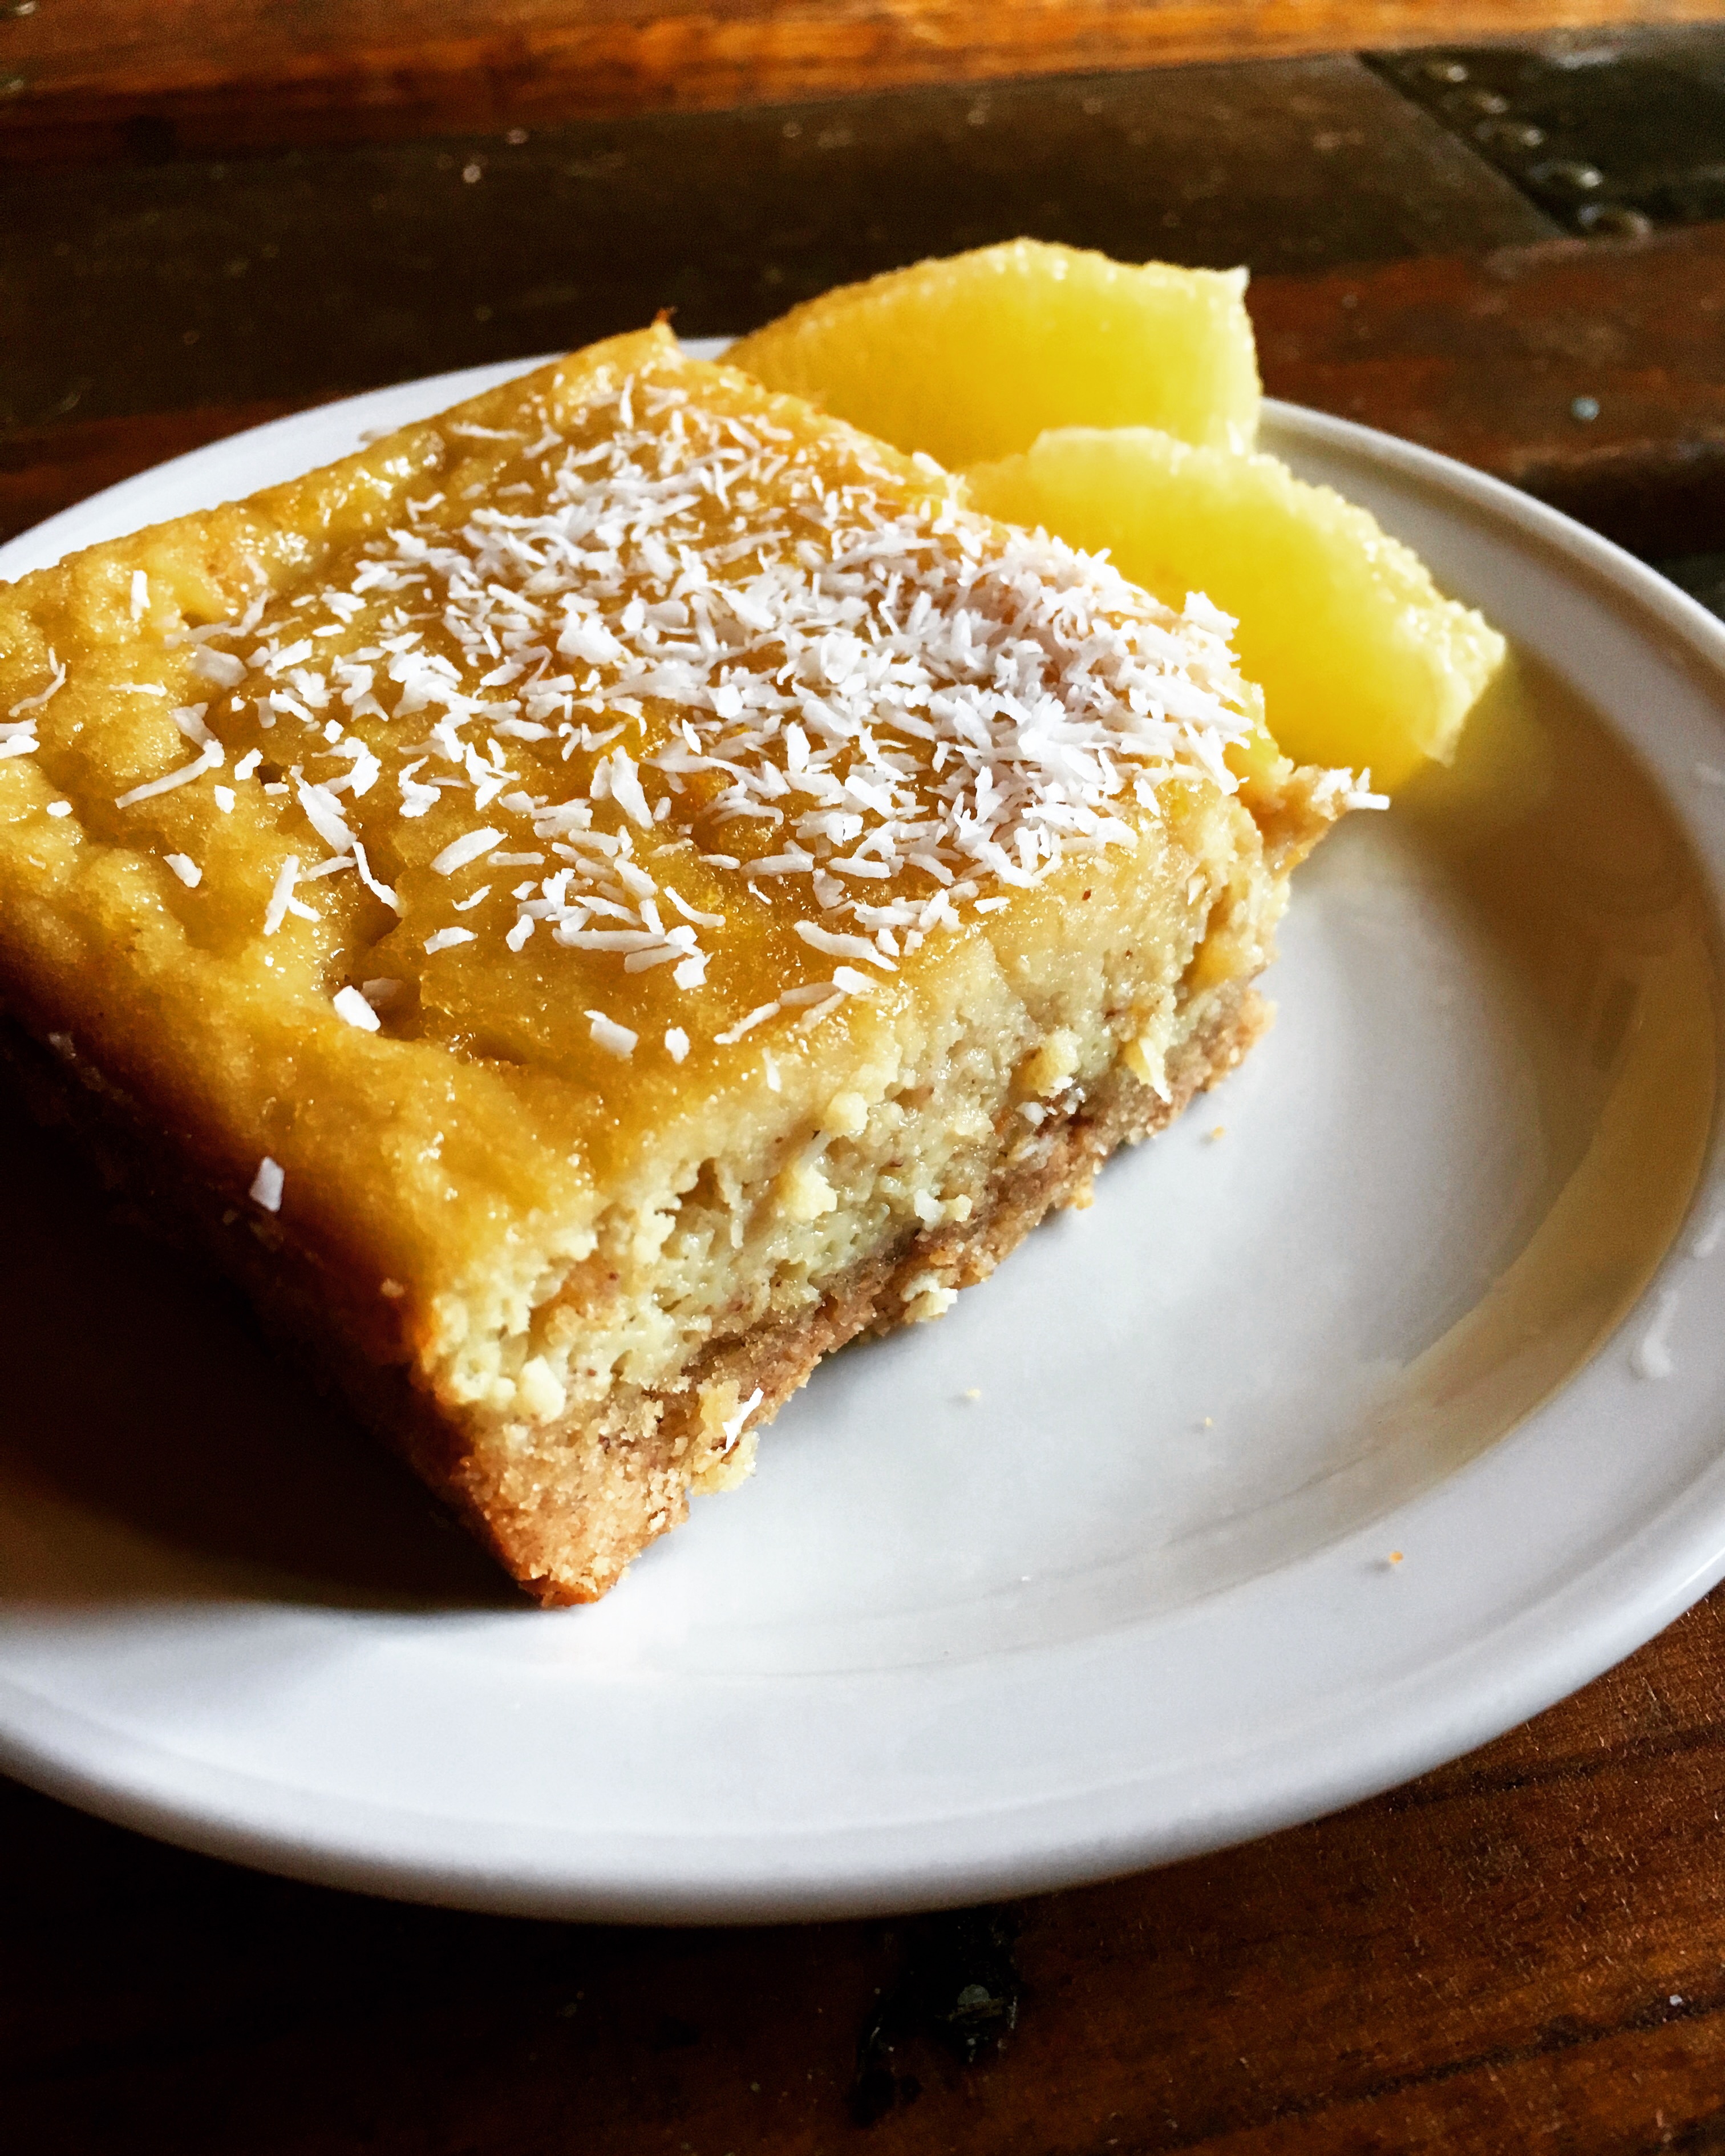
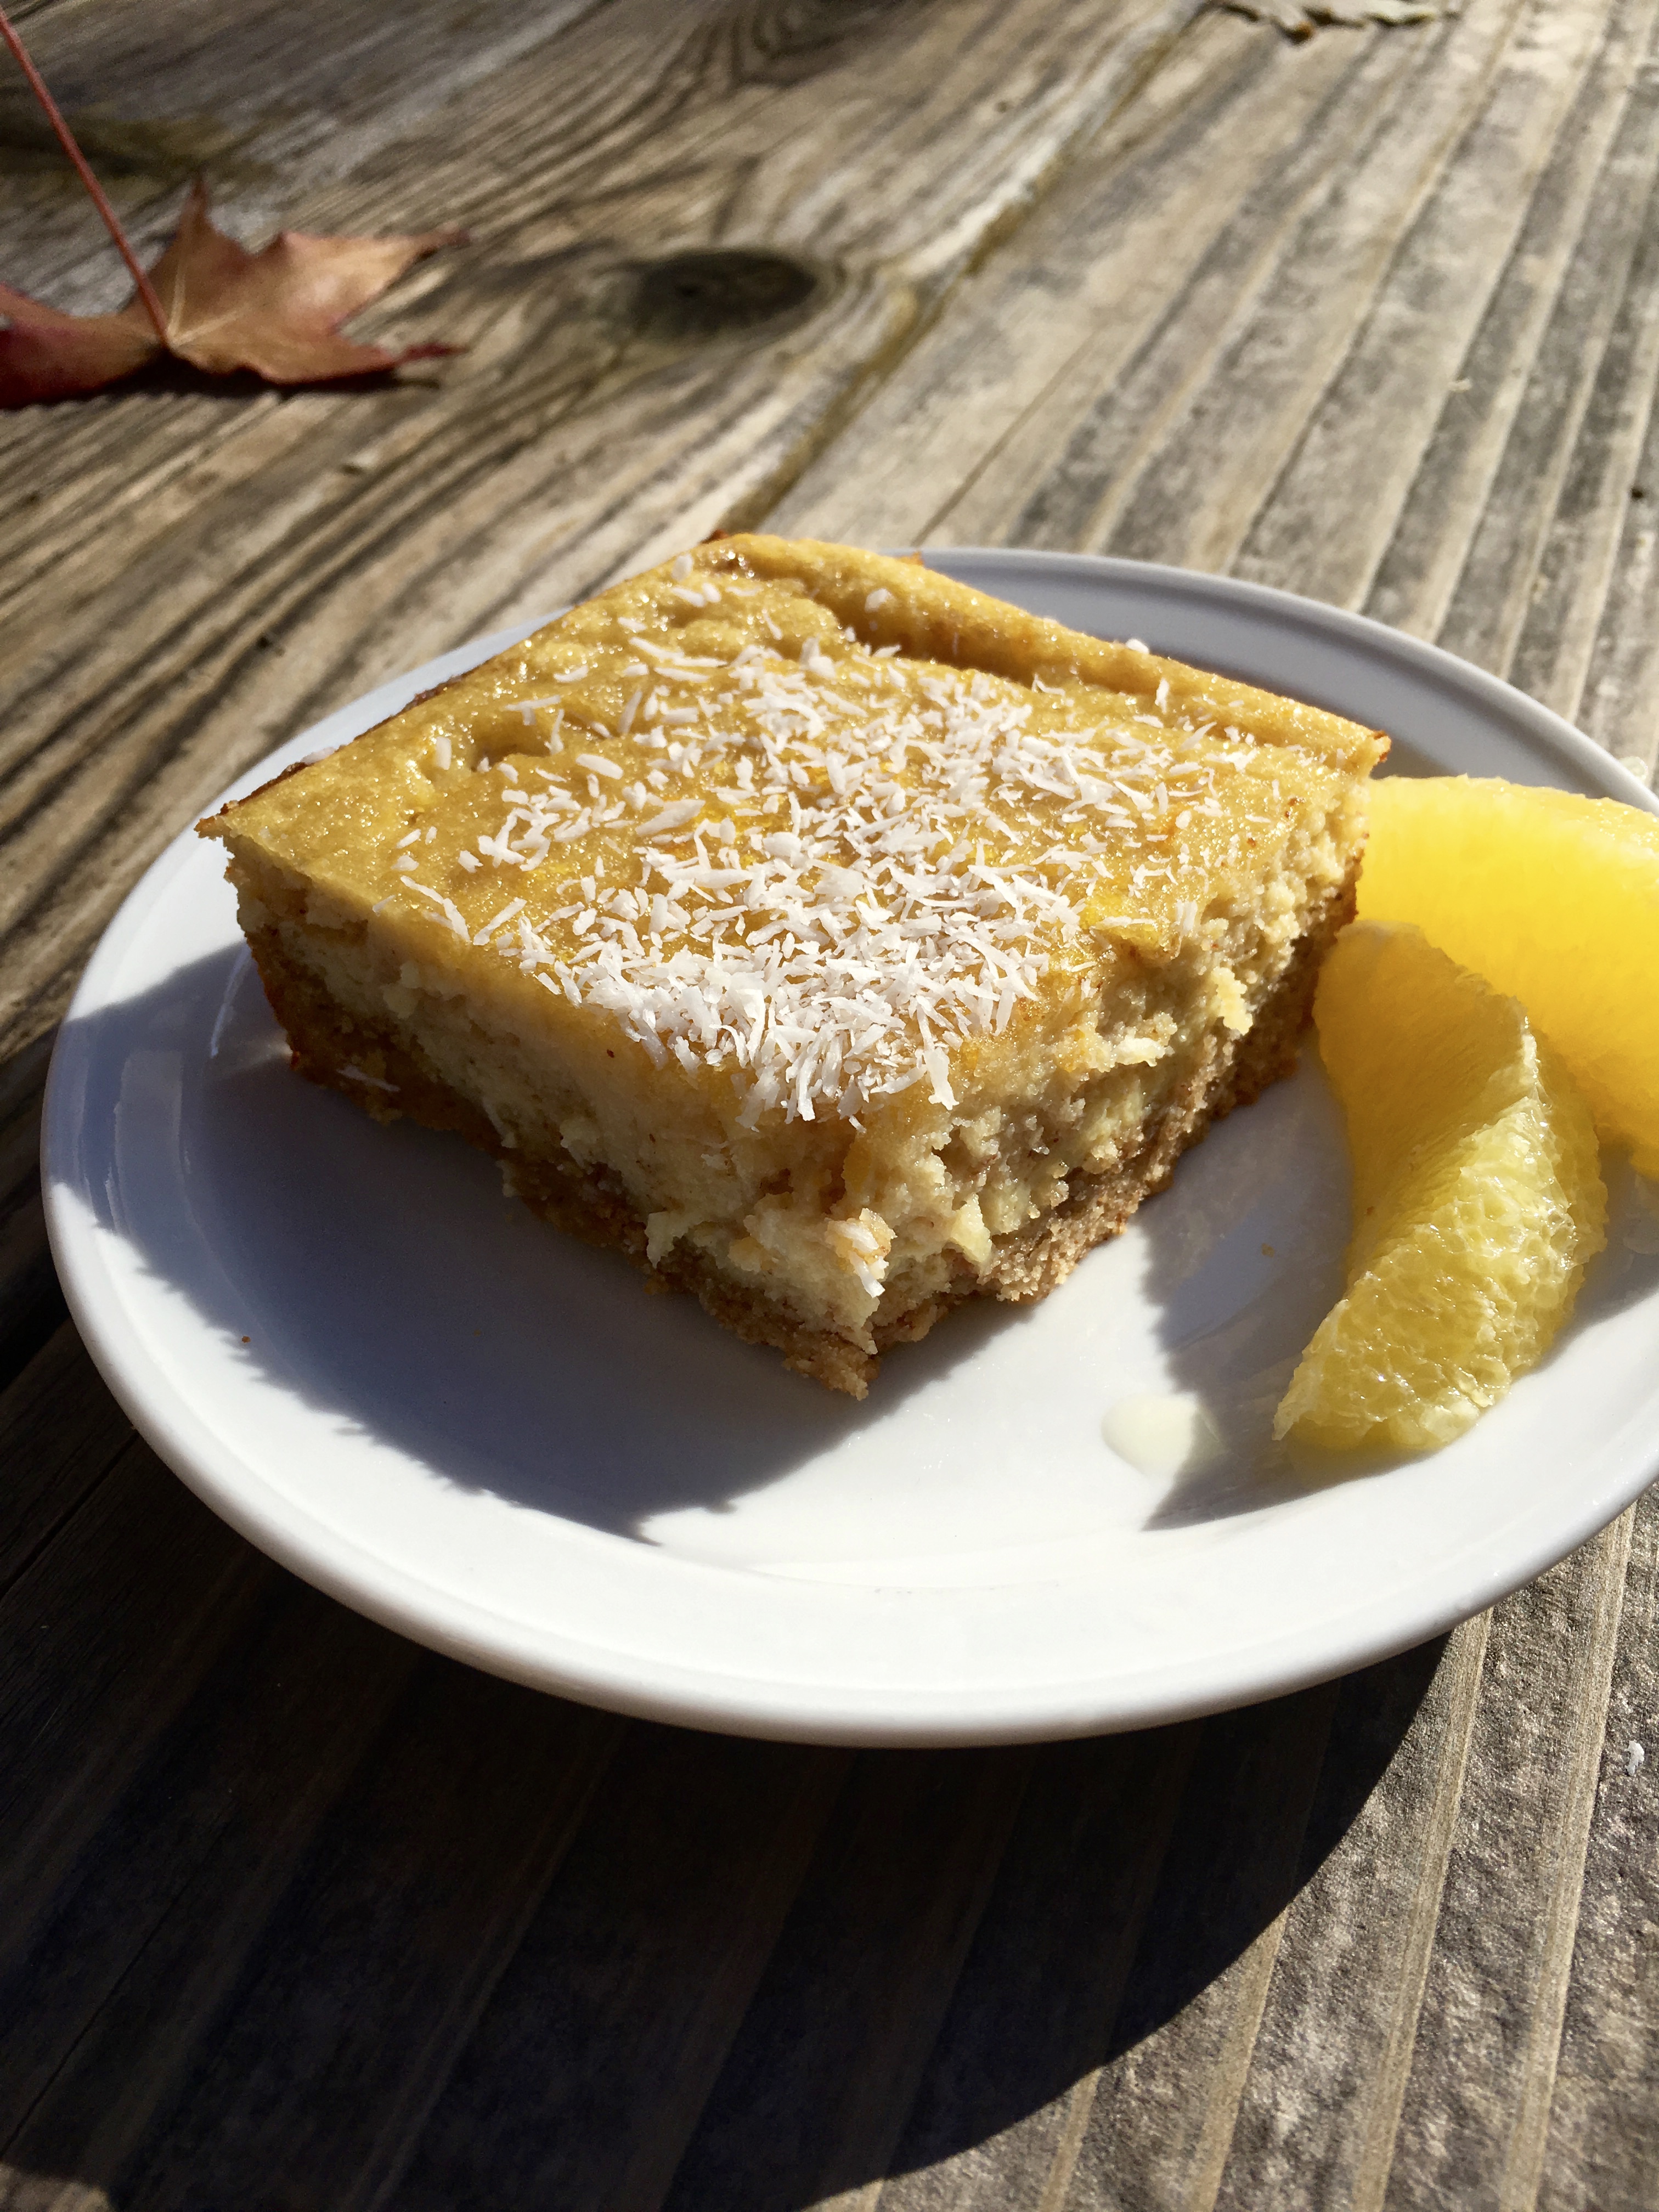
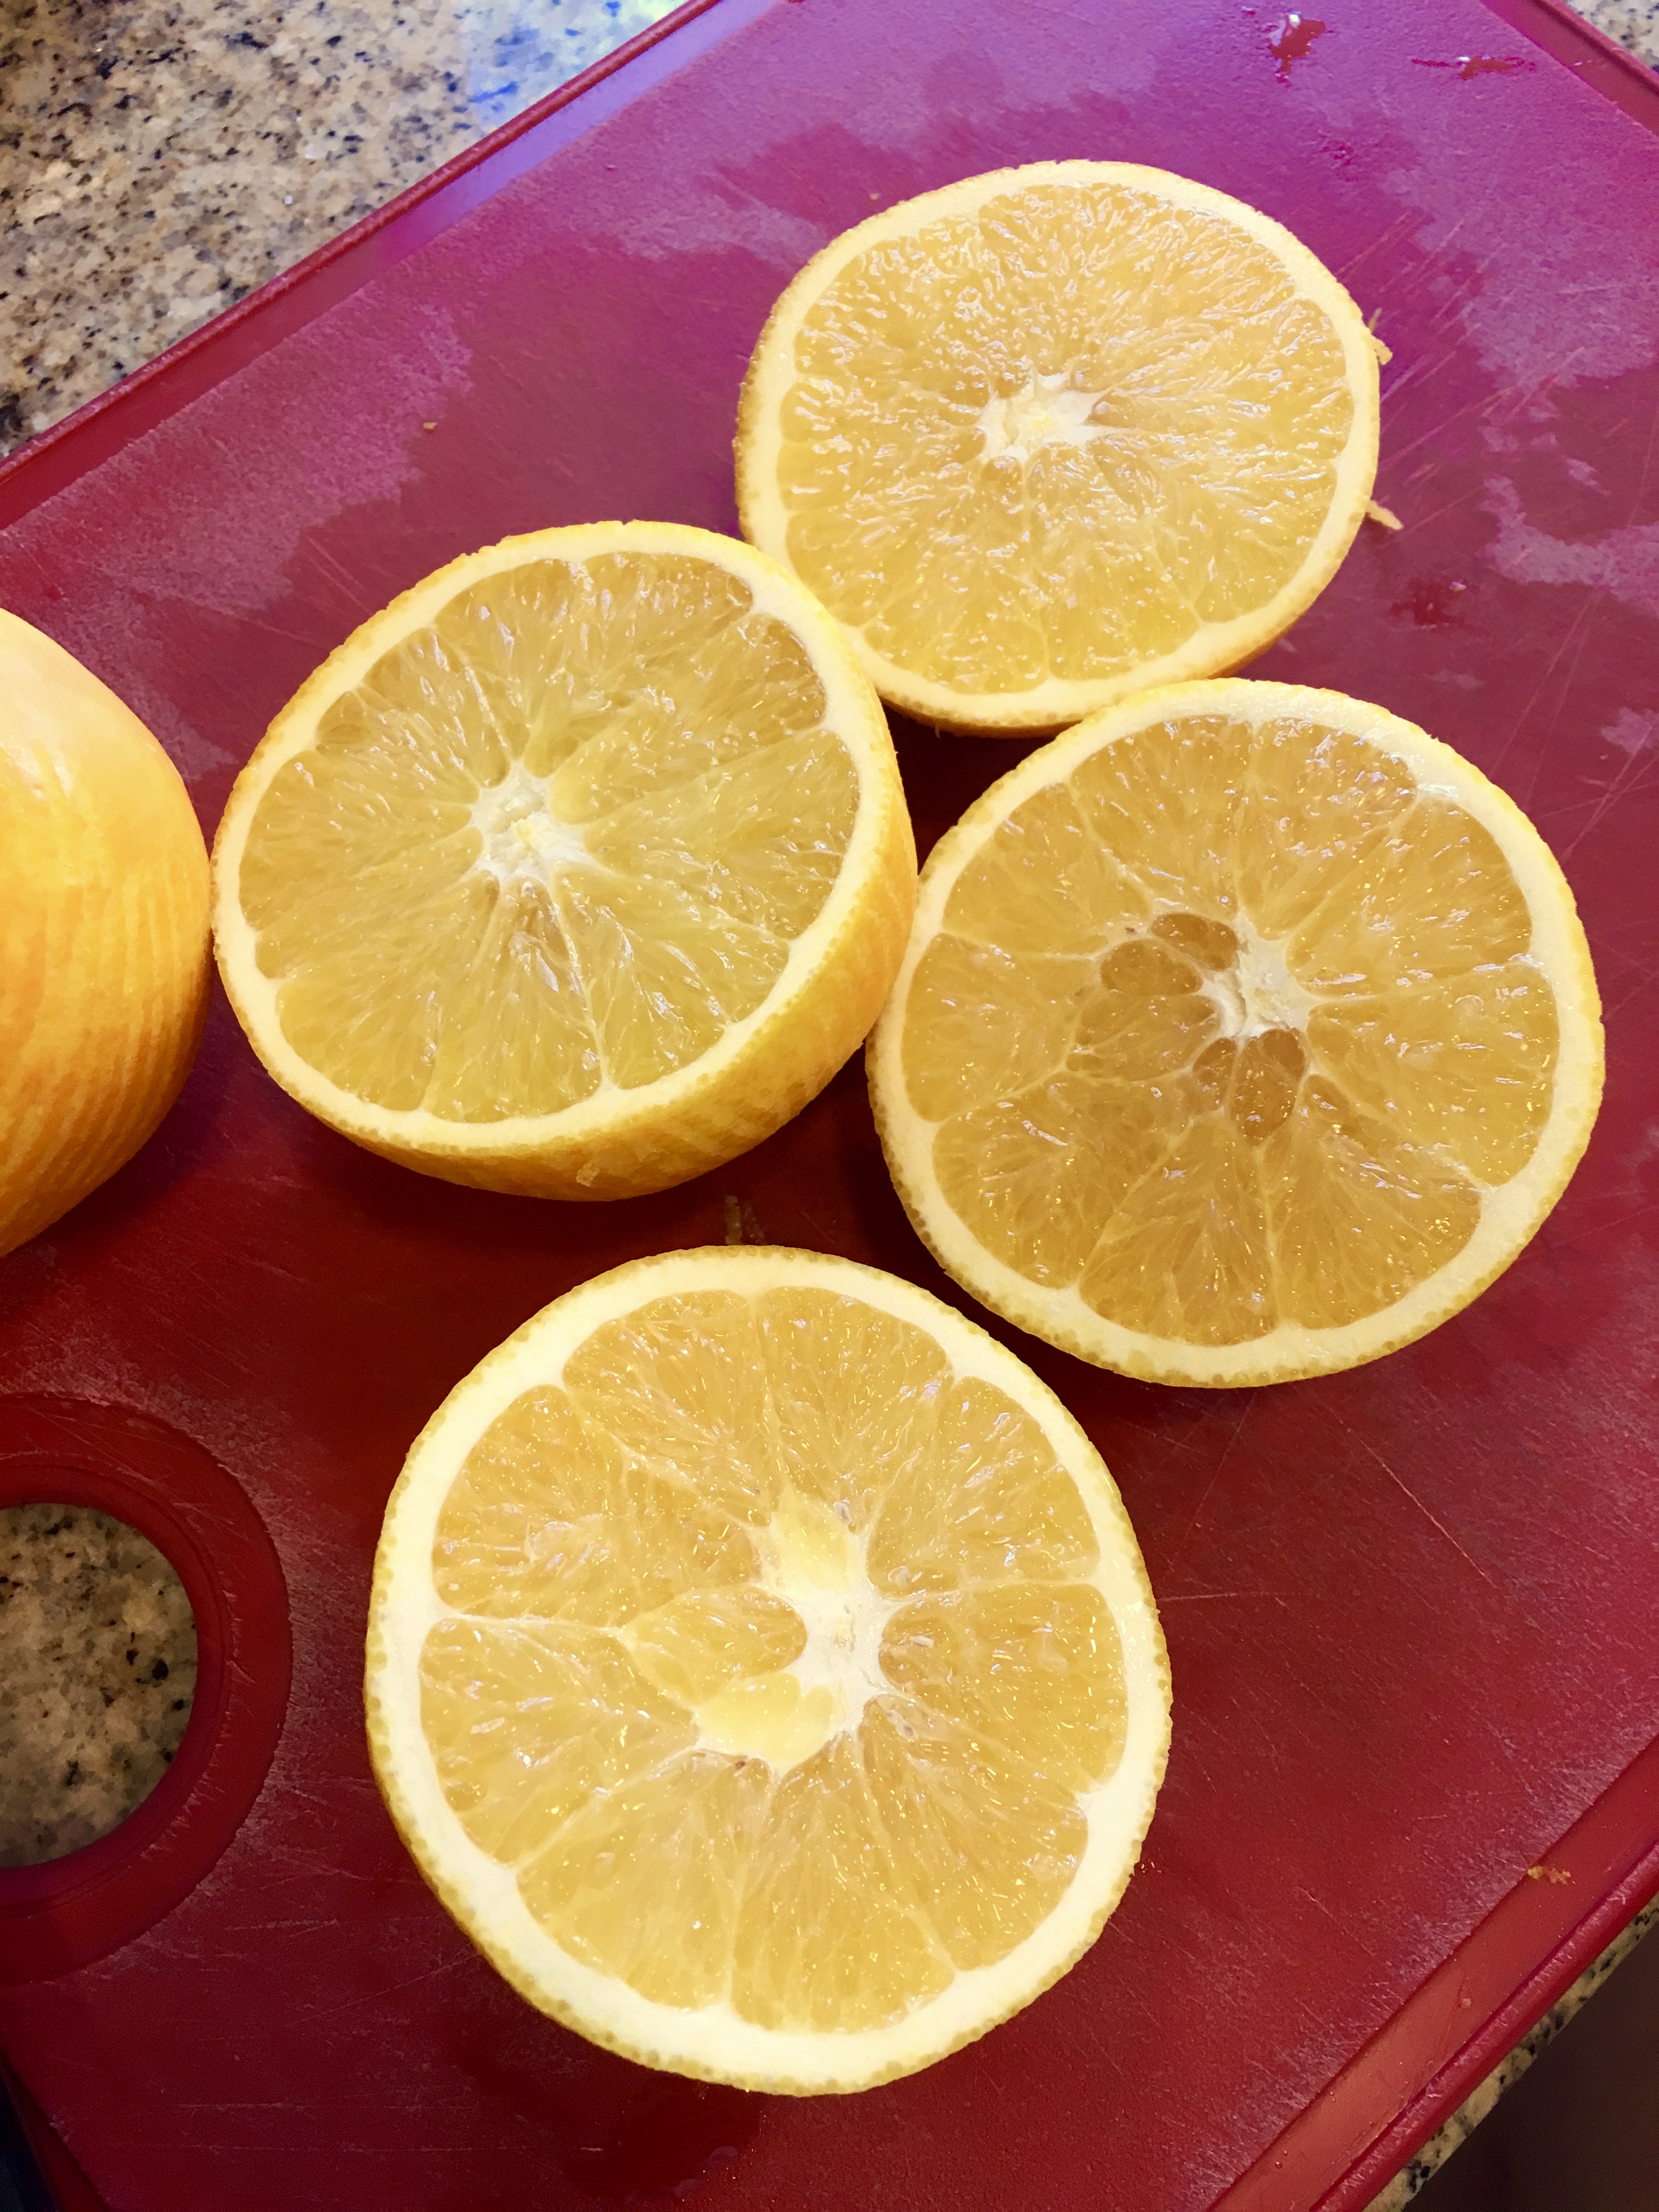
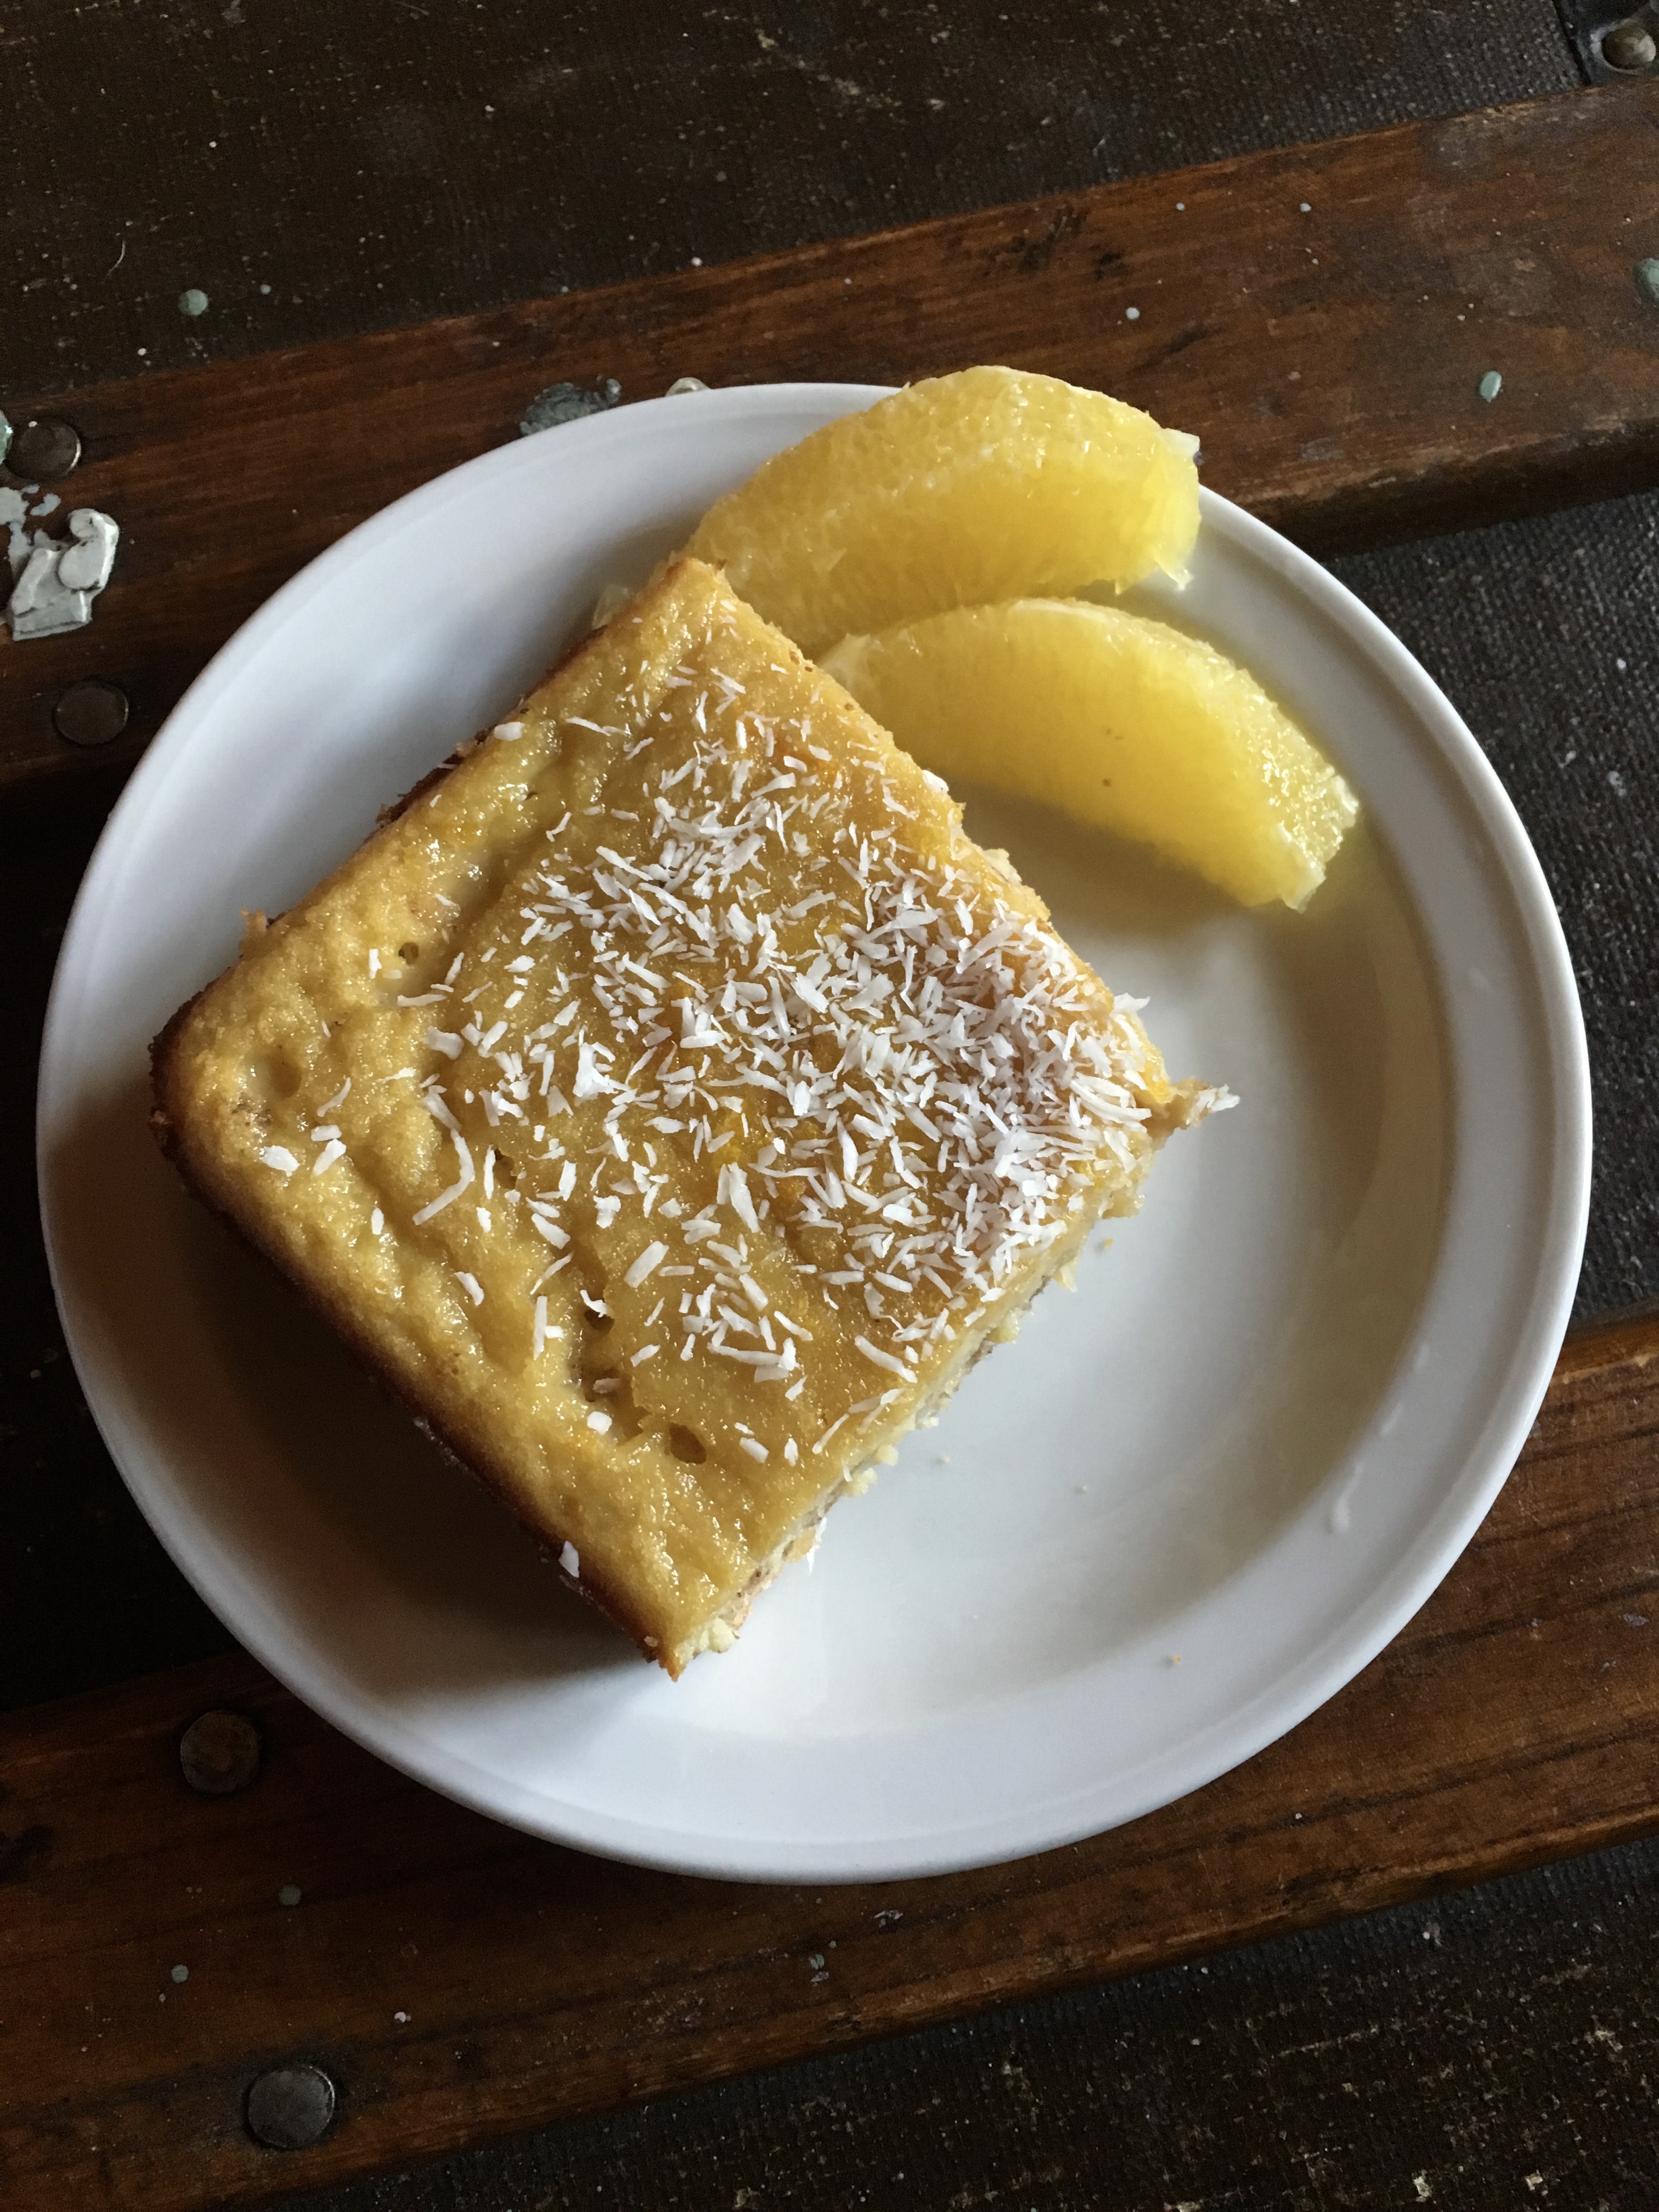
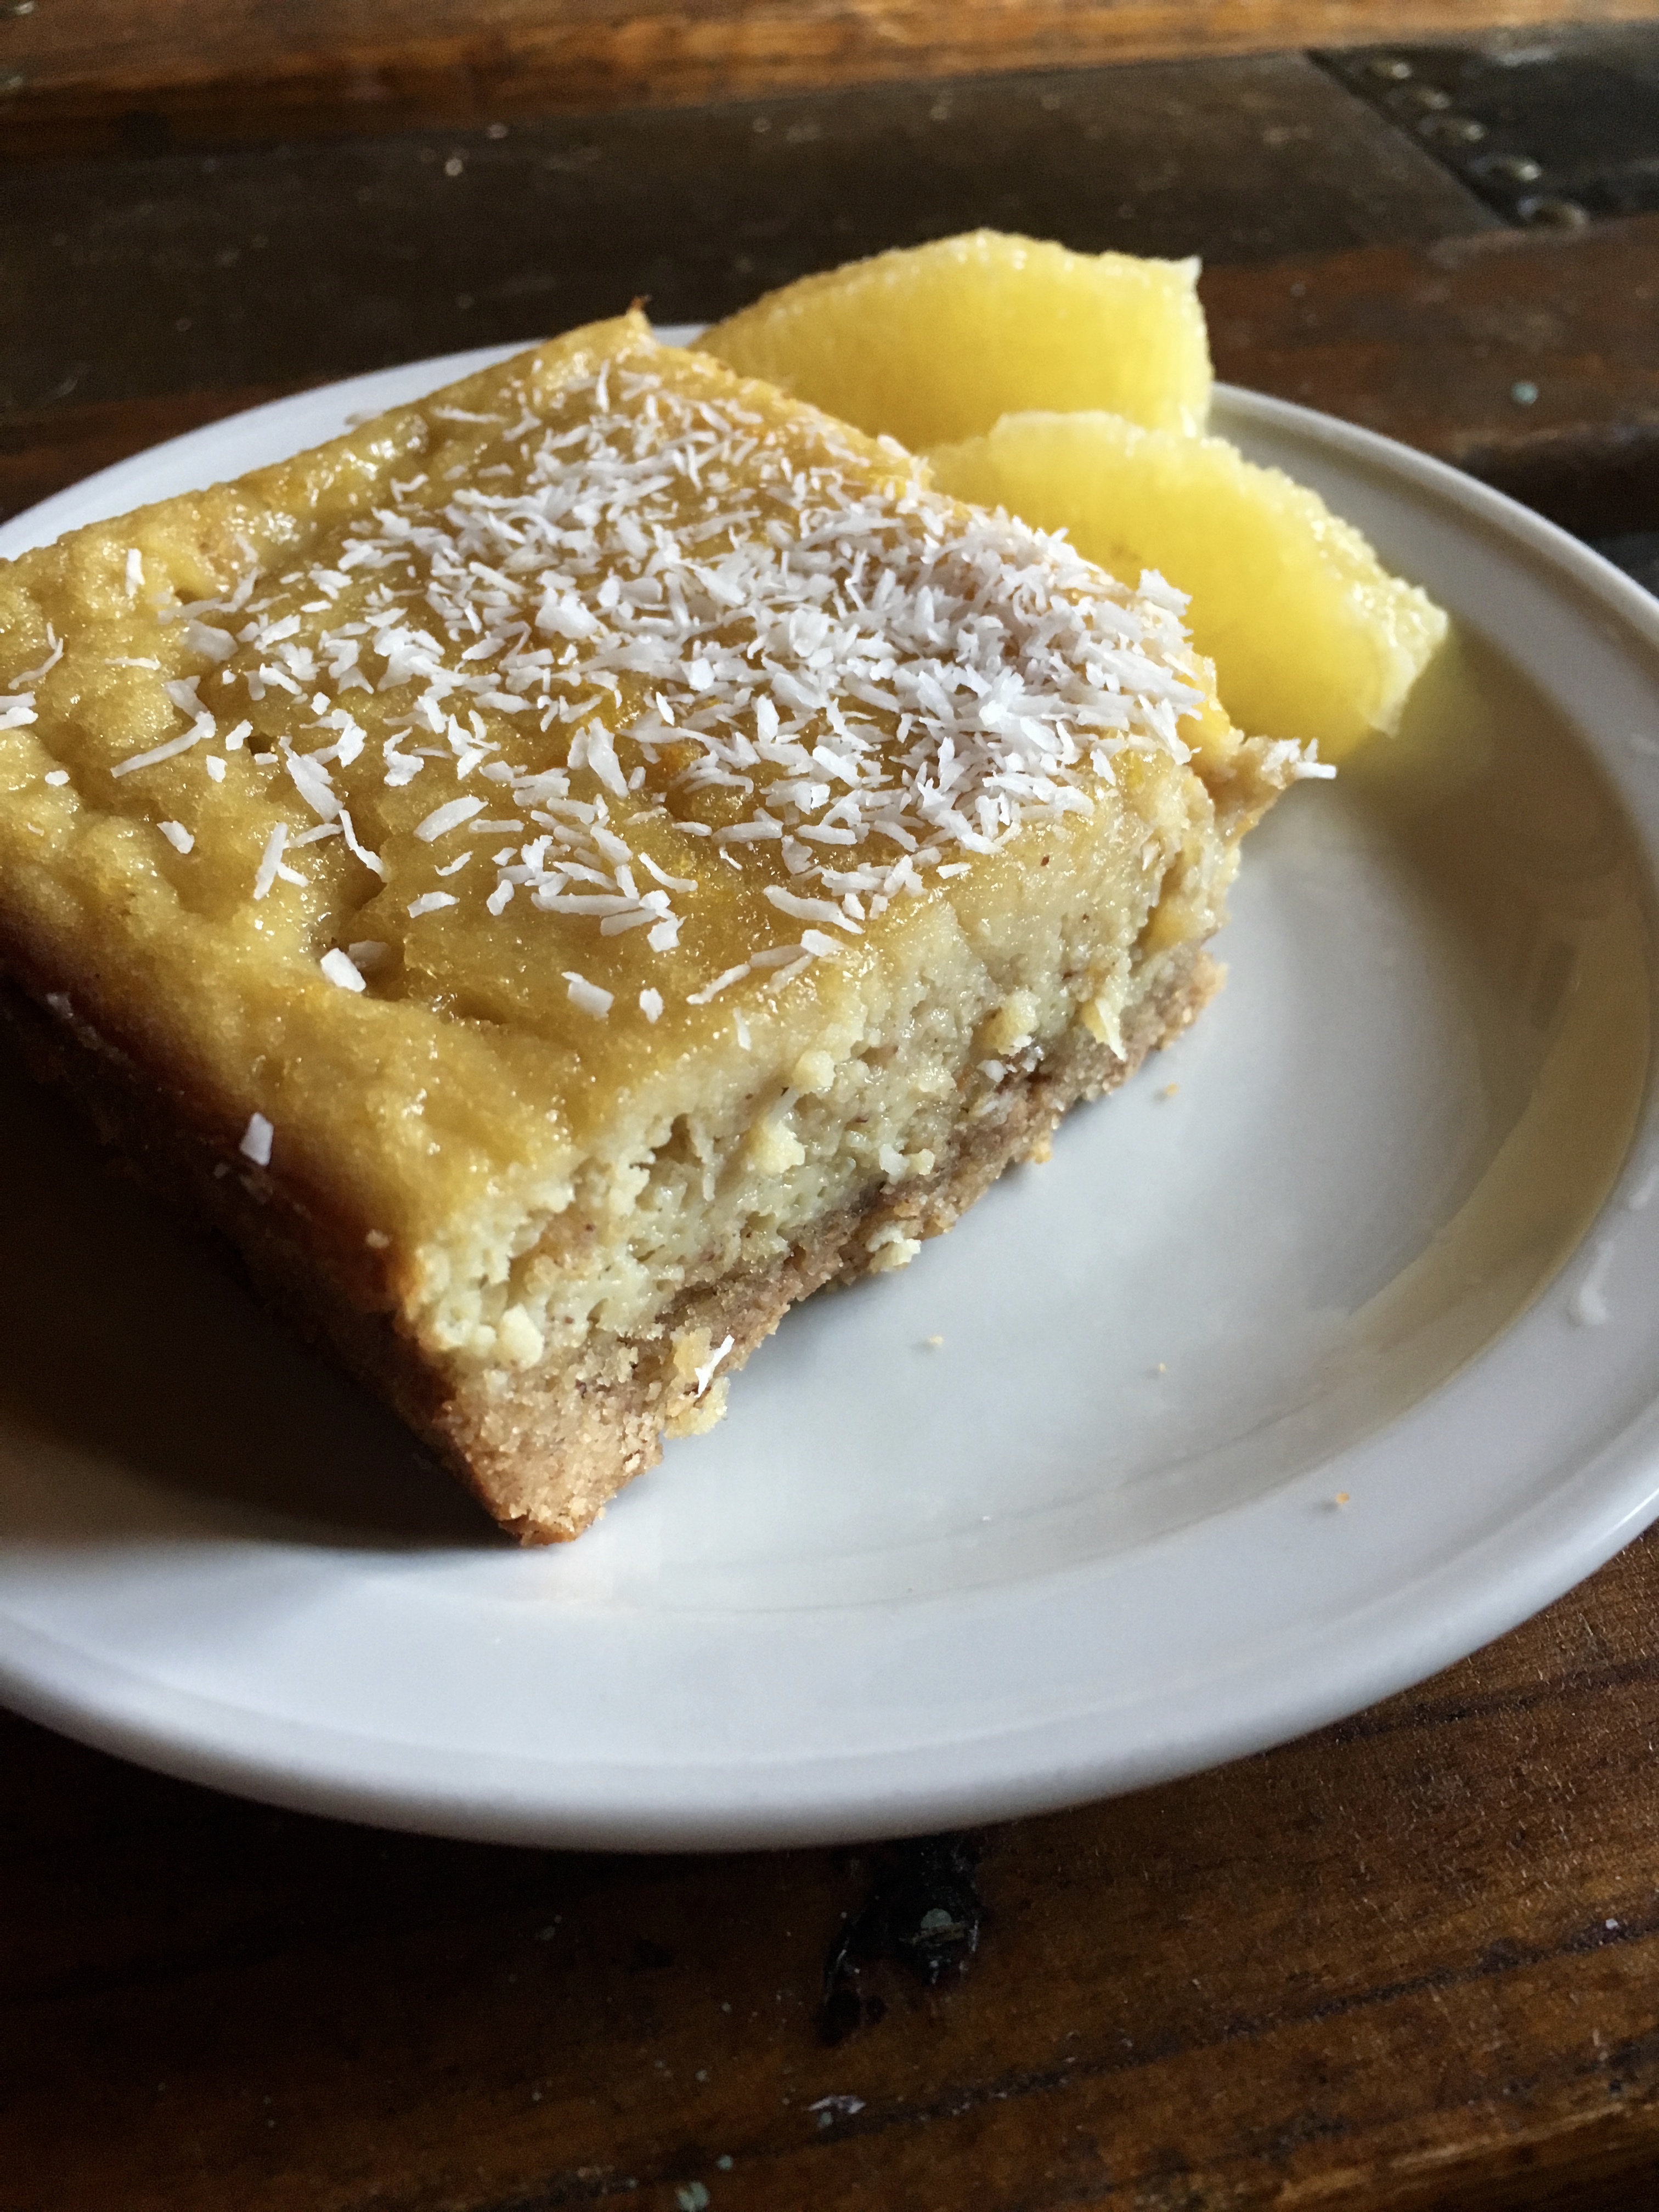
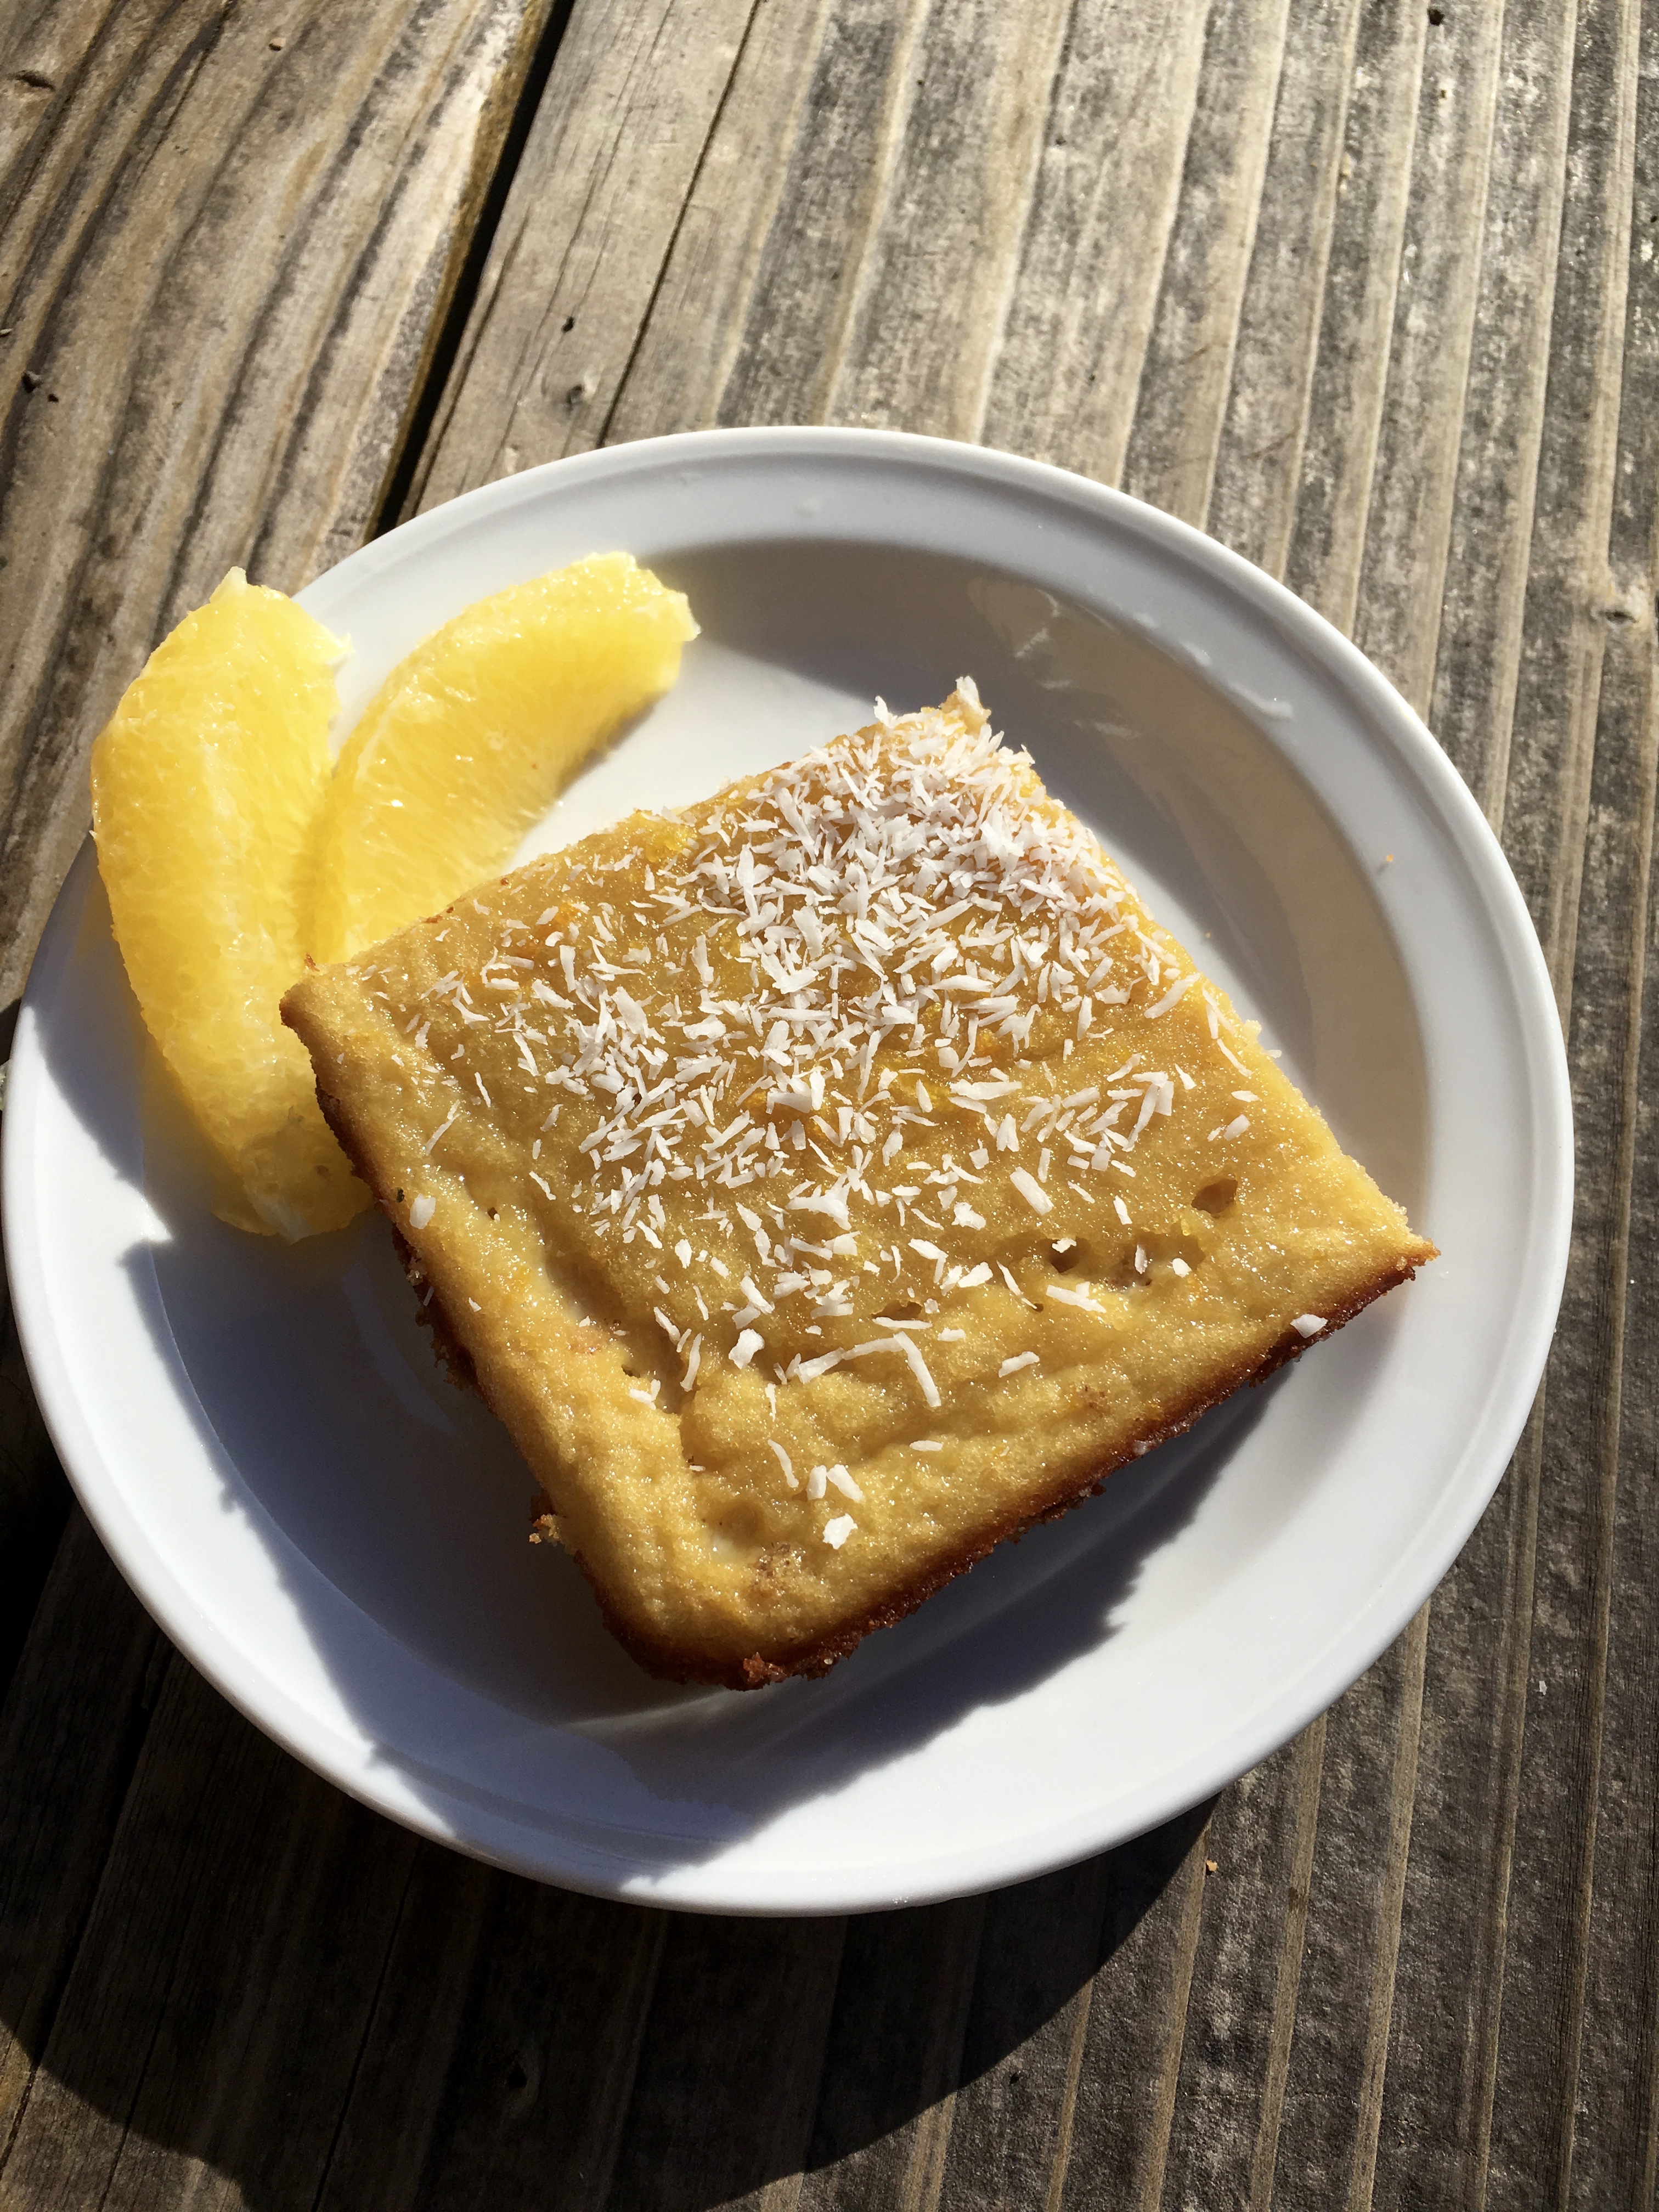
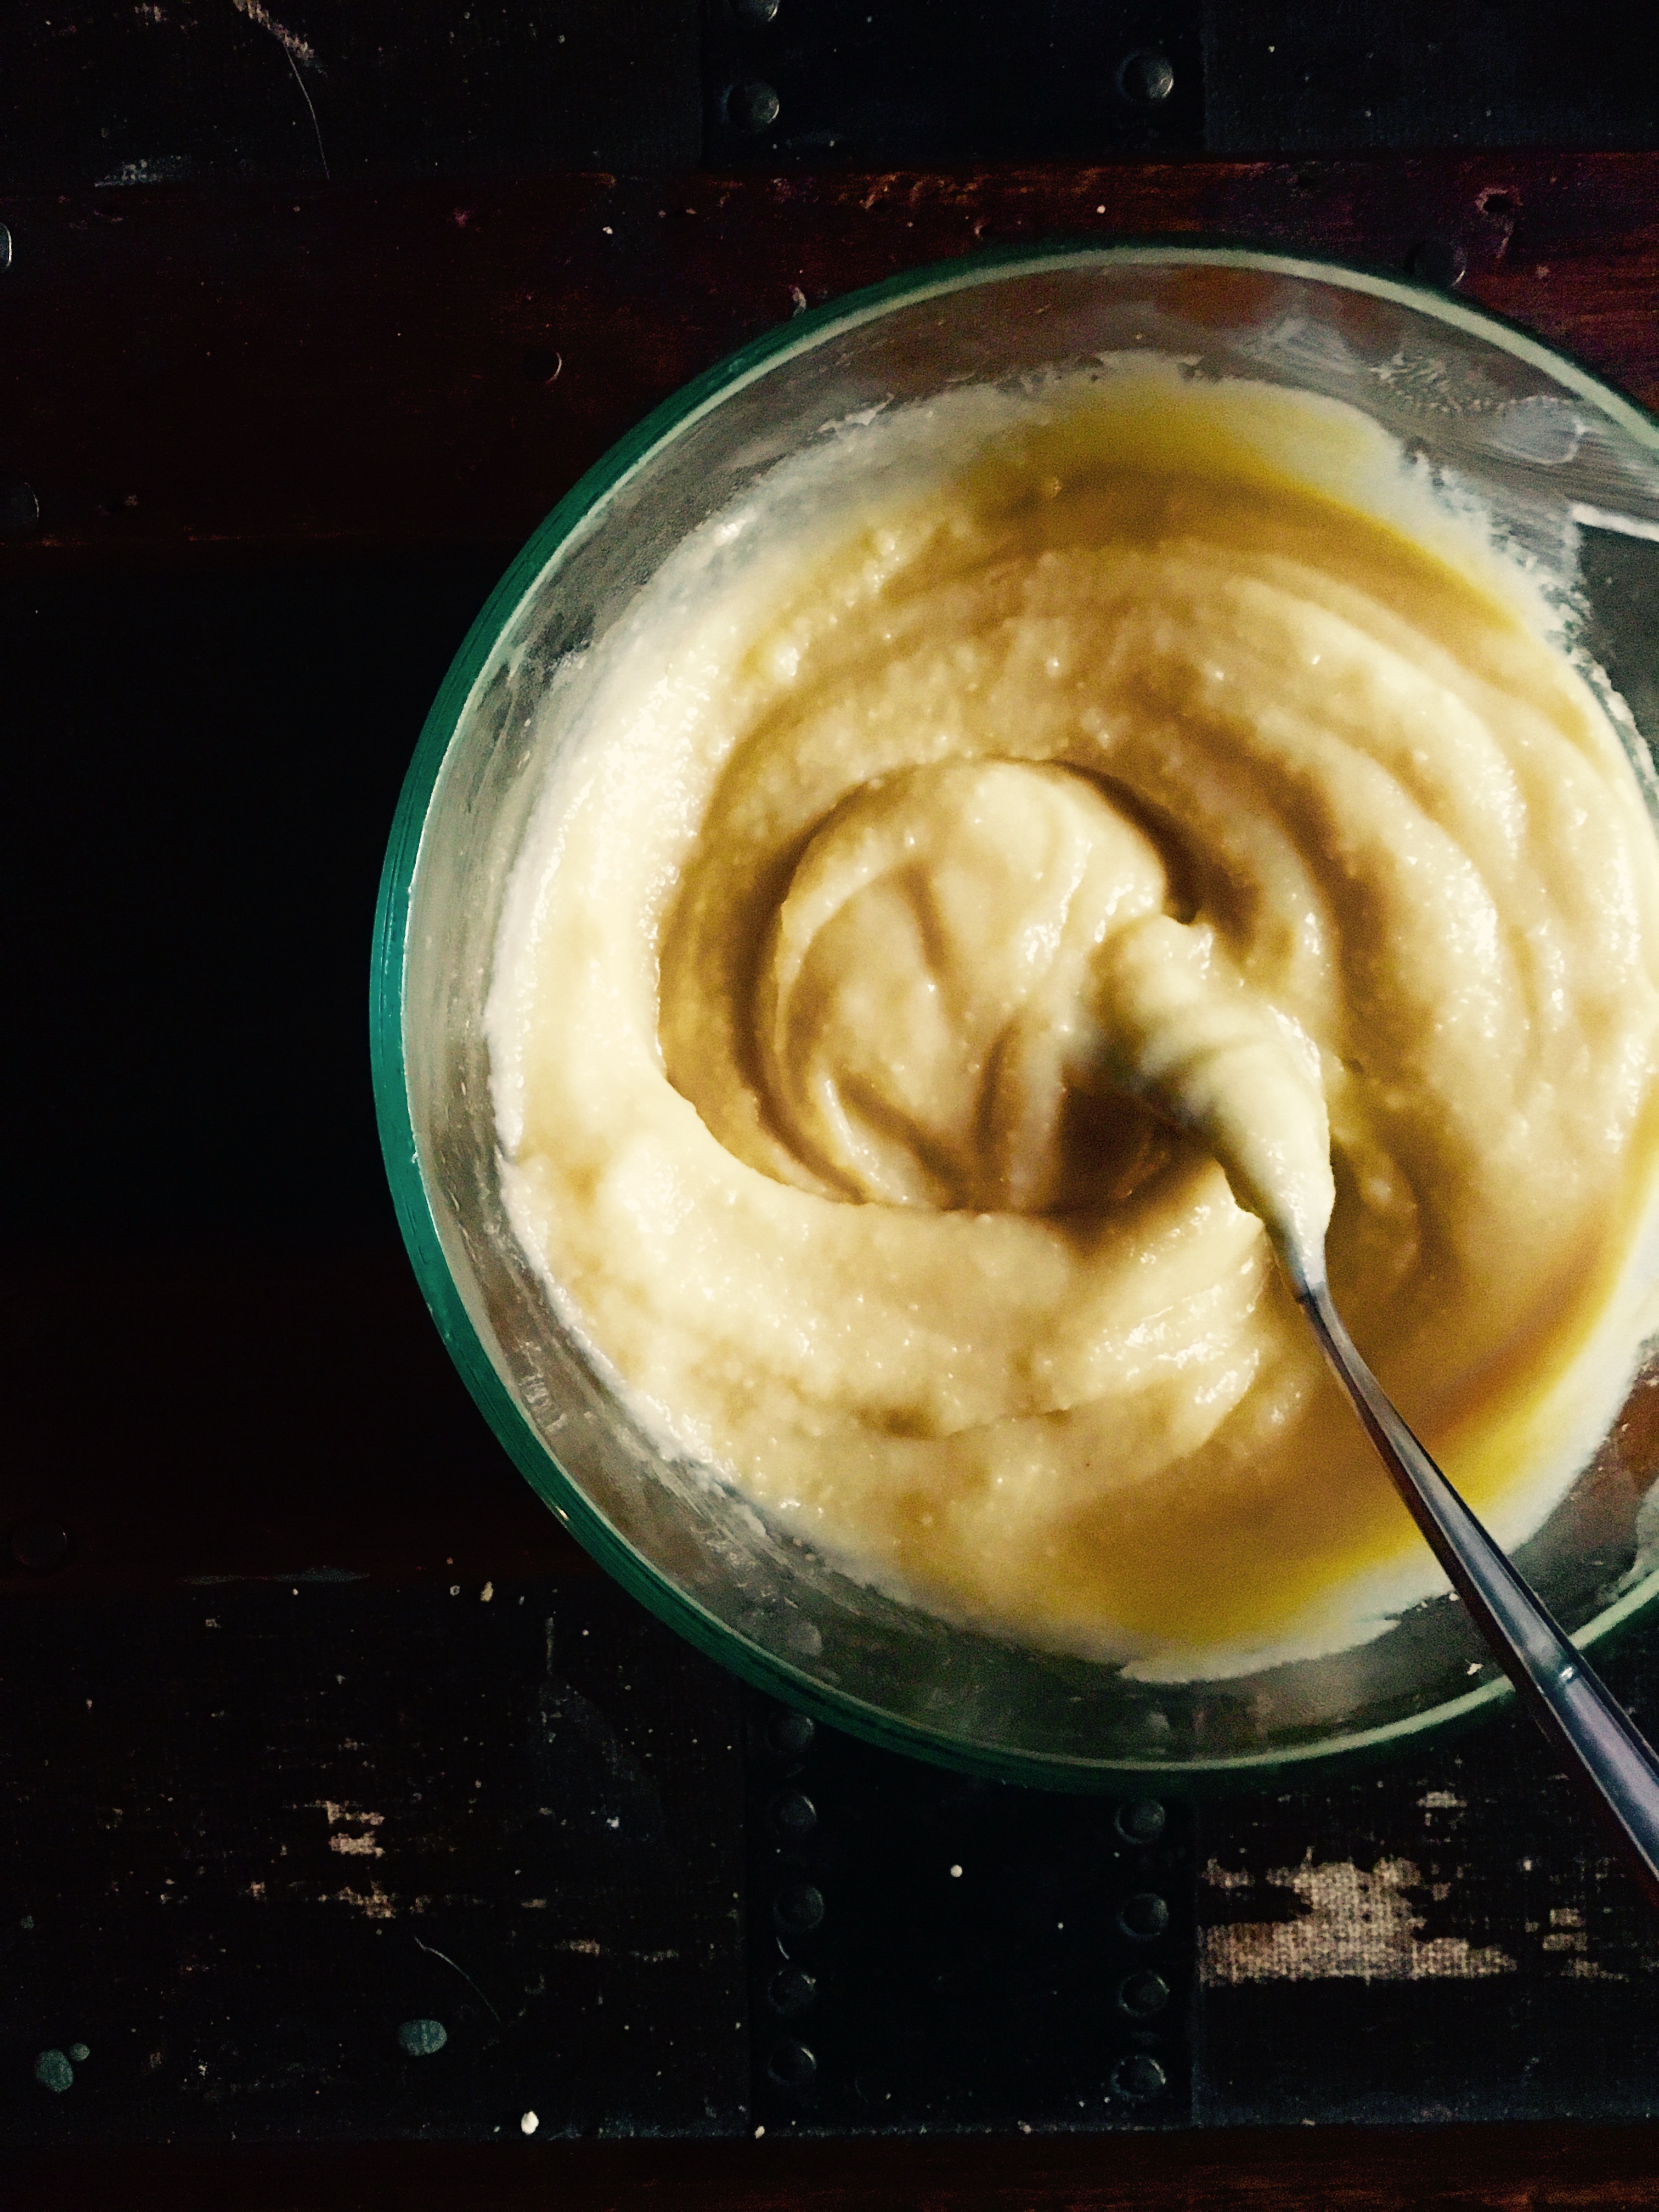
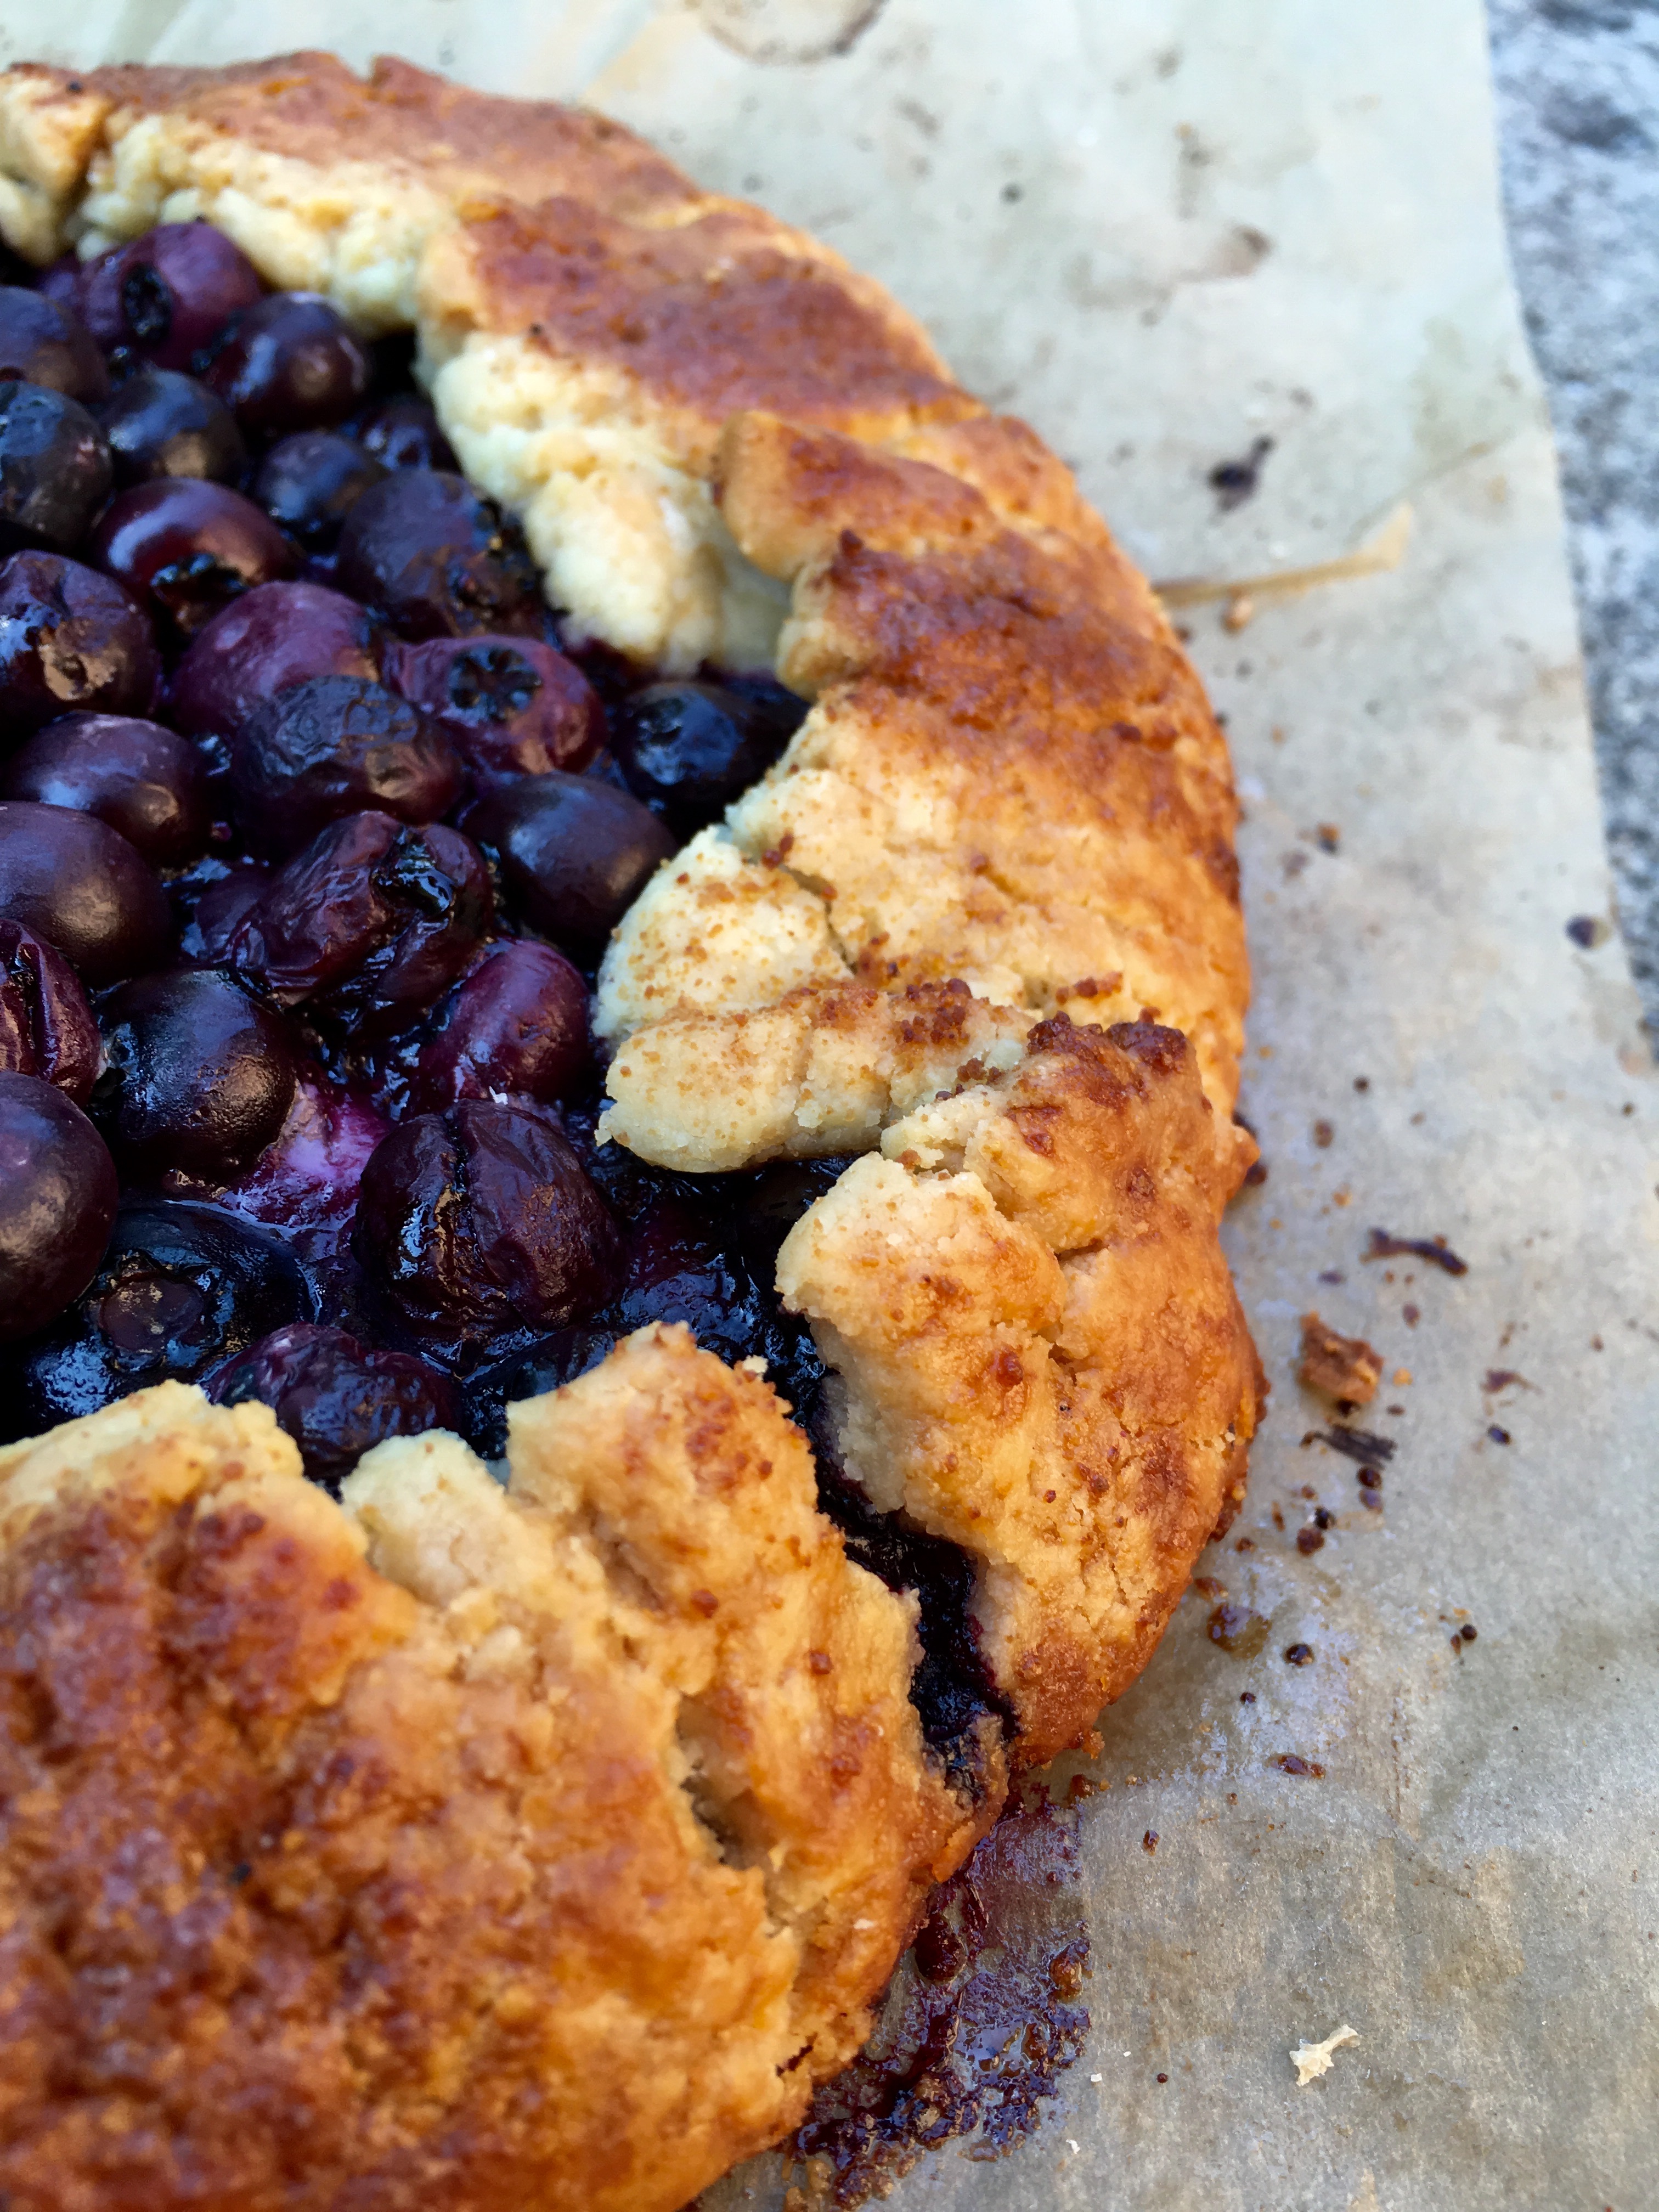
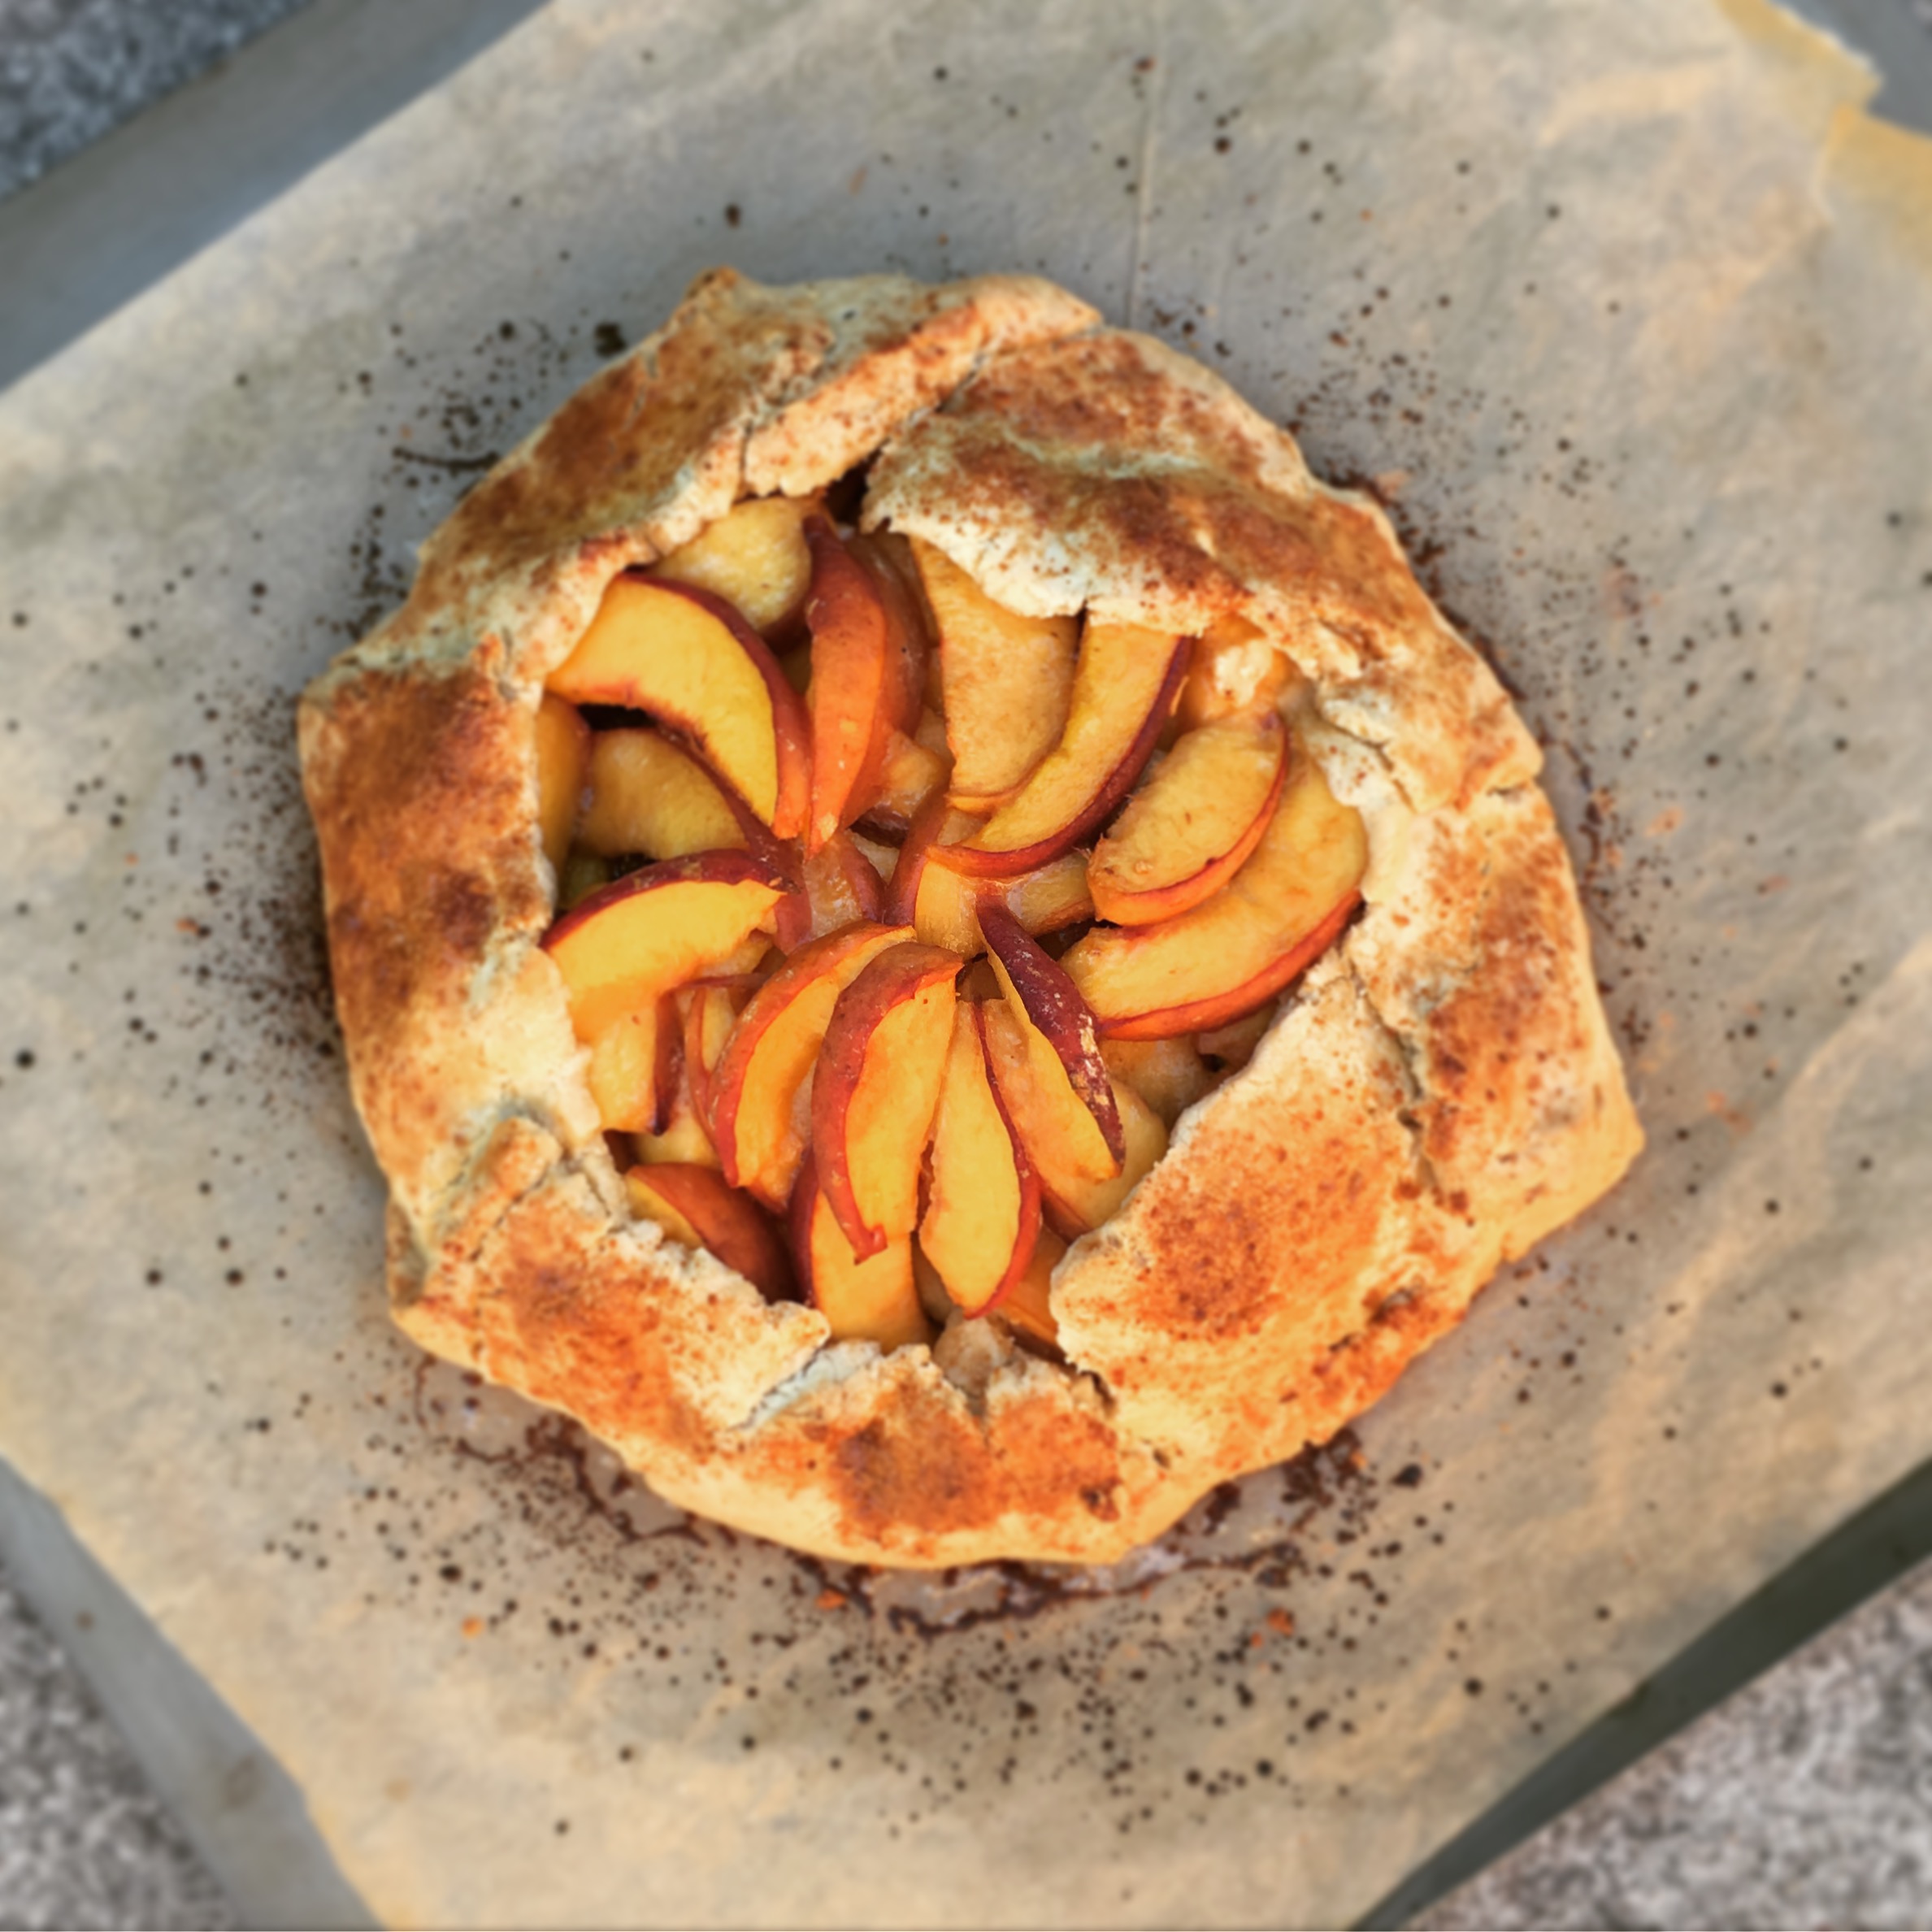
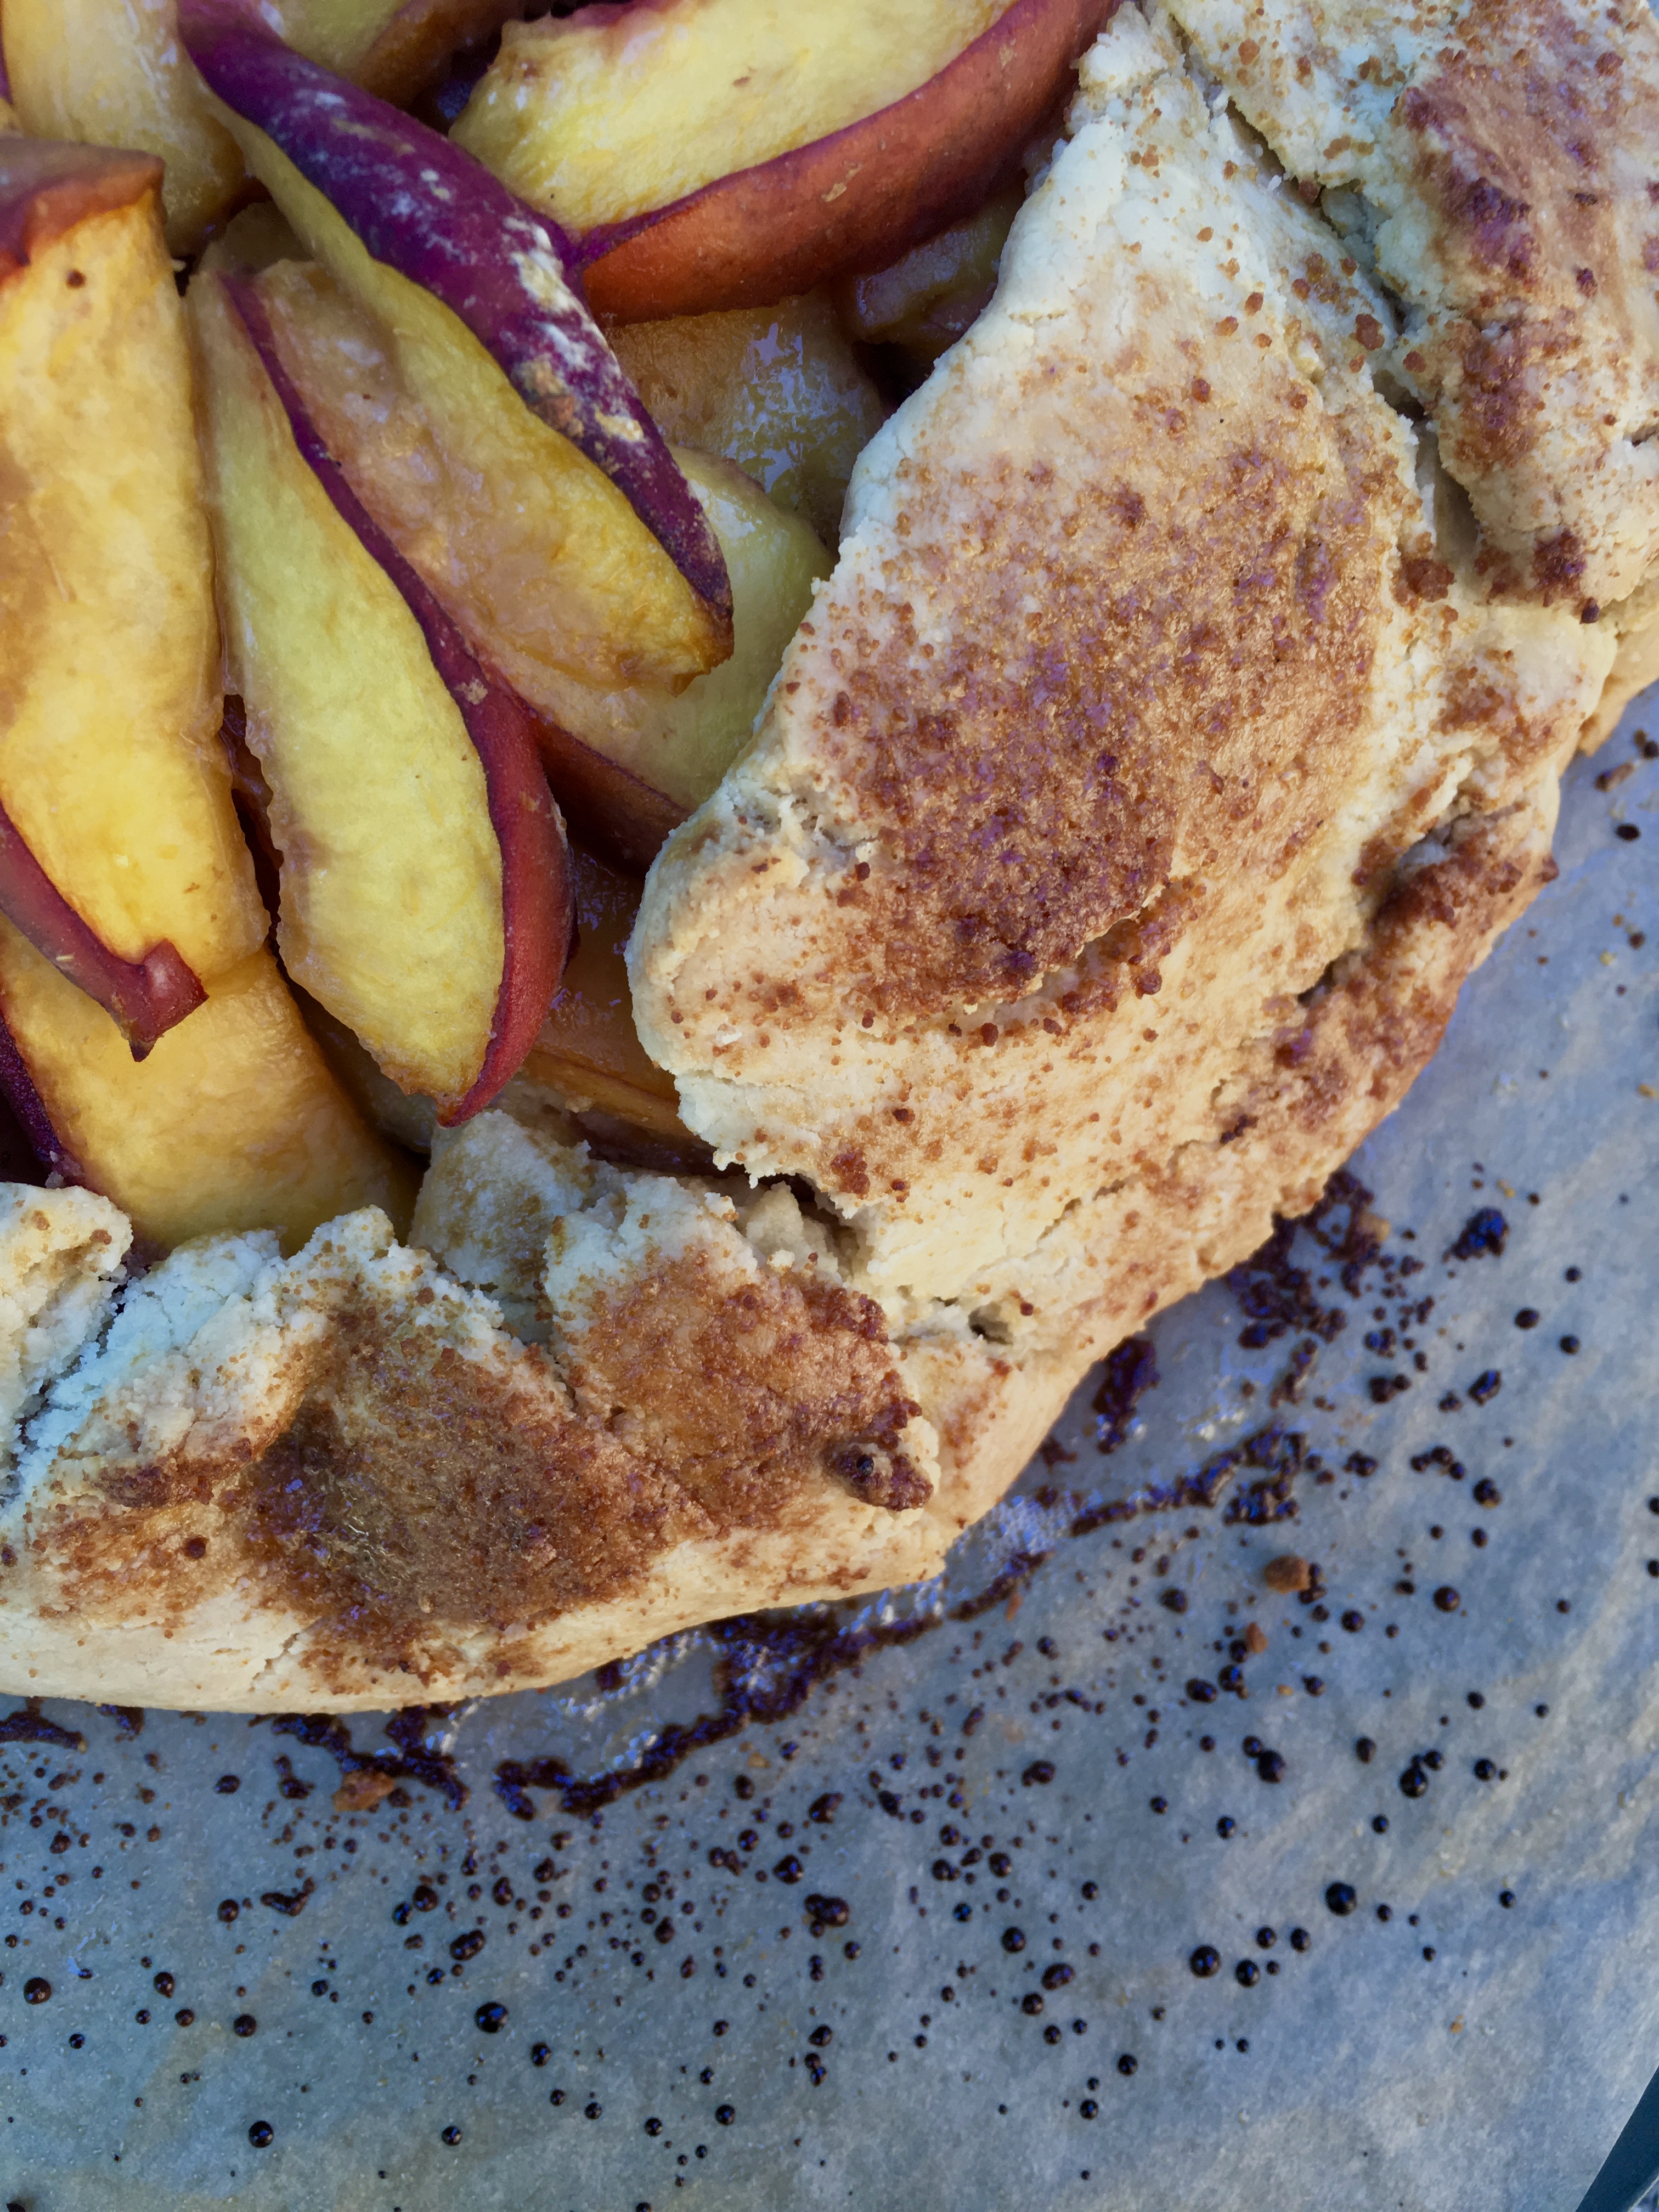
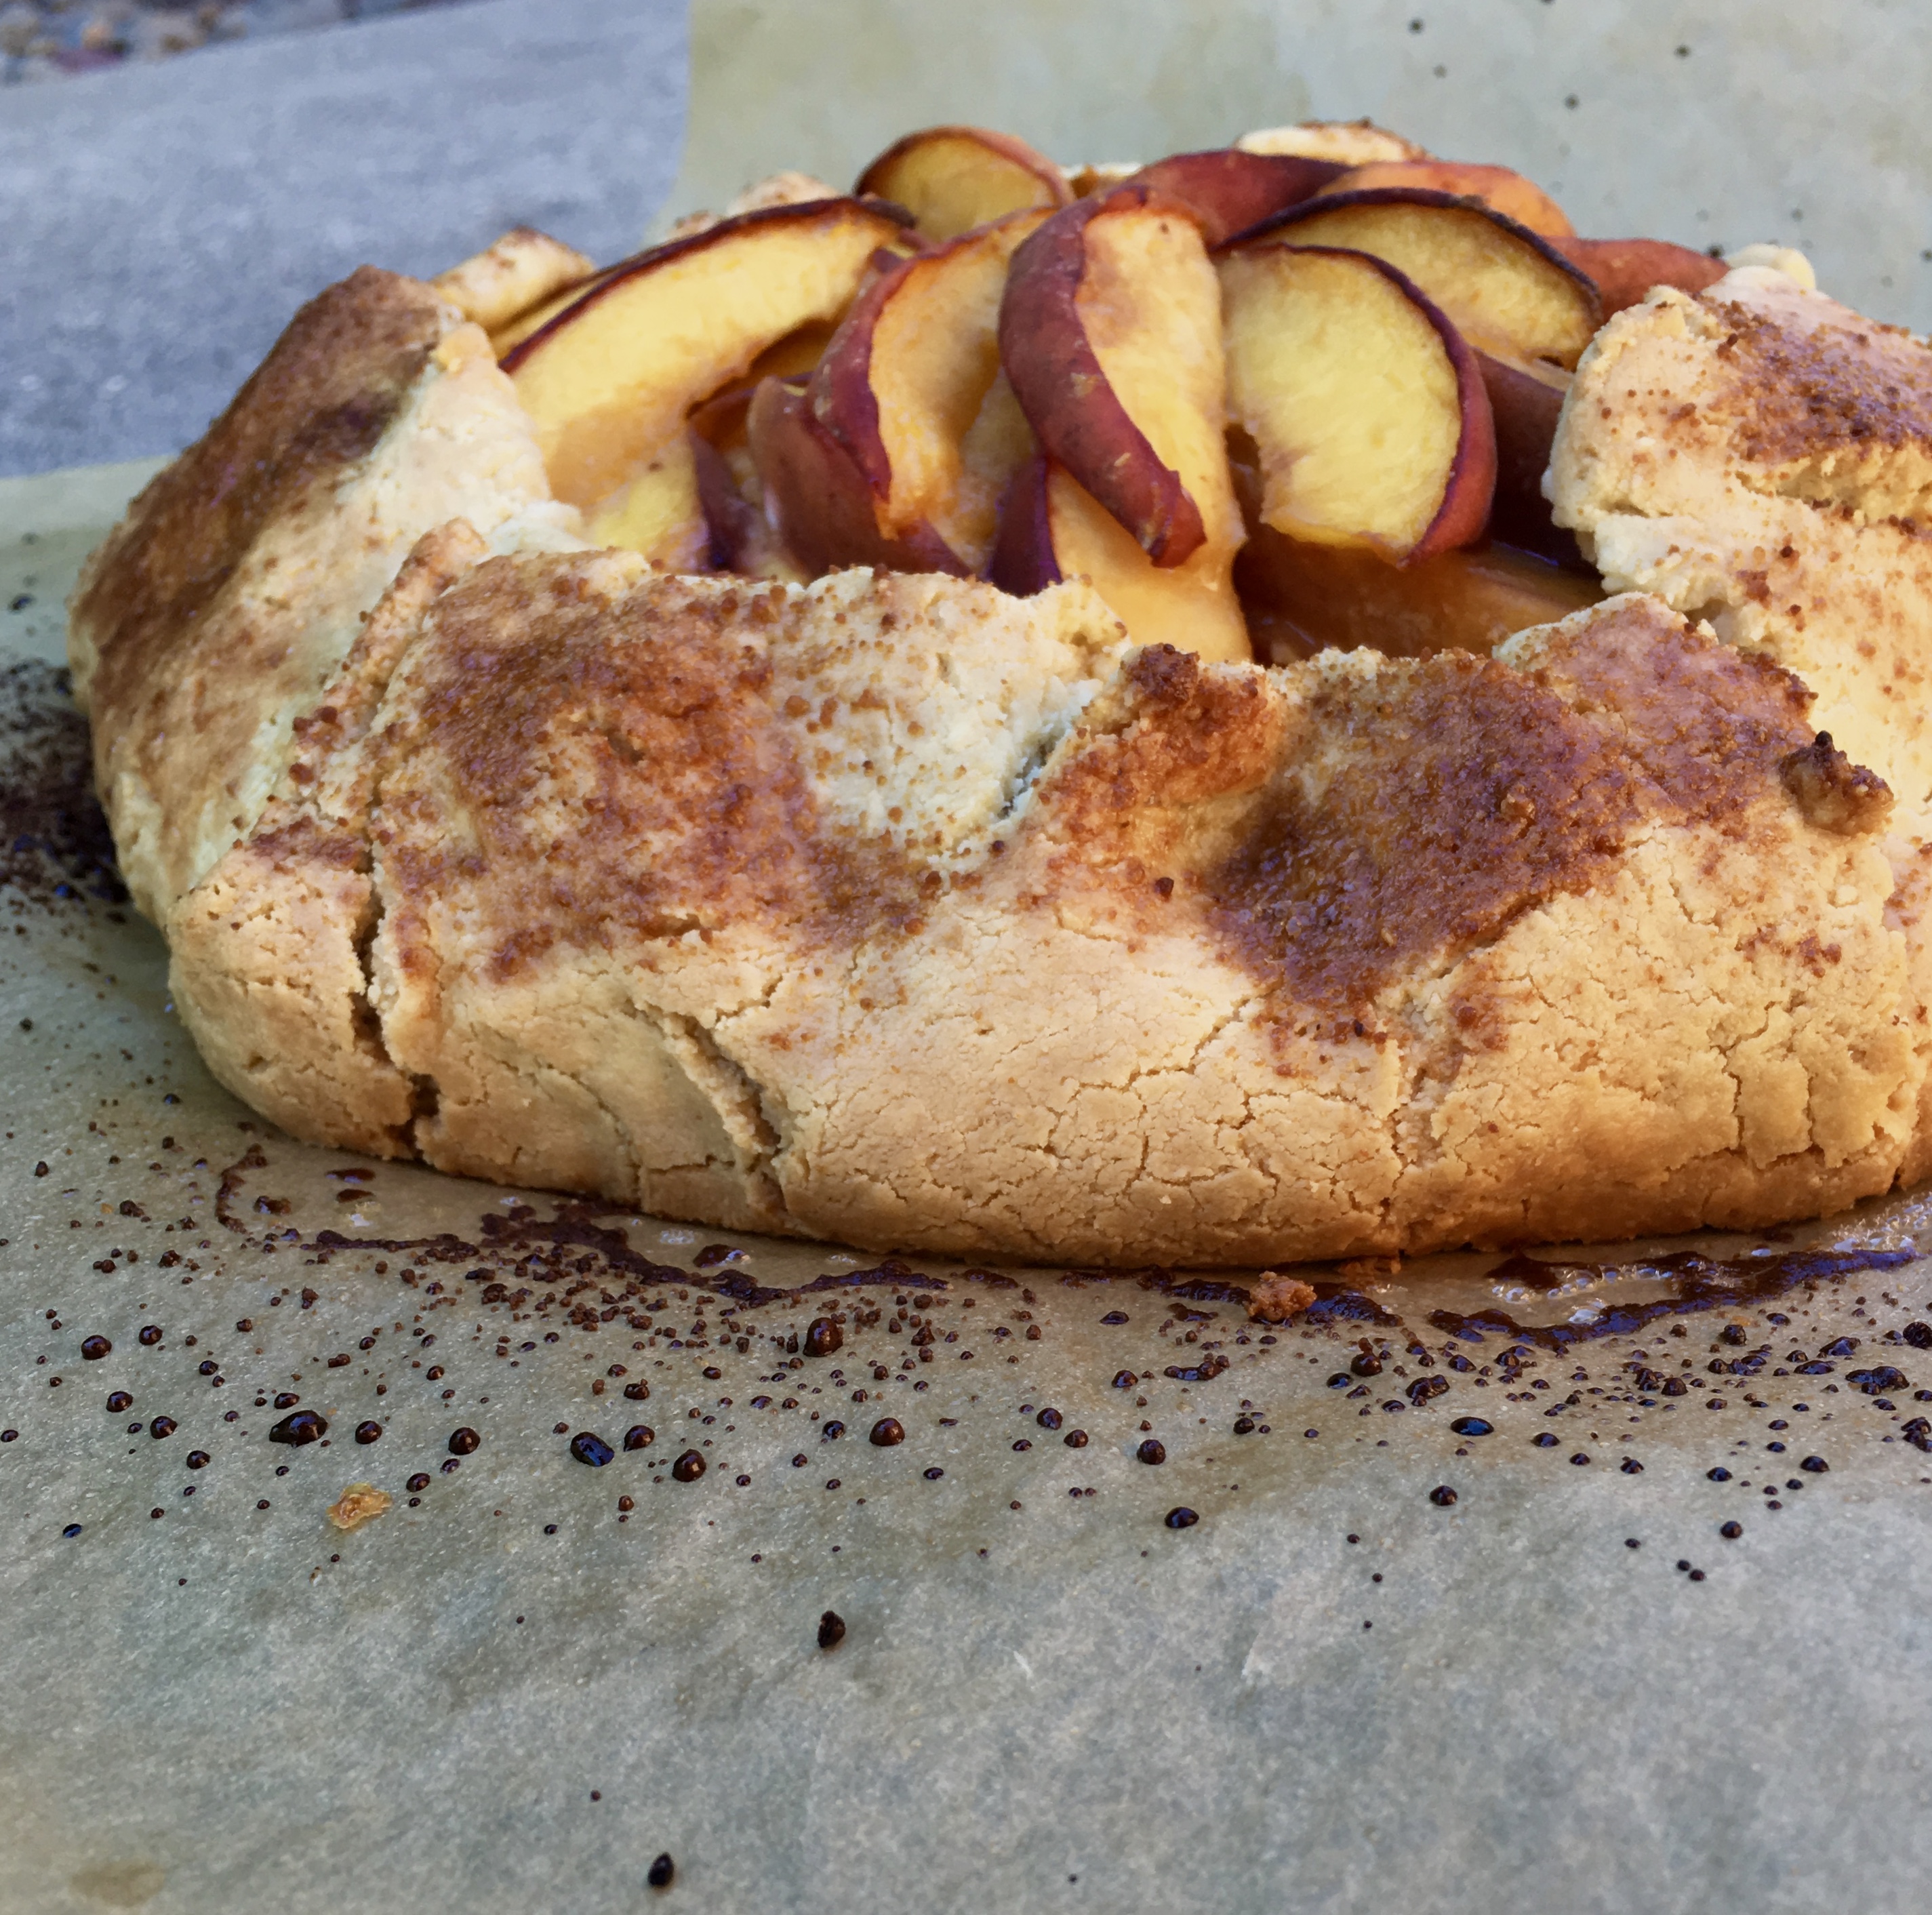
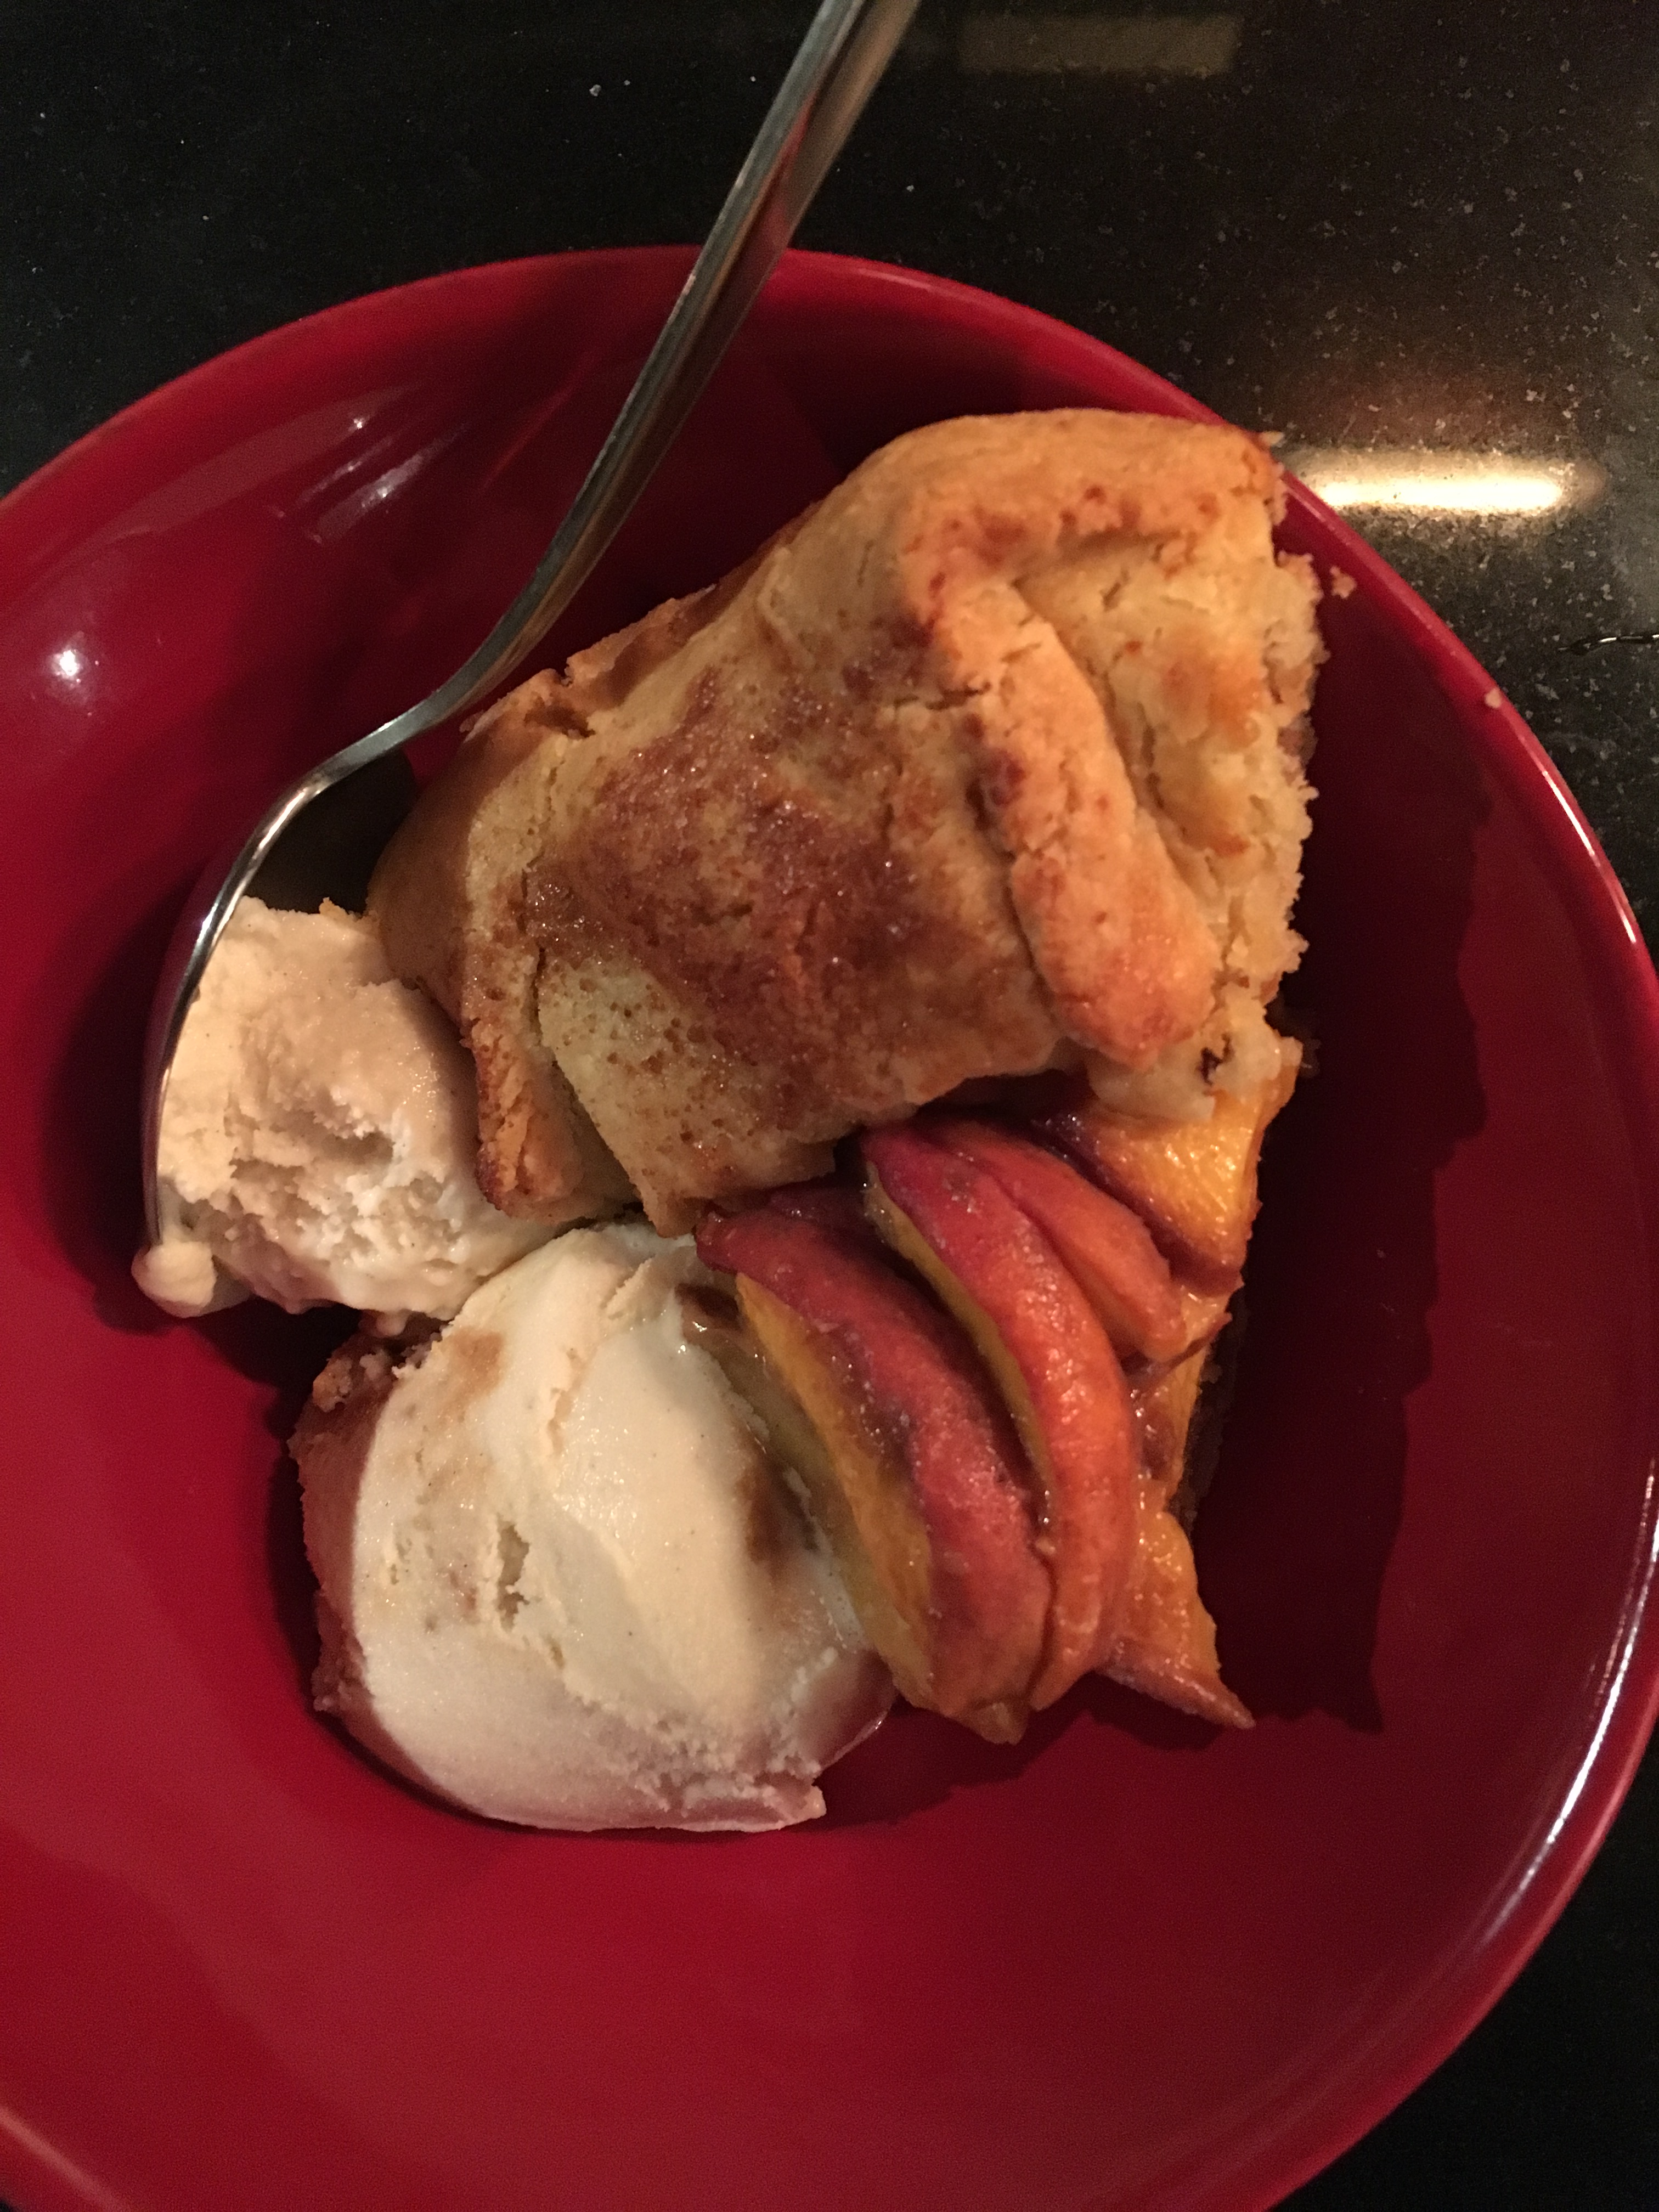
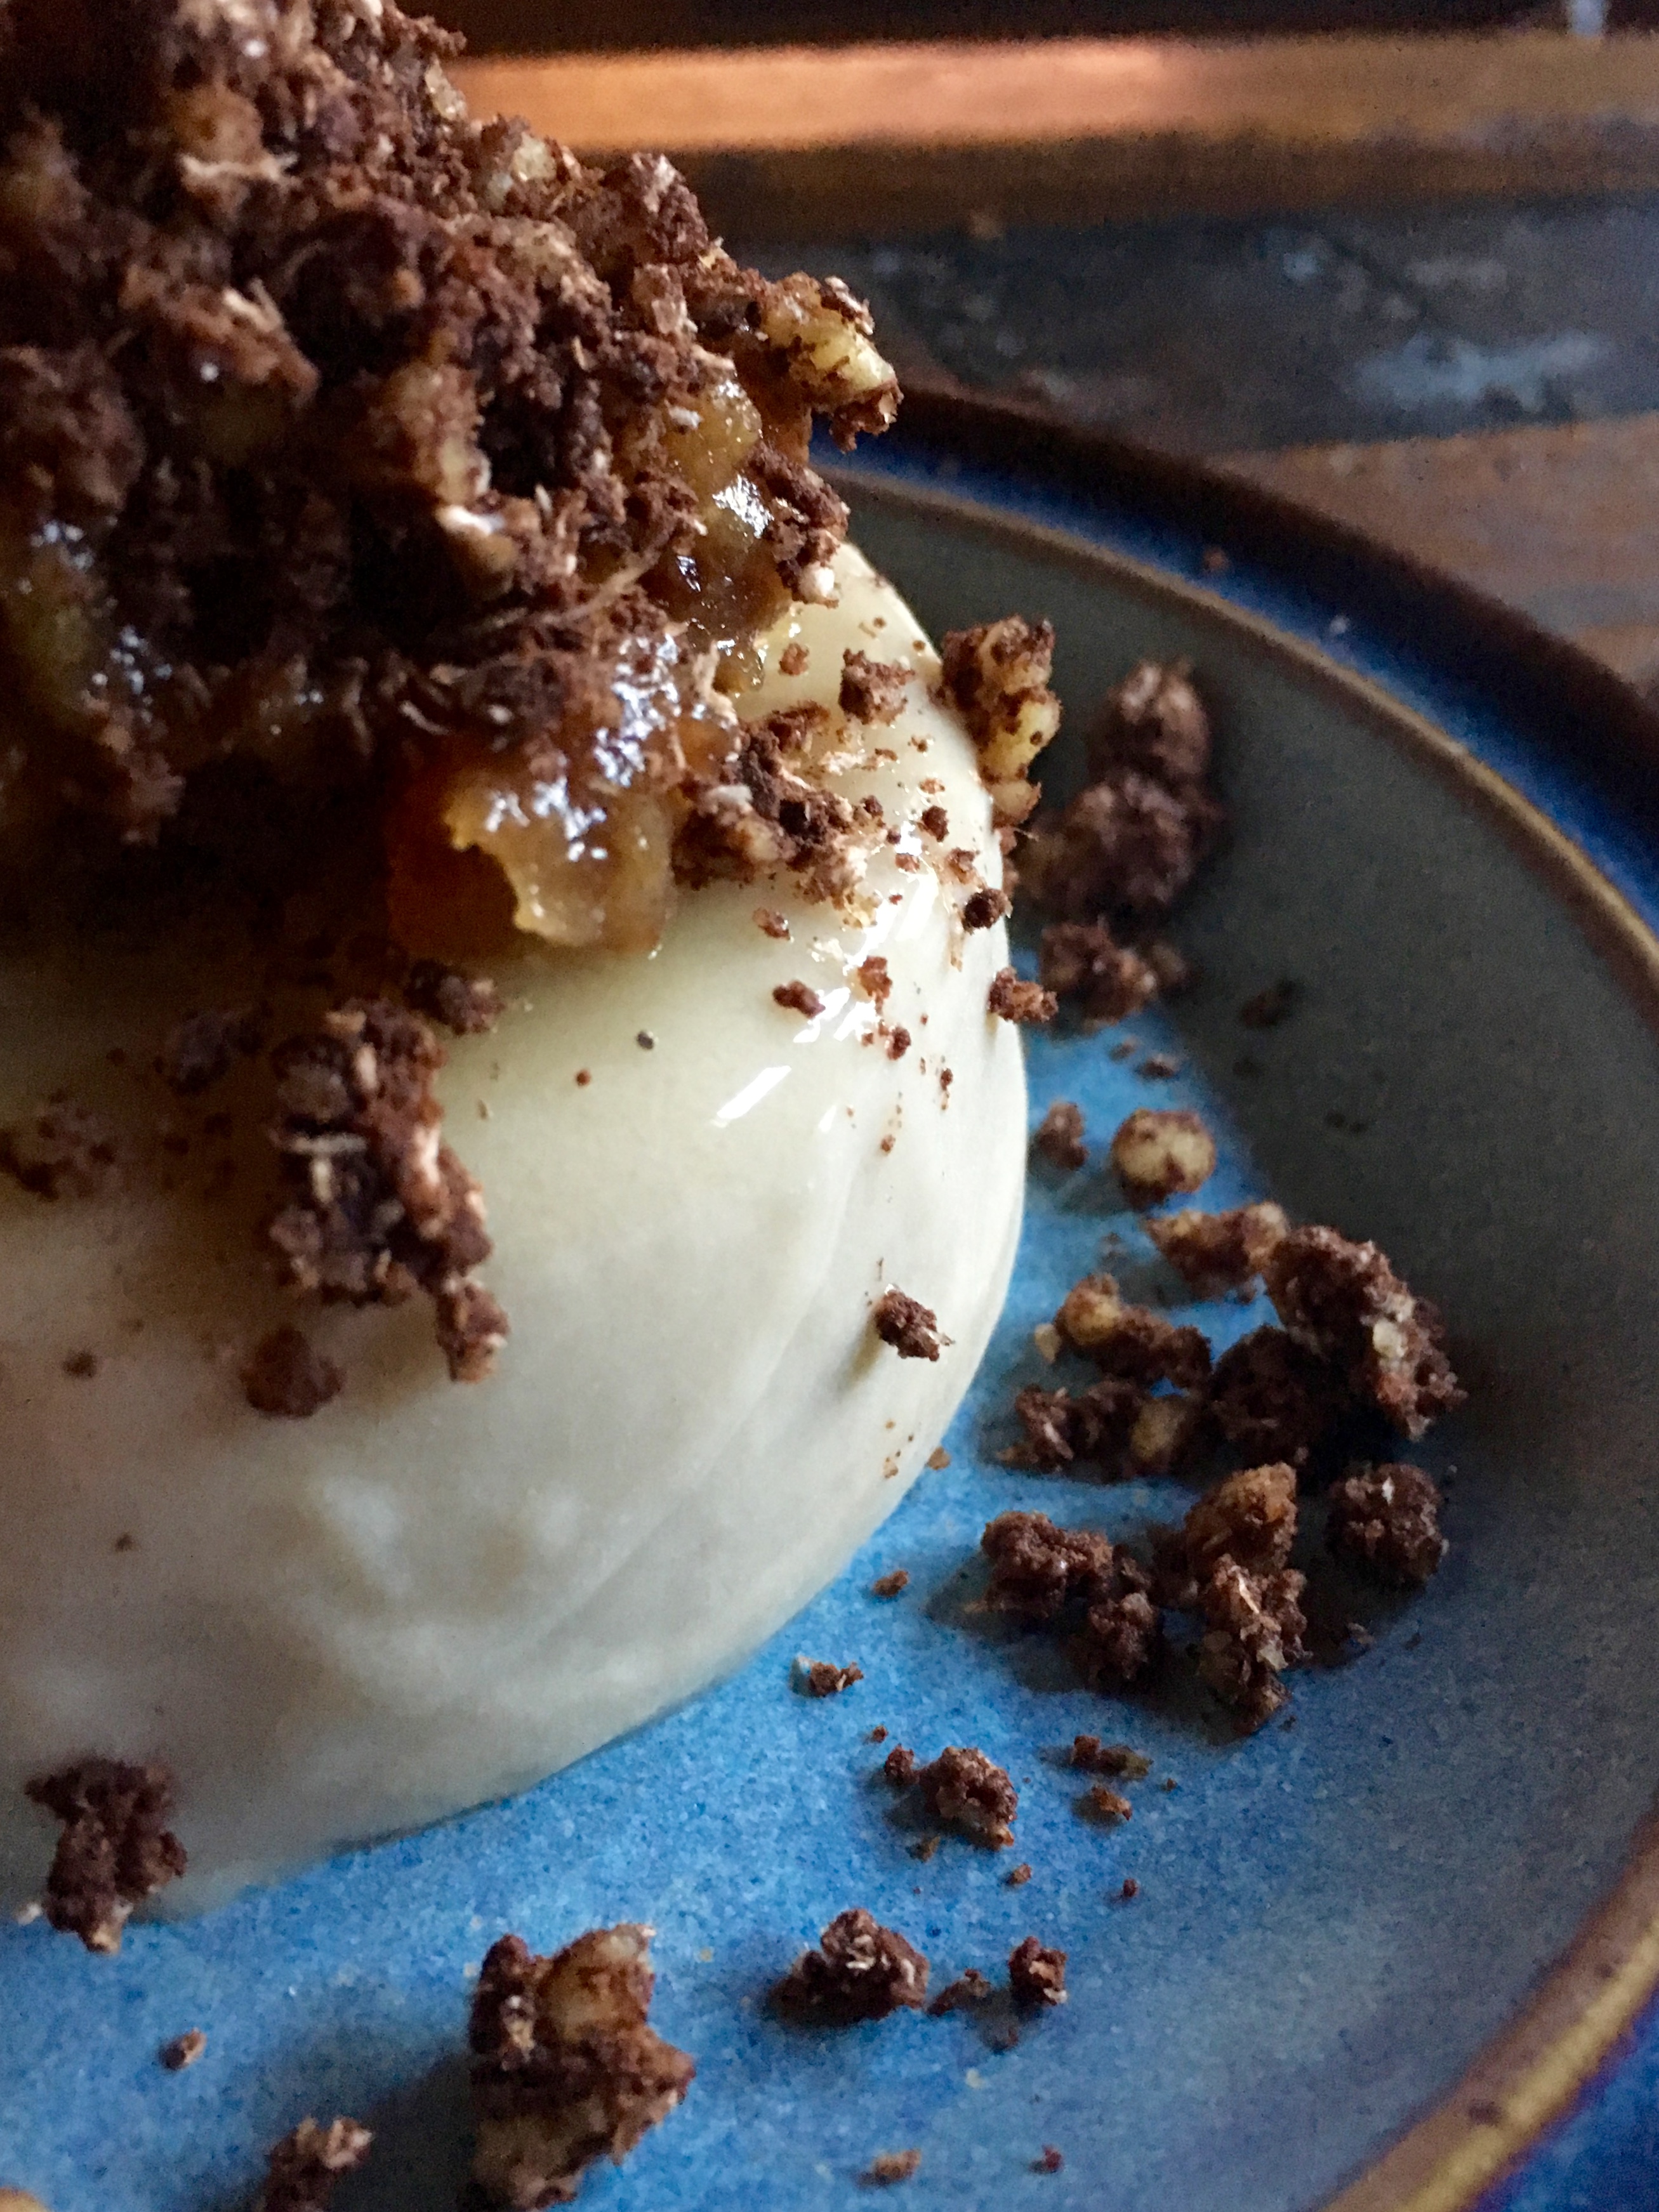
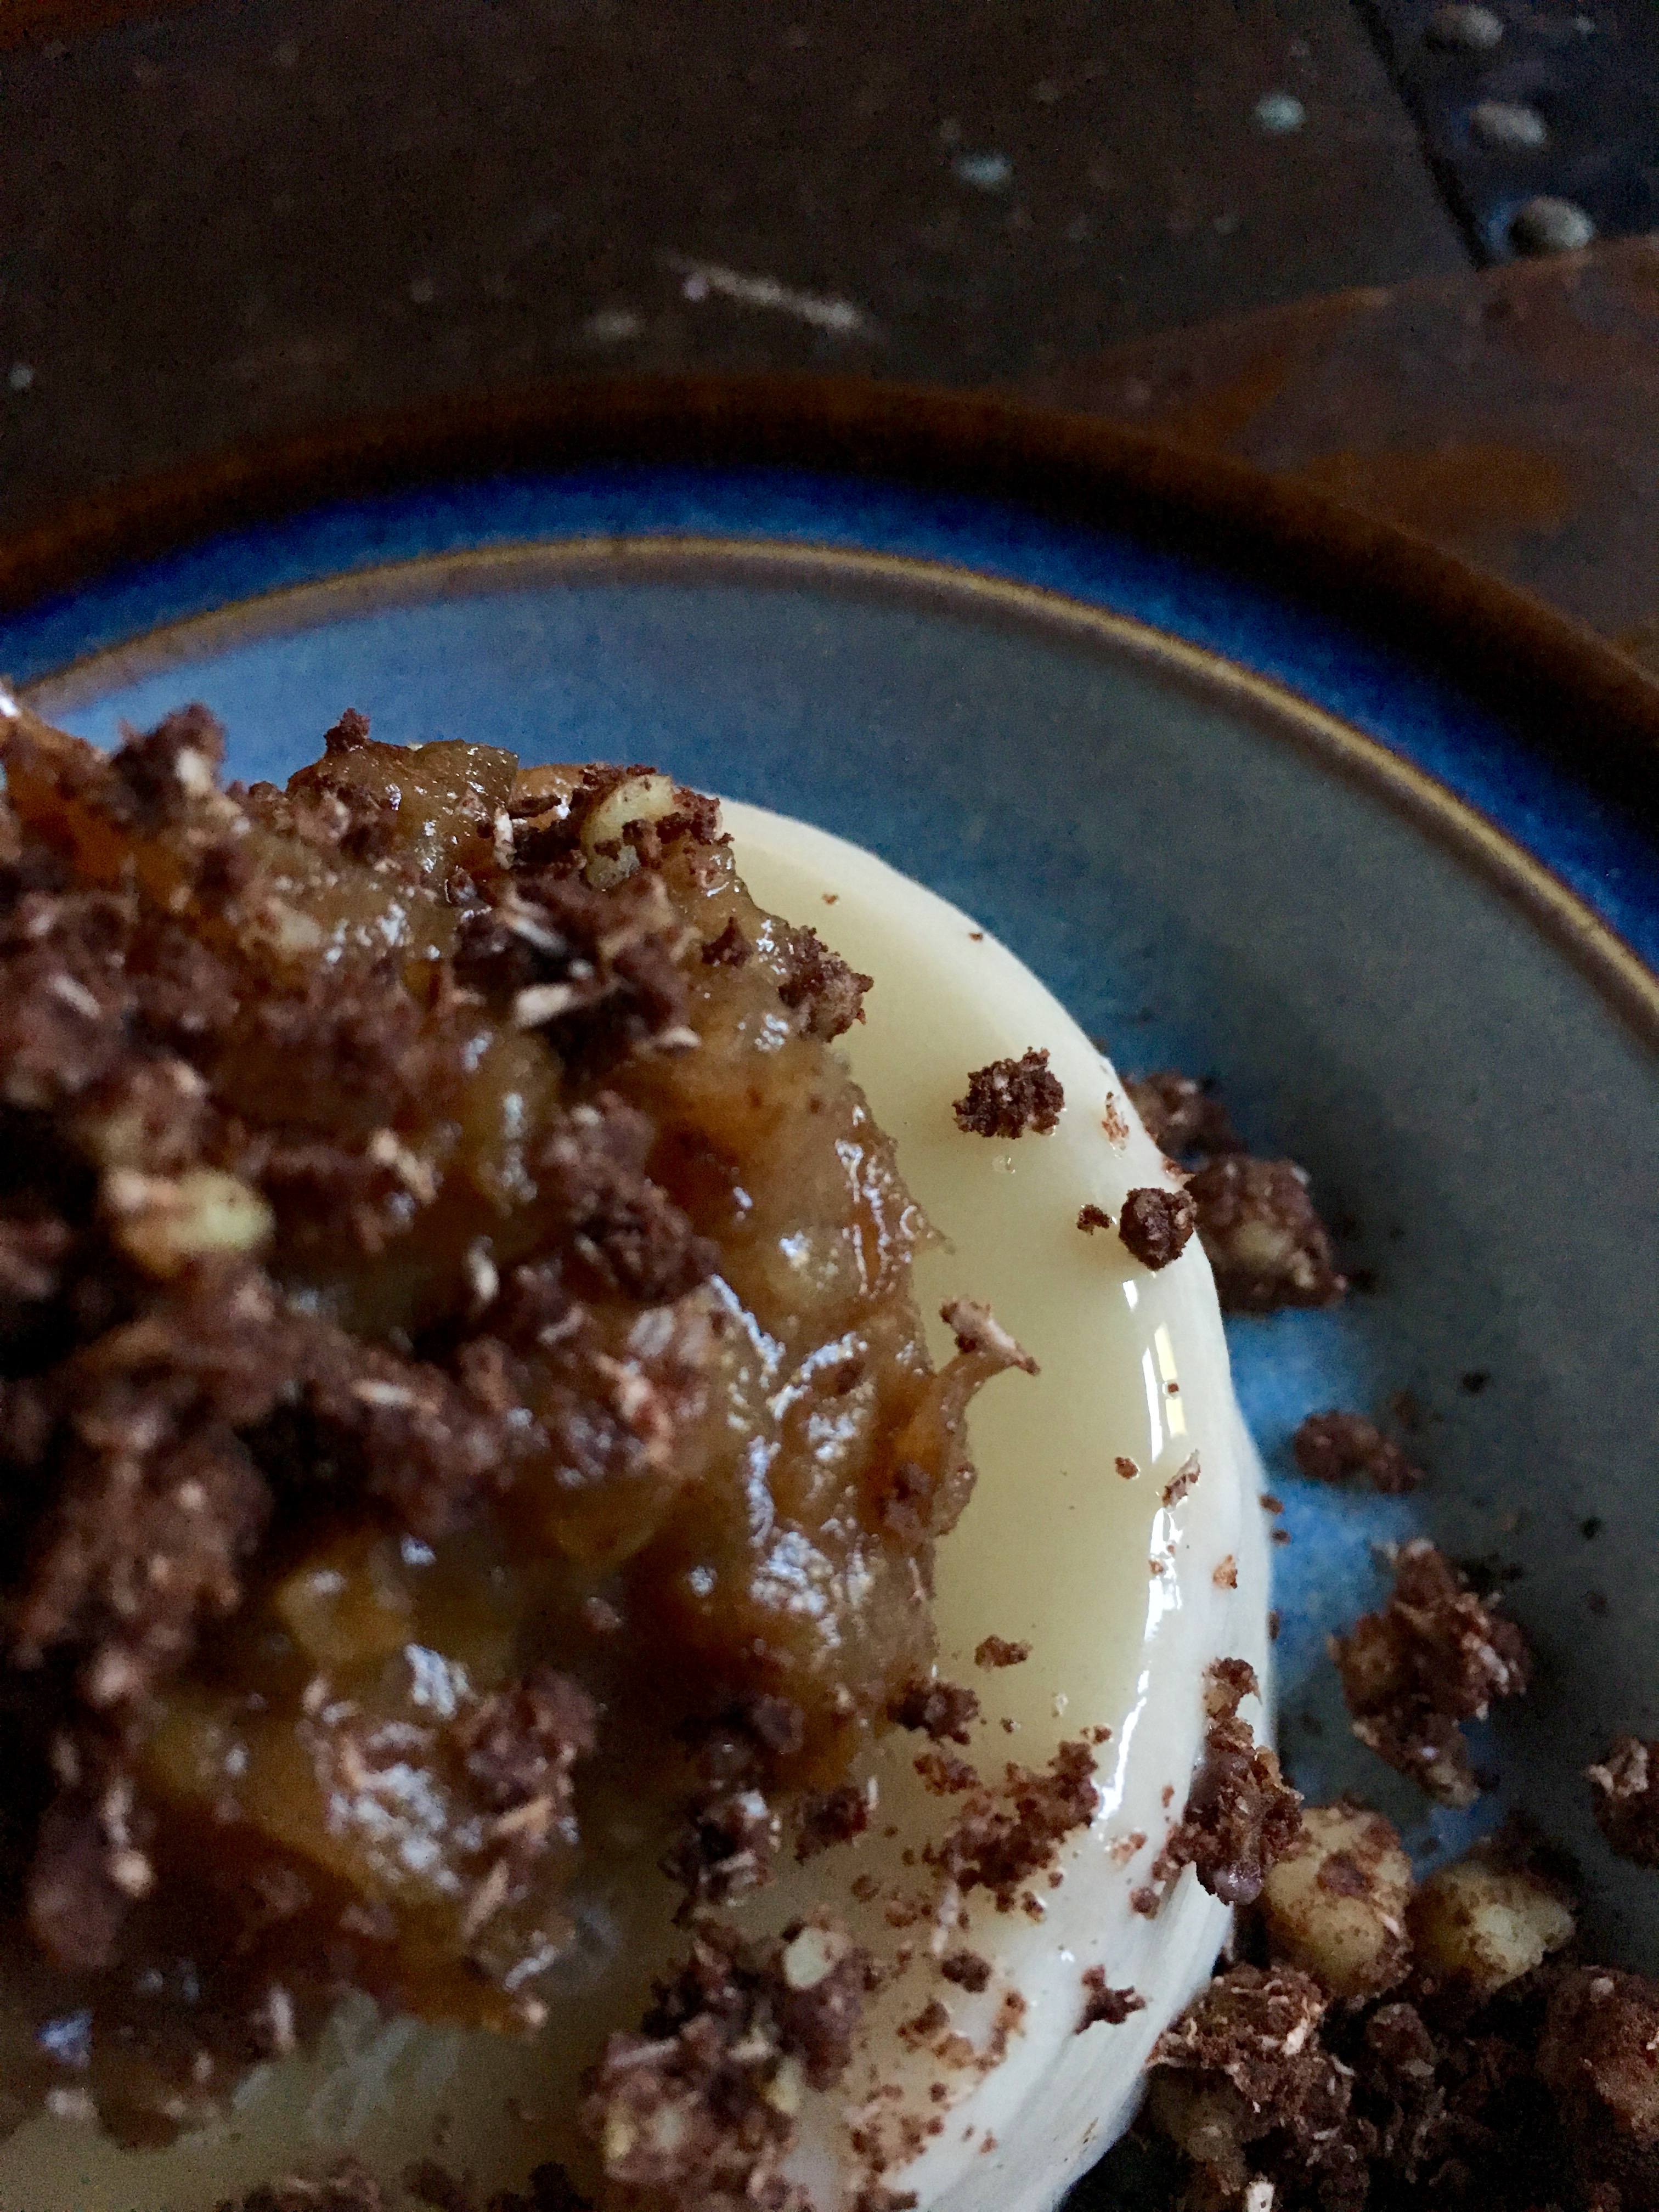
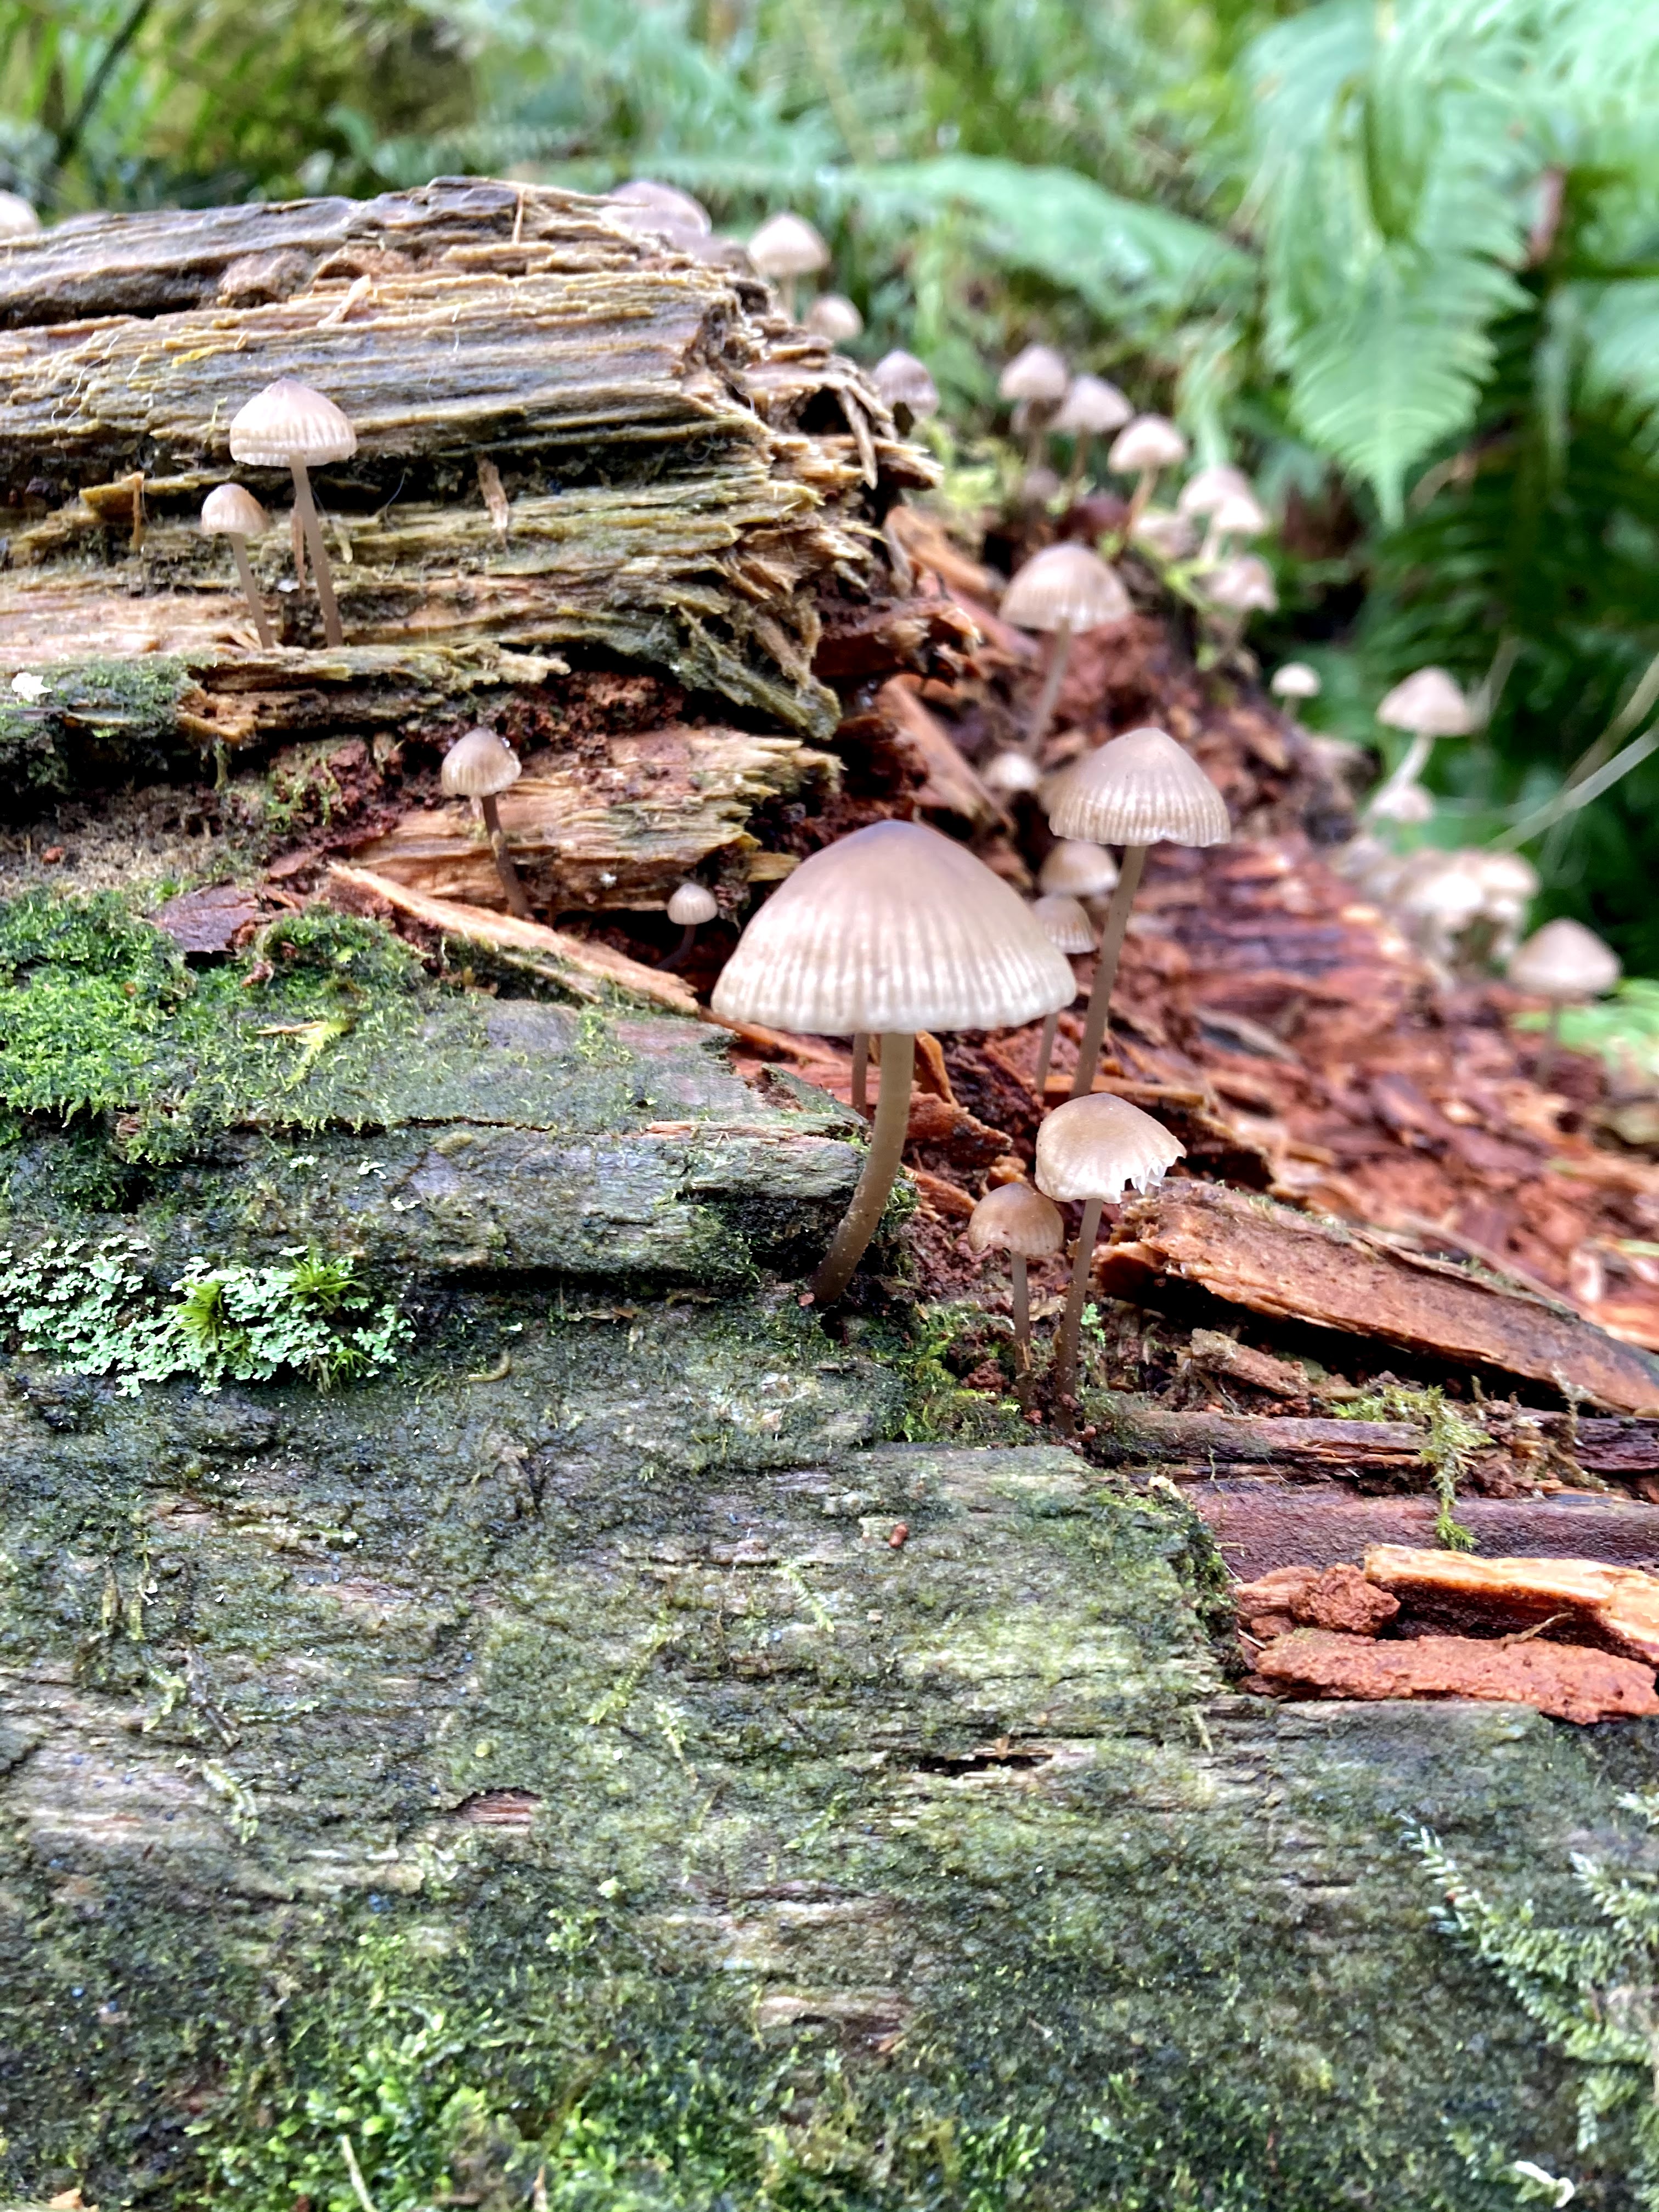
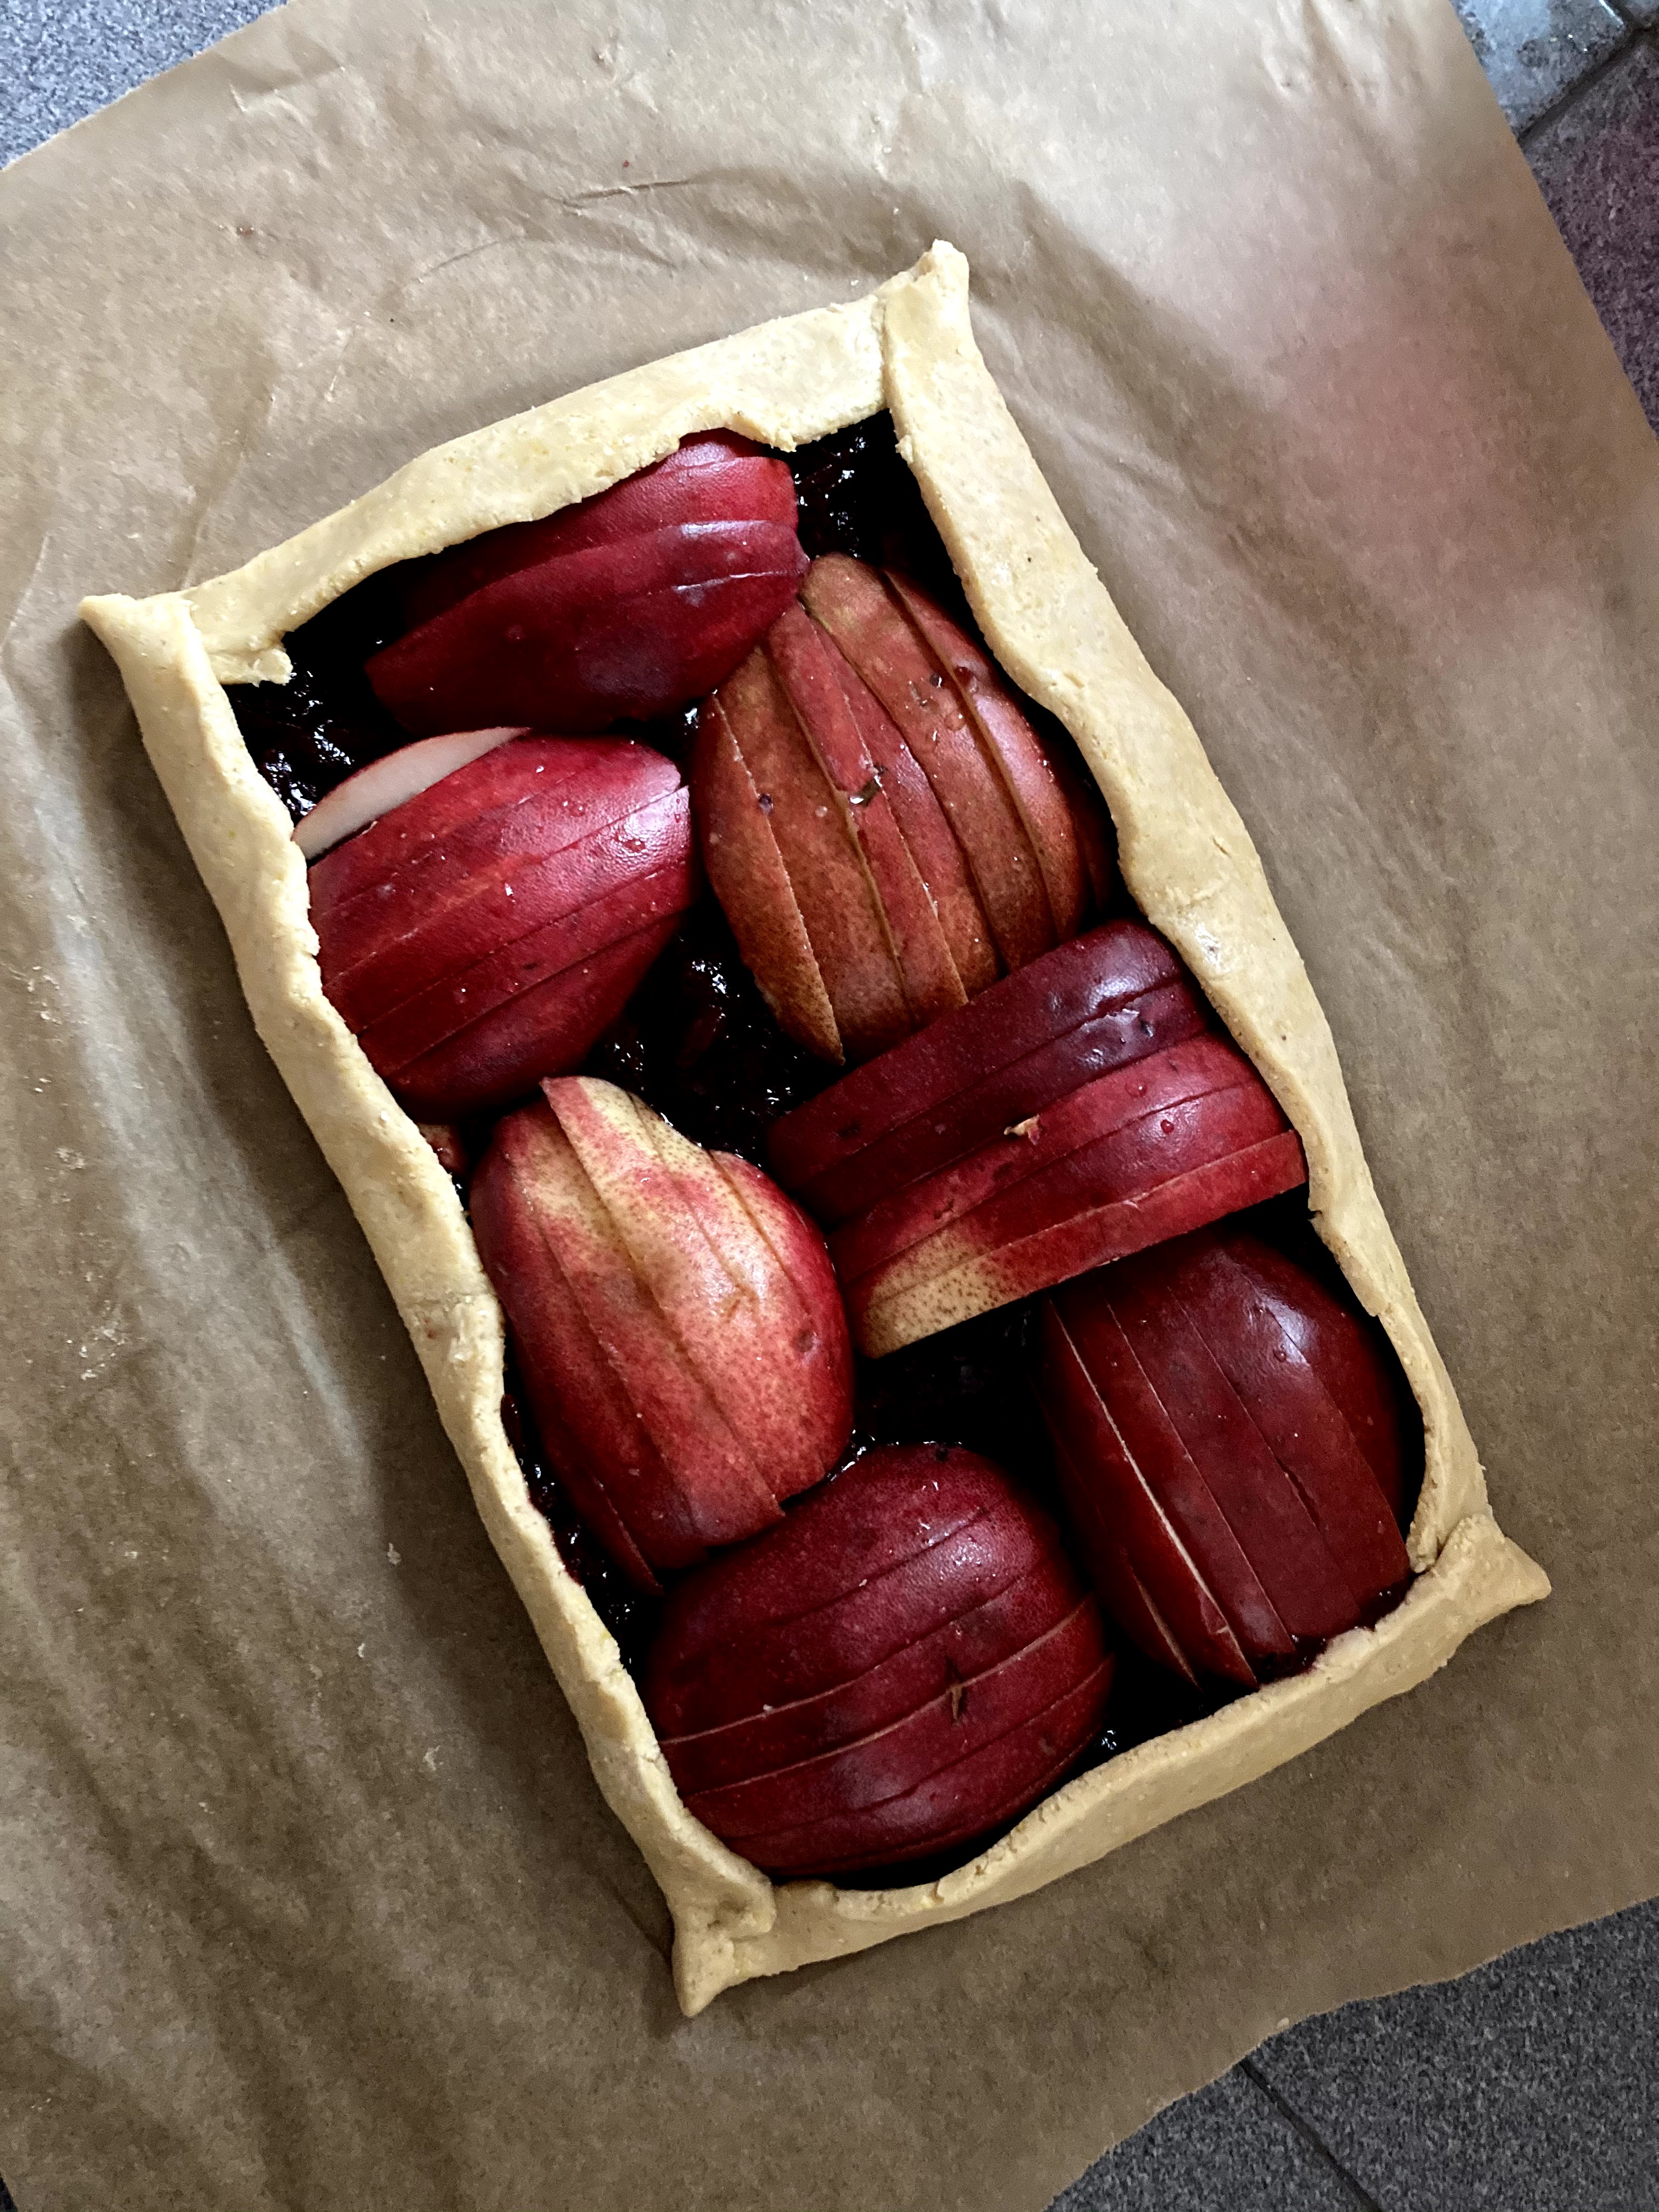
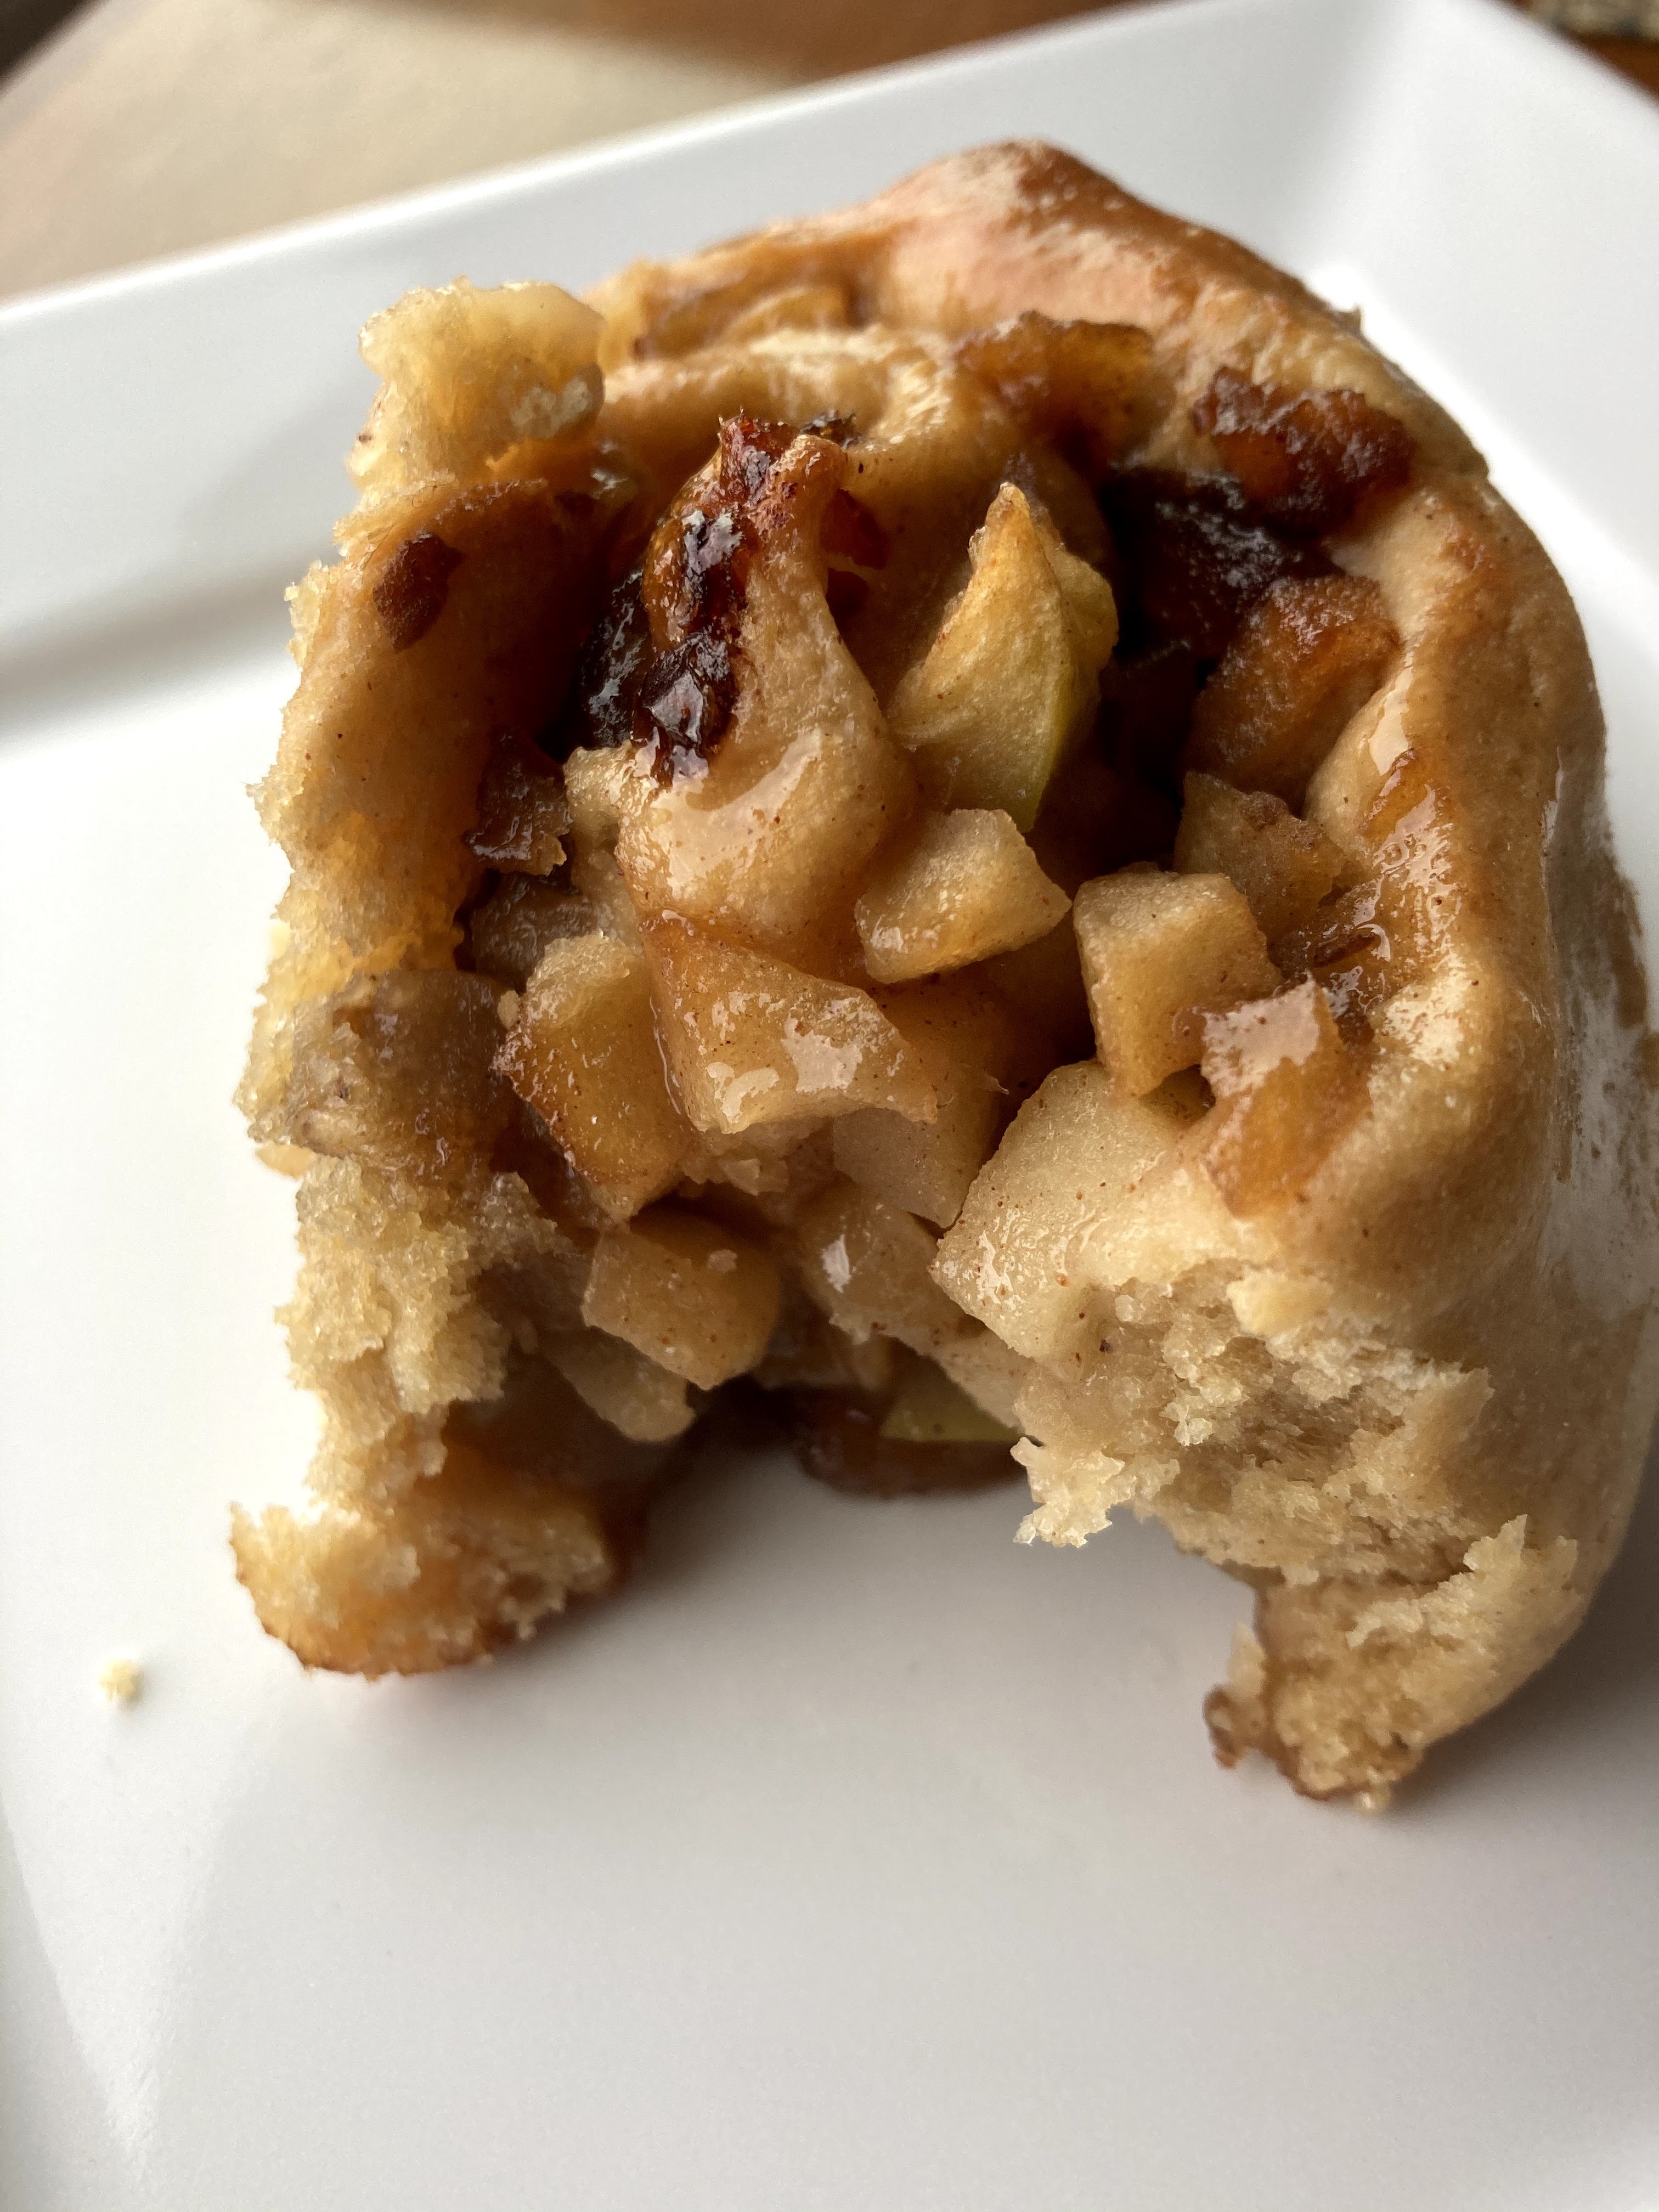
Looking over the last few weeks – here are a few snaps of things that brought me joy:

the first yeasted rolls I’ve made in AGES. so delicious. expect more like this.
this one has her paw wrapped firmly around my heartstrings.
see? gah. look at that little face

Sending all the love out your way – happy new year! Thanks for hanging out with me over here in blogland :)

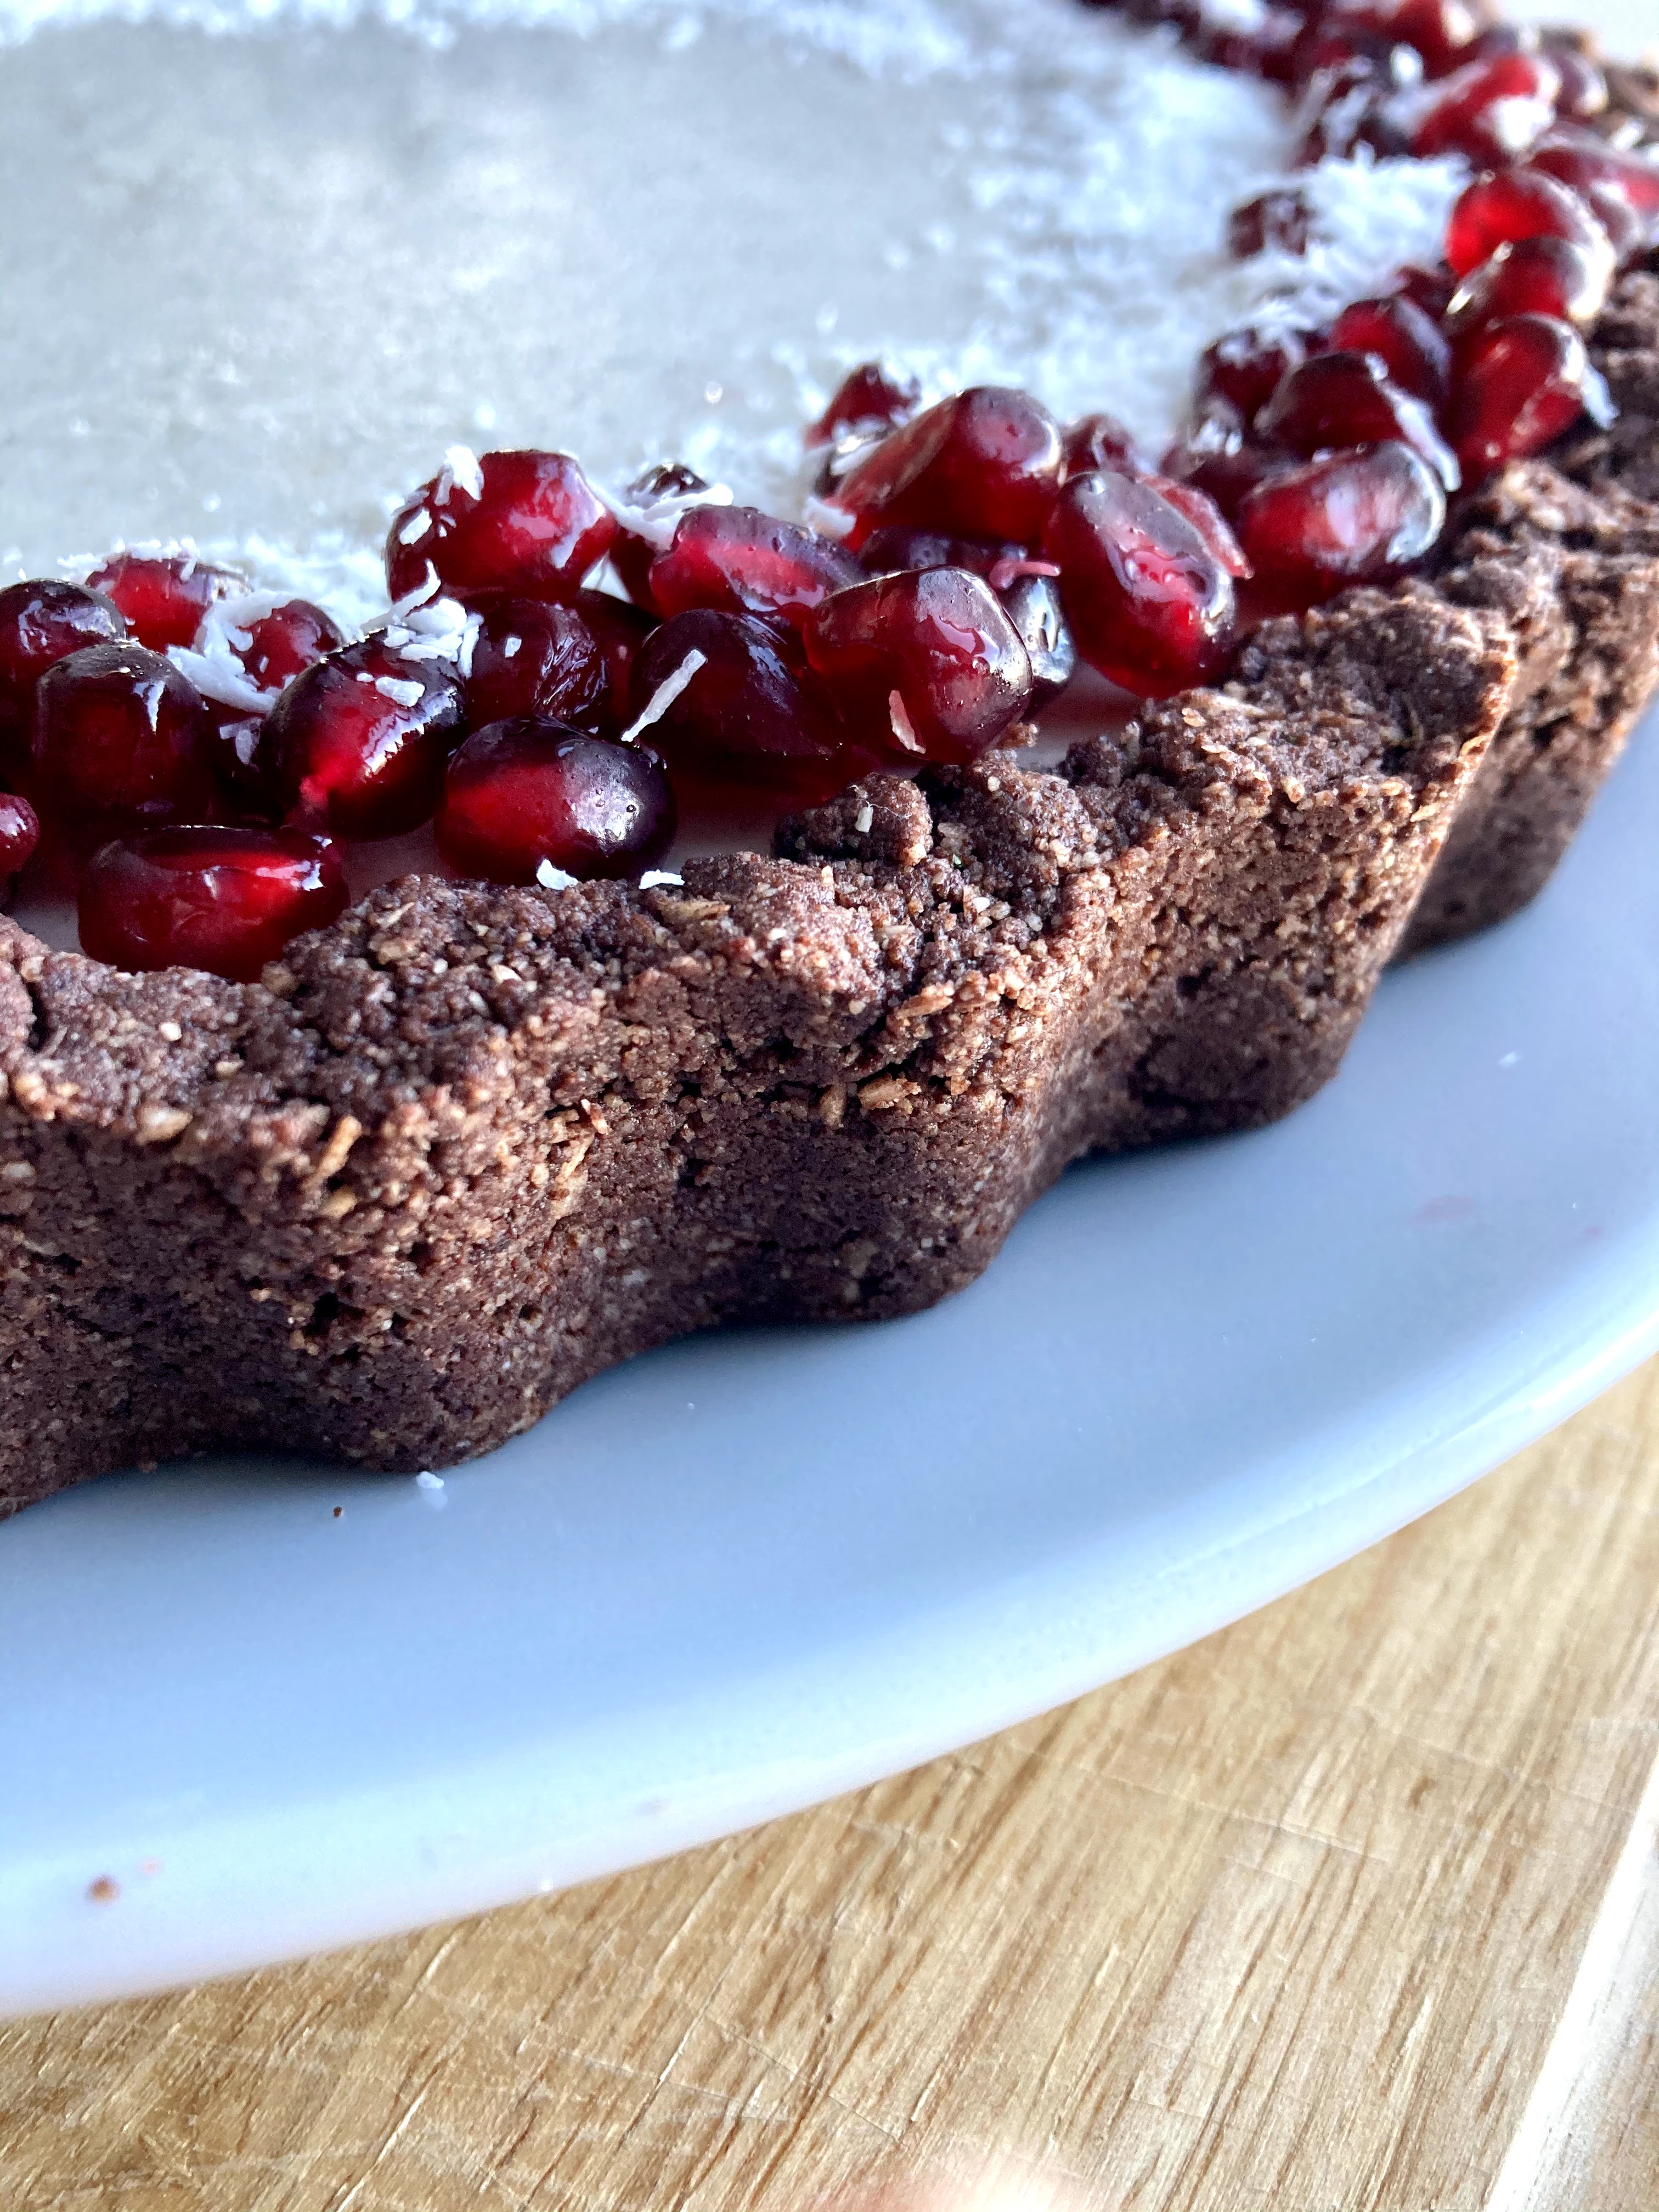
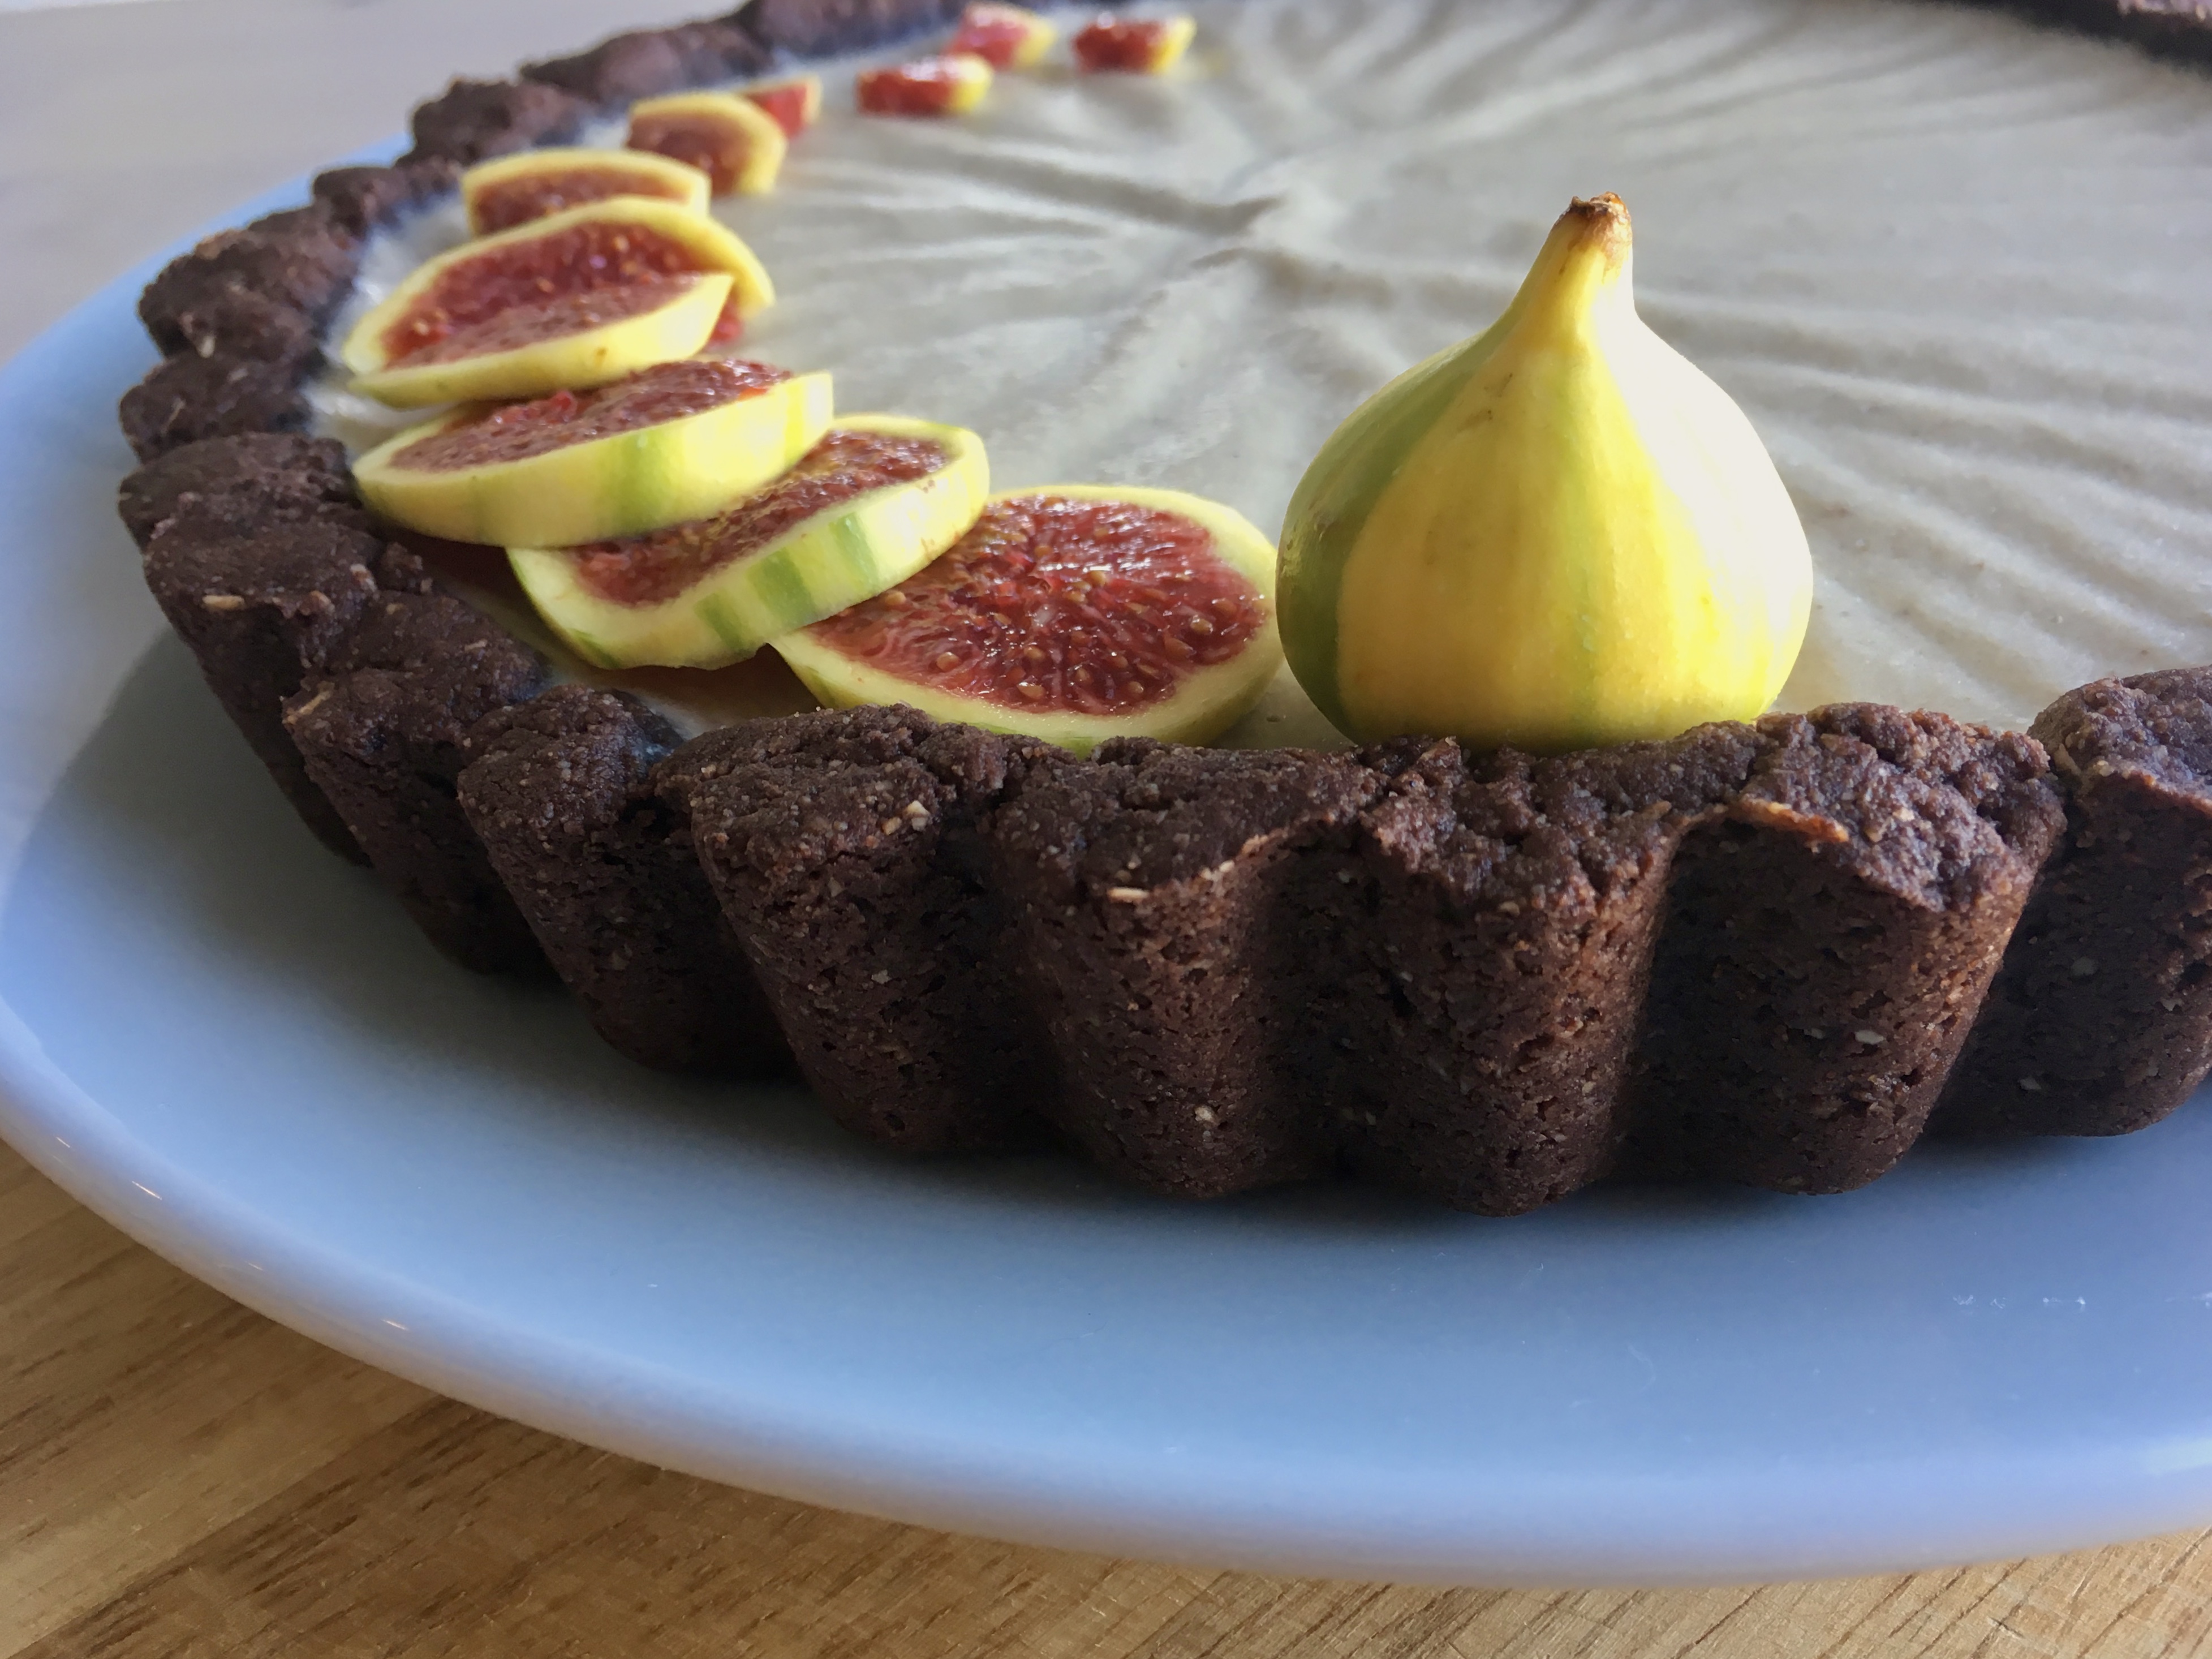
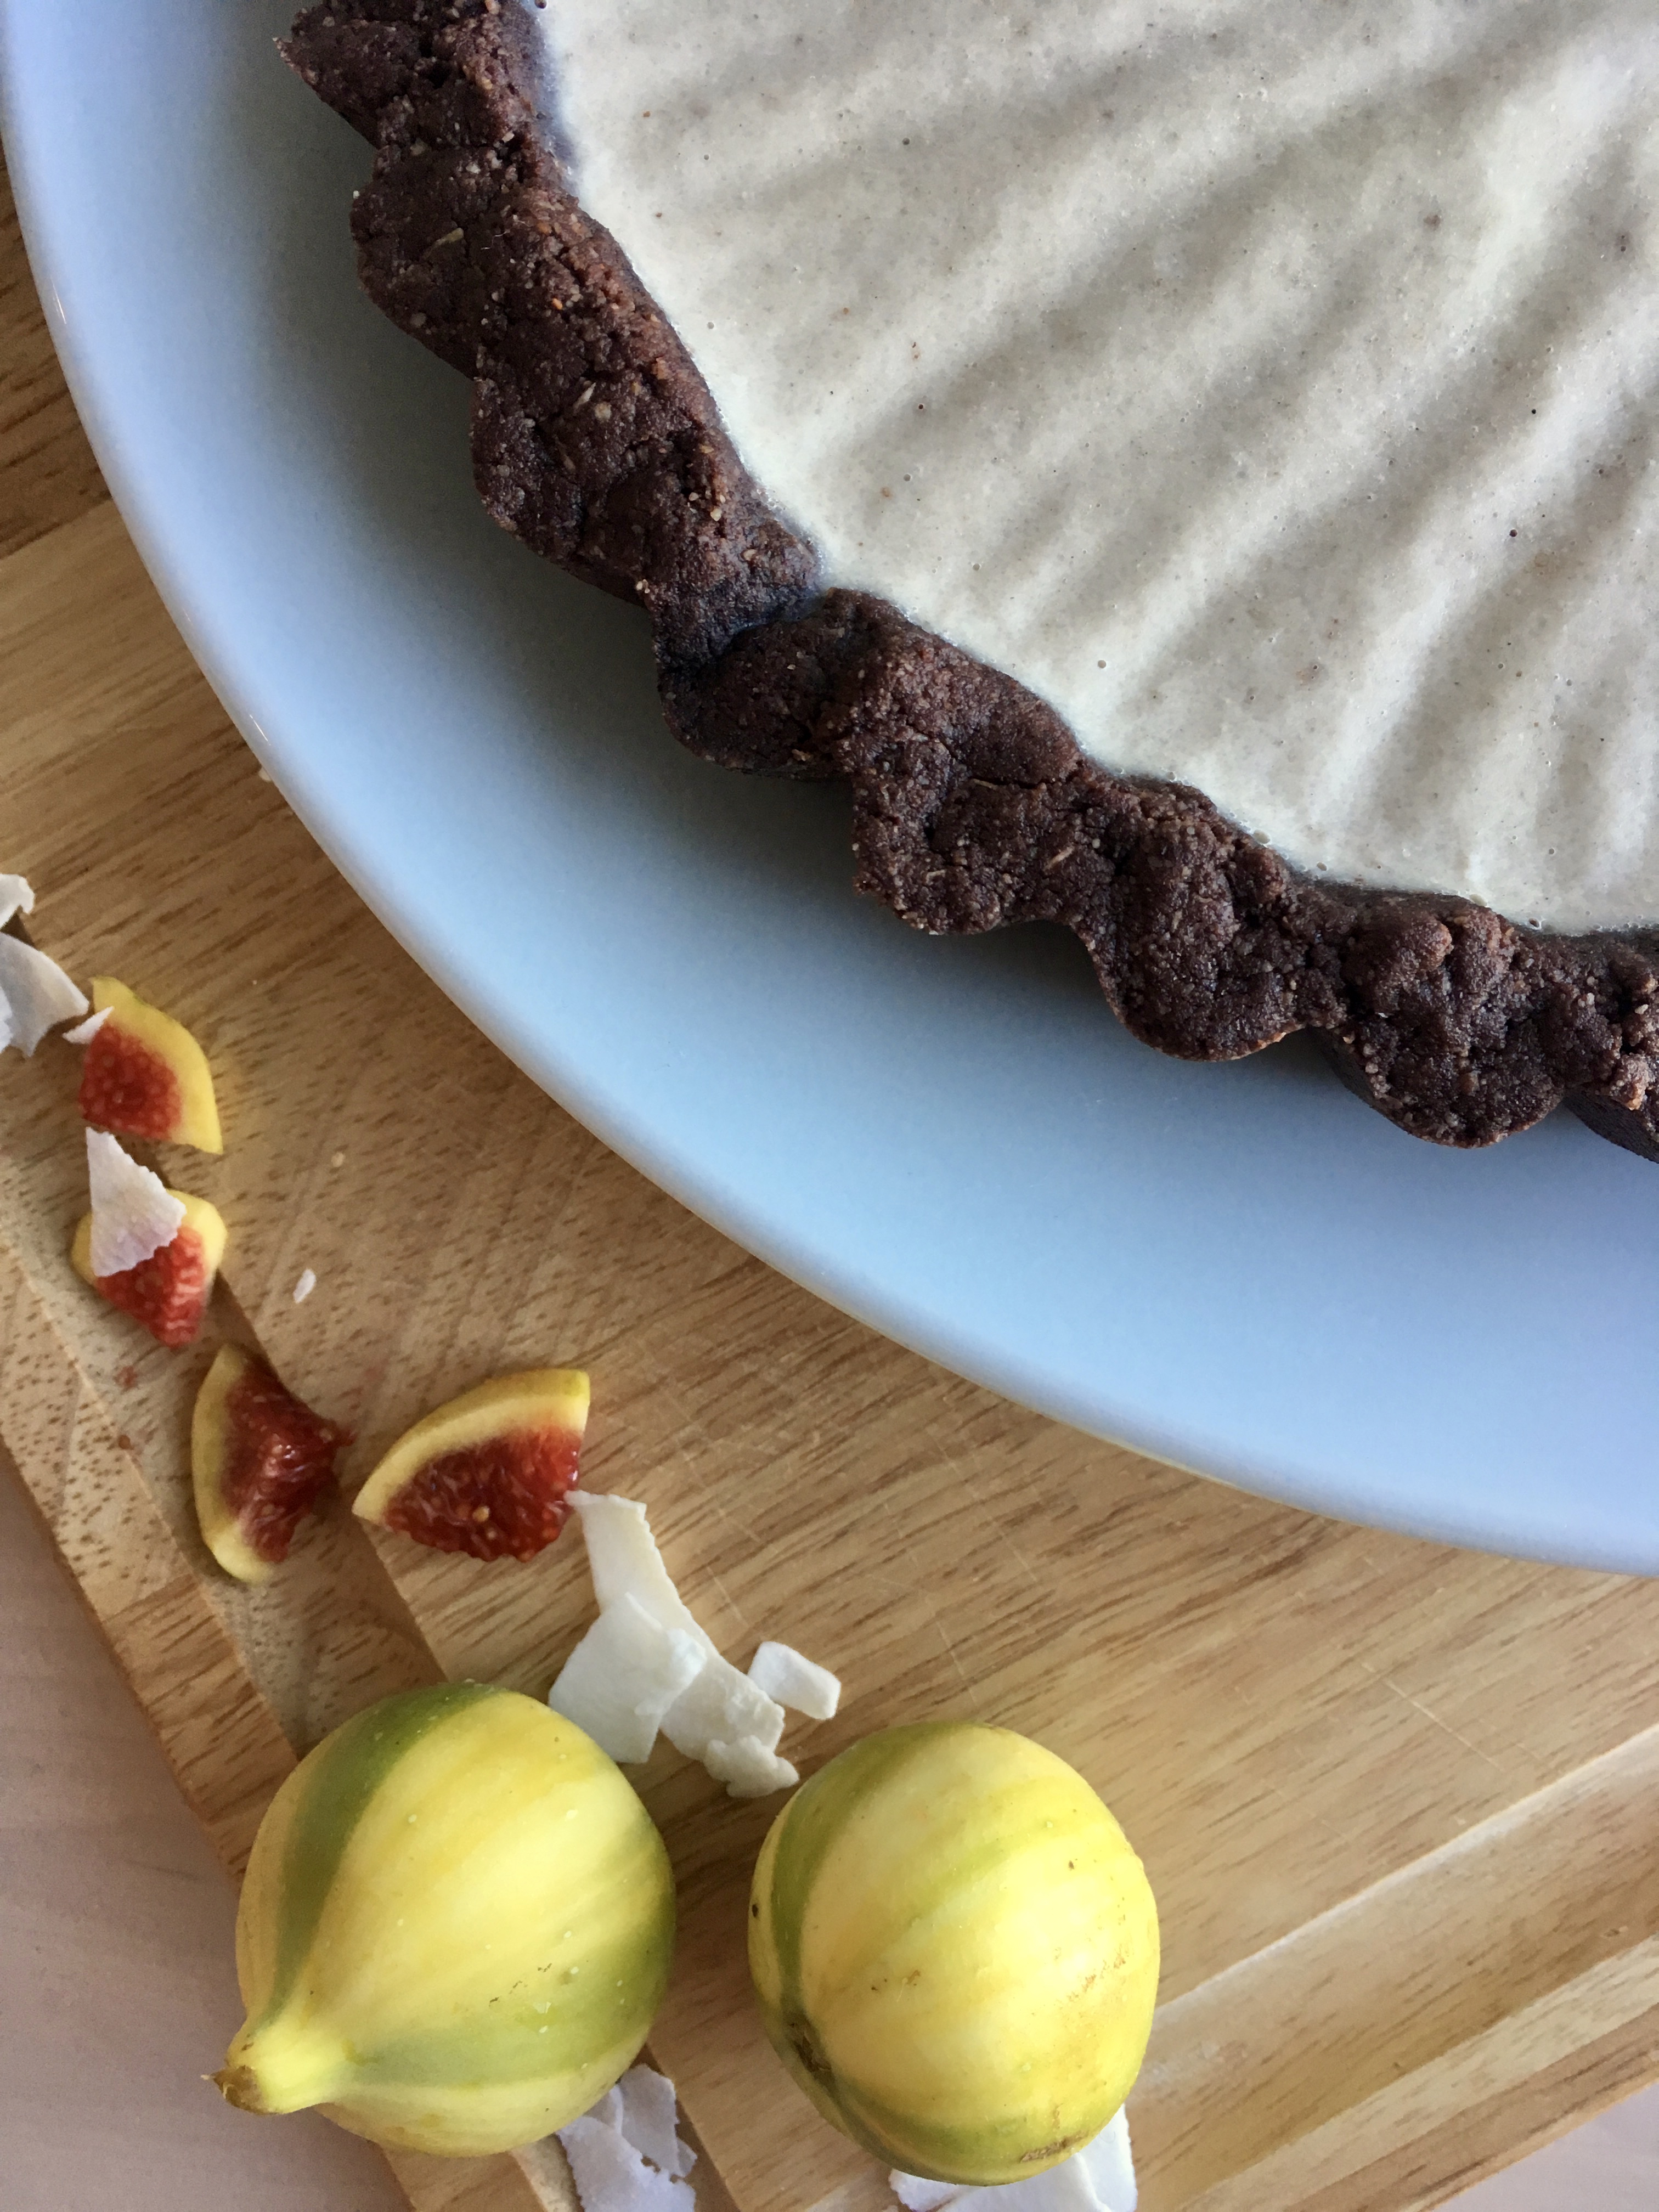
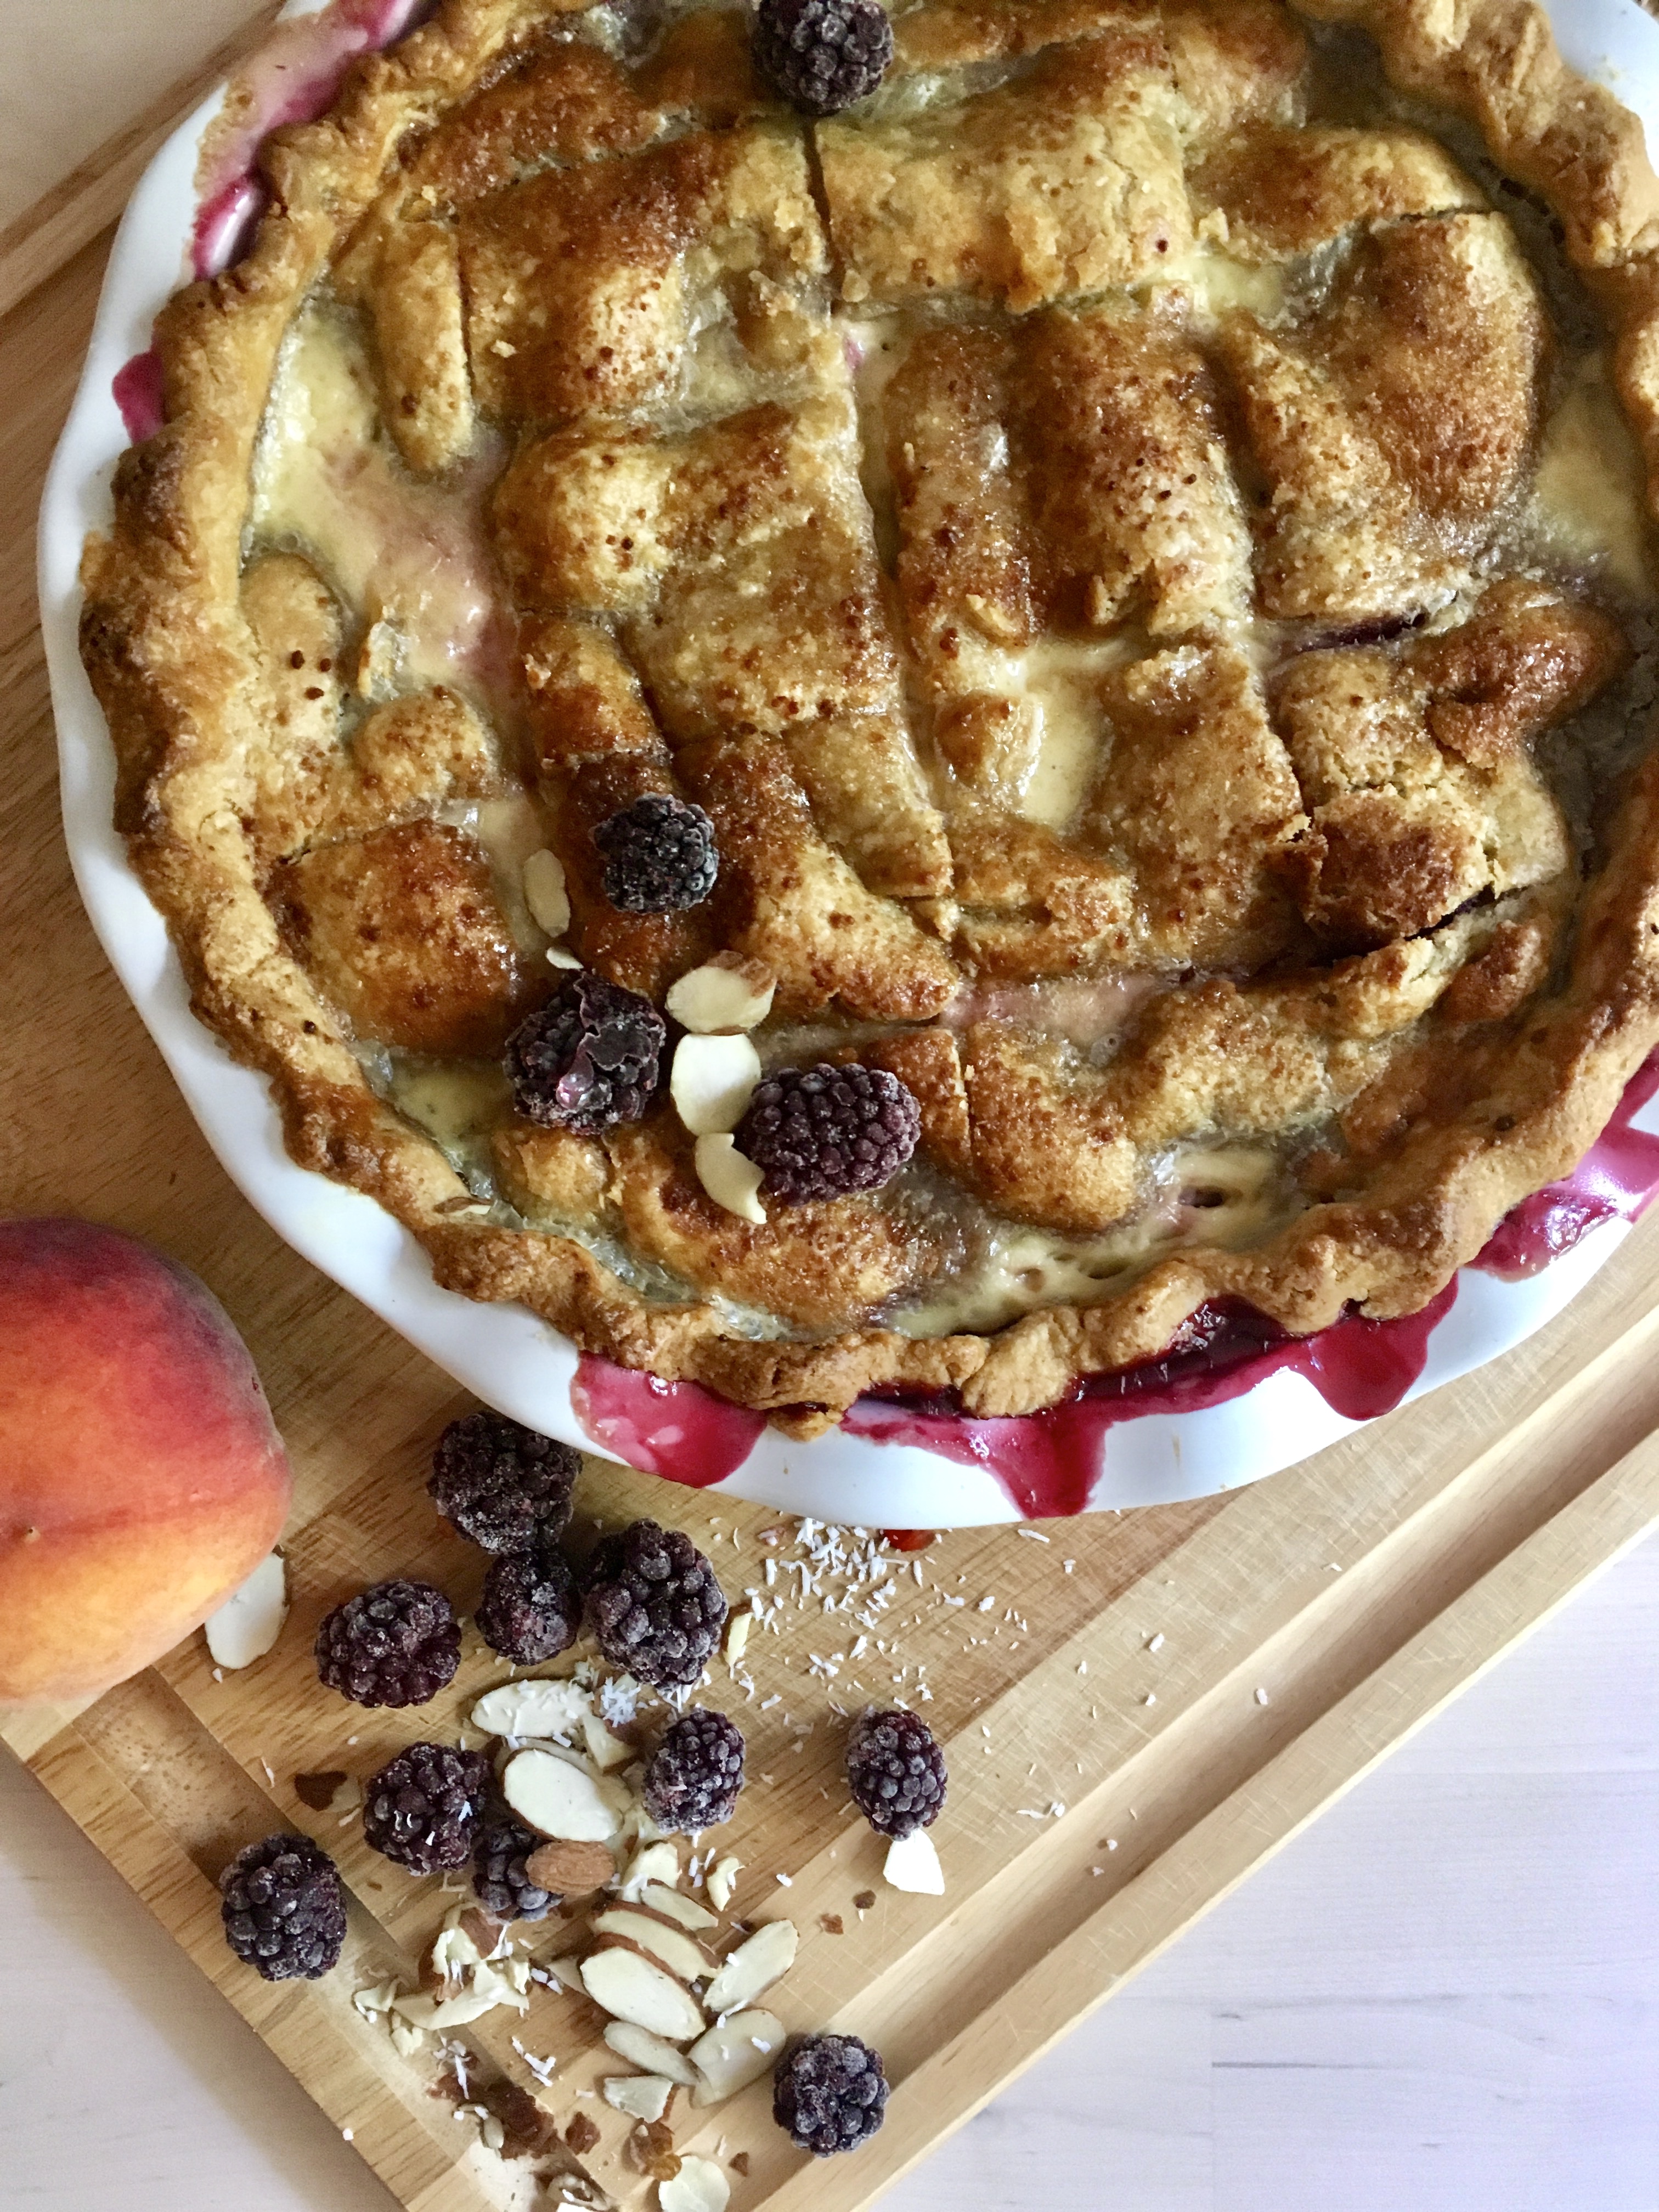
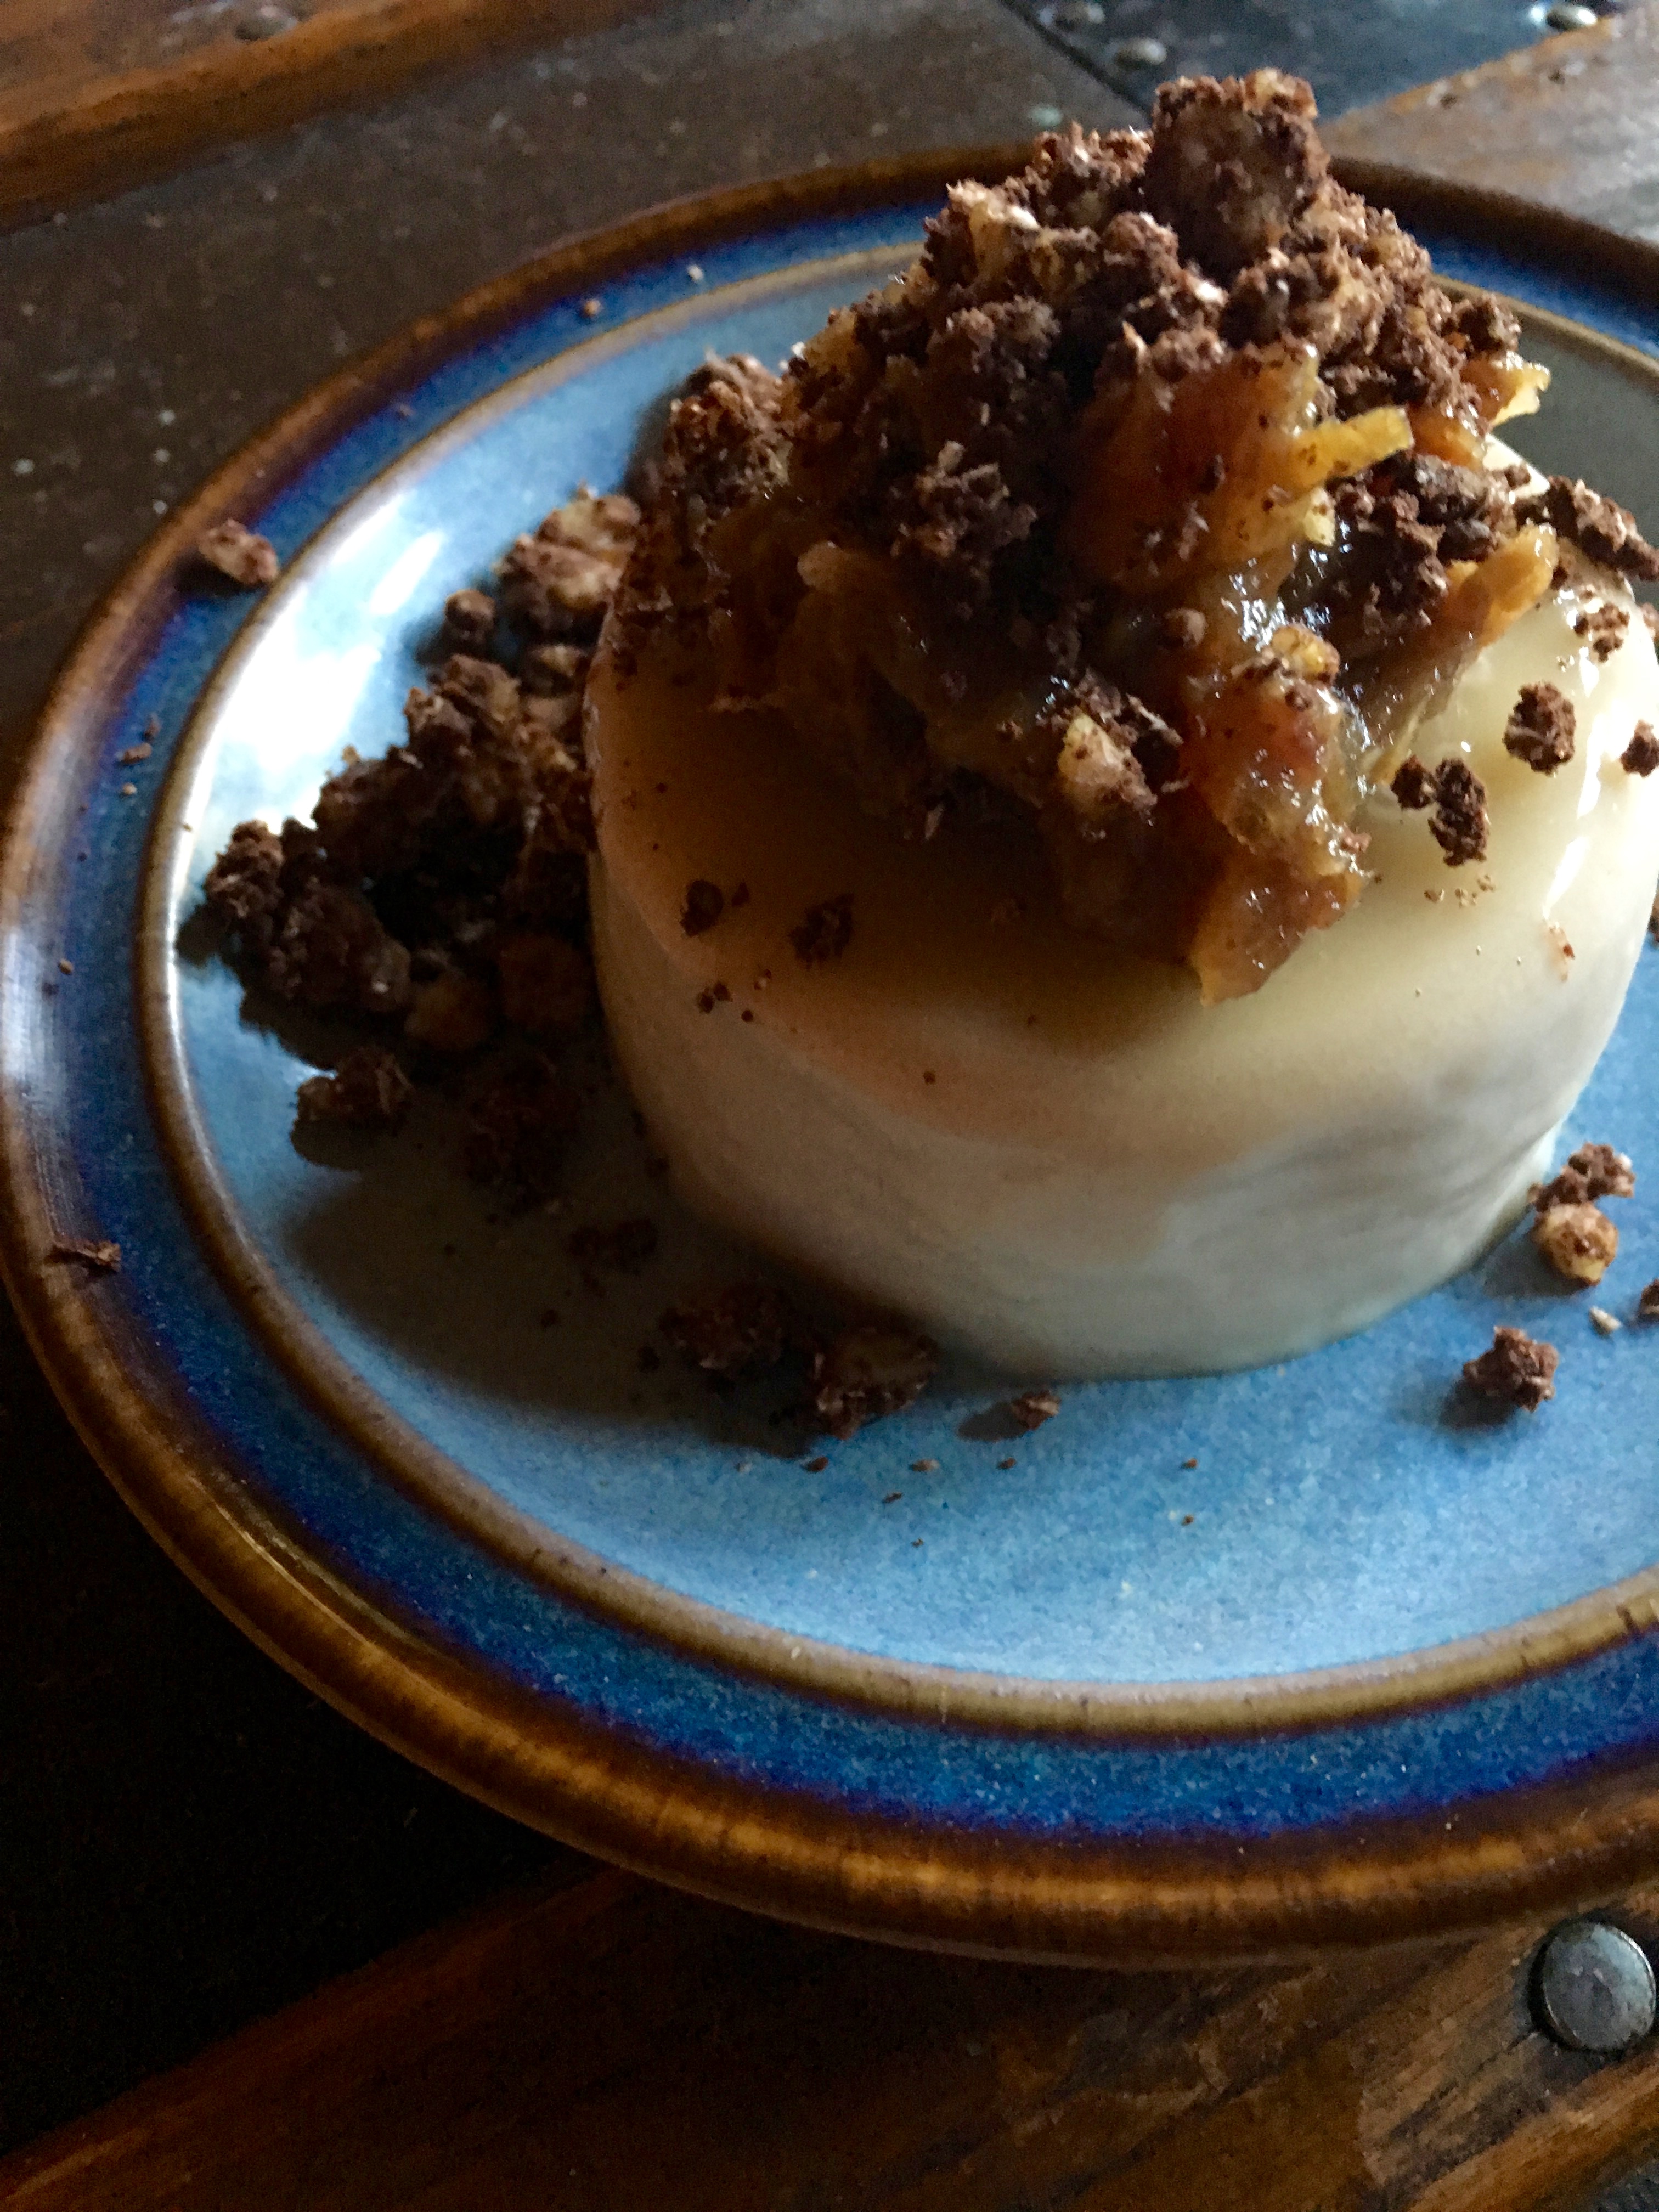
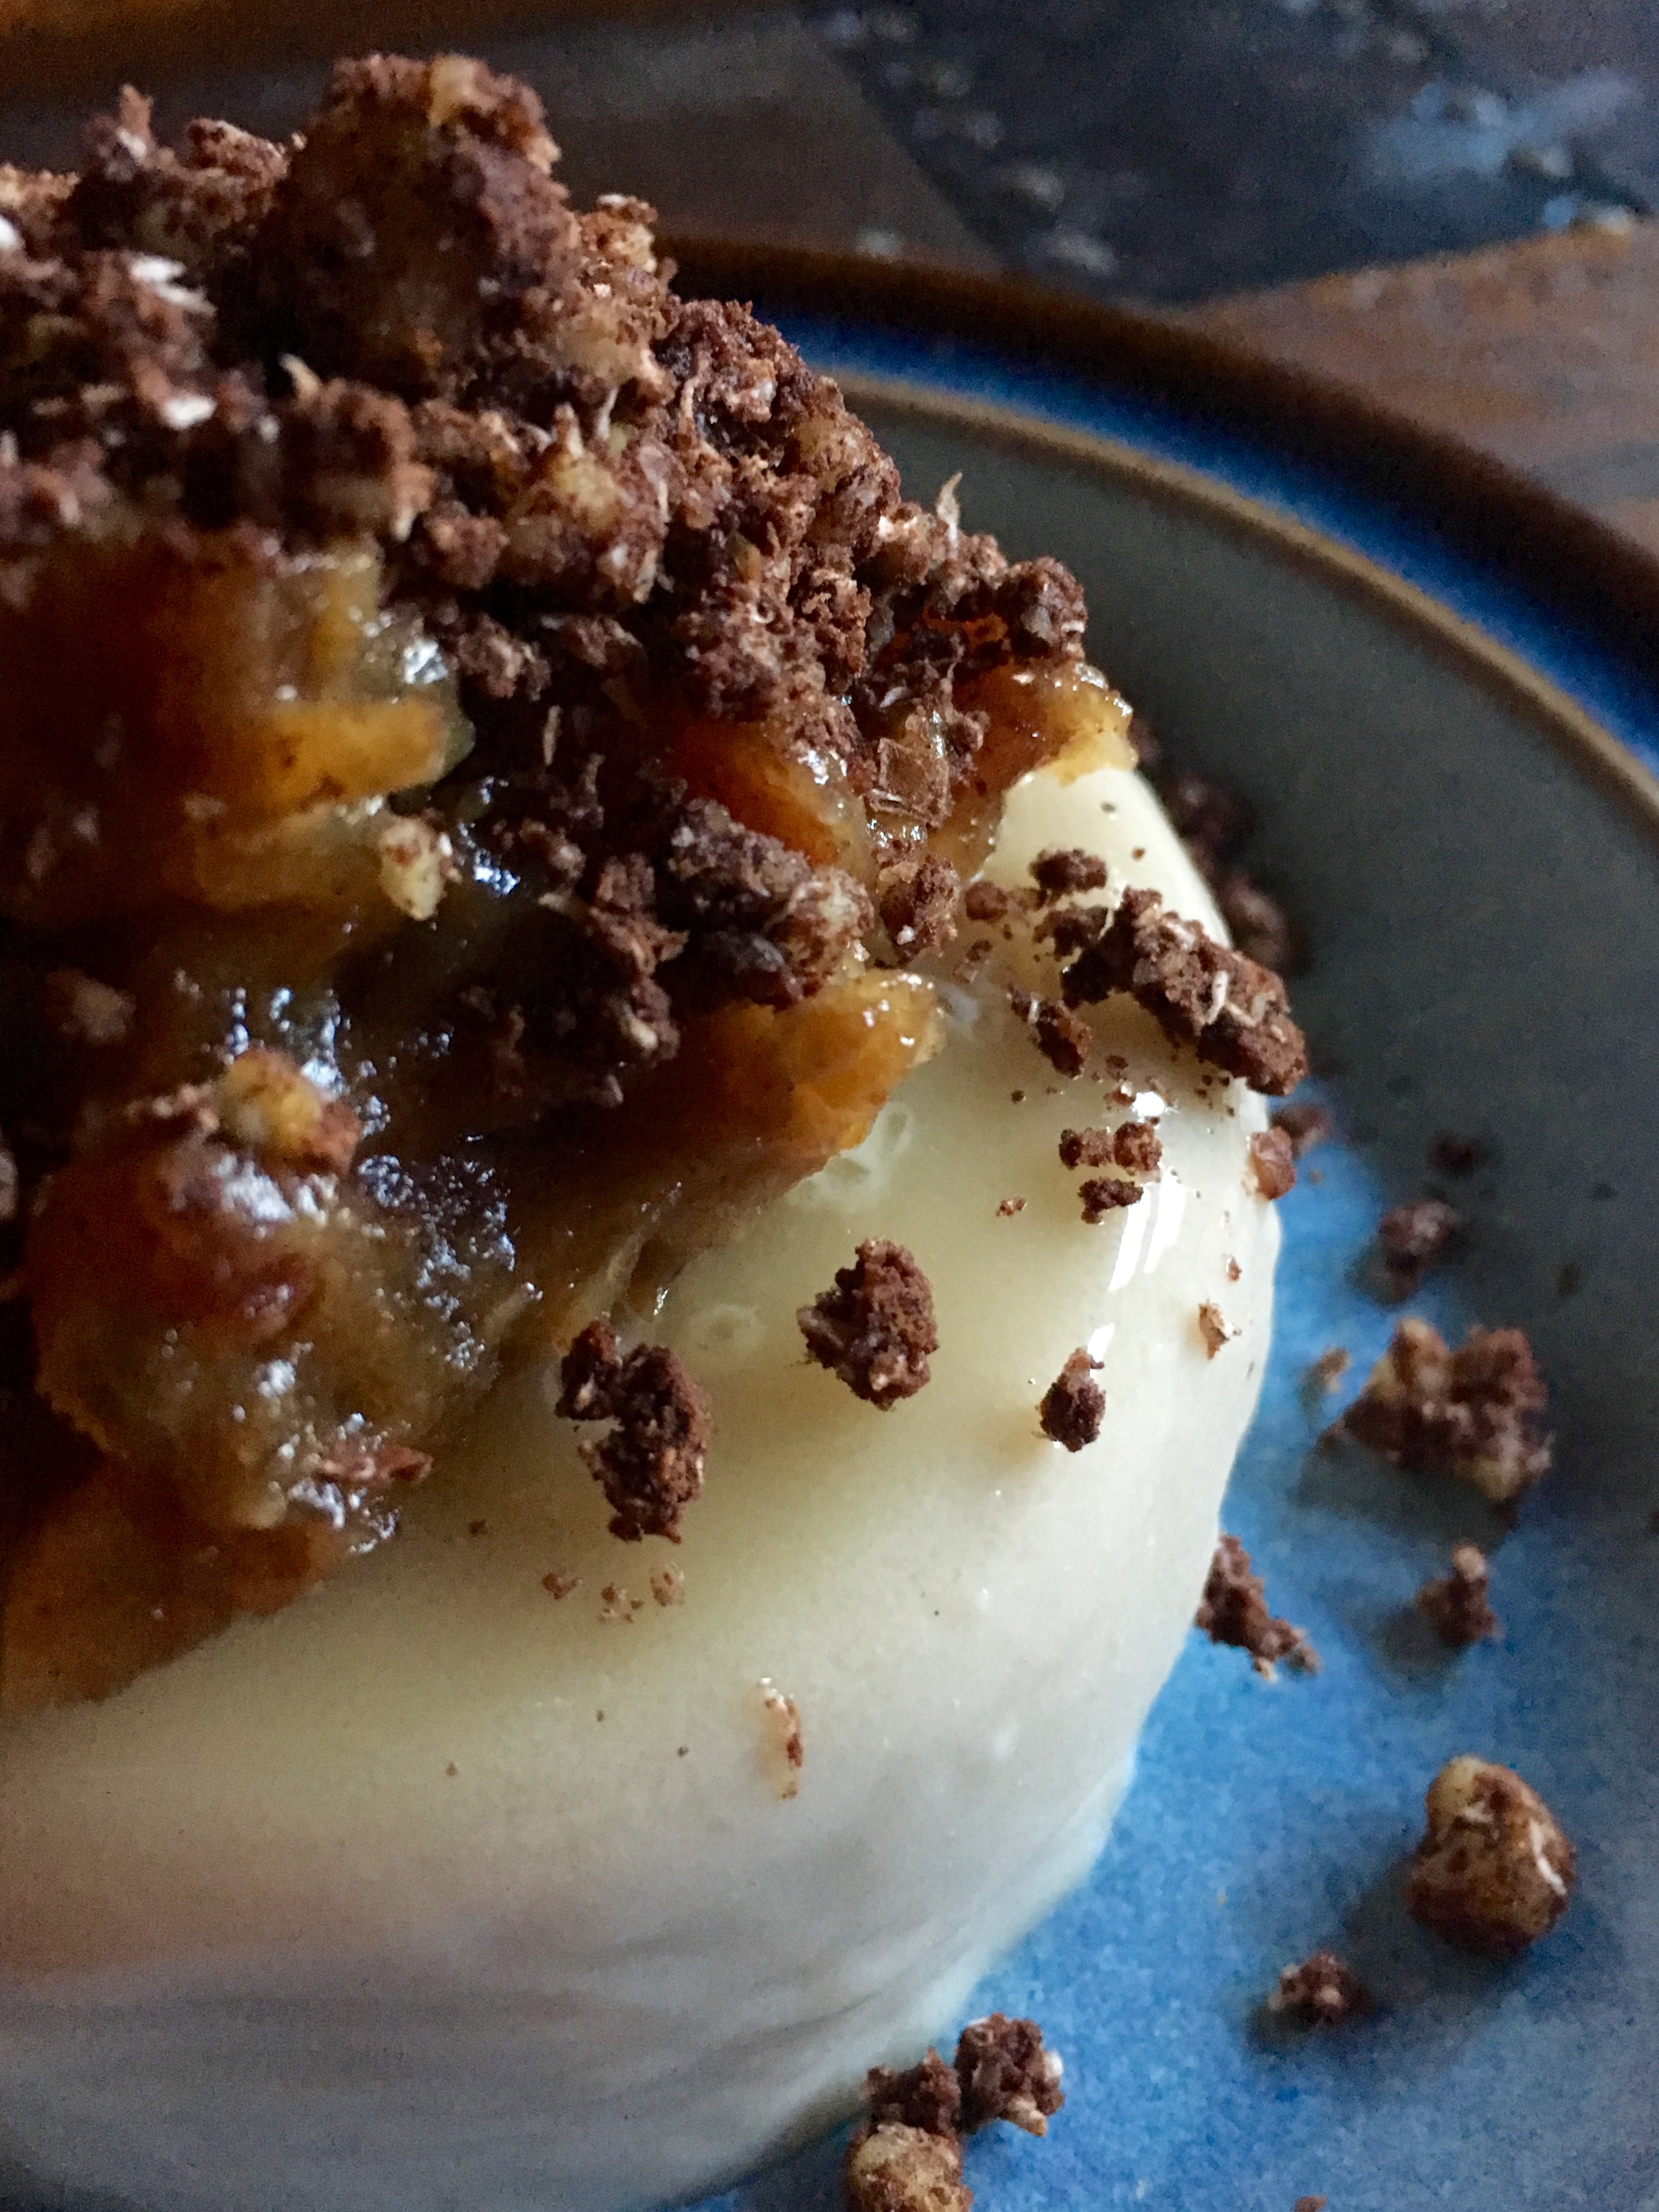
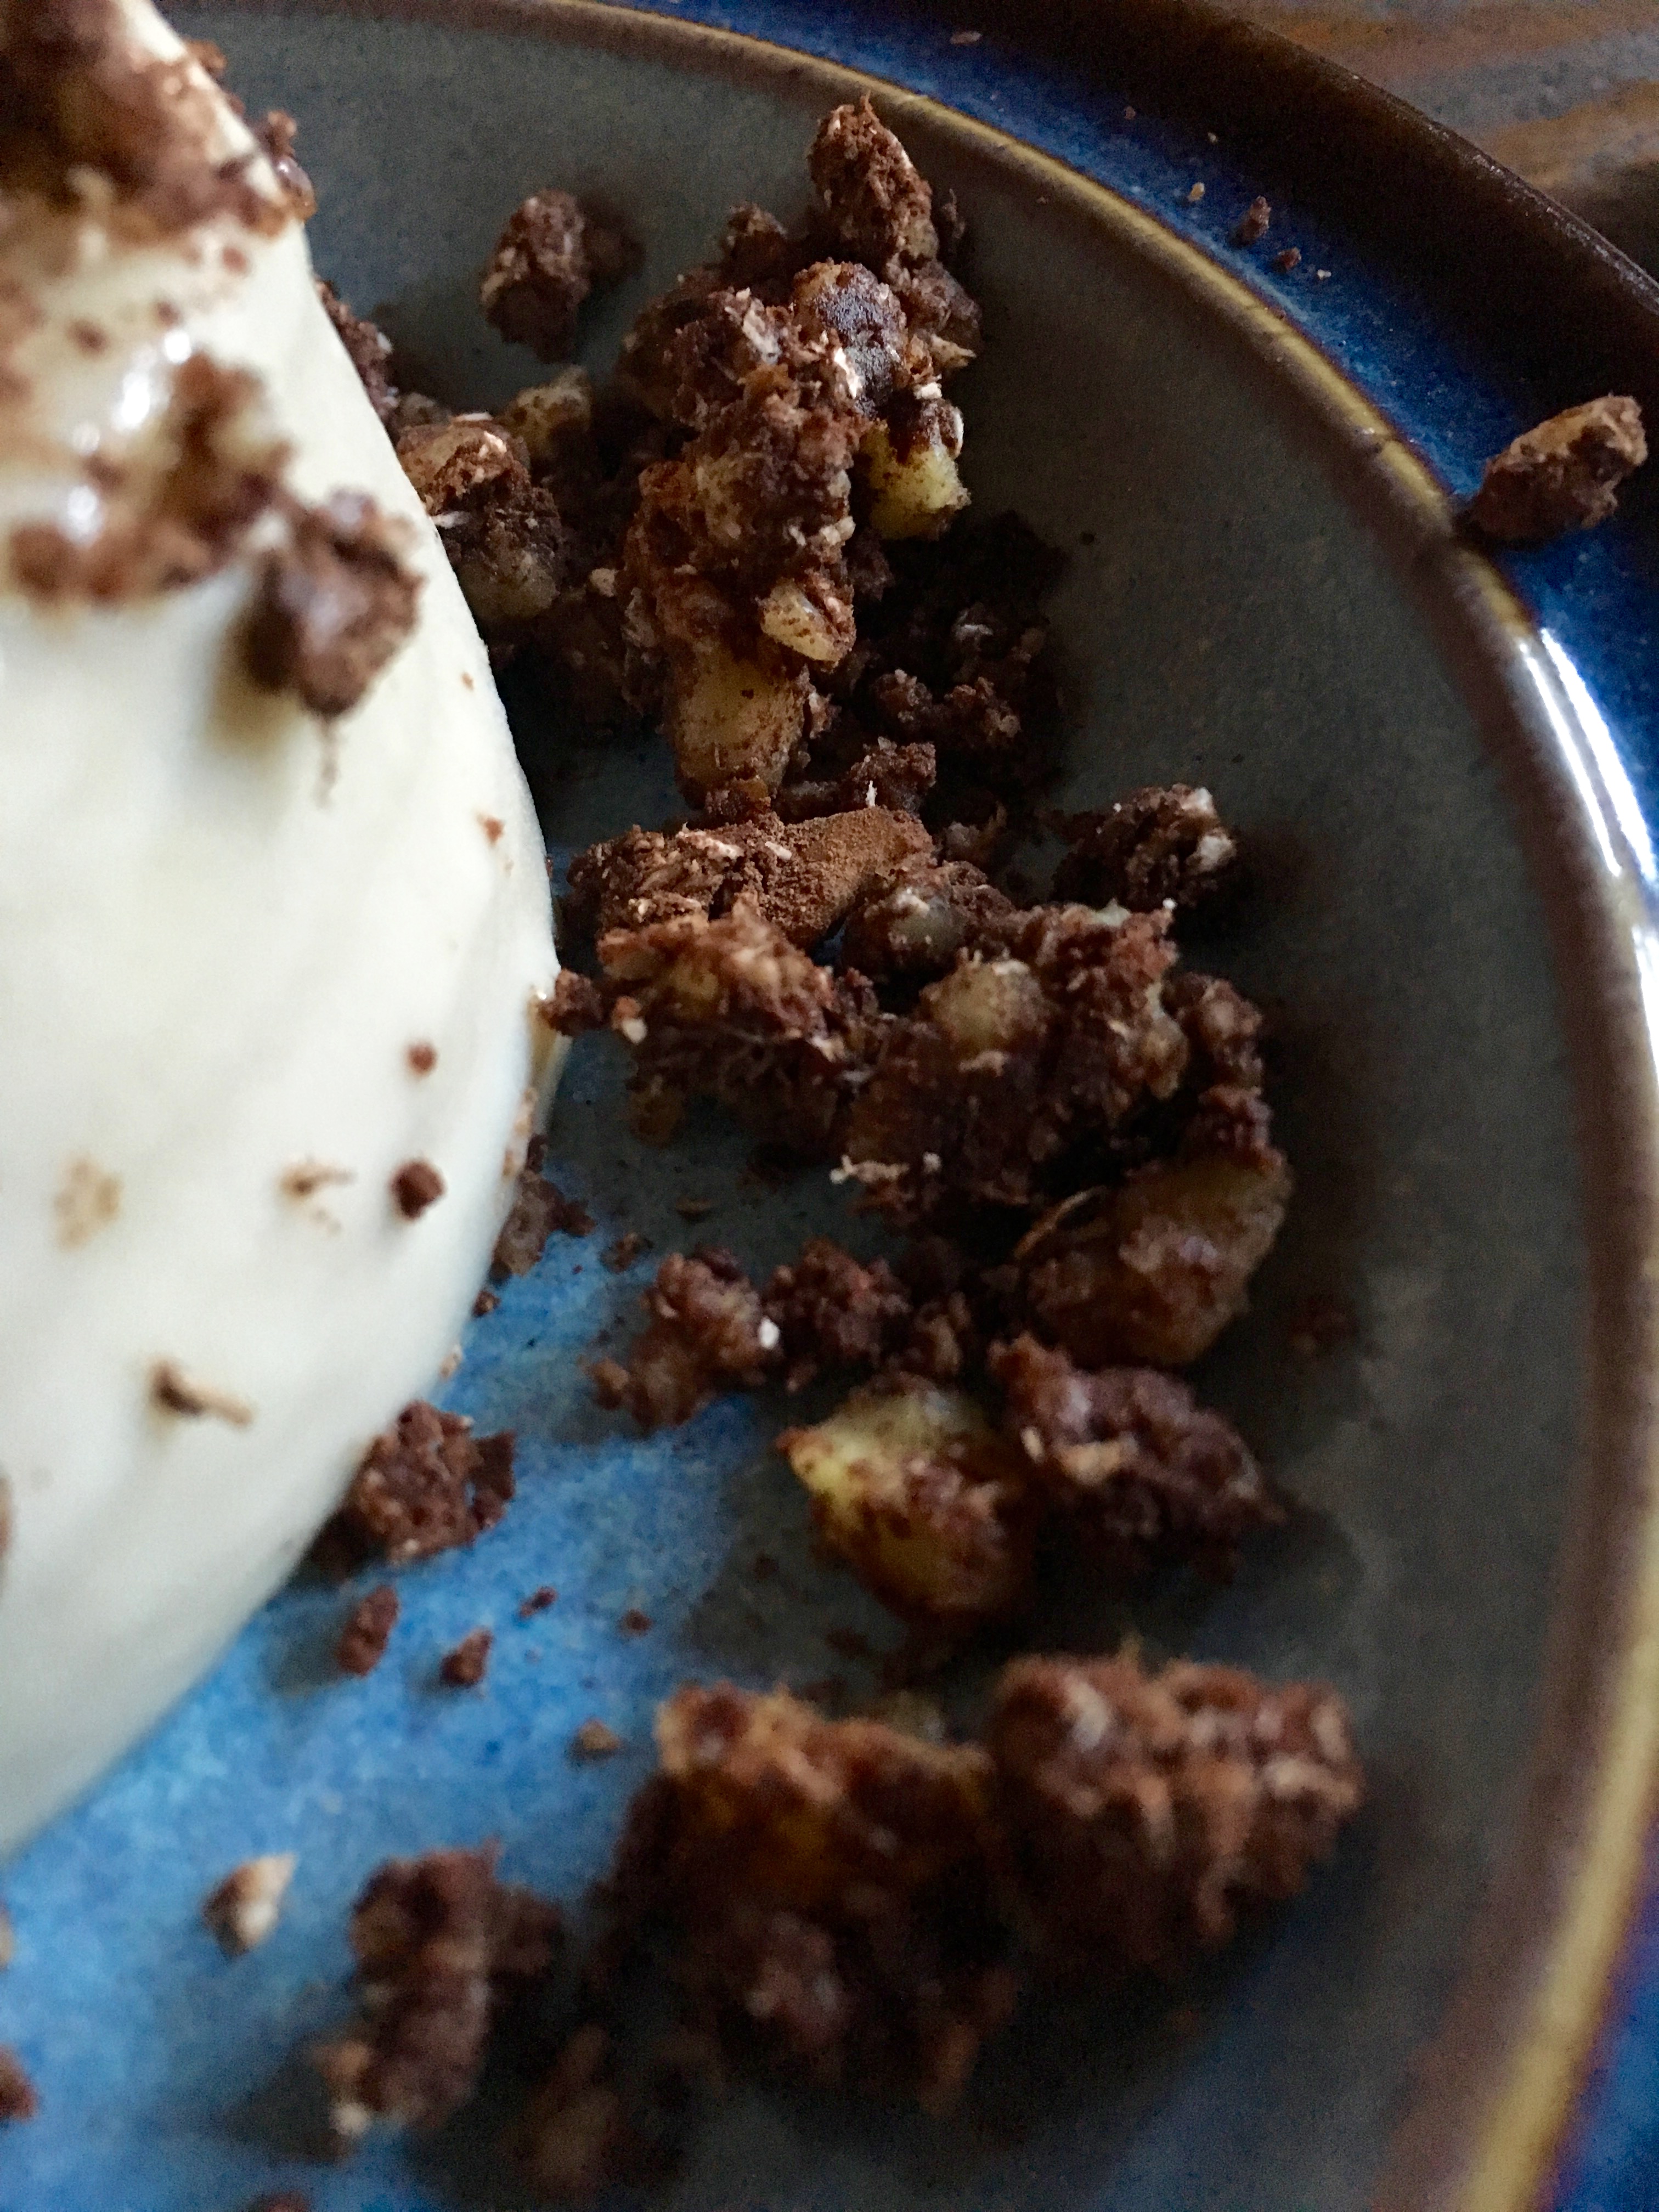
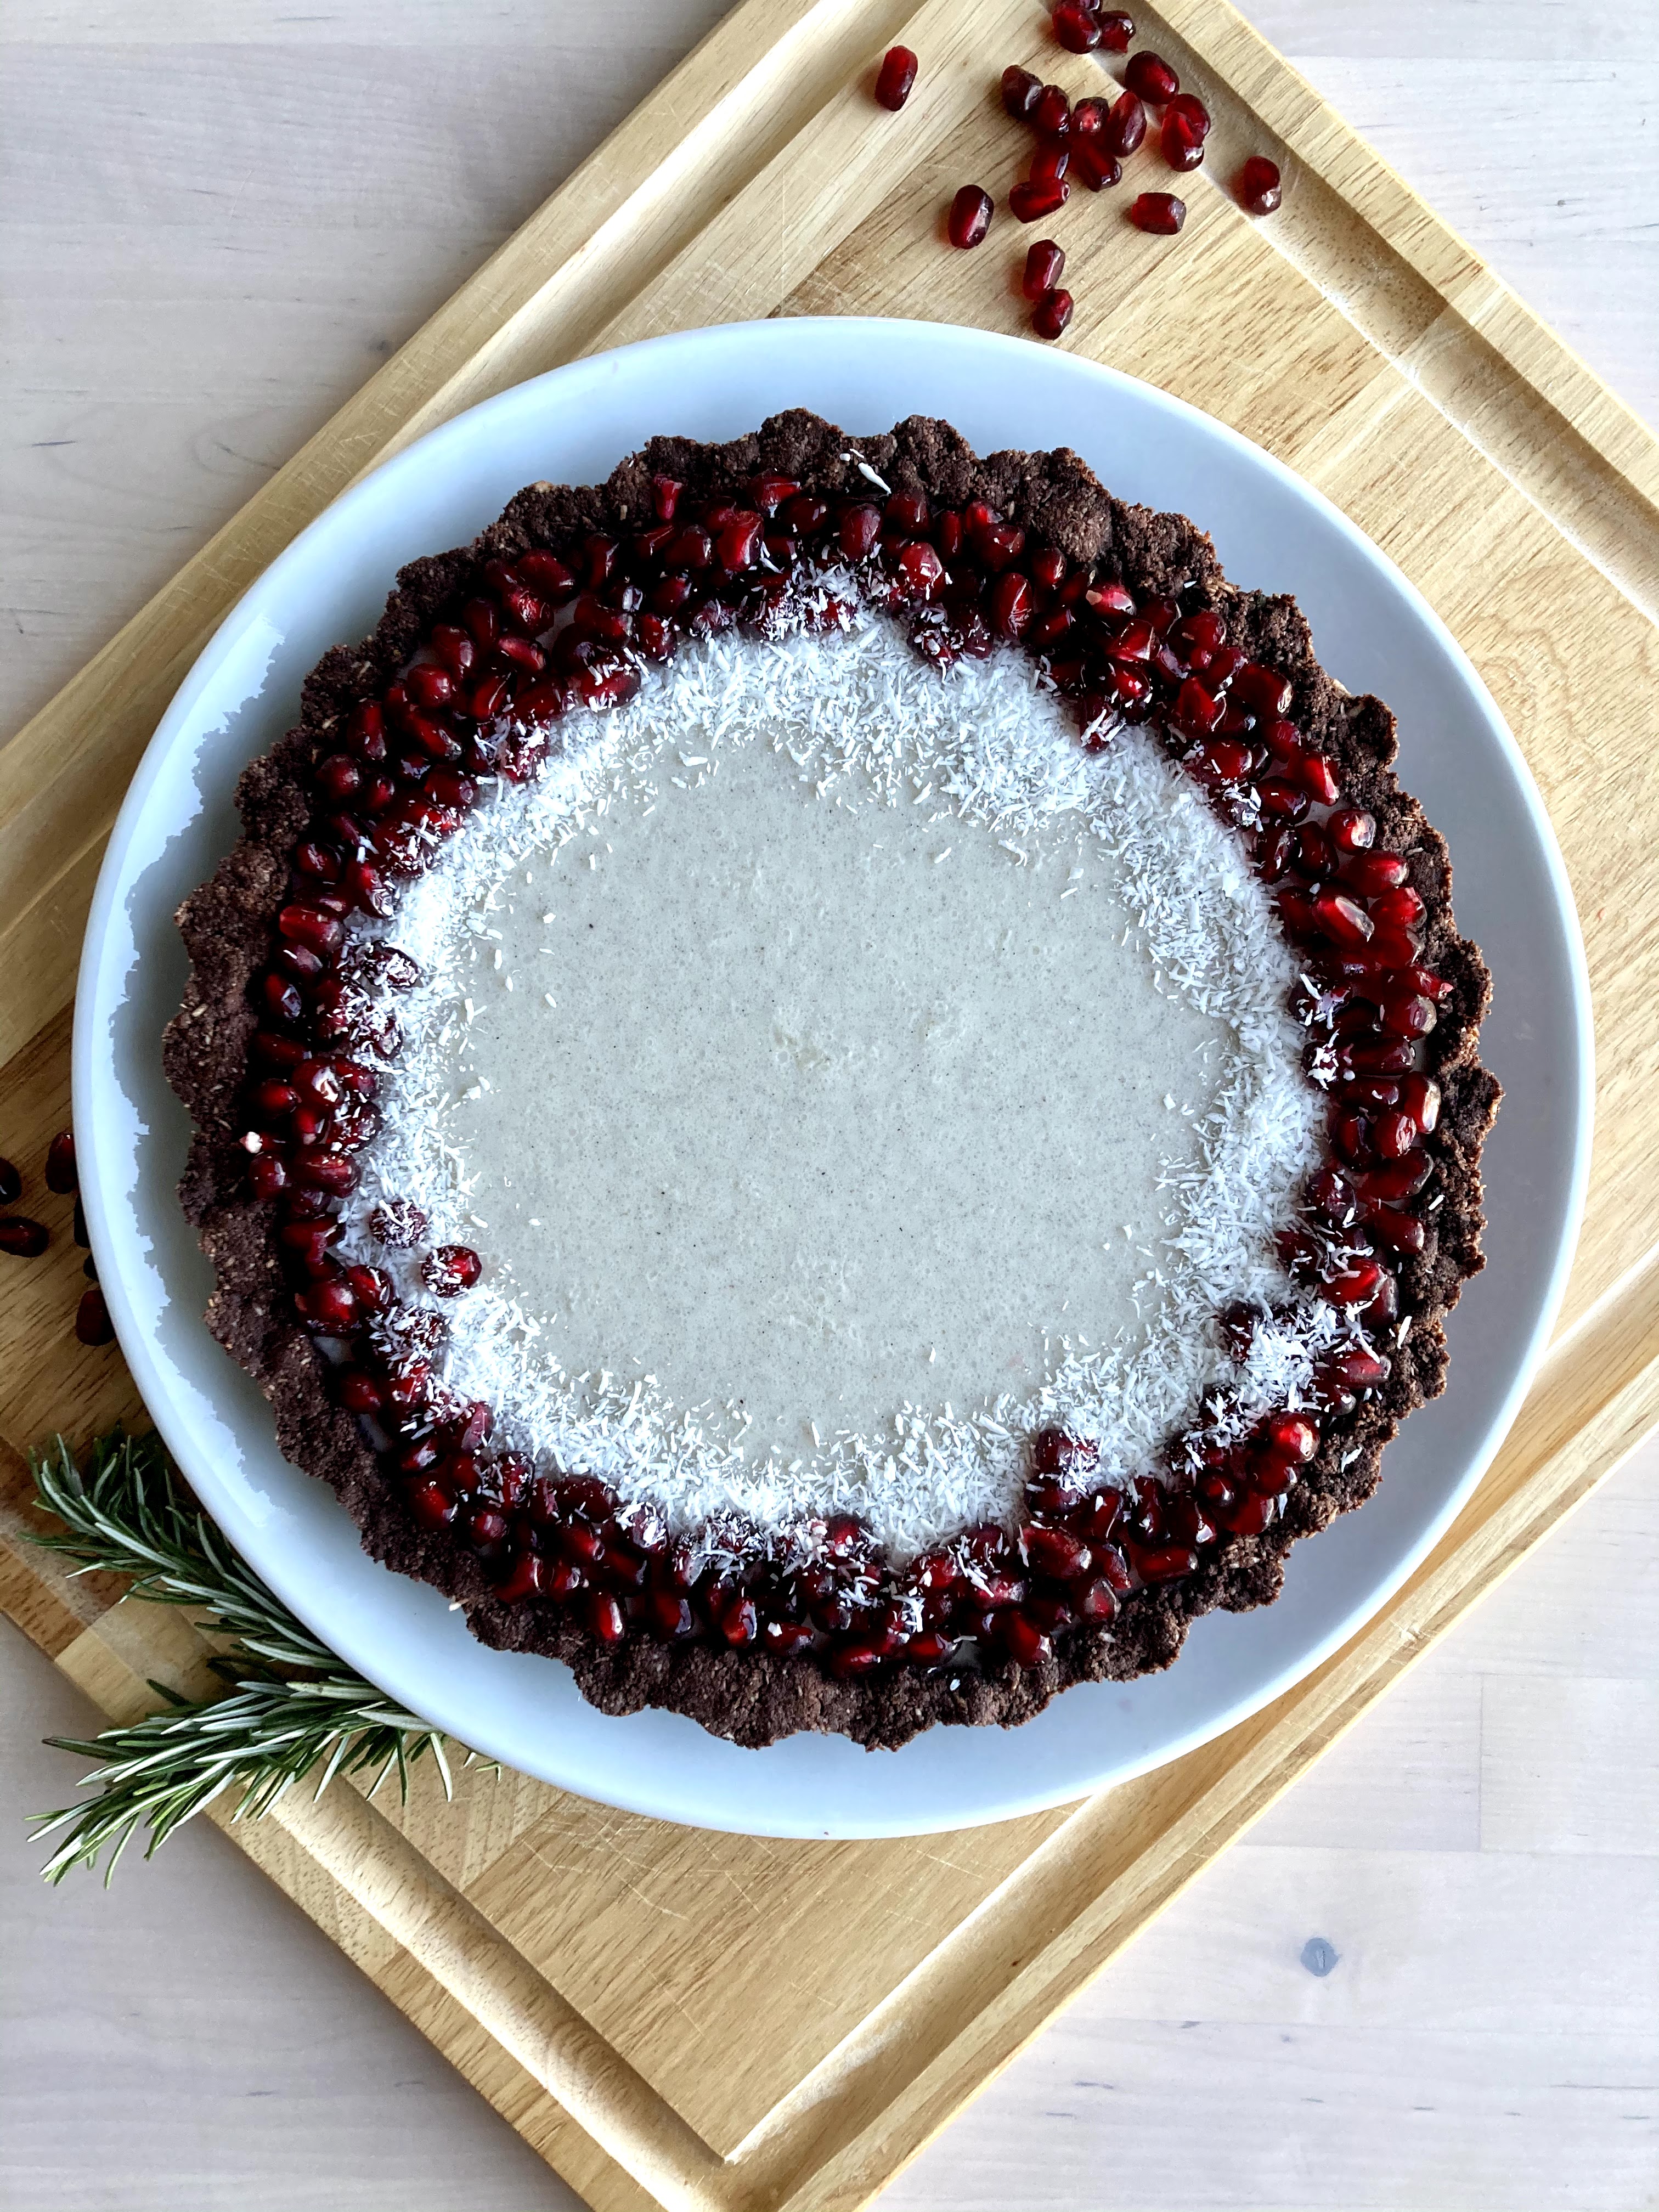
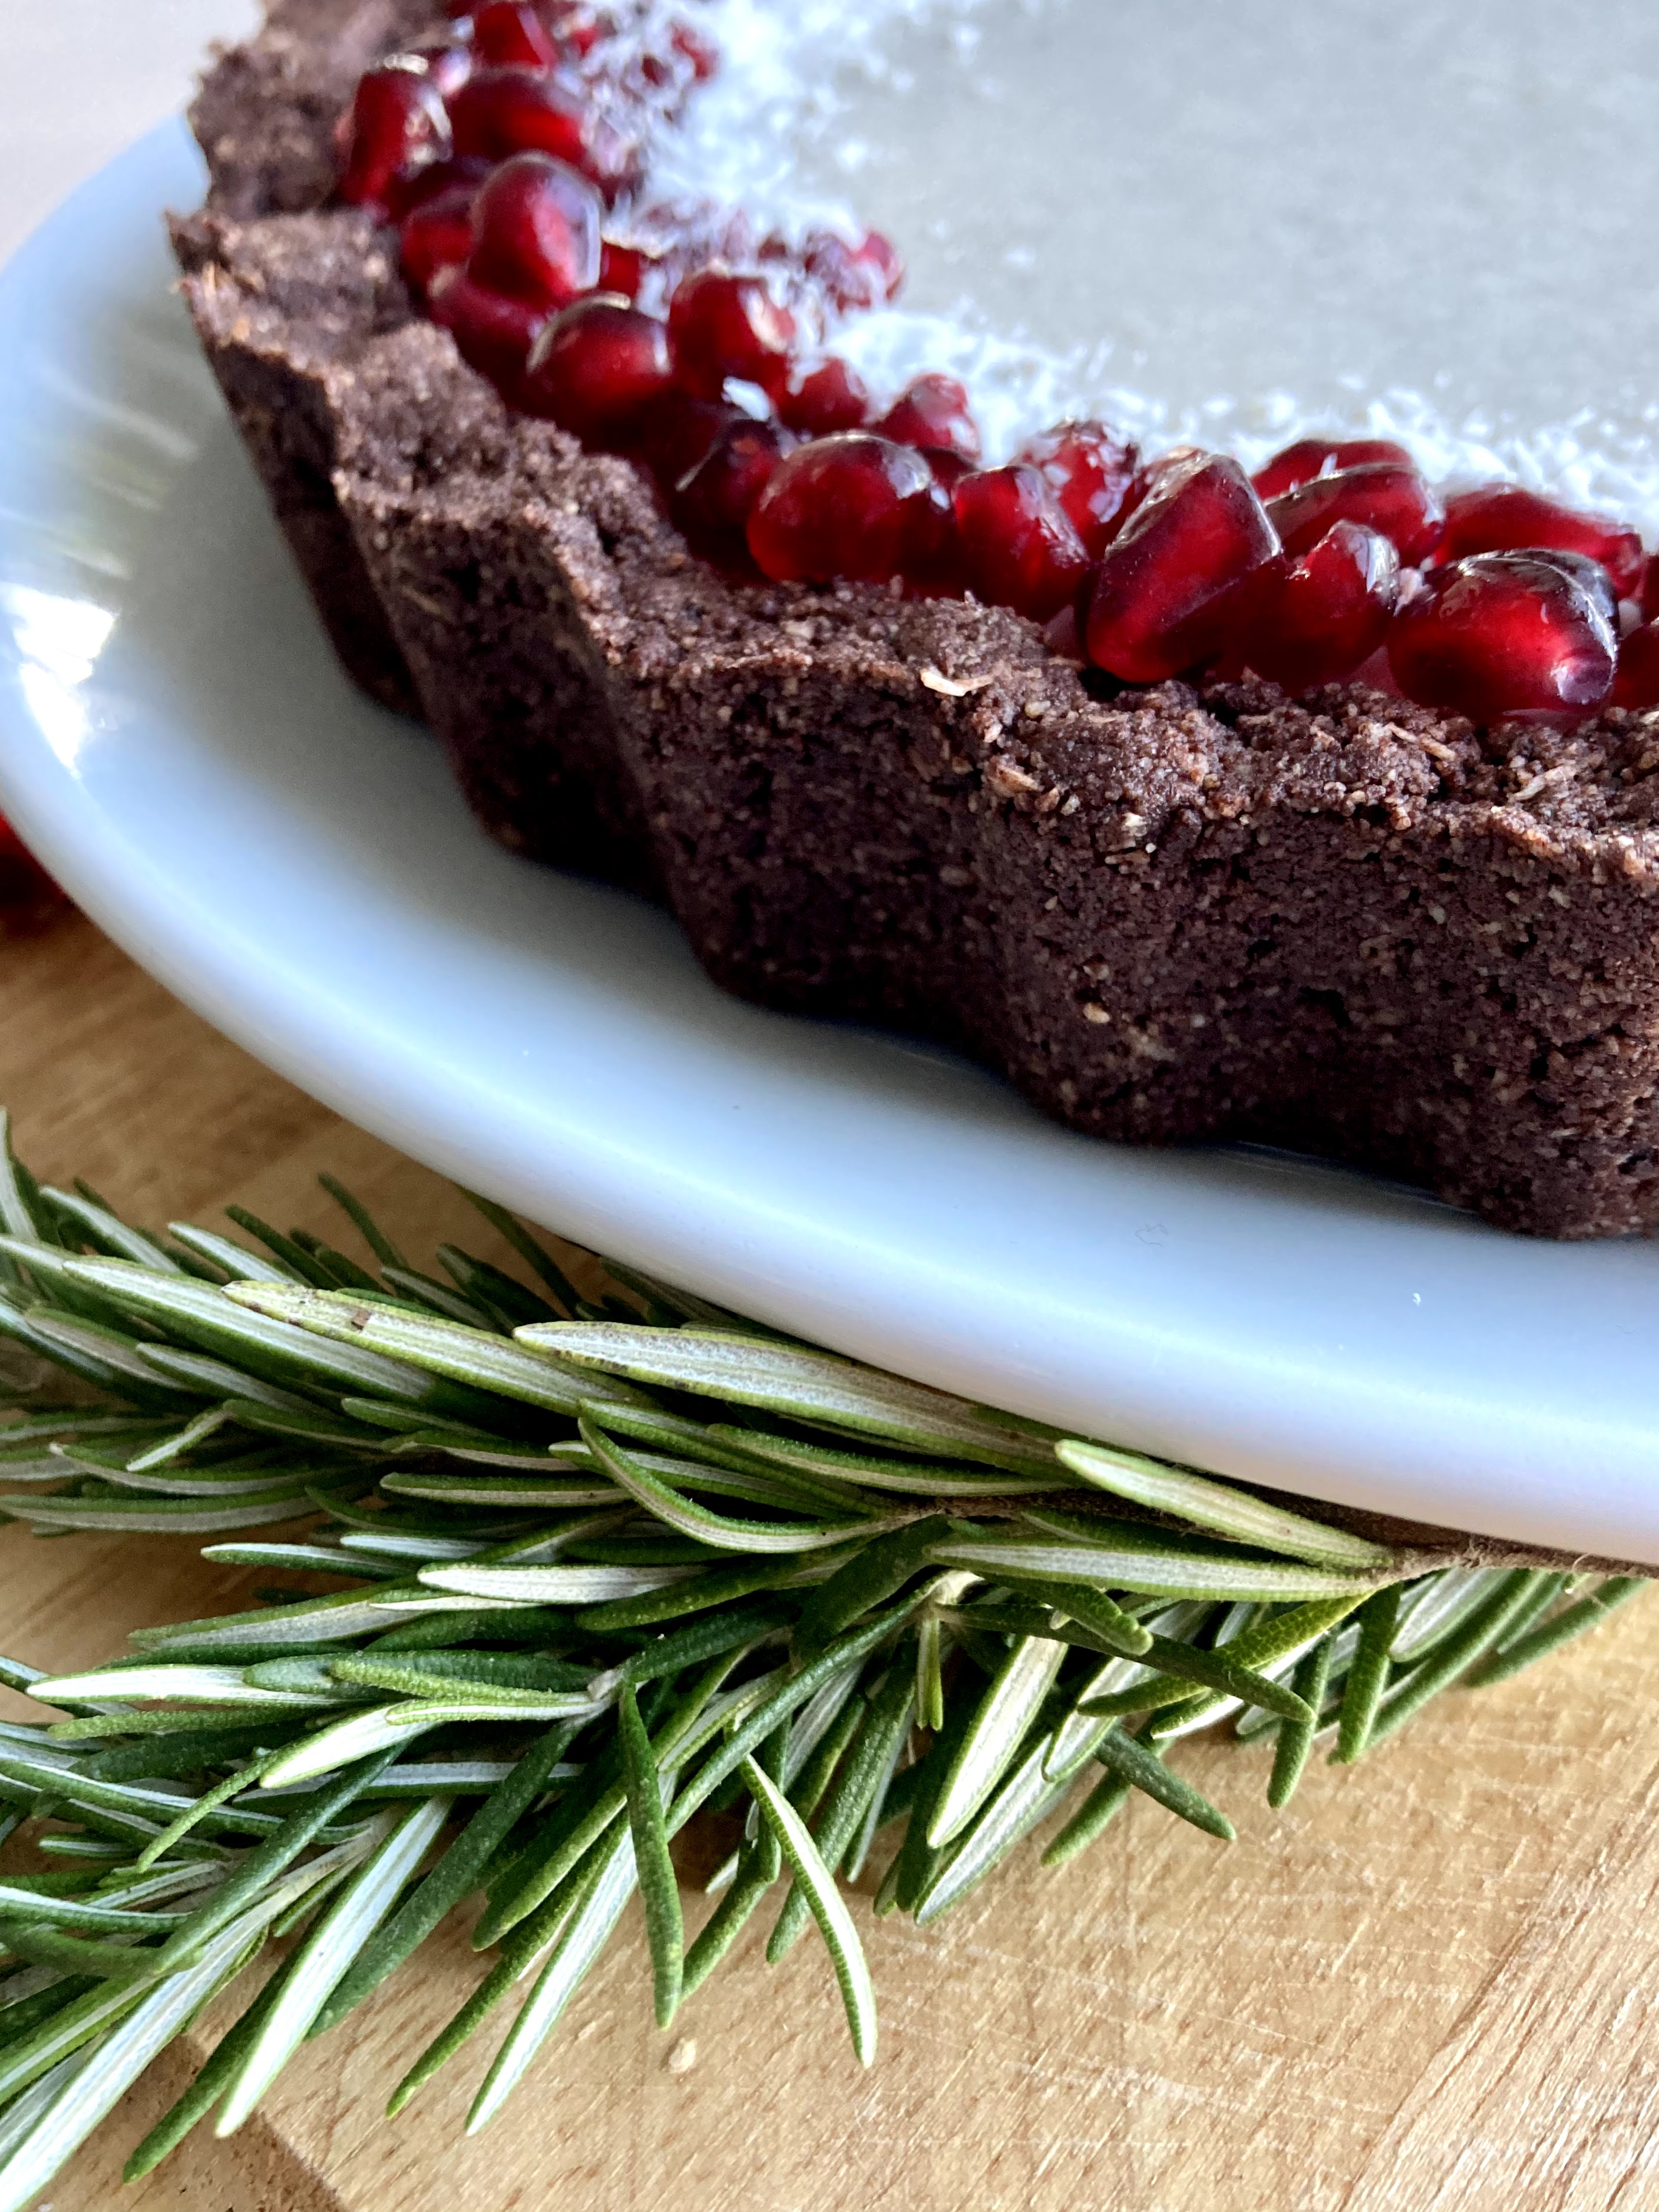
Vanilla & Mint Panna Cotta Tart with a Dark Chocolate Rosemary Crust

Minty, chocolatey and slightly herby. This tart is best made the night before and left to set overnight in the fridge, so it’s perfect for a make-ahead holiday dessert. Gluten & grain free, dairy free, refined sugar free & paleo. Yield: 1 9″ tart, serves several! A Wait are those Cookies original.

For the crust:

1.75 c almond flour
1/3 c unsweetened cacao powder
1/4 c unsweetened shredded coconut
heaping 1/4 tsp sea salt
1/2 tsp baking soda
2 tsp fresh rosemary, finely chopped
2 tsp vanilla extract
2 tbsp pure maple syrup
4 tbsp coconut oil, melted
1/4 c dark chocolate, melted

In a large bowl, stir together almond flour, cacao powder, coconut, sea salt, baking soda and rosemary. Add in vanilla, maple, and melted coconut oil and stir until completely combined. The dough will look crumbly, but you’ll be able to press it together with your fingers.

Preheat the oven to 350, and lightly grease a pie plate with coconut oil. Press the crust into the plate and up the sides with a spoon or your fingers, creating a smooth edge (or not, your call!). Poke the bottom with a fork a few times, and bake for 15 minutes.

Let cool for a few, then pour the melted chocolate into the bottom of the tart shell and use a spoon or a brush to smooth it out. Let cool completely to set the chocolate.

For the panna cotta:

1 package unflavored powdered gelatin
1.75 cup full-fat coconut milk
2 tbsp vanilla bean paste
2 tsp peppermint extract
scant 1/4 cup maple
scant 1/4 tsp sea salt

In a small bowl, sprinkle the gelatin over 1/4 cup of cold water. Let stand without stirring until the gelatin is moistened, about 10 minutes.

Pour the coconut milk into a small saucepan. Add maple, vanilla paste, mint extract and salt. Bring to a simmer over medium heat, stirring consistently. Add the gelatin mixture and stir until completely dissolved, about 3 minutes. Cool until lukewarm, about 5 minutes. Whisk in the yogurt until well blended. Pour the panna cotta mixture into the cooled tart shell. Place in the refrigerator until set, approximately 4 hours.

Store in the fridge – keeps well overnight for breakfast the next morning :)

Figgin’ delicious

fullsizeoutput_2812

Hi friends!

fullsizeoutput_281e

I’ve had a wonderful week – my birthday was last Monday, so C planned a whole surprise trip to Monterey! So so so lovely and relaxing.

fullsizeoutput_27f1

fullsizeoutput_27c1

fullsizeoutput_27cc

I didn’t bake anything for my birthday this year but I did get to spend quality time with the fave human, enjoy myself at the spa and on the beach and play board games + read my book, so I consider this a winning situation. Ofc we also went to the aquarium! How could you not. Plushies were acquired, ha! He got a kraken and I now have Norma the Narwhal keeping me company.

IMG_0811

fullsizeoutput_27fb

fullsizeoutput_27e7

Vati’s birthday was yesterday! This is the week of all the birthdays. Ergo, there is dessert! He doesn’t know about this one yet as I’m writing this, sneaky sneaky. I’ll be bringing it over in a few hours and scheduling this post to drop after I arrive. Ha!

fullsizeoutput_280b

This tart is inspired by horchata! I love horchata with a fierce passion, though I very rarely drink it because it’s usually so sweet. I took the cinnamon-vanilla idea and threw it in with some coconut milk, tucked inside a spicy chocolate shell. I have to say (based on the few taste tests I had while putting this together) that this is a winning combination. Vati looooves all things spicy so I think it’s definitely his jam.

fullsizeoutput_281d

fullsizeoutput_2809

I love what happened with the surface of the panna cotta too – not sure actually what happened there but my guess is that once it was mostly set, I shut the fridge door slightly harder than I meant to and jostled it. Regardless, it’s a super cool effect so I might try to replicate at some point.

fullsizeoutput_281c

Alsooooo it’s FIG SEASON. I have stopped by the market repeatedly to pick up figs the last several weeks – can’t stop, won’t stop. Fig season isn’t that long so I have to get after it while I can! I LOVE figs. Especially these – they’re called Panachée or tiger stripe figs, and they have gorgeous magenta insides. Eat out of hand or top a tart with them – can’t go wrong either way!

fullsizeoutput_280f

fullsizeoutput_280a

Happy weekend!! I hope you’re out enjoying the beautiful weather.

fullsizeoutput_2811

Cinnamon Coconut Panna Cotta on a Mexican Chocolate Crust

Inspired by horchata! Cinnamony, vanillay goodness with in a spicy chocolate crust. Grain & gluten free, dairy free and refined sugar free. A Wait are those Cookies original. Yield: 1 9″ tart.

fullsizeoutput_2807

For the crust:

1.75 c almond flour
1/3 c unsweetened cacao powder
1/4 c unsweetened shredded coconut
heaping 1/4 tsp sea salt
1/2 tsp baking soda
2 tsp vanilla extract
2 tbsp pure maple syrup
4 tbsp coconut oil, melted

In a large bowl, stir together almond flour, cacao powder, coconut, sea salt, and baking soda. Add in vanilla, maple, and melted coconut oil and stir until completely combined. The dough will look crumbly, but you’ll be able to press it together with your fingers.

Preheat the oven to 350, and lightly grease a pie plate with coconut oil. Press the crust into the plate and up the sides with a spoon or your fingers, creating a smooth edge (or not, your call!). Poke the bottom with a fork a few times, and bake for 15 minutes.

Remove and let cool.

Panna Cotta:
1 package unflavored powdered gelatin
1.75 cup full-fat coconut milk
1/4 c cold water
1 tbsp vanilla bean paste
1.5 tsp cinnamon
1/4 cup maple
Scant 1/4 tsp sea salt

In a small bowl, sprinkle the gelatin over 1/4 cup cold water. Let stand without stirring until the gelatin is moistened, about 10 minutes.

Pour the coconut milk into a small saucepan. Add vanilla, cinnamon, maple, and salt, stirring consistently. Remove from the heat. Add the gelatin mixture and stir until completely dissolved, about 3 minutes. Cool until lukewarm, about 10 minutes. Pour the panna cotta mixture into the cooled tart shell. Place in the refrigerator until set, approximately 4 hours.

Store in the fridge – keeps well overnight for breakfast the next morning :)

Behind the scenes…

fullsizeoutput_280d

fullsizeoutput_2811

Birthday Pandowdy!

IMG_0834

I had a birthday!

fullsizeoutput_1c30

It was lovely – C and I hiked, went to the symphony for some Stravinsky and ate a bunch of good things (like matcha verbena ice cream omg yum) and this thing! He also gave me some beautiful flowers – all around it was a wonderful birthday!

fullsizeoutput_1c4e

fullsizeoutput_1c53

fullsizeoutput_1c5b

fullsizeoutput_1c05

fullsizeoutput_1c5c

fullsizeoutput_1c56

fullsizeoutput_1bf3

fullsizeoutput_1c5a

Of course, true to form, I made my own birthday dessert! No surprises there, I don’t think. I haven’t had much of a chance to bake (other than a wedding cake, which was SO fun) lately, so it felt good to get this out – I’m overdue!

fullsizeoutput_1c6e

Besides, I love pandowdies – they are pie’s unfussy cousin! So very easy, and so fun. Another excuse to play with your food! Cutting up the crust and flooding it with cream is my favorite part – it’s simultaneously soothing and satisfying.

fullsizeoutput_1c2e

I sliced and froze a bunch of peaches over the last month while they were at their peak – frozen peaches do really well in this, as long as you don’t thaw them first – which makes for even easier baking, since you just toss them in some lemon zest and a few other things and go! The only bit of this that requires more planning is the crust refrigeration, but it can be made the night before or just an hour before, so you have some flexibility.

fullsizeoutput_1c42

I highly recommend this for breakfast after hiking – it’s filling and delicious without being overly heavy. Pair it with some whole milk (not like I speak from experience or anything!) and go to town. Whole grain, refined sugar free – as C said, this is no namby pamby fruit situation! We’re just into the tail end of peach season – enjoy it while it lasts!

fullsizeoutput_1c34

Enjoy the rest of your week!

fullsizeoutput_1c32

Swamped Peach and Blackberry Pandowdy

No namby pamby fruit here! This is a very fruit-foward dessert, so make it with the ripest, most perfect fruit you can find! Best for late summer/early autumn peaches. Whole wheat, refined sugar free goodness. Pandowdies are the unfussy cousin of pie – no bottom crust nonsense here! Yield: 1 9″ pandowdy, serves 6-8.

For the crust:

1.25 c whole wheat pastry flour
1/4 c cornmeal
1 tsp sea salt
zest of 1 lemon
9 tbsp unsalted butter, cubed into small pieces
3-5 tbsp ice water

Add whole wheat flour, cornmeal, sea salt, and lemon zest to a large bowl and stir to combine. Add in butter, toss to coat, and use your fingers or a pastry cutter to cut in the butter until a coarse mixture forms and the butter chunks are the size of peas (I prefer to use my fingers for this since I a) like the feeling of having my hands in flour and b) have greater control over butter-chunk sizing). Add ice water 1 tbsp at a time until the dough just begins to hold together when pinched between two fingers. It’ll look a little crumbly, but that’s fine.

Toss the dough out onto a clean counter or wax paper (I prefer the counter method; less fuss), and use a bench scraper to gather the dough into a rough rectangle. Using the heel of your hand, smear the last fourth of dough away from you, against the counter. Repeat until you smear all the dough (see? playing with your food!), then gather the dough back into a rectangle and repeat, smearing it all away from you. The dough should be cohesive by this point, so gather it up into a disc, wrap in plastic, and stick it in the fridge for at least an hour, or up to overnight.

For the filling:

3 c peaches, sliced*
1.5 c blackberries*
1 tsp vanilla
1/4 tsp almond extract
1.5 tbsp arrowroot starch
juice & zest of 1 lemon
1 tbsp maple syrup
egg white & 1 tbsp coconut sugar for glaze

1 egg yolk
3/4 c heavy cream
1 tsp vanilla

*I used some that I had frozen earlier; if you do as well, bake them straight from frozen instead of letting them thaw beforehand

In a large bowl, combine the peaches and blackberries. Add 1 tsp vanilla, arrowroot, lemon juice, and maple, and toss to combine. Pour all this goodness into your pie plate or skillet of choice – 9″ pie plates are fine as long as they’re the deeper variety; a 10″ cast iron skillet would also work well.

Preheat the oven to 400. Roll out the dough to be roughly circular (no need to be perfect here, like I said – pandowdies are pie’s unfussy cousin), and lift the dough onto the fruit. Tuck in the edges, leaving a rim of dough between the edge of the pie dish and the fruit – I crimped mine because I’m an overachiever and I also had extra dough, but no need to do that. Make a few slits for steam to vent, brush the top with egg white and dust with coconut sugar. Pop the whole beautiful thing into the oven for 40 minutes; best if you line the rack beneath with foil or a large baking sheet – the juices runneth over!

In a liquid measuring cup with a spout, measure the cream, beat in the egg yolk and 1 tsp vanilla, and let it sit at room temp.

Once you hit the 40 minute mark, take the pandowdy out, and use a sharp knife to break up the crust, thus ‘dowdy-ing’ its looks (now begins the really fun part). Carefully pour the cream into the new breaks in the crust, filling each – some of the cream will pool under the crust, and some will sneak out on top, which is fine. Just be careful not to drown the whole crust! Go slow, and fill each vent/break. Stick the pandowdy back in the oven, and bake for another 10 minutes, until the cream is just set and barely jiggles in the center. Let cool completely before serving; it will be gloriously juicy and delicious so might I suggest serving it in bowls? Ice cream is… optional, sort of, if you’re out of cream; otherwise, this can be served even swampier with extra cream poured over the top. You do you!

Store any leftovers (who are you) covered in the fridge, but make sure to save some for breakfast. You’ll thank me later!

fullsizeoutput_1c1a

fullsizeoutput_1c66

Gettin’ figgy with it

IMG_1297

My morning yesterday was perfect: zesting meyer lemons early in the morning, to the sound of rain in the leaves and thunder overhead, under cloudy skies.

IMG_1160

Well, it would have been extra perfect with a latte, but no such luck!

IMG_1298

I LOVE the rainy weather we’ve been having – we don’t get summer storms all that often out here, so I’ve really been enjoying them (minus the super muggy nights – I could really do without that). We’ve also had cooler days, hooray! No more turning my apartment into a sauna by virtue of turning on my oven…

IMG_1262

A few shots from life lately… My last series of weekend snapchats was so stereotypically Bay Area Californian, I had to laugh at myself. Latte –> poolside lounging (with sci-fi novel, obvs) –> whole foods flower display –> sushi….

IMG_1225

IMG_1226

IMG_1227

IMG_1229

However. This is a food blog (well, okay… dessert & baking blog these days), so let’s back to the topic at hand!

IMG_1264

This pudding cake is really fun to make – it totally looks like it’s not going to work when it goes in the oven (fingers crossed, beseeching the baking gods) – the cake batter sinks into the pudding underneath and you think to yourself “OMG THIS IS NOT GOING TO WORK AND I WILL BE SCREWED!” but then… you put it in the oven 25 minutes, try to walk away and ignore it….

IMG_1268

Lo and behold, when you take it out, there is CAKE on top of your PUDDING SAUCE! Borderline baking miracle right there, just the sort of thing to make you feel like you’ve won your day, even when it’s only 7am.

IMG_1158

Happy almost-weekend!

IMG_1261

Meyer Lemon Vanilla Pudding Cake with Port Roasted Figs

Refined sugar free and whole wheat. I reduced the sugar heavily & used maple for unrefined-ness, because of personal proclivities… Lightly sweet, super fun concept where the cake bakes into a pudding bath, basically. Essentially it becomes a self-saucing cake, which looks like it won’t work, but it does! Adapted from King Arthur Flour, here. Yield: 1 8″ cake, serves 2-5 (but really 2, for dessert & breakfast w/ a few snacking leftovers…)

The port roasted figs are also a great way to use an abundance of figs if you can’t eat them all fresh – they freeze well, and can be kept into the dark winter months when you want some figgy goodness!

For the roasted figs:

  • 1 lb fresh figs (however many you need or want!)
  • 1 tbsp honey
  • 1 tbsp coconut sugar
  • 2 tbsp port wine
  • zest from 1 meyer lemon

Preheat the oven to 400, and procure a baking sheet. Slice the ends off each fig, and then halve them. In a large bowl, toss the halved figs with honey, coconut sugar, port, and lemon zest, then place them cut-side down on the baking sheet.

Cover the baking sheet with foil, and roast for 20 minutes. They will be soft, with more liquid – if you want them drier, bake for 30 minutes, uncovered. When done, carefully remove the foil (watch out for steam!) and let them cool completely. Store in an airtight container in the fridge for a week, or freeze – I’d say use them within 3 months if you freeze them, for best quality.

For the sauce:

  • 1 tablespoon tapioca starch
  • 1 1/2 cups whole milk, divided
  • 3 tablespoons maple
  • 1 teaspoon vanilla
  • 1/8 teaspoon salt
  • zest of 1 meyer lemon, finely chopped
  • 2 tsp meyer lemon juice

For the cake:

  • 1 cup whole wheat pastry flour
  • 1/4 c maple syrup
  • 1 tbsp coconut sugar
  • 1.5 teaspoons baking powder
  • 1/2 teaspoon fine sea salt
  • 1 large egg
  • 3/4 cup whole milk, minus 2 tbsp
  • 3 tablespoons unsalted butter, melted
  • 1 tablespoon vanilla extract
  • zest of 2 meyer lemons, finely chopped
  • 3 tbsp meyer lemon juice

Preheat the oven to 350°F. Butter an 8″ square pan (I used a ceramic baking dish with nice results).

To make the sauce: place tapioca in a saucepan and add 2 tablespoons of milk, stirring until no lumps remain. Add the remaining milk, maple, vanilla, salt, and lemon zest. Heat, stirring occasionally, just until the mixture simmers, about 5 minutes. It will thicken slightly but no more than that. Pour the mixture into the prepared pan.

To make the cake: in a largish mixing bowl, whisk together the flour, baking powder, and salt. In another bowl, whisk together the egg, milk, butter, vanilla, lemon zest and lemon juice (Or, if you’re me and baking at 6 am and kind of sleepy, just dump it all in one bowl – it’ll turn out just fine). Add to the dry ingredients and mix just until moistened. Pour the batter into the prepared pan over the sauce. It will kind of puddle into the sauce, which will creep up around the sides, and you will look at it and think that this will never work, but stick with me! Promise.

Bake the cake for 25 minutes, or until a toothpick inserted in the center of the cake comes out clean. The top of the cake will be golden brown, with some bubbles from the pudding that has crept up around the edges. Remove from the oven, cool for 15 minutes, and serve warm, OR refrigerate until ready to serve. Reheat briefly before serving (or just leave at room temp for a few hours). Store covered leftovers in the fridge & eat for breakfast (it’s essentially breakfast food anyway: maple, milk & whole wheat…) Serve with roasted figs, warmed.

IMG_1265

Camp Musings and Cream Biscuits

IMG_0825

I have returned from my mountain home away from home!

Not that I’m especially happy about this – camp is my favorite place, and reality is, um… less fun. I’m pining and going through wilderness withdrawals, that’s for sure.

IMG_7227

There is nothing that compares to 10 days off the grid with my camp family in the mountains – laughing till my stomach hurts, swimming in a lake so brisk it takes your breath away, listening to the wind sighing in the pines, and going to bed under a skyful of stars and a full moon, smelling like woodsmoke and campfire.

IMG_0809

It is such a joy to witness the camp experience of so many girls who come to love camp just as much as I do – I am beyond grateful to have Two Sentinels in my life, both the place and the people! Camp has truly shaped who I am, in more ways than I can count. I’ll leave you with a few of my favorite snaps from this year – doesn’t nearly do it justice, but it’s a start.

IMG_0820

IMG_7273

IMG_0810

IMG_7241

IMG_7245

IMG_7252

The only thing missing up at camp is an abundance of summer fruit – so of course I pounced on the berries and stone fruits as soon as I got home.

IMG_0853

I’ve been eyeing peaches for weeks now, waiting for peak season, and I think we’re there!

IMG_0837

These are perfect; they really don’t need to be messed with, but I like to have my fruit be a little saucy when I’m serving shortcakes. These particular peaches are paired with a cream biscuit (because I’m obsessed, both with this form of biscuit and with Straus creamery heavy cream – I could literally drink the bottle. Someone take it away!) and with either ice cream or more of that amazing heavy cream… no need to even whip it, just pour it straight over your shortcakes and imbibe.

IMG_0834

It’s hot out and I just ran my oven and I don’t even care. Summer is for shortcakes and if that means I have to swelter a bit, so be it! I’ve been outside in nature’s A/C for the last week and a half anyway so who cares. The only thing missing is the lake! That would be so good right now.

IMG_0844

So! Not only do peaches make your kitchen smell like summer, but this dessert comes together in about five seconds flat. And the oven only has to be on for 15 minutes! No excuses – you’ll thank me later. Happy summer!

IMG_0836

IMG_0831

IMG_0826

Whole Grain Shortcakes with Peaches and Cream

Lightly sweet, perfectly fluffy biscuits with a craggy crust. Summer peaches don’t need much adornment – these were in varying degrees of ripeness so I threw them in a pot for a minute to somewhat homogenize – tossed with vanilla and served with cream and/or ice cream: the ultimate summer pairing. Refined sugar free and whole wheat. Cream biscuits lightly adapted from Alice Medrich of Food52, here. Yield: 6 shortcakes.

For the cream biscuits:

  • 3/4 c whole wheat pastry flour
  • 3/4 c whole spelt flour
  • 2 tsp baking powder
  • heaping 1/4 tsp fine sea salt
  • 3/4 c + 6 tbsp cream
  • 1 tsp coconut sugar, to sprinkle

Preheat the oven to 425 and line a baking sheet with three pieces of parchment, to prevent excess browning. In a medium sized bowl, whisk together whole wheat, spelt, baking powder, and sea salt. Create a well in the center and pour in the cream. Using a rubber spatula, push the flour into the cream (not stirring), until everything is moistened. This really only takes a few seconds! The dough will look shaggy and porous. Drop large spoonfuls onto the prepared baking sheet, and sprinkle generously with coconut sugar. Bake for 14-15 minutes, rotating the baking sheet front to back once halfway through, until golden brown. Let sit for 10 minutes, then move to a cooling rack to cool completely (or eat warm).

For the peaches:

  • 3-4 large peaches, cubed
  • vanilla to taste
  • zest & juice of one meyer lemon

Toss everything into a small pot, and heat over medium until the peaches start to release their juices and make your kitchen smell amazing. Remove from heat and let cool before serving.

To serve: you do you! Cream, ice cream – whatever floats your boat. I like a ton of peaches and a drizzle of cream (or a large blob of ice cream)… or maybe both. Store any leftovers (really?! who are you??) on the counter covered in foil. Or just eat immediately, which would be my recommendation. Although they are excellent for breakfast, so maybe save one or two ;)

IMG_0846

IMG_0832

Just can’t get enough of all the citrus!

IMG_0387

Hello, internet friends, and happy Mother’s Day to the moms out there! I do like my little corner of the interwebs… there’s so much STUFF going on in the world right now, I like to keep a little spot that’s just pretty food & friends.

IMG_0404

I went on my annual yoga retreat last weekend! So lovely as always – love, laughter and light with friends (and delicious food, and beautiful scenery)!

IMG_0351IMG_0348IMG_0343IMG_0346IMG_0318IMG_0315IMG_0306

But I’m back now, and fully back into the dessert swing of things – party snax, plus another citrus tart! The brownies are barely adapted from Ambitious Kitchen, here – I doubled the recipe & used blackberries instead with excellent results.

IMG_0398

IMG_0397

My kitchen currently smells like heaven – two desserts in under two hours is my kind of morning.

IMG_0399

More progress on the SF series!

IMG_0384

But this tart. Let’s get back to the tart…

IMG_0388

Citrusy (though not as much as my meyer lemon curd/blackberry iteration) – this one is lighter on the citrus front, which makes sense since oranges are less in your face than lemons anyway.

IMG_0390

Lingonberries are delicious – tart like cranberries but… different! Apparently they’re high in antioxidants too, whoop whoop! I have a largish jar of lingonberry jam that I wasn’t really going to get through using it just for toast, so I decided to introduce it to my orange curd and see if they got along. Turns out they pair surprisingly well, especially with a vanilla crust to bring it all together.

IMG_0392

Lightly sweet and perfect for spring – this tart does double duty as dessert and breakfast (as so many of my desserts do; why be limited?). I mean, it’s basically fruit and nuts…

IMG_0401

Have a great weekend, friends in my little corner of the internet!

IMG_0393

Orange Curd Tart with Lingonberry Swirl on an Almond Vanilla Crust

More citrus! Tart, lightly sweet, and perfect for spring. Gluten free, grain free, refined sugar free, dairy free. Yield: 1 9″ tart; serves 6-9 (or two. your call). Incidentally, curd freezes quite well in airtight container –  I made this ahead of time and froze it for about a week since I wasn’t quite sure when I would use it. Tart is a Wait are those Cookies original!

For the orange curd:

  • 4 eggs
  • 1/2 c coconut oil
  • scant 1/4 c honey
  • 1/8 tsp sea salt
  • 1/2 c orange juice
  • juice of 1 meyer lemon
  • zest of 3 oranges
  • 1 tsp vanilla

In a saucepan over medium-low heat, combine eggs, coconut oil, honey, sea salt, lemon juice, lemon zest, and vanilla. Whisk to combine and continue to cook, whisking constantly for about 10-15 minutes – it should be just on the edge (but not there yet!) of a low boil. The curd should thicken and your whisk will make tracks – don’t let it boil. It will still be slightly runny but will firm up in the fridge. While it’s still warm, strain curd through a metal strainer into a glass container and let cool completely before storing in the fridge (overnight is preferable, but at least 4 hours if pressed for time).

For the lingonberry swirl:

I used about a 1/4 c lingonberry jam (on the tart side) blitzed a few times with an immersion blender (a food processor would be fine too), just to get rid of the whole berries (cause piping those through a pastry bag or ziplock is a recipe for disaster, just saying)

For the crust:

  • 2.5 c almond flour
  • 1 tbsp coconut flour
  • 1/4 tsp baking powder
  • 1/4 tsp fine sea salt
  • 3 tbsp melted coconut oil
  • 1 tbsp vanilla extract
  • 1/4 c unsalted almond butter
  • 2 tbsp maple syrup

In a large bowl, whisk together almond flour, coconut flour, baking powder, and sea salt. Add in melted coconut oil, vanilla, almond butter, and maple syrup, and stir until combined – the mixture will be crumbly.

Preheat the oven to 350, and press the mixture into the bottom and up the sides of a 9″ pie plate. Poke the bottom a few times with a fork, and bake for 10 minutes. Remove from the oven and fill with the orange curd. If you’re planning on the lingonberry swirl, use a ziplock bag with a teeny corner cut off to pipe the sauce into the curd, and then use a knife to swirl it around (alternatively, use a pastry bag if you’re less lazy than me!). Bake for 8-10 minutes to set the curd, then let cool completely at room temperature. Top with sliced oranges and shredded coconut if desired. I prefer to chill mine in the fridge for at least two hours before serving.

Leftovers keep well covered in the fridge (though I dare you to have any!).

IMG_0395

Orange bars: like a creamsicle only WAY better

img_5192

Hello!! I have citrusy goodness for you today, because this time of year is all about the citrus and scurvy is bad news.

Besides that, I used to LOVE 50/50 bars when I was a kid (you know, those popsicle-looking things that were orange on the outside and vanilla on the inside? also known as a creamsicle?) and I wanted something that tasted sort of like that, only WAY better and not filled with all the junk. So I made these!

img_5182

Orange bars with a vanilla almond crust… pair them with vanilla ice cream and they are pretty much the perfect citrus dessert.

img_5179

img_5183

Let’s see, what else is new… more drawing, of course — still on the SF series, naturally.

img_5168

I think that’s about it, otherwise I’m business as usual over here — didn’t really bake diddly for Thanksgiving so I’ll have to make up for it at Christmas, which is (gasp) rapidly approaching.

img_5187

Citrus was requested and I was thinking of doing something along those lines anyway, but I really wanted to do something besides lemon. I LOVE lemon, but… it’s always the favored child when it comes to citrus desserts. Let’s let oranges have their time in the limelight, ya know? …. Limelight? Really?? That just happened. Let’s see how many citrus references can fit in one sentence…

img_5186

Anywayyyy. Make these! Eat them! Your neglected oranges will love you, and you’ll get a nice blast of creamsicle nostalgia.

img_5180

Orange Bars with Vanilla Almond Crust

(Otherwise known as Creamsicle bars but that’s probably trademarked…)

Gluten & grain free, refined sugar free, easy dairy free option, probs paleo depending on your definition… all around delicious. I was going for the creamsicle flavor profile here and I haven’t eaten a 50/50 bar in years, but I’m pretty sure this really close (and, frankly, better tasting… let’s be real). These bars are light and citrusy, easy, delicious, and free of all the junk!

Sorry for some of the strange measurements — I prefer this in an 8 by 8 pan and I like my layers a little thicker, which is why the measurements are a little weird. Don’t forget to zest your oranges and then juice them! Nothing like attempting to zest pre-juiced oranges, it might be one of the more annoying kitchen things I’ve inadvertently done.

img_5184

For the crust:

  • 1.5 c almond flour
  • 3/4 tsp baking soda
  • heaping 1/4 tsp fine sea salt
  • 1/4 + 1/8 c unsalted almond butter
  • 1.5 tbsp pure maple syrup
  • 1.5 tbsp salted butter, softened (or coconut oil for non dairy)
  • 2 tsp vanilla extract

For the filling:

  • 4.5 eggs*
  • scant 3/4 c pure maple syrup
  • zest of 3 oranges, roughly chopped
  • 1/4c + 1/8c fresh orange juice
  • pinch of sea salt
  • 4.75 tbsp coconut flour
  • 2 tsp vanilla extract

* to achieve half an egg: crack an egg into a small bowl and whisk it; then either measure or eyeball half and use that. or just use a whole one as long as it’s small, I doubt it would affect the consistency of the bars all that much…

Preheat the oven to 350, and grease an 8 by 8 pan.

In a large bowl, stir together almond flour, baking soda, and sea salt. Add in almond butter, maple syrup, softened butter, and vanilla, and stir until combined and crumbly. Press the crust dough evenly into the prepared pan, and poke with a fork a few times. Bake for 10 minutes. Remove and set aside when done.

While the crust is baking, make the filling! In a large bowl, whisk together eggs, maple, orange zest and juice, seal salt, coconut flour (sifted if lumpy) and vanilla until smooth. Pour into the parbaked crust, and bake for 30-35 minutes. The top should be mostly firm and the filling set, with just a small amount of wiggle (it’ll firm up as it cools). Let cool completely and eat immediately or chill in the fridge for later (I like them cold!) — serve with vanilla ice cream for maximum creamsicle flavor :) Store any leftovers in the fridge.

img_5178

The only acceptable summer blues

IMG_4839

Hi! I made galette again because it was so good last time I just couldn’t stay away. Besides, it’s still gloriously late summer so I will stay happily buried in late summer fruit desserts until seasonality dictates otherwise.

These are the only acceptable kind of summer blues!

FullSizeRender 6

I also sojourned up to Portland for a minute last weekend and caught up with all the PNW buds and did ALL the EATING. No really. ALL of it. Rather glad to be back to eating my kale and eggs, I will say — love traveling and love eating but omg I need a break after awhile! So now I’m back and galetting around, blah blah the usual.

FullSizeRender 5

I may have gone a little overboard in my excitement of finding an enormous (2 pound!) clamshell of organic blueberries at whole foods for a reasonable price…. apparently they disappeared about 2 hours later too so obviously it was meant to be and my excitement is warranted. There were 2 full cups of blueberries in this thaaang, which meant that I was more than slightly concerned with its structural integrity. However! The crust held its own (barely) and all the goodness stayed contained within its slightly leaky exterior. Galette structural engineering for the win.

FullSizeRender 2

For those who love lemon and blueberry, this is for you. Flaky crust, jammy blueberries and tart lemon curd. Late summer shenanigans don’t get much better than this! Messy, beautiful and delicious, just like summer should be.

IMG_4837

Grain Free Blueberry Galette with Lemon Curd

Grain free, gluten free, paleo, and refined sugar free! Easy to put together and obviously delicious or I wouldn’t be shoving these photos into your inbox. Yield: 1 largish galette; about 9″ across. Serving size is up to your discretion… like the last one, this one was dessert and breakfast with a bit of leftovers for 2. No shame.

FullSizeRender 3

For the crust:

I used the same one as I did for the last peach galette I did; but omitted the almond extract.

  • 1.5 c almond flour
  • 1/2 c tapioca starch/flour
  • 1/4 tsp fine sea salt
  • 6 tbsp salted butter
  • 1 eggs, divided
  • 1/2 tbsp coconut sugar
  • scant tbsp vanilla extract (yes, that is a tablespoon!)

Glaze:

  • 1 tbsp coconut sugar for sprinkling over the crust
  • 1 egg, lightly beaten for the egg wash
  • a few small chunks of butter to dot the top of the fruit

For the paleo lemon curd: I used meyer lemons for this recipe here from What the Fork blog (which was absolutely delicious); any lemon curd recipe will work just fine; here is a traditional one that I made a billion years ago that is also spectacular (just excuse the horrendous pictures). Make this a day before (or earlier in the day) so that it has time to cool completely before you put it into the galette. It will thicken / not run all over the place, and you’ll thank your foresight.

For the blueberry filling:

  • 1.5 c fresh blueberries
  • 2 tbsp tapioca starch
  • 1 tbsp coconut sugar
  • 2 tsp vanilla extract
  • 1 tbsp lemon juice

For the crust: In a food processor or high-power blender (I used a Vitamix), pulse almond flour, tapioca starch, salt, and butter, and pulse to combine until it looks like coarse meal. Add in egg, coconut sugar, and vanilla extract and pulse just until combined. Turn out onto a piece of plastic wrap, shape into a disk and chill in the fridge for at least an hour, or up to overnight.

While the crust is chilling (or a day before, which I found to be easier), make the lemon curd! See links for recipes.

Once the dough has chilled, toss the ingredients for the filling into a large bowl: blueberries, tapioca, coconut sugar, vanilla extract, and lemon juice; toss to coat and incorporate.

Preheat the oven to 375, and roll out the dough into a circle between two pieces of parchment. It should be uniformly thick; about 1/4″ but no thinner. Slide the dough and the bottom piece of parchment paper onto a baking sheet. Spread a thick layer of lemon curd in the middle of the dough, leaving about a 2″ border all around. Pile the blueberry filling onto the lemon curd, and carefully fold the edges of the crust up around it, sealing any cracks that happen. Some juices will probably leak out when you bake it, but that’s no big deal. Brush the crust with the beaten egg wash, and sprinkle with a bit of coconut sugar. Dot the tops of the blueberries with a few small chunks of butter. Bake for 35-40 minutes – mine is usually always perfect at 35; the crust should be lightly golden and firm to the touch.

Remove from oven and let cool on the baking sheet for about 10 minutes; then slide the whole piece of parchment+galette onto a cooling rack to cool completely. Serve with extra lemon curd and vanilla gelato! Galette leftovers keep on the counter overnight and make a fabulous addition to breakfast; if you keep leftovers any longer I would store them in the fridge. Store any leftover lemon curd in the fridge!

FullSizeRender 4

Late summer galettes and camp shenanigans

IMG_4745

Hello! Long time no see.

Mostly because it’s summer so I had to do this:

IMG_7122

IMG_4718

IMG_4715

IMG_7119

IMG_4721

IMG_7219

Step off the grid for 10 days to reconnect, laugh, love and play in the dirt at my favorite place on earth. Two Sentinels will always be my mountain home, and there is nothing like my camp family!

IMG_4738

But now I’m back! And because it’s late summer, all the fruit desserts are called for. Especially galettes, because there is something about the rustic pie dough thing that is so forgiving and accepting of whatever fruit you have on hand that reminds me of late summer. Besides that, galettes play much nicer than pie in the sandbox: less time in the oven, less fussy dough (usually) and less crimping, fussing, and general worries about ice cold this and that and the other thing. Which is mostly why I love them, but also because they’re delicious (and I am totally not hating on pie; I love it equally!! But I also love not dying in a hot kitchen, so there’s that).

IMG_4742

This galette made the perfect dessert with a spot of ice cream, and then a rad breakfast accompanied by eggs and kale… you really can’t go wrong here.

IMG_4739

Grain free, lightly sweetened, almondy crust surrounds almondy peaches and a homemade almond paste. Very little sweetner actually goes into this, since the peaches are so sweet on their own. Pretty much any summer fruit can go into this, but I love the combination of peach and almond!

IMG_4740

Hopefully you have some late summer produce hanging around, begging to be made into a galette. Trust me, it’s a good plan. Definitely recommended to eat this for breakfast… Happy baking!

IMG_4737

Grain Free Almond Peach Galette

Grain free, refined sugar free, and paleo! Yay! Minus chilling time, the actual galette making comes together in a snap. Lightly sweet: the perfect vehicle to highlight late summer produce that is so sweet on its own. Yield: 1 galette; serves two for dessert and breakfast with leftovers, or somewhere between 6-8 peeps. Your call on how much you feel like sharing… Crust recipe lightly adapted from Running to the Kitchen, here! The almond paste and filling are Wait are those Cookies brainchild. Happy eating!

For the crust:

  • 1.5 c almond flour (not meal; you want the finer flour variety)
  • 1/2 c tapioca flour
  • 1/4 tsp fine sea salt
  • 6 tbsp salted butter, chopped
  • 1 egg
  • 1/2 tbsp coconut sugar
  • scant 1/2 tsp almond extract

For the almond paste*:

  • 1/3 c almond flour
  • 1/4 c almond butter
  • 3 tbsp maple syrup
  • 1 tsp vanilla extract
  • scant 1/2 tsp almond extract

*disclaimer: didn’t measure when I made this… so these are best guess estimates! Taste as you blend, and adjust the flavor as you like!

For the filling:

  • 3 peaches, thinly sliced
  • 1 tbsp tapioca flour
  • 1/2 tsp almond extract
  • 1/2 tsp vanilla extract
  • 1/2 tbsp coconut sugar

Last little beautification elements:

  • 1 egg, beaten
  • 1-2 tsp coconut sugar
  • 1 tbsp butter, chopped

Let’s make galette!

In a food processor or high-power blender (I used a Vitamix), pulse almond flour, tapioca starch, salt, and butter, and pulse to combine until it looks like coarse meal. Add in egg, coconut sugar, and almond extract and pulse just until combined. Turn out onto a piece of plastic wrap, shape into a disk and chill in the fridge for at least an hour, or up to overnight.

In the (cleaned) blender or food processor, combine the ingredients for almond paste: almond meal, almond butter, maple syrup, vanilla, and almond extract. The texture should be pretty thick, and should stick to itself when you press it between your fingers. Add more almond butter or flour, and adjust sweetness accordingly. Set aside once made.

Once the dough has chilled, preheat the oven to 375. Slice the peaches, and toss in a largish bowl with tapioca, extracts, and coconut sugar. Roll out the dough between two pieces of parchment paper, keeping the circle to about 1/4″ thickness. Peel off the top piece of parchment, and slide the rolled out dough on its parchment onto a baking sheet. Top the dough circle with the the almond paste, spreading it to about 2″ from the edge. Pile on the peaches, keeping them towards the center if possible. Begin folding up the sides, creasing them together as you go – if the dough is cracking, that’s okay (you can crimp the cracks back together; remember: galettes are forgiving and rustic!); you can use the bottom piece of parchment to help fold up the sides. Top the exposed peach filling with dots of butter, and brush the edges of the dough with the beaten egg. Sprinkle a little coconut sugar around the sides.

Bake for 35-40 minutes until edges are golden brown — mine came out just fine at 35 minutes, so check accordingly. Let cool for a few minutes on the baking sheet, then carefully slide the whole galette onto a cooling rack to let it cool completely. Serve with your fave ice cream or whatever of choice! Keeps well covered in foil on the counter; mine didn’t last longer than about 2 days so I can vouch for it at least that long!

Galette in situ:

IMG_4743

IMG_4744

Master Status.

IMG_4531

oh hey! I DID IT! I’m actually DONE!

A masters degree in 10 months? Not too shabby.

IMG_4532

Somehow, that isn’t computing in my brain… I still feel like I need to be doing something. I’m sure you know the feeling? But… I don’t! I’m taking a mini break from adulting, so the biggest decisions I have to currently make are a) am I going to go work out (answer: pretty much always yes) and b) what will I eat afterward?

IMG_4536

My presentation went well, and it felt really good to end on a high note! I’m officially a master? Or something. Ha.

IMG_4535

But! I now have more time and mental energy to blog and make interesting things, which is just lovely. I got a notification today that my bloglet is 5 years old today! I can’t believe it. It’s growing up so fast!! *sniff* … or maybe that means I’m just getting old; that’s probably more likely.

SO! For mutti’s (rather belated) birthday dessert, I got fancy. Coconut milk panna cotta (dairy free, paleo, vegan, refined sugar free) with date caramel and walnut cookie crumble. So good! And actually fairly simple, when it comes down to it — there are just a lot of parts, but they come together with a minimum of fuss.

IMG_4533

Coconut Panna Cotta with Date Caramel and Walnut Cookie Crumble

Dairy free, paleo, vegan, refined sugar free, gluten free — everything EXCEPT taste free. Because these are delicious! And they really don’t heat up the house much if you’re making them on a day that it’s stupid hot outside (not like I did that or anything). Yield: 3 panna cotta servings (I chilled mine in small coffee cups; about the size of normal ramekins only deeper) + extra caramel and crumble left over after serving. Recipe lightly adapted from Kiss my Bowl, here!

For the panna cotta:

  • 1 can full fat coconut milk, well shaken
  • 1/3 c pure maple syrup
  • 2 tsp agar flakes*

*agar powder is no doubt better, but all my Whole Foods carried was the flakes, and they worked fine

For the date caramel:

  • 1 c pitted medjool dates, soaked
  • 1 tsp vanilla
  • 1 heaping spoonful of almond butter**

**mine is salted; I like the salty-sweet combo so you may want to add a pinch of salt if yours isn’t

For the walnut cookie crumble:

  • 1/2 c raw walnuts
  • 4 tbsp cocoa powder / cacao powder
  • 1/2 tsp vanilla
  • splash of maple syrup
  • pinch of salt

In a saucepan over medium heat, warm the coconut milk until it steams. Whisk in the maple syrup and bring just barely to a boil. Whisk in the agar flakes and let cook for just about 5 minutes, still barely boiling/high simmering. Remove from heat and let stand in the pan, whisking occasionally, for another 5 minutes. Once cooled slightly, pour into molds of choice (I used small coffee mugs that are deeper and slightly less wide than a standard ramekin; ramekins are just fine if you have them!). Let cool on the counter until your fridge can handle it, then let them set up in the fridge for at least an hour.

While the panna cottas are chilling, use a food processor or a vitamix to make the date caramel. Pour the dates and a few tablespoons of their soaking water into the implement of choice, add vanilla and almond butter, and blend till smooth (or chunky. you do you!). Store in a jar in the fridge until needed.

I made the cookie crumble in the same vitamix as the date caramel without cleaning it overmuch, which worked totally fine. Add walnuts, cocoa powder, vanilla, maple, and salt and whiz away until it’s crumbly. Store in a jar in the fridge until needed!

The panna cottas should be firm to the touch on top and have lost most of their jiggle by the time they’re ready. Run a knife around the edge of the ramekin or coffee cup, and they should flip right out onto a plate. Top with excessive amounts of date caramel and cookie crumble for maximum effect, and indulge accordingly!

Any leftover date caramel (who are you?!) and cookie crumble keeps well in the fridge for at least a week (but I dare you to make it last that long).

IMG_4537