Bay swims and blood oranges

First swim of 2022 accomplished! Took me awhile to get back down there but I’m very glad I did. This marks one year of extremely regular bay swimming! My average is probably twice a week – there were a bunch in there where I was very regular with a MWF schedule but lately not so much. It felt COLD to me today but that’s probably because oh right it’s January and also because it’s been a bit since I’ve been in… still in my sleeveless wetsuit though, so that’s something. I think the water temp today was 50? Not sure. Definitely one of my fave ways to start a weekend :)

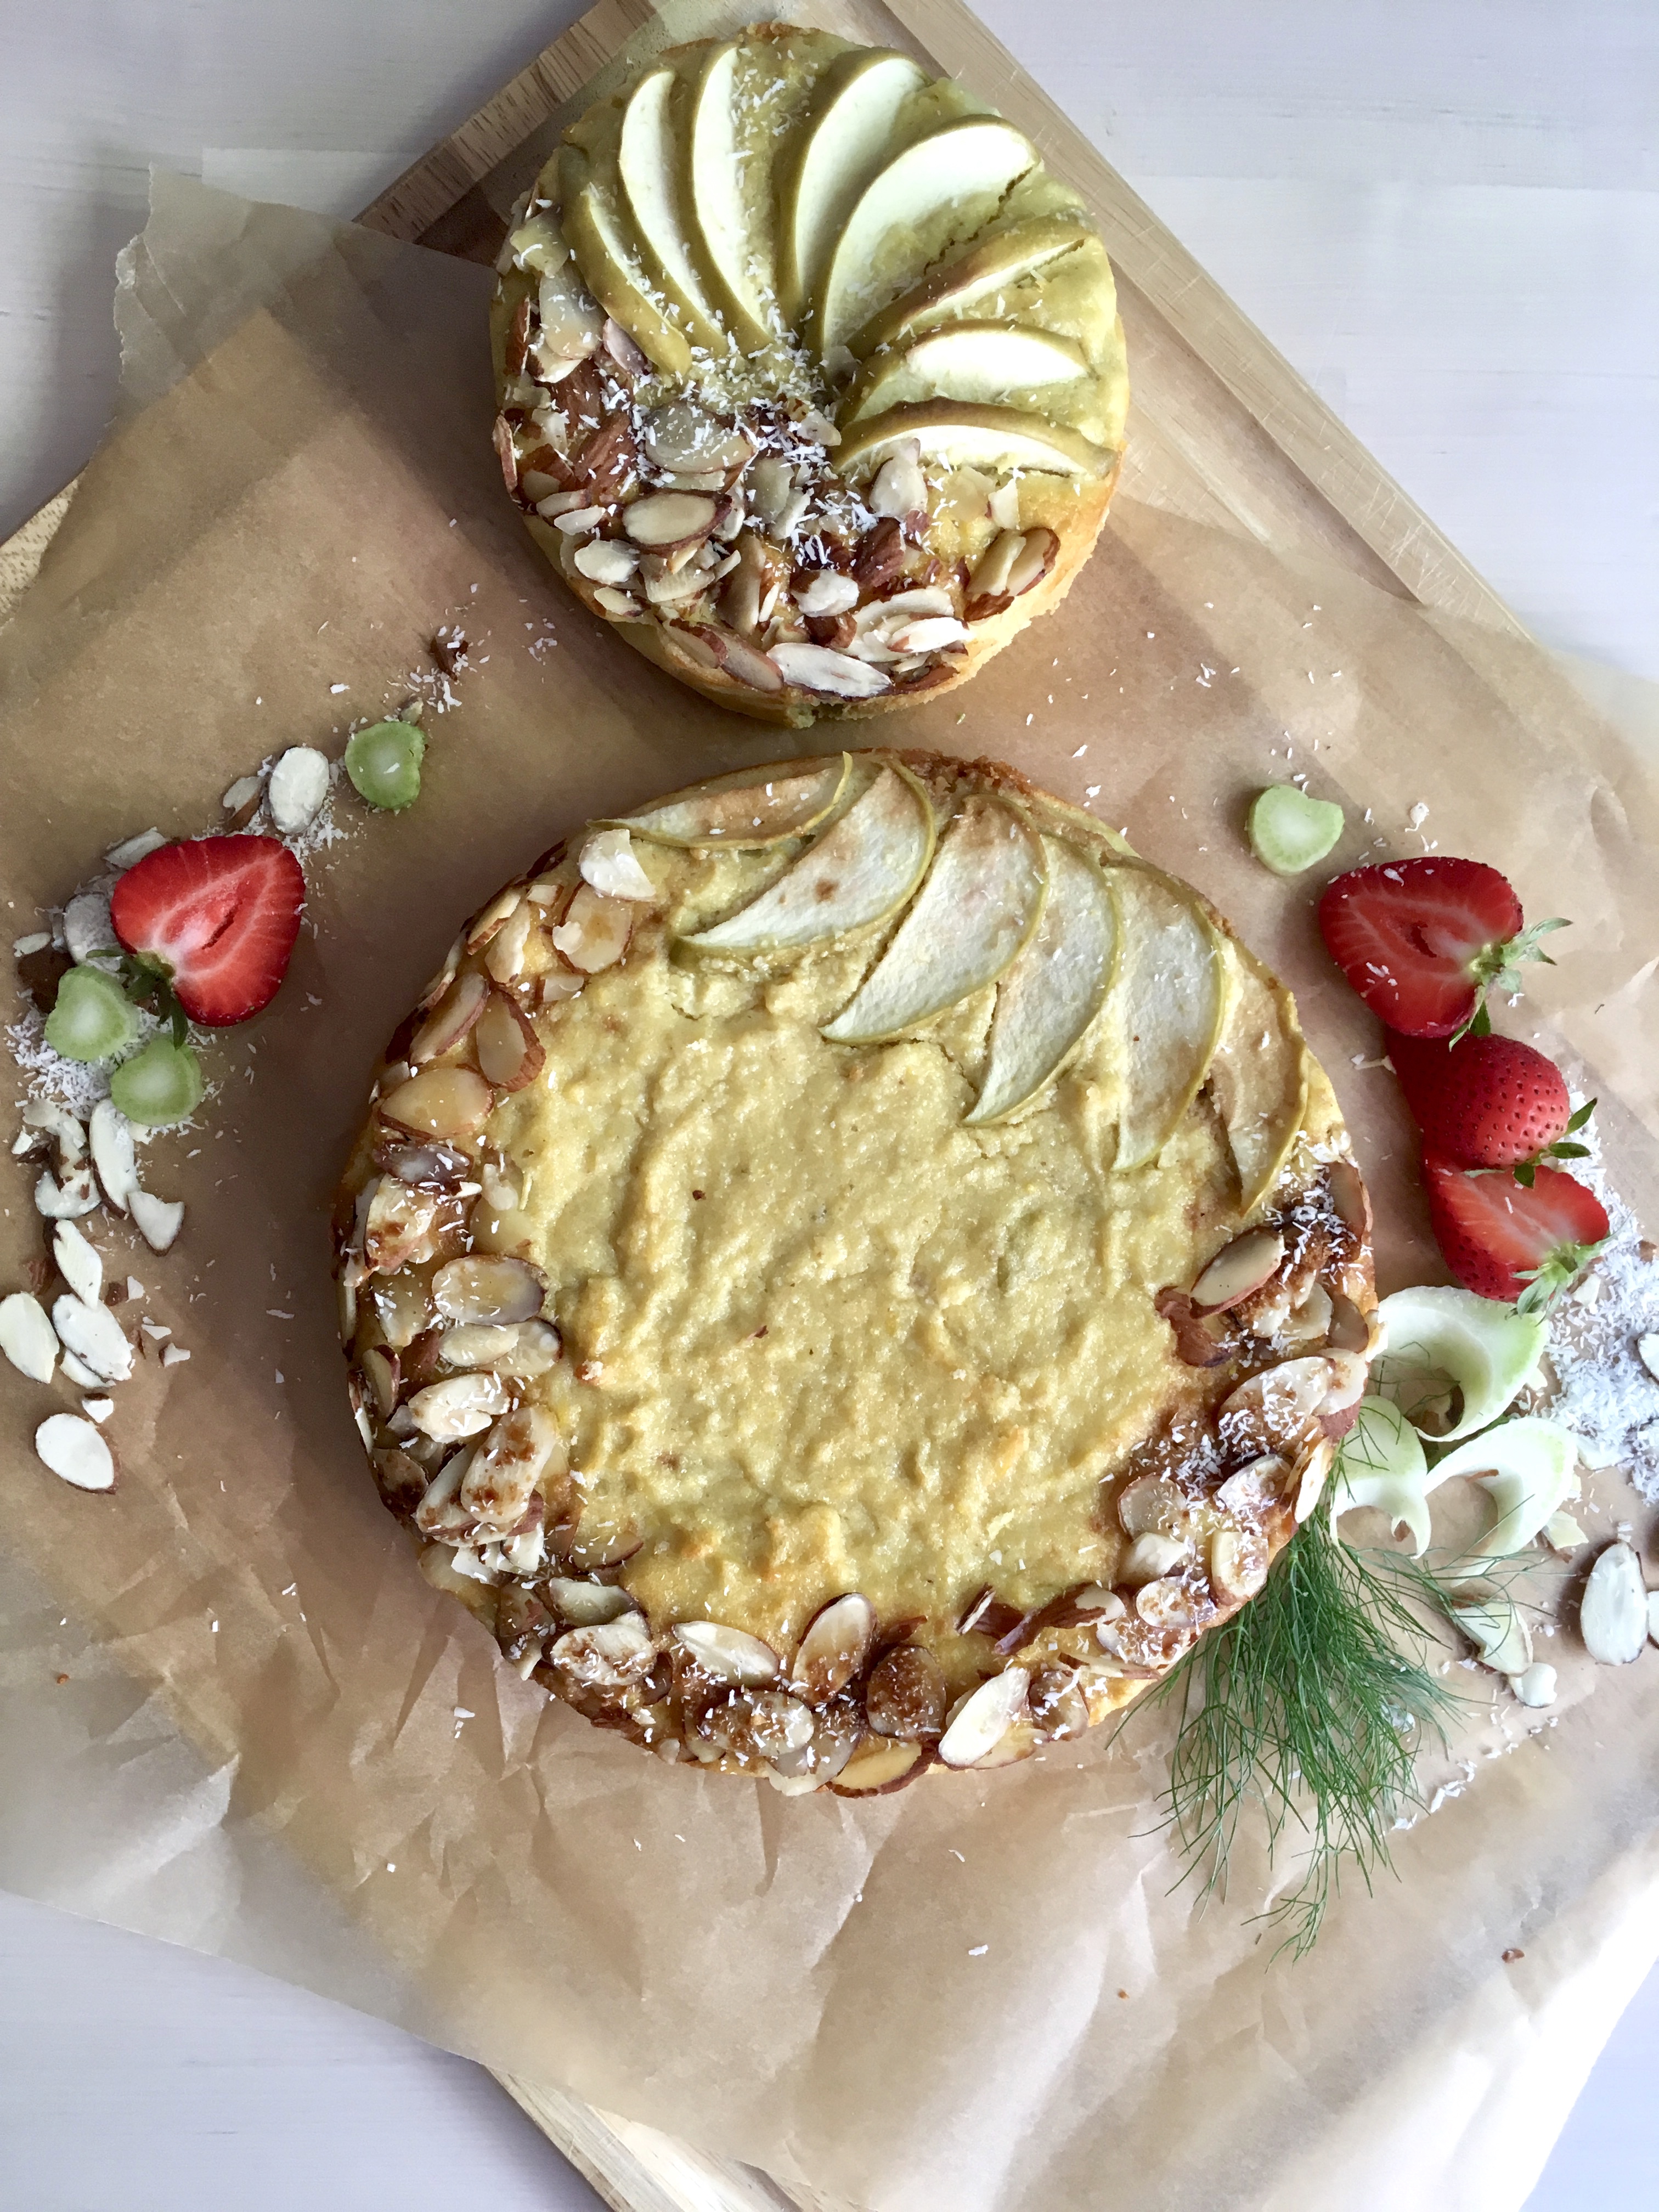
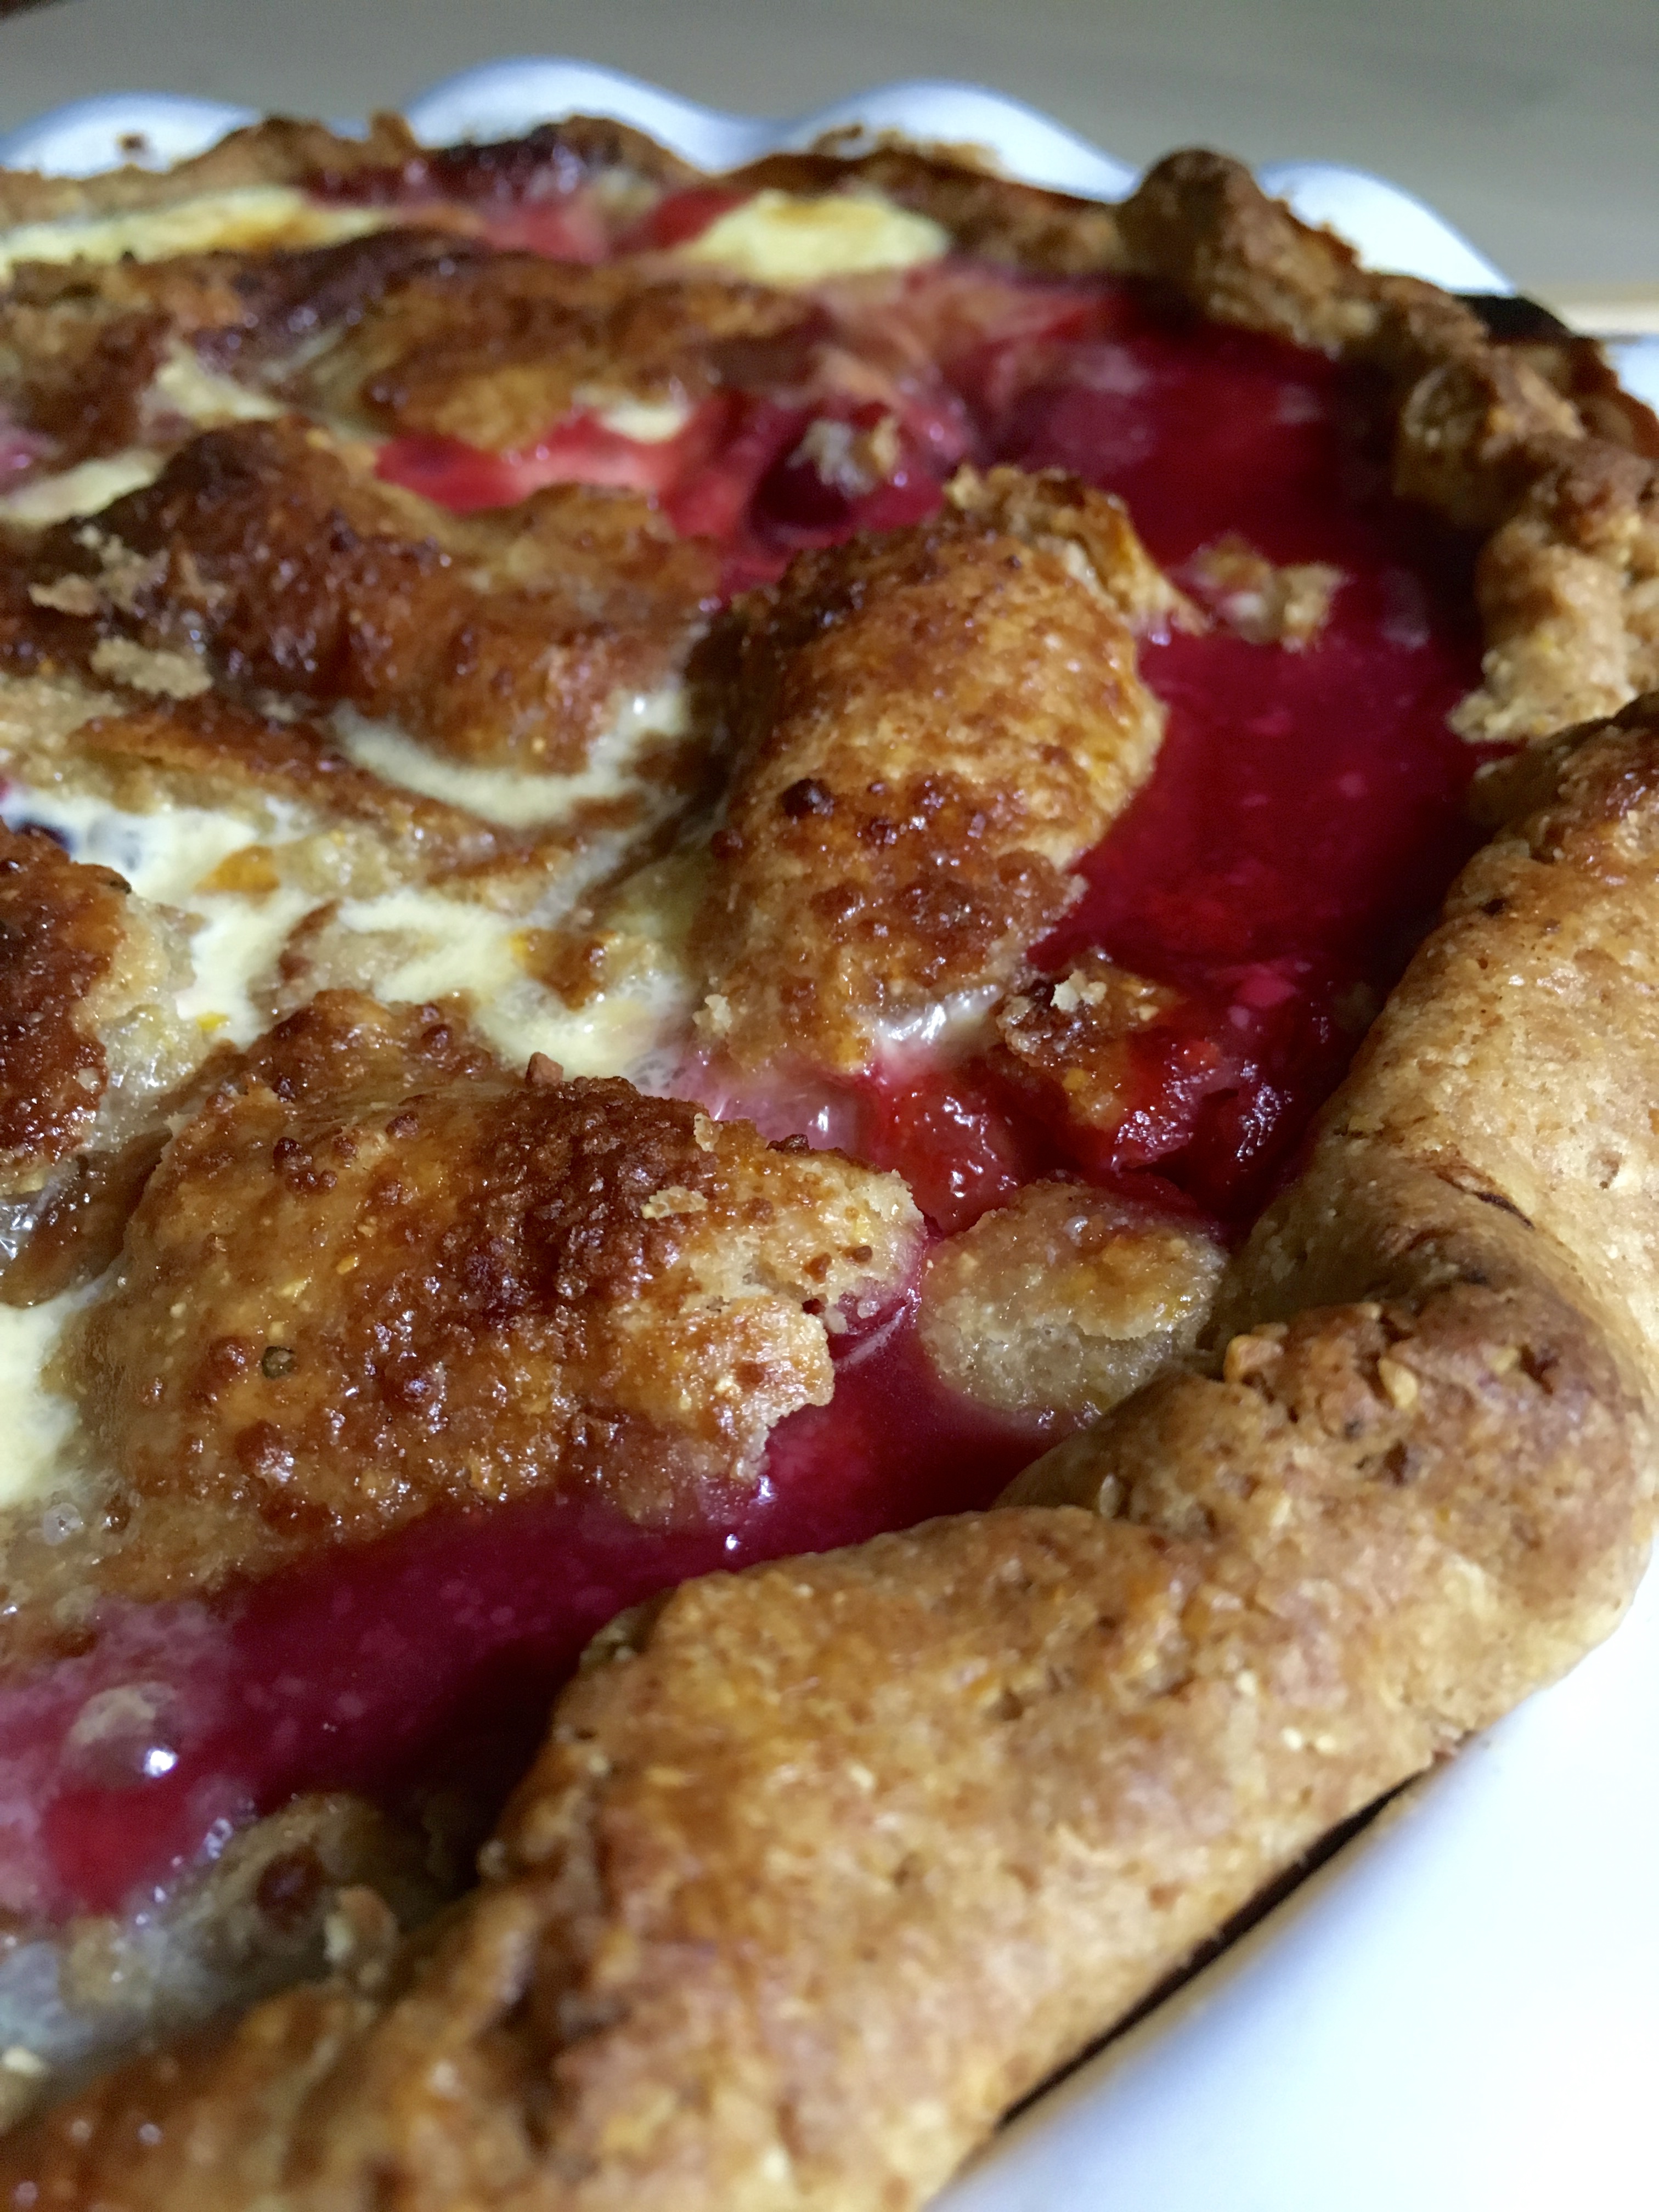
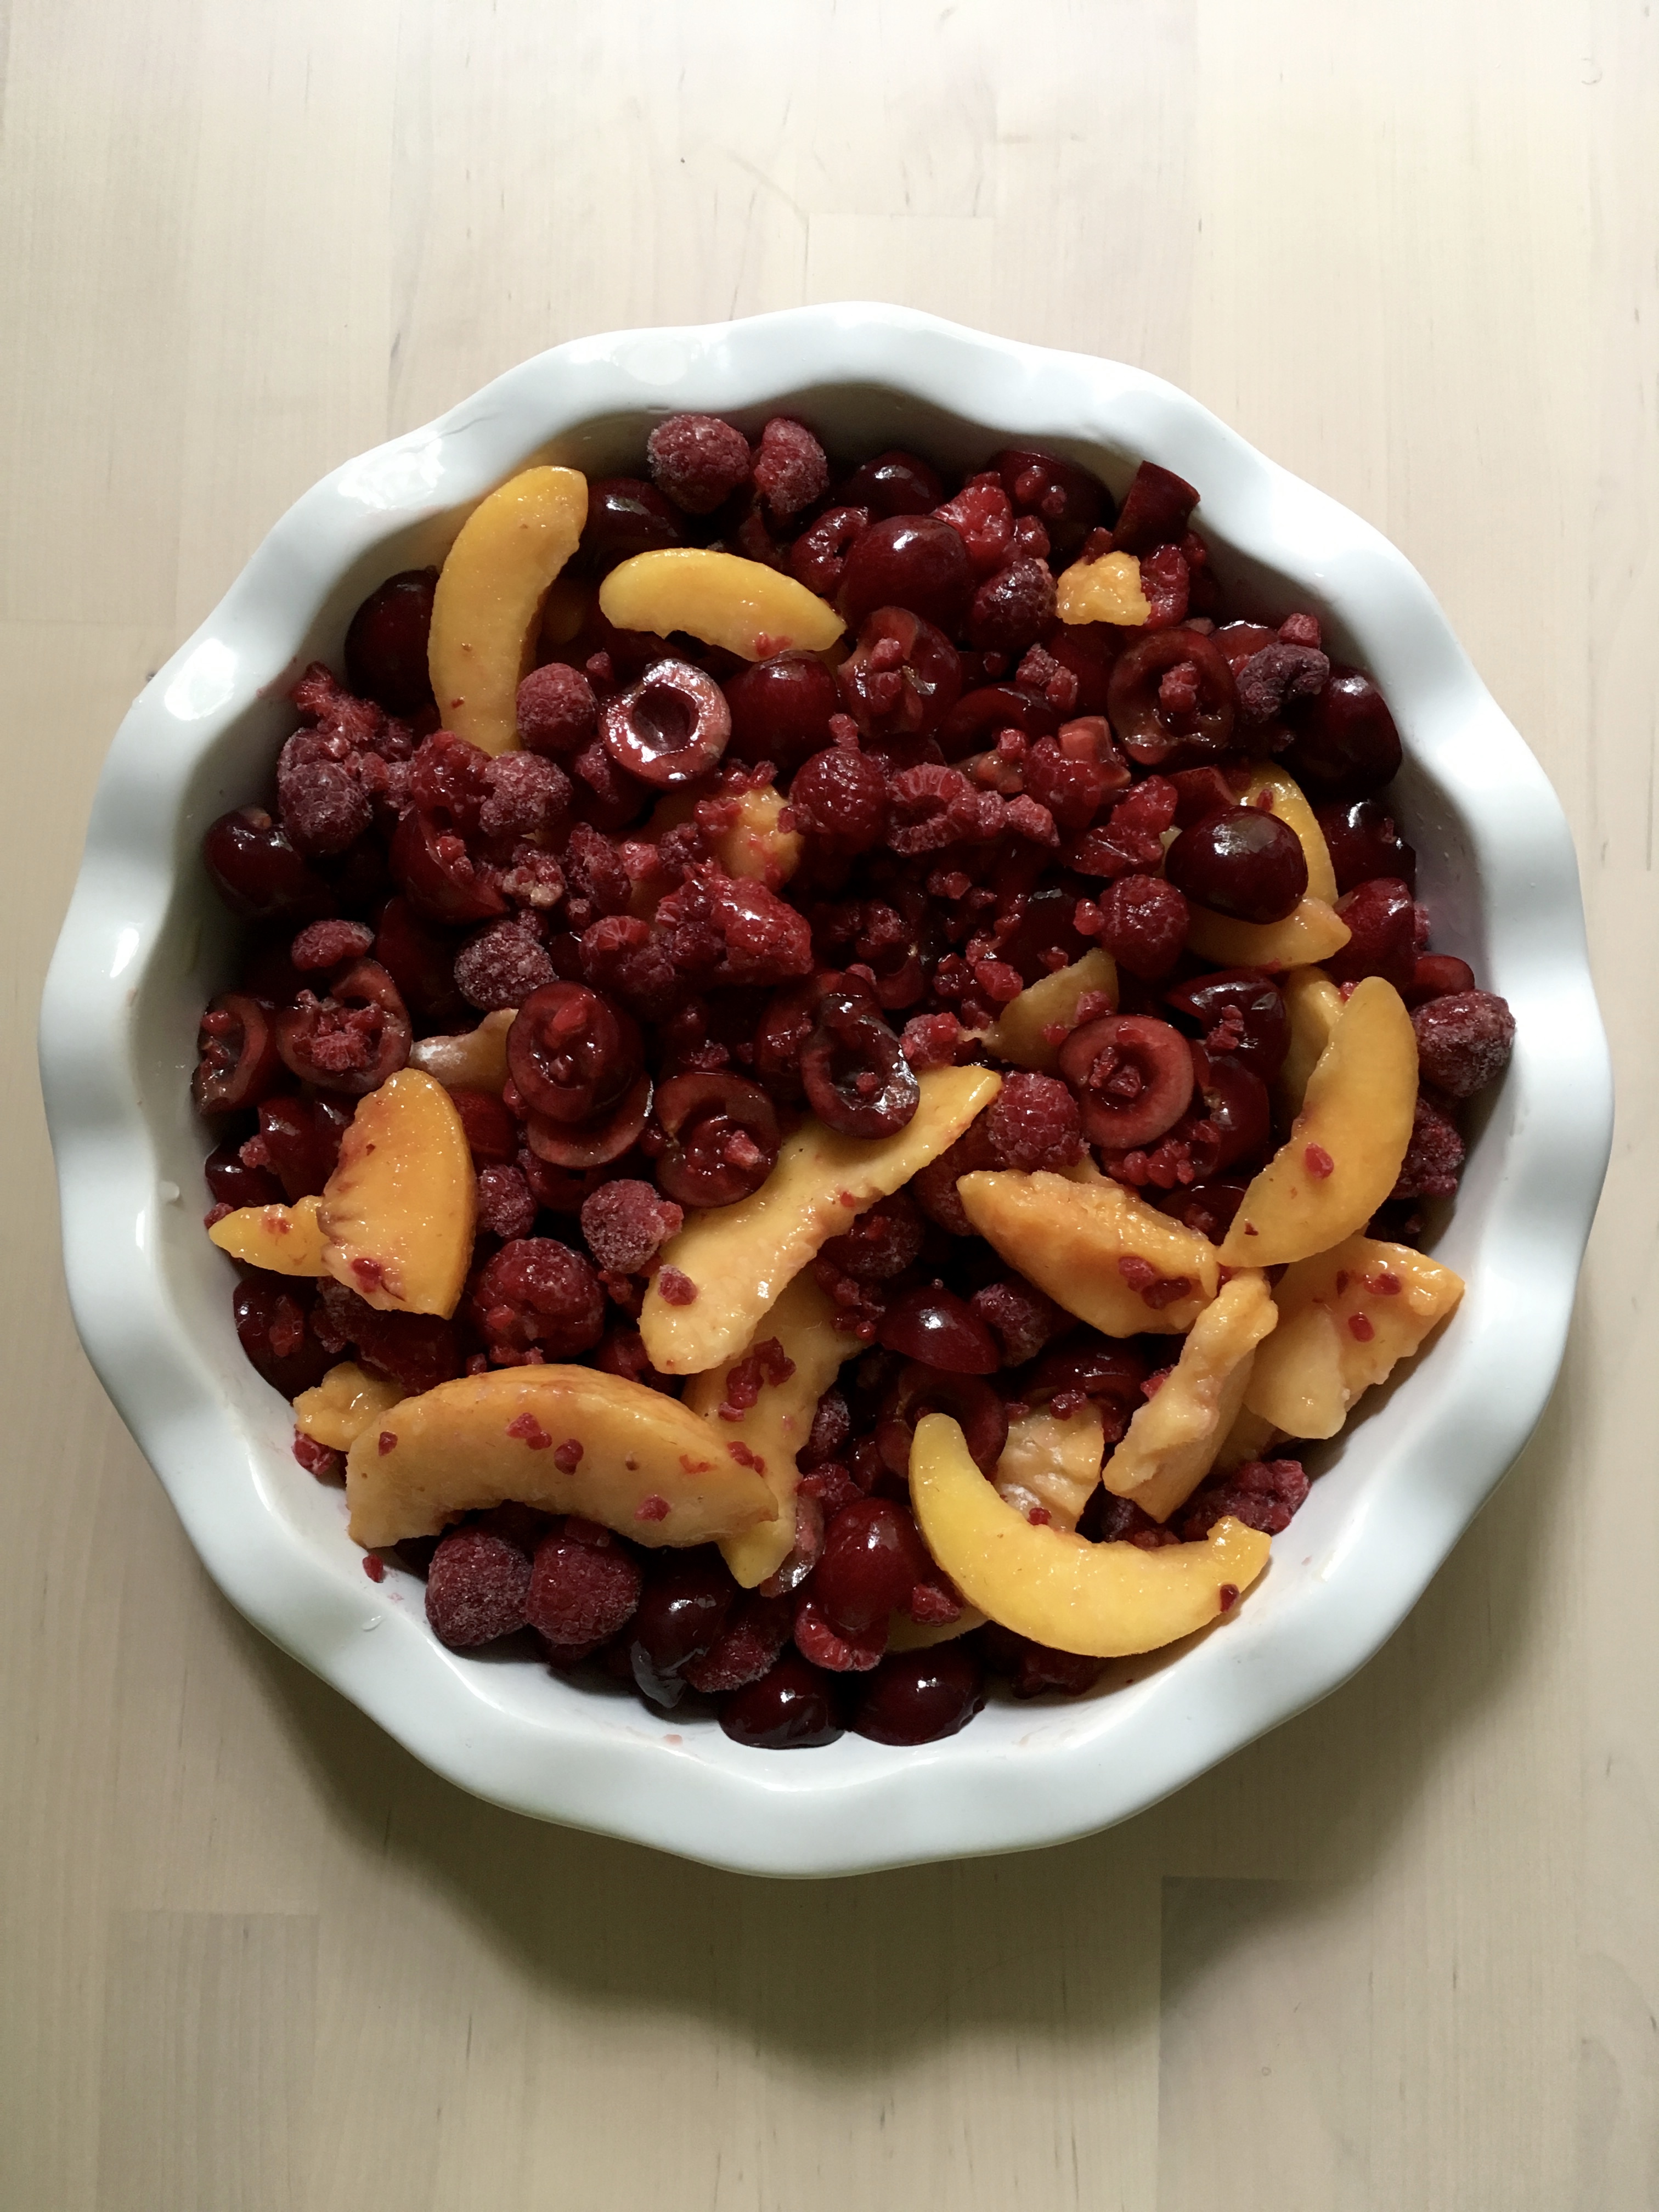
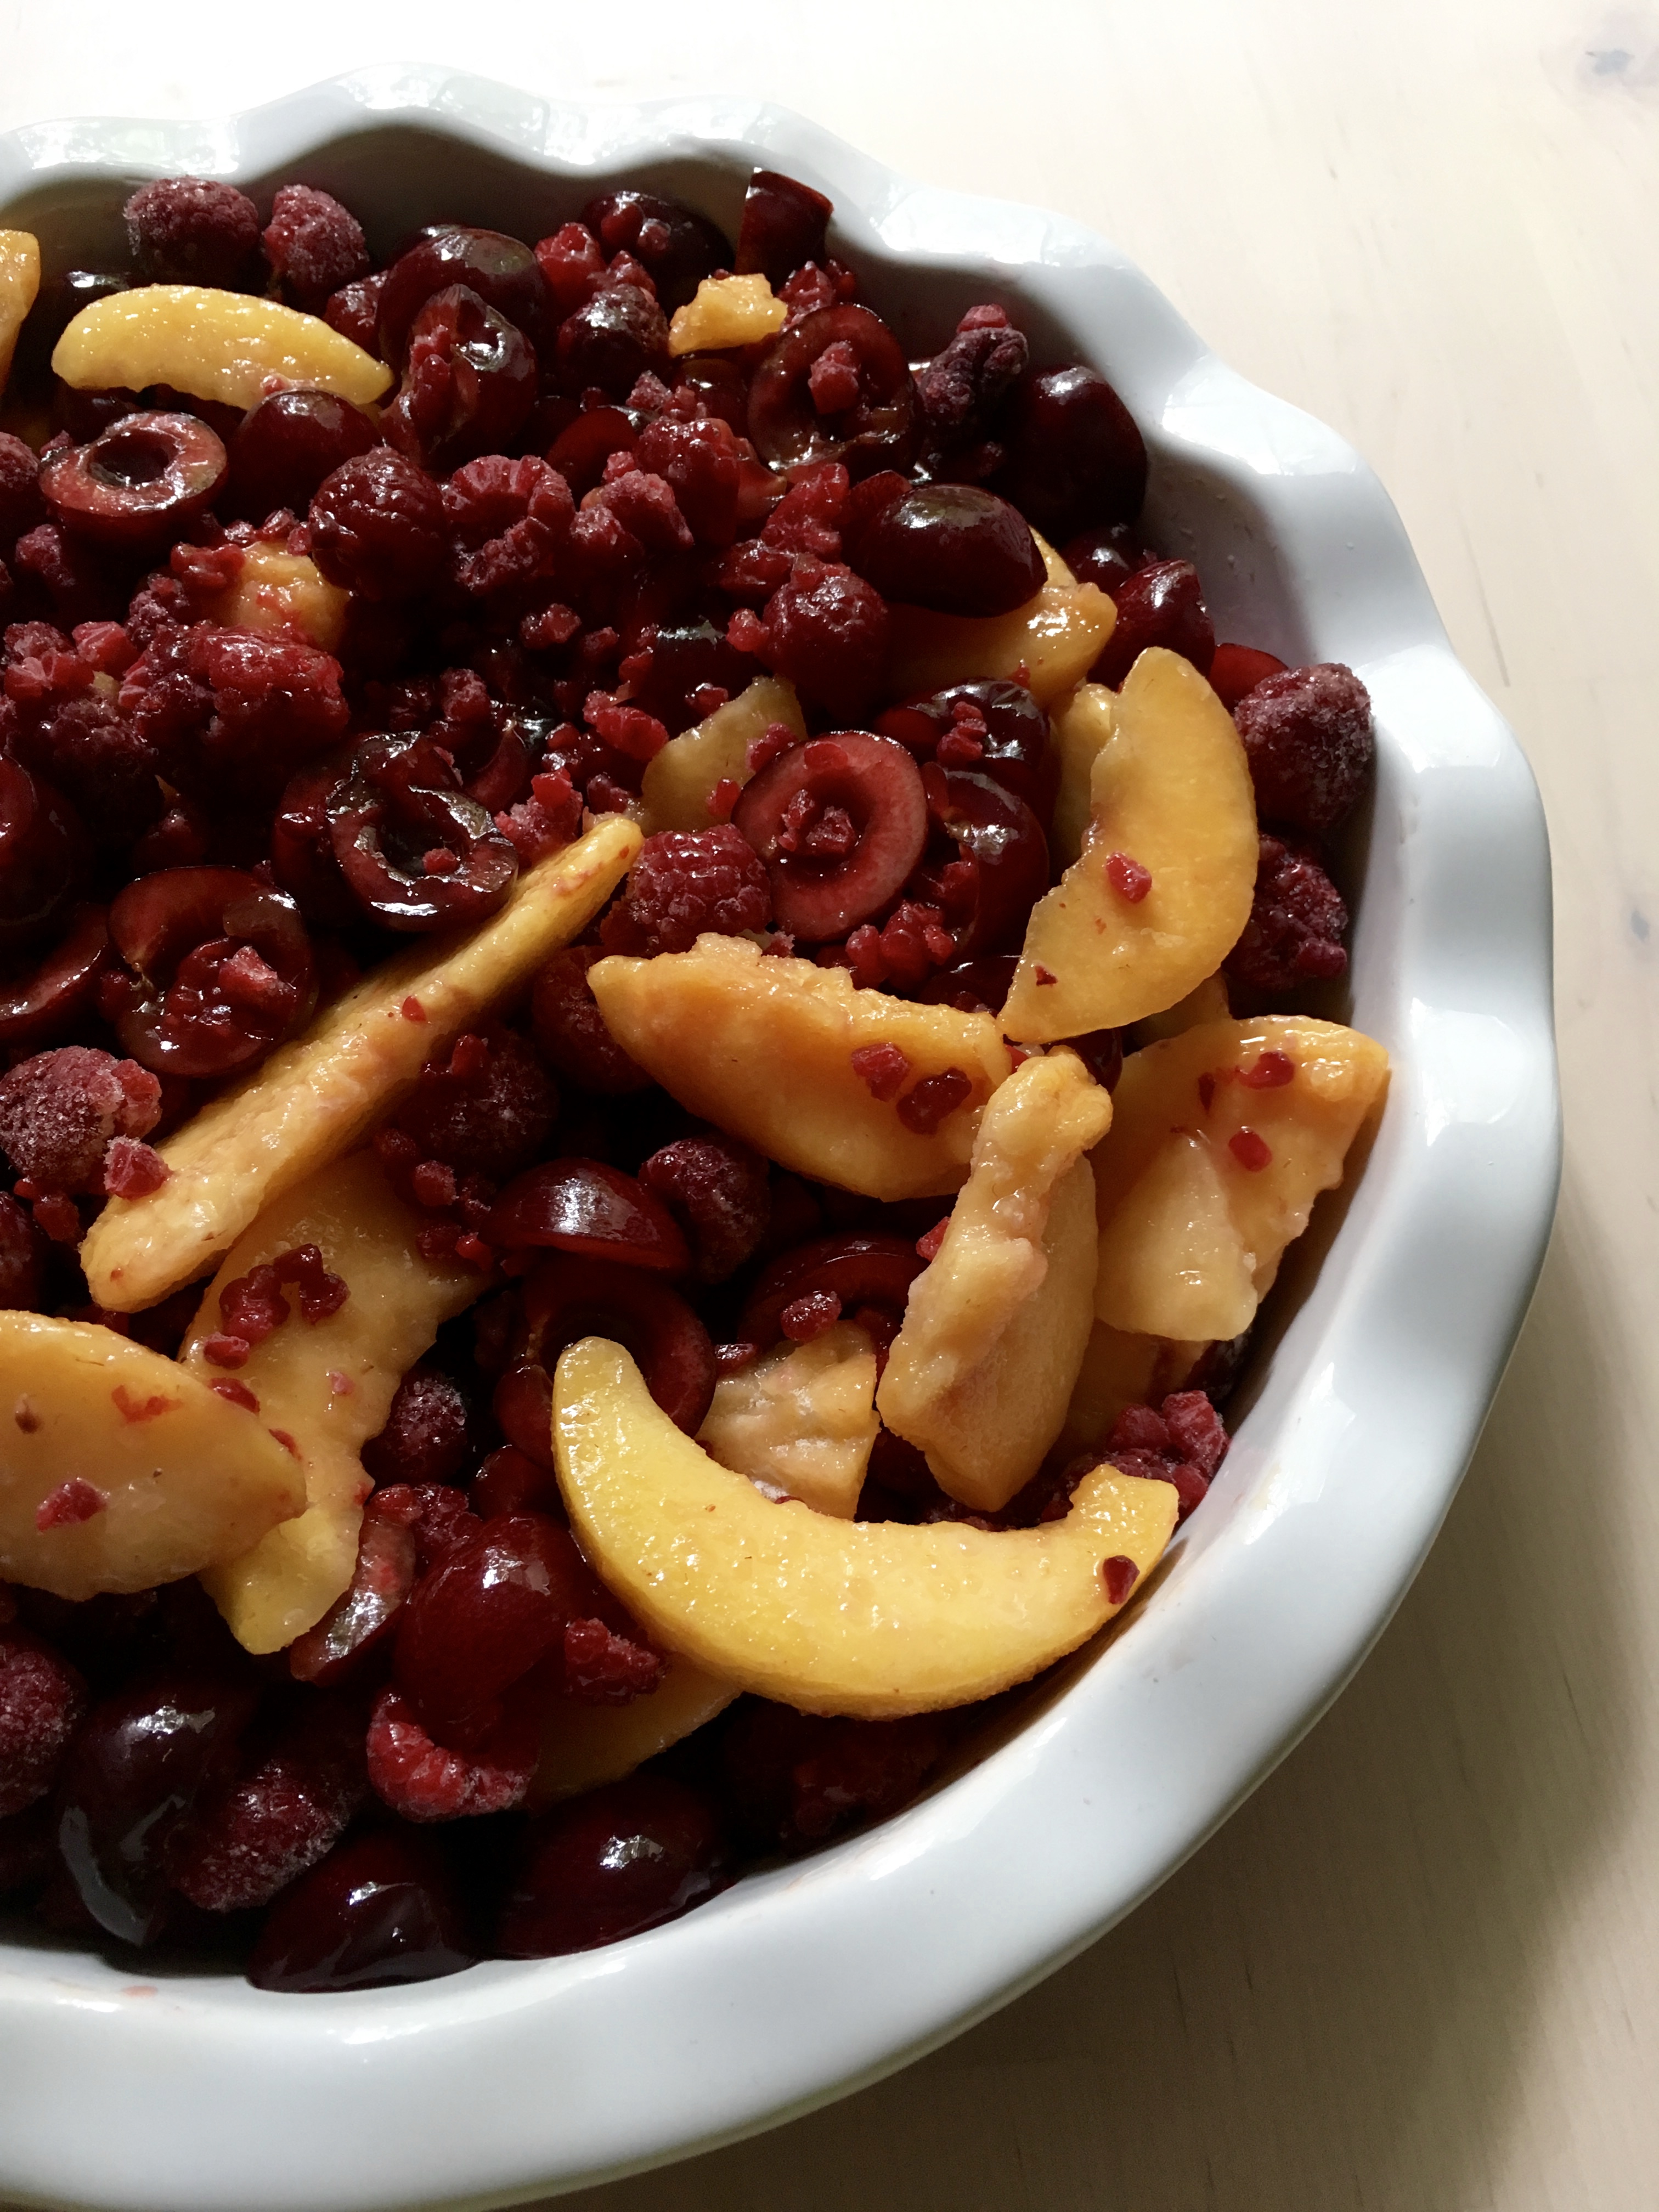
I have a cake for you today! I think I say this every time but I really don’t make cakes that frequently. Probably because I can cram more fruit into something like a crisp or a galette and that’s always a priority, but I like a good cake now and again for a change.

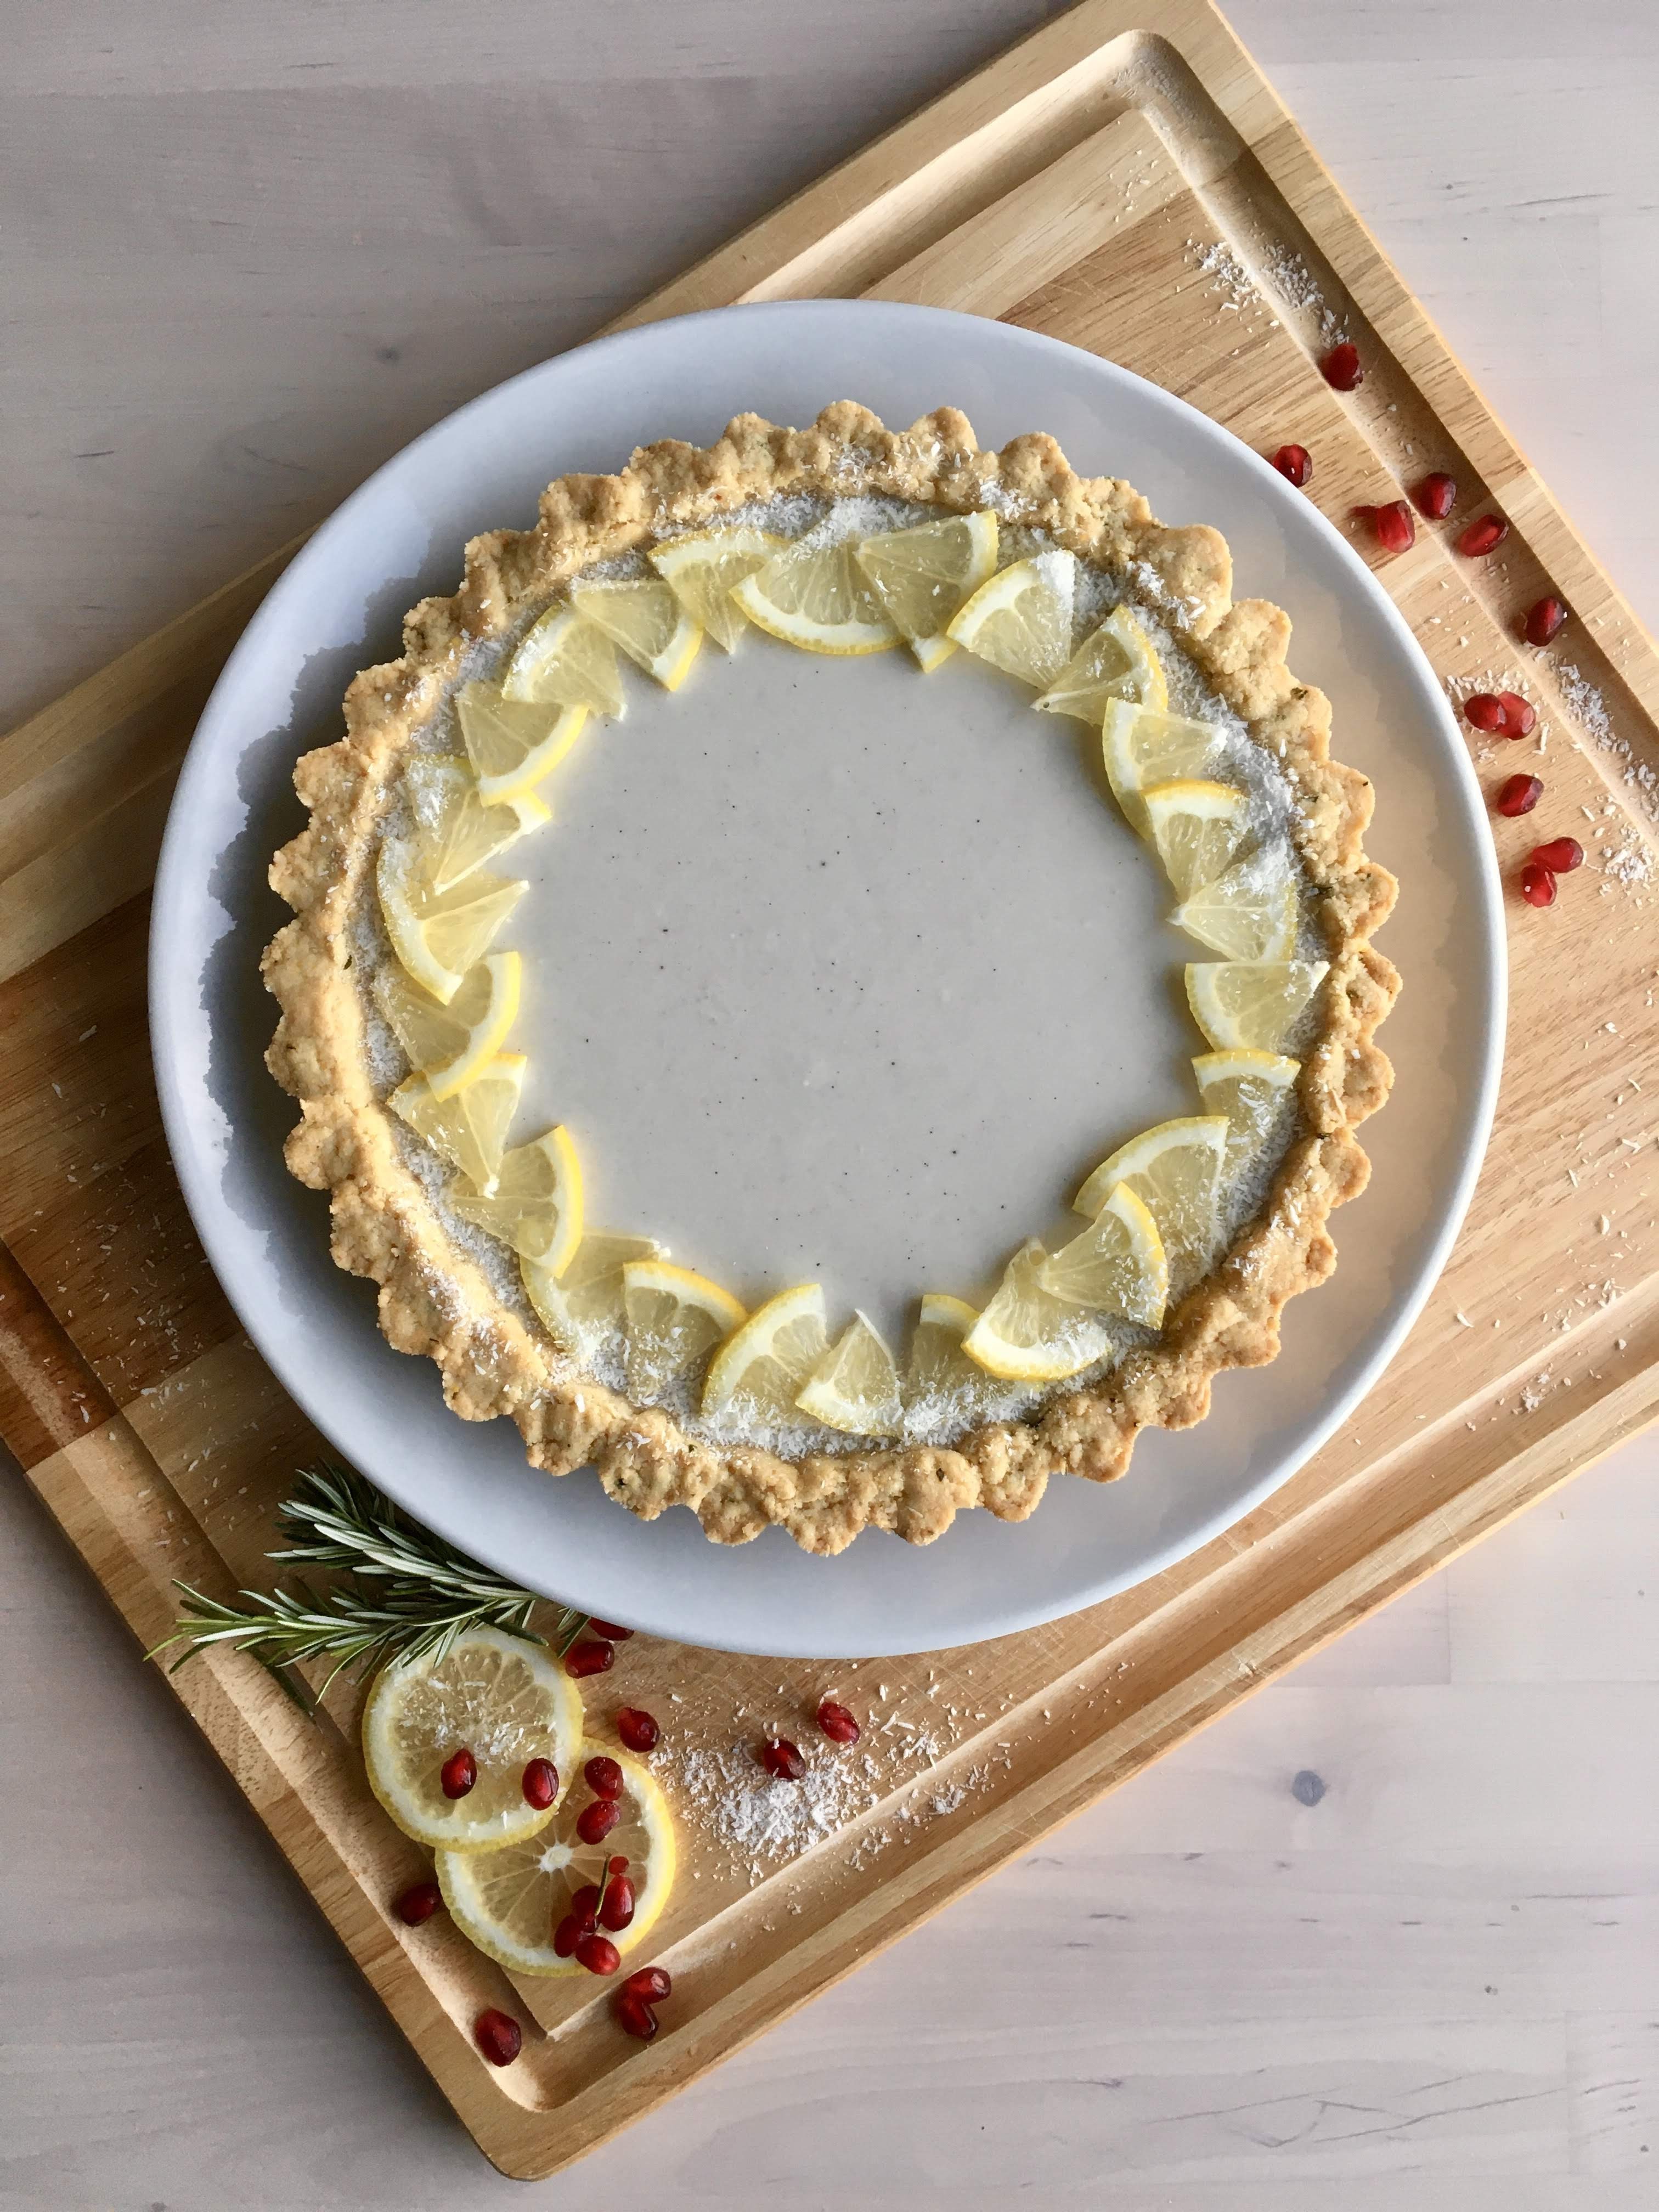
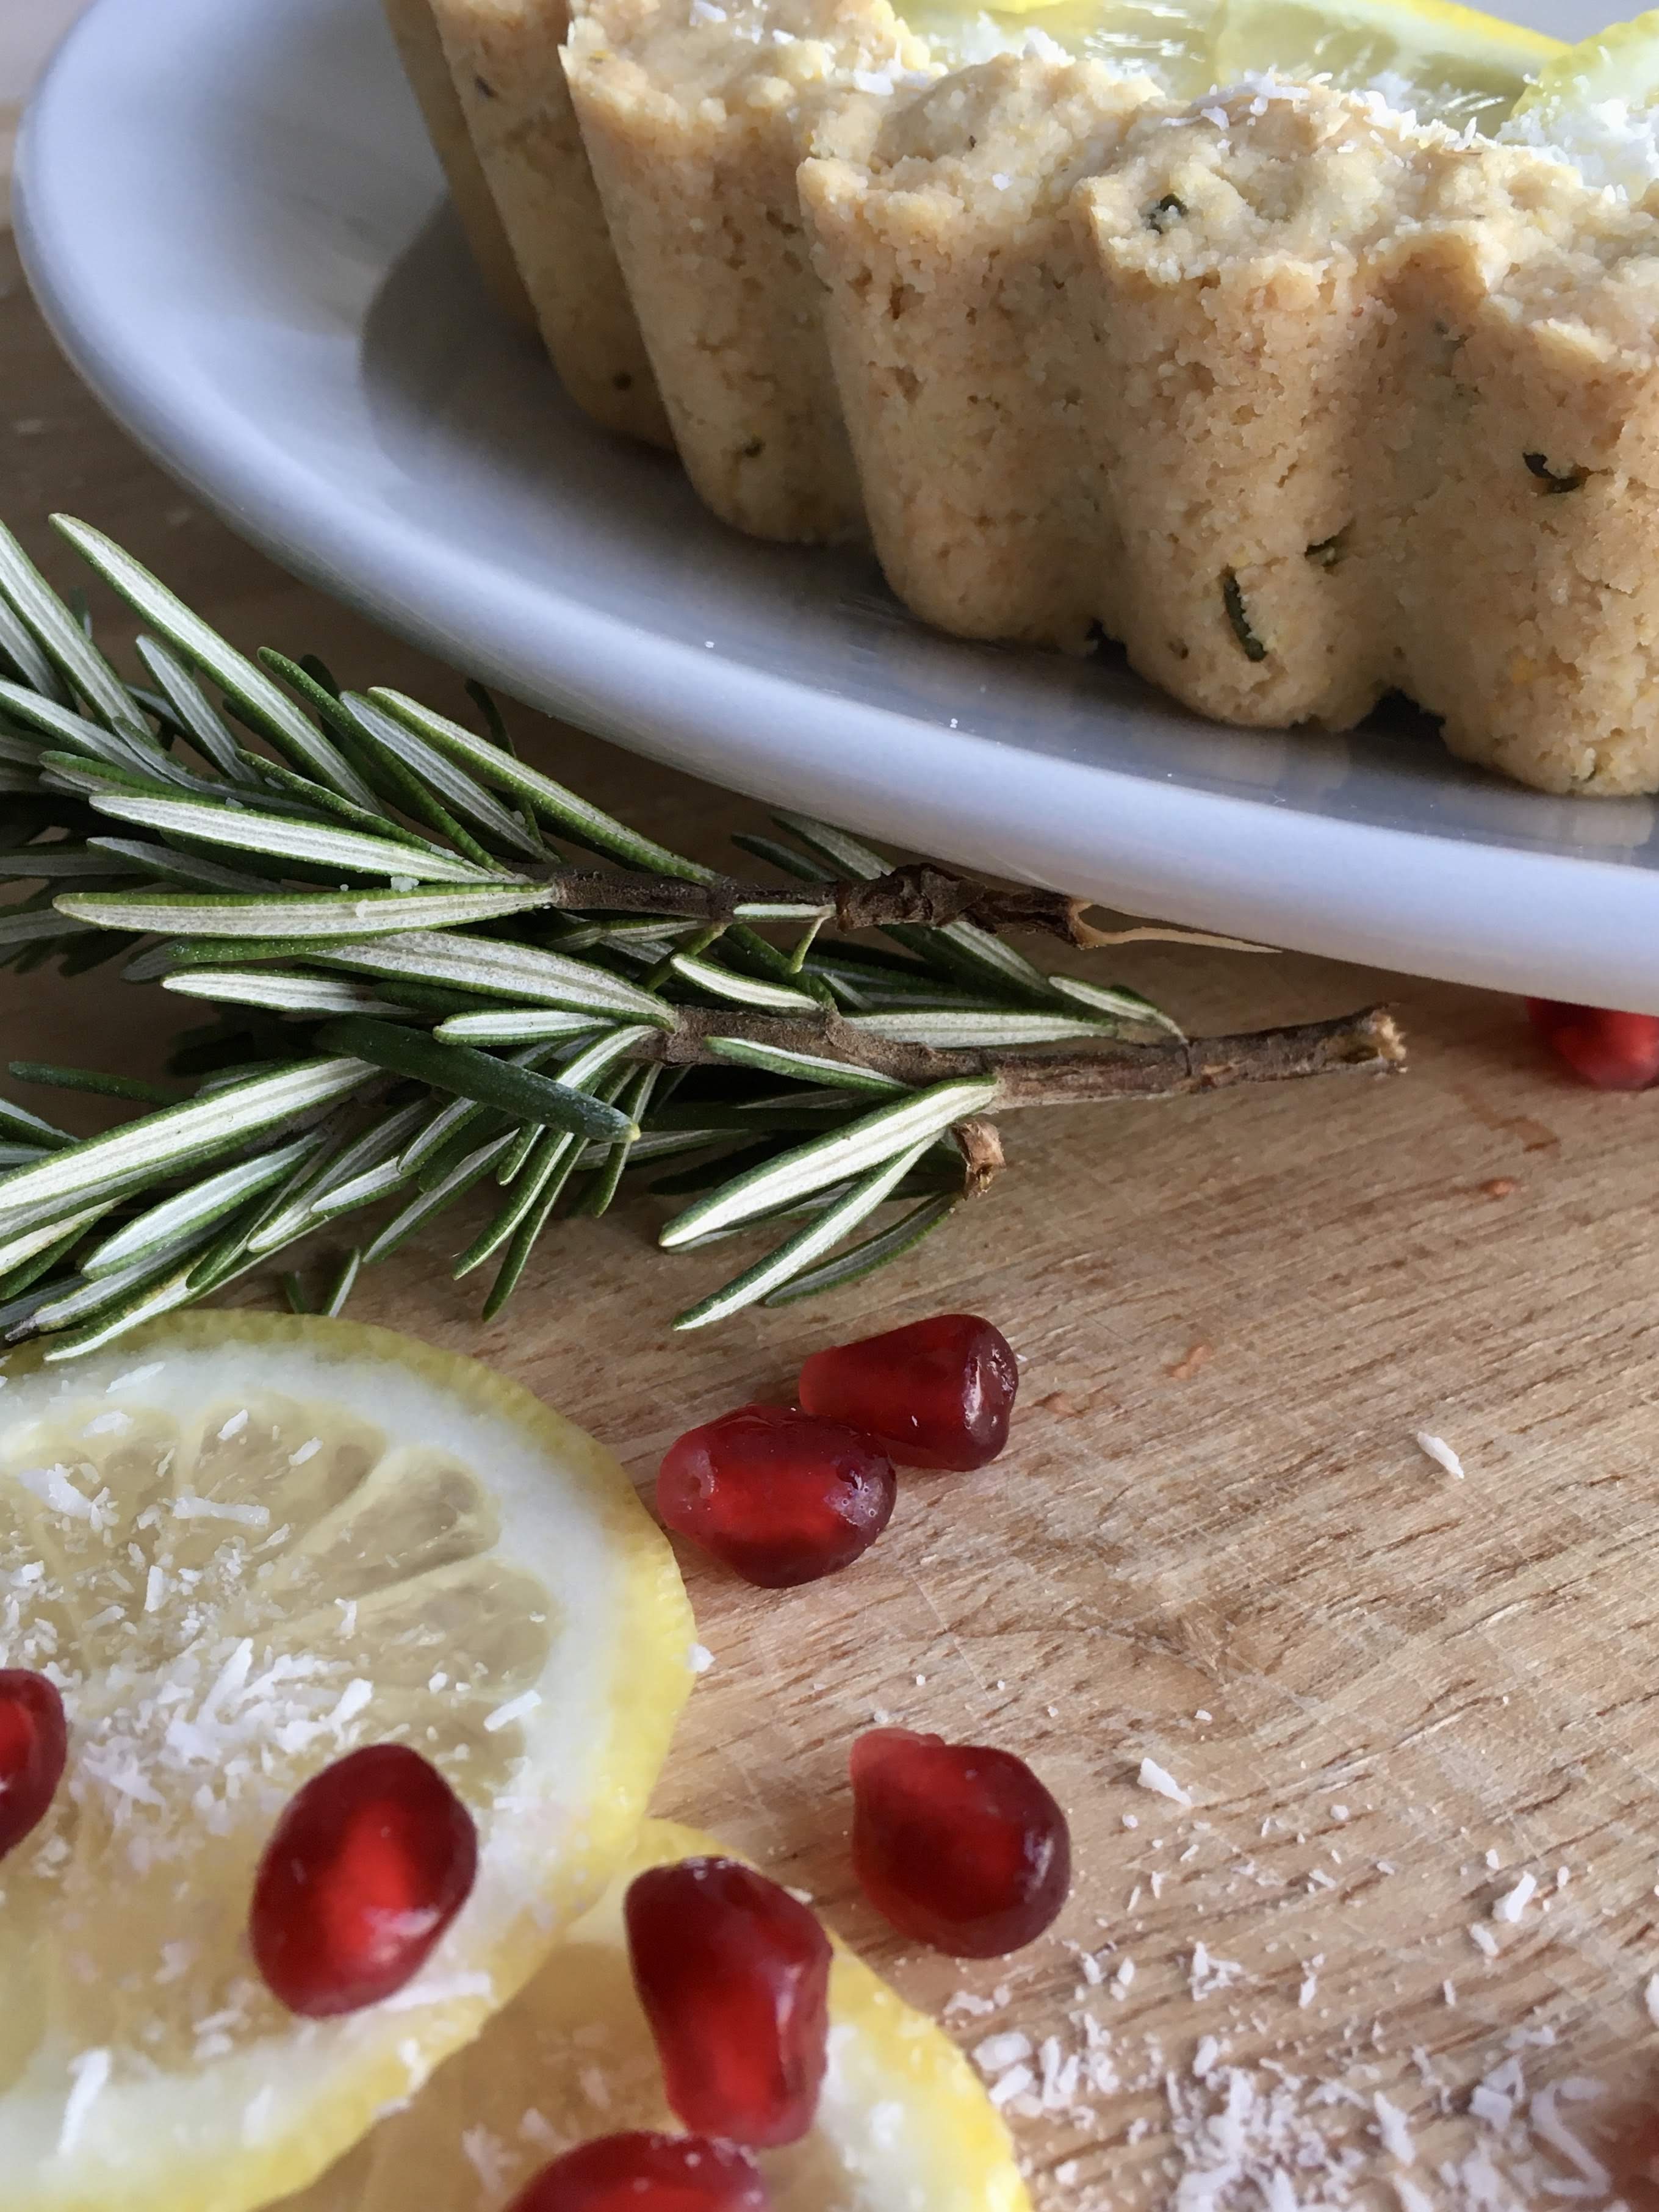
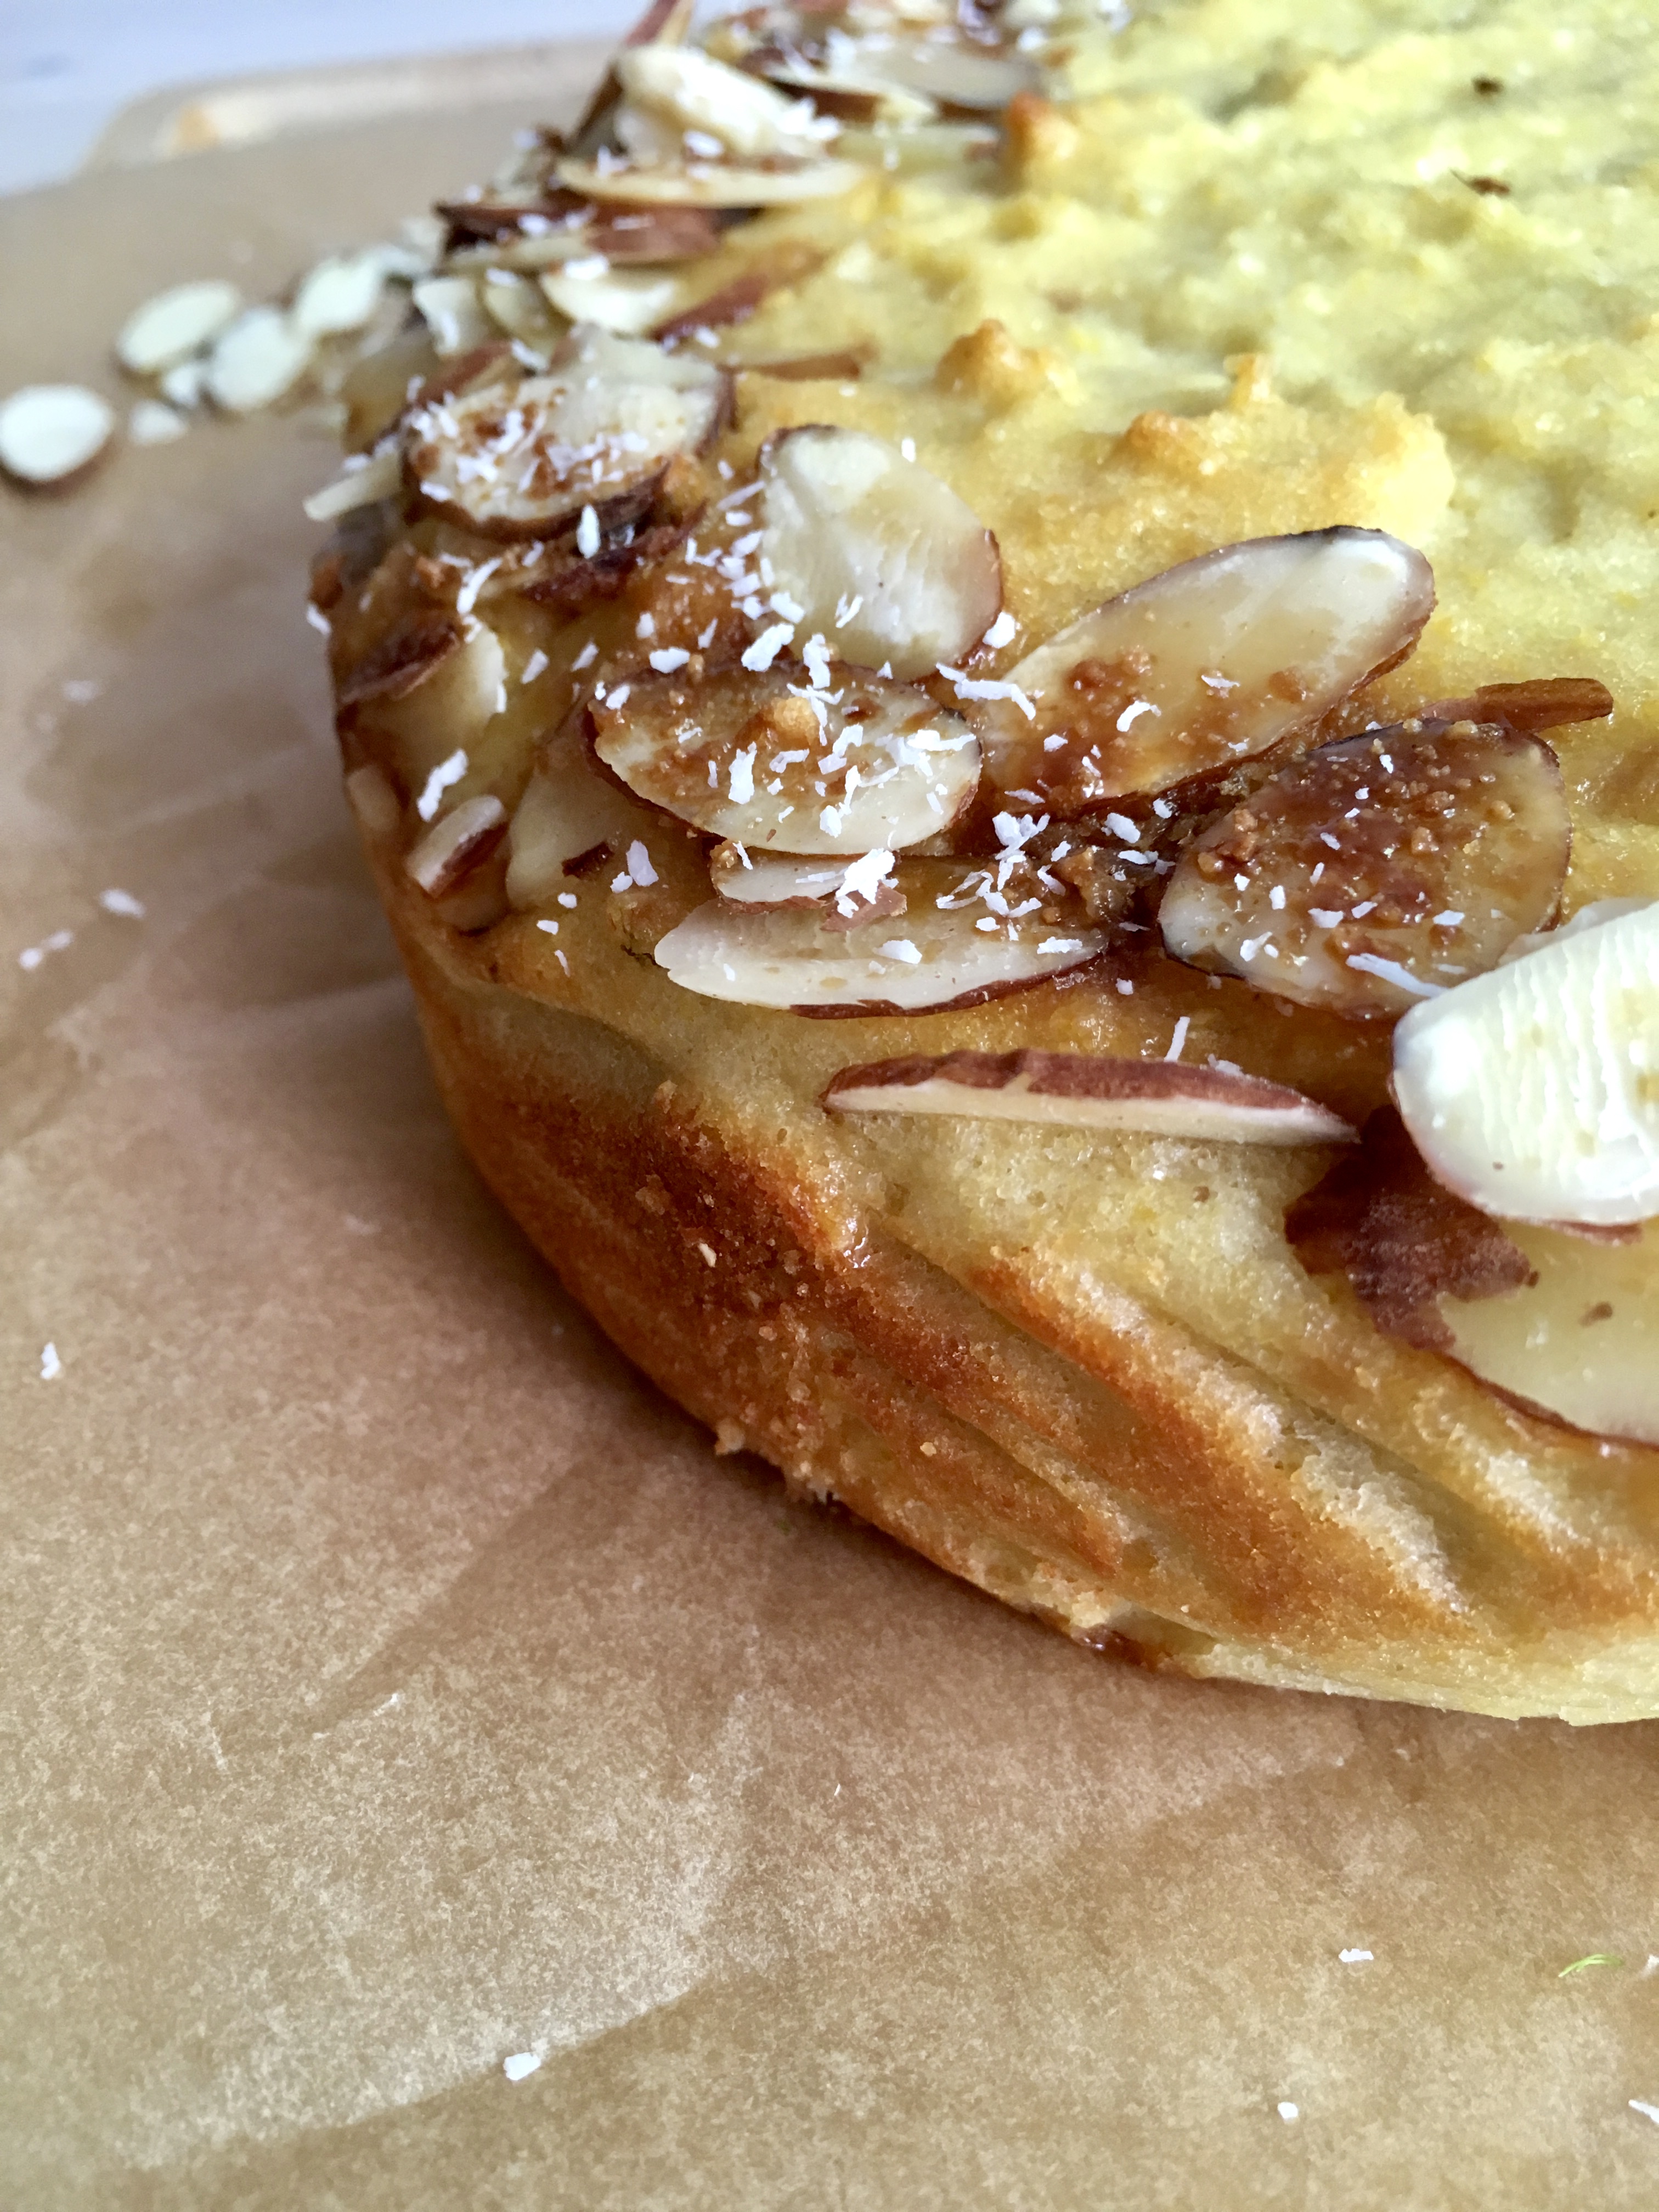
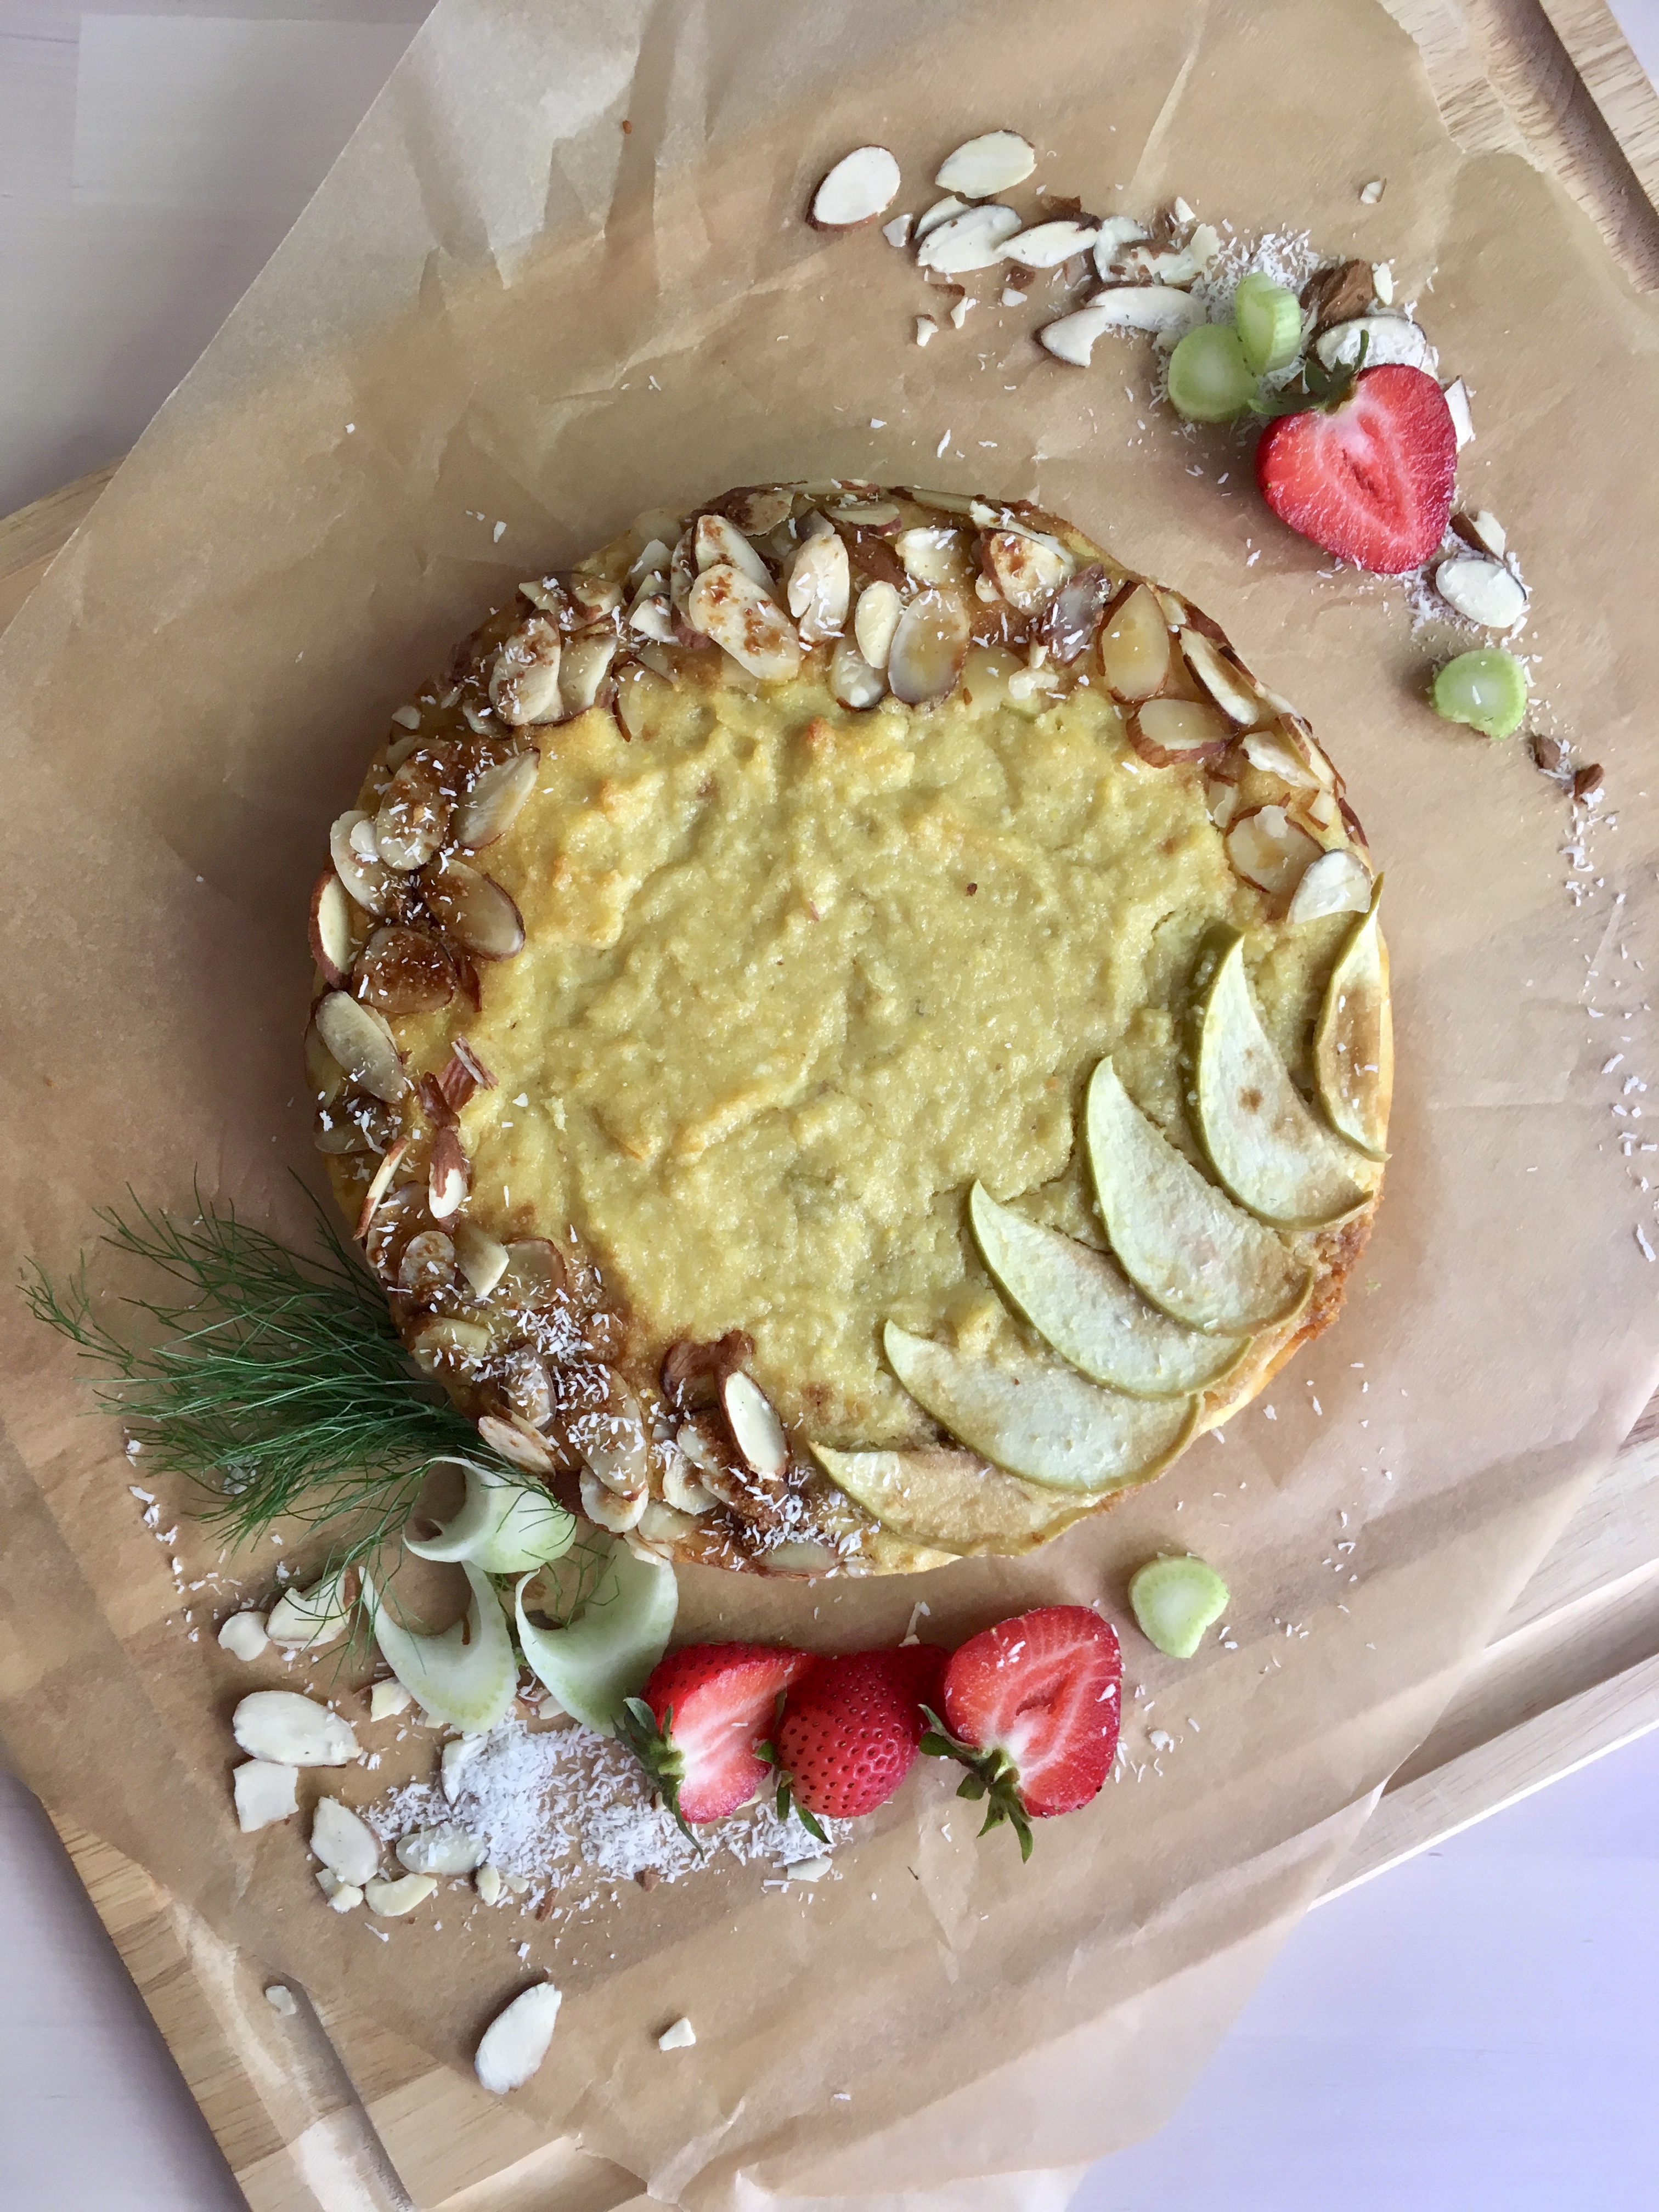
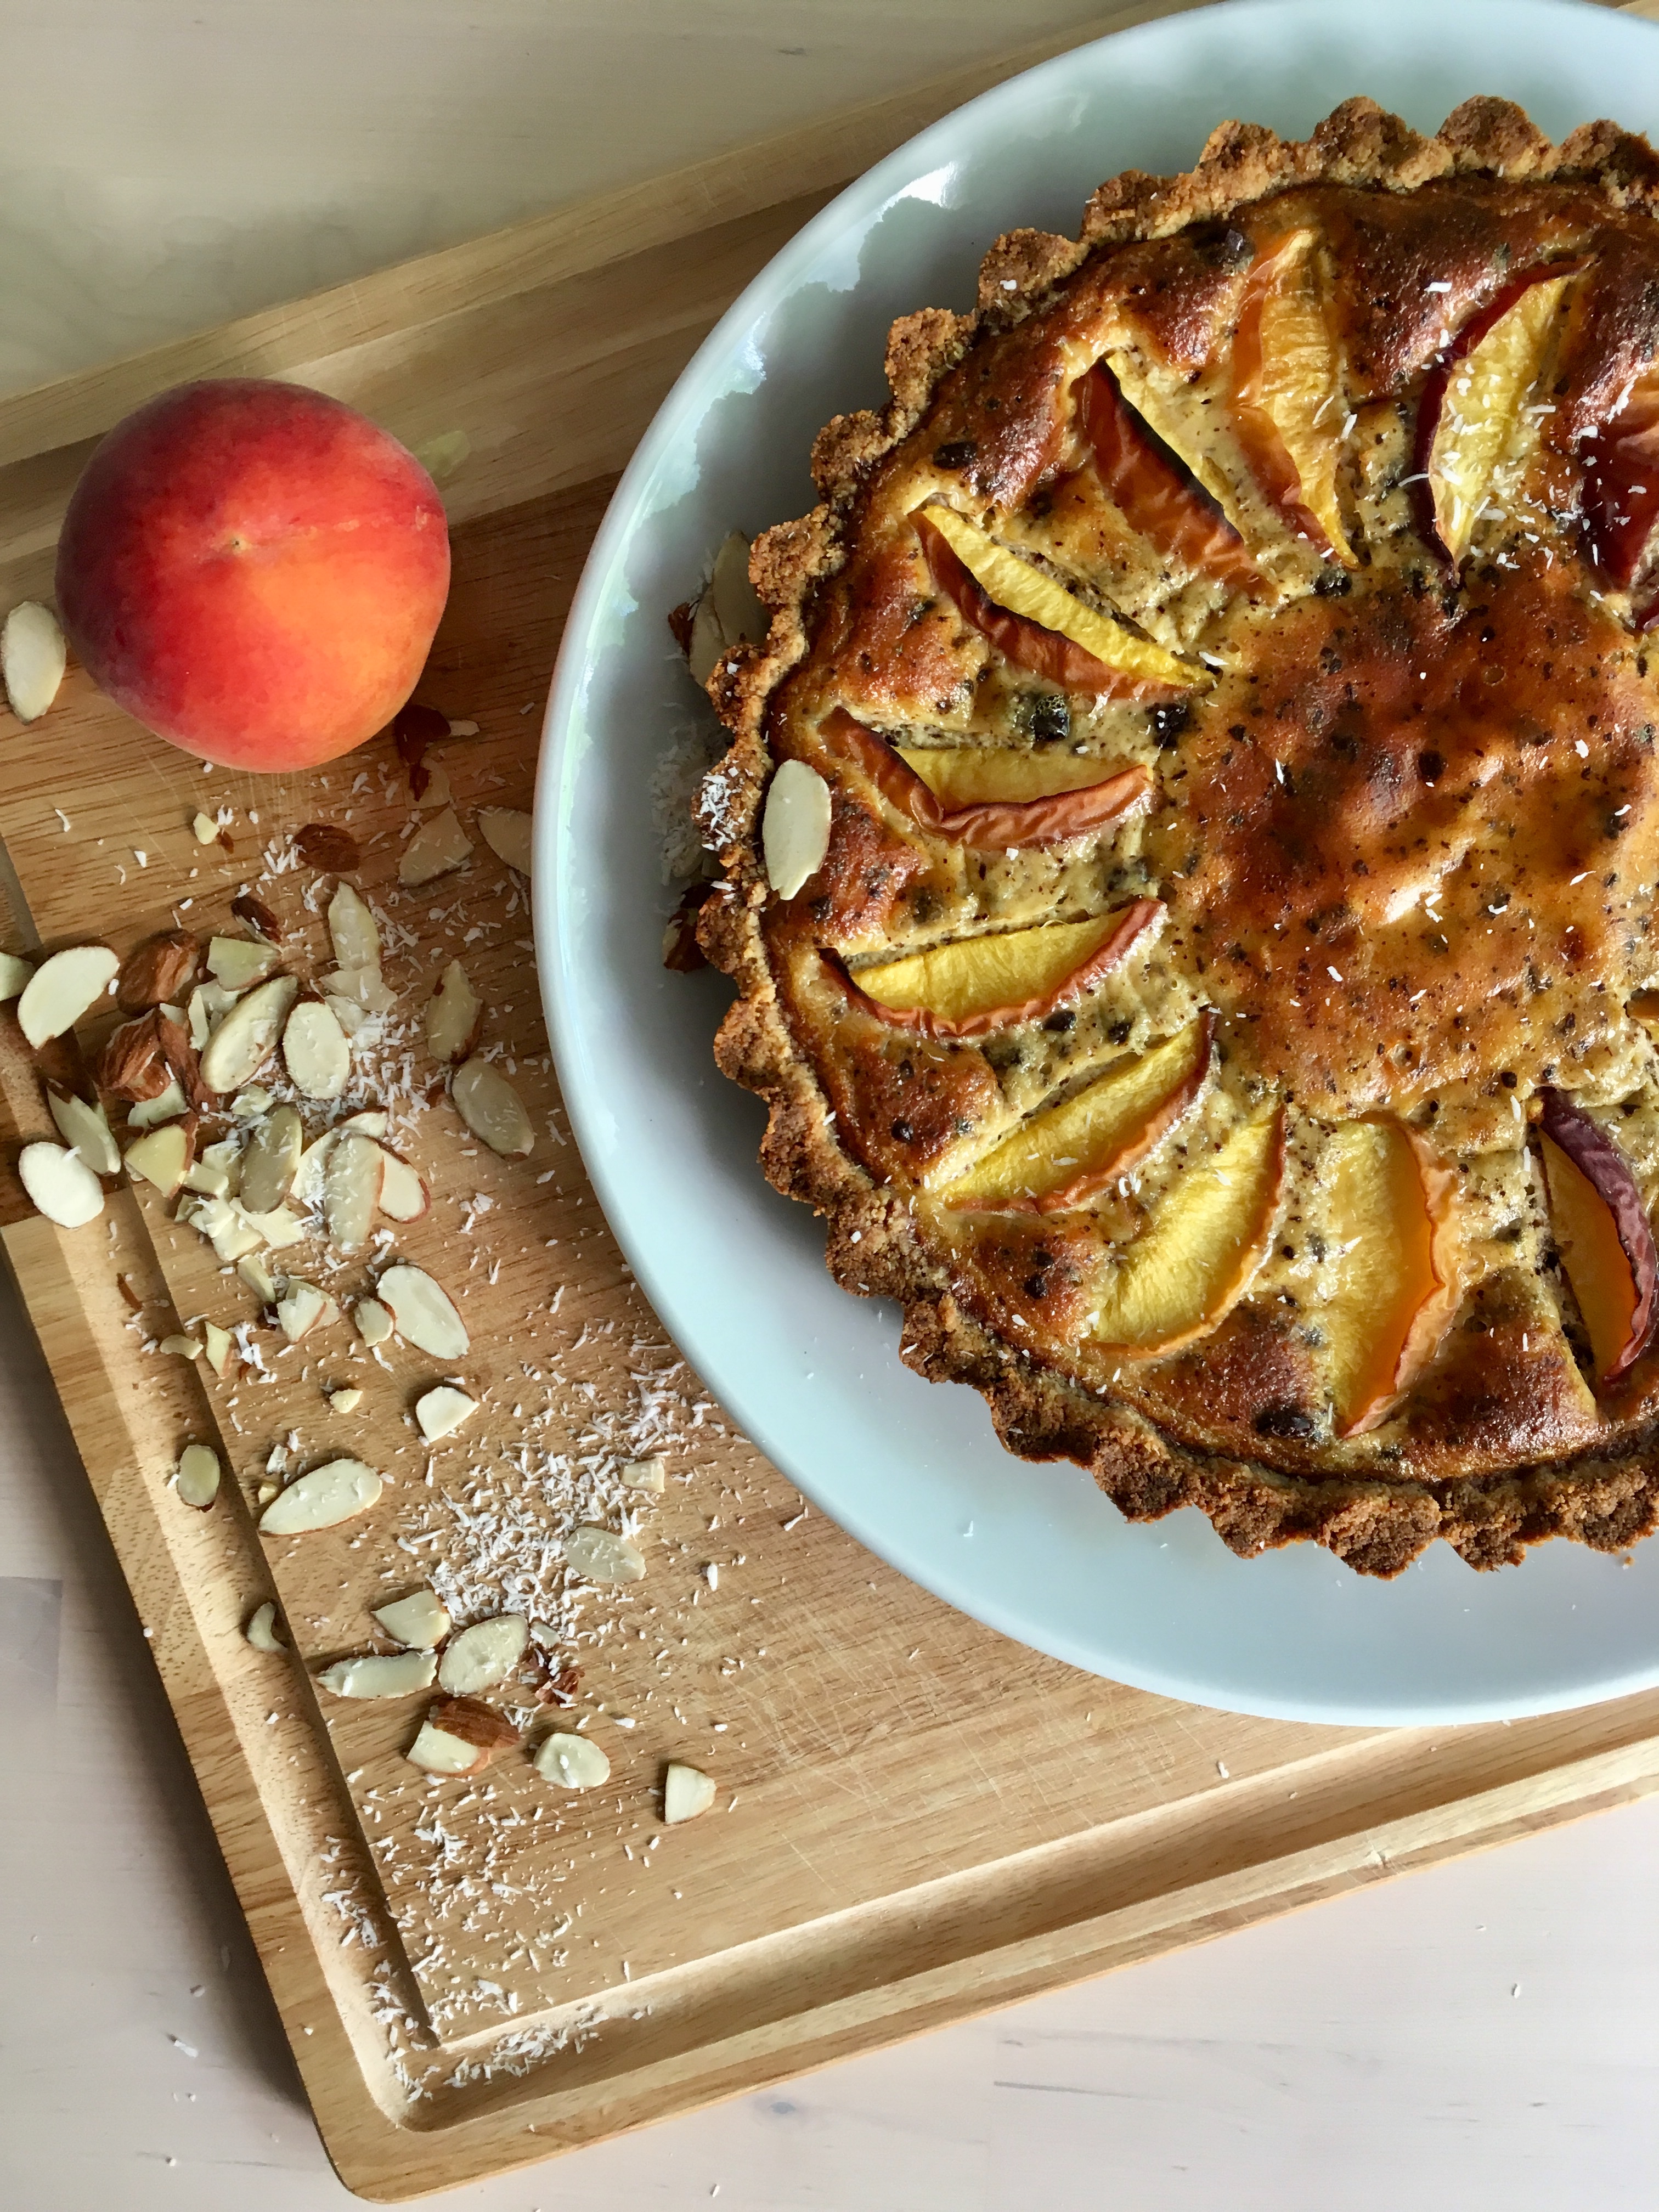
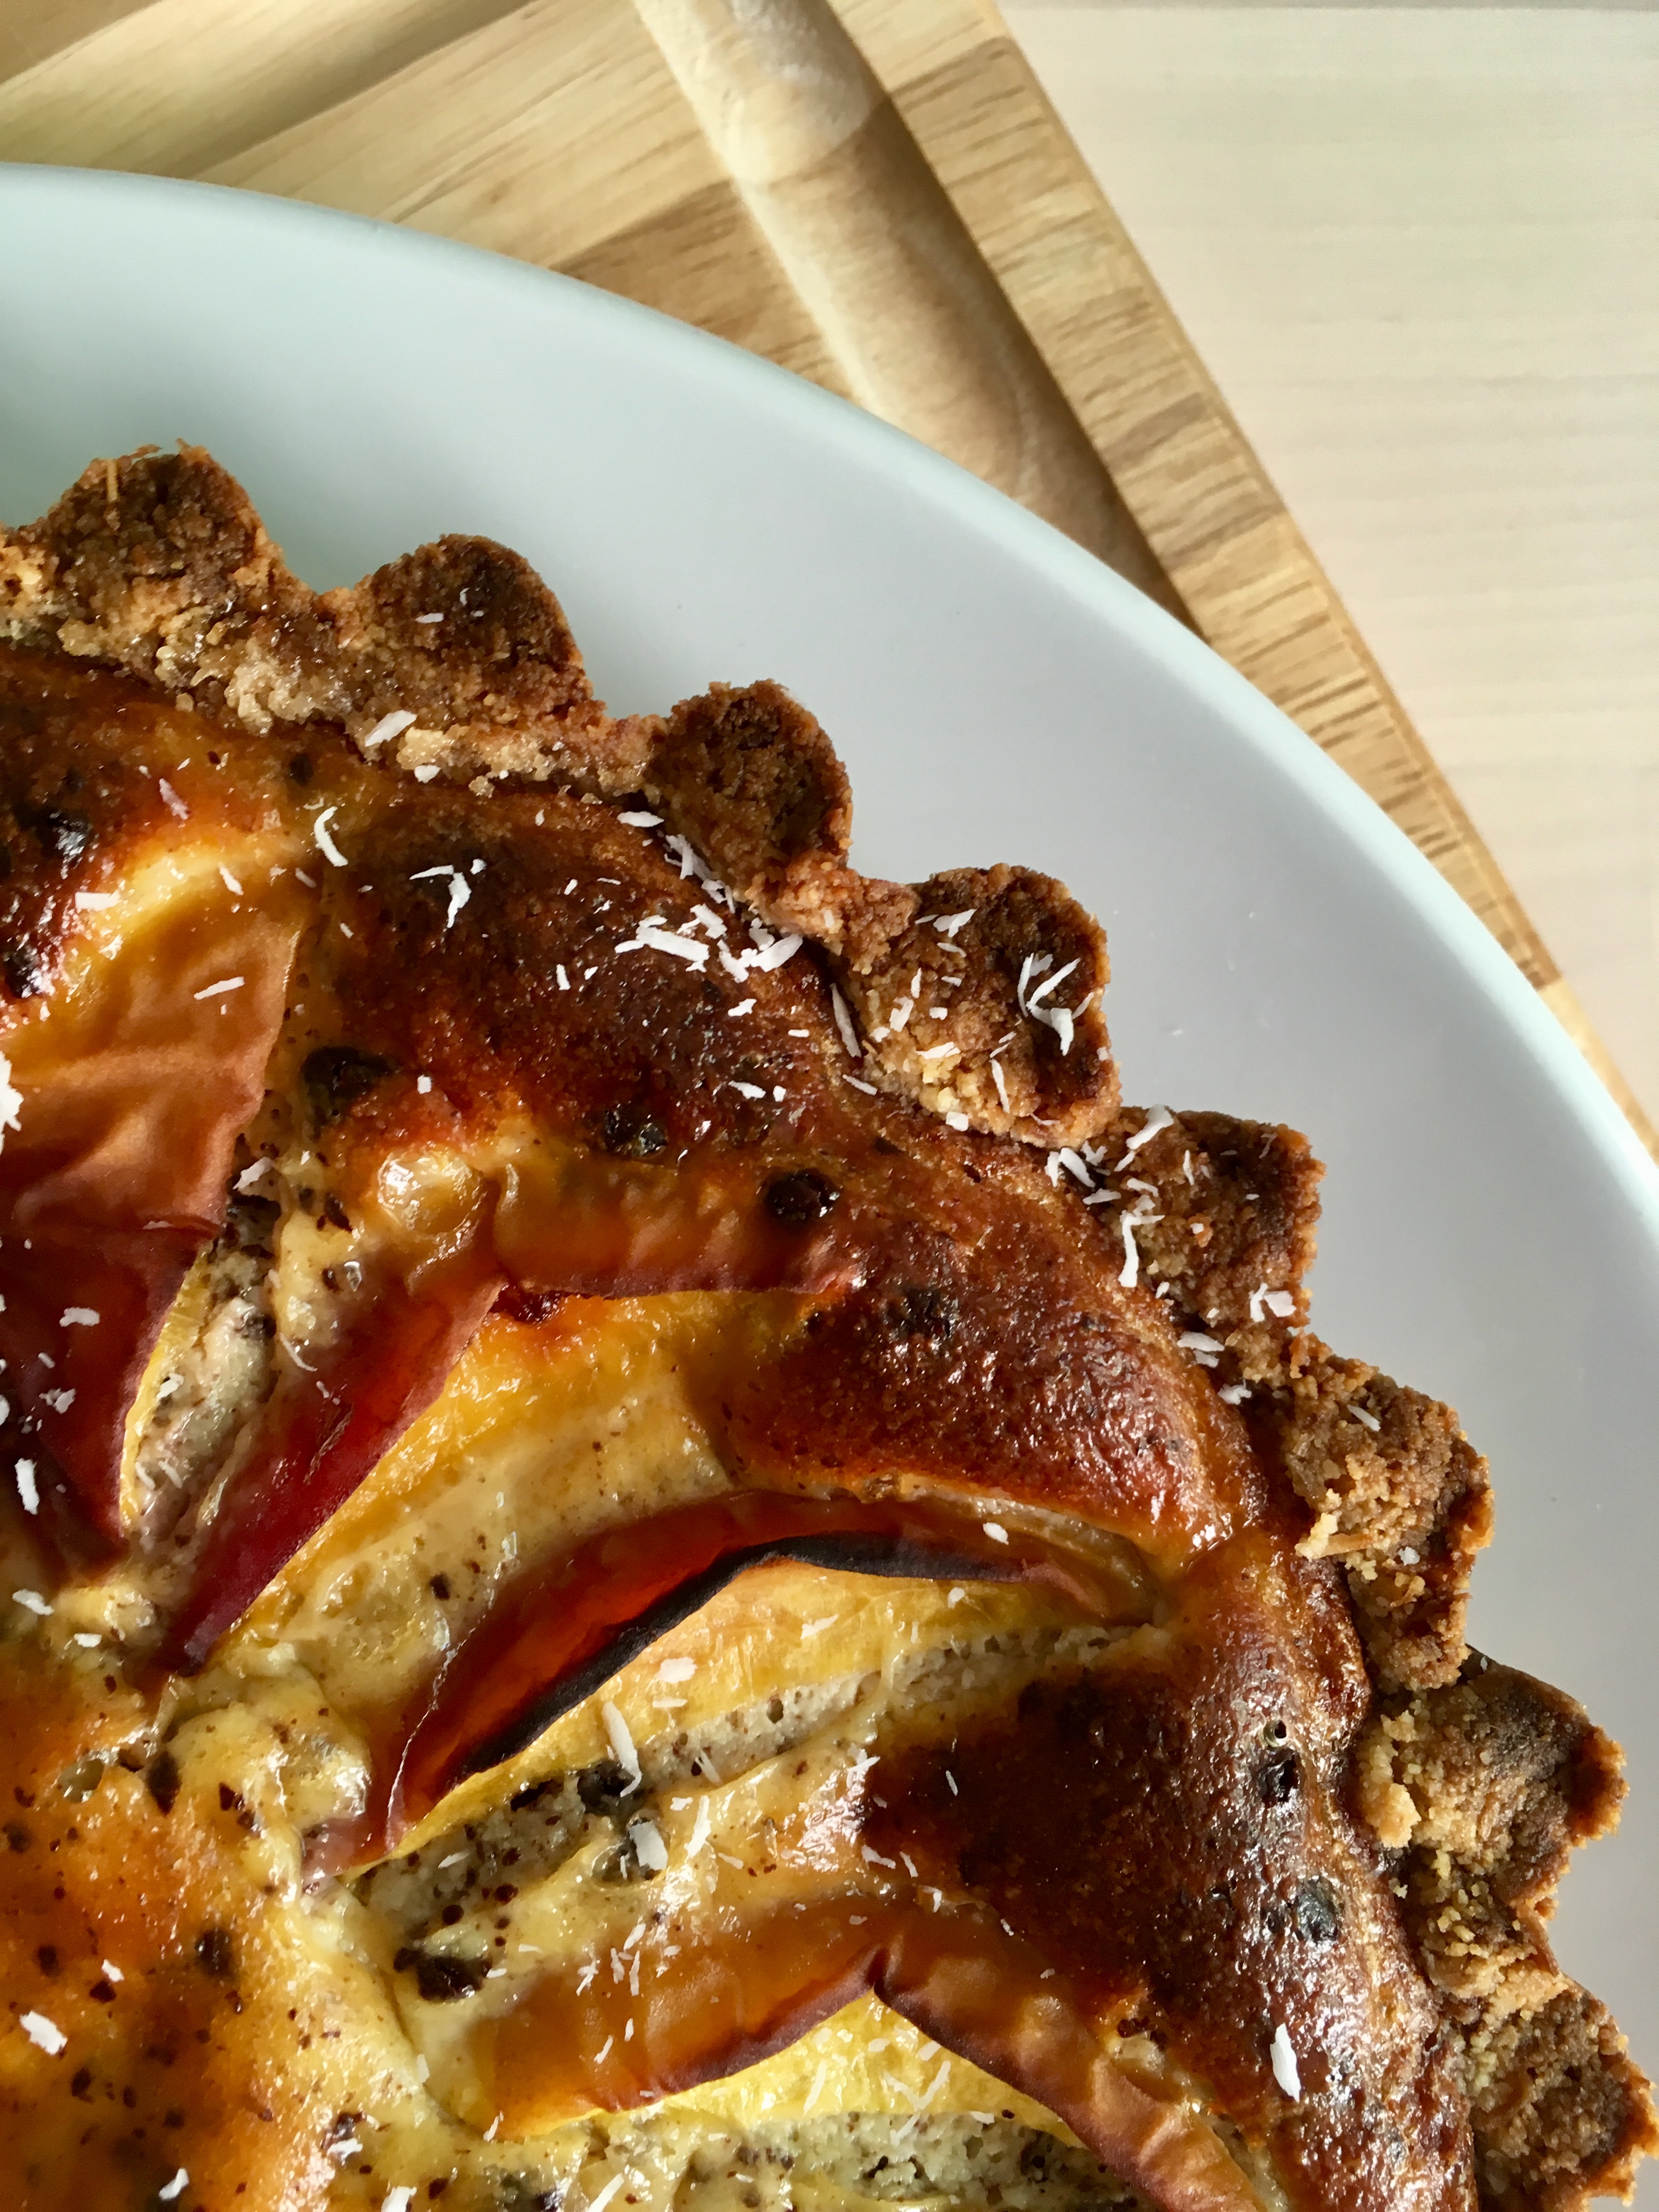
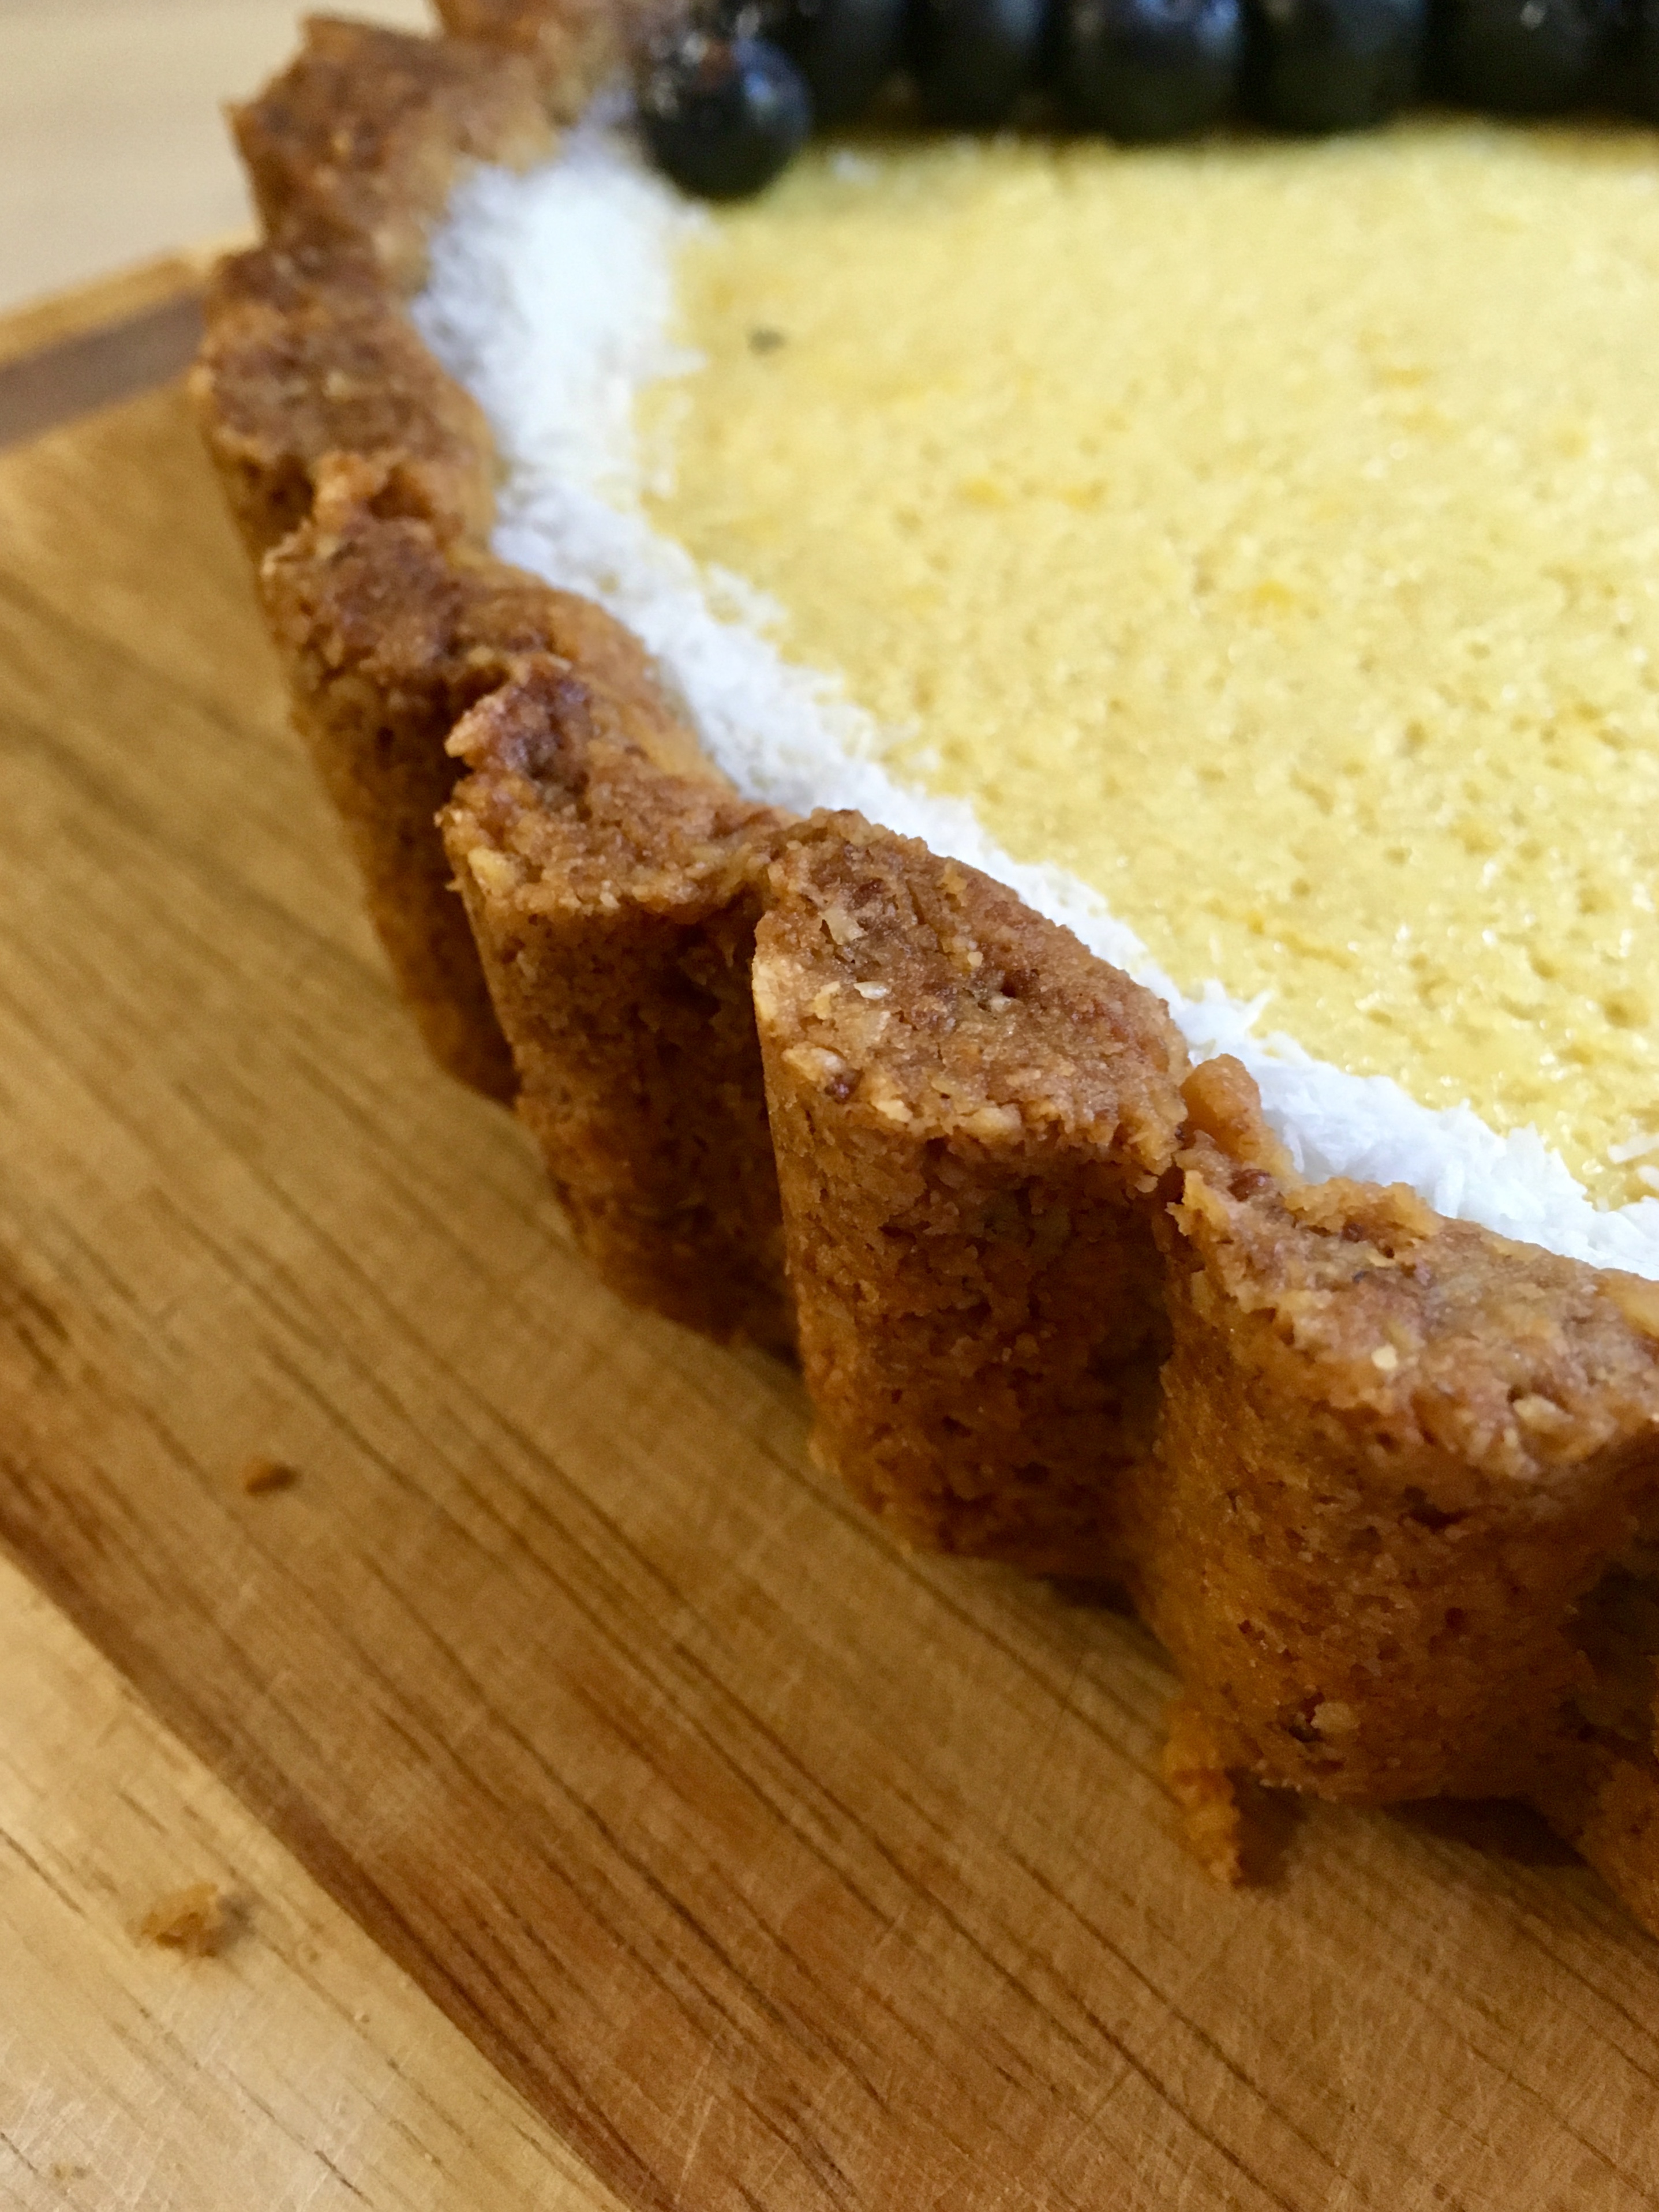
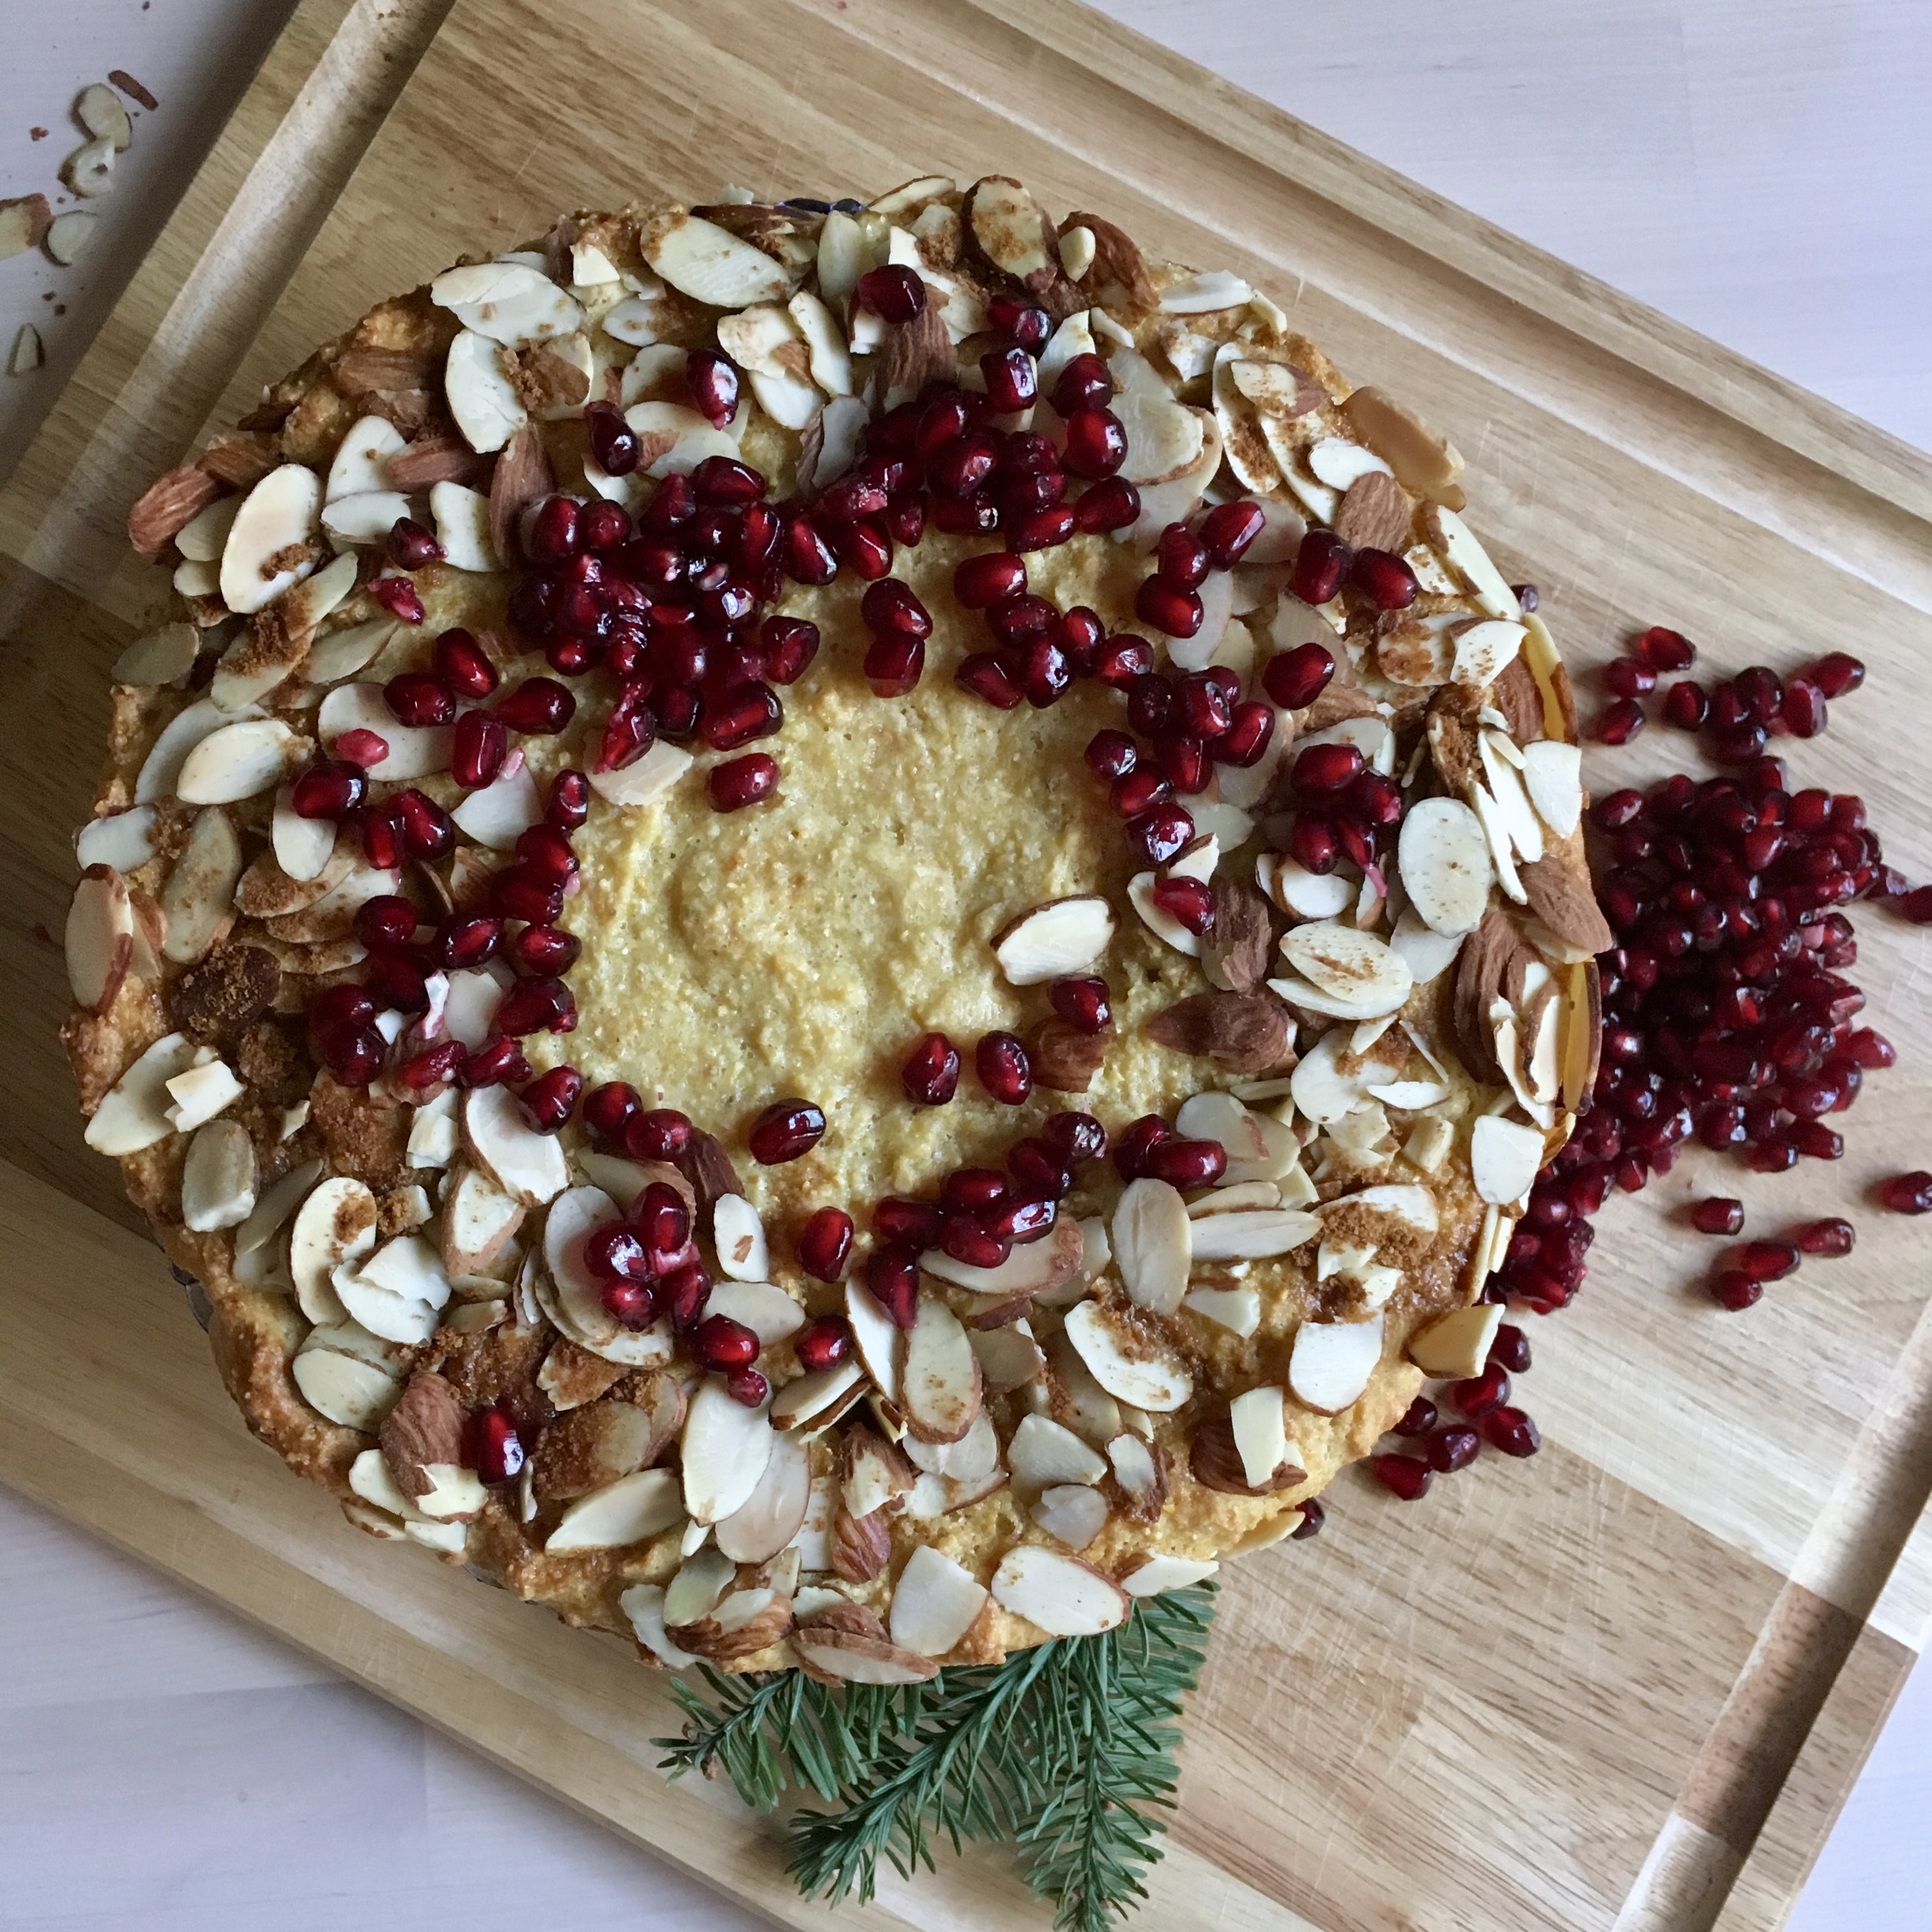
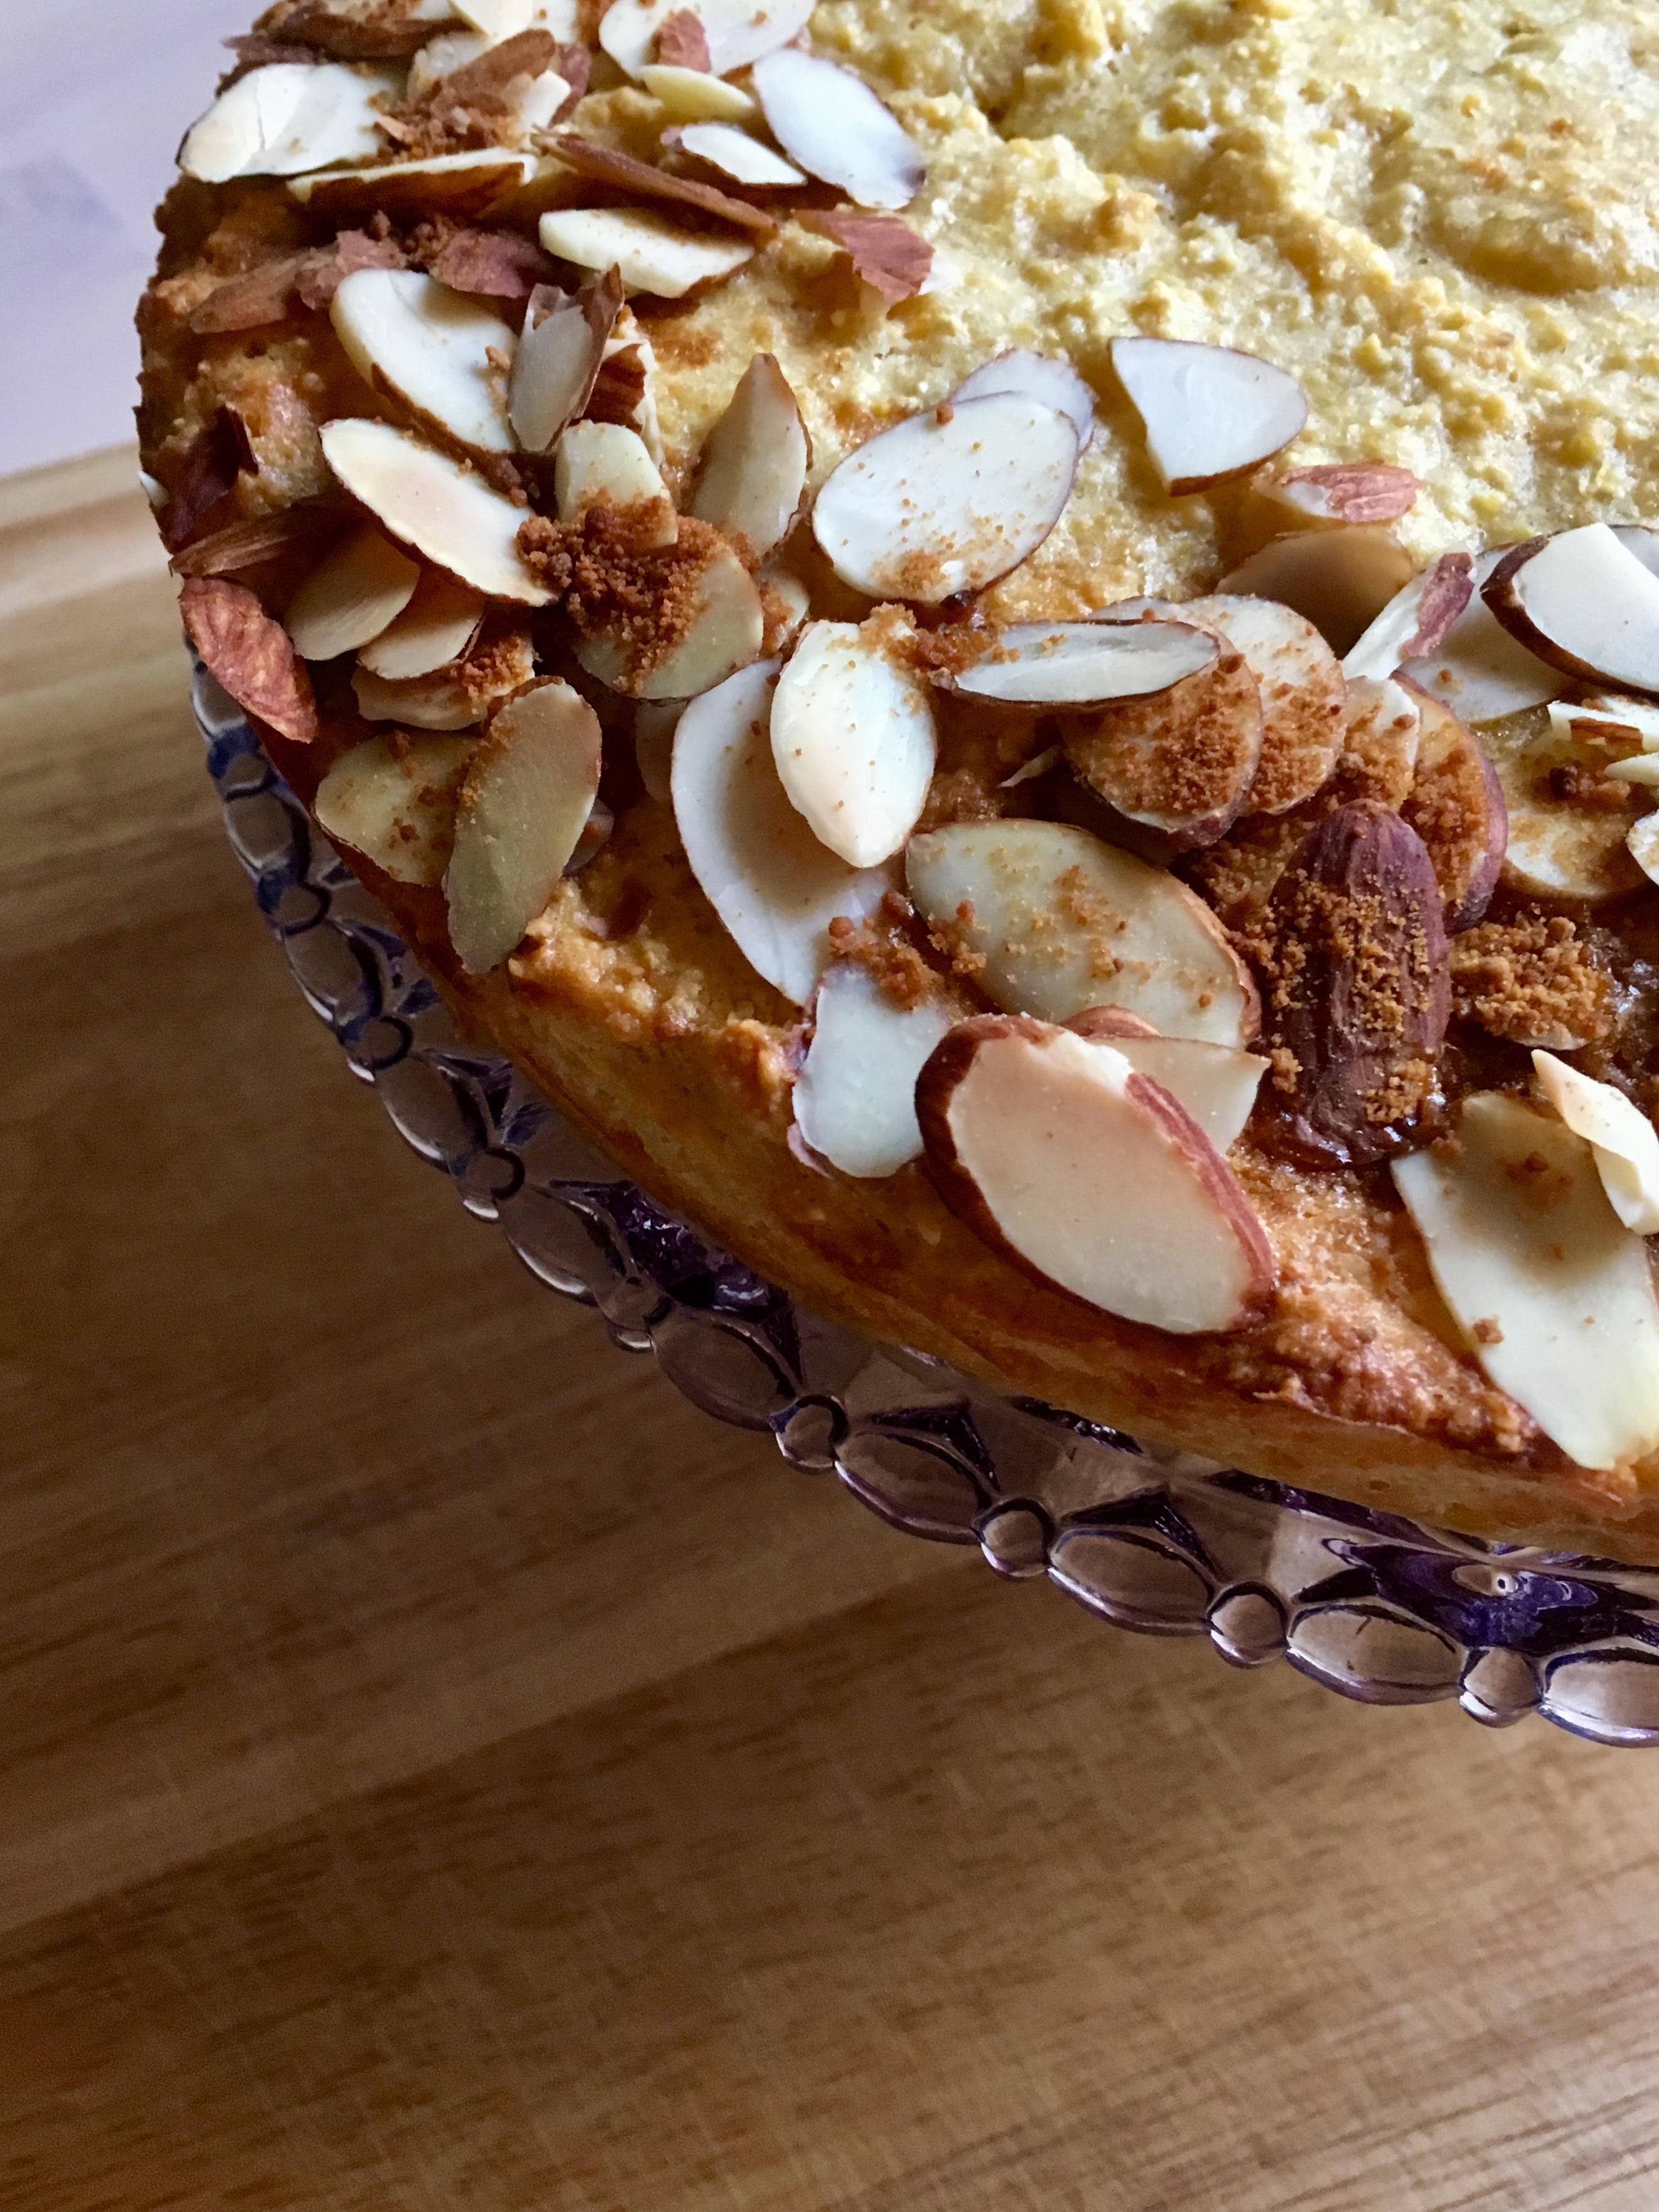
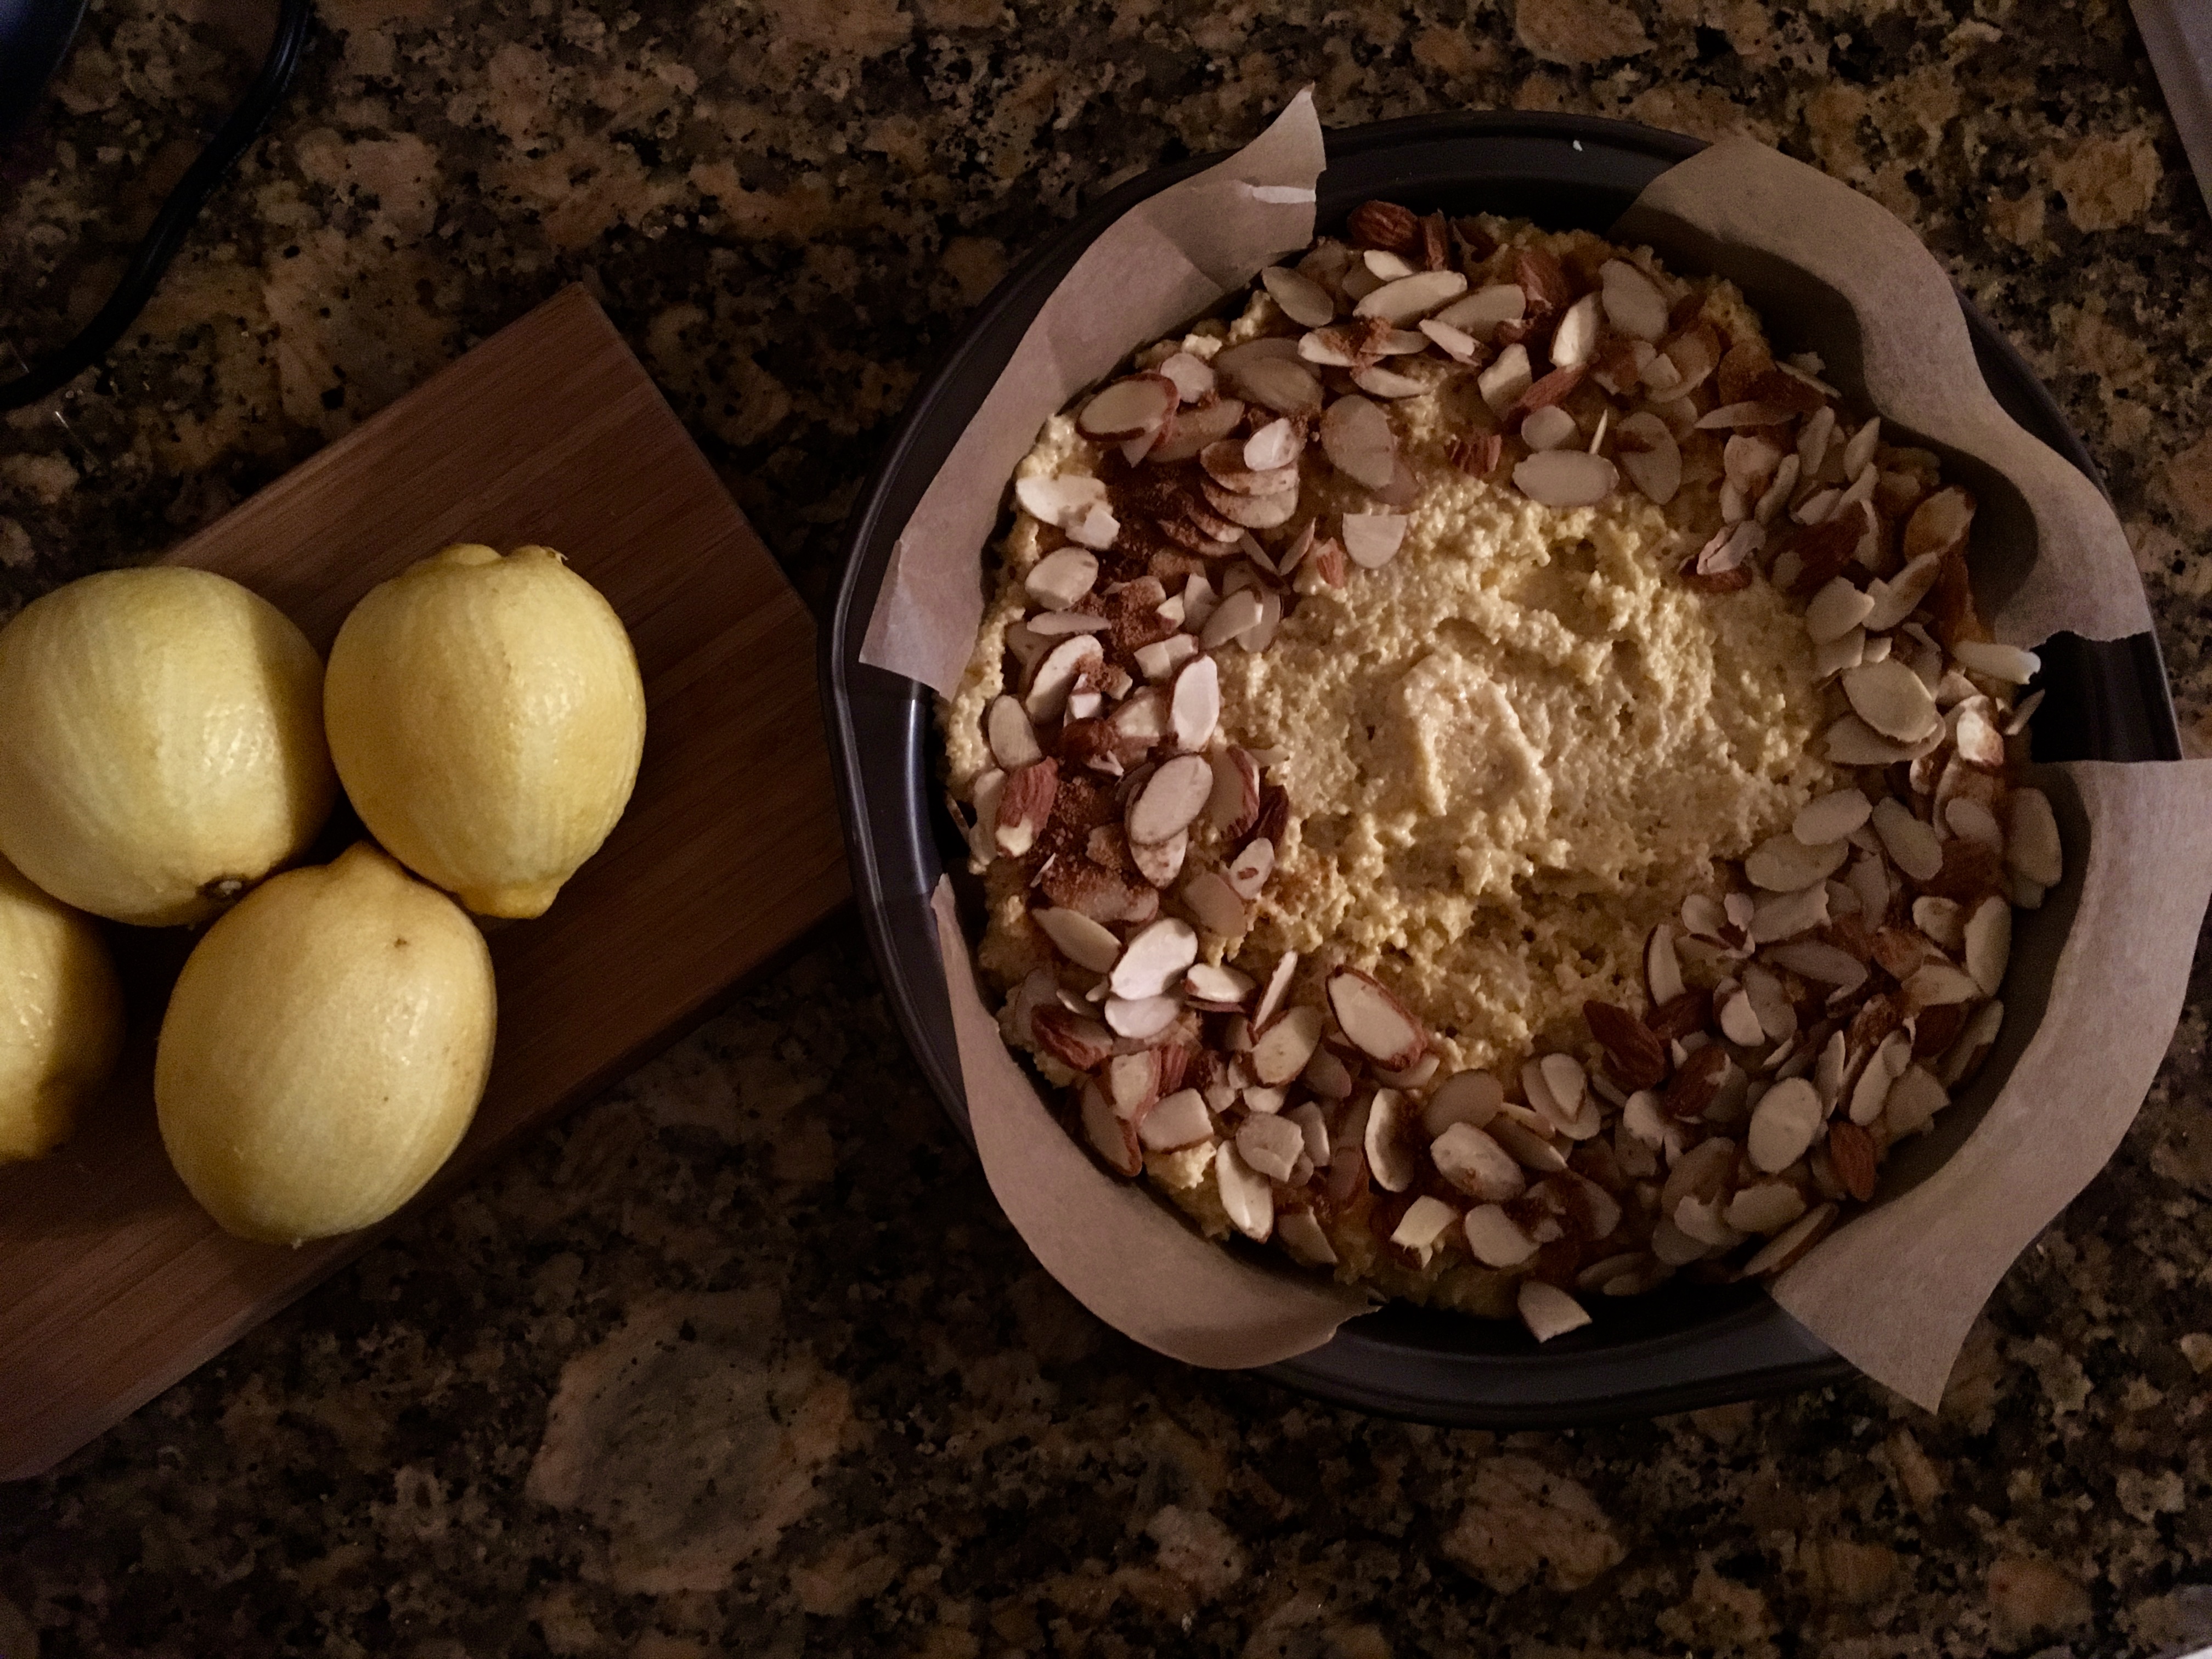
This one fits the bill perfectly – it’s poppy seedy and almondy, with a moist crumb and a bit of pleasantly dense texture. As it is grain/gluten free, dairy free and refined sugar free, it relies primarily on eggs for its loft and is made only with almond flour. I consider this to be a super simple cake – it doesn’t require a bunch of different flours or a mixer. In fact, it could easily be put together for a brunch the morning of; the blood orange curd (gf but not dairy free) can be made in advance up to a week, so that’s an easy one to knock out a few days ahead.

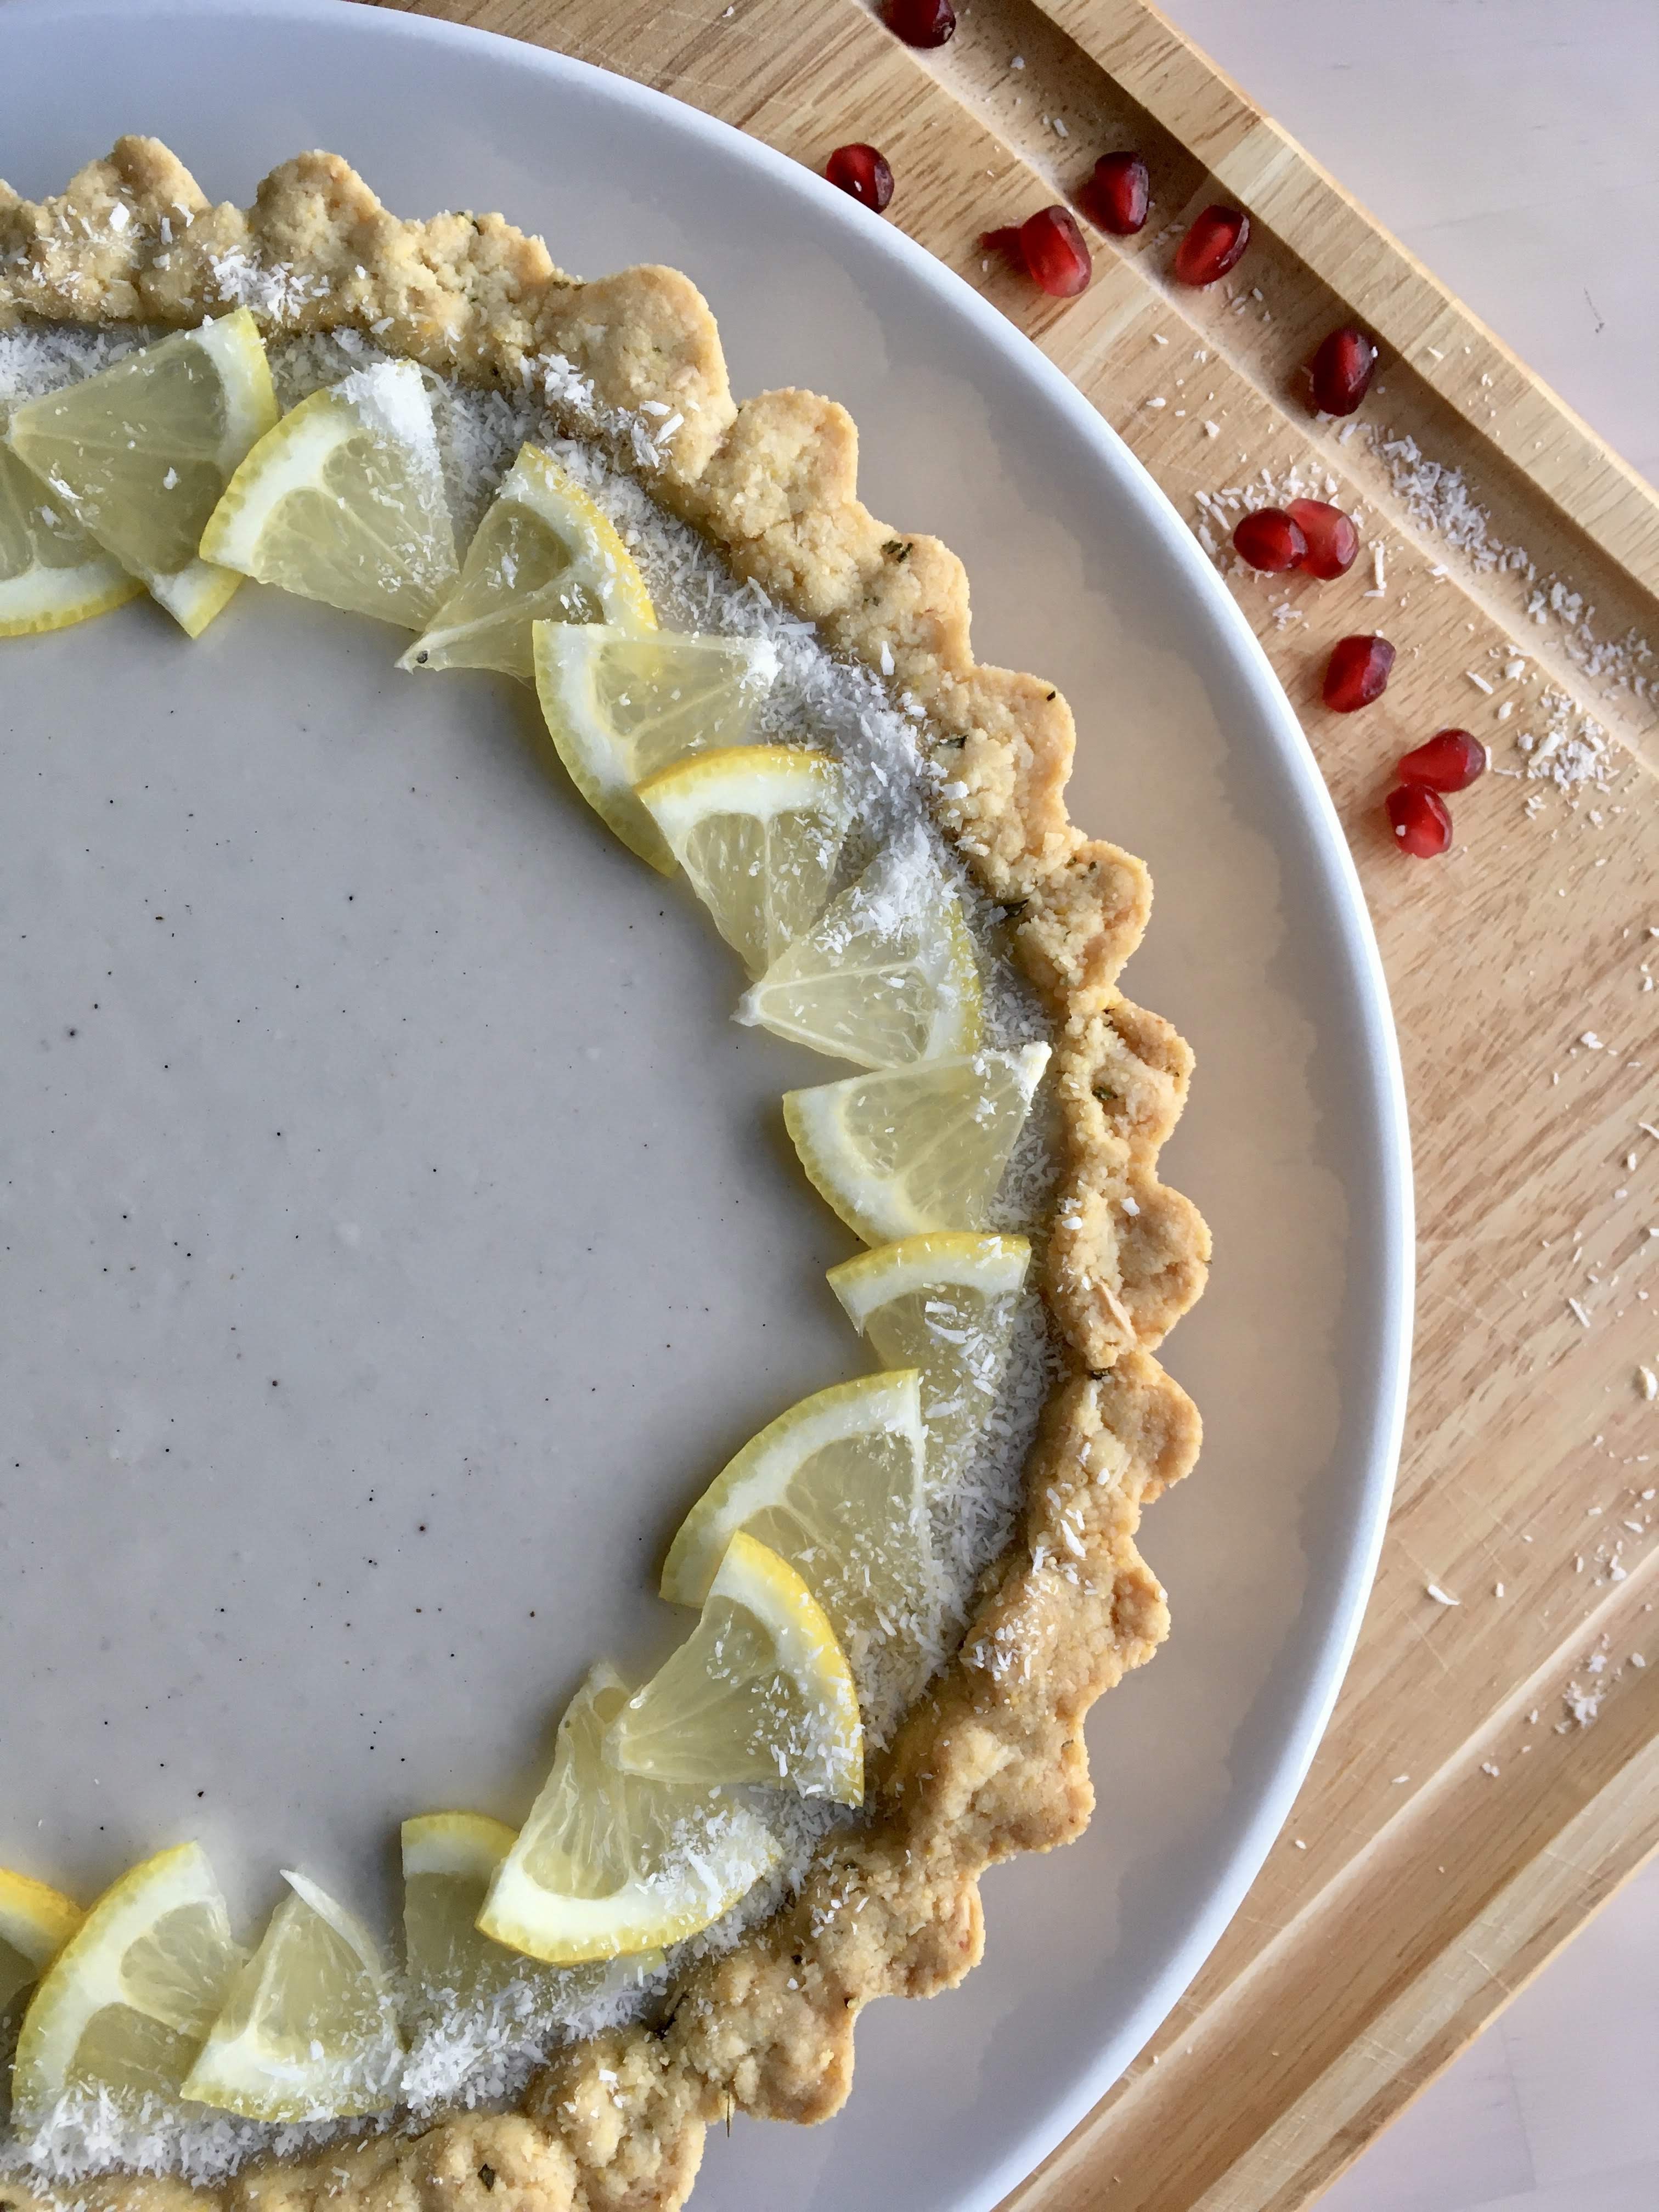
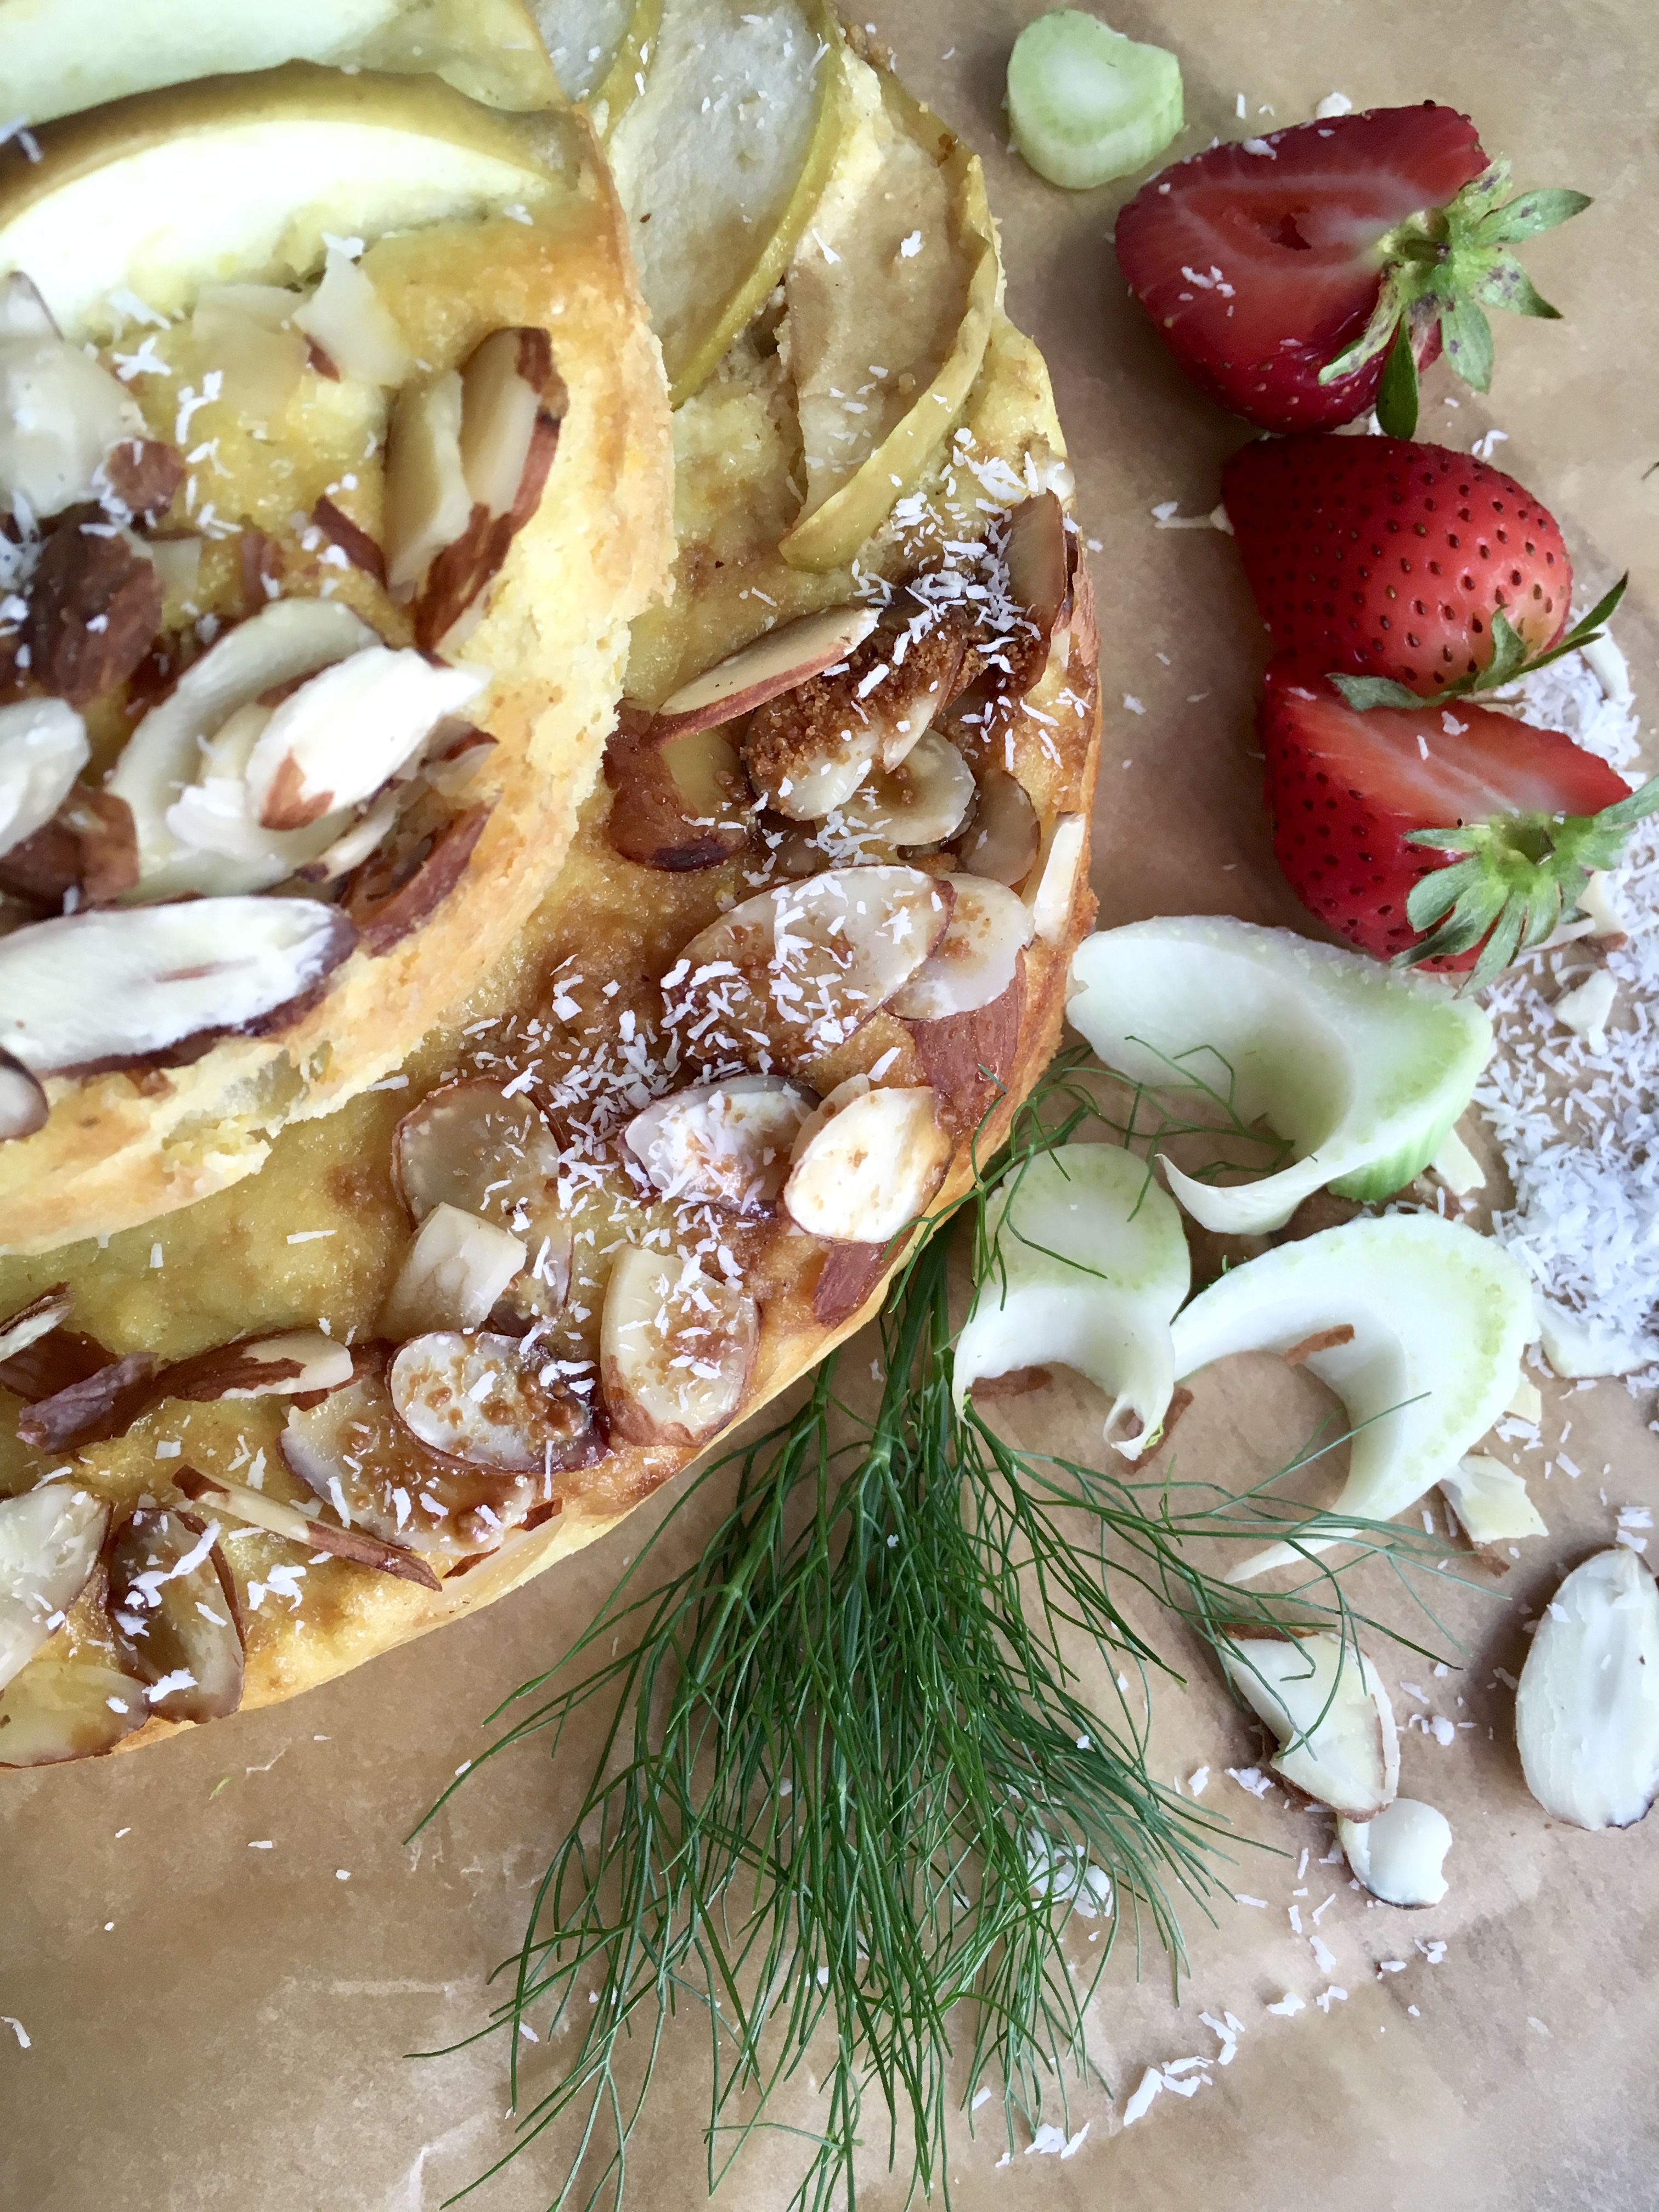
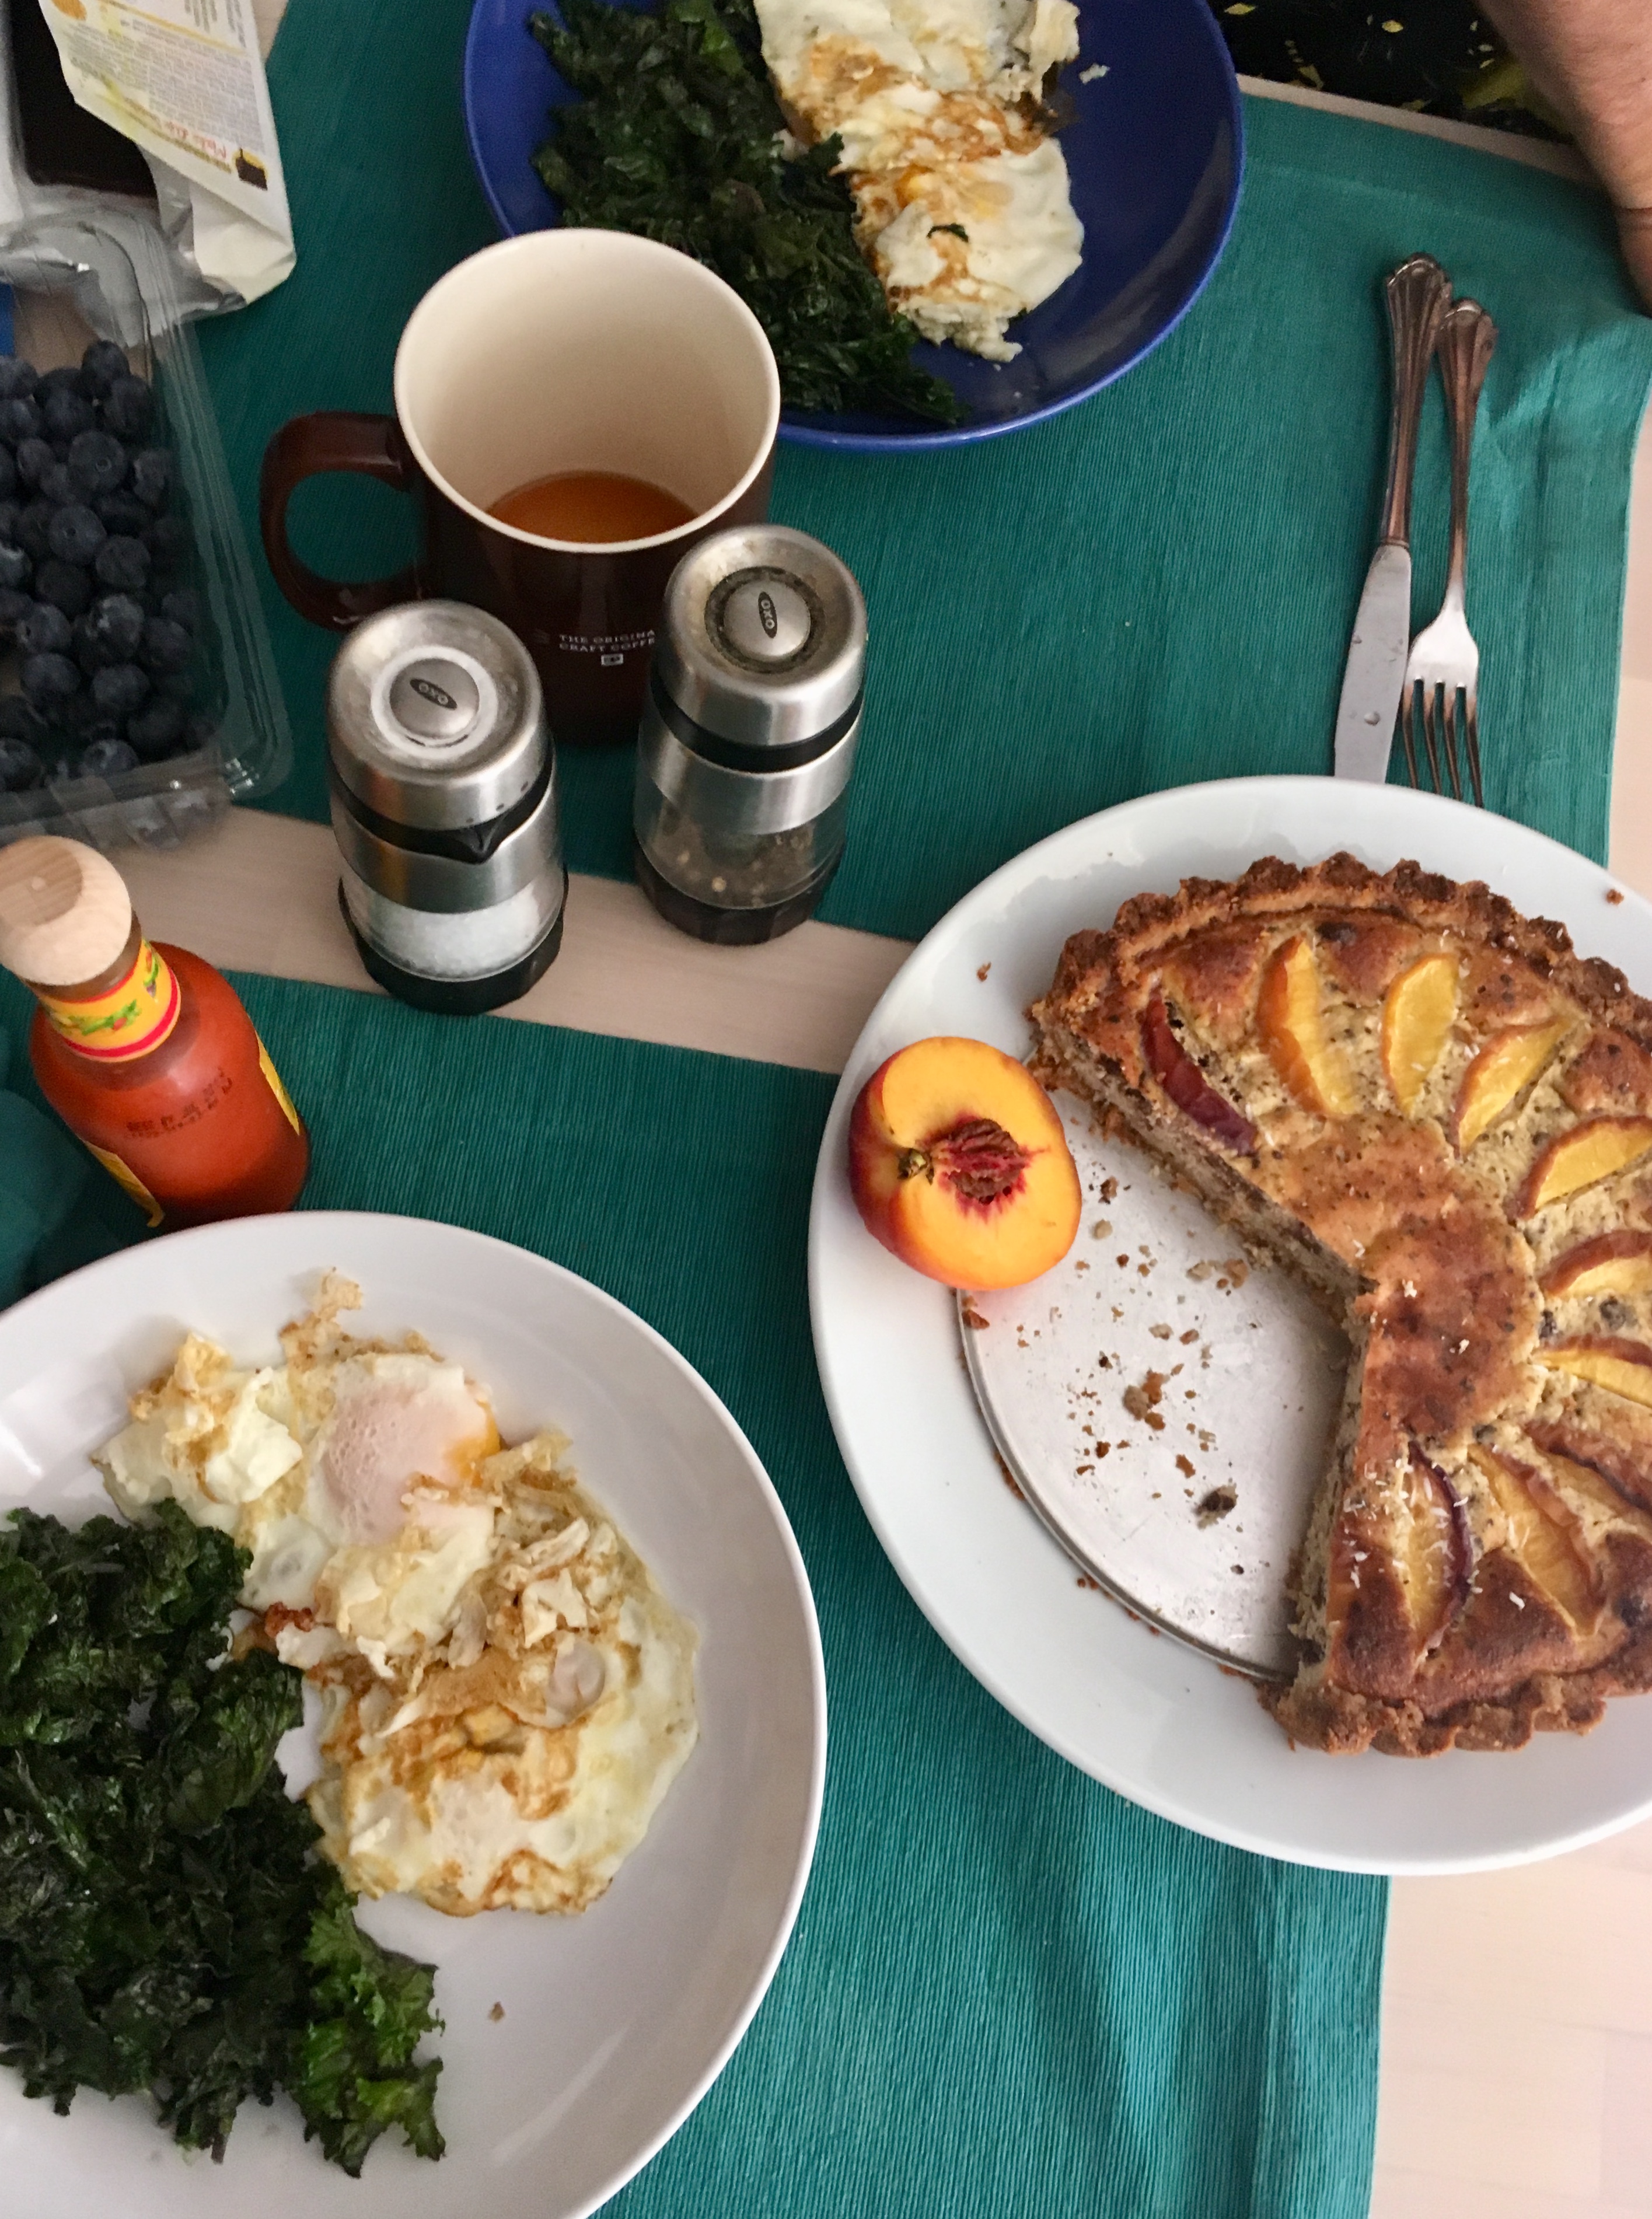
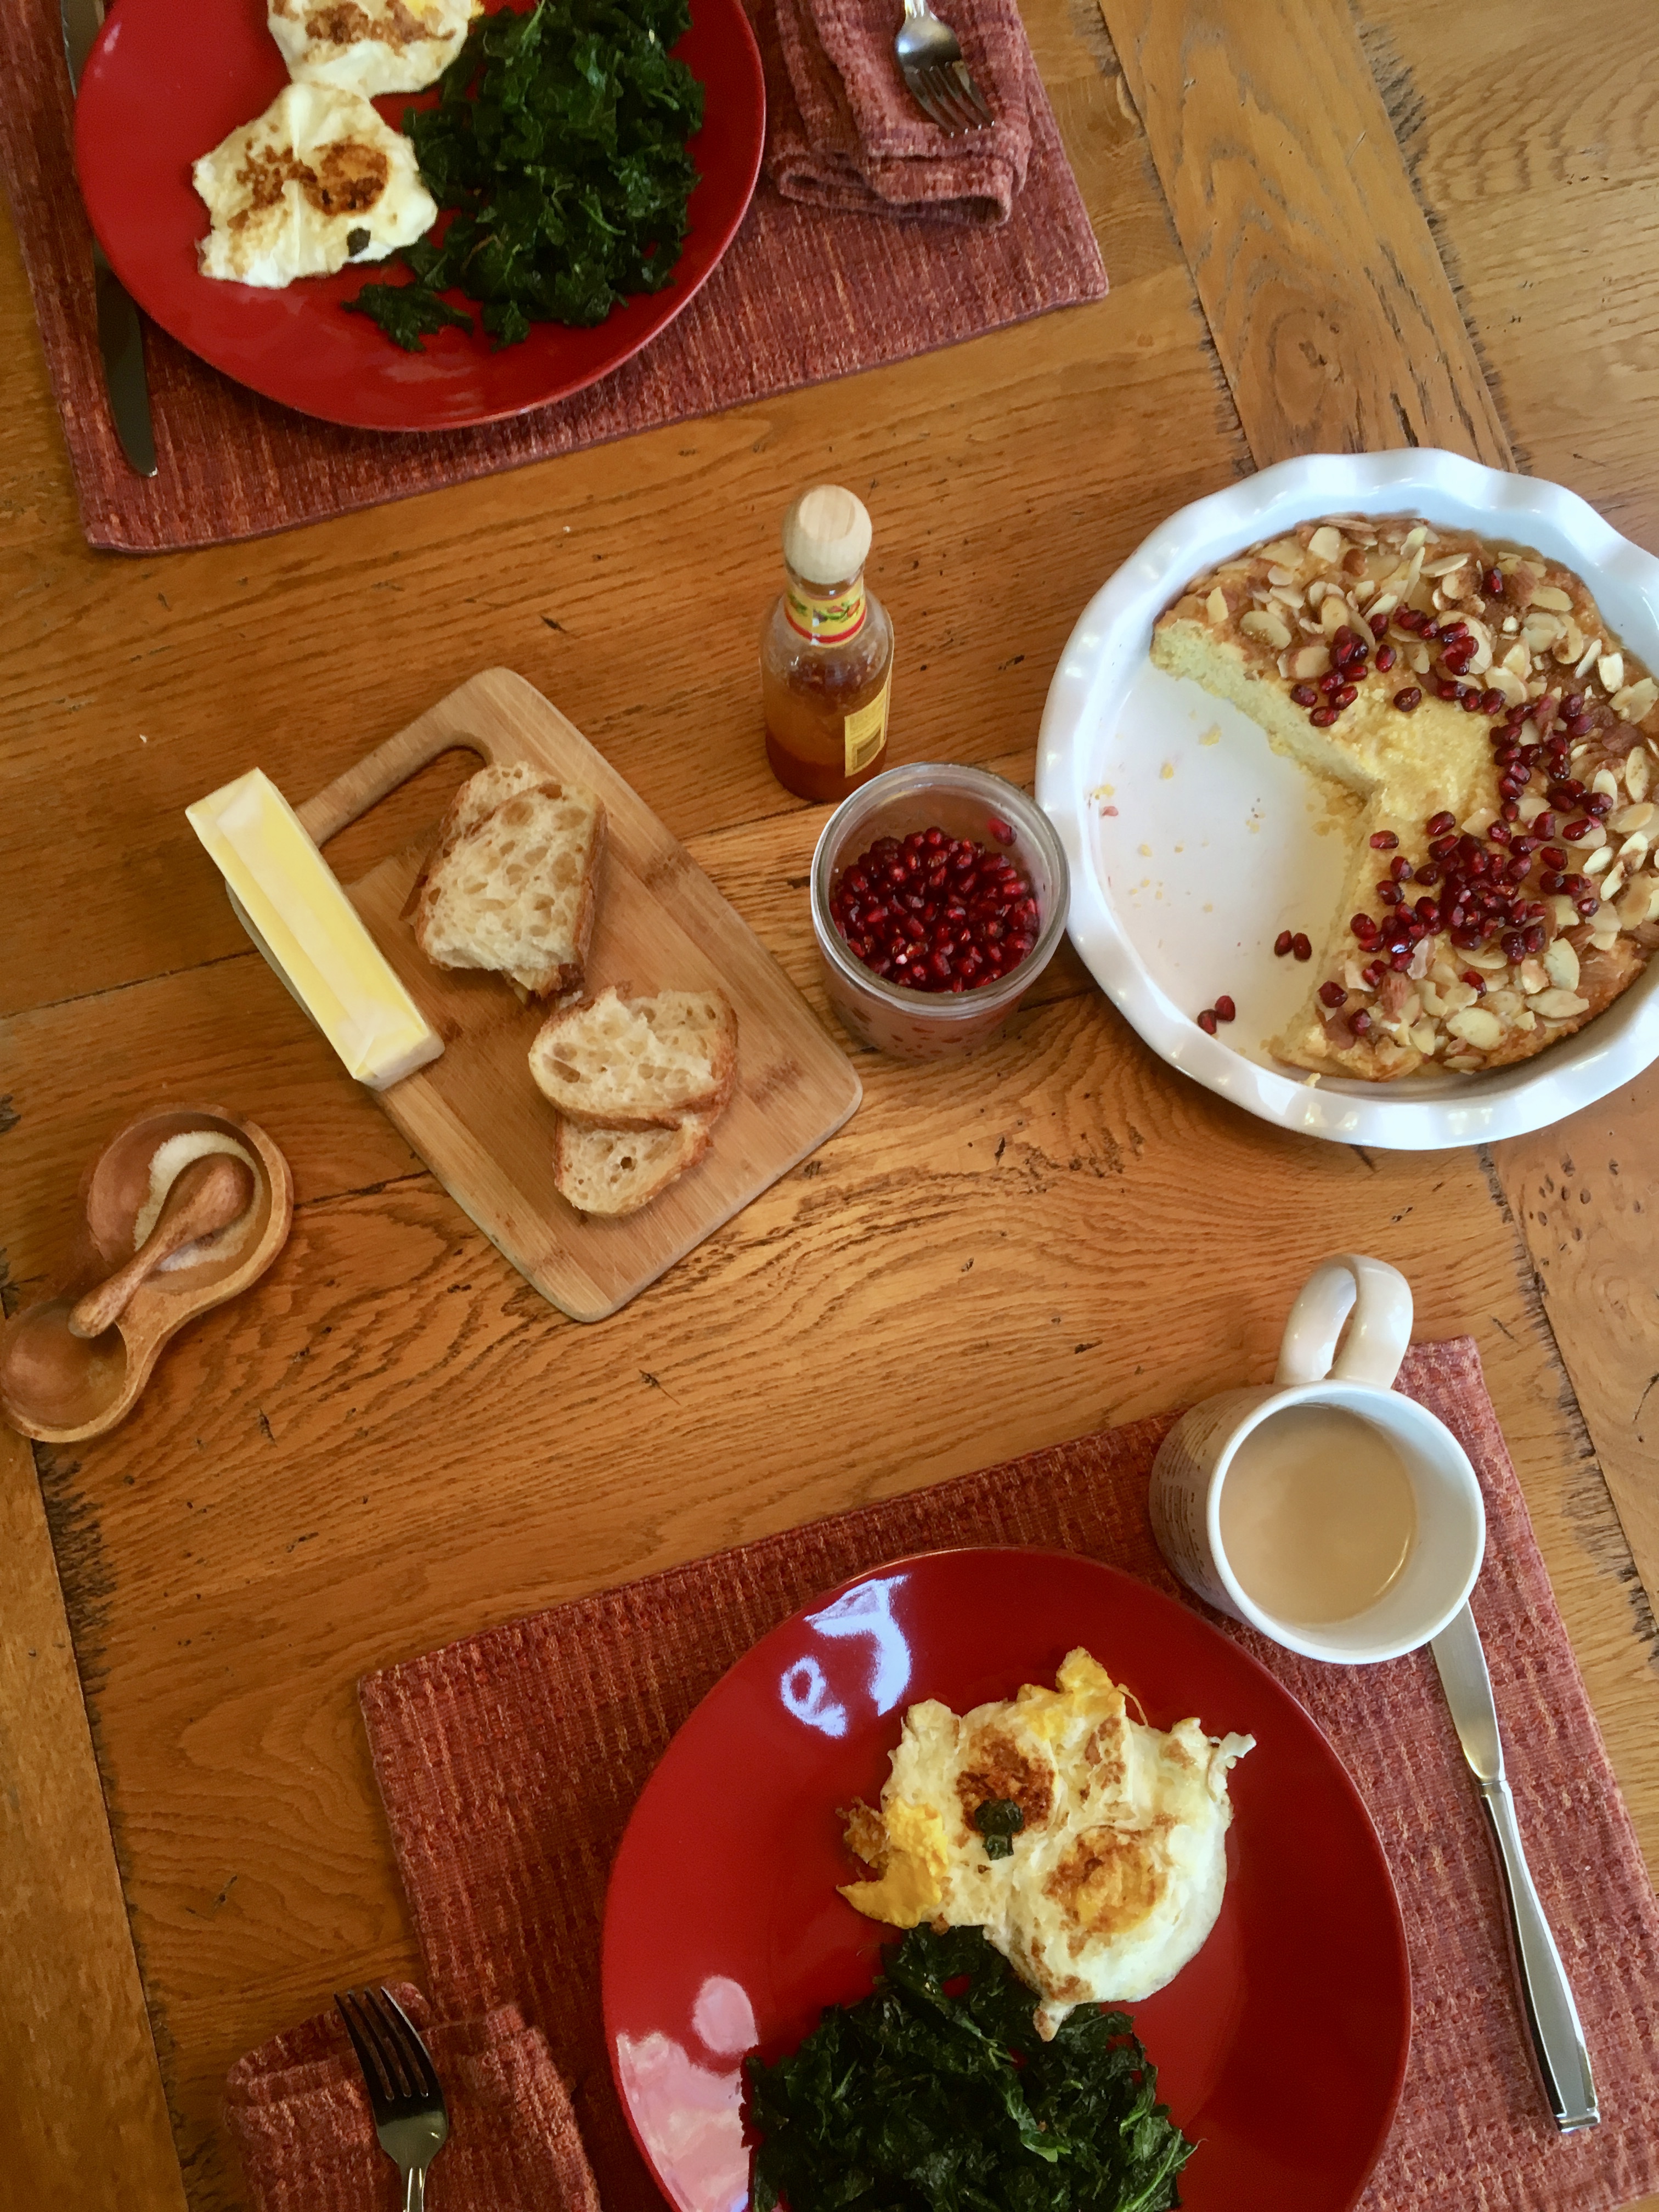
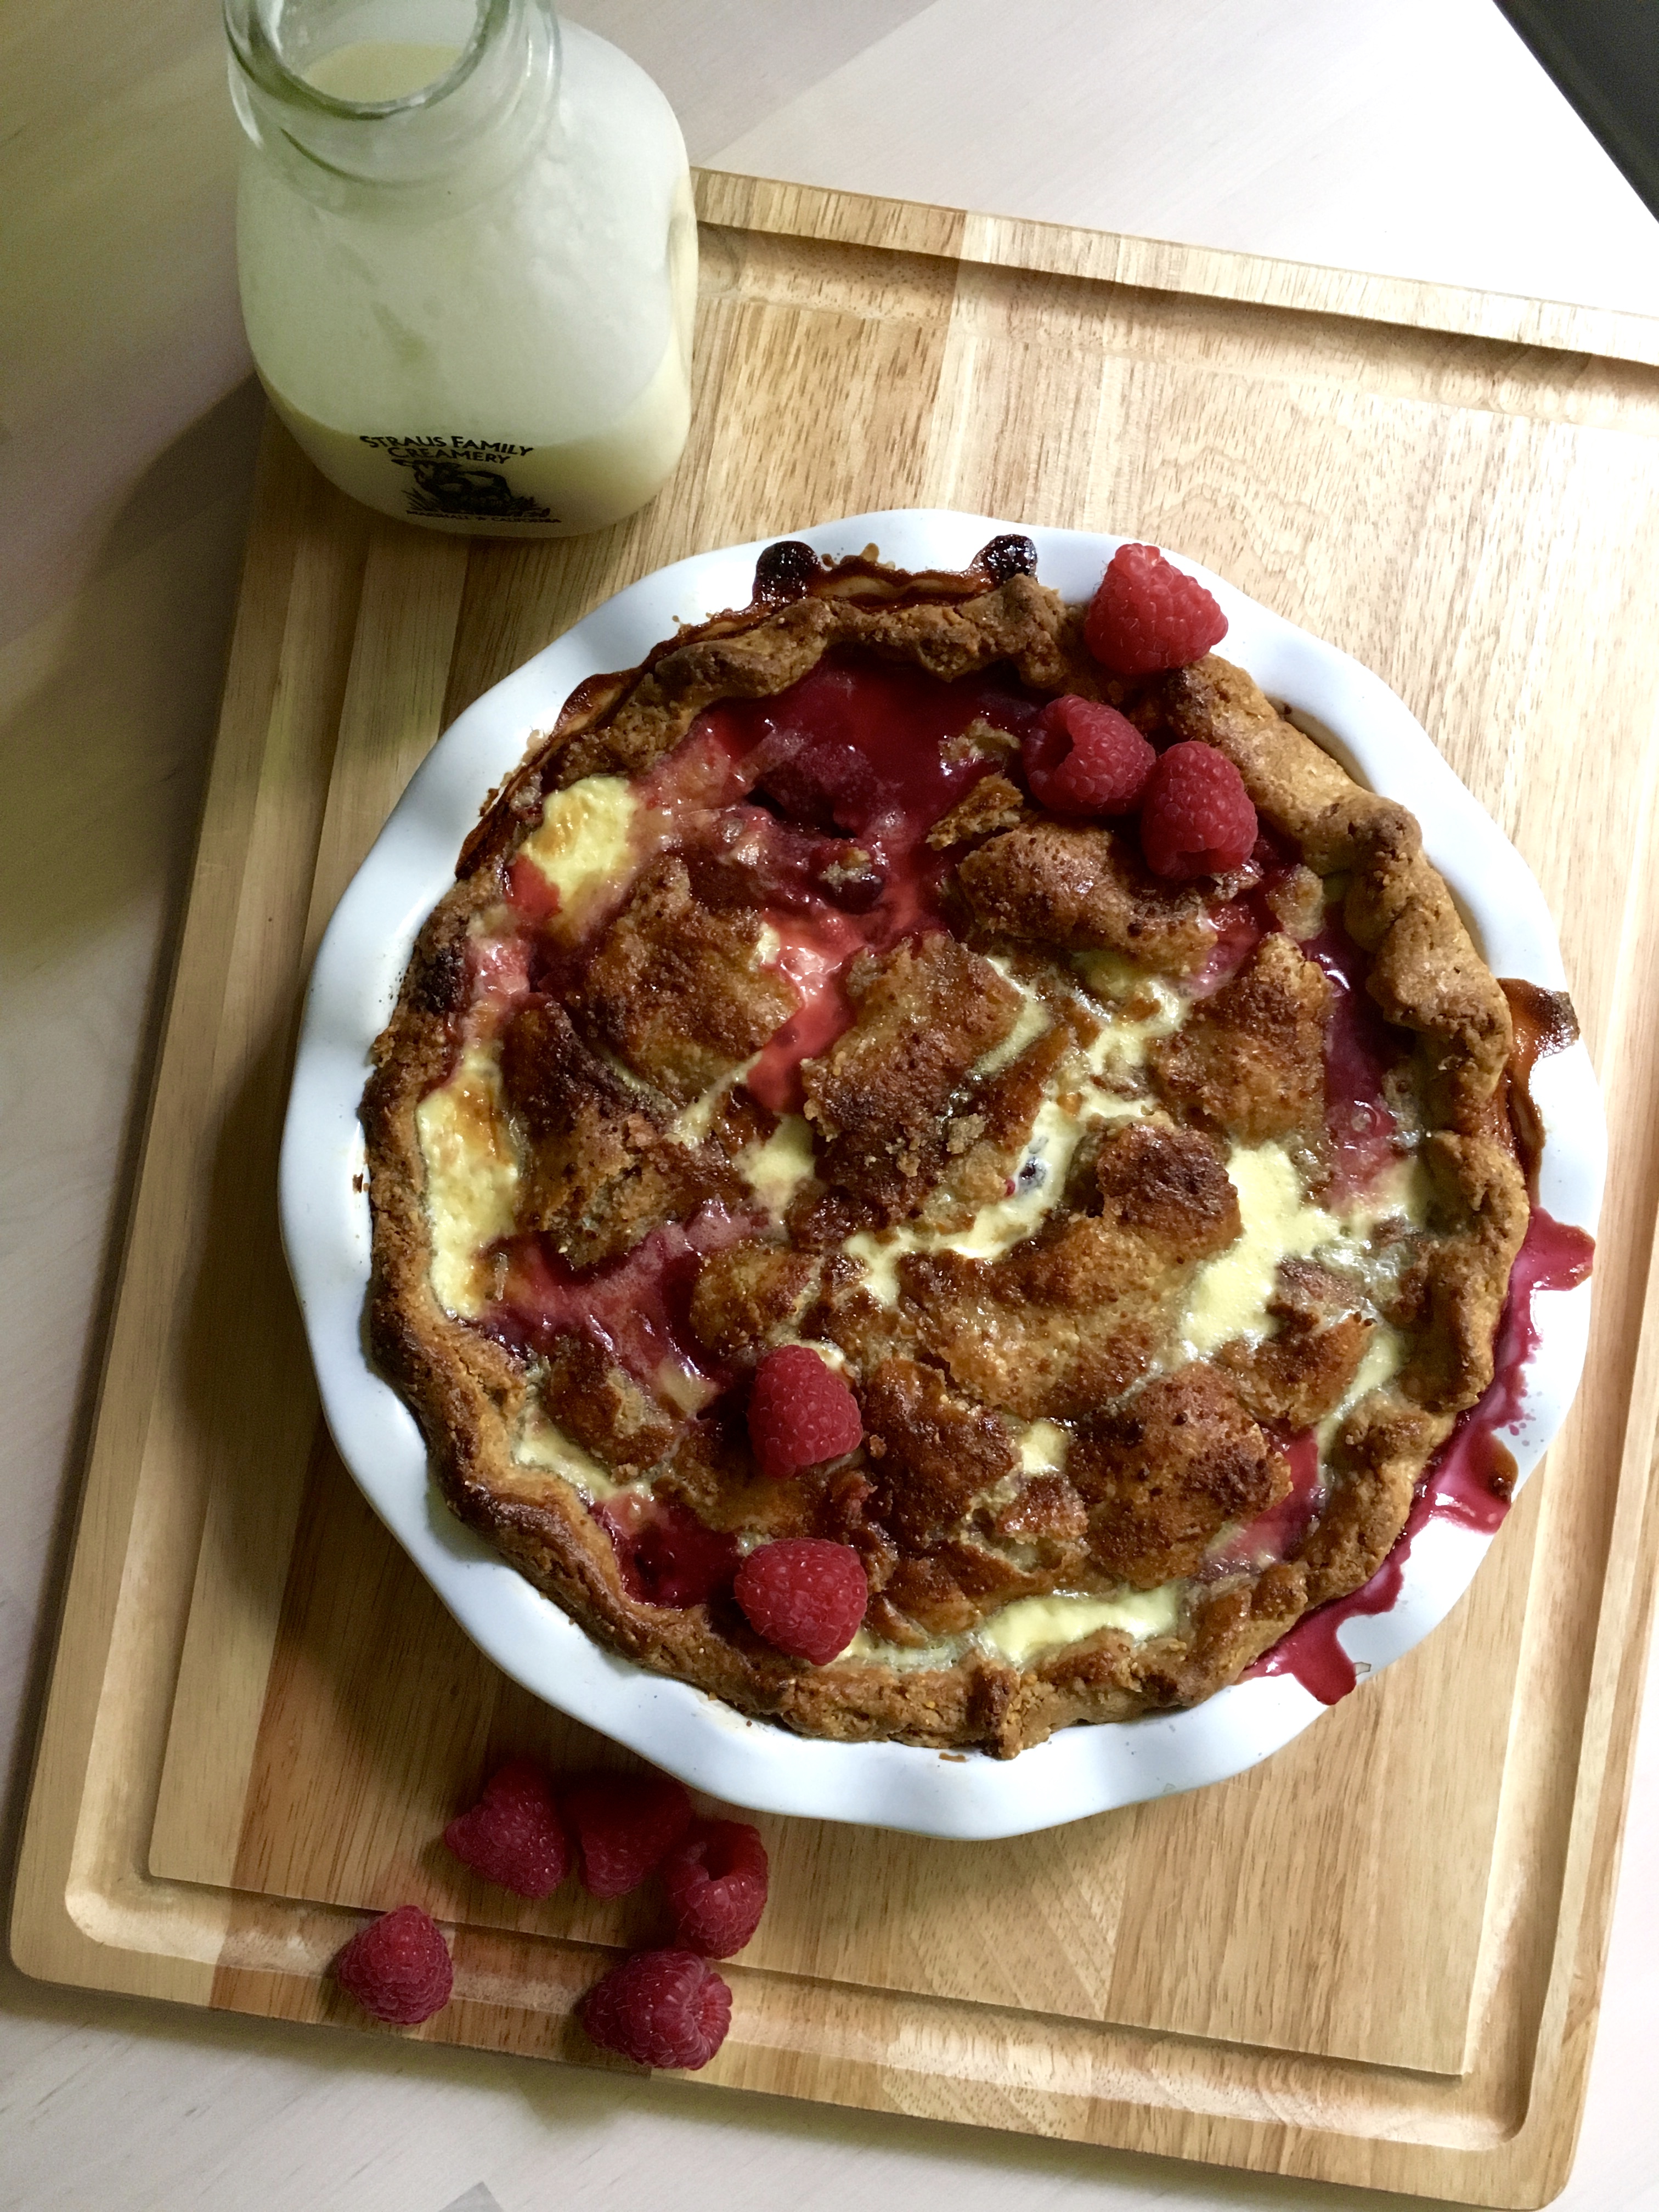
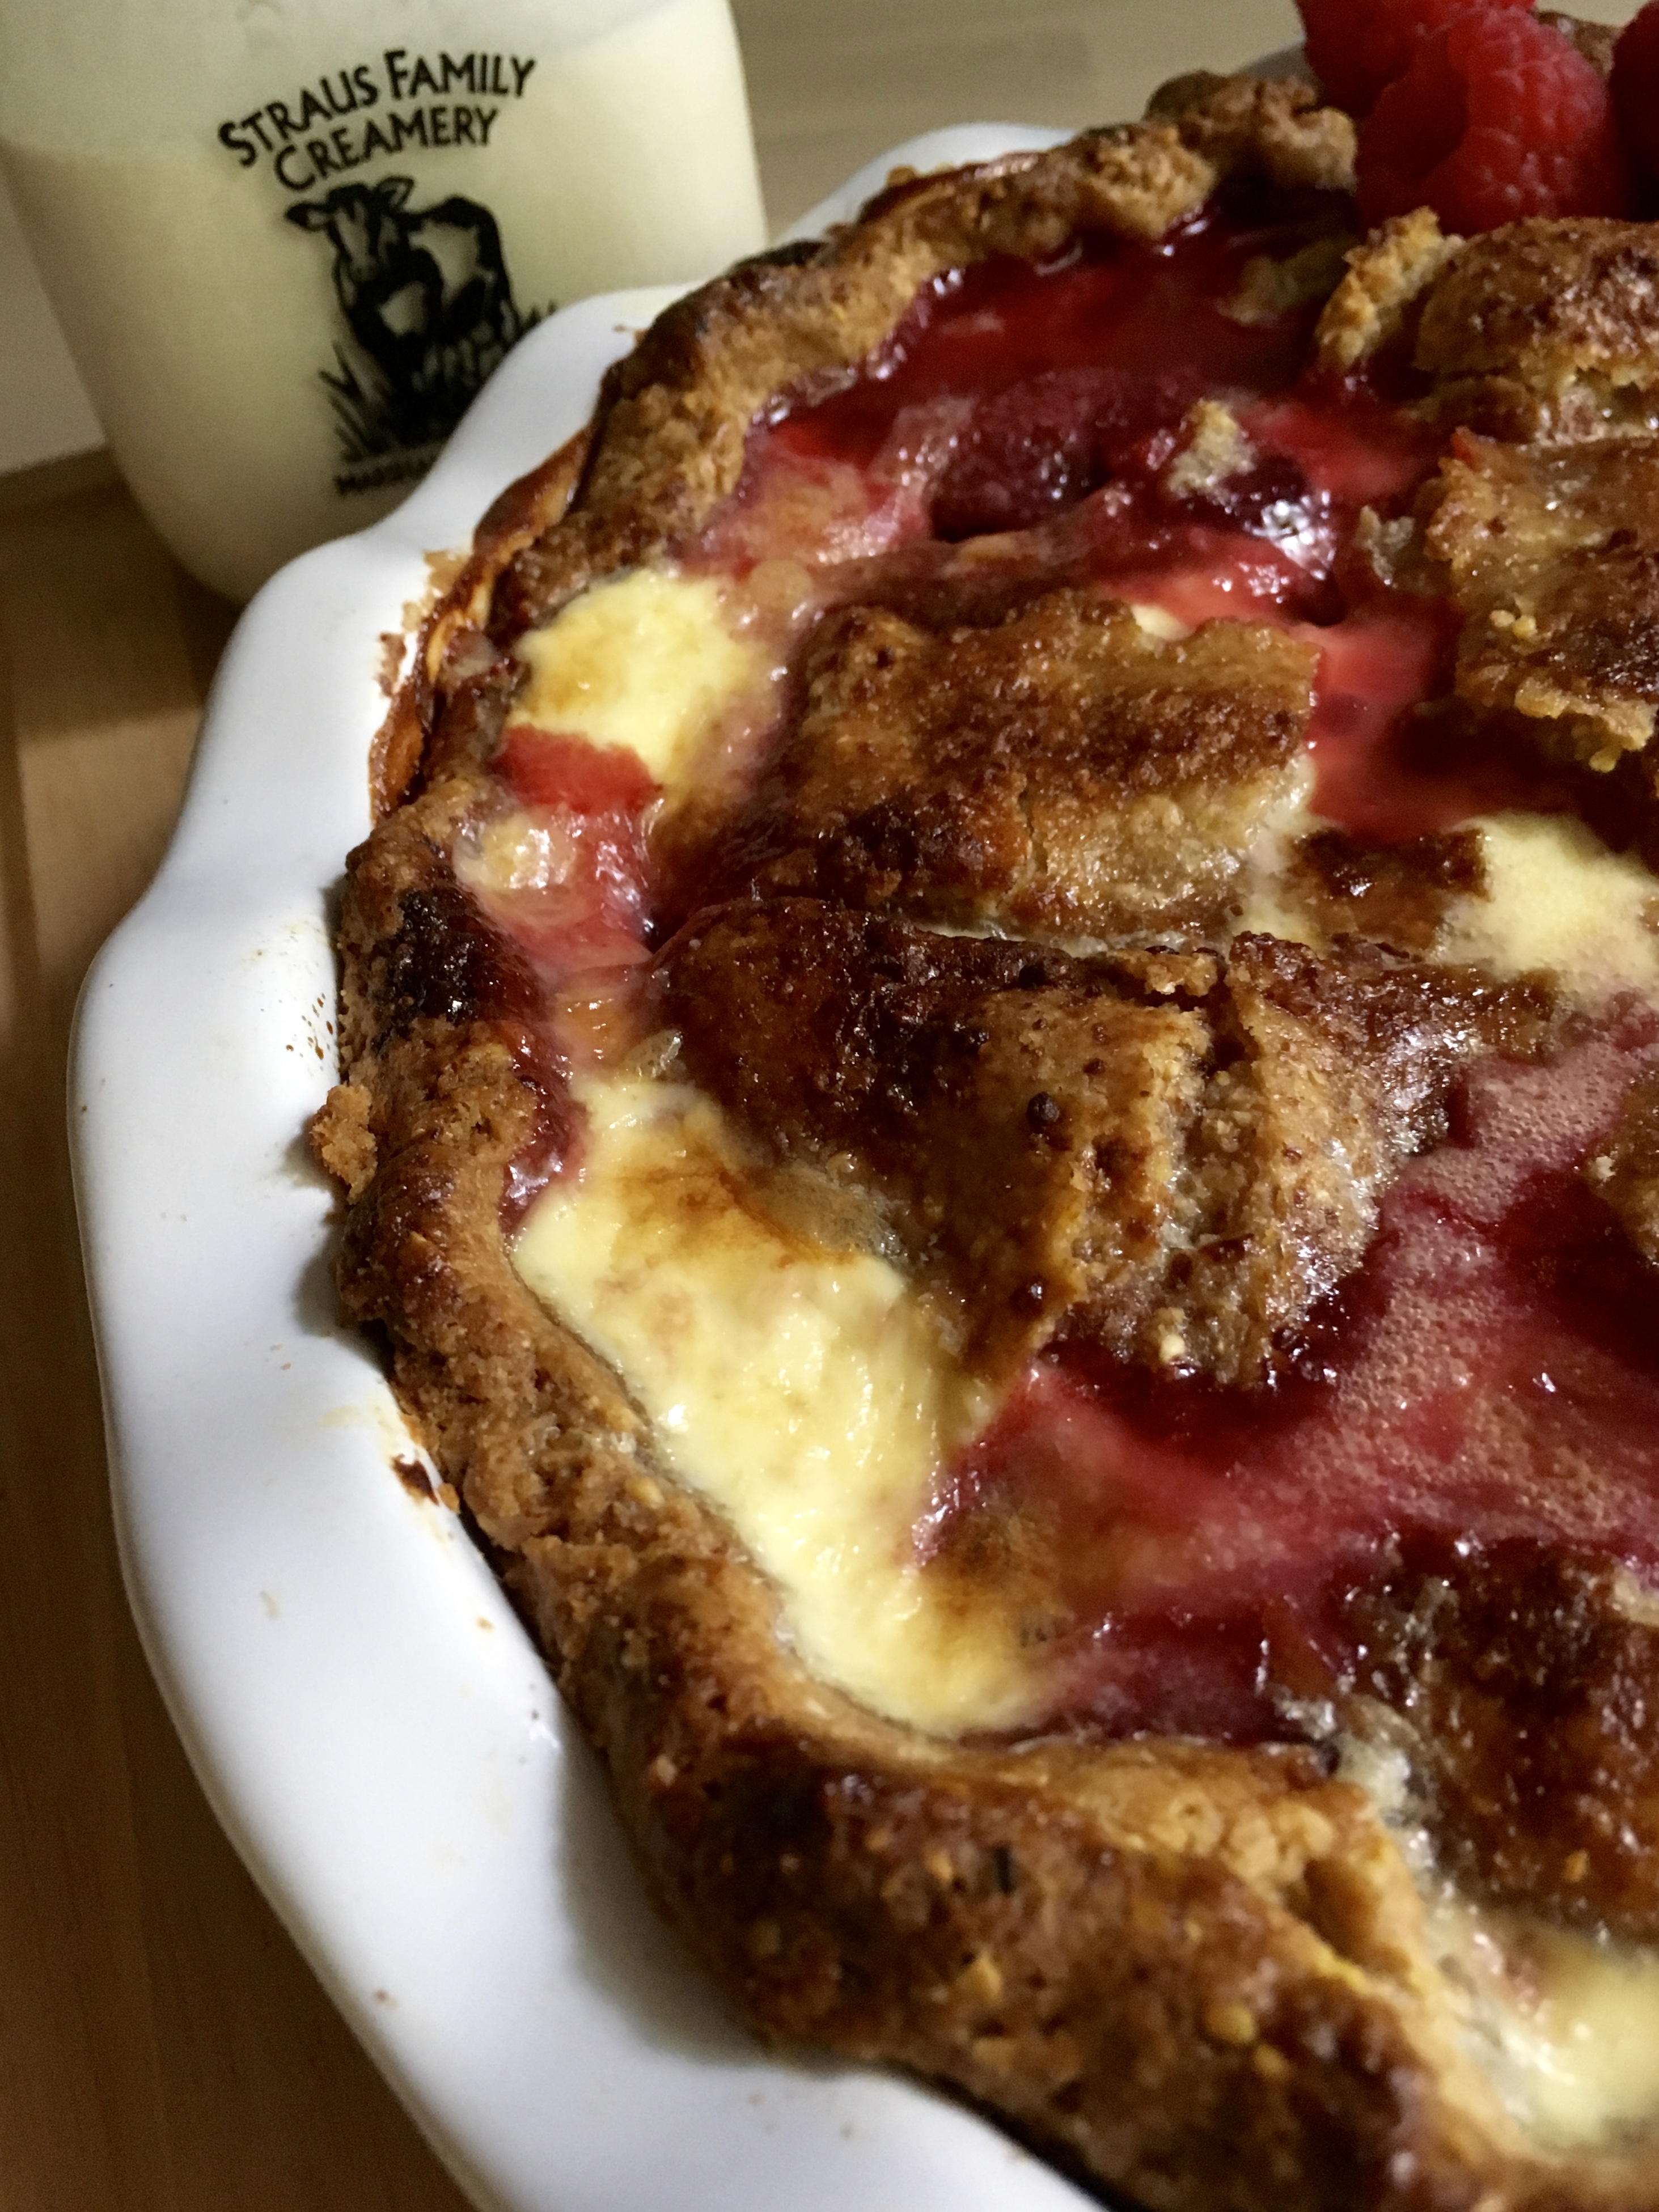
I love this for dessert with ice cream but it most definitely holds its own in a brunch/breakfast situation, and it’s perfect alongside coffee. The blood orange curd is of course optional but highly recommended (and not intimidating! don’t let it scare you off). Plus, blood orange season isn’t super long – I try to take advantage while I can. They are so beautiful!

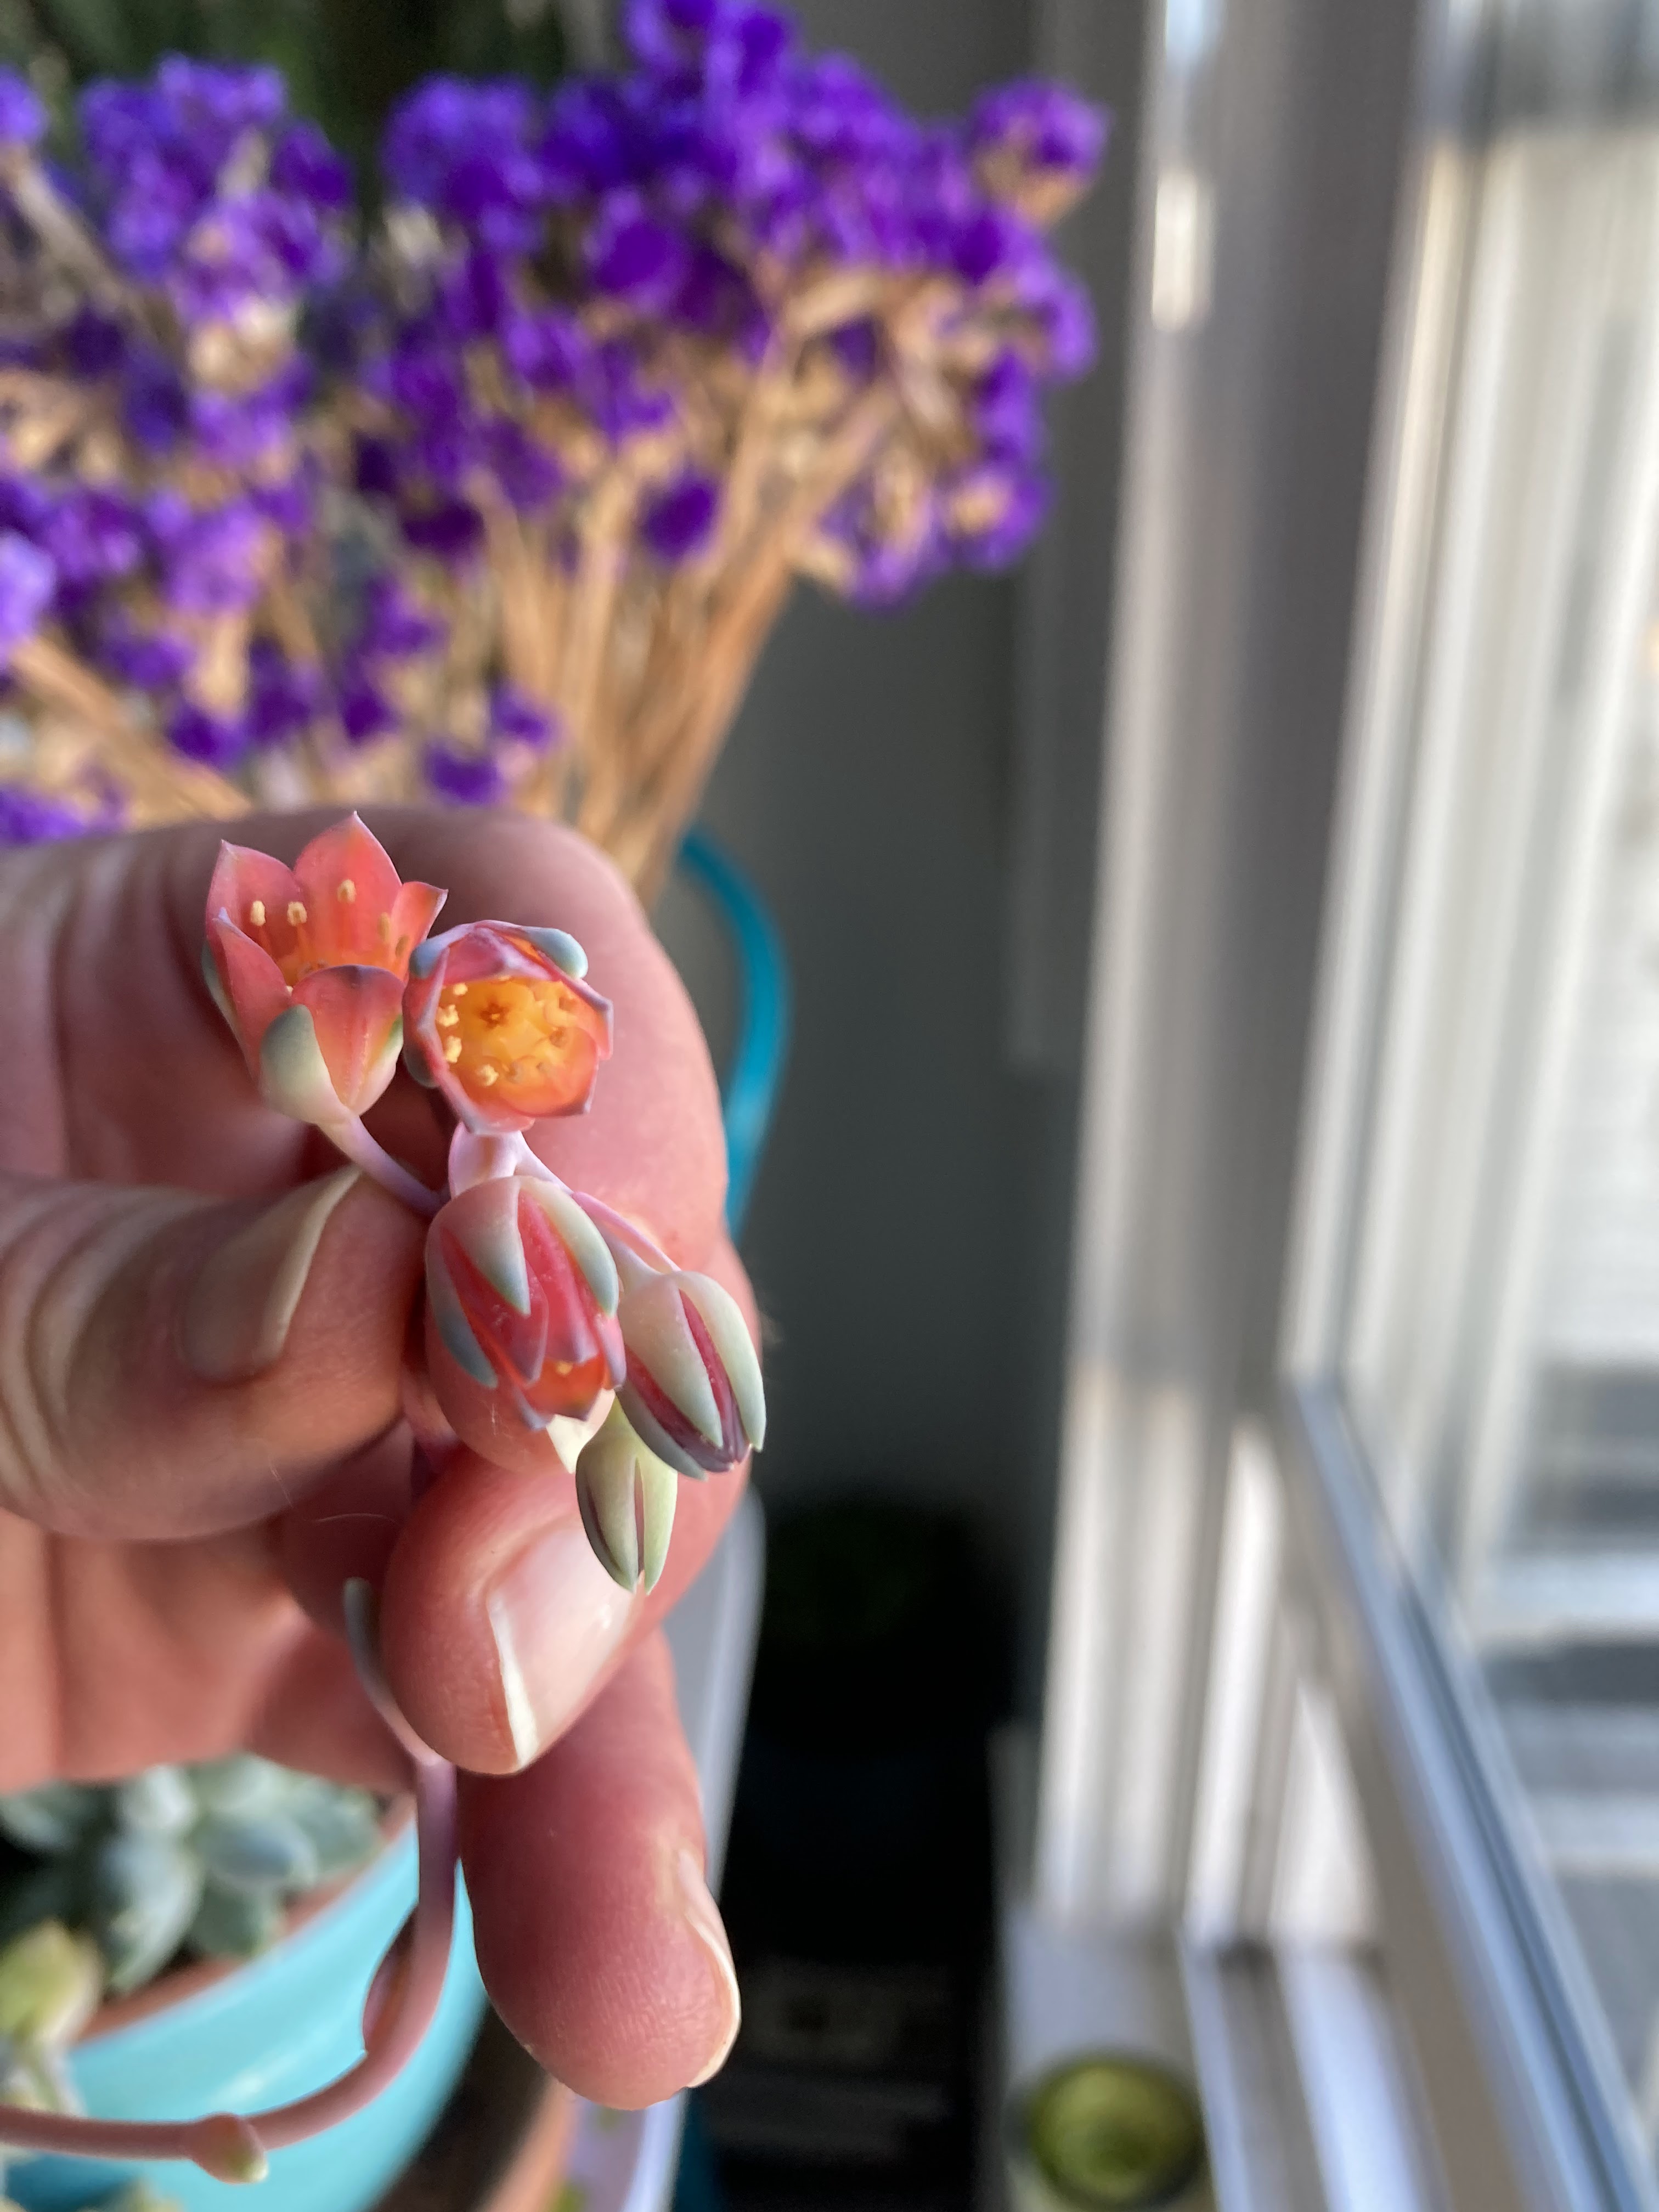
In other news, we’ve been having some beautiful sunrises and sunsets in the city of late – here’s a sunrise from earlier this week and a cactus happily doing its cactus thing.

I hope your weekend is full of good things! Maybe cake? I definitely recommend cake :)

Almond Poppy Seed Cake with Blood Orange Curd

Grain and gluten free, refined sugar free and dairy free. Kind of paleo, I guess? A riff on this almond cake I made years ago. Lightly sweet and perfectly moist, especially good for midwinter citrus season! The blood orange curd is gluten free and refined sugar free but made with butter; I think a dairy free butter would work here. Yield: one 6-9″ cake (depending on cake pan of choice), serves several.

2 c (packed) almond flour
1 teaspoon baking powder
½ teaspoon baking soda
½ teaspoon fine sea salt
1/4 c poppy seeds
4 eggs, beaten
1/3 c maple syrup
1/2 tsp almond extract
1 tsp vanilla extract
1/4 c coconut oil, melted
zest of 1 lemon
1 tbsp lemon juice
blood orange curd, for serving (recipe below)

Preheat the oven to 325. Grease an 8″ springform (or cake pan, or cast iron! I’ve used a deep 7″ cast iron to great effect here; I’ve also used a 6″ springform very successfully for a taller cake) with coconut oil and dust with a bit of almond flour. If I use a springform, I typically set it on a baking sheet lined with parchment to catch any drips.

In a large bowl, whisk together almond flour, baking powder, soda and salt, and poppy seeds. In a smaller bowl, whisk together beaten eggs (just beat these in the same bowl before adding everything else) maple, almond and vanilla extracts, and melted coconut oil. Whisk in lemon zest and juice. Stir wet ingredients into dry, until combined. Pour batter into your prepared pan, and bake for 35-40 minutes (9″ will probably be more like 35; my 6″ springform went for 40) – the top should be golden brown and firm to the touch. Remove from the oven and let cool on a rack! Ideally give it at least 10 minutes before releasing the springform; if you used a cake pan, I’d suggest letting it cool completely before removing. Serve warm, room temp or chilled (for a nicely solid cake; I love the texture of chilled coconut oil cakes) with a dollop of blood orange curd and a few citrus slices.

Keeps well overnight in the fridge.

Blood Orange Curd

3 whole eggs
2 egg yolks
1/2 c blood orange + meyer lemon juice (I used 4 small blood oranges + 1 lemon)
blood orange zest (I just zest as many as I will use for juice)
zest of 1 lemon
pinch of sea salt
2 tbsp maple syrup
4 tbsp butter, unsalted
1 tsp vanilla

I use a double boiler for this lemon curd, which I highly recommend! You don’t have to, but in my experience it makes for a better cooking process. Heat water in the bottom of the double boiler until it’s at a high simmer. In the top of the double boiler, whisk together eggs, egg yolks, citrus zest and juice, sea salt, and maple syrup. Add in the butter one tbsp at a time, whisking continuously, not adding the next tbsp until the first is completely melted. Whisk in vanilla. Cook, stirring constantly, until the curd thickens and will coat the back of a spoon (or your whisk leaves tracks) – usually around 5 to 8 minutes. It’s a noticeable change when it happens, so just watch the cooking magic! Remove from heat, and strain through a metal strainer to remove zest and any bits of cooked egg. Store in a glass container in the fridge until ready for use – can be made up to a week ahead.

Dessert for Socially Distant Times

img_0437

This post is brought to you by Social Distancing, plus Life in the Time of Covid19: the Cook Your Pantry Edition!

img_0430

I’m doing my part to stay sheltered in place and avoid unnecessary errands – which means I’m also getting a little creative with my baking situation. Not sure about where you live, but here in SF the stores are pretty cleaned out. I’m noticing now that the shelter in place has been in effect for a few weeks and the markets have been limiting the amount of shoppers in the store at one time, more products are appearing back on the shelves, but certain things (ha, toilet paper) are still totally cleaned out.

img_0432

I was able to stock back up today with the intent of not going back to the store again till I run out of fresh stuff, but in my mind somehow I had coconut milk in my pantry….. and WOMP I totally did not.

So!

Time to get creative. I’d already made the crust (way to plan ahead there & actually check the pantry first, whoops…) and I already knew a tart was going to happen. Luckily I almost always have whole milk because, coffee + milk frother = life. I also happen to have raw cacao butter in my pantry – I bought it with no clear purpose forever ago, and never got around to using more than a teeny bit. Behold! Saving my bacon in a time of shortages, quarantines and social distancing. 

img_0435

Unfortunately, that means this isn’t dairy free, but if you’re prepared with a nondairy alternative, you’re set! Full fat coconut milk is my fave for these. Though in the spirit of using what you have – experiment! I’m a big fan. Some of my best kitchen creations have been happy accidents and/or just a whim.

This uses blueberry powder that I picked up awhile back (yet another baking whim) – I’m glad I did, it’s a fun product to use. A little weird maybe in a liquid suspension like this panna cotta-hybrid, but I’m not sure I care! It’s still delicious, and a fantastically weird color. We could all use a little brightness in our days lately – might I suggest a fun colored baking project? Worked wonders over here for all parties involved.

img_0430

We ate this one as usual for dessert and for breakfast, since these tart shenanigans are so well suited for that. This one is a little different than a typical panna cotta – I was in experimentation mode so I wasn’t overly concerned with how it came out; it ended up as a tart-panna cotta hybrid. Way firmer in texture than a panna cotta would normally be, due to to the cacao butter (which solidifies when cold) but still that filling-to-crust ratio that my tarts typically have. A winner, in my book, despite being a product of the pantry and these strange times.

img_0441

Side note: I discovered last week that I can make matcha tea lattes in my milk frother and boy did it make my week.

img_0442

A few iphone snaps from my social-distancing-approved outdoor exercise outings: we’ve had some spectacular clouds lately, and I’ve been loving the rain!

img_0386

img_0349

img_0214

4128fa53-c78e-4ee8-8b94-415745a66f68

img_0192

img_0191

And also, my urban jungle is coming along nicely! 19 pots and counting (clearly not all plant friends are pictured)

60703894053__3cedeb9b-f253-4168-bdb4-787f7756c6ce

Be well, and safe!

img_0438

Blueberry & Cacao Butter Tart on a Cornmeal Lemon Crust

Gluten free and refined sugar free. A Wait are Those Cookies original. Yield: 1 9″ tart; serves several. Lightly sweet, lemony and fresh. Ideal for breakfast or dessert.

For the crust:

1.5 c almond flour
1/3c unsweetened shredded coconut
1/3c cornmeal
heaping 1/4 tsp sea salt
1/2 tsp baking soda
2 tsp vanilla extract
2 tbsp pure maple syrup
6 tbsp coconut oil, melted
zest of 1 lemon, finely chopped
juice of 1/2 lemon

In a large bowl, stir together almond flour, shredded coconut, cornmeal, sea salt, baking soda and lemon zest. Add in vanilla extract, maple, lemon juice, and melted coconut oil, and stir until completely combined. The dough will look crumbly, but you’ll be able to press it together with your fingers.

Preheat the oven to 350, and lightly grease a 9″ tart pan (w/ removable bottom) with coconut oil. Press the crust into the plate and up the sides with a spoon or your fingers, creating a smooth edge (or not, your call!). Poke the bottom with a fork a few times, and bake for 15 minutes. Remove and let cool for a few minutes.

For the filling:
1 package unflavored powdered gelatin
1.5 whole milk
a few chunks (?!) of cacao butter (~1/2 cup of solid cacao butter)
1 tbsp vanilla bean paste
Scant 1/4 cup maple
Scant 1/4 tsp sea salt
1/4 c blueberry powder
1/4 c lemon juice, cold

In a small bowl, sprinkle the gelatin over 1/4 cup of the cold lemon juice. Let stand without stirring until the gelatin is moistened, about 10 minutes.

Pour the whole milk into a small saucepan. Add cacao butter, maple, vanilla, salt, and blueberry powder. Bring to a simmer over medium heat, stirring consistently. Remove from heat and whisk in the gelatin mixture. Stir until completely dissolved, about 3 minutes. Cool until lukewarm. Pour the panna cotta mixture into the cooled tart shell. Place in the refrigerator until set, approximately 4 hours or preferably overnight.

Top with whatever pretty things your heart desires! Serve cold out of the fridge. Store any leftovers covered in the fridge as well.

img_0425

The Twenties have returned!

img_1855

Happy New Year, blog friends!

img_1861

I’m excited that the 20’s are back – can we also bring back the fashions, please? I’m all about the flapper style.

img_1862

Here’s hoping that 2020 will be a better year for everyone, no matter what kind of year you had last year. Sending love from my kitchen to yours! I bring you a light and bright tart, in hopes that light and bright follow you into 2020 and beyond. It’s such a nice round number for a year, and a fresh start for a new decade!

img_1864-1

In my fam, it’s tradition to take the tree down and get all the decorations put away before the new year, to have a fresh start. I did that yesterday, and also opened up all my windows and let the fresh (slightly chilly) air in and it felt AMAZING.

img_1858

My walk home from work was brisk and beautiful yesterday – this city has such great vistas.

img_1850

img_1851

On another note, my bookshelf plants (Kuzco and Kronk) are going ape, and I love it. Kuzco especially seems very happy in his sunny new home – my apartment is west-facing, and boy do my plants (and I) love it.

img_1869

I’m ready for 2020. Time for some new exciting things!

In the meantime, I finished out 2019 baking and eating tart, so what else is new. This one is very lightly sweet, to balance out all the eating of sweet things I’m sure we’ve all been doing for the last week. It’s even a little earthy with the rosemary happening in there. Besides all that, it’s gluten and dairy free (not to mention refined sugar free of course) because lord only knows I’ve been eating a ridiculous amount of cheese lately and I should probably eat at least SOMETHING that is dairy free. You know, so I can eat more cheese and balance it out. HA.

img_1860

Happy New Year! May there be peace, joy and light in your upcoming year, and beyond.

img_1855-2

Lemon Panna Cotta on a Rosemary Almond Crust

A Wait are those Cookies original! Gluten free, dairy free and refined sugar free. Yield: 1 9″ tart, serves several or enough for a small New Year’s party :) Only lightly sweet to balance out all the eating we’ve all done over the last week. Mildly tart filling plays nicely with the slightly earthy notes from the rosemary in the crust, which is present but not overbearing.

For the crust:

1.5 c almond flour
1/3c unsweetened shredded coconut
1/3c cornmeal
heaping 1/4 tsp sea salt
1/2 tsp baking soda
2 tsp vanilla extract
2 tbsp pure maple syrup
6 tbsp coconut oil, melted
1 heaping tbsp rosemary, very finely chopped

1/4 c chocolate, melted

In a large bowl, stir together almond flour, shredded coconut, cornmeal, sea salt, baking soda and chopped rosemary. Add in vanilla extract, maple, and melted coconut oil, and stir until completely combined. The dough will look crumbly, but you’ll be able to press it together with your fingers.

Preheat the oven to 350, and lightly grease a 9″ tart pan (w/ removable bottom) with coconut oil. Press the crust into the plate and up the sides with a spoon or your fingers, creating a smooth edge (or not, your call!). Poke the bottom with a fork a few times, and bake for 15 minutes. Remove and let cool for a few minutes.

With a pastry brush or a spoon, coat the bottom the crust with an even layer of melted chocolate. Refrigerate until chocolate sets, about 10 minutes.

Panna Cotta:
1 package unflavored powdered gelatin
1.75 cup full-fat coconut milk
1 tbsp vanilla bean paste
zest of 1 lemon
Scant 1/4 cup maple
Scant 1/4 tsp sea salt
1/4 c lemon juice, cold

In a small bowl, sprinkle the gelatin over 1/4 cup of the cold lemon juice. Let stand without stirring until the gelatin is moistened, about 10 minutes.

Pour the coconut milk into a small saucepan. Add lemon zest, maple, vanilla, and salt. Bring to a simmer over medium heat, stirring consistently. Remove from heat, strain to remove lemon zest pieces, and whisk in the gelatin mixture. Stir until completely dissolved, about 3 minutes. Cool until lukewarm. Pour the panna cotta mixture into the cooled tart shell. Place in the refrigerator until set, approximately 4 hours or preferably overnight.

Top with whatever pretty things your heart desires! Serve cold out of the fridge. Store any leftovers covered in the fridge as well.

img_1866

All the change, all at once. Why not?!

fullsizeoutput_25bc

Internet friends!

fullsizeoutput_25bf

Hello! It feels like it’s been forever. I started my new job last week – though I had two first days, one in Dallas for the marketing group and then one in SF at my actual office – and I signed the lease on an adorable little apartment today! I can’t wait to live in the same city in which I work, AND the apartment building is a 1920s original. The architecture nerd in me is doing the biggest happy dance. Not to mention that it has an incredible renovated kitchen and I can’t wait to bake in it!

fullsizeoutput_25c3

My walk to work is also substantially awesome:

fullsizeoutput_25ce

Minus the fact that I move the day before camp starts (somewhere, the universe is laughing at me), I am SO excited for all of these changes. I already love my new job!

Dallas was a great trip too – I got to see some incredible sunrise skies and the Thanks-Giving chapel’s amazing ceiling – photos were too good not to share!

fullsizeoutput_2591

fullsizeoutput_2592

IMG_0106

D7E77A1A-CC73-453A-9D4C-DCC43029F61C

C also has a birthday coming up! We celebrated early since he’ll be off on a cycling trip (wheee!) for his actual birthday but it’s me and of course I couldn’t let it go unmarked – had to provide baked goods! Obviously.

fullsizeoutput_25c4

I have to say, this cake makes an awesome breakfast. It’s kind of like cornbread? Only lightly sweet and super delicious. C and I are only mildly obsessed with fennel right now, so stay tuned for more fennel-y things, as soon as the utter insanity of my life calms down. There might be one or two things before I leave for camp, but no promises.

fullsizeoutput_25c9

fullsizeoutput_25c8

I actually made two cakes from one batch – one in an 8″ pan, and the leftover batter in a 5″. It’s a really adaptable cake; you can use an 8″ springform, a 9″ cake pan, 8″ cake pan + a smaller one (cupcake tins would probably work also)… you do you!

fullsizeoutput_25c6

Happy Monday! I hope the rest of your week goes swimmingly :)

fullsizeoutput_25ba

Apple & Fennel Ricotta Polenta Cake

Gluten free and refined sugar free! The fennel and apple balance each other perfectly for a lightly sweet dessert that has a dense crumb. I love it with ice cream, but it’s great on its own as well. Yield: 1 8″ or 9″ cake, serves several. A Wait are those Cookies original!

6 tbsp unsalted butter, at room temperature
1/3 c maple syrup, divided
zest of 2 meyer lemons
2 tsp vanilla extract
4 eggs, separated
1.25 c almond flour
3/4 c fine polenta
scant 1/2 tsp sea salt
1.25 cup whole milk ricotta cheese
1/2 granny smith apple, diced
1 bulb of fennel, grated
1/2 granny smith apple, thinly sliced, for garnish
1/3 cup slivered almonds, optional for garnish
a sprinkle of coconut sugar

Preheat the oven to 325, and either use an 8″ springform pan OR do like I did and use a 8″ cake pan, well greased and lined with two strips of parchment paper so that you can lift the cake out onto a cooling rack easily (the leftover batter went into a 5″ pan; two cakes for the price of one!)

Using a hand mixer (or a stand mixer) , beat butter, half the maple, lemon zest, and vanilla in a large bowl. Add in egg yolks and beat until combined, another minute-ish. In a smaller bowl, whisk together almond flour, polenta, and sea salt. Add the dry ingredients into the larger bowl, add ricotta, and stir to combine.

In a separate, non-reactive bowl, beat the egg whites until soft peaks form (preferably with your hand mixer or stand mixer so that your arm doesn’t fall off) – drizzle in the rest of the maple while mixing.

Fold the egg whites into the batter in two batches, then fold in chopped apples and grated fennel. Pour the batter into the cake pan, and top with sliced apples and almonds, if using. Sprinkle with a bit of coconut sugar. Bake for 45-50 minutes, until a tester inserted into the middle comes out clean (mine was done closer to 50 min). Let cool for at least 10 minutes, then lift out onto a cooling rack to cool completely, removing parchment from underneath if you used it. Let cool completely before serving; also delicious cold if you want to stick it in the fridge for an hour or two.

Excellent with a bit of vanilla ice cream (really, what isn’t) for dessert or eat it alongside eggs for breakfast. Keeps well for several days, covered in the fridge or stored in an airtight glass container.

fullsizeoutput_25cb

fullsizeoutput_25ca

Seismically unsound tamarind things

fullsizeoutput_24d5

Hi friends!

A new to me ingredient today (at least for baking; I’ve definitely eaten it many times) – tamarind! I learned some new cool things about it this week too, since of course I had to research it.

Behold: my seismically unsound dessert! Let’s get crackin.

fullsizeoutput_24c9

Tamarind is part of the legume family, making it a cousin to peanuts. It’s high in essential nutrients (potassium, magnesium, calcium, etc) and is anti-inflammatory & full of antioxidants! There are a ton of other health benefits, if you feel like looking them up. Pretty rad, for funny looking little fruit pods.

fullsizeoutput_24c8

This tart is delicious! Definitely for those who like their desserts on the sour/tart side – tamarind itself is very sour-sweet, and of course lemon with it makes it perfect for those who like that sort of thing… obviously, we both do! This barely made it to the leftover stage – I think there is one piece left, and I suspect it may be gone by midnight. It made for a great pre & post climbing snack, and was fabulous with vanilla ice cream for dessert with a board game.

fullsizeoutput_24de

Because tamarind looks much like molasses, you don’t get as pretty of a color as one would hope for a lemon tart – don’t be fooled if you see tarts that are bright yellow claiming to be lemon-tamarind – they lie! I thought for a minute I might have a nice pale yellow tart, until I opened my jar of tamarind & remembered – nope!

Tamarind makes things a nice custardy mellow dark tan/brown. Undeniably delicious, but also why I buried it under a pile of bright raspberries, hahaa. I will say though, raspberries + tamarind + lemon is a totally winning combination.

fullsizeoutput_24d7

Happy weekend! I hope you’re out enjoying some beautiful weather.

fullsizeoutput_24d6

Lemon, Tamarind & Ginger Tart

Bright & slightly sour, for those who like their desserts on the tart side! A Wait are those Cookies original. Yield: 1 9″ tart, serves several. Gluten free & refined sugar free. Can easily be dairy free – use coconut milk instead of cream! The crust can easily be grain free as well – just omit the cornmeal & add an equal amount of almond flour.

fullsizeoutput_24d4

For the crust:

1.75 c almond flour
1/3 c unsweetened shredded coconut
1/4 c cornmeal
1 tsp ground ginger
heaping 1/4 tsp sea salt
1/2 tsp baking soda
2 tsp vanilla extract
2 tbsp pure maple syrup
6 tbsp coconut oil, melted

In a large bowl, stir together almond flour, shredded coconut, cornmeal, ginger, sea salt, and baking soda. Add in vanilla, maple, and melted coconut oil, and stir until completely combined. The dough will look crumbly, but you’ll be able to press it together with your fingers.
Preheat the oven to 350, and lightly grease a 9″ tart pan (w/ removable bottom) with coconut oil. Press the crust into the plate and up the sides with a spoon or your fingers, creating a smooth edge (or not, your call!). Poke the bottom with a fork a few times, and bake for 15 minutes. Remove and let cool for a few minutes. Reduce oven temp to 325.

For the filling:

1/3 cup lemon juice
2 tbsp tamarind concentrate
1 scant tbsp vanilla
3 eggs
1/4 cup maple syrup
1 c heavy cream

Place lemon juice, tamarind, vanilla, eggs, sugar and cream in a bowl and whisk until combined. Stand for 5 minutes.

Add tamarind filling to the crust. Bake for about 30 minutes or until the filling has just set. Allow to cool to room temperature then refrigerate until cold.

Top with sliced lemons, raspberries, coconut, and whatever else takes your fancy. Keeps well in the fridge overnight; can be made a day ahead as well & stored in the fridge. Excellent with vanilla ice cream!

fullsizeoutput_24dd

Yes it’s green, you’re not imagining it!

fullsizeoutput_23b4

Happy Saturday!

fullsizeoutput_23b6

I’ve had a great weekend already, and it’s only Saturday night – two G&S shows, quality time with fave human & great friends, and lots of sleep… no complaints.

fullsizeoutput_23b5

Also, there was tart! (it has since been demolished)

fullsizeoutput_23b7

No, your eyes are not deceiving you…. the crust is in fact green! There is matcha sneaking around in there – not a ton, just enough to bring an earthy balance to the tart lemon curd. I LOVE meyer lemon season – arguably, they are one of my favorite citrus (though I quite possibly say that about ALL citrus…), and I also love matcha. I was initially unsure about the combination of matcha and lemon, but it turned out to be a happy experiment that worked out quite nicely.

fullsizeoutput_23b1

As usual – great dessert, equally great breakfast. Here is a photo essay of the tart getting slowly eaten over the course of making breakfast, before we actually sat down (in our defense, we both woke up hungry! ha)

fullsizeoutput_23bc

fullsizeoutput_23c1

fullsizeoutput_23c3

Gluten free & refined sugar free – in fact, this has very little maple in it, even as far as my desserts go – only one tbsp in the curd and two in the crust! That’s a big win in my book.

fullsizeoutput_23b8

Happy weekend!

fullsizeoutput_23ad

fullsizeoutput_2396

Meyer Lemon Tart with a Matcha Crust

Tangy, tart and delicious. Perfect spring dessert that is light and fresh – meyer lemons really shine here, if you can find them. The lemon curd can be made several days in advance and refrigerated, if you need to split up the baking time. Gluten free and refined sugar free. A Wait are Those Cookies original. Yield: 1 9″ tart, serves several.

For the crust:

1.5 c almond flour
1/4 c unsweetened shredded coconut
1/2 c cornmeal
heaping 1/4 tsp sea salt
1/2 tsp baking soda
1 tbsp matcha
2 tsp vanilla extract
2 tbsp pure maple syrup
6 tbsp coconut oil, melted

In a large bowl, stir together almond flour, shredded coconut, cornmeal, sea salt, baking soda, and matcha. Add in vanilla, maple, and melted coconut oil, and stir until completely combined. The dough will look crumbly, but you’ll be able to press it together with your fingers.
Preheat the oven to 350, and lightly grease a 9″ tart pan (w/ removable bottom) with coconut oil. Press the crust into the plate and up the sides with a spoon or your fingers, creating a smooth edge (or not, your call!). Poke the bottom with a fork a few times, and bake for 15 minutes. Remove and let cool for a few minutes. Increase oven temp to 375.

Maple Lemon Curd*:

2 whole eggs
3 egg yolks
1/3 c lemon juice
zest of 4 lemons
pinch of sea salt
2 tbsp maple syrup
4 tbsp butter
1 tsp vanilla

*I made a batch and a half for a higher curd to crust ratio – feel free to do like I did. If you do, use 3 whole eggs & 4 yolks + another half of all other ingredients listed except maple (I like my curd to be tart!)

I used a double boiler for this lemon curd, which is a game changer. Highly recommended! Heat water in the bottom of the double boiler until it’s at a high simmer. In the top of the double boiler, whisk together eggs, egg yolks, lemon zest and juice, sea salt, and maple syrup. Add in the butter one tbsp at a time, whisking continuously, not adding the next tbsp until the first is completely melted. Whisk in vanilla. Cook, stirring constantly, until the lemon curd thickens and will coat the back of a spoon (or your whisk leaves tracks) – usually around 5 to 8 minutes. It’s a noticeable change when it happens, so just watch the cooking magic! Remove from heat, strain through a fine mesh strainer, and store in a glass container in the fridge until ready for use.

Pour the curd into the crust and smooth the top. Bake at 375 for 8-12 minutes, until the curd is barely set. Cool completely before slicing and serving – store in the fridge until serving and keep leftovers covered in the fridge.

fullsizeoutput_23b2

fullsizeoutput_23b9

Life is just peachy

fullsizeoutput_19f4

Hello friends!

IMG_0062

It’s been a few weeks; life has been busy with little time for baking, ugh! Thankfully, I caught a break and a chance to bake this…

fullsizeoutput_19fe

I love making tarts; they’re so effortlessly pretty! This one is almost a quiche – C and I were laughing about that over brunch (of eggs, kale and tart, obviously). I mean, it’s eggs and cheese in a crust, couldn’t we arguably call that a quiche?! Ha. Never mind that it’s studded with chunks of dark chocolate… no matter. Dark chocolate has antioxidants, which are definitely part of a healthy breakfast.

fullsizeoutput_1a02

fullsizeoutput_19ff

We both LOVED this one – lightly sweet, sturdy wedges that you can pick up and fly around like a Star Destroyer (what?? I’m a nerd) and which make a great breakfast.

fullsizeoutput_19f2

I believe the ricotta tart idea might be Tuscan in origin, which makes quite a bit of sense… no matter its provenance, it’s delicious! I fed some leftovers to the fam and they loved it too, so rave reviews all around.

fullsizeoutput_1a05

Not only that, but it comes together in no time! Which is doubly excellent when your life has gotten inexplicably crazy busy and the only time to bake is early in the morning. Added bonus of early morning baking is that my apartment is still cool, so running the oven doesn’t seem like quite such an offense.

fullsizeoutput_1a04

Happy August! Stone fruit season is in full swing, I highly recommend a market trip with a dessert in mind :)

fullsizeoutput_19fb

fullsizeoutput_19fc

Ricotta Peach Tart on an Almond Coconut Crust

Gluten free, grain free, and refined sugar free. Delicious all around! Very lightly sweet, perfect for breakfast (and also dessert, of course, but I really love it for breakfast & snacks!). Yield: 1 9″ tart. A Wait are Those Cookies Original

For the crust:

1.5 c almond flour
1/2 c unsweetened shredded coconut
heaping 1/4 tsp sea salt
1/2 tsp baking soda
2 tsp vanilla extract
1.5 tbsp pure maple syrup
6 tbsp coconut oil, melted

In a large bowl, stir together almond flour, shredded coconut,, sea salt, and baking soda. Add in vanilla, maple, and melted coconut oil, and stir until completely combined. The dough will look crumbly, but you’ll be able to press it together with your fingers.
Preheat the oven to 350, and lightly grease your tart pan or pie dish of choice with coconut oil. Press the crust into the plate and up the sides with a spoon or your fingers, creating a smooth edge (or not, your call!). Poke the bottom with a fork a few times, and bake for 10 minutes. Remove and let cool for a few minutes.

For the ricotta filling:

1 2/3 cups whole milk ricotta cheese
Scant 1/4 cup maple
2 tsp vanilla
3 large eggs
4 oz dark chocolate, roughly chopped
zest of 2 lemons
2 peaches, peeled, pitted and cut into thin slices

Preheat oven to 400°F

Make the filling:

Combine the ricotta with the eggs and maple. Add the zest and chocolate. Pour the filling into the slightly cooled tart shell. Top with sliced peaches. Bake for about 50-55 minutes or until the ricotta filling is set; the top will be firm and golden brown.

Allow the tart to cool in the pan, then remove the ring and cool completely before refrigerating. Serve cool or at room temperature; store leftovers covered in the fridge.

fullsizeoutput_19f0

fullsizeoutput_19f3

Holiday weekends require dessert!

IMG_3372

Happy Memorial Day weekend!

fullsizeoutput_175e

This dessert could not be more well timed – of course, holiday weekends call for dessert but more obviously – I inadvertently made a patriotic dessert on Memorial weekend! I love when things like that happen.

fullsizeoutput_1741

Mostly I got lucky – blueberries and strawberries are amazing (and on sale! woohoo!!) right now, so of course I have those sitting in my fridge in spades. I always feel that tarts like this need some embellishment, and BOOM! Helloooo, berries.

fullsizeoutput_175f

This is light and fresh – just what you want for a summer dessert.

fullsizeoutput_1760

We ate it with softly whipped cream for dessert (I haven’t had whipped cream in far too long, I’m glad we fixed that particular travesty) and then again – of course – for our brunch/lunch thing around 1p. Is that lunch? Or could it be brunch since we didn’t eat anything except a bit of chocolate and a banana after sleeping in, before hiking?? Hmm. I think it can still be brunch. Anyway… it tasted especially good the second time around; we’d just finished a great hike up to Twin Peaks – somewhere in the neighborhood of 6 miles and over 1000′ elevation gain in less than two hours. Booyaaah! No wonder we were hungry.

fullsizeoutput_1765

Hike stats! I am a nerd and as such I find these things fascinating. And pictures, of course.

IMG_3371

IMG_3368IMG_3370fullsizeoutput_1766fullsizeoutput_1783

The weather was beautiful, with a really nice breeze off the fog (since my body is still having major issues these days, especially with regulating its temperature, cool breezes are a MUST).

fullsizeoutput_1757

We both loved this tart – it’s delicious on its own, or with whipped cream. Highly recommended – we blew through this thing in two sittings (well, the hike definitely helped the second go-round, ha!) and I think there are about two servings left… although that could have changed since I last assessed the situation.

fullsizeoutput_173f

Happy holiday weekend! Enjoy the extra day and do some baking :)

fullsizeoutput_1761

Lemon Ricotta Berry Tart on a Walnut Coconut Crust

Light, lemony and a perfect for a summer dessert: the lemon ricotta filling is tart and creamy, balanced nicely by the walnut-oat-coconut crust. Fresh berries are a must! Gluten free, refined sugar free and whole grain. For those who like their desserts a little on the tart side ;) Yield: 1 9″ tart, serves… several, or else two really hungry people who just took a long hike! A Wait are those Cookies original.

fullsizeoutput_175b

For the crust:

1 c rolled oats
1 c walnuts
1/4 c shredded unsweetened coconut
1/2 c almond flour
1 tbsp maple syrup
1/4 tsp fine sea salt
6 tbsp unsalted butter or ghee, melted
1 tsp vanilla

Preheat the oven to 350.

Add oats into a food processor and pulse until finely ground (you’re making oat flour). Dump that out into a bowl, and add the walnuts into the processor – pulse these until very finely ground, but be careful you don’t end up with walnut butter! Add walnuts to the bowl, followed by the coconut, almond flour, maple, sea salt, melted butter and vanilla. Stir until everything is incorporated, then press the dough into the bottom and up the sides of a 9″ pie or tart pan with a removable bottom. Bake for 10 minutes, then set aside to cool.

For the filling:

1.25 c (9 oz) full fat ricotta
1/2 c heavy cream
scant 1/4 c maple syrup
2 egg yolks
1 egg
zest of 3 lemons
1 tsp vanilla extract
1 tbsp lemon juice

This is as easy as it gets: toss ricotta into a large bowl, and stir in the rest of the ingredients: cream, maple, egg yolks + egg, lemon zest, and vanilla. Mixing well to prevent any lumps (heaven forbid).

Tart Assembly:
Pour the ricotta filling into the baked and cooled tart shell. Place in the oven at 350 and bake for 35-45 minutes – the center of the tart should be set when done. Let cool completely before serving. Slide the tart pan ring off before serving if you used a pan with a removable bottom like I did.

Top with berries and shredded coconut if desired! Serve with softly whipped cream – I highly recommend it. Keep refrigerated until serving. Keeps well overnight in the fridge, covered loosely in plastic wrap – arguably it’s almost better the next day, of course for breakfast!

fullsizeoutput_174b


Let’s get seasonal!

fullsizeoutput_108e

Tis the season! As always, it feels like it’s sneaking up on me.

fullsizeoutput_108f

But I do love the excuse to get very seasonal with my baking – the colors of winter fruit are so pretty!

fullsizeoutput_1071

Pomegranate arils always look like piles of rubies to me – the light shines through them so beautifully, like it does through stained glass windows.

fullsizeoutput_1073

This cake is the best excuse of cake for breakfast I’ve made recently – lightly sweet, lemony and delicious. It’s gluten free and refined sugar free, too!

fullsizeoutput_1069

Incidentally, it’s also high in protein from the almond flour and the ricotta – added bonus, if that’s your thing. We enjoyed it two ways: it’s perfect for dessert with a bit of vanilla ice cream, and excellent for breakfast alongside eggs & kale (see exhibit a).

fullsizeoutput_1092

fullsizeoutput_106c

This cake also includes beaten egg whites – this is one of my favorite examples of baking alchemy: I love watching the egg whites go from straight liquid to soft, foamy whirls. I never get tired of it!

fullsizeoutput_1067

fullsizeoutput_105e

On that note, I’ll keep it short and sweet today. I do hope you’re enjoying the holiday season with loved ones! Might I suggest feeding them cake? Everyone wins!

fullsizeoutput_1094

fullsizeoutput_1078

Lemon Ricotta Cake with Pomegranate Arils

Lightly sweet, perfectly lemony-almondy – dense but not overwhelming. Gluten free and refined sugar free. Not dairy free, but I’m thinking that either non-dairy butter or coconut oil would work for a sub, and I know they make non-dairy ricotta from almond milk. So! We have options. This version does away with the glutens but obviously contains dairy. Serve wedges with a bit of ice cream for dessert, or alongside breakfast. Yield: 1 8″ or 9″ cake, depending on the pan you use (see recipe). Recipe adapted from Foolproof Living, here.

fullsizeoutput_107b

Let’s make cake!

7 tbsp unsalted butter, at room temperature
1/3 c maple syrup, divided
zest of 4 lemons
1.5 tsp vanilla extract
4 eggs, separated
1.25 c (5 oz) almond flour
1 c (4 1/2 ounces) fine polenta
scant 1/2 tsp sea salt
1 cup whole milk ricotta cheese
1/3 cup slivered almonds, optional for garnish
pomegranate arils – I used one full pomegranate

Preheat the oven to 325, and either use an 8″ springform pan OR do like I did and use a 9″ cake pan, well greased and lined with parchment paper so that you can lift the cake out onto a cooling rack easily (see photo for reference).

fullsizeoutput_1055

Using a hand mixer (or a stand mixer) , beat butter, half the maple, lemon zest, and vanilla in a large bowl. Add in egg yolks and beat until combined, another minute-ish. In a smaller bowl, whisk together almond flour, polenta, and sea salt. Add the dry ingredients into the larger bowl, add ricotta, and stir to combine.

In a separate, non-reactive bowl, beat the egg whites until soft peaks form (preferably with your hand mixer or stand mixer so that your arm doesn’t fall off) – drizzle in the rest of the maple while mixing.

Fold the egg whites into the batter in two batches. Pour the batter into the cake pan, and top with almonds, if using. Bake for 40-45 minutes, until a tester inserted into the middle comes out clean. Let cool for at least 10 minutes, then lift out onto a cooling rack to cool completely, removing parchment from underneath if you used it. Let cool completely before serving; also delicious cold if you want to stick it in the fridge for an hour or two.

Garnish with pomegranate arils before serving! Excellent with a bit of vanilla ice cream (really, what isn’t) for dessert or eat it alongside eggs for breakfast. Keeps well for several days, covered in the fridge or stored in an airtight glass container.

fullsizeoutput_107a

Swampy Pandowdy. Need I say more?!

IMG_1014

Can I just say that I’ve recently discovered swamp pie, and I will never be the same again.

IMG_0972

IMG_0992

Sometimes, the messiest food is by far the best food, and the less-aesthetic desserts are actually the tastiest. And sometimes, they have ridiculous names and it just gets better and better!

Ugly and strange sounding, but delicious. I promise. Would I lead you wrong in the dessert department? I think not.

IMG_0983

Let’s talk verbiage for a minute…

Swamp.

IMG_0997

Best word ever. And also, hilarious (and slightly unappealing I suppose, if you’re normal… unlike me) connotations when we’re talking about food. Side note, I was Bride of Swamp Thing for Halloween one year, and I think it might be one of my more inspired costumes to date.

IMG_0999

Typically, it’s pies that are swamped (i.e. have cream poured into them so not only are you getting pie, but you’re also getting this delicious mash up of cream and custard and pie and all the goodness, all at once), but since I’d never made a pandowdy, I decided to swamp that instead.

IMG_0996

Swampy pandowdy.

What a great combination of words!!! Swampy pandowdy. Which sounds potentially unappealing but I promise it isn’t.

Pandowdies are basically pie’s less fussy cousin. Or maybe they could be considered pie’s artsy, bohemian cousin who comes to visit once a year, bakes, does art things and wears colorful, ridiculous jewelry and lots of scarves and… omg that’s me! I’ve apparently found my spirit food. Or food totem? As in, if I was a food, I’d be a pandowdy. Low maintenance, boho weirdo… that sounds about right. Actually, I’d probably be a swampy pandowdy because that’s even weirder and more awesome. But, y’all like me for my weirdness, right?! So it’s fine. I’m at peace with having my spirit food be a swampy pandowdy.

IMG_0989

Though the origin of the word is technically unknown, I’ve read the theory is that pandowdies apparently get their name from “dowdy-ing” its looks by mucking up the crust. I just enjoy playing with my food, so you’re not going to hear any complaints from this corner.

IMG_0976

AND THEN not only that, but you get to pour a bunch of cream in there, which is an experiment in and of itself if/when you realize you don’t actually own a funnel, and careful pouring is going to have to do.

IMG_0974

It’s fun! It’s delicious and makes great dessert and breakfast (especially breakfast). And there are great words involved…

Happy pandowdy-ing!

IMG_0987

Cherry, Peach and Raspberry Swampy Pandowdy

Refined sugar free, lightly sweet, whole grain, and perfect for the late summer stone fruit season! I’m all over the stone fruit lately… Pandowdies are like pies, only way less fussy and much more messy and fun. They’re kind of like pie’s artistic, bohemian cousin (that’ll be me, later in life… oh wait. It probably already is) – only a top crust, and you get to mess it up and play with your food! Besides that, I love love love cream, so what better excuse to eat some than to flood your pie? Swamp pies are a thing. Also, I love the name. Pandowdy crust lightly adapted from Food52, here and the swamp business is adapted also from Food52, here! I didn’t do much to the crust, the recipe was pretty much perfect as is. Yield: 1 9″ pandowdy, serves… several. 2 if you eat it for breakfast too ;)

IMG_0977

For the crust:

  • 1.25 c whole wheat pastry flour
  • 1/4 c cornmeal
  • 1 tsp sea salt
  • zest of 1 meyer lemon
  • 9 tbsp unsalted butter, cubed into small pieces
  • 3-5 tbsp ice water

Add whole wheat flour, cornmeal, sea salt, and lemon zest to a large bowl and stir to combine. Add in butter, toss to coat, and use your fingers or a pastry cutter to cut in the butter until a coarse mixture forms and the butter chunks are the size of peas (I prefer to use my fingers for this since I a) like the feeling of having my hands in flour and b) have greater control over butter-chunk sizing). Add ice water 1 tbsp at a time until the dough just begins to hold together when pinched between two fingers. It’ll look a little crumbly, but that’s fine.

Toss the dough out onto a clean counter or wax paper (I prefer the counter method; less fuss), and use a bench scraper to gather the dough into a rough rectangle. Using the heel of your hand, smear the last fourth of dough away from you, against the counter. Repeat until you smear all the dough (see? playing with your food!), then gather the dough back into a rectangle and repeat, smearing it all away from you. The dough should be cohesive by this point, so gather it up into a disc, wrap in plastic, and stick it in the fridge for at least an hour, or up to overnight.

For the filling:

  • 3 c cherries (mine were Bing cherries; I think Ranier would be awesome here too)
  • 2 c peaches, sliced
  • 1.5 c raspberries*
  • 1 tsp vanilla extract
  • 1 tbsp arrowroot starch
  • 1 tbsp meyer lemon juice
  • scant 1/4 c maple syrup
  • egg white & 1 tbsp coconut sugar for glaze
  • 1 egg yolk
  • 3/4 c heavy cream

*I used some that had been frozen; if you do as well, bake them straight from frozen instead of letting them thaw beforehand

In a large bowl, combine the cherries, peaches and raspberries. Add vanilla, arrowroot, lemon juice, and maple, and toss to combine. Pour all this goodness into your pie plate or skillet of choice – 9″ pie plates are fine as long as they’re the deeper variety; a 10″ cast iron skillet would also work well.

Preheat the oven to 400. Once the dough has chilled, roll it out to be roughly circular (no need to be perfect here, like I said – pandowdies are pie’s unfussy cousin), and lift the dough onto the fruit. Tuck in the edges, leaving a rim of dough between the edge of the pie dish and the fruit – I crimped mine because I’m an overachiever and I also had extra dough, but no need to do that. Make a few slits for steam to vent, brush the top with egg white and dust with coconut sugar. Pop the whole beautiful thing into the oven for 40 minutes; best if you line the rack beneath with foil or a large baking sheet – the juices runneth over! In a liquid measuring cup with a spout, measure the cream and let it sit at room temp.

Once you hit the 40 minute mark, take the pandowdy out, and use a sharp knife to break up the crust, thus ‘dowdy-ing’ its looks (now begins the really fun part). Carefully pour the cream into the new breaks in the crust, filling each – some of the cream will pool under the crust, and some will sneak out on top, which is fine. Just be careful not to drown the whole crust! Go slow, and fill each vent/break. Stick the pandowdy back in the oven, and bake for another 10 minutes, until the cream is just set and barely jiggles in the center. Let cool completely before serving; it will be gloriously juicy and delicious so might I suggest serving it in bowls? Ice cream is… optional, sort of, if you’re out of cream; otherwise, this can be served even swampier with extra cream poured over the top. You do you!

Store any leftovers (who are you) covered in the fridge, but make sure to save some for breakfast. You’ll thank me later!

IMG_0999