Fancy-sounding french pastries for casual weekends

Woah woah look at me go! Another post in less than a month! On a ROLL.

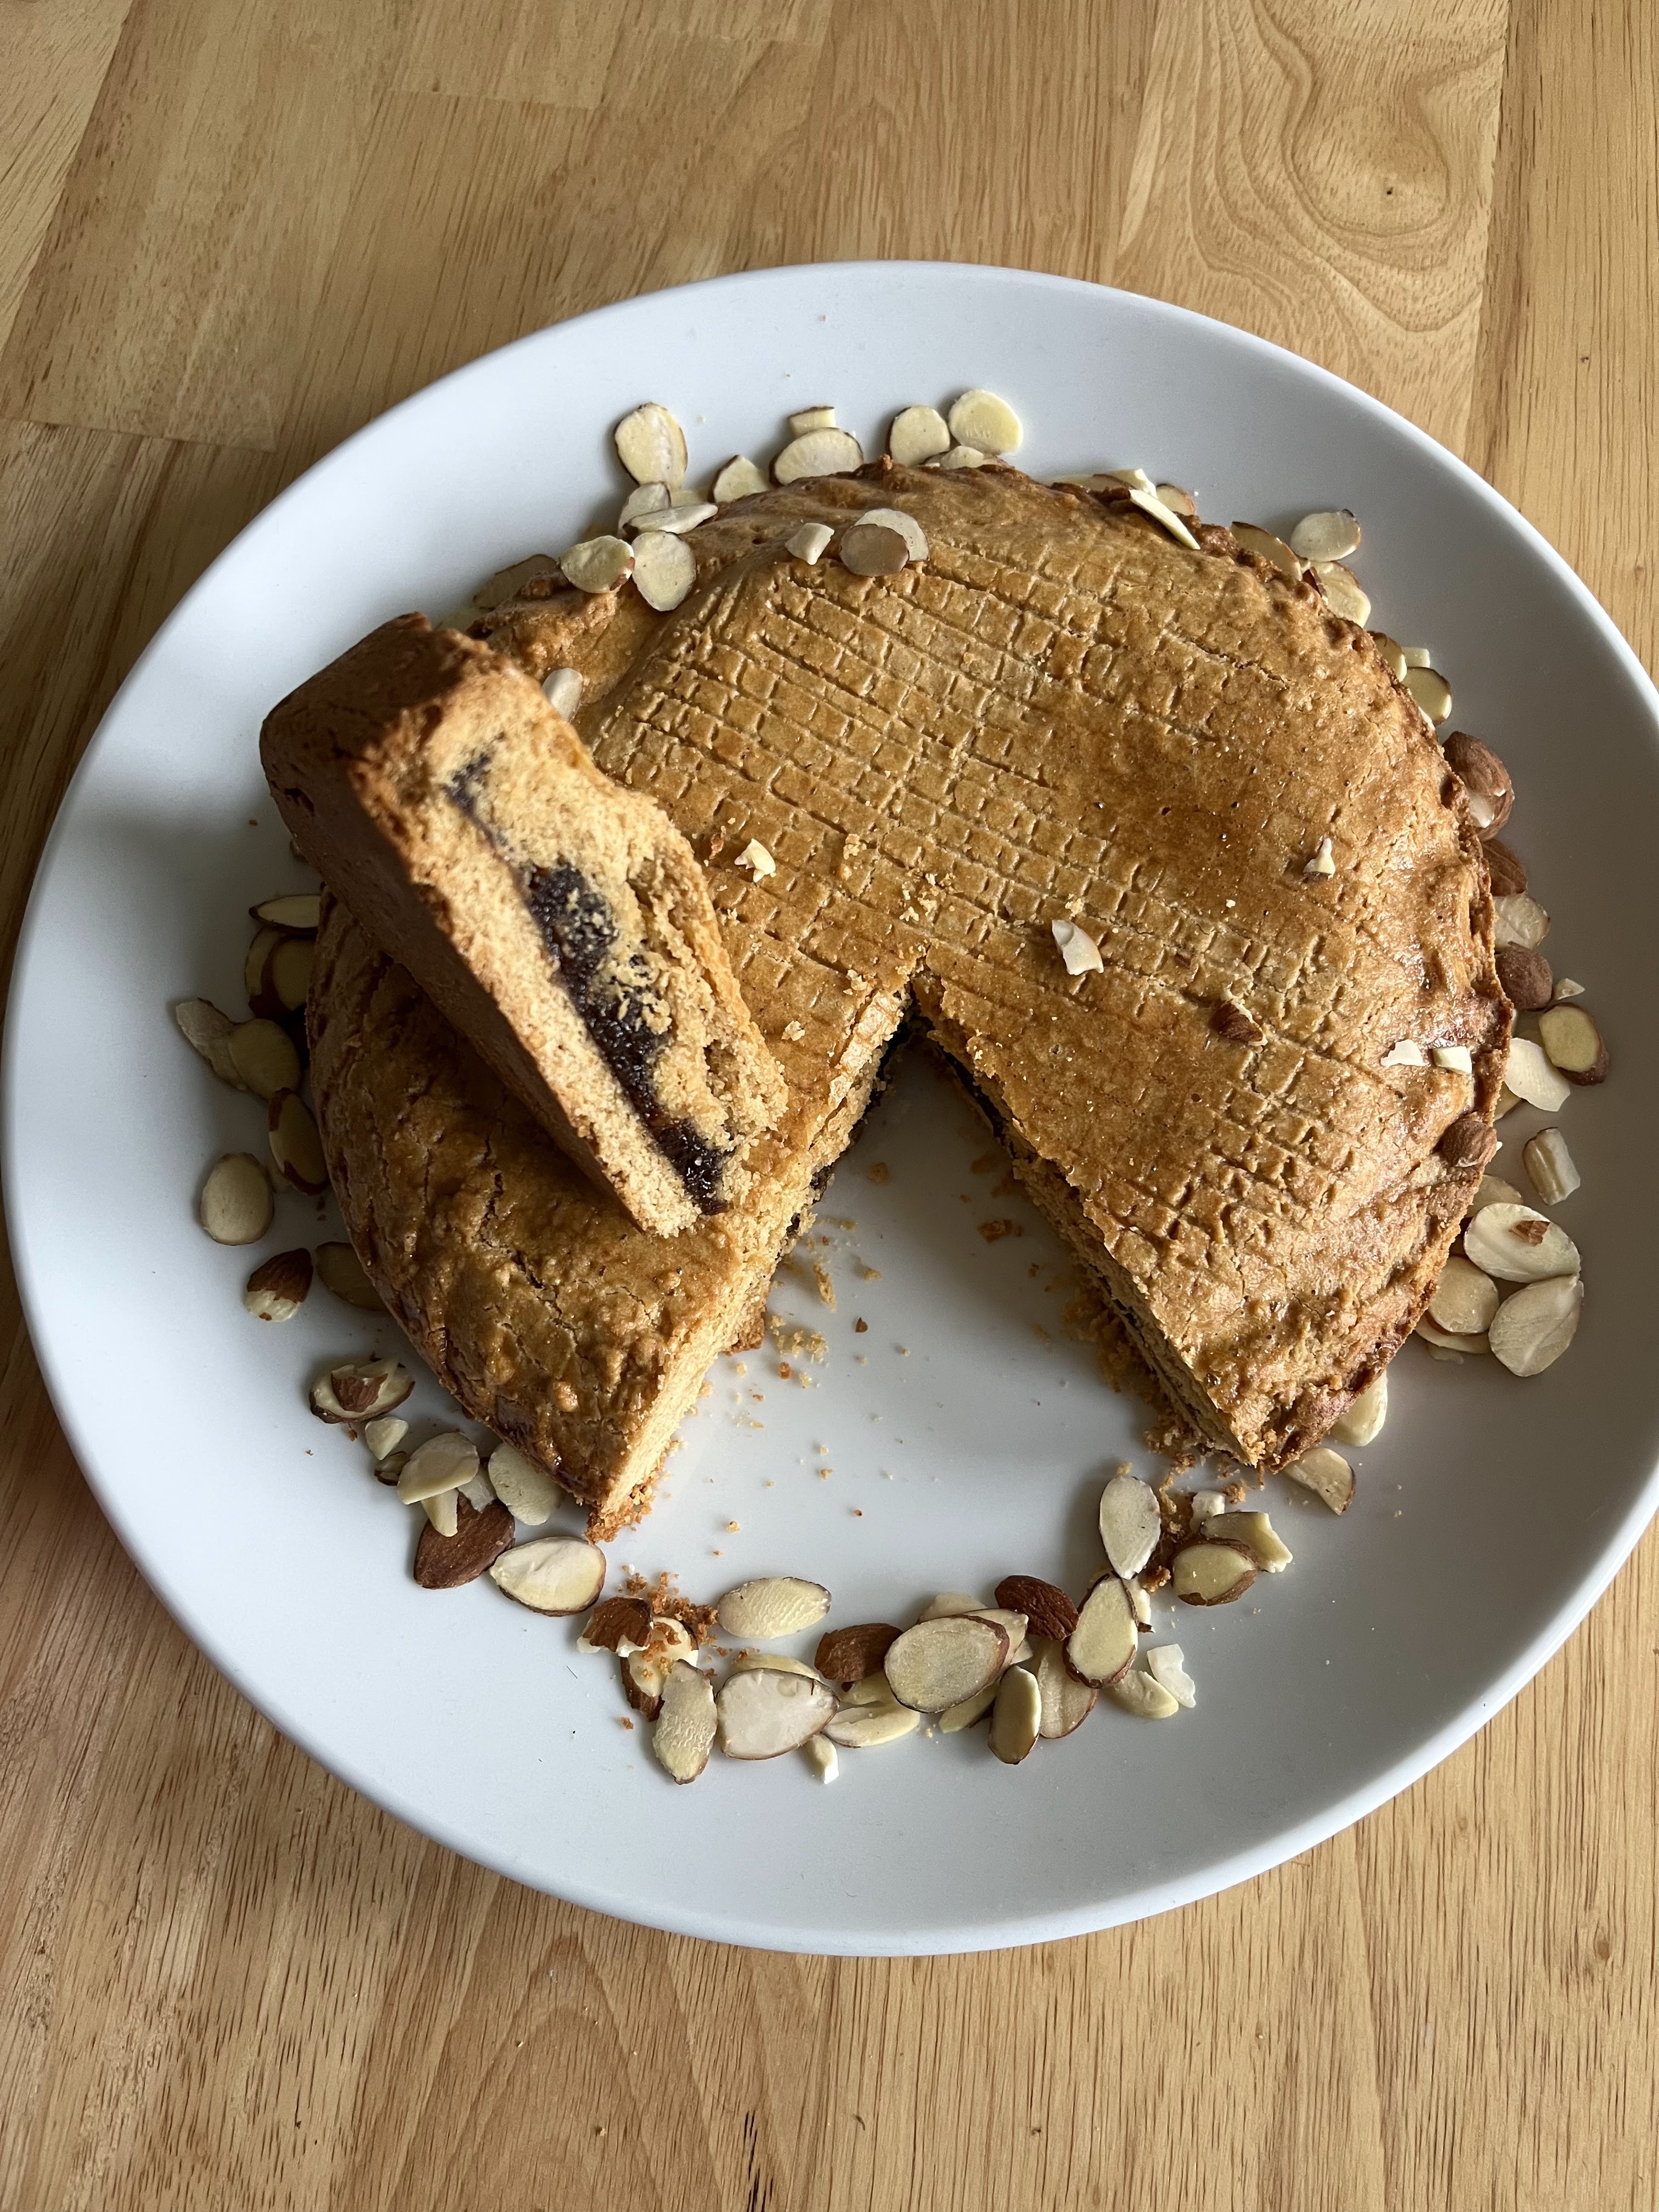
I have wanted to make a gâteau basque for ages, but kept forgetting to actually make one when it came time to bake something. I’m so glad I fixed that…. these are delicious. Called a cake but in reality more like a cookie/tart/jammy pastry, it’s essentially two layers of pastry dough sandwiching a jam or pastry cream filling. They are from the southwestern Basque region in France and gained popularity in the 18th century.

I did modify mine somewhat, so it’s not completely traditional – mostly because I wanted to use things I had at home and avoid a trip to the market, but also because I like to keep things refined sugar free when at all possible.

So, that being said, this is not exactly a traditional gâteau basque, but it IS delicious. I filled mine with fig preserves (more fruit than anything else) instead of the more traditional black cherry jam or pastry cream. I love pastry cream but was feeling lazy so that is for next time (believe me, there will be a next time).

I also happened to have that jar of fig preserves kicking around so this seemed like a good place to use it. This also means that I made what is essentially a giant fig newton! I’m not mad about it though, I loved those growing up and this tastes like an exceptionally better version. While I’m on the metaphors here, it could also be likened to a large, fancy pop tart?

The pastry is crumbly but sturdy, as these are made to be eaten by hand. I added a little almond flour to mine, another departure from tradition, but I like the consistency. This is another one of those pastries that sounds ver ver fancy but is so easy to make, especially in a stand mixer (which I did use, and would recommend if you have one).

Extremely excellent with coffee. I also tried it with ice cream – you know, for SCIENCE – and can confirm that is also an exceptional way to eat it. Especially in lieu of pastry cream.

Let’s see, what else is new… In non baking news, I’ve been trying to make one new savory dinner thing a week, to get myself out of my usual dinner cooking rut. It’s mostly working I think, I have discovered a few new things that are very good, including adding chile crisp to my stir fry sauce and also doing a chile crisp baked tofu.

In recent plant news, Bert the Bird has been going ape and has put out several new leaves! Always an exciting event in my household.

Hopefully everyone is recovering from the time change… go and make yourself something delicious to make up for that lost hour. Happy March!

Gâteau Basque

Lightly sweet, crumbly, shortbready pastry sandwiching a jammy filling. Perfect to eat out of hand with a cup of coffee. Yield: one 8″ pastry; serves several. Whole grain, refined sugar free. Lightly adapted from Dorie Greenspan/NYT Cooking, here.

What you need:

1.75 c whole wheat pastry flour
1/4 c almond flour, packed
3/4 tsp baking powder
1/2 tsp fine sea salt
1/2 c +2 tbsp unsalted butter (1¼ sticks), at room temperature, plus more for greasing the pan
1/4c coconut sugar
scant 1/4c cane sugar
1 large egg
1/2 tsp pure vanilla extract
3/4 cup fig butter/fig preserves
1 egg, beaten with a splash of cold water, for glazing

What you do:

In a medium bowl, whisk together the flour, almond flour, baking powder and salt. Working with a mixer (use a paddle attachment if you have one), beat together the butter and both sugars on medium speed until smooth, about 3 minutes. Add the egg, and beat for another 2 minutes, scraping the bowl as needed. Beat in the vanilla; the mixture should be smooth. Add the flour mixture all at once, then pulse the mixer to begin incorporating it. Mix on low until blended. Turn the dough out onto a work surface, gather into a ball, then divide in half.

Shape each piece into a disk — the dough will be sticky — and put each between sheets of parchment paper. Using a rolling pin, roll each piece into a round just a bit wider than 8″. Keeping the dough sandwiched between the parchment, refrigerate for at least 3 hours (or for up to 3 days).

When you’re ready to bake, center a rack in the oven, and heat to 350 degrees. Generously butter an 8-inch-by-2-inch round cake pan. Remove the dough from the fridge, and leave on the counter until pliable, about 10 minutes. Peel away the paper.

Fit one round into the pan; if it breaks (mine definitely did), just press the pieces together. This isn’t really an exercise in perfection – mine was very uneven. Either fold the extra dough over and onto the base or trim it. Spread about ¾ cup of the jam over the base, leaving a 1-inch border bare and adding more jam, if needed.

Top with the second piece of dough, lightly pressing down around the edges and, if you can, tucking the dough under a bit. Again, it doesn’t have to be perfect; the dough is soft, and as Dorie says, the layers fuse in the oven like magic.

Brush the top with the egg wash, and use the tines of a fork to etch a crosshatch pattern.

Bake the cake for 40 to 45 minutes, or until the top is golden brown. Transfer to a rack, and let rest for 5 minutes, then carefully run a table knife around the edge of the cake. Unmold onto the rack, and then quickly and carefully turn the cake over onto another rack, crosshatch side up, so that it can cool to room temperature. Wrapped well, the cake will keep for 2 days at room temperature.

Minimum two types of citrus at all times, please

Blog friends!

Much has happened since I posted last – busy busy but also NEW OVEN! and NEW FRIDGE! Thank you to my building owners who might actually be best landlords on the planet. I now have an oven that tells me when it’s preheated (hooray!) and a fridge that a) is significantly larger than the previous tiny one and b) has a freezer on the bottom so I don’t have to stand on my head to see my vegetables.

Also, it fits things like this when they need to chill (the old one didn’t, without basically removing everything else from it… slightly problematic as you can imagine). My new place is definitely feeling more like home these days – I have been here exactly a month! Hard to believe. New furniture comes next week too, so I have a bit of rearranging to do this weekend.

Realized I hadn’t made a panna cotta in ages and I miss them – I got to make one for our camp director working weekend a week ago, but one just wasn’t enough. Besides, C requested citrus and it works so well in them.

sun photobomb from a run a few weeks ago

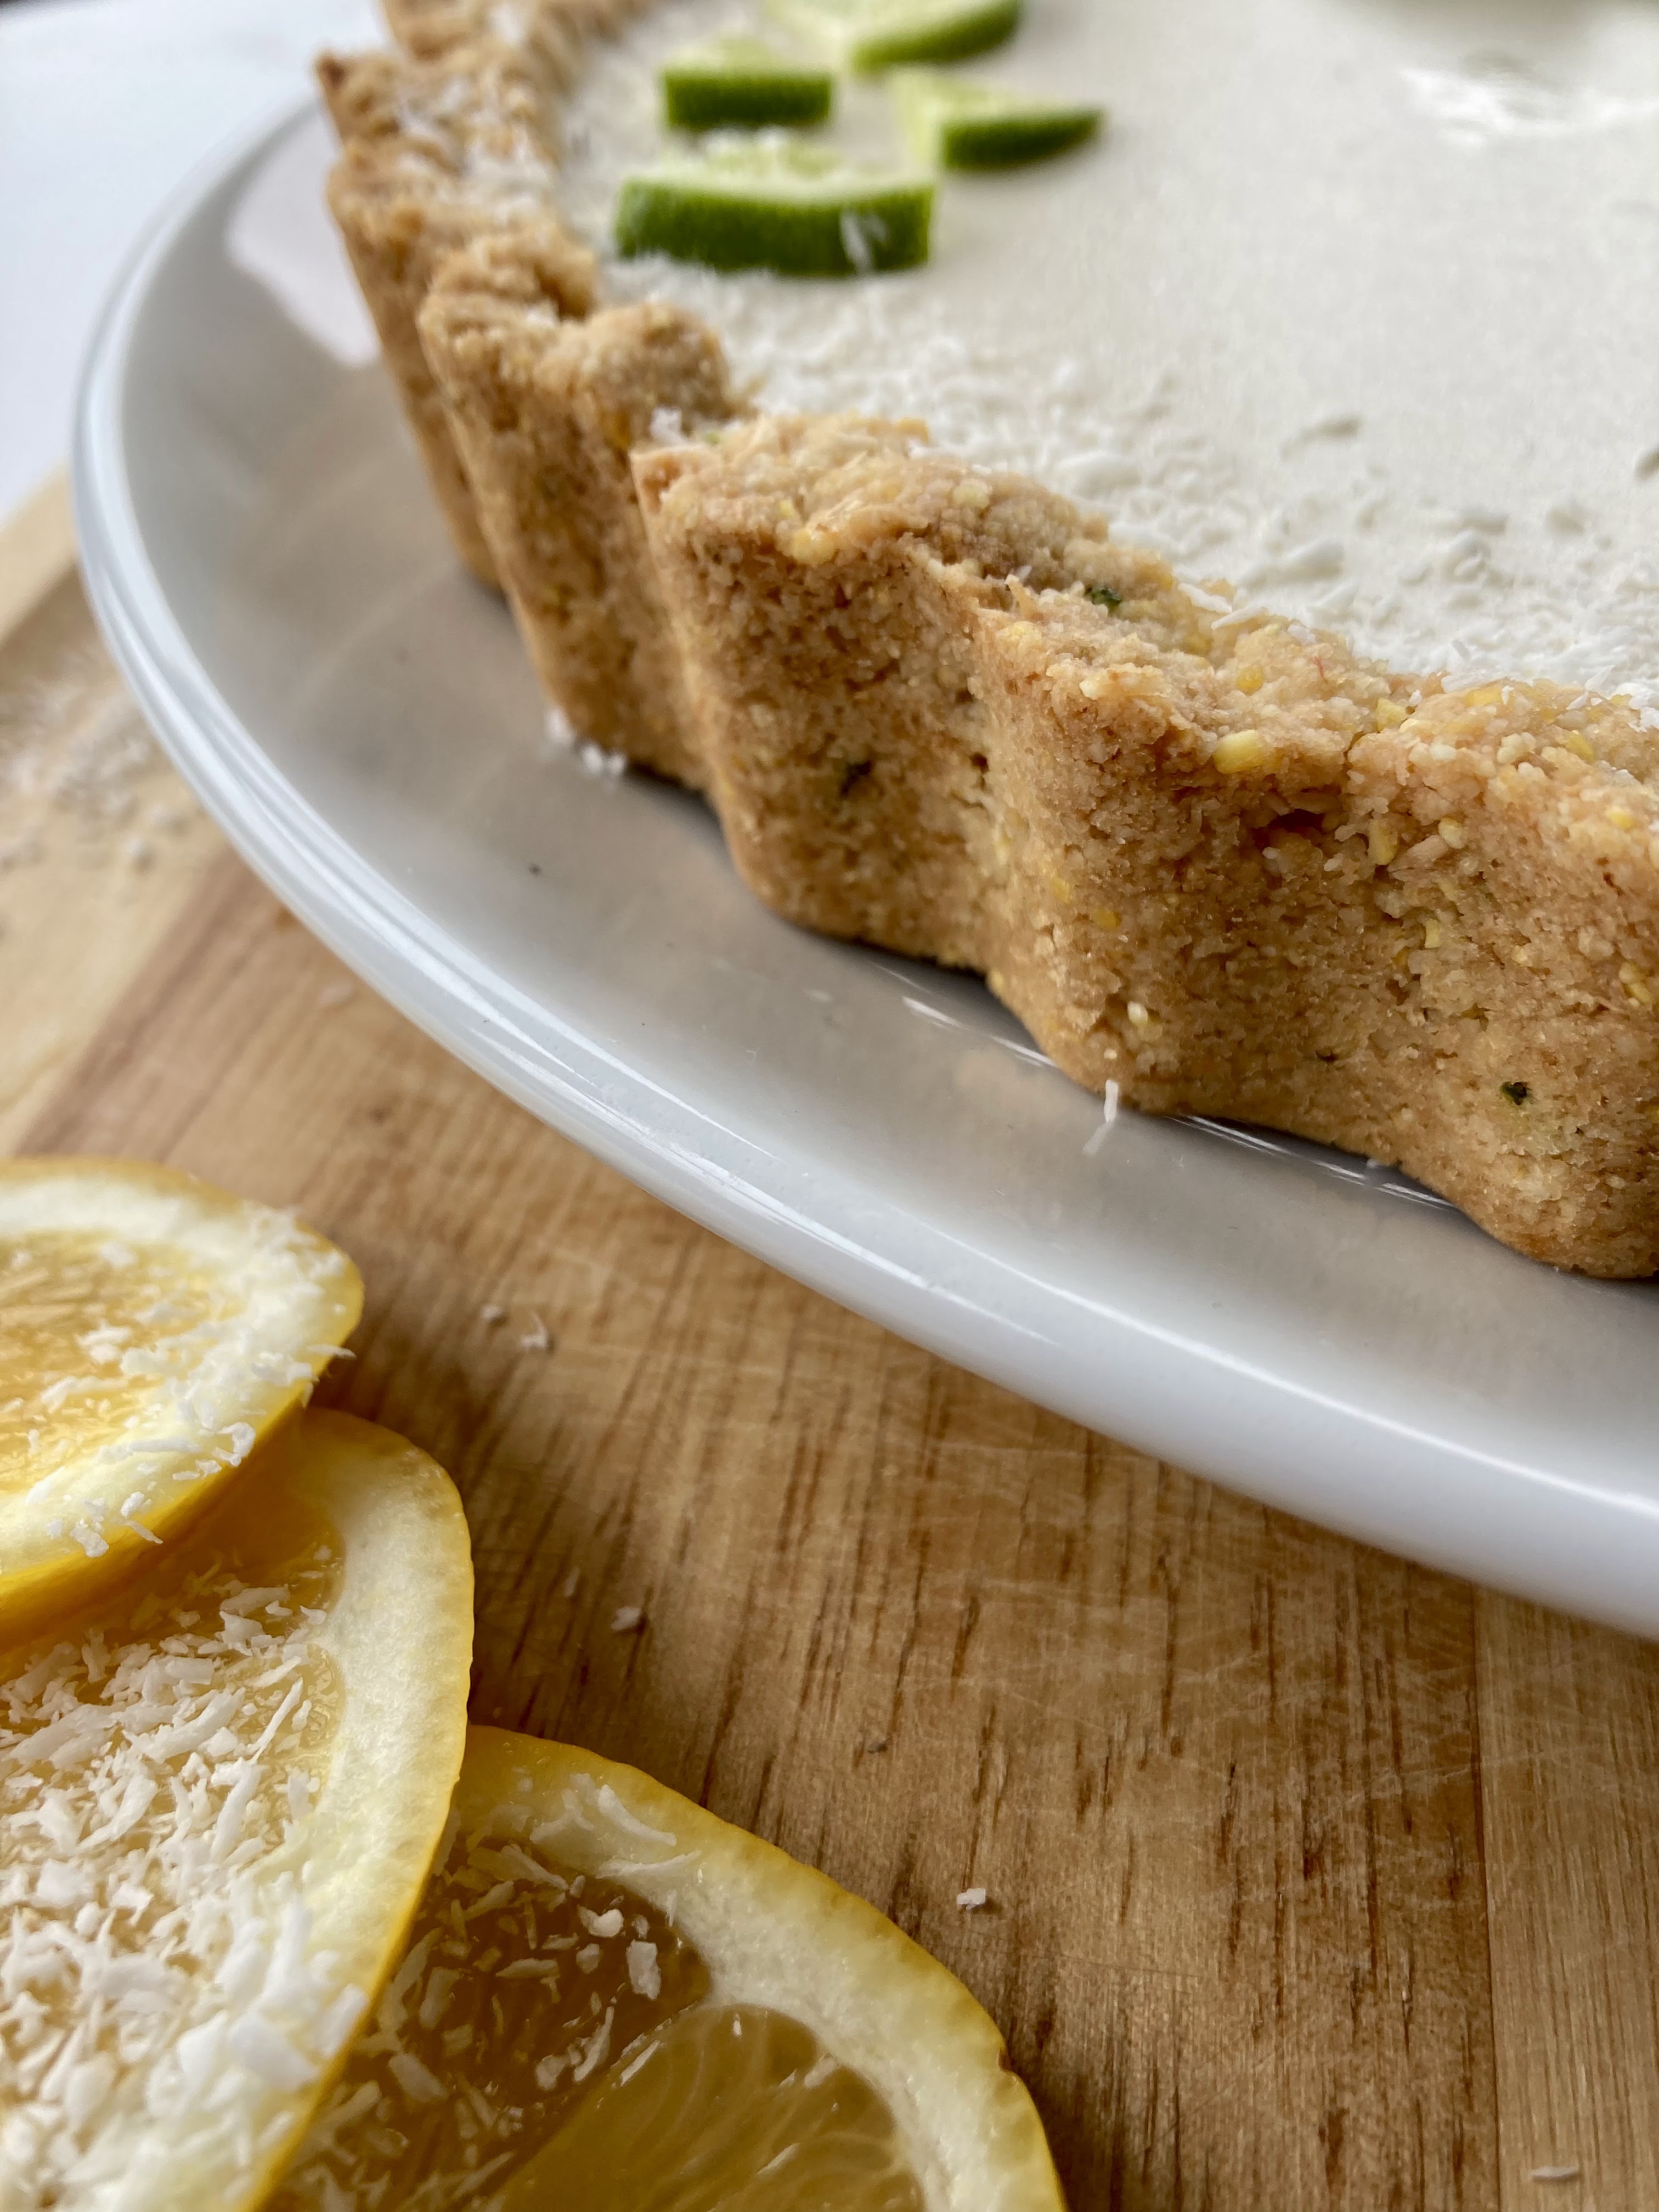
I decided to put it both in the crust and the panna cotta itself – definitely will be doing this again, it’s delicious! Not sure why I’ve never really put citrus zest into this crust but I’m glad I fixed that. Meyer lemons are still easily found around here too, so I’m trying to take advantage when I can.

This tart is gluten free, dairy free and refined sugar free – lightly sweet and definitely citrusy. There is chocolate too, but just a little – I didn’t want it to overpower the lemon in the panna cotta or the lime in the crust. The crust reminds me of a shortbread in its flavor; the whole thing goes well with vanilla ice cream or flies solo and shines when sliced into pretty wedges.

Happy weekending!

Meyer Lemon Panna Cotta Tart on an Almond, Lime and Chocolate Crust

Gluten free, refined sugar free, and dairy free. Yield: 1 9″ tart, serves several. A Wait are those Cookies original.

For the crust:

1.5 c almond flour
1/3c unsweetened shredded coconut
1/3c cornmeal
heaping 1/4 tsp sea salt
1/2 tsp baking soda
zest & juice of two small limes
2 tsp vanilla extract
1/4 tsp almond extract
2 tbsp pure maple syrup
6 tbsp coconut oil, melted
2 tbsp dark chocolate

In a large bowl, stir together almond flour, shredded coconut, cornmeal, sea salt, and baking soda. Add in lime zest and juice, vanilla extract, maple, and melted coconut oil, and stir until completely combined. The dough will look crumbly, but you’ll be able to press it together with your fingers.

Preheat the oven to 350, and lightly grease a 9″ tart pan (w/ removable bottom) with coconut oil. Press the crust into the plate and up the sides with a spoon or your fingers, creating a smooth edge (or not, your call!). Poke the bottom with a fork a few times, and bake for 15 minutes. Remove from the oven and set aside. Once the crust is out, melt the dark chocolate in a double boiler or the microwave until smooth, stirring frequently. Spread a thin layer over the bottom of the crust. Let the whole thing cool to room temperature – once it’s cool, chill it in the fridge until needed.

For the Panna Cotta:
1 package unflavored powdered gelatin
1 can (14oz) full-fat coconut milk
1 tbsp vanilla bean paste
zest of 2 meyer lemons
2 tbsp maple syrup
Scant 1/4 tsp sea salt
1/2 c lemon juice, divided and chilled

In a small bowl, sprinkle the gelatin over 1/4 cup of the cold lemon juice. Let stand without stirring until the gelatin is moistened, about 10 minutes.

Pour the coconut milk into a small saucepan. Add remaining 1/4 c lemon juice, lemon zest, maple, vanilla, and salt. Bring to a simmer over medium heat, stirring frequently. Remove from heat, strain to remove lemon zest pieces (if they’re large; I use a microplane so often I will just leave them in), and whisk in the gelatin mixture. Whisk until completely dissolved, about 3 minutes. Cool until lukewarm – it should not be starting to set yet. Pour the panna cotta mixture into the cooled tart shell. Place in the refrigerator until set, approximately 4 hours or preferably overnight.

Top with whatever pretty things your heart desires! Serve cold out of the fridge. Store any leftovers covered in the fridge as well.

Sunny Citrus Bars and a Queen Anne Edwardian

Hi friends!

It’s been a minute and feels like an AGE since so much has happened since I posted last. Also. All of these photos look blurry to me and I can’t figure out why wordpress isn’t playing nice…. sorry about that. It’s not your eyes, I promise.

There is so much going on in the world right now… I’m going to take a minute to acknowledge that, but also choose to keep this space for life news and desserts only. I know we are all affected by global events, but sometimes you need to preserve a sunny little corner of the internet.

That being said – I have meyer lemon and lime bars for you today: these feel like a sunbeam incarnated into food form. A bit late in posting on account of a busy weekend (much needed friend & c’s fam time) but these bars were DELICIOUS so I wanted to make sure they made it on here. Not to mention, they’re the first real baked thing I’ve made in this kitchen, aside from cookies (those don’t count, I make them allll the time).

My new oven and I are still getting acquainted, but I think we’re getting there (and I also think my new oven thermometer is lying to me)… my oven is a bit funky, just like the grand dame of a Queen Anne Edwardian that I moved into. She’s a high ceilinged, mildly drafty beauty with a round turret, bay windows, original floors and gingerbready molding – and used to be a boarding house in the early 1900s!

Started the year before the 1906 earthquake, finished the year after. I am LOVING my new space, though admittedly having growing pains – what on earth do I do with this much space, I’m only one person?! I doubled my square footage after having lived in a studio for a loooot of years…. this feels enormous, but I’m getting used to it. New furniture helps too ;)

I’ll post some pictures one aforementioned furniture actually arrives – but for now a few little vignettes of my jungle deco (yes, that is an extremely accurate name for my aesthetic) beauty.

original rolled glass!

Okay okay back to the bars. Gluten free, refined sugar free and dairy free – easily grain free too, if need be (swap the cornmeal for an equal amount of almond flour, and use tapioca instead of cornstarch). A perfect dessert for this time of year when it seems like citrus is the only fruit that is really shining. Highly suggest the meyer lemon + lime pairing, though all lime or all meyer lemon (or regular lemon) would also be just fine.

Sending happy, sunny citrus vibes from my kitchen to yours!

+ plant. obviously.

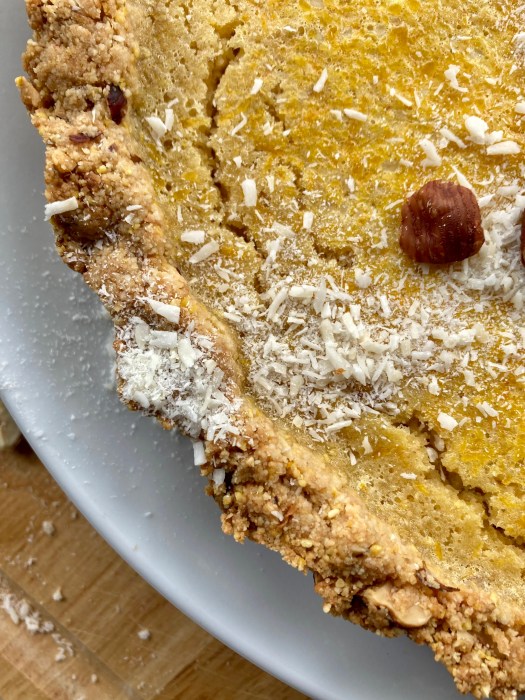
Meyer Lemon and Lime Bars with a Hazelnut Crust

Tart, citrusy and nutty – a perfect dessert or snack. Gluten free, refined sugar free and dairy free. A Wait are those Cookies original. Yield: 1 9″ pan – serves several.

For the crust:

1.5 c almond flour (packed)
1/4 c unsweetened shredded coconut
1/2 c cornmeal
1/3 c hazelnuts, finely chopped
heaping 1/4 tsp sea salt
1/2 tsp baking soda
2 tsp vanilla extract
2 tbsp pure maple syrup
6 tbsp coconut oil, melted

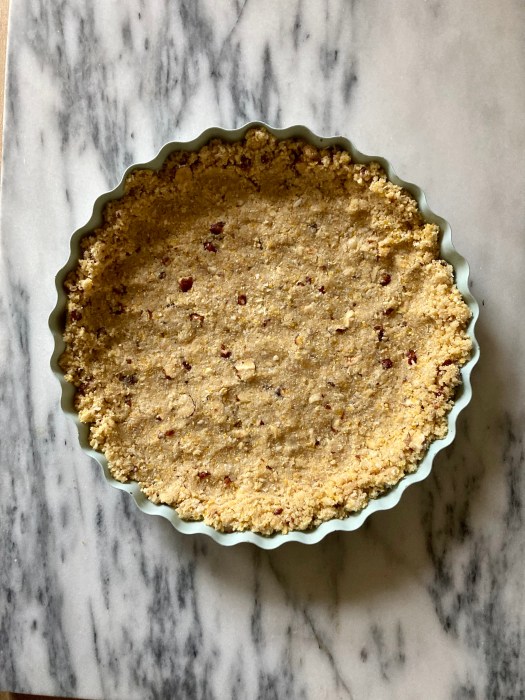
Preheat the oven to 350, and lightly grease a tart pan with coconut oil. I use a 9″ tart pan with a removable bottom, but a deep pie dish or a square 9×9 would also work. You’ll be pouring the filling directly into the hot crust, so plan accordingly.

In a large bowl, stir together almond flour, shredded coconut, cornmeal, chopped hazelnuts, sea salt, and baking soda. Add in vanilla, maple, and melted coconut oil, and stir until completely combined. The dough will look crumbly, but you’ll be able to press it together with your fingers. Press the crust into the plate and up the sides with a spoon or your fingers, creating a smooth edge. Poke the bottom with a fork a few times, and bake for 15 minutes. Remove from oven and lower the oven temp to 325.

For the lemon bar filling:

4 eggs
2/3 fresh citrus juice (I used 6 small meyer lemons + 1 large lime)
1-2 tbsp citrus zest*
1/3 c maple syrup
1 tsp vanilla
2 tbsp cornstarch (or tapioca starch)

*I zested all of my small meyers and half the lime since it was so big. I’d just zest all the citrus you use – waste not, want not! I had just shy of 2 tbsp

While the crust is baking, make the filling. In a large bowl, quickly whisk together eggs, citrus juice and zest, maple, and vanilla until the egg is fully incorporated – there shouldn’t be much (if any) white visible. Whisk in the cornstarch until fully combined. Pour the filling into the hot crust, and stick it back in the oven for 20-25 minutes. The filling should be set; no jiggle when you shake it. Remove and let cool completely before slicing – ideally, chill it for few hours before serving. Leftovers keep well overnight, refrigerated.

Bay swims and blood oranges

First swim of 2022 accomplished! Took me awhile to get back down there but I’m very glad I did. This marks one year of extremely regular bay swimming! My average is probably twice a week – there were a bunch in there where I was very regular with a MWF schedule but lately not so much. It felt COLD to me today but that’s probably because oh right it’s January and also because it’s been a bit since I’ve been in… still in my sleeveless wetsuit though, so that’s something. I think the water temp today was 50? Not sure. Definitely one of my fave ways to start a weekend :)

I have a cake for you today! I think I say this every time but I really don’t make cakes that frequently. Probably because I can cram more fruit into something like a crisp or a galette and that’s always a priority, but I like a good cake now and again for a change.

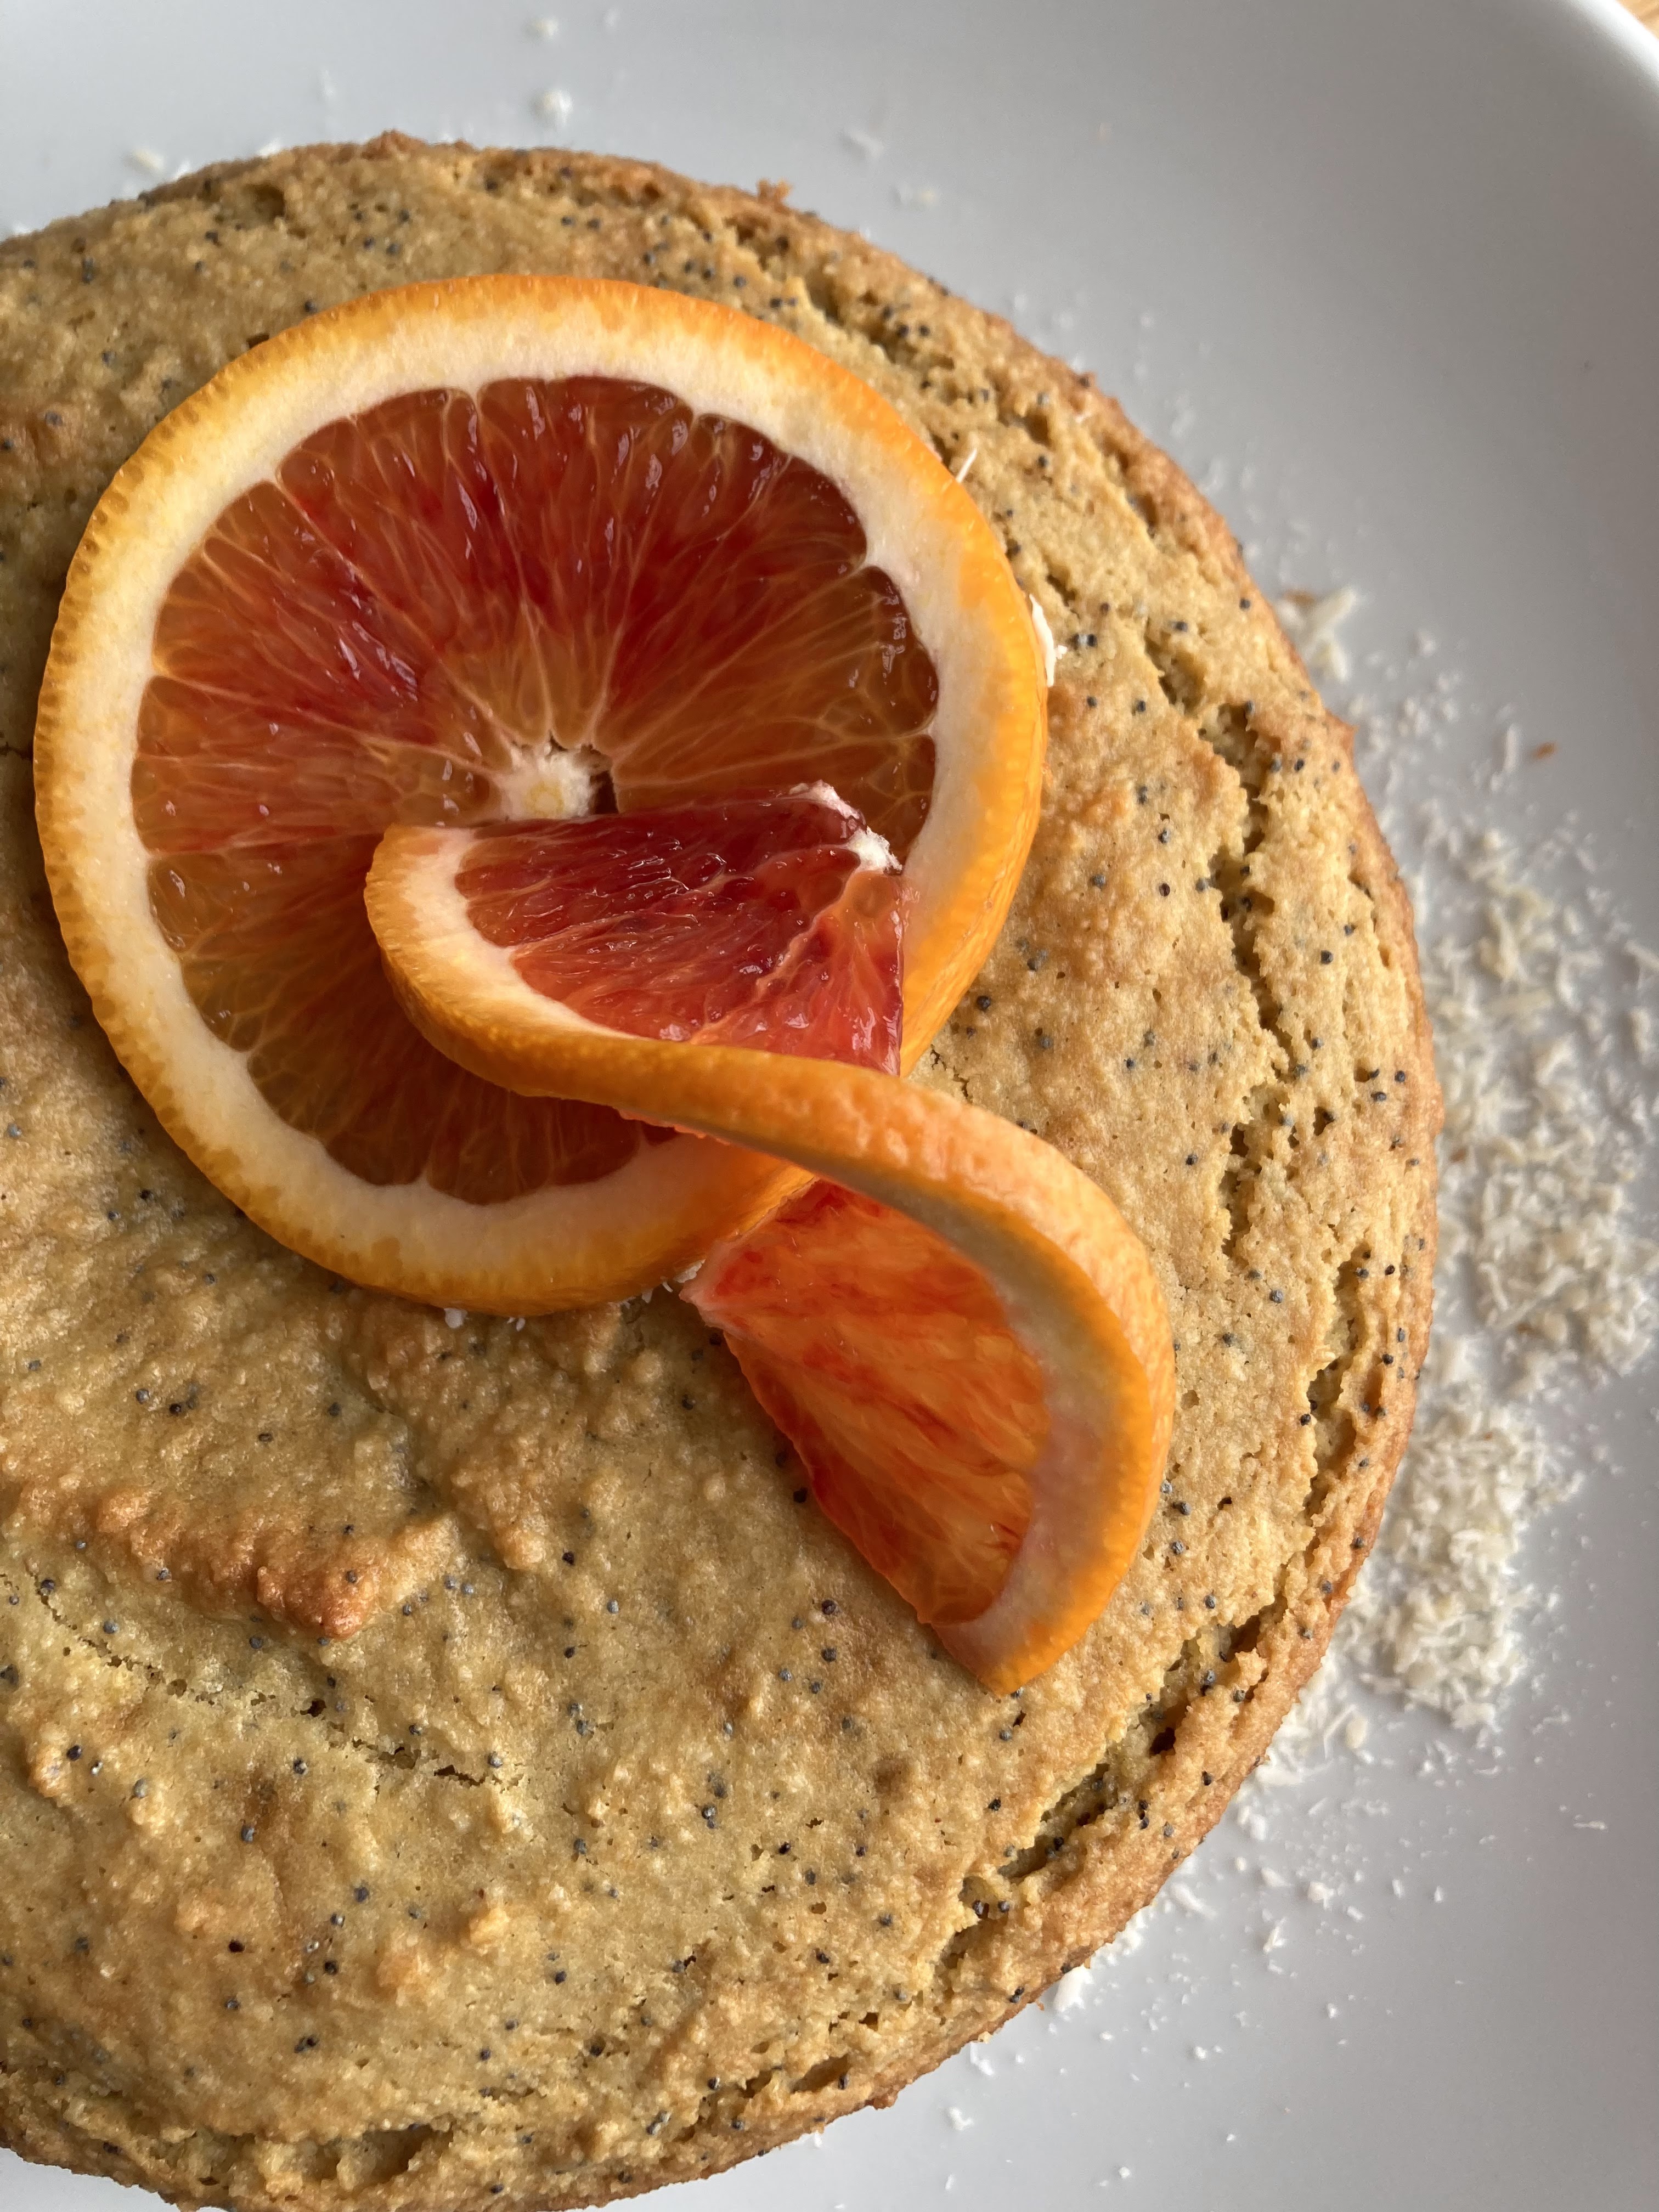
This one fits the bill perfectly – it’s poppy seedy and almondy, with a moist crumb and a bit of pleasantly dense texture. As it is grain/gluten free, dairy free and refined sugar free, it relies primarily on eggs for its loft and is made only with almond flour. I consider this to be a super simple cake – it doesn’t require a bunch of different flours or a mixer. In fact, it could easily be put together for a brunch the morning of; the blood orange curd (gf but not dairy free) can be made in advance up to a week, so that’s an easy one to knock out a few days ahead.

I love this for dessert with ice cream but it most definitely holds its own in a brunch/breakfast situation, and it’s perfect alongside coffee. The blood orange curd is of course optional but highly recommended (and not intimidating! don’t let it scare you off). Plus, blood orange season isn’t super long – I try to take advantage while I can. They are so beautiful!

In other news, we’ve been having some beautiful sunrises and sunsets in the city of late – here’s a sunrise from earlier this week and a cactus happily doing its cactus thing.

I hope your weekend is full of good things! Maybe cake? I definitely recommend cake :)

Almond Poppy Seed Cake with Blood Orange Curd

Grain and gluten free, refined sugar free and dairy free. Kind of paleo, I guess? A riff on this almond cake I made years ago. Lightly sweet and perfectly moist, especially good for midwinter citrus season! The blood orange curd is gluten free and refined sugar free but made with butter; I think a dairy free butter would work here. Yield: one 6-9″ cake (depending on cake pan of choice), serves several.

2 c (packed) almond flour
1 teaspoon baking powder
½ teaspoon baking soda
½ teaspoon fine sea salt
1/4 c poppy seeds
4 eggs, beaten
1/3 c maple syrup
1/2 tsp almond extract
1 tsp vanilla extract
1/4 c coconut oil, melted
zest of 1 lemon
1 tbsp lemon juice
blood orange curd, for serving (recipe below)

Preheat the oven to 325. Grease an 8″ springform (or cake pan, or cast iron! I’ve used a deep 7″ cast iron to great effect here; I’ve also used a 6″ springform very successfully for a taller cake) with coconut oil and dust with a bit of almond flour. If I use a springform, I typically set it on a baking sheet lined with parchment to catch any drips.

In a large bowl, whisk together almond flour, baking powder, soda and salt, and poppy seeds. In a smaller bowl, whisk together beaten eggs (just beat these in the same bowl before adding everything else) maple, almond and vanilla extracts, and melted coconut oil. Whisk in lemon zest and juice. Stir wet ingredients into dry, until combined. Pour batter into your prepared pan, and bake for 35-40 minutes (9″ will probably be more like 35; my 6″ springform went for 40) – the top should be golden brown and firm to the touch. Remove from the oven and let cool on a rack! Ideally give it at least 10 minutes before releasing the springform; if you used a cake pan, I’d suggest letting it cool completely before removing. Serve warm, room temp or chilled (for a nicely solid cake; I love the texture of chilled coconut oil cakes) with a dollop of blood orange curd and a few citrus slices.

Keeps well overnight in the fridge.

Blood Orange Curd

3 whole eggs
2 egg yolks
1/2 c blood orange + meyer lemon juice (I used 4 small blood oranges + 1 lemon)
blood orange zest (I just zest as many as I will use for juice)
zest of 1 lemon
pinch of sea salt
2 tbsp maple syrup
4 tbsp butter, unsalted
1 tsp vanilla

I use a double boiler for this lemon curd, which I highly recommend! You don’t have to, but in my experience it makes for a better cooking process. Heat water in the bottom of the double boiler until it’s at a high simmer. In the top of the double boiler, whisk together eggs, egg yolks, citrus zest and juice, sea salt, and maple syrup. Add in the butter one tbsp at a time, whisking continuously, not adding the next tbsp until the first is completely melted. Whisk in vanilla. Cook, stirring constantly, until the curd thickens and will coat the back of a spoon (or your whisk leaves tracks) – usually around 5 to 8 minutes. It’s a noticeable change when it happens, so just watch the cooking magic! Remove from heat, and strain through a metal strainer to remove zest and any bits of cooked egg. Store in a glass container in the fridge until ready for use – can be made up to a week ahead.

Apple tarts & north coast fun

Hi friends!

It’s been a little while – C and I took a great trip up to the north coast for my birthday – we stayed in the cutest airbnb and explored the area. Lots of coast hikes, fresh produce and relaxation time. Here are a few favorite photos!

rail bikes on the Noyo Skunk train line!
monster zucchini from the airbnb garden (yes, we ate it)
look at the bee photobomb!

Turns out you can actually make a galette in a cast iron on the stove, in a pinch!

I’d make this again actually, even though it was initially just a punt because of an oven issue. I made my normal galette dough, piled the fruit in there (I’d saute it first next time), let the sides crisp up a little before folding them over the fruit and putting a lid on it. It cooked in about 15 minutes on a high burner – and it was amazingly delicious. Ha! Success.

Since I’m working today for a deadline early next week (taking a minute while I wait on content to write this…), I got up early to make time for this guy… I had some ricotta in my fridge that I really wanted to us, and it’s officially apple season! This looks fancy and intimidating but it isn’t, at all – basically just whisk everything together and call it good. Perfect for a lazy weekend baking project.

It’s gluten / grain free, lightly sweet and light on the stomach – it’s really just all ricotta, but it doesn’t feel like a heavy dessert. Pears would probably be good here too, if you didn’t have apples (I’ve made a variation of it before, with peaches – also excellent. Find it here)

Otherwise, busy as usual. I hope your weekends are going well! Happy October :)

Ricotta, Apple & Rosemary Tart

Gluten and grain free, refined sugar free. Lightly sweet and light on the palette – this is a fairly delicate dessert! Yield: 1 9″ tart, serves several. Leftovers will keep overnight in the fridge, but it’s best the day it’s made. A Wait are those Cookies original.

For the crust:

1.5 c almond flour
1/2 c unsweetened shredded coconut
heaping 1/4 tsp sea salt
1/2 tsp baking soda
1 tbsp fresh rosemary, finely chopped
2 tsp vanilla extract
1/2 tsp almond extract
1.5 tbsp pure maple syrup
6 tbsp coconut oil, melted

In a large bowl, stir together almond flour, shredded coconut, sea salt, baking soda and rosemary. Add in vanilla and almond extract, maple, and melted coconut oil, and stir until completely combined. The dough will look crumbly, but you’ll be able to press it together with your fingers.
Preheat the oven to 350, and lightly grease your tart pan or pie dish of choice with coconut oil. Press the crust into the plate and up the sides with a spoon or your fingers, creating a smooth edge (or not, your call!). Poke the bottom with a fork a few times, and bake for 10 minutes. Remove and let cool for a few minutes.

For the ricotta filling:

1 2/3 cups ricotta cheese
Scant 1/4 cup maple
2 tsp vanilla
2 large eggs
zest of 2 lemons
2 Granny Smith apples, peeled and cut into thin slices

Preheat oven to 400°F

Make the filling:

Combine the ricotta with the eggs and maple. Add the zest and chocolate. Pour the filling into the prepared tart shell. Top with sliced peaches. Bake for about 45-50 minutes or until the ricotta filling is set and caramelized.

Allow the tart to cool in the pan for about 30 minutes, then remove from pan and cool completely before refrigerating. Serve chilled or at room temperature. Store any leftovers covered with foil in the fridge overnight.

Crumb cake and more pluots

Hi friends, happy weekend! I wish it was the beginning of it and not the end, but at least there’s a long weekend upcoming.

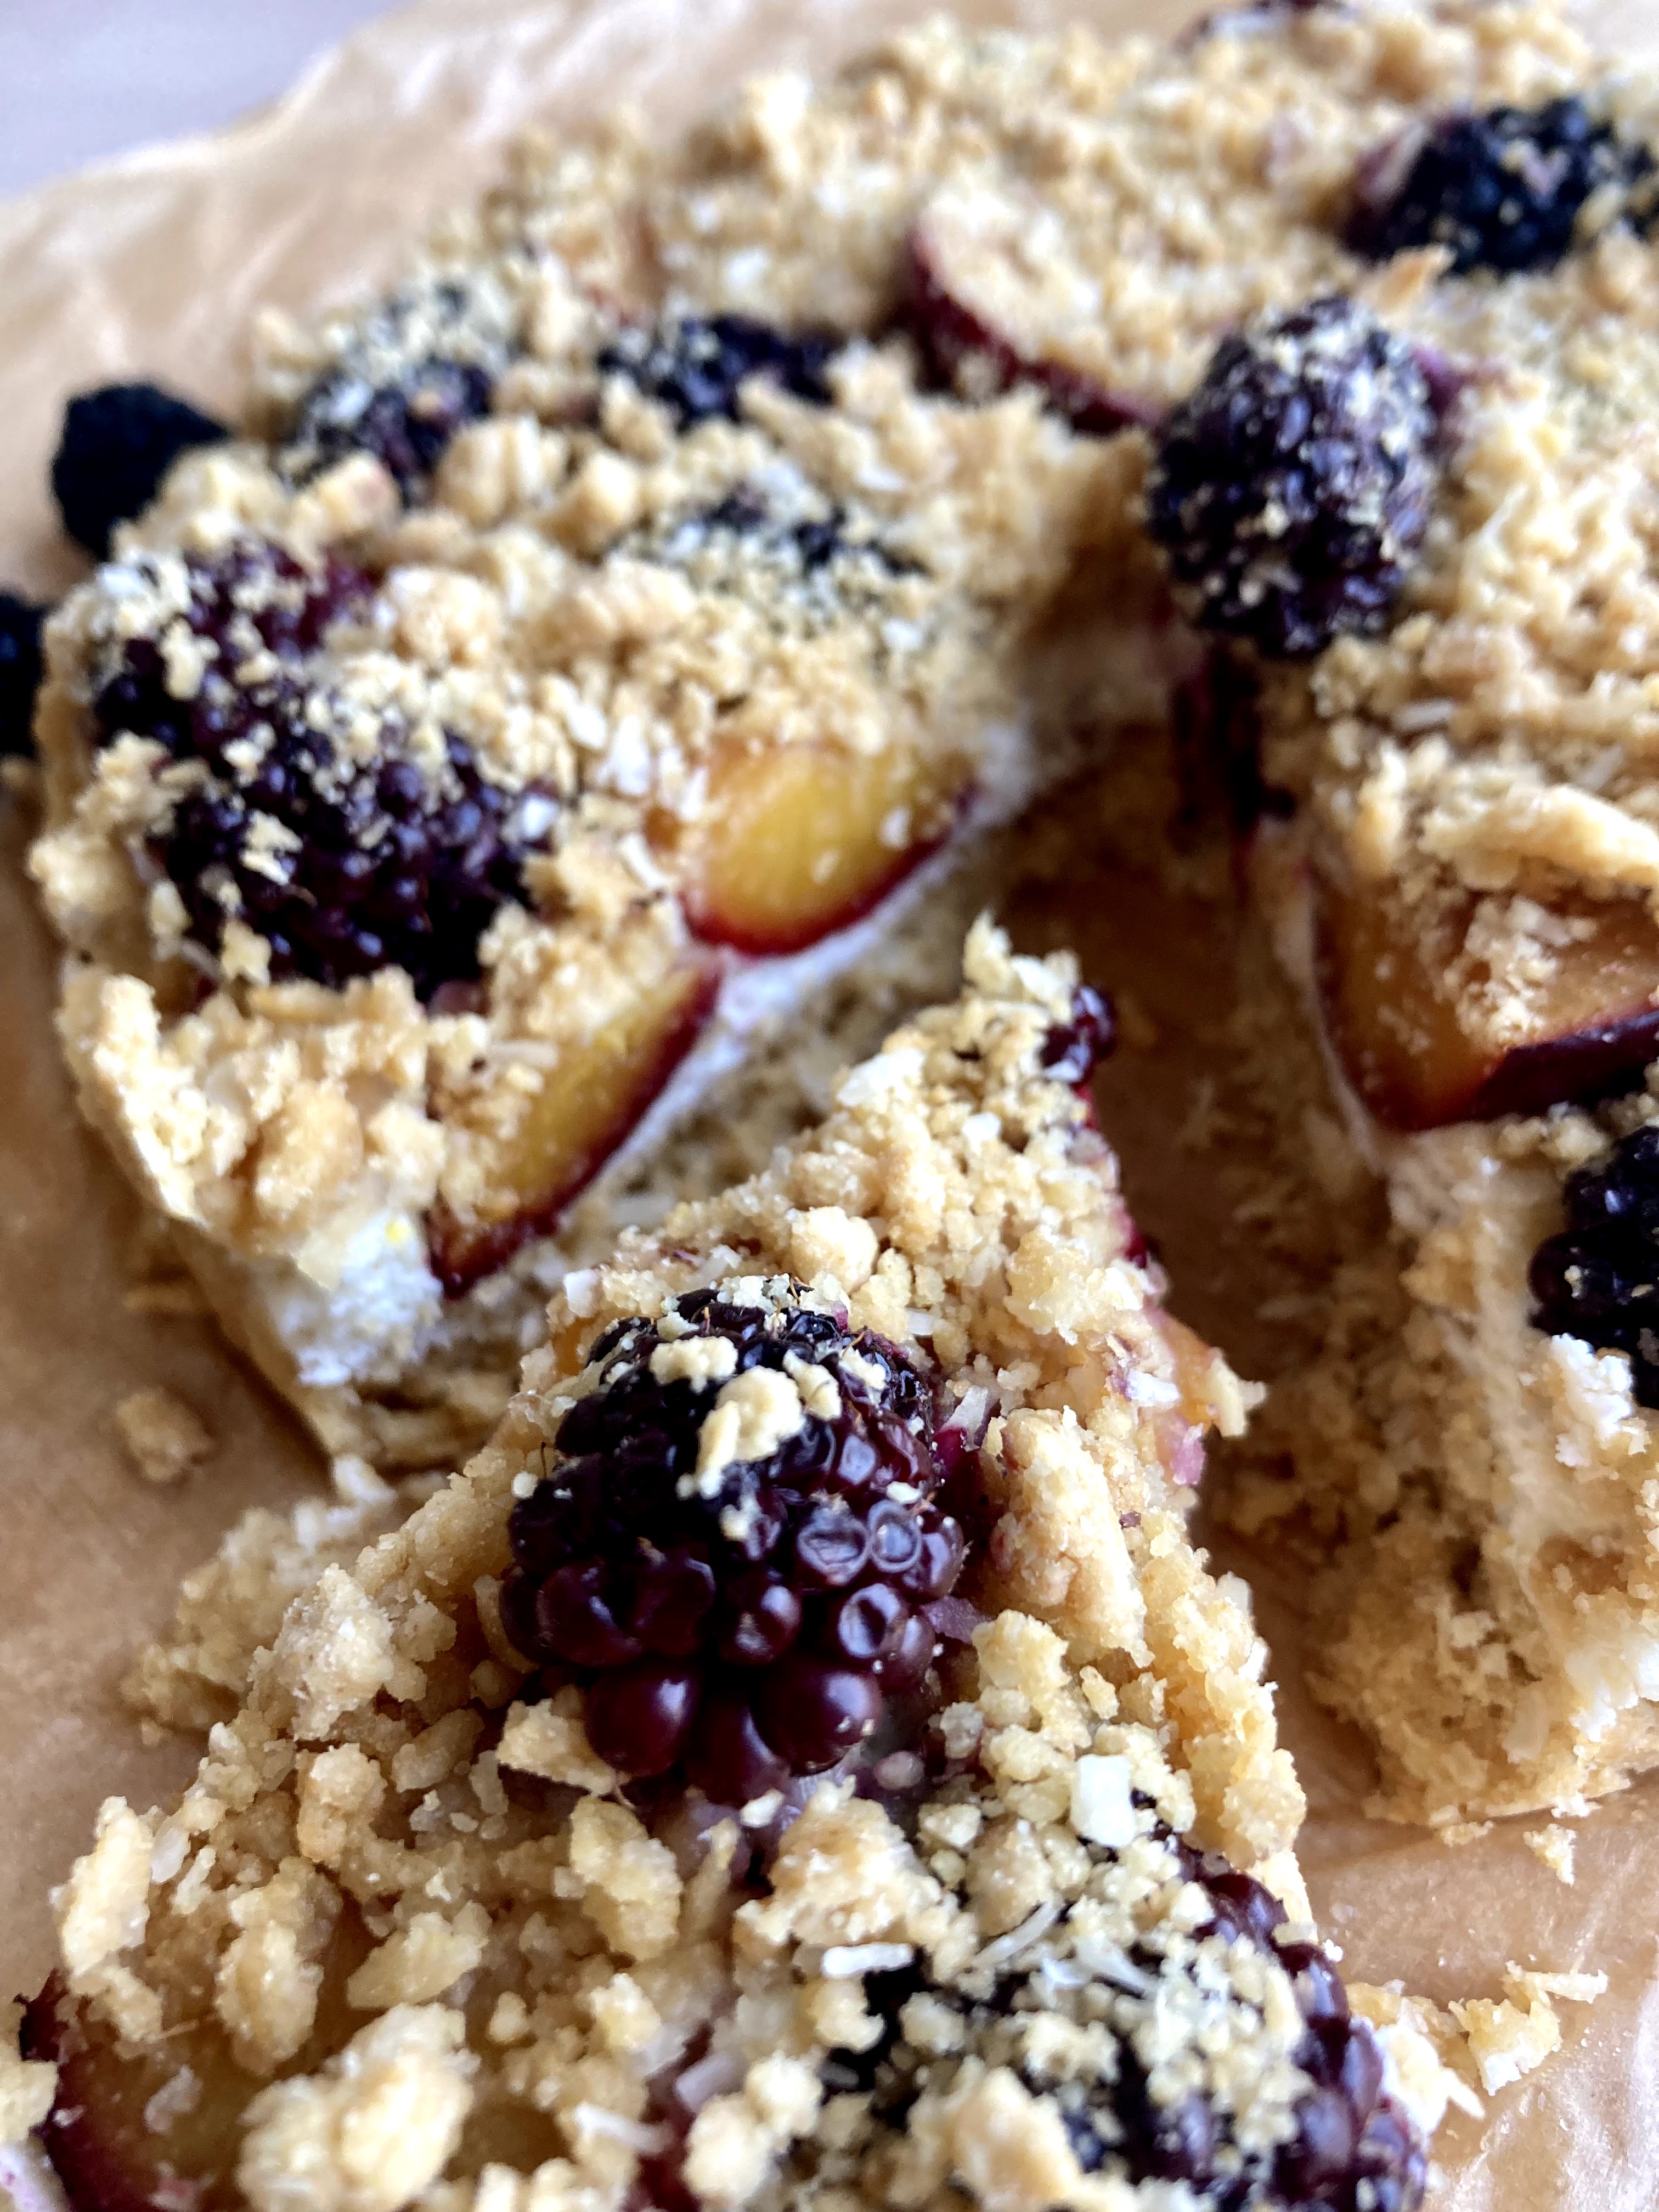
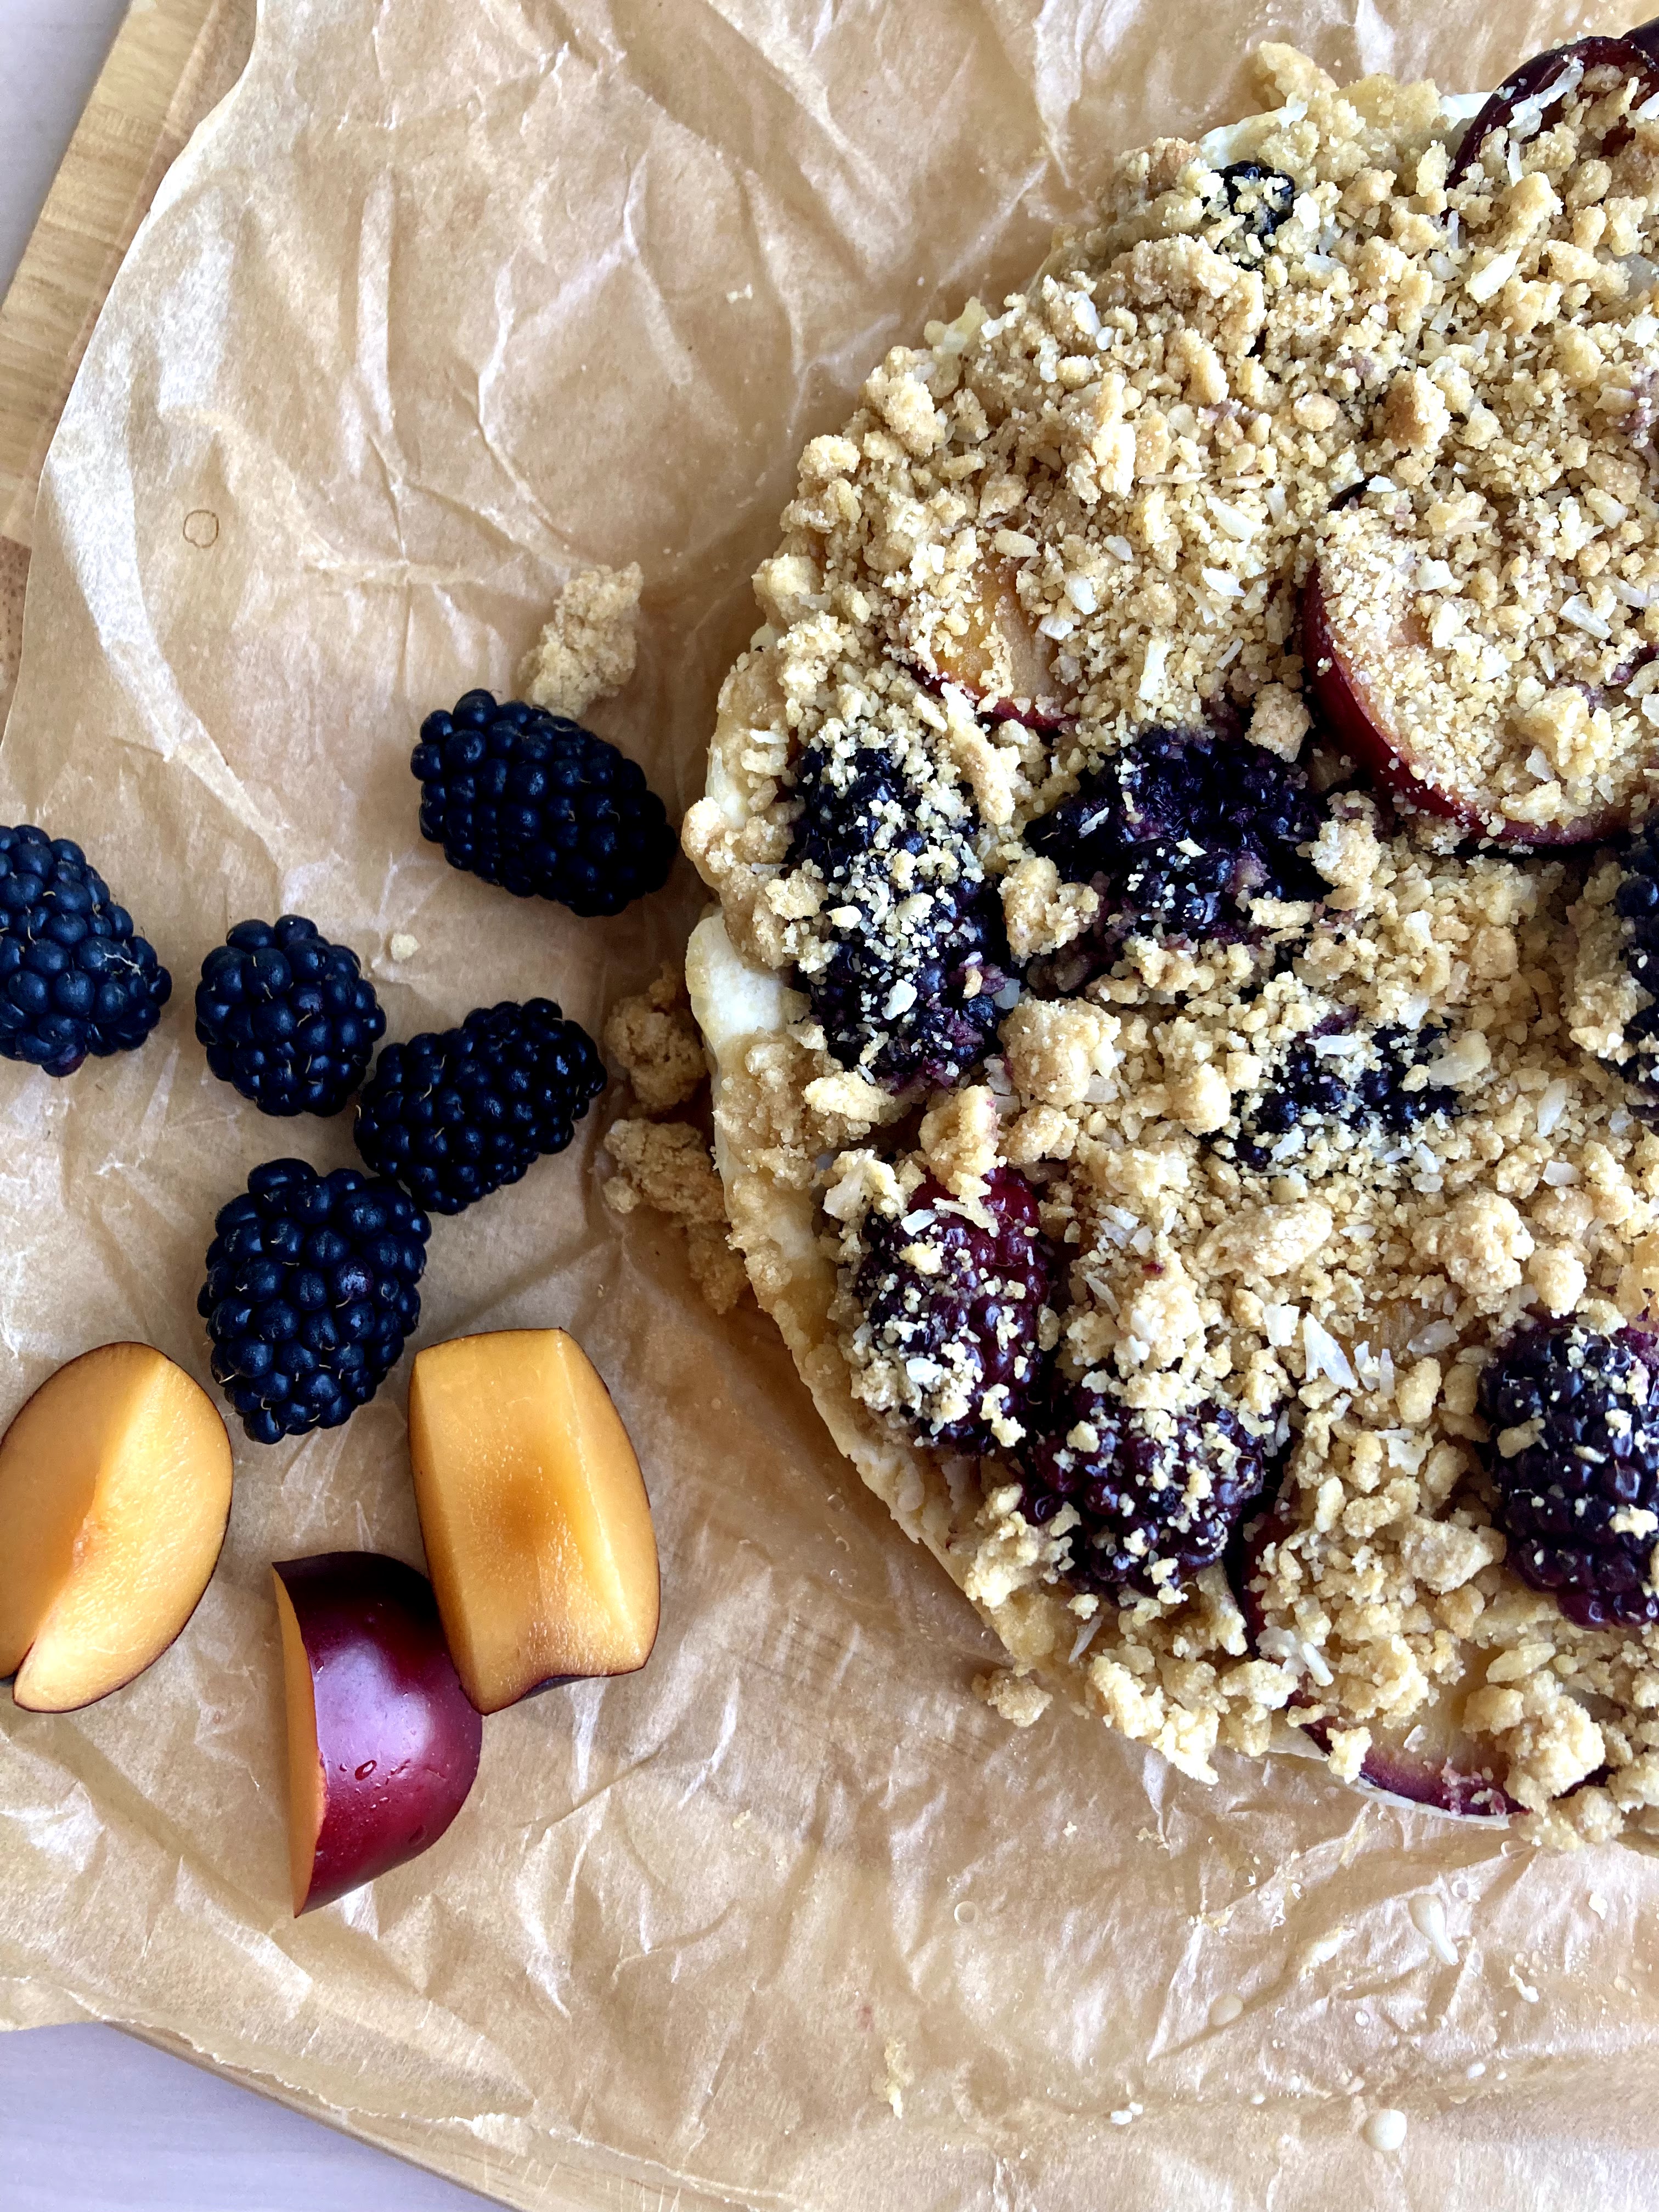
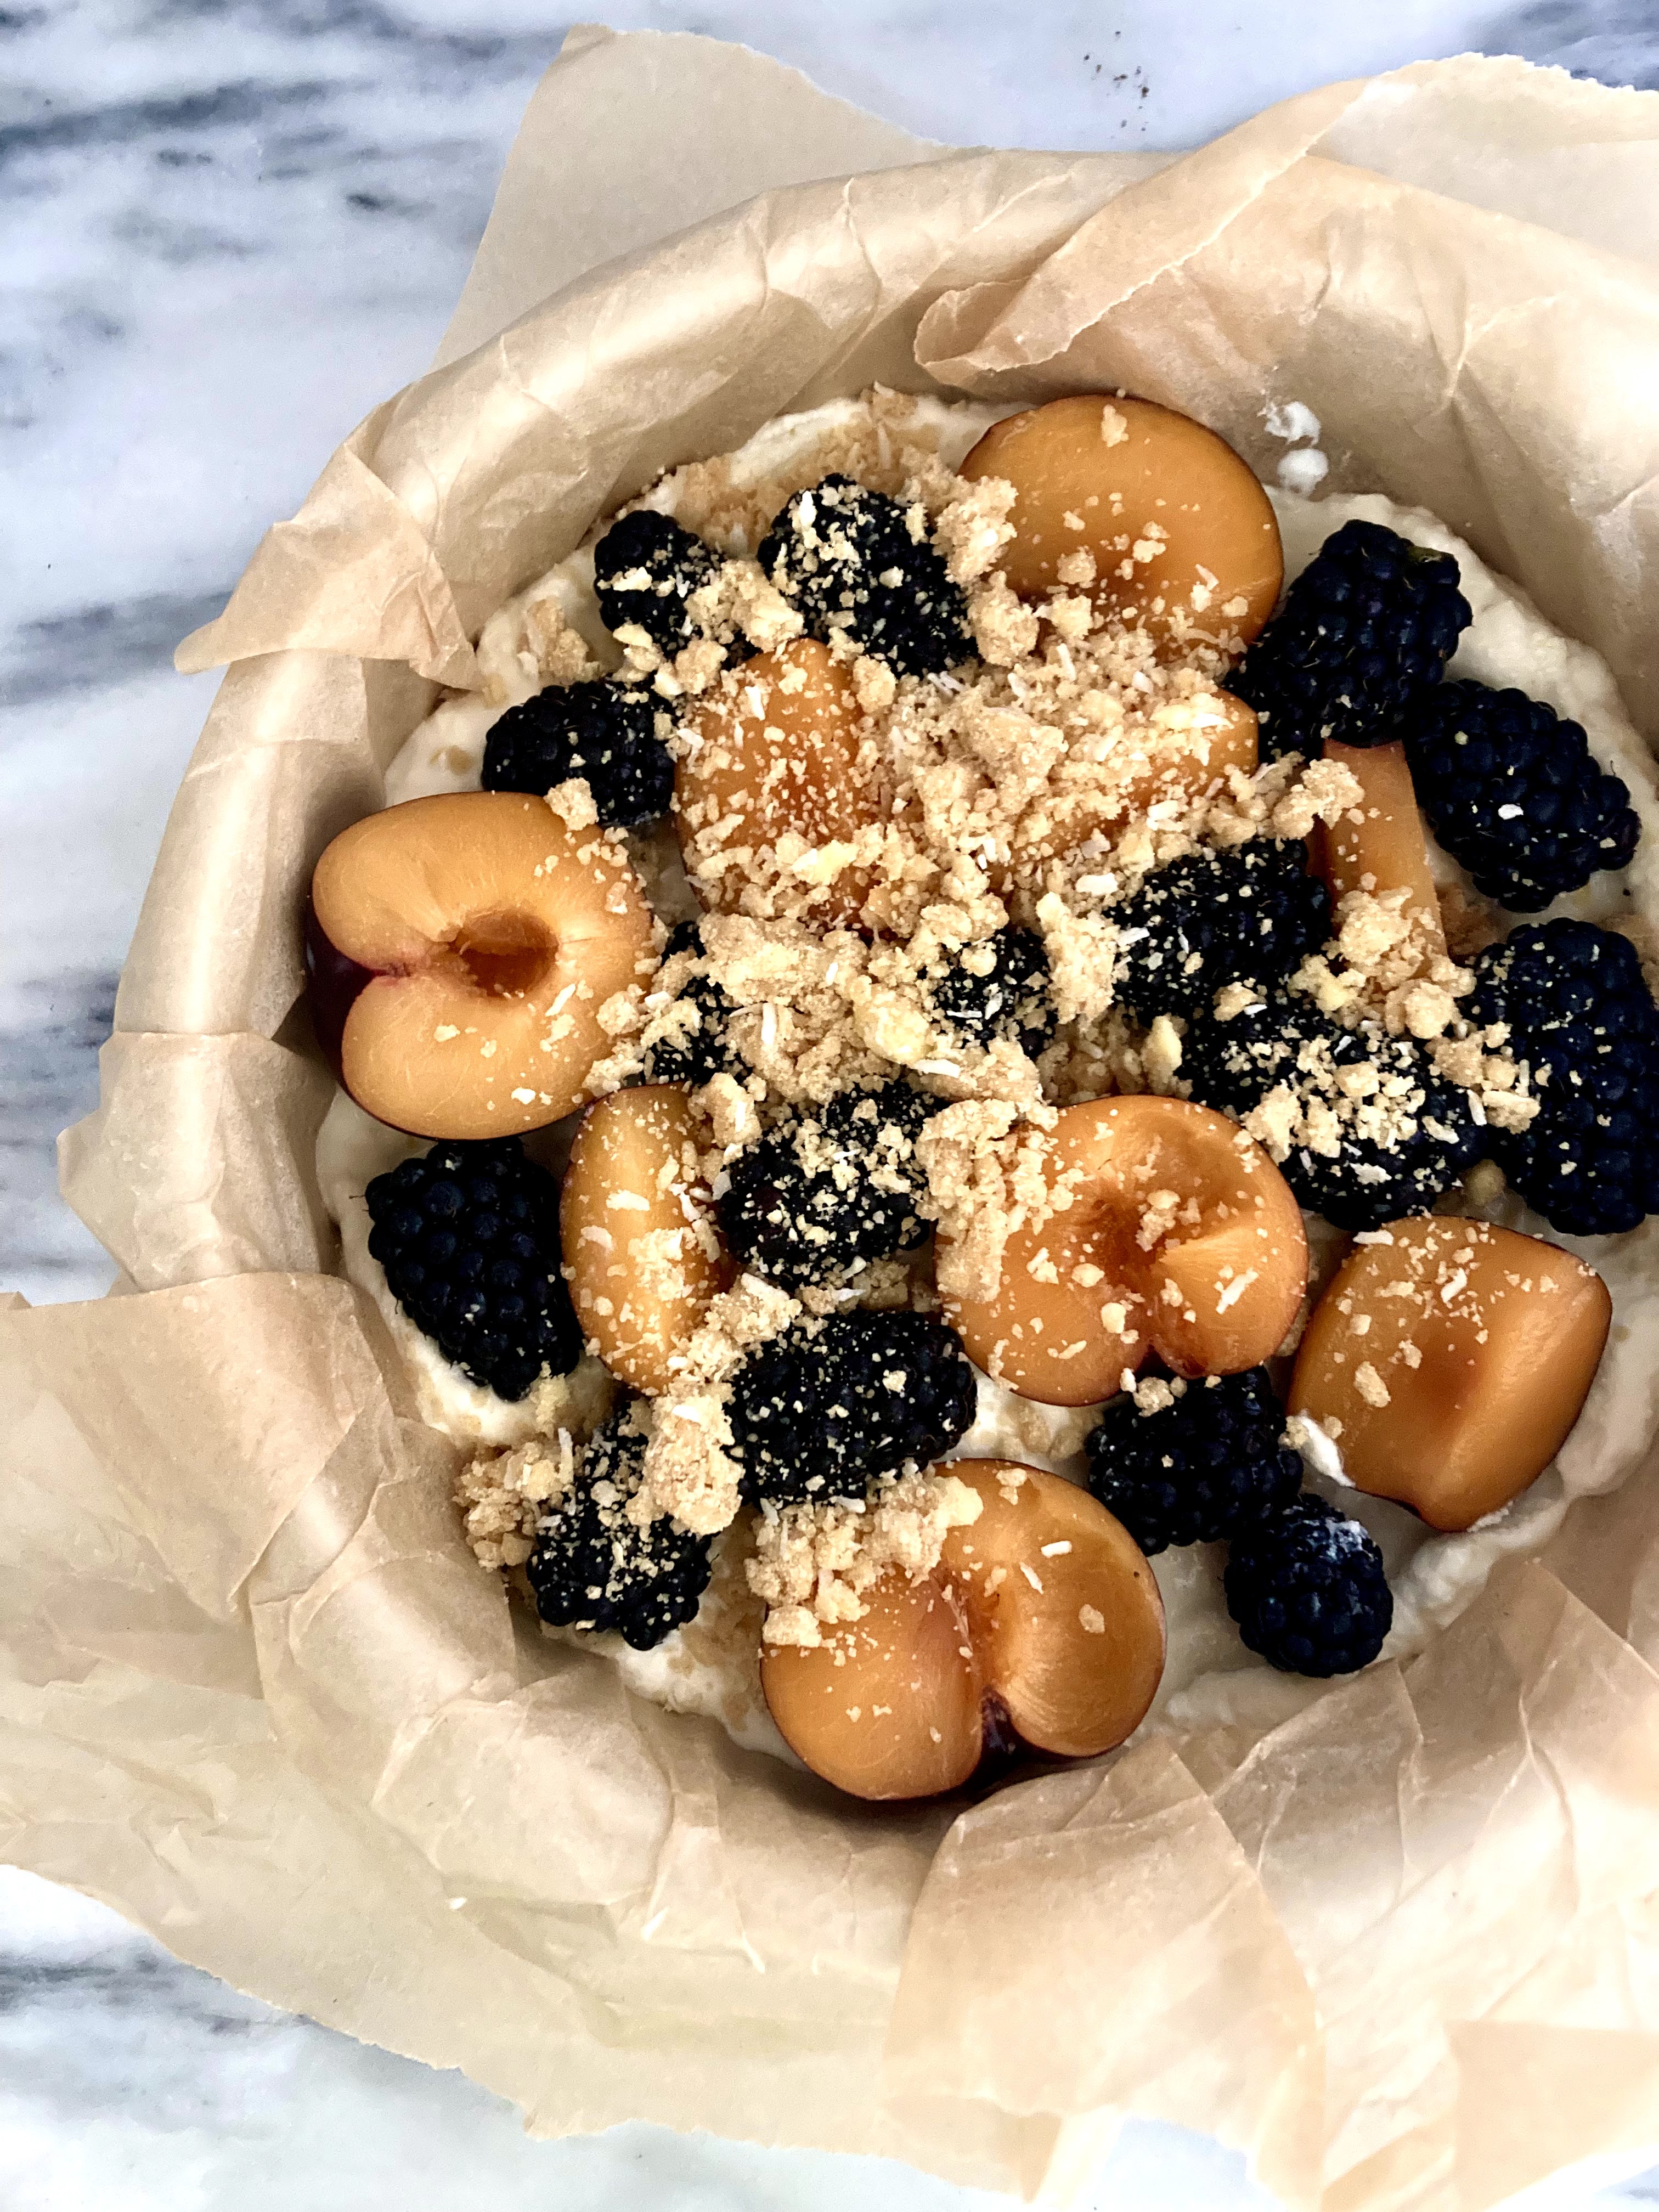
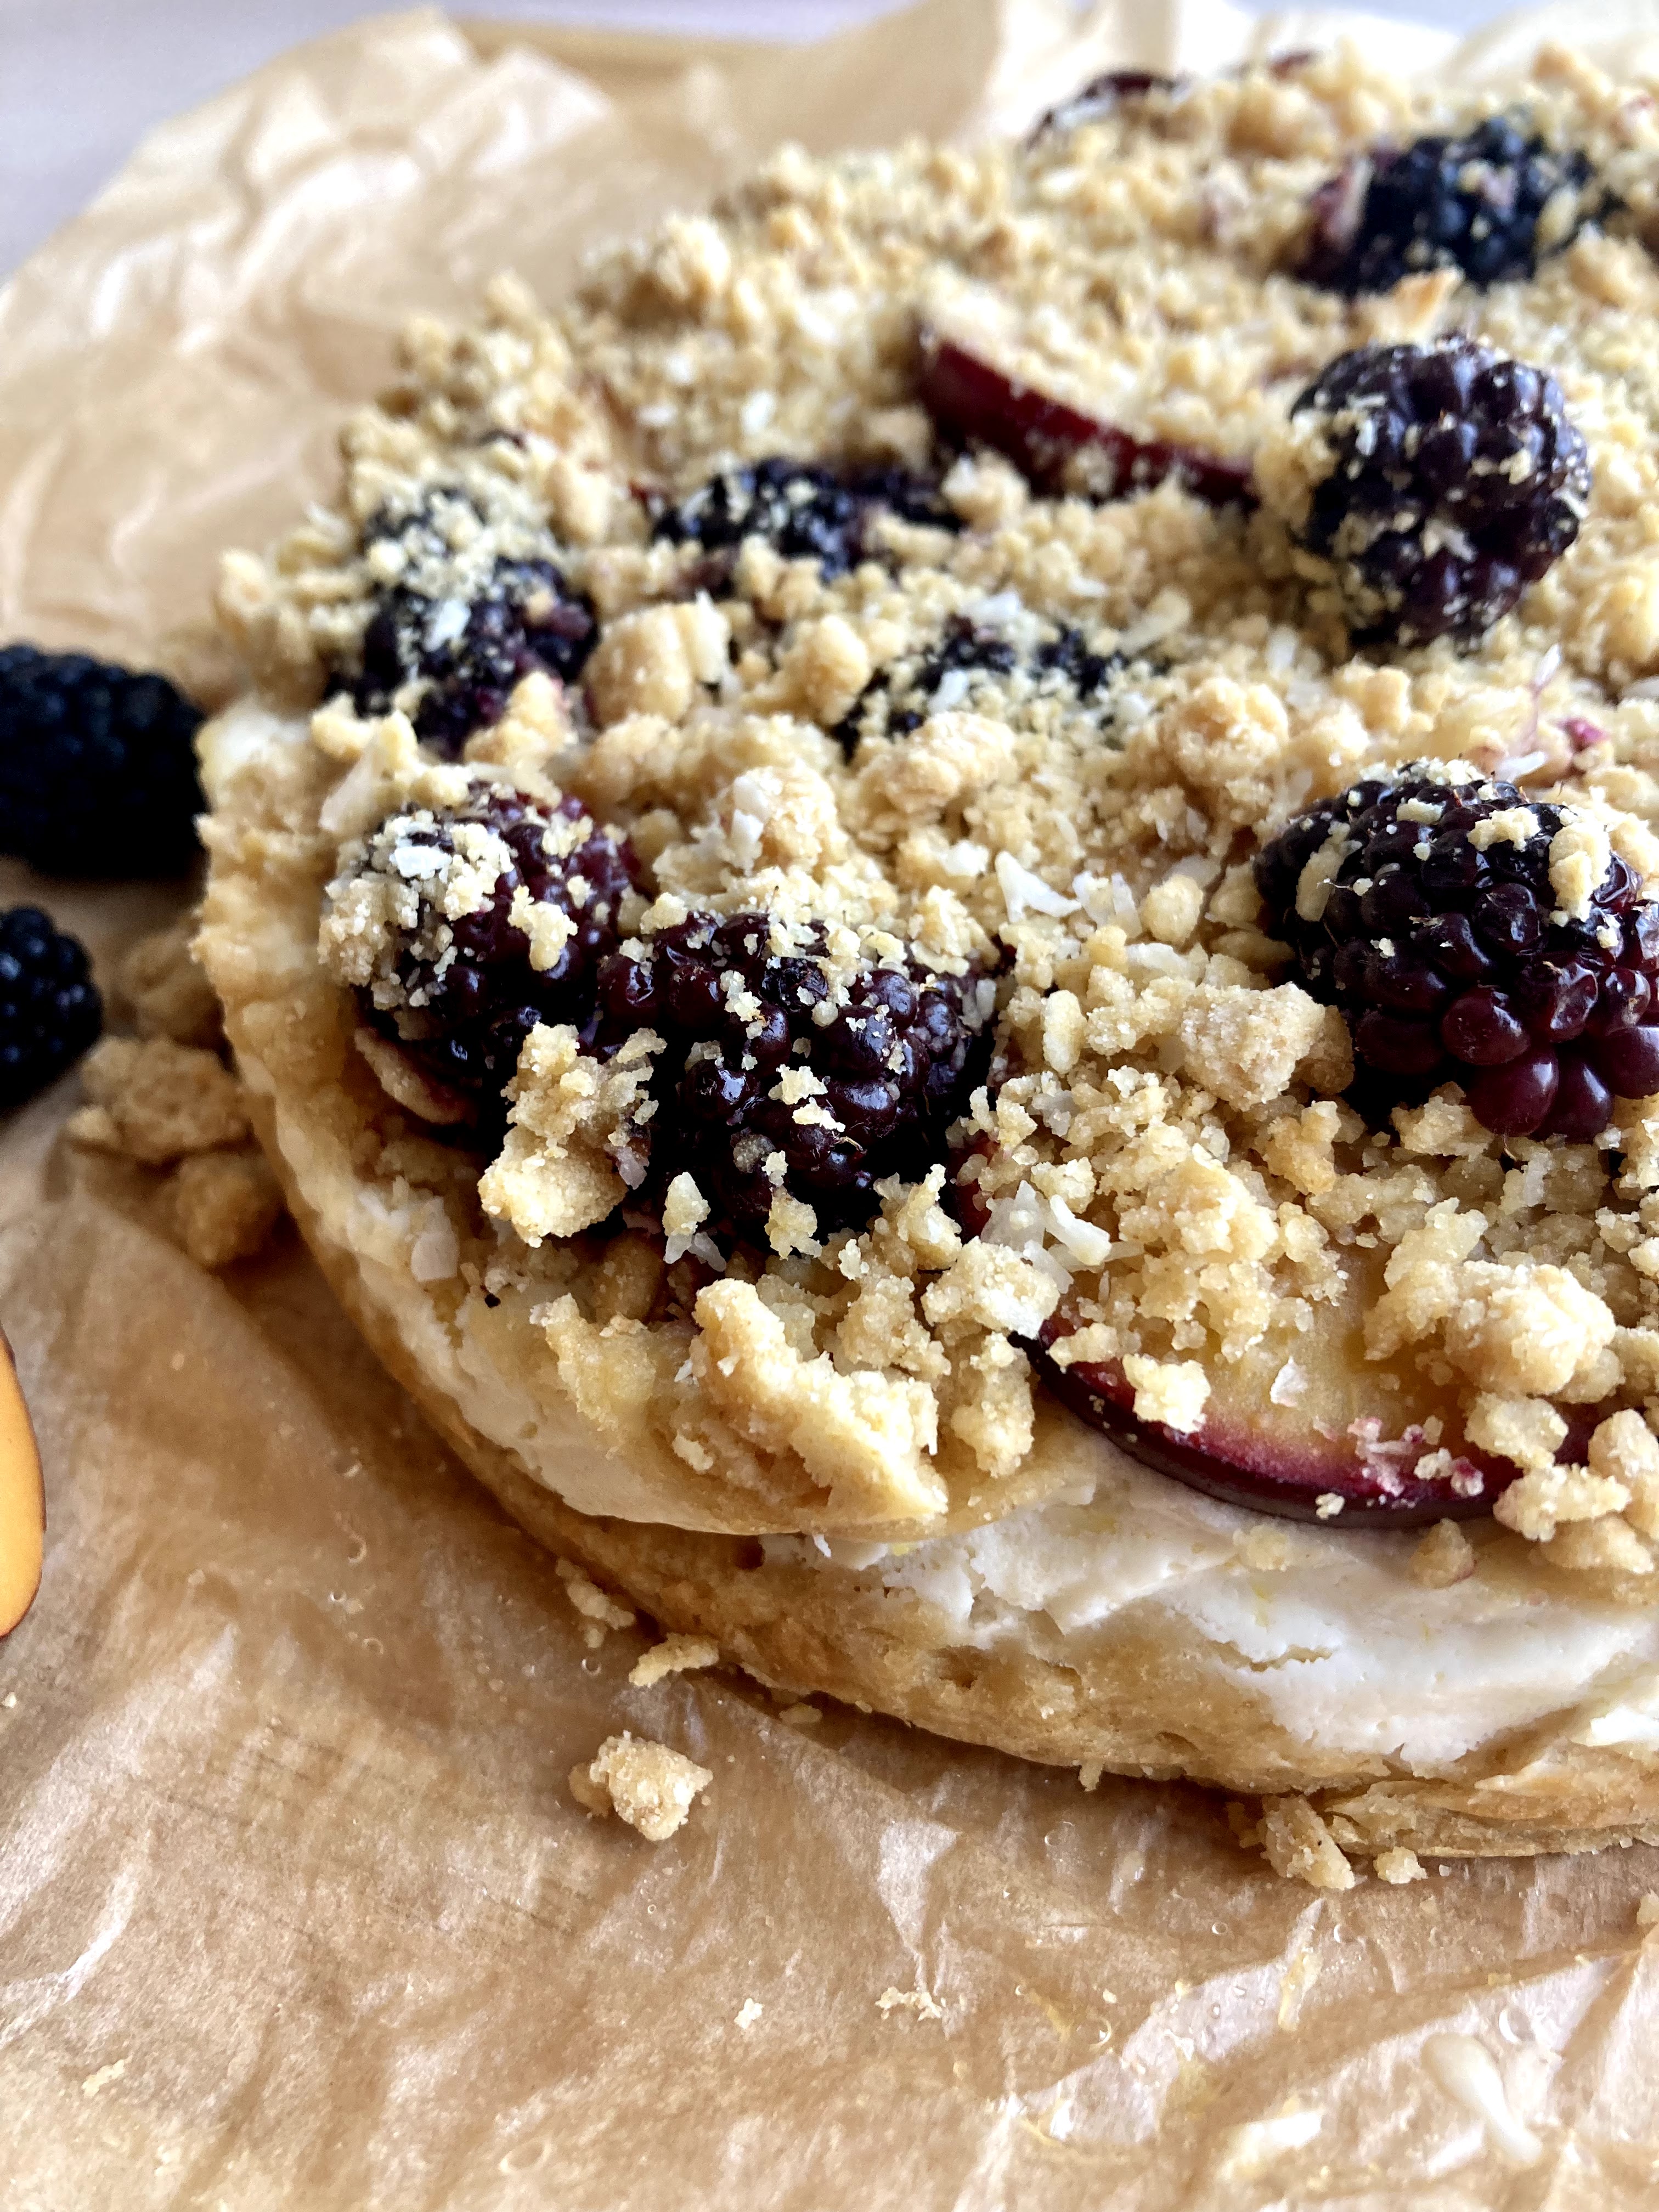
I have a cake for you today! Cakes feel few and far between around here, but I stumbled on this recipe and had to try it. I had stashed some ricotta in the freezer awhile back (not the best for its texture if you’re going to eat it plain, but if you’re baking with it, it’s fair game!) and wanted to pair it with the stone fruit that is all I want these days.

This cake is a pleasantly dense, nutty little thing – I think of it as a breakfast or brunch cake; something that is perfect alongside coffee. It does well served warm out of the oven, or chilled for a couple of hours in the fridge (my favorite, since the chilled cake texture is amazing).

The whole thing is very lightly sweet – there are only two tablespoons of maple in the entire thing, so the almondy dough and fruit flavors can really shine. It’s whole grain and infinitely adaptable – don’t have pluots? No problem – sub in figs, peaches, nectarines, plums, or any other fruit that catches your fancy. I think any berries would be excellent here, and I’m dying to try it with fresh figs – we’re almost into peak fig season here on the west coast!

We had it for brunch this morning – post workout and pre hiking (me) and cycling (him). Exercise nerds? Yeah, we are.

I got a new wetsuit and I’m SO excited about it – I was swimming without one the last week or so but I really love having one for my morning swims – it’s just so much more pleasant in the bay with one on, ha! This one is sleeveless, which is clutch. Not having anything over my shoulders is amazing.

my favorite swimming conditions – calm and foggy

Not a whole ton going on in other news – just cruising along into September (birthday month!) and crossing my fingers for no excessively hot weather in SF because we just know how much I looooove that, ha NOT.

I hope everyone out there had a good weekend! Sending good thoughts from my kitchen for good weeks all around.

Tuscan Ricotta Crumb Cake with Pluots and Blackberries

A pleasantly dense, lightly sweet breakfast cake – or dessert – but really excellent with coffee. Yield: one 7″ cake, serves several with small wedges. Refined sugar free and whole grain; easily gluten free with a cup for cup flour blend. Recipe gratefully adapted from Jules’ Kitchen, here!

For the dough:
1 c whole wheat pastry flour
1/4 c shredded coconut
2 oz almond flour
1/2 tbsp baking powder
1/4 tsp sea salt
2.5 tbsp unsalted butter, cold & diced into small cubes
1 tbsp pure maple syrup
1/2 tbsp vanilla extract
1/4 tsp almond extract
1 egg, beaten

For the filling:
1 c whole milk ricotta (drained if especially runny)
zest of one lemon
1 tbsp maple
1 tsp vanilla extract
heaping handful of fresh blackberries
4 small pluots

Preheat the oven to 350, and grease a 7” cake pan with butter (alternatively, a 6 or 8” would also work – just adjust the bake time up or down accordingly) Line the greased pan with parchment paper and set aside.

In a large bowl, whisk together pastry flour, coconut, almond flour, baking powder, and sea salt. Work the diced butter into the dry ingredients with your fingers or a pastry cutter until it resembles coarse sand. Add maple, vanilla, and almond, followed by the beaten egg. Use your fingers or a fork to work the egg into the dough – it doesn’t need to come together into a ball, it just needs to stick together when you press it with your fingers. Press half the dough into the cake pan to form the bottom layer.

In a large bowl, whisk together ricotta, lemon zest, vanilla, and maple. Spread the filling over the bottom crust, and top with blackberries and sliced pluots. Sprinkle the rest of the crumble topping over the fruit and ricotta.

Bake for 35-40 minutes – the topping should be lightly browned. Remove and let cool in the pan for at least ten minutes, then lift it out onto a cooling rack to cool completely. Slice and serve warm, or chill in the fridge for a few hours before serving. Store leftovers in the fridge for 1-2 days.

Stone Fruit Season

I’ve decided that it’s very hard to not enjoy peak stone fruit season.

It’s literally all we want to eat (okay not true, I’m never NOT in the mood for thai food, ha) but for everything else right now… bring on the stone fruit!

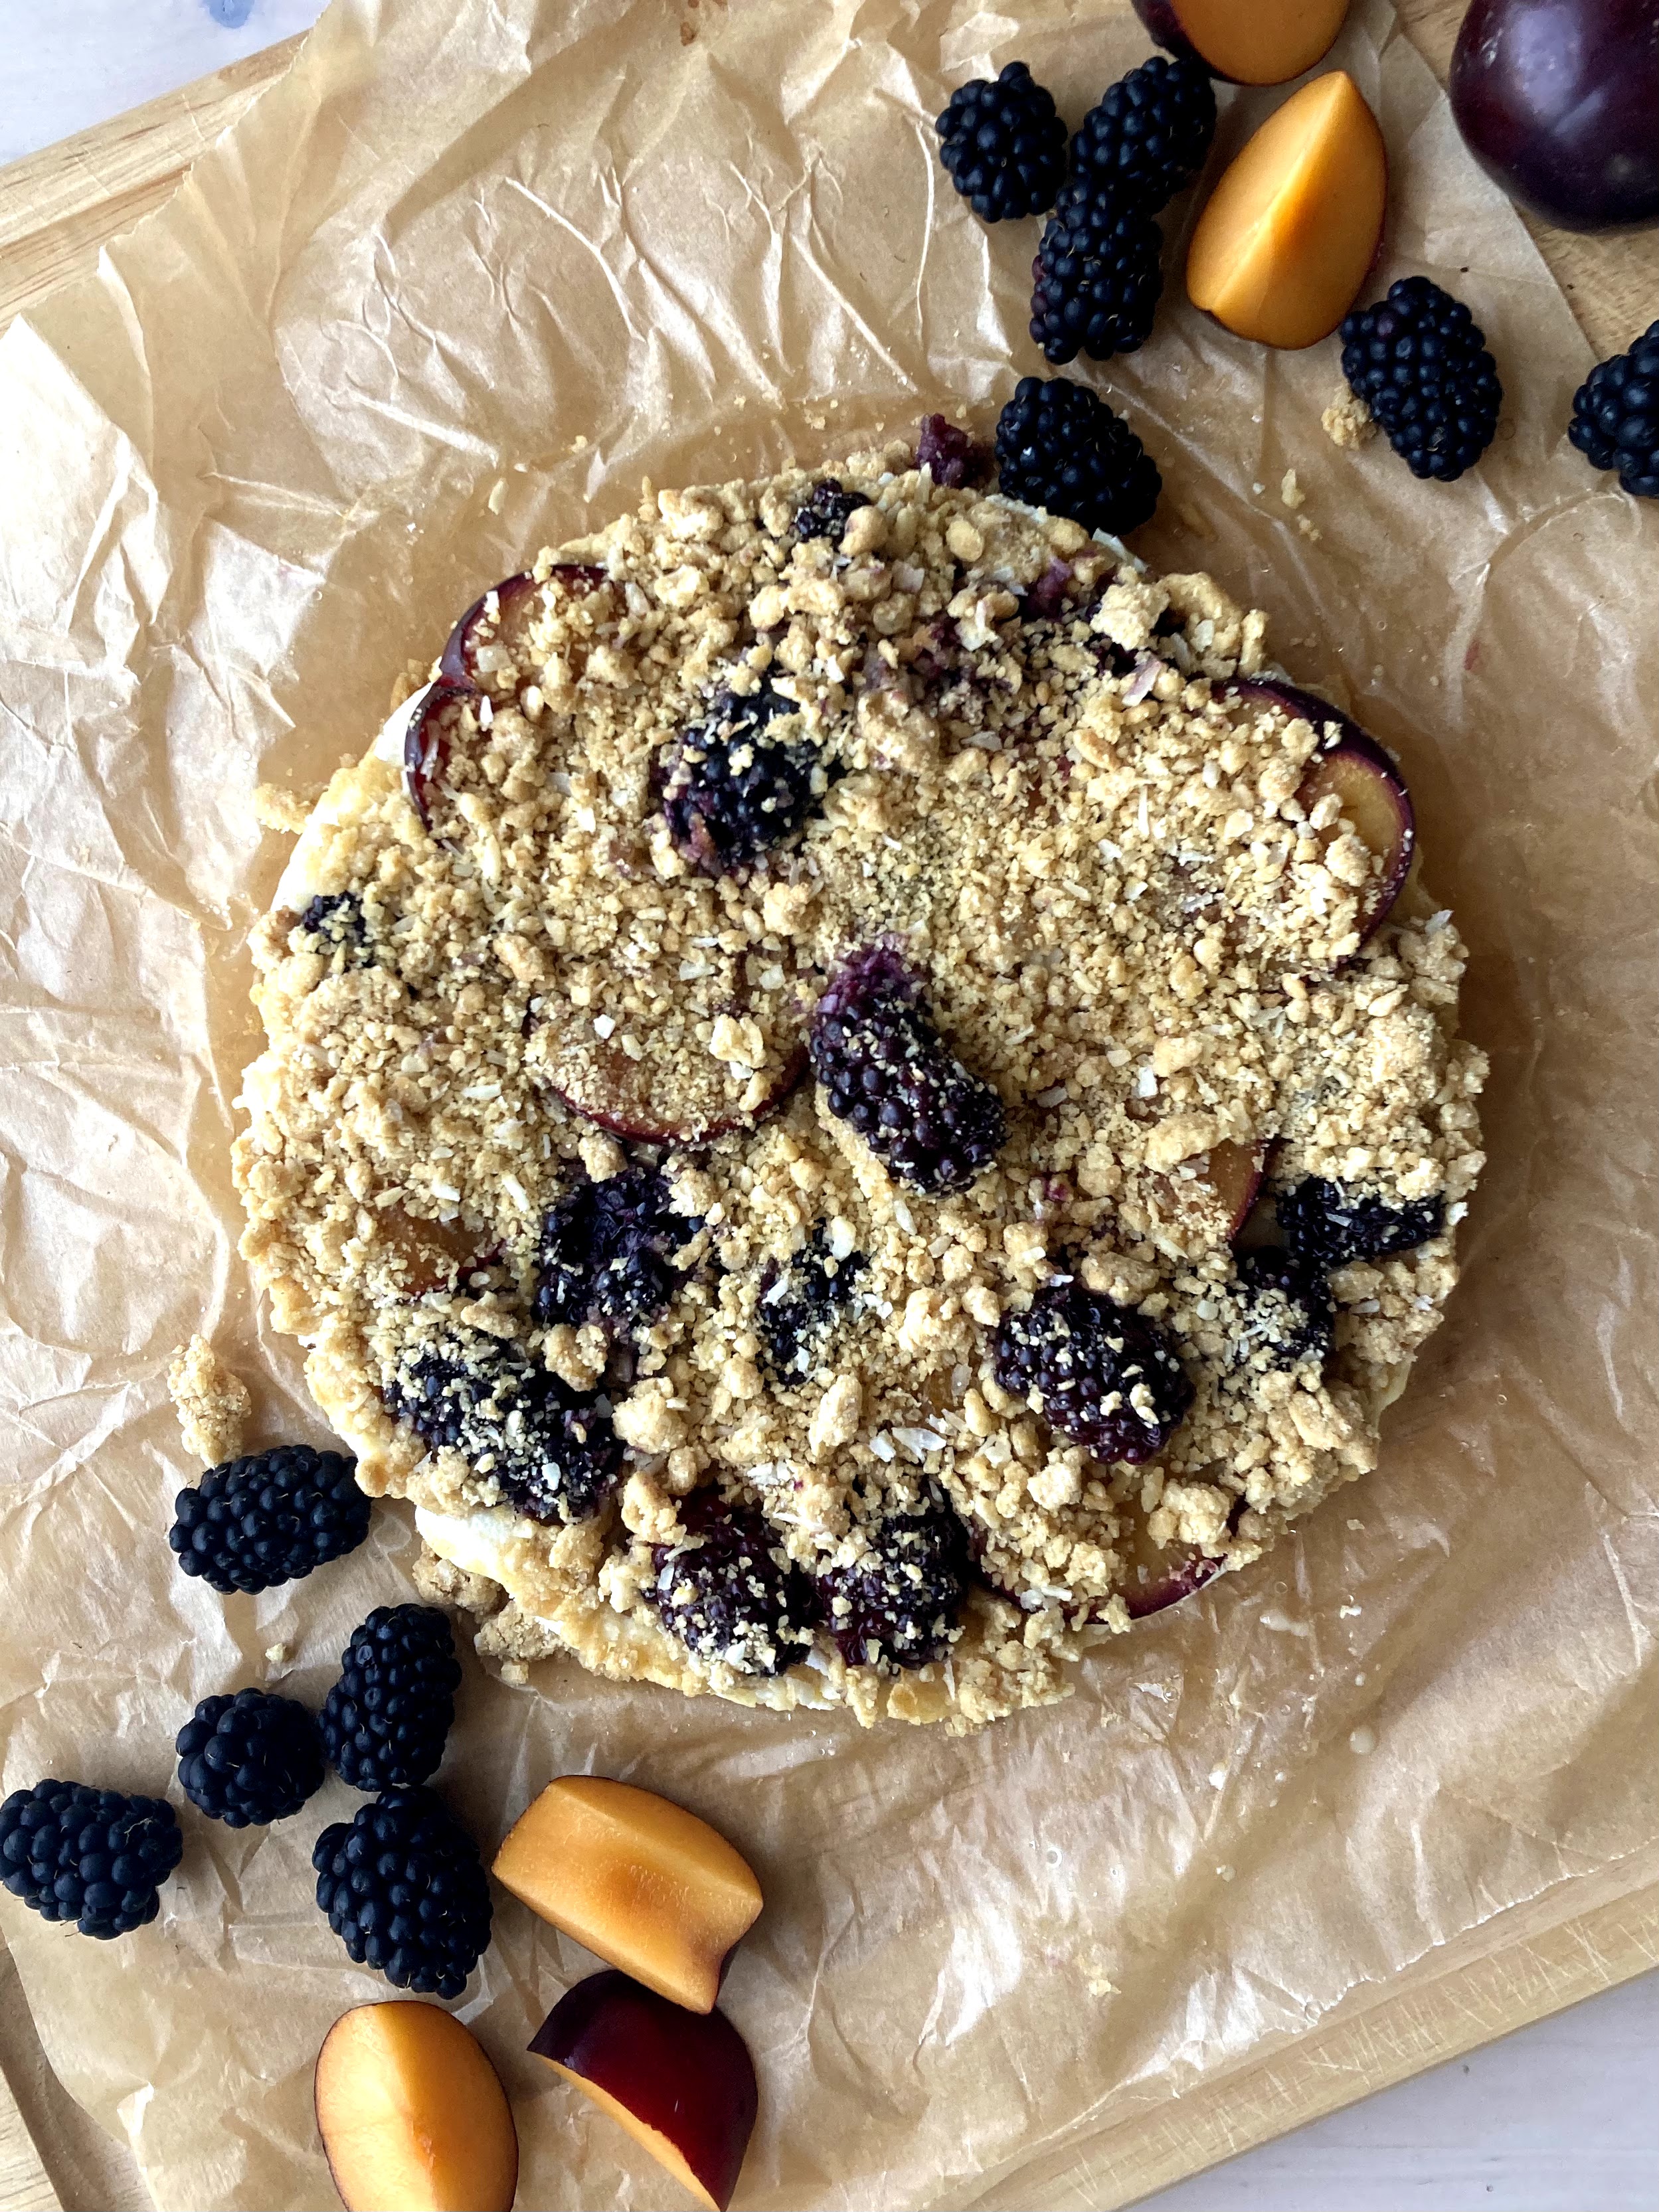
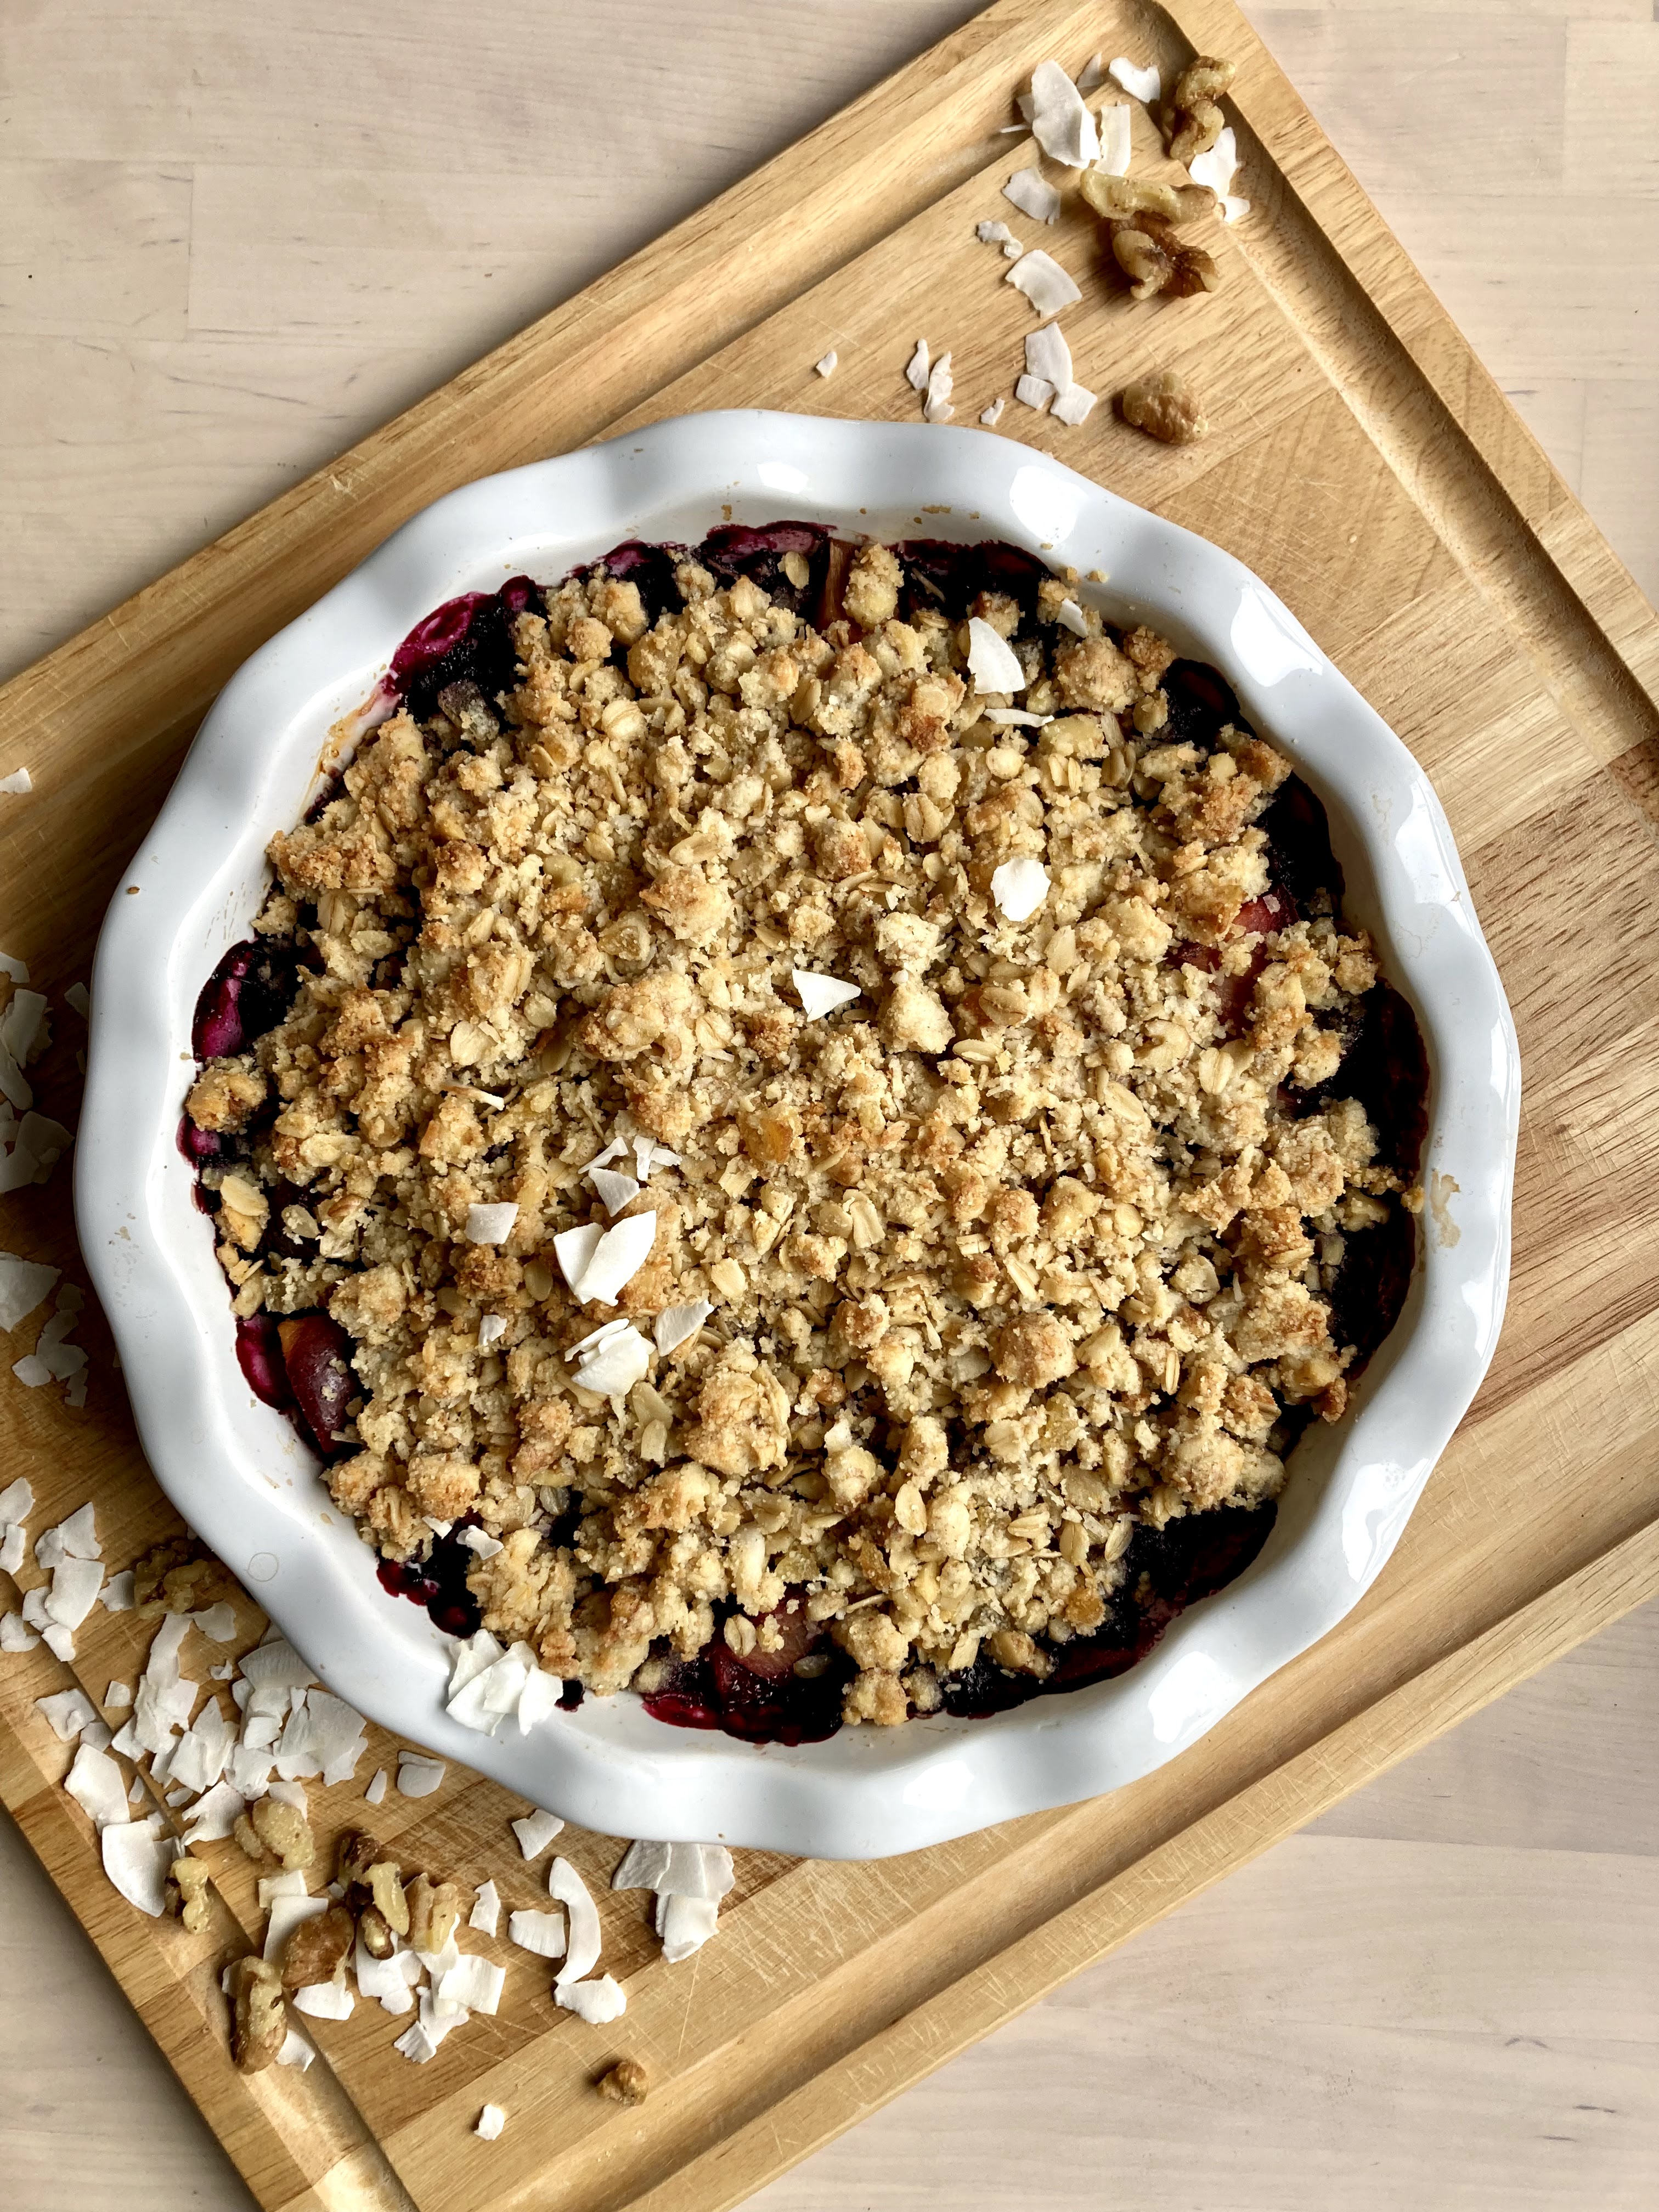
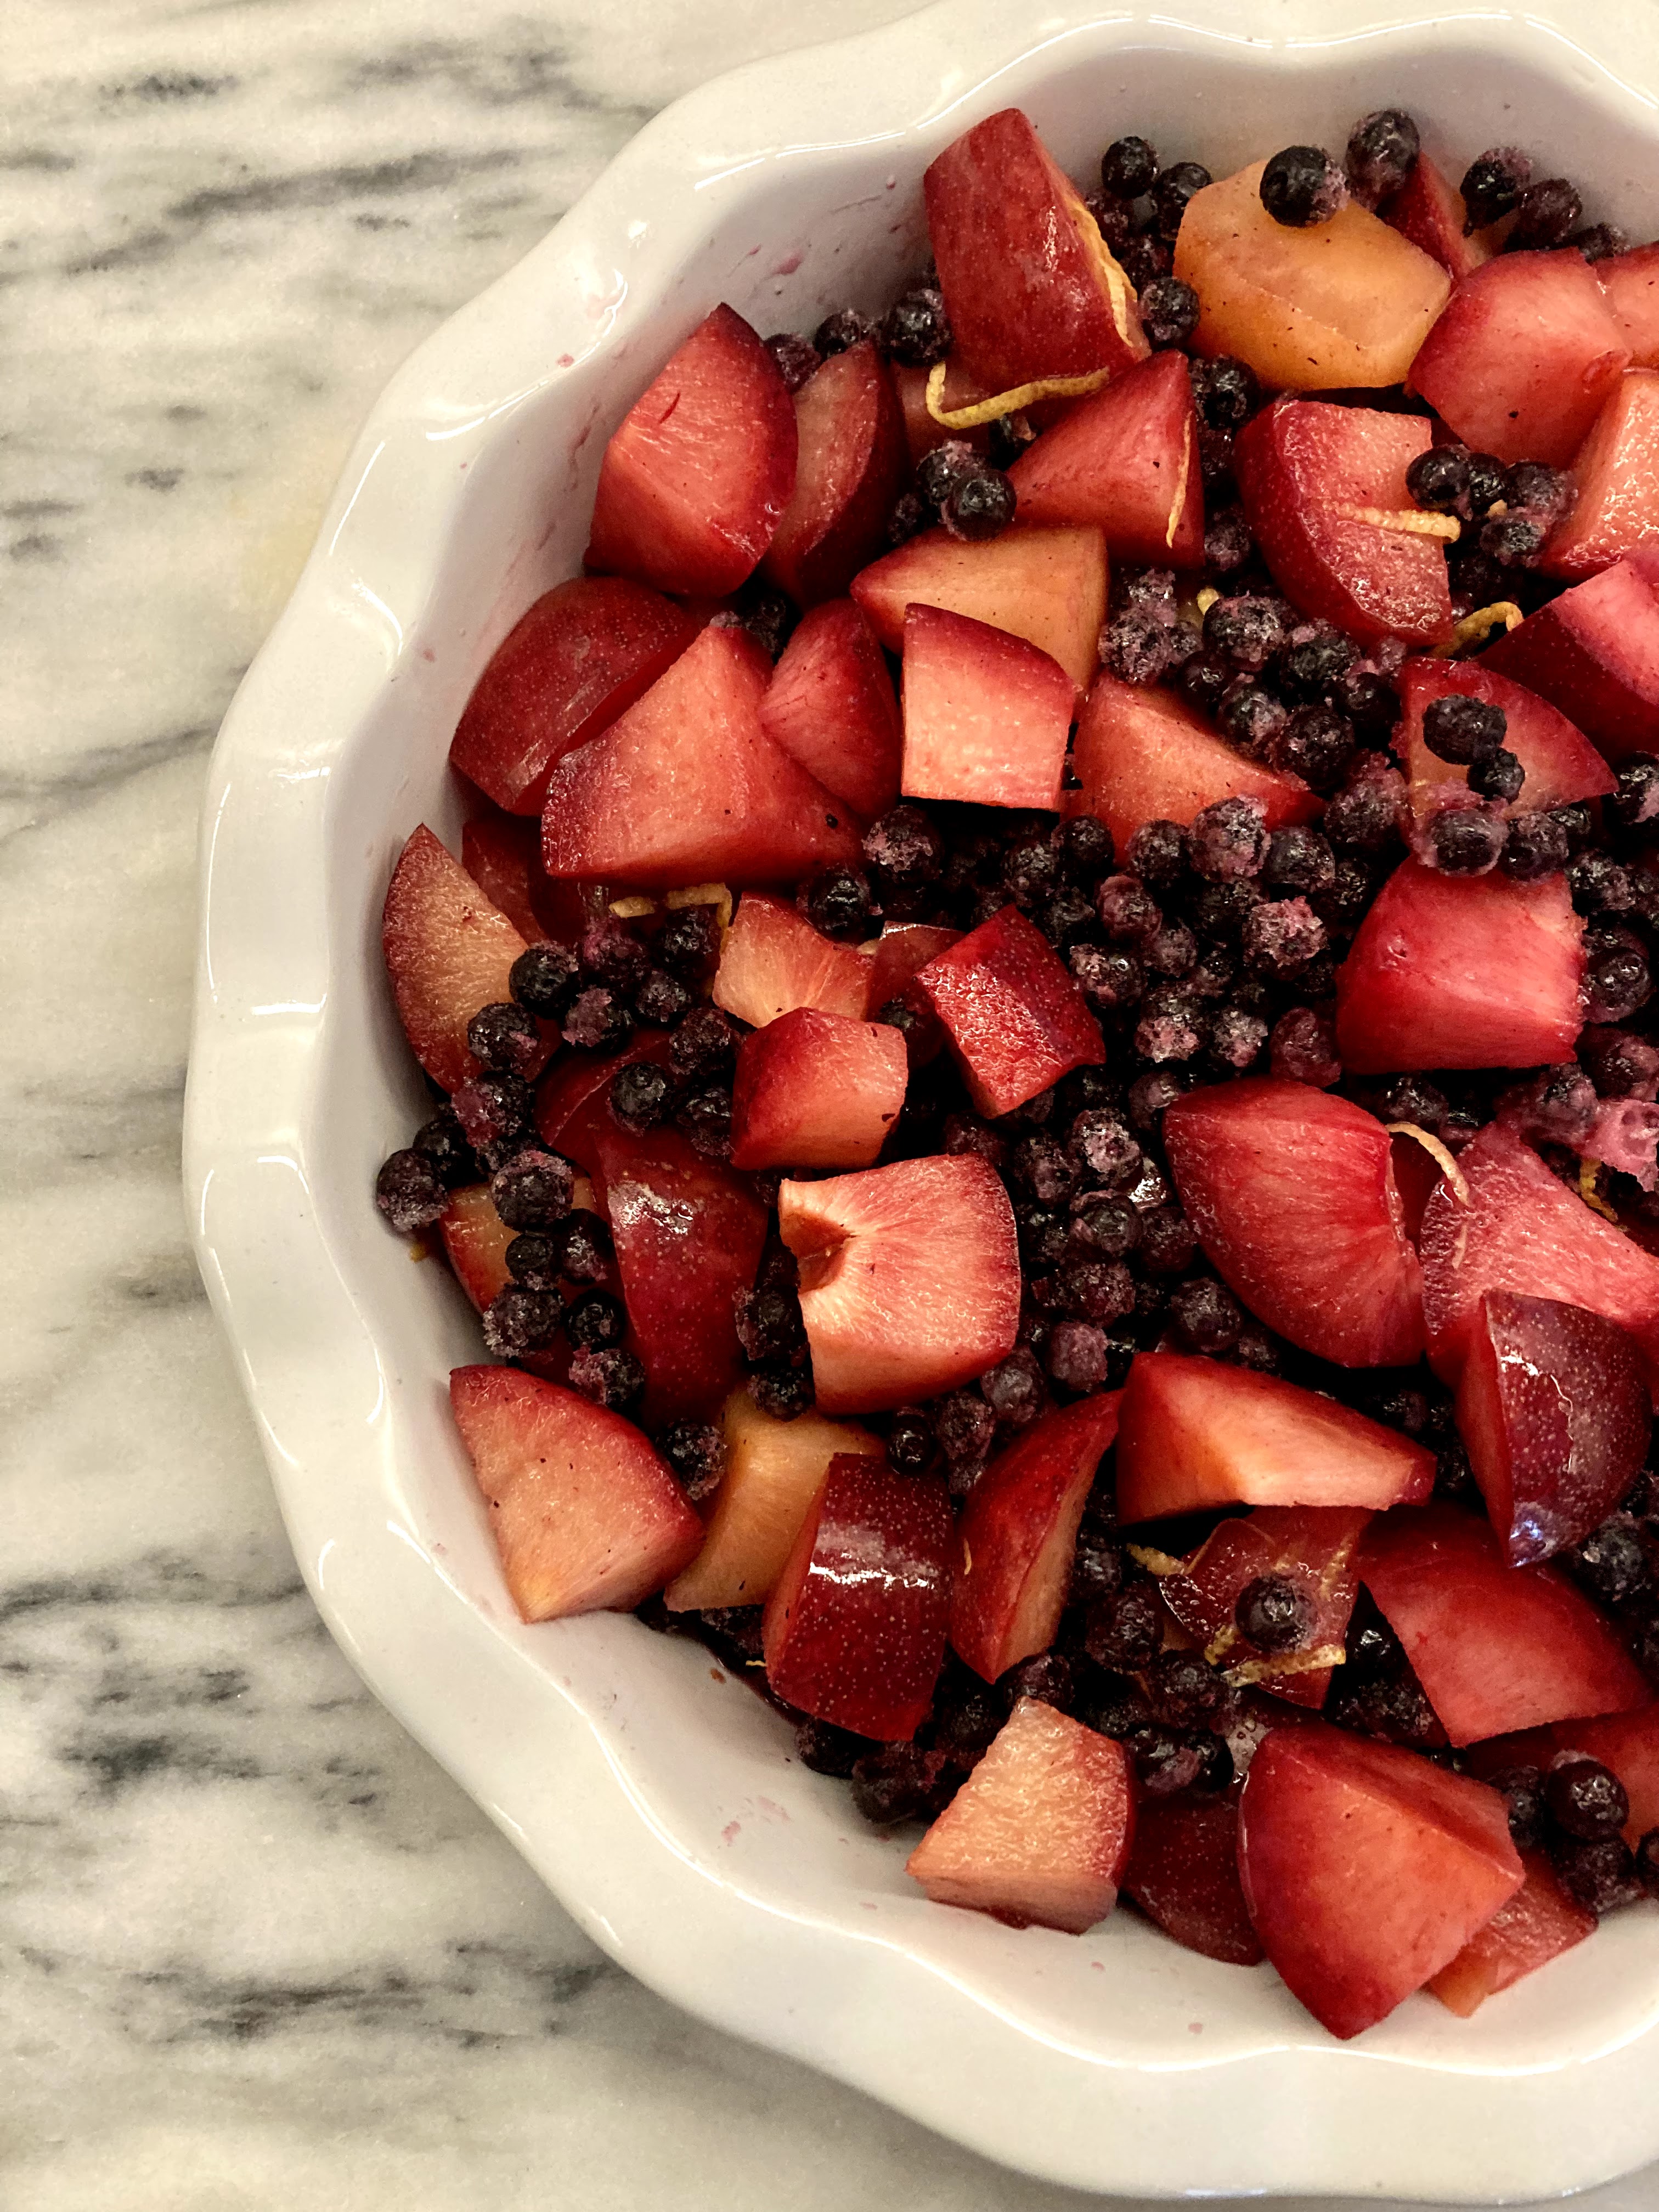
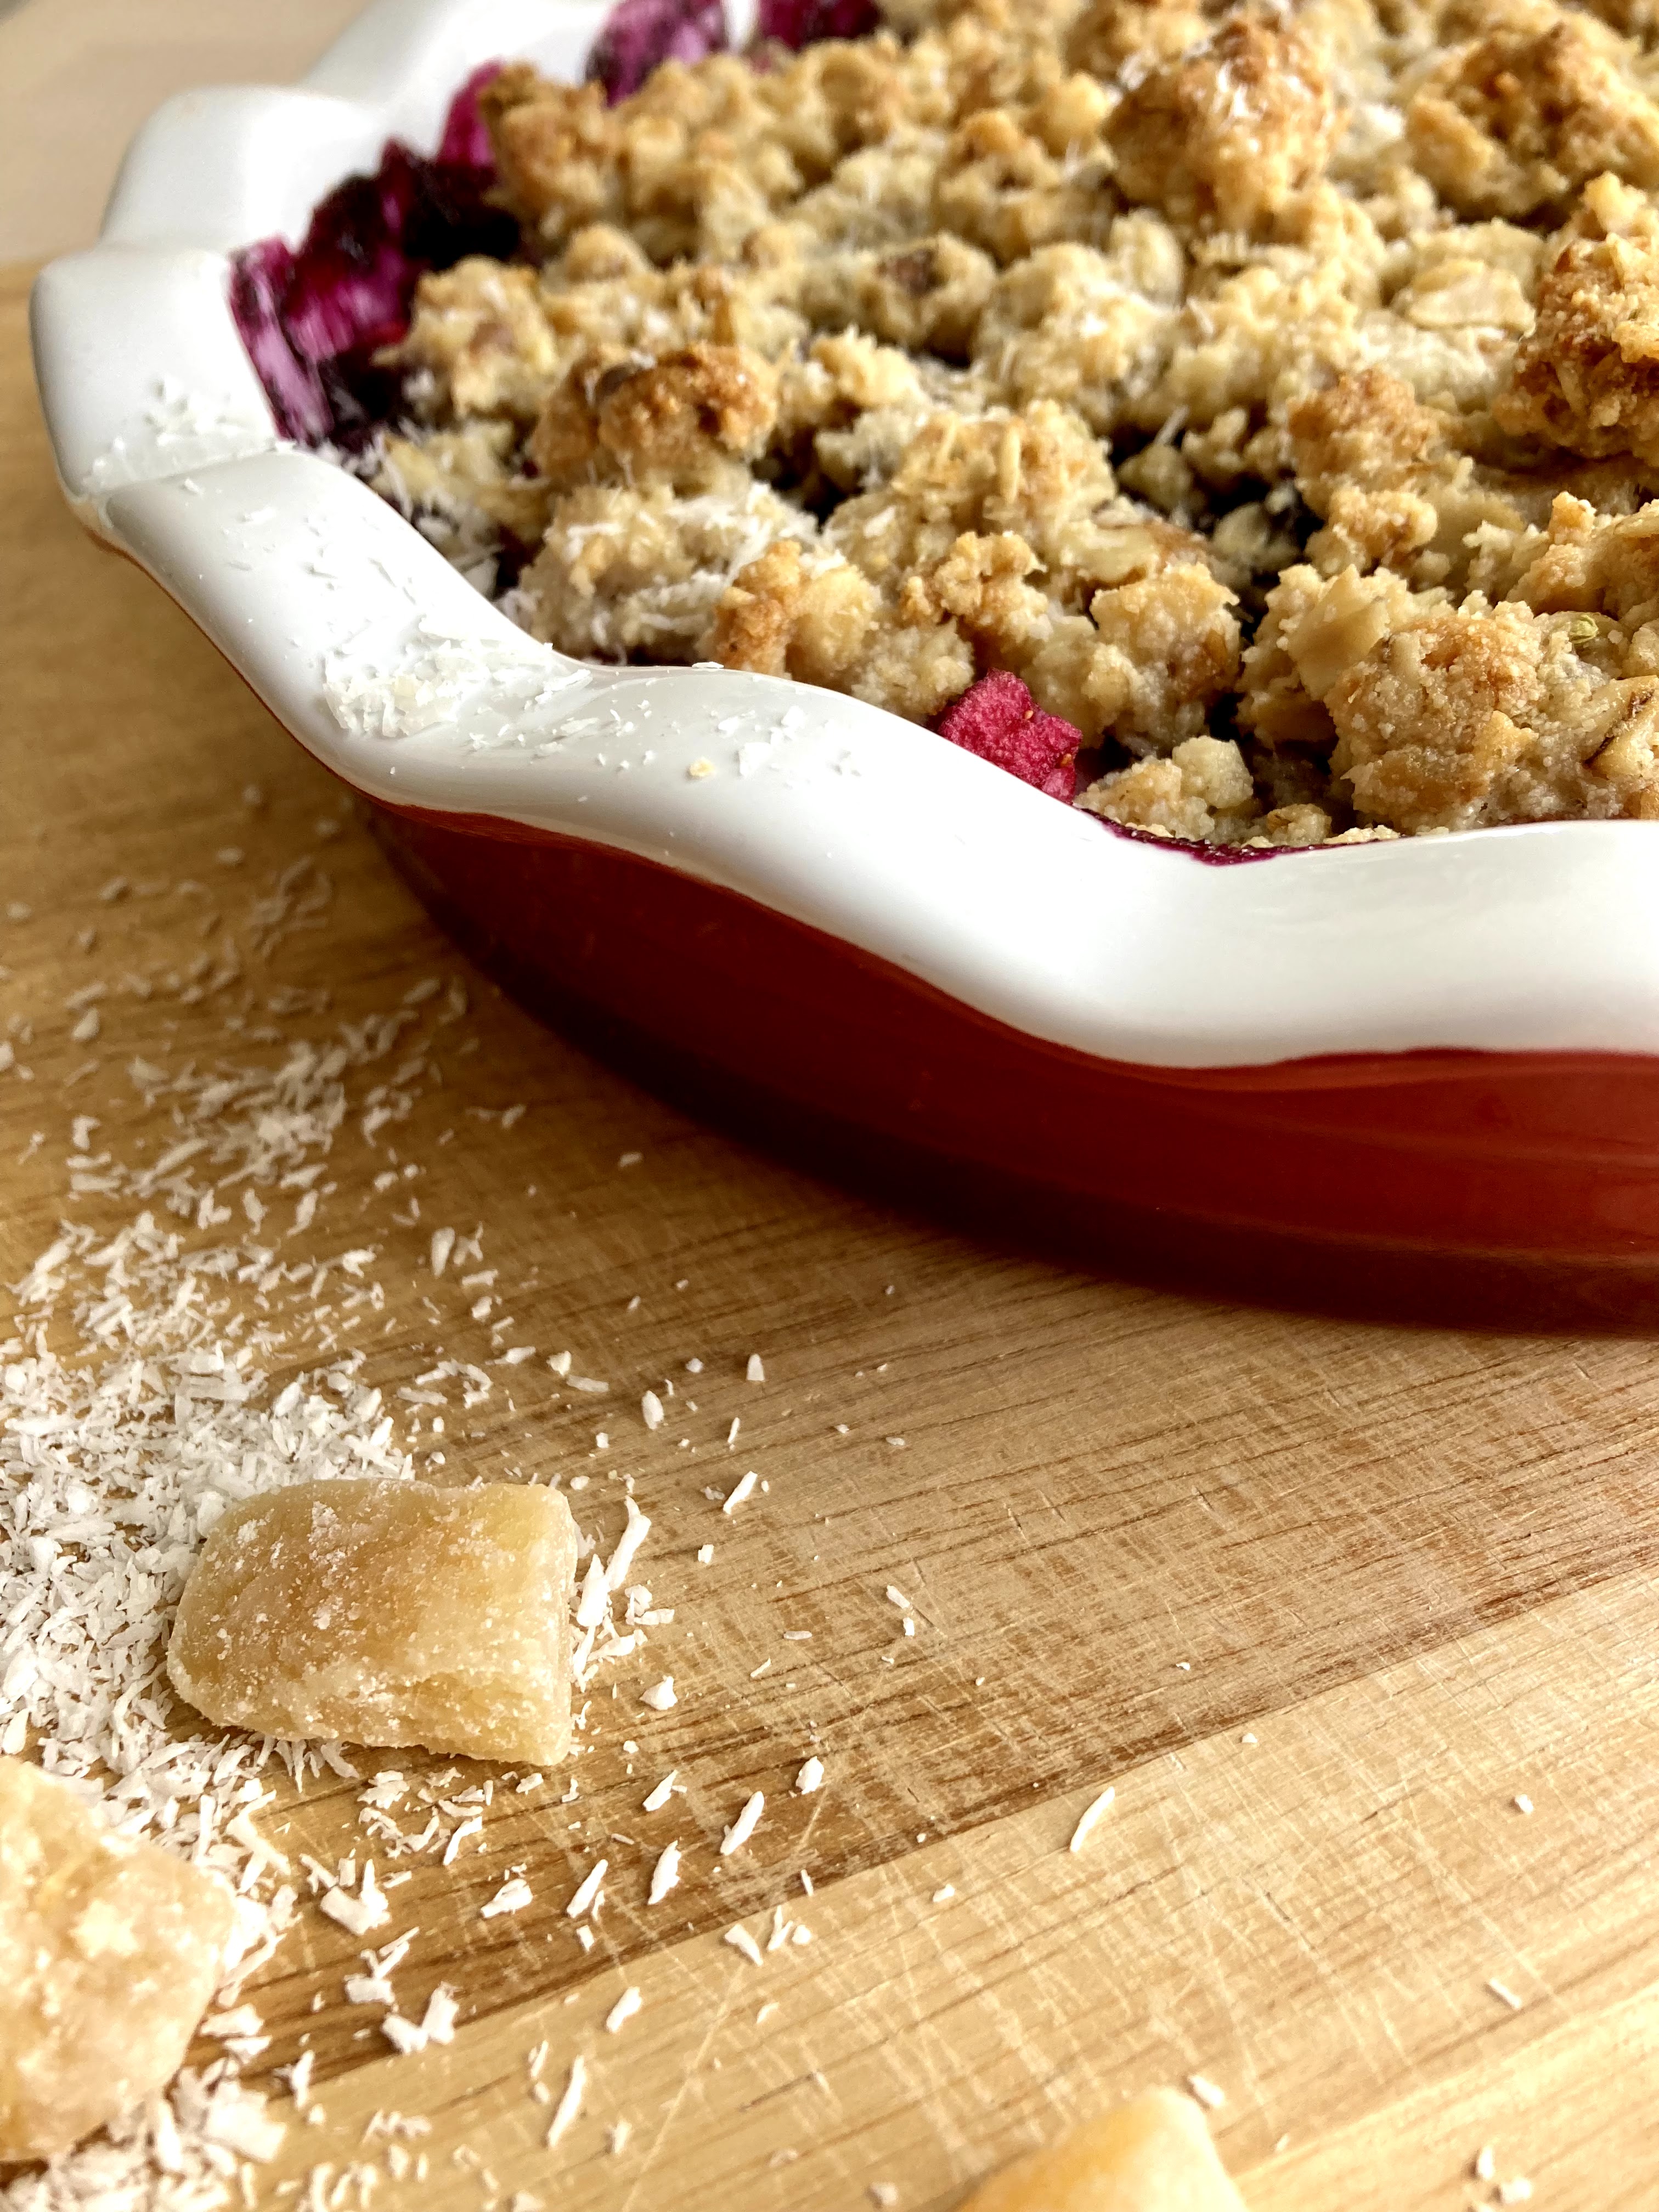
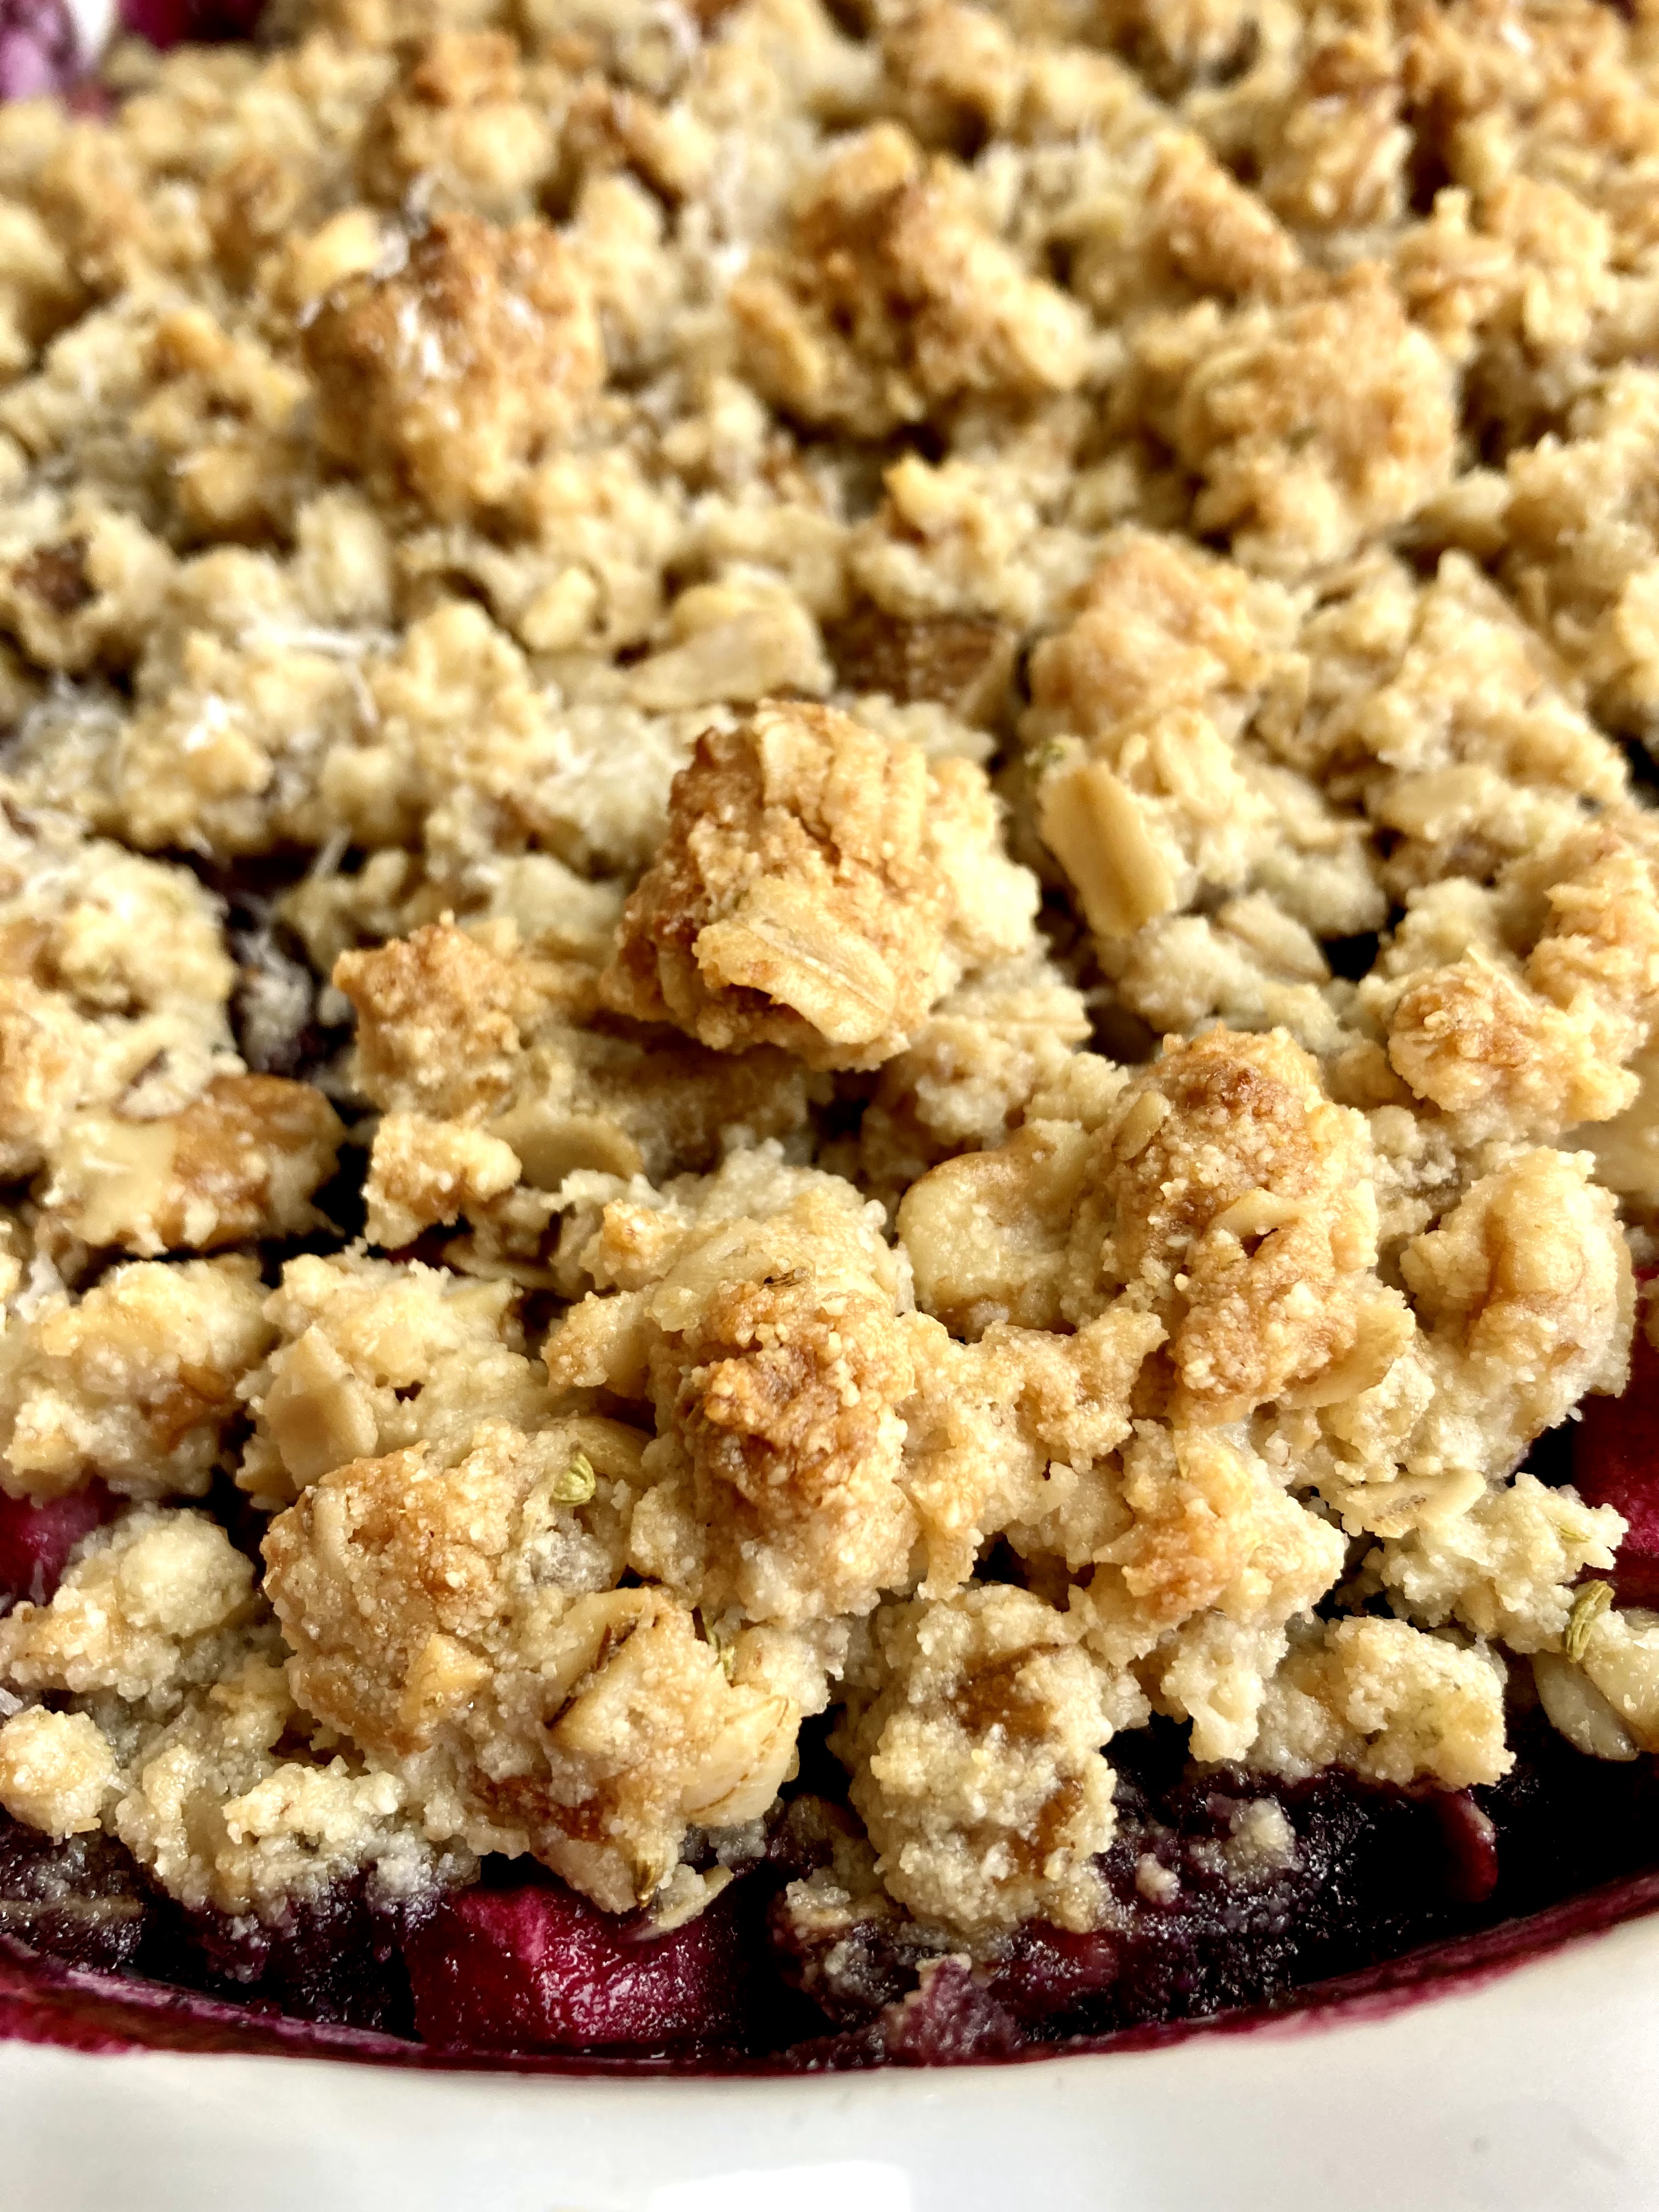
This weekend was full of pluots, courtesy of my imperfect produce box – these were slightly scarred but so perfect, taste-wise. I wanted a crumble since I hadn’t done one in awhile; I love that they keep the focus on the fruit. It’s basically fruit and nuts, at least the way I make them! They end up making great breakfast the next day – not shocking to anyone who’s read this blog for awhile :)

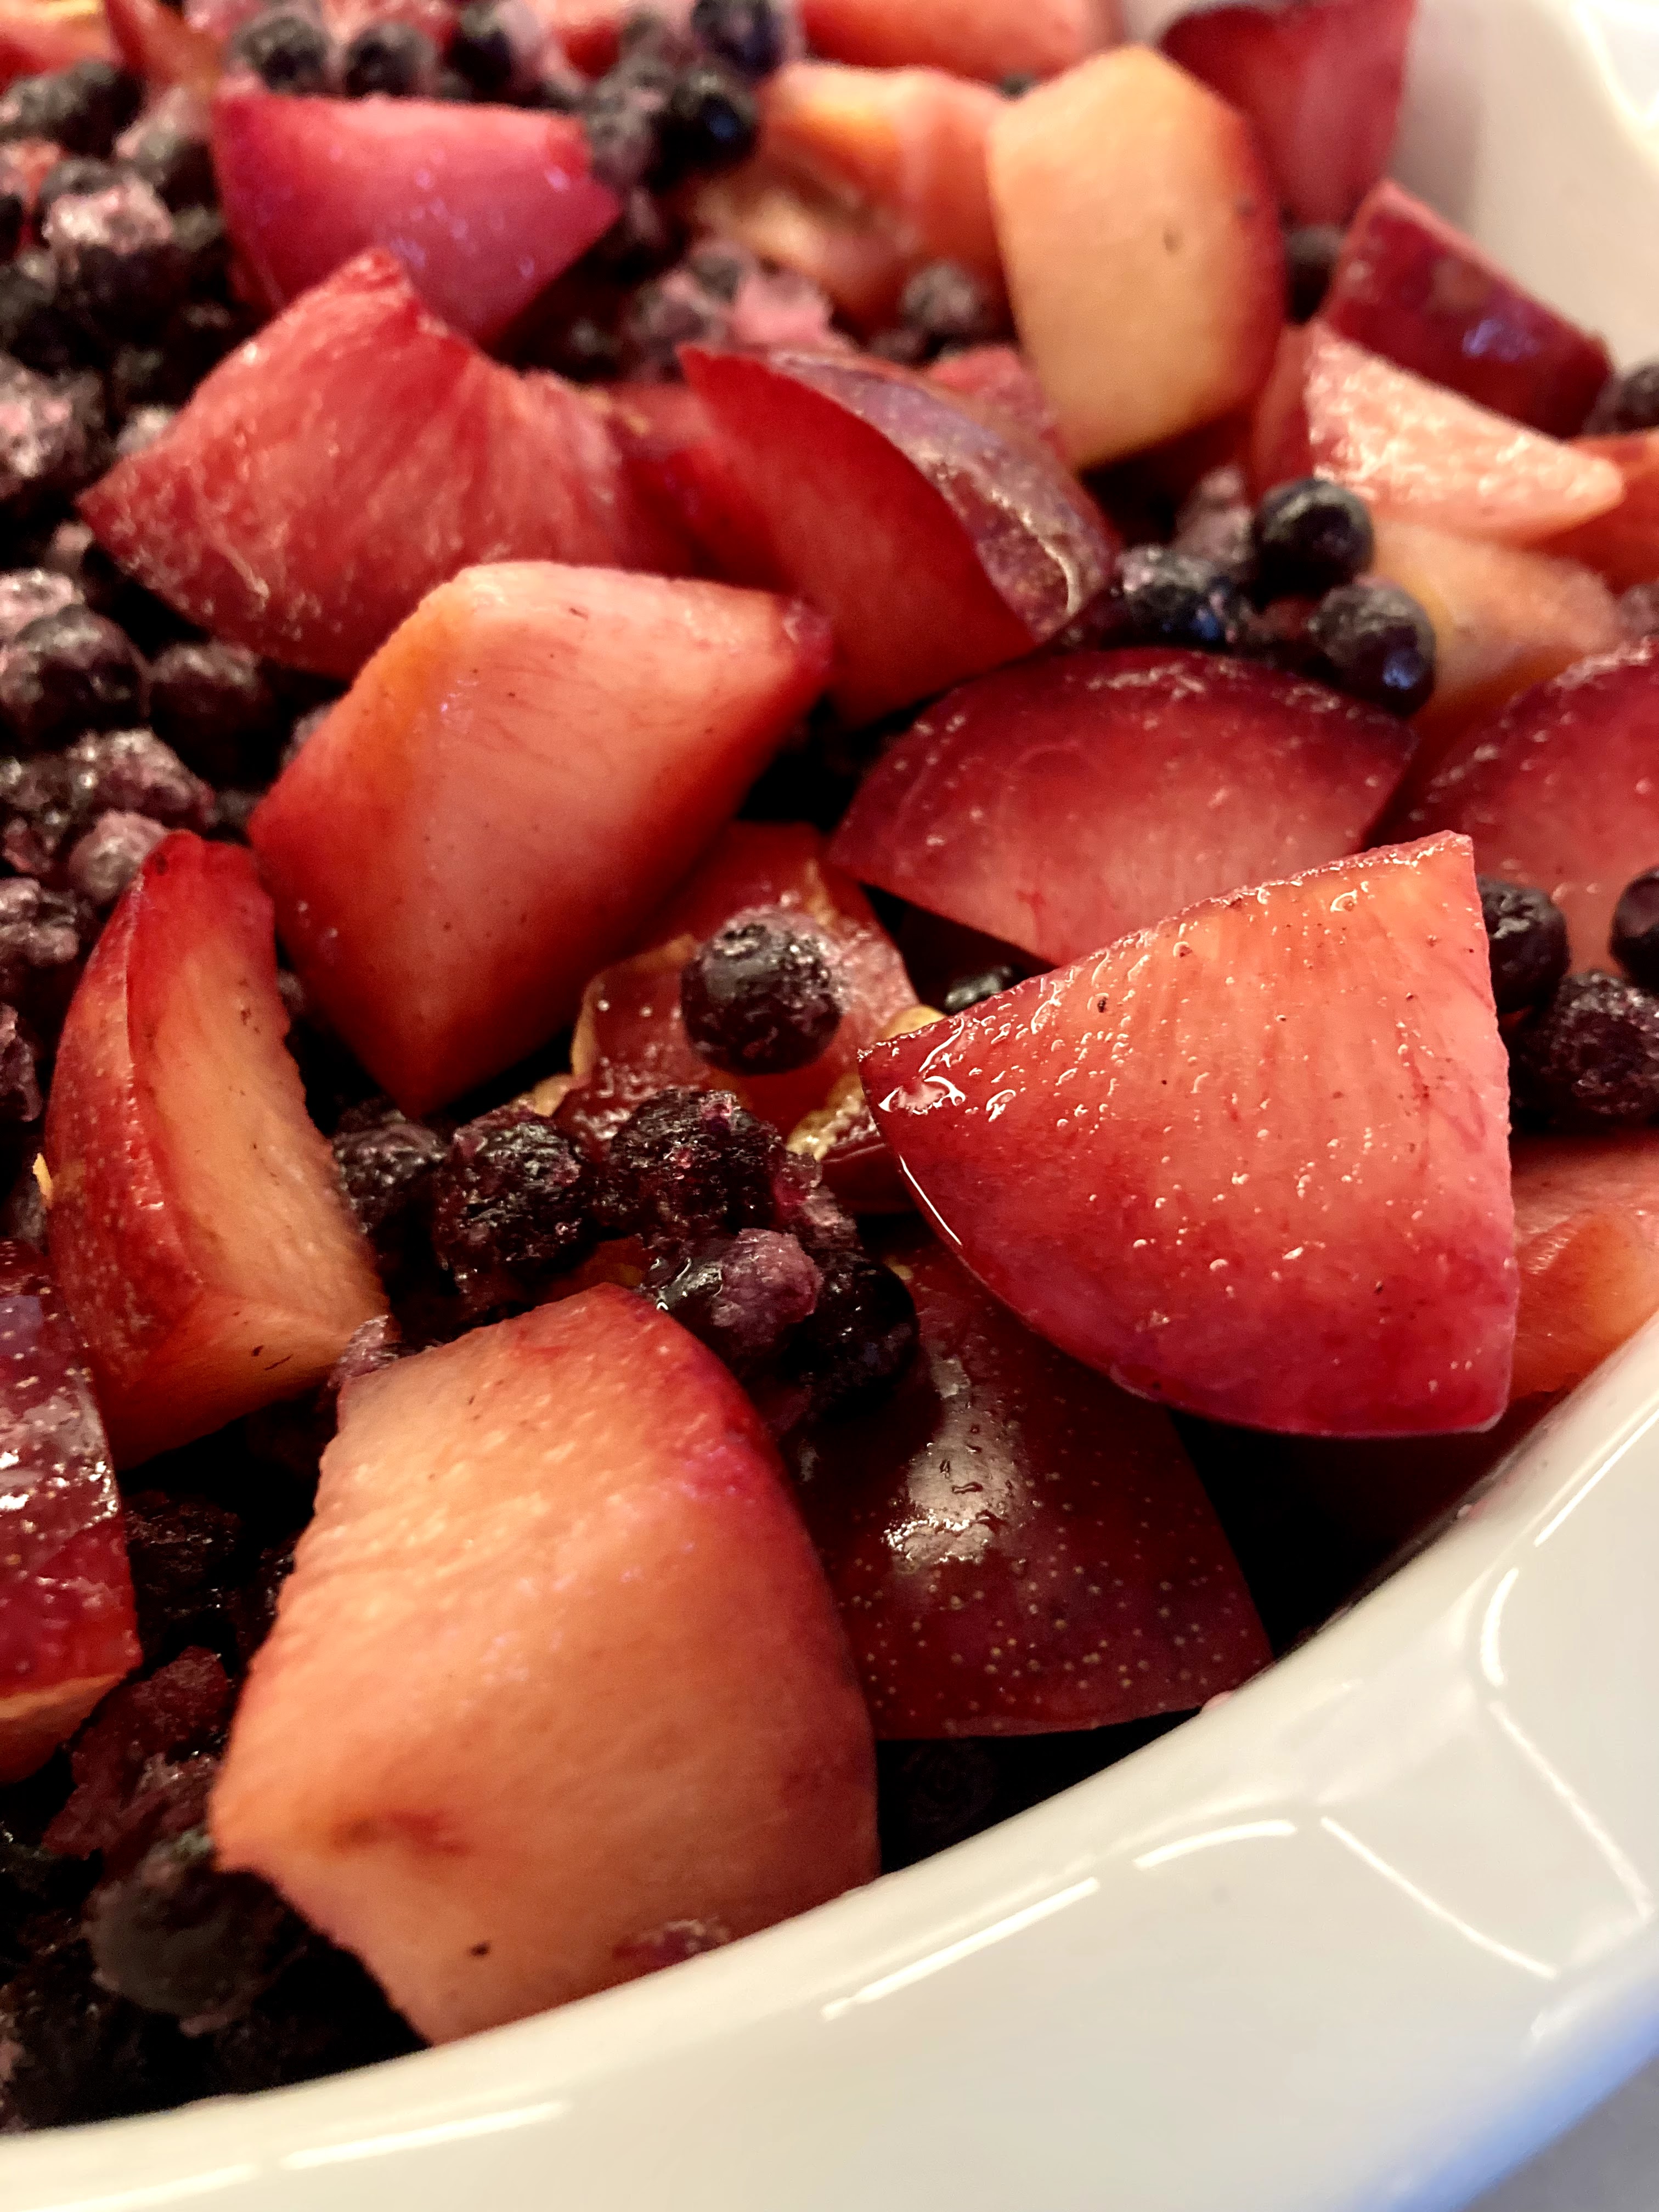
The color of these lil beauties is amazing! Just look at it:

This is riff number approximately 10000 of fruit crumbles… I’ve probably made this exact version at some point in the past and just didn’t write it down. Regardless, it’s a much-loved favorite with the two of us! Super simple, very adaptable and quickly made.

Let’s see, what else! Had a little al fresco drawing adventure with a friend today, super fun as I haven’t drawn from life in a loooong time. I was still drawing buildings but hey, usually it’s from a photo! The wind proved challenging but it wouldn’t be the SF that I love without excessive wind, so we just made it work.

Lots of swimming for me lately of course – without a wetsuit! It’s the “warm” bay water season so I’ve been taking advantage of it. It’s maybe a strange choice of things to get you out of bed in the morning but I love my 6am swims, wetsuited or not! I find them extremely satisfying.

I suggest seizing the stone fruit moment while it’s still peak season! The closer we get to autumn, the less perfect they are. Get on it!

Pluot, Blueberry & Ginger Crumble

A Wait are those Cookies original. Yield: 1 9″ crumble, serves 4-6. Refined sugar free, dairy free, gluten free and vegan with a grain free option. Lightly sweet, nutty and fruit-forward.

For the crumble

1 c almond flour, packed
1/4 tsp sea salt, heaping
1/2 tsp cinnamon
1/2 c chopped walnuts
1/3 c oats* (Omit for grain free)
1/4 c unsweetened coconut
1/4 c crystalized ginger
1 tbsp vanilla
1 tbsp maple
1/4 c melted coconut oil

~6-7 pluots (they’re usually on the small side)*, chopped into slices or chunks
~1.5 c wild blueberries (mine were frozen)
1 tbsp tapioca starch + 1/4 c water
1 tbsp maple
zest and juice of one lemon

*since pluots are usually on the small side, I recommend using 6-7 of them; the flavor balance is perfect when it’s about half pluot, half blueberry

Preheat the oven to 350 and grab some kind of 8″ or 9” baking dish – this is the least fussy recipe ever, so square, round, etc – whatever you have is fine! I used a deep 9″ pie plate. In your baking dish of choice, toss together pluots, blueberries, lemon juice and zest. In a smaller bowl, whisk together tapioca starch & water, add maple, then pour over the prepared fruit. Bake for 20 minutes.

While the fruit is baking, make the crumble. In a large bowl, stir everything together: almond flour, salt, cinnamon, oats (if using), chopped walnuts and coconut, maple, vanilla, and coconut oil together, then stir in crystallized ginger.

Remove the fruit from the oven, and toss a bit to redistribute. Drop the topping over the fruit, and bake for another 25 minutes until the top is lightly golden brown and the fruit is bubbly. Remove and let cool completely before serving. Excellent with ice cream! It’s also fabulous cold after being refrigerated overnight and served straight out of the fridge – highly recommended. Leftovers keep well covered in the fridge for a day or two but I dare you to have any ;)

Birthday!

Okay so I’m a little off my normal posting schedule (Wednesday?! weird) but I have camp imminently approaching (yay!!) and then some vacation (MORE YAY!), which is going to throw off my normal schedule anyway, so why not.

Hello!

Happy midweek, if there is such a thing. At least there is a three day weekend coming up!

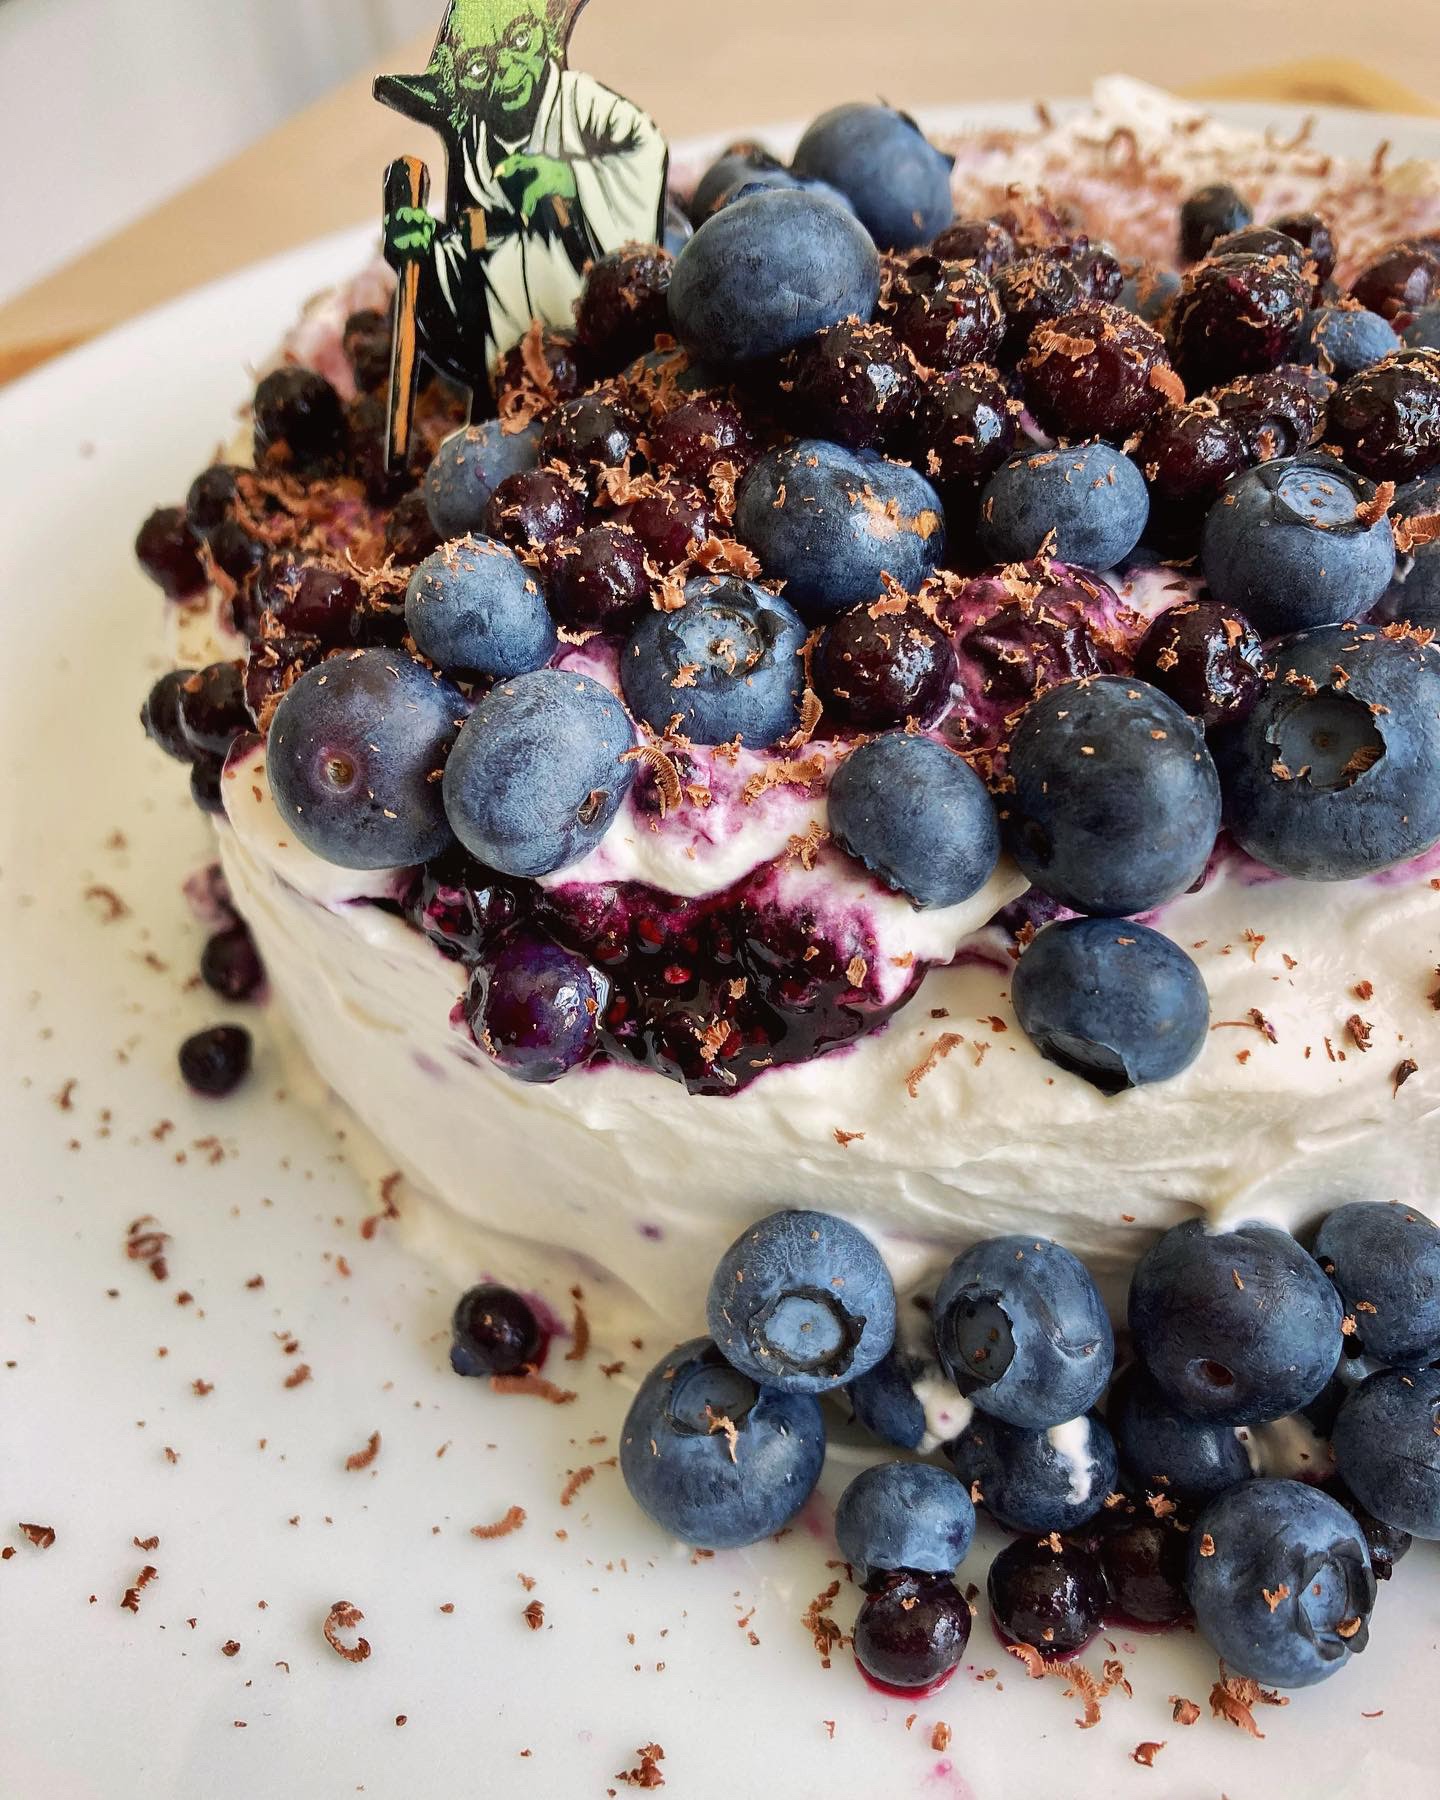
Also, Fave BoyHuman had a birthday yesterday! So of COURSE there was a baked thing.

and a tiny Yoda of course

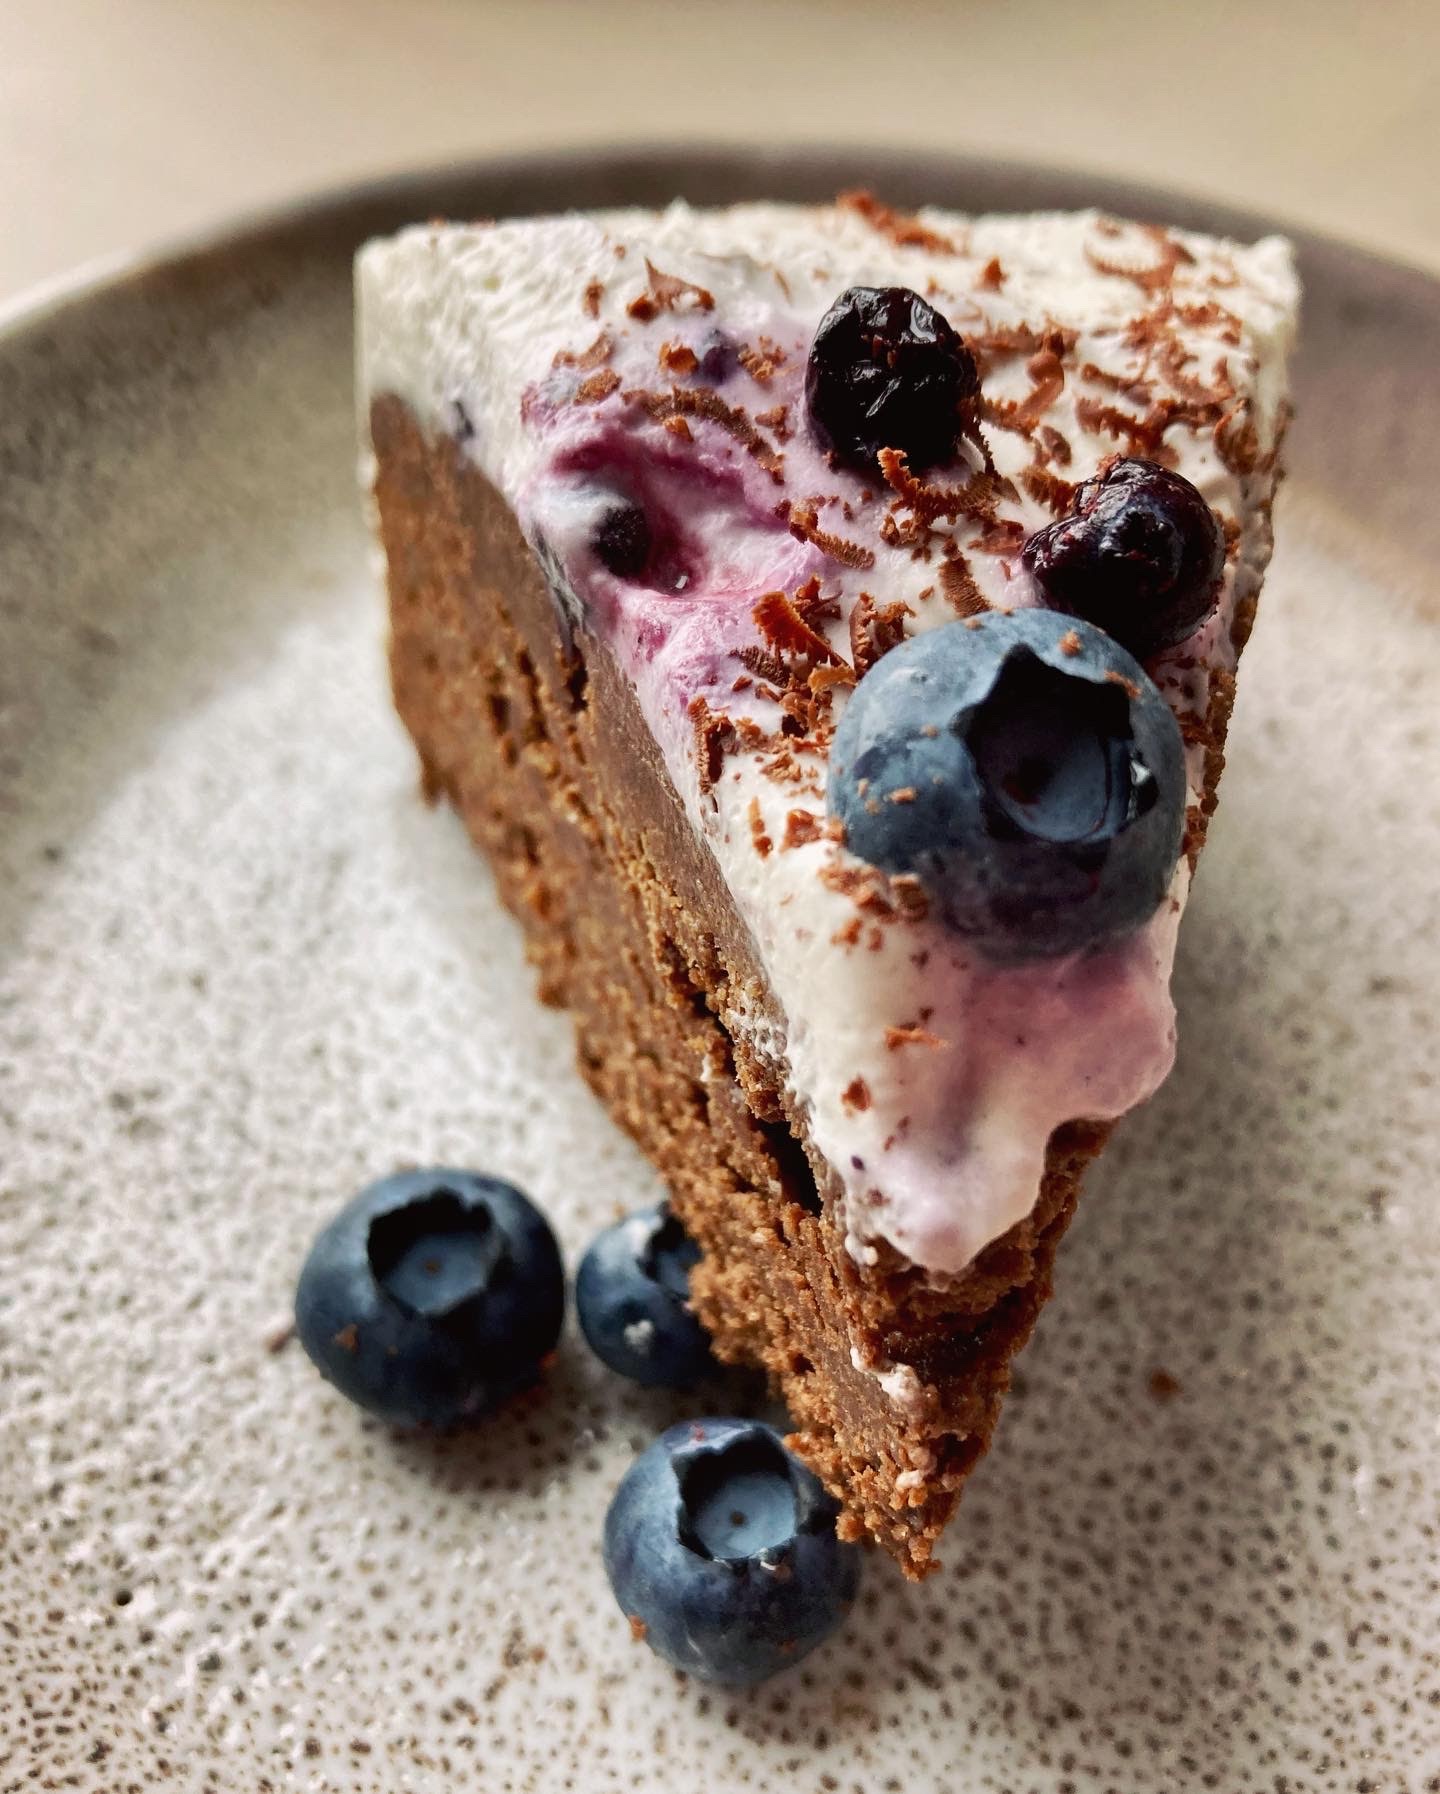
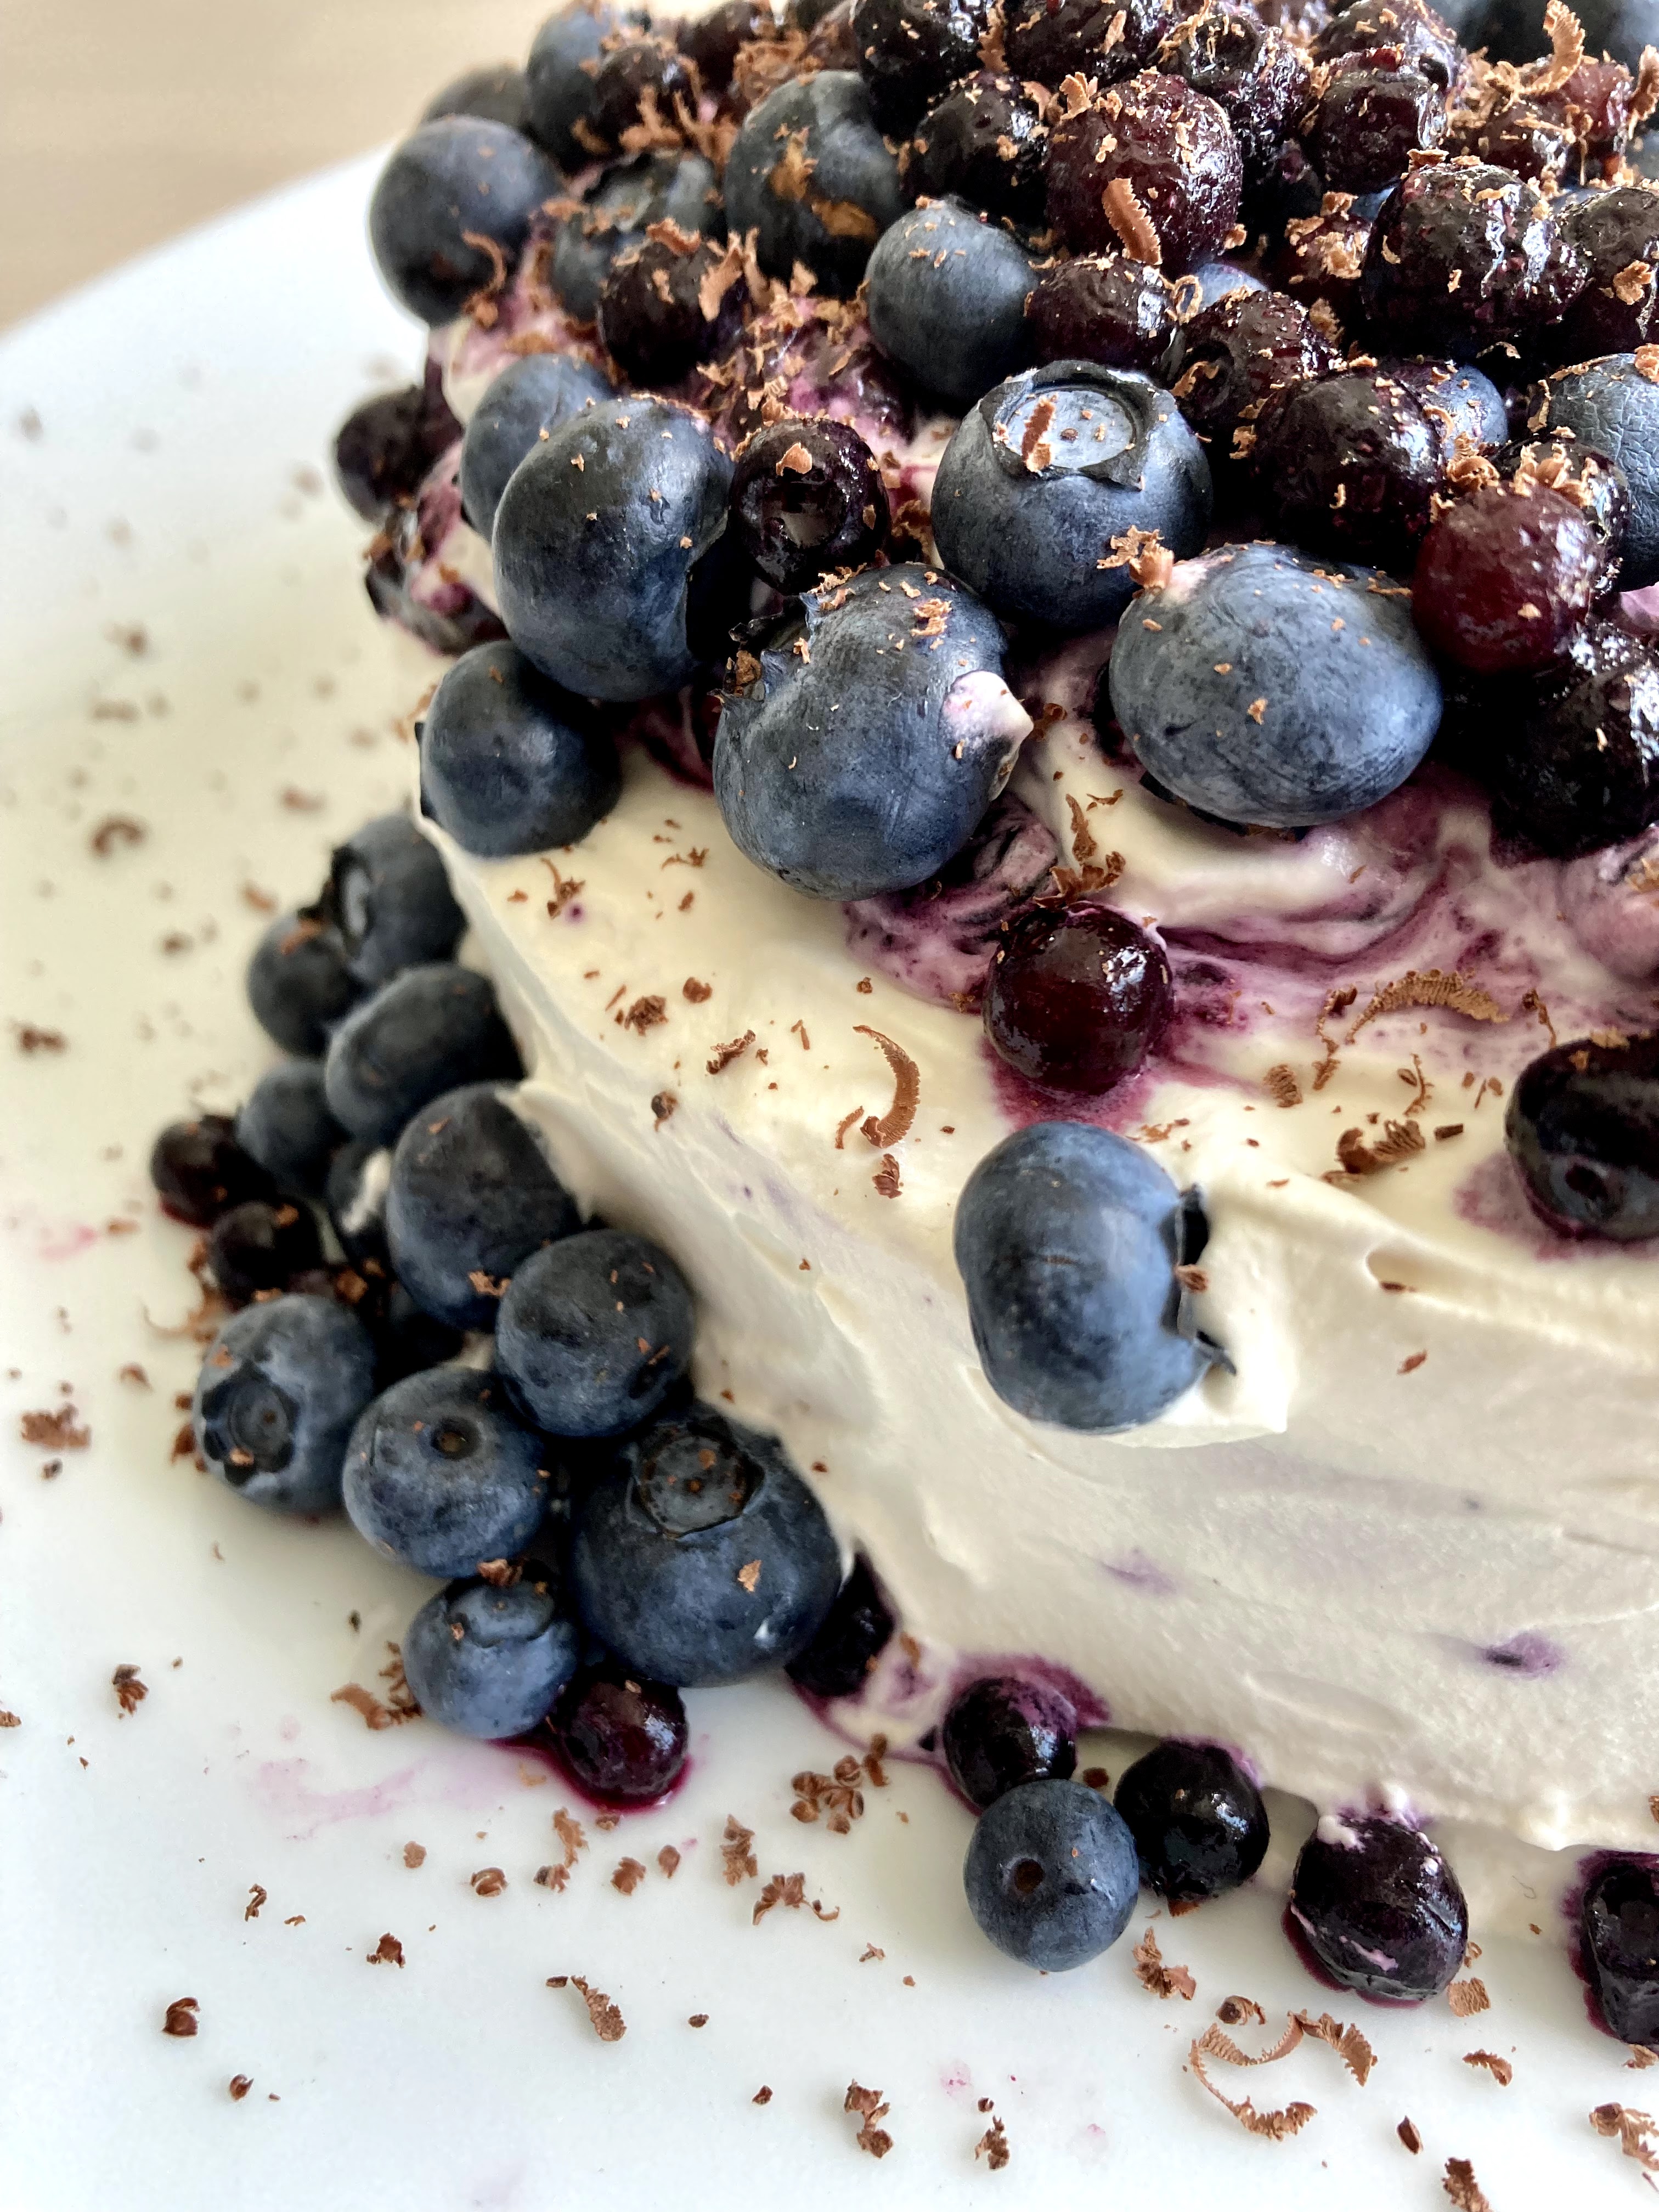
He requested chocolate and blueberries, so I ended up making a dark chocolate torte with mascarpone cream and blueberry chia jam. Soooo yum. It’s been a minute since I’ve made a cake, and this one did NOT disappoint. Adapted it from a friend/the local baker behind Bojon Gourmet – her stuff is seriously amazing.

Plus, I only dropped one version of this cake. HA. I was overdue for a kitchen mishap I think… much cursing ensued, but I think it actually did me a favor, since I was able to tweak the flavors and the baking time a slight bit on the second go round, and eat some cake scraps (obviously. I not above eating them off my floor, or the bottom of my oven).

This cake sounds intimidating maybe but I promise it’s really not! Most labor intensive thing in here is beating the egg whites, which in my mind is just fun – I love watching egg white alchemy take place. It’s also gluten and grain free, plus refined sugar free depending on the chocolate you use.

There’s been other baking happening too that hasn’t really made it on here – last weekend I made what is approximately my 1,000,000th galette (I love them, what can I say) – it was delicious and so simple. This one was cherries and apricots – they are very much in season right now so I’m taking full advantage. Probably should invest in a cherry pitter though…

You can use any of the galette recipes on here (like this one) – just swap in enough cherries and sliced apricots until you have a large enough pile to fill your dough.

Let’s see, what else.

In other news, working too much. Can’t wait for camp, and then also vacation. Wheee!

I think that’s pretty much it…. tired after what has been a crazy start to the week. Time for the cake recipe! I hope the rest of your week goes by quickly and that it’s a smooth slide into the holiday weekend.

Dark Chocolate Torte with Mascarpone Cream and Blueberry Chia Jam

Gluten and grain free; refined sugar free depending on the type of chocolate you use. I suggest Hu or Raaka if you need or want it to be strictly refined sugar free. I used a blend of what I had on hand, which wasn’t STRICTLY refined sugar free, but close enough :) Yield: 1 6″ cake, serves several with small slices or two with a lot of leftovers for breakfast!

for the cake:

Cake recipe gratefully adapted from The Bojon Gourmet, here! Her recipes are so well written, I’m not going to mess with rewriting! Her blog is beautiful, just go take a look. My notes are below for my adaptation.

  • I used a blend of 67 and 85% dark chocolate plus a chunk of unsweetened (100% cacao) to get to 6oz and it was delicious
  • Used 2tbsp cassava flour to keep it grain free
  • Replaced the sugar with 1/4 maple into the chocolate batter and 3 tbsp coconut sugar in the egg whites
  • Added 1 tbsp vanilla
  • Used a 6″ springform for 3/4 of the batter, 3″ springform for the rest (optional, of course – the batter fits into an 8 or 9″ pan perfectly) – the 6″ went for 20 min

for the cream:

1/2 c mascarpone
1 c heavy cream
2 tsp vanilla
1 tbsp maple syrup

Whip everything together until it holds its shape with soft peaks (for softer cream) or stiffer peaks if you want more body. Chill until needed.

for the blueberry chia jam:

2 c blueberries (I used 1 c fresh, 1 c frozen wild)
juice of one lemon
2 tbsp maple
1 tbsp chia seeds

Bring berries, lemon juice and maple to a simmer over medium high, then lower heat. Cook until the juices are bubbling and juice is reduced, 10-15 min. Stir in 1 tbsp chia seeds; mash slightly to squash berries, remove and let cool; chill in the fridge overnight if you make it in advance (keeps for at least a week in the fridge).

Serve this however you like! I chose to frost mine but that’s totally optional – it would also be excellent served in wedges with cream and blueberry jam dolloped over the top. It keeps very well in the fridge – I frosted it a few hours before serving, and served it cold. You can also let it warm up slightly on the counter a bit before serving. Store it covered in the fridge for a day or two after if you have leftovers.

Fog & Fennel

It’s a foggy, mellow weekend in the city today – I LOVE days like this, where I wake up to the fog curling up against my windows, and then by noon it starts to clear but only kind of, so if you look up, you see it moving fast overhead, and obscuring bits and pieces of the city.

Then by midafternoon it starts coming in again, and by evening things are covered again. Arguably, I think one of my favorite things about living in the city is the fog – I find it magical and beautiful.

It’s also insanely windy today – I took a long, rambly walk down to Fort Mason & along the water, and the bay is verrrryyy whitecappy today.

fog!
for reference, this is where I swim! it’s protected by a pier but even so, there were some major swells in there today

In other news, made a crumble! I had some fresh fennel in my produce drawer that I’d been ignoring, and I really couldn’t figure out how I was going to get around to slotting it into meals. Instead, I used it here!

Fennel + apple + walnut is a match made in heaven, and I love the addition of ginger to anything. This crumble is also very dietary-choice friendly; it’s gluten, dairy & refined sugar free with an easy grain-free alternative. Yay! It also comes together in a snap and requires minimal effort, a yay for those lazy weekends.

I felt like I spent most of today doing house tasks… I kind of love days like this though, since they make me feel accomplished. Spent a ton of time troubleshooting & descaling my moka pot today too… I love good coffee and it’s so sad that my bialetti has suddenly decided to not work properly. I THINK it needed a good descaling, so ran it through two cycles of that… let’s see how this goes. Fingers crossed it starts behaving. It’s been giving me trouble for at least a week, and I’m over it.

Happy weekend! I hope yours is equal parts fun and relaxing.

Fennel, Apple & Blueberry Crumble

Gluten, dairy & refined sugar free + vegan. Easily grain free if needed/wanted – just omit the oats (it’s just as good that way, promise!). Earthy fennel, fresh apples + blueberries & a nutty crumble topping. Yield: 1 8 or 9″ crumble, serves several. A Wait are those Cookies original.

For the crumble

1 c almond flour, packed
1 tbsp vanilla
1/4 tsp sea salt, heaping
1 tbsp maple
1/4 c melted coconut oil
1/2 c chopped walnuts
1/3 c oats* (Omit for grain free)
1/4 c unsweetened coconut
1/4 c crystalized ginger
2 tsp fennel seeds, very finely chopped (or ground in a mortar)

1 bulb of fresh fennel, finely diced
2 granny smith apples, peeled & chopped into small cubes
~1 c wild blueberries (mine were frozen)
1 tbsp tapioca starch + 1/4 c water
1 tbsp maple
zest and juice of two lemons

Preheat the oven to 350 and grab some kind of 8″ or 9” baking dish – this is the least fussy recipe ever, so square, round, etc – whatever you have is fine! I used a deep 9″ pie dish. In your baking dish of choice, toss together fennel, apples, blueberries, lemon juice and zest. In a smaller bowl, whisk together tapioca starch & water, add maple, then pour over the prepared fruit. Bake for 20 minutes.

While the fruit is baking, make the crumble. In a large bowl, stir everything together: almond flour, vanilla, salt, oats (if using), maple, chopped walnuts and coconut, fennel seeds, and coconut oil together, then stir in crystallized ginger.

Remove the fruit from the oven, and toss a bit to redistribute. Drop the topping over the fruit, and bake for another 25 minutes until the top is lightly golden brown and the fruit is bubbly. Remove and let cool completely before serving. Excellent with ice cream! It’s also fabulous cold after being refrigerated overnight and served straight out of the fridge – highly recommended. Leftovers keep well covered in the fridge for a day or two but I dare you to have any ;)

Spring = Rhubarb

The first of the rhubarb!

I had to work a little to track some down – my usual market didn’t have any, but luckily I found some when I was out and about in a different neighborhood. Which also meant that I was that person walking down the street with a bunch of rhubarb clutched in my fist – but I am definitely okay being that person.

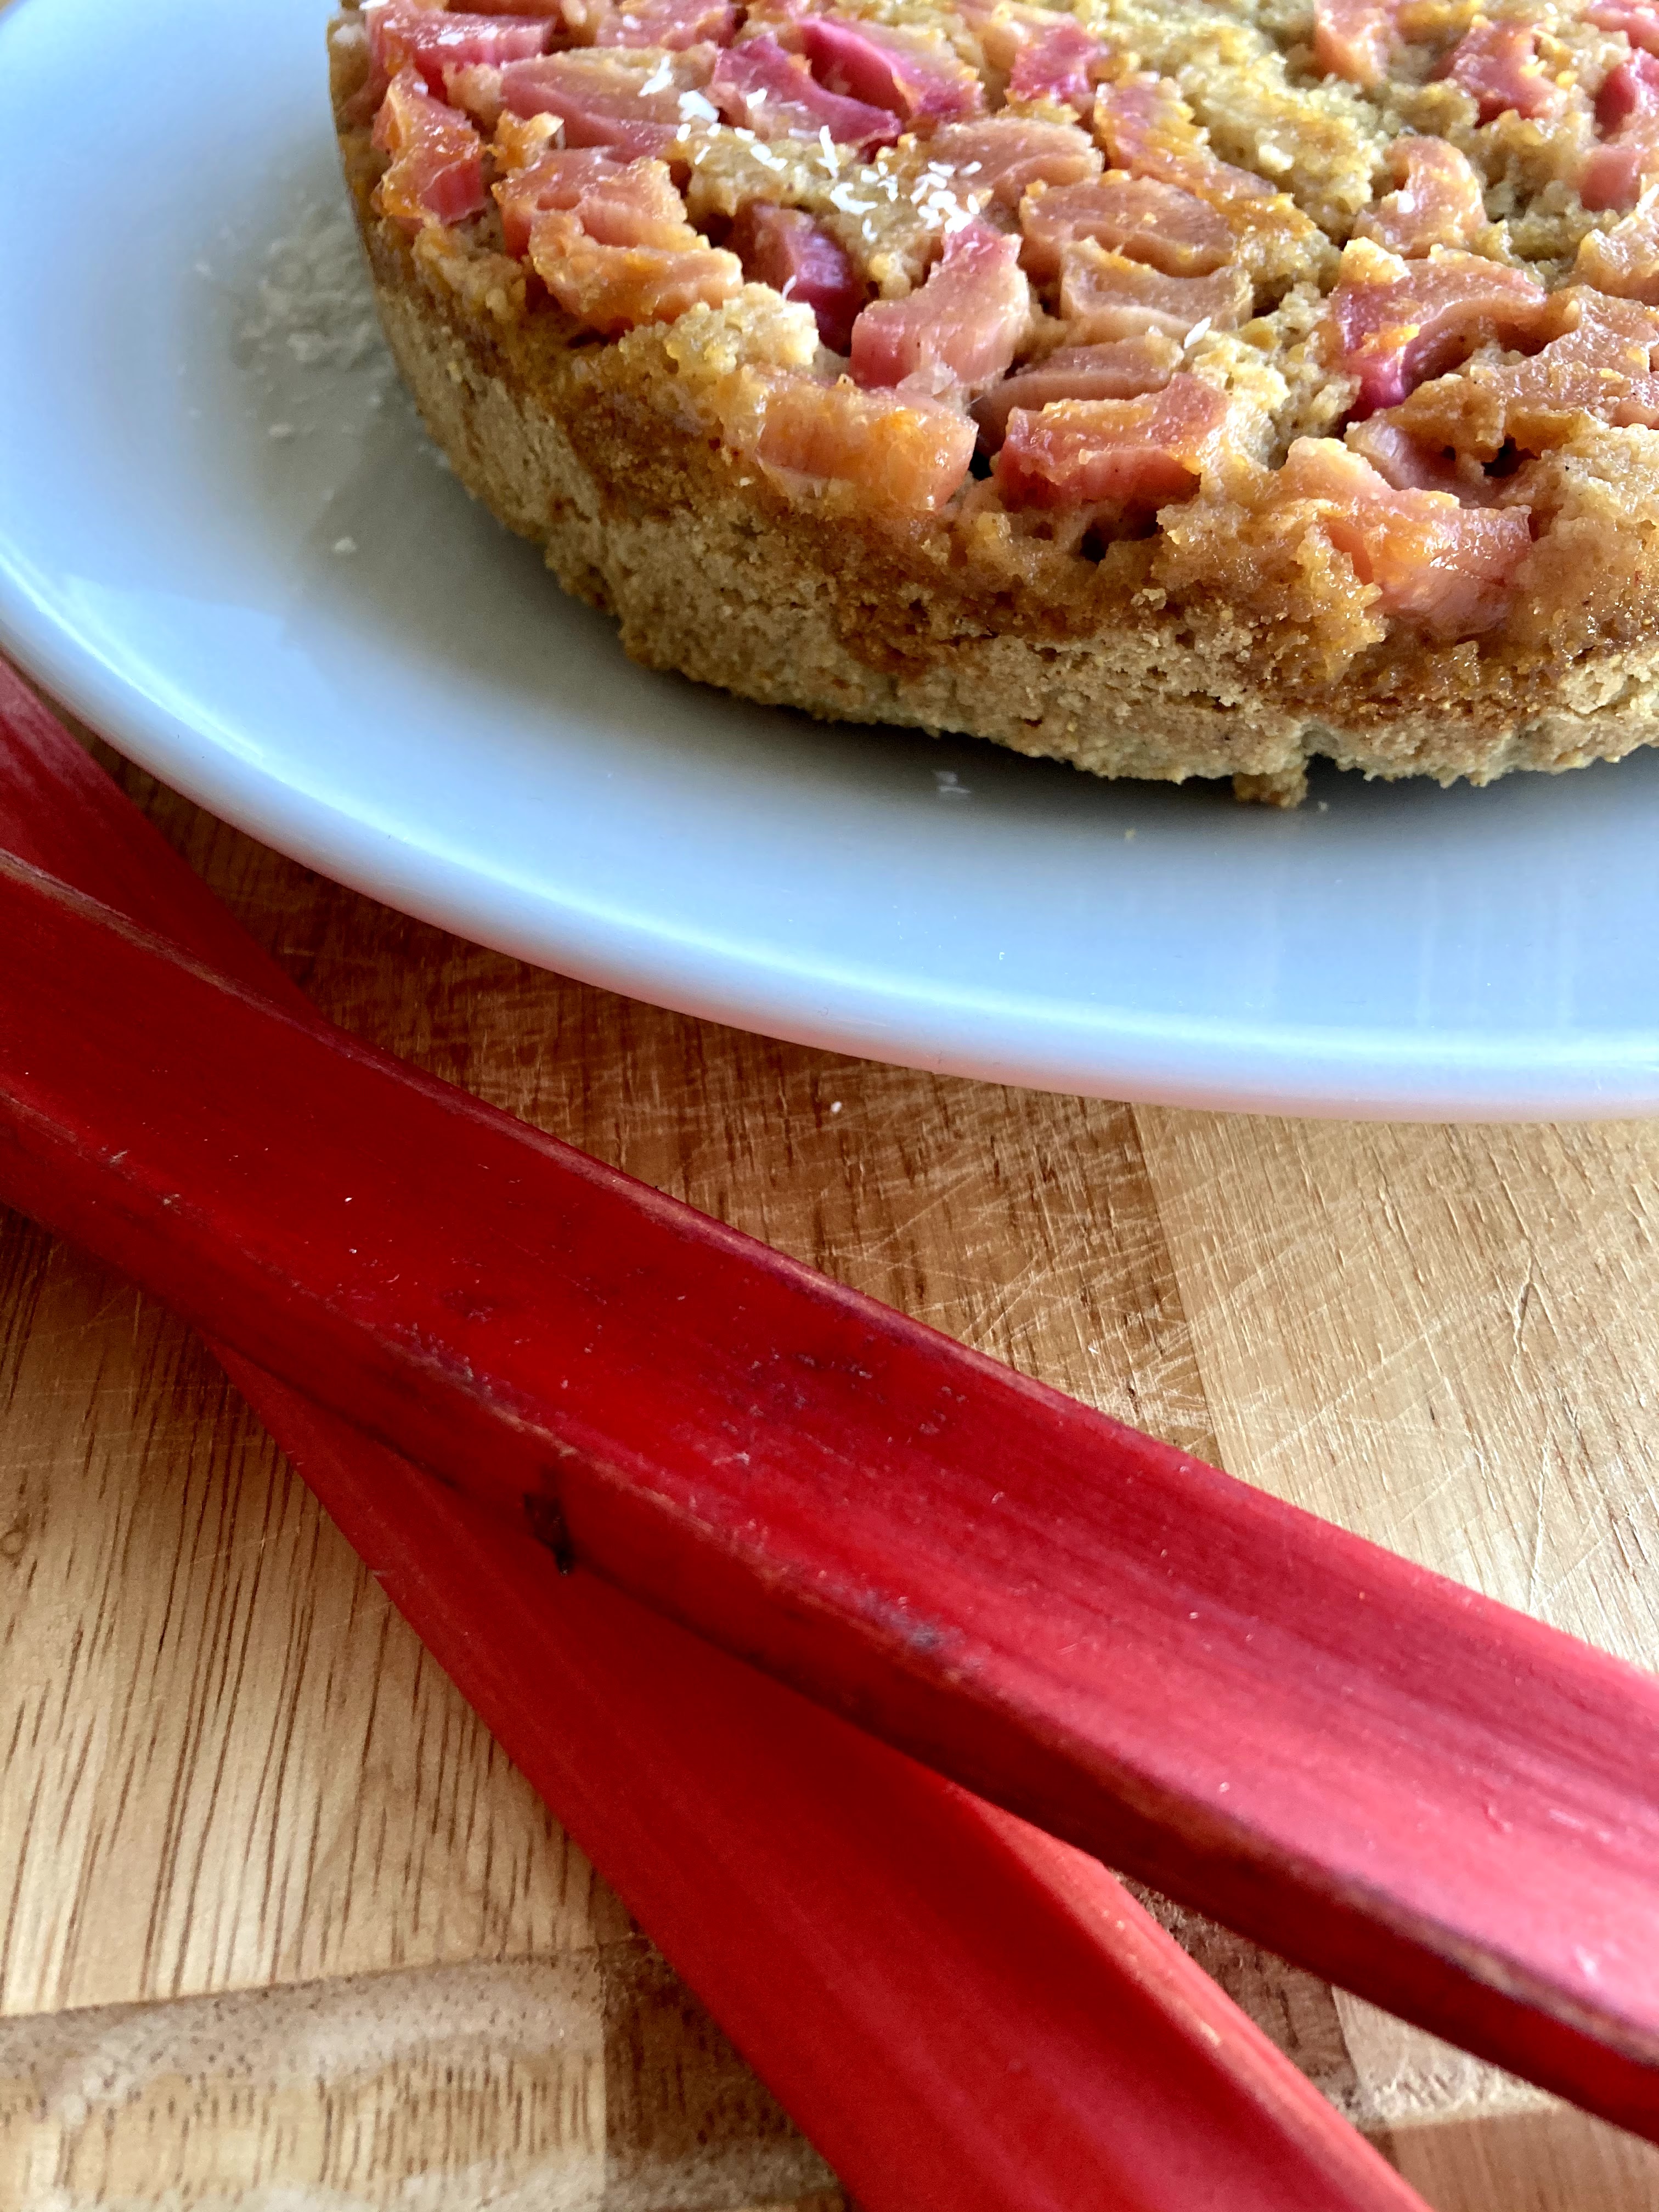
This cake is another variation on the grapefruit one I posted a few weeks ago – it’s a perfect snack or breakfast cake, as it isn’t all that sweet. It’s lightly spicy from the five spice, and the top gets jammy from the softened rhubarb + the actual jam involved. I use a jam that is fruit-sweetened only, which keeps this guy refined sugar free, but use whatever you have!

Almost wishing this had come out with the rhubarb slightly less soft – I may play around with it a little and see if I can make that happen.

Another insanely busy week here – I would like to stop working on the weekends please (insert eyeroll)…. this week should be less crazy though so I’m hoping for some downtime. At least I was able to swim most days this week; it is definitely preserving my sanity. Took today off since I know the humidity is supposed to drop next week which will trigger some autoimmune stuff – which means I’ll also be spending most days in the water, if at all possible.

Today was also a day of a food-photography mishap… I definitely broke the cake when I moved it from cooling rack to plate. Whatever, nothing some well-placed coconut won’t hide, and we’re going to eat it anyway so who cares. Not everything needs to be perfect.

I hope it is springy and nice where you are! I’m still hoping for some spring rains (CA needs it, but also I just love it.) Happy weekend :)

Rhubarb & Five Spice Upside Down Cake

Gluten free, dairy free & refined sugar free. Lightly sweet, slightly spicy, and perfect for spring. A Wait are those Cookies original. Yield: 1 8″ cake, serves several.

1.5 c almond flour
1/3 c cornmeal
3/4 tsp baking powder
1/4 tsp baking soda
heaping 1/4 tsp sea salt
1 tsp five spice
2 eggs, lightly beaten
1/4 c maple syrup
1/3 c coconut oil, melted
1.5 tsp vanilla extract
1 tsp almond extract
2 stalks of rhubarb, thinly sliced
2 tbsp apricot jam (mine is fruit sweetened only)
2 tsp coconut sugar

Preheat oven to 325. Lightly grease an 8″ cake pan with coconut oil and line the bottom with parchment paper – I flip it over, trace the outline & then cut, to get a perfectly sized circle. Spread the apricot jam evenly over the parchment, then drop the rhubarb slices into the bottom of the prepared pan. Sprinkle with coconut sugar.

In a large bowl, whisk together almond flour, cornmeal, baking powder, baking soda, sea salt & five spice. Add in eggs, honey, coconut oil, vanilla & almond extract, and stir until all ingredients are just incorporated. Drop the batter into the prepared pan – it’s thick! That’s normal – just even out the top with a spatula. Bake for 35-38 minutes, until the top of the cake is lightly browned, firm, and a tester in the center comes out clean. You can cover the cake with foil during the last 10 minutes of baking if the cake is browning too fast – though mine was done at 35 minutes, and I didn’t need the foil trick. Remove and let cool for a few minutes in the pan before flipping it out onto a cooling rack. Let cool completely before slicing and serving. Stores well overnight in the fridge, and is arguably even better for breakfast.