Minimum two types of citrus at all times, please

Blog friends!

Much has happened since I posted last – busy busy but also NEW OVEN! and NEW FRIDGE! Thank you to my building owners who might actually be best landlords on the planet. I now have an oven that tells me when it’s preheated (hooray!) and a fridge that a) is significantly larger than the previous tiny one and b) has a freezer on the bottom so I don’t have to stand on my head to see my vegetables.

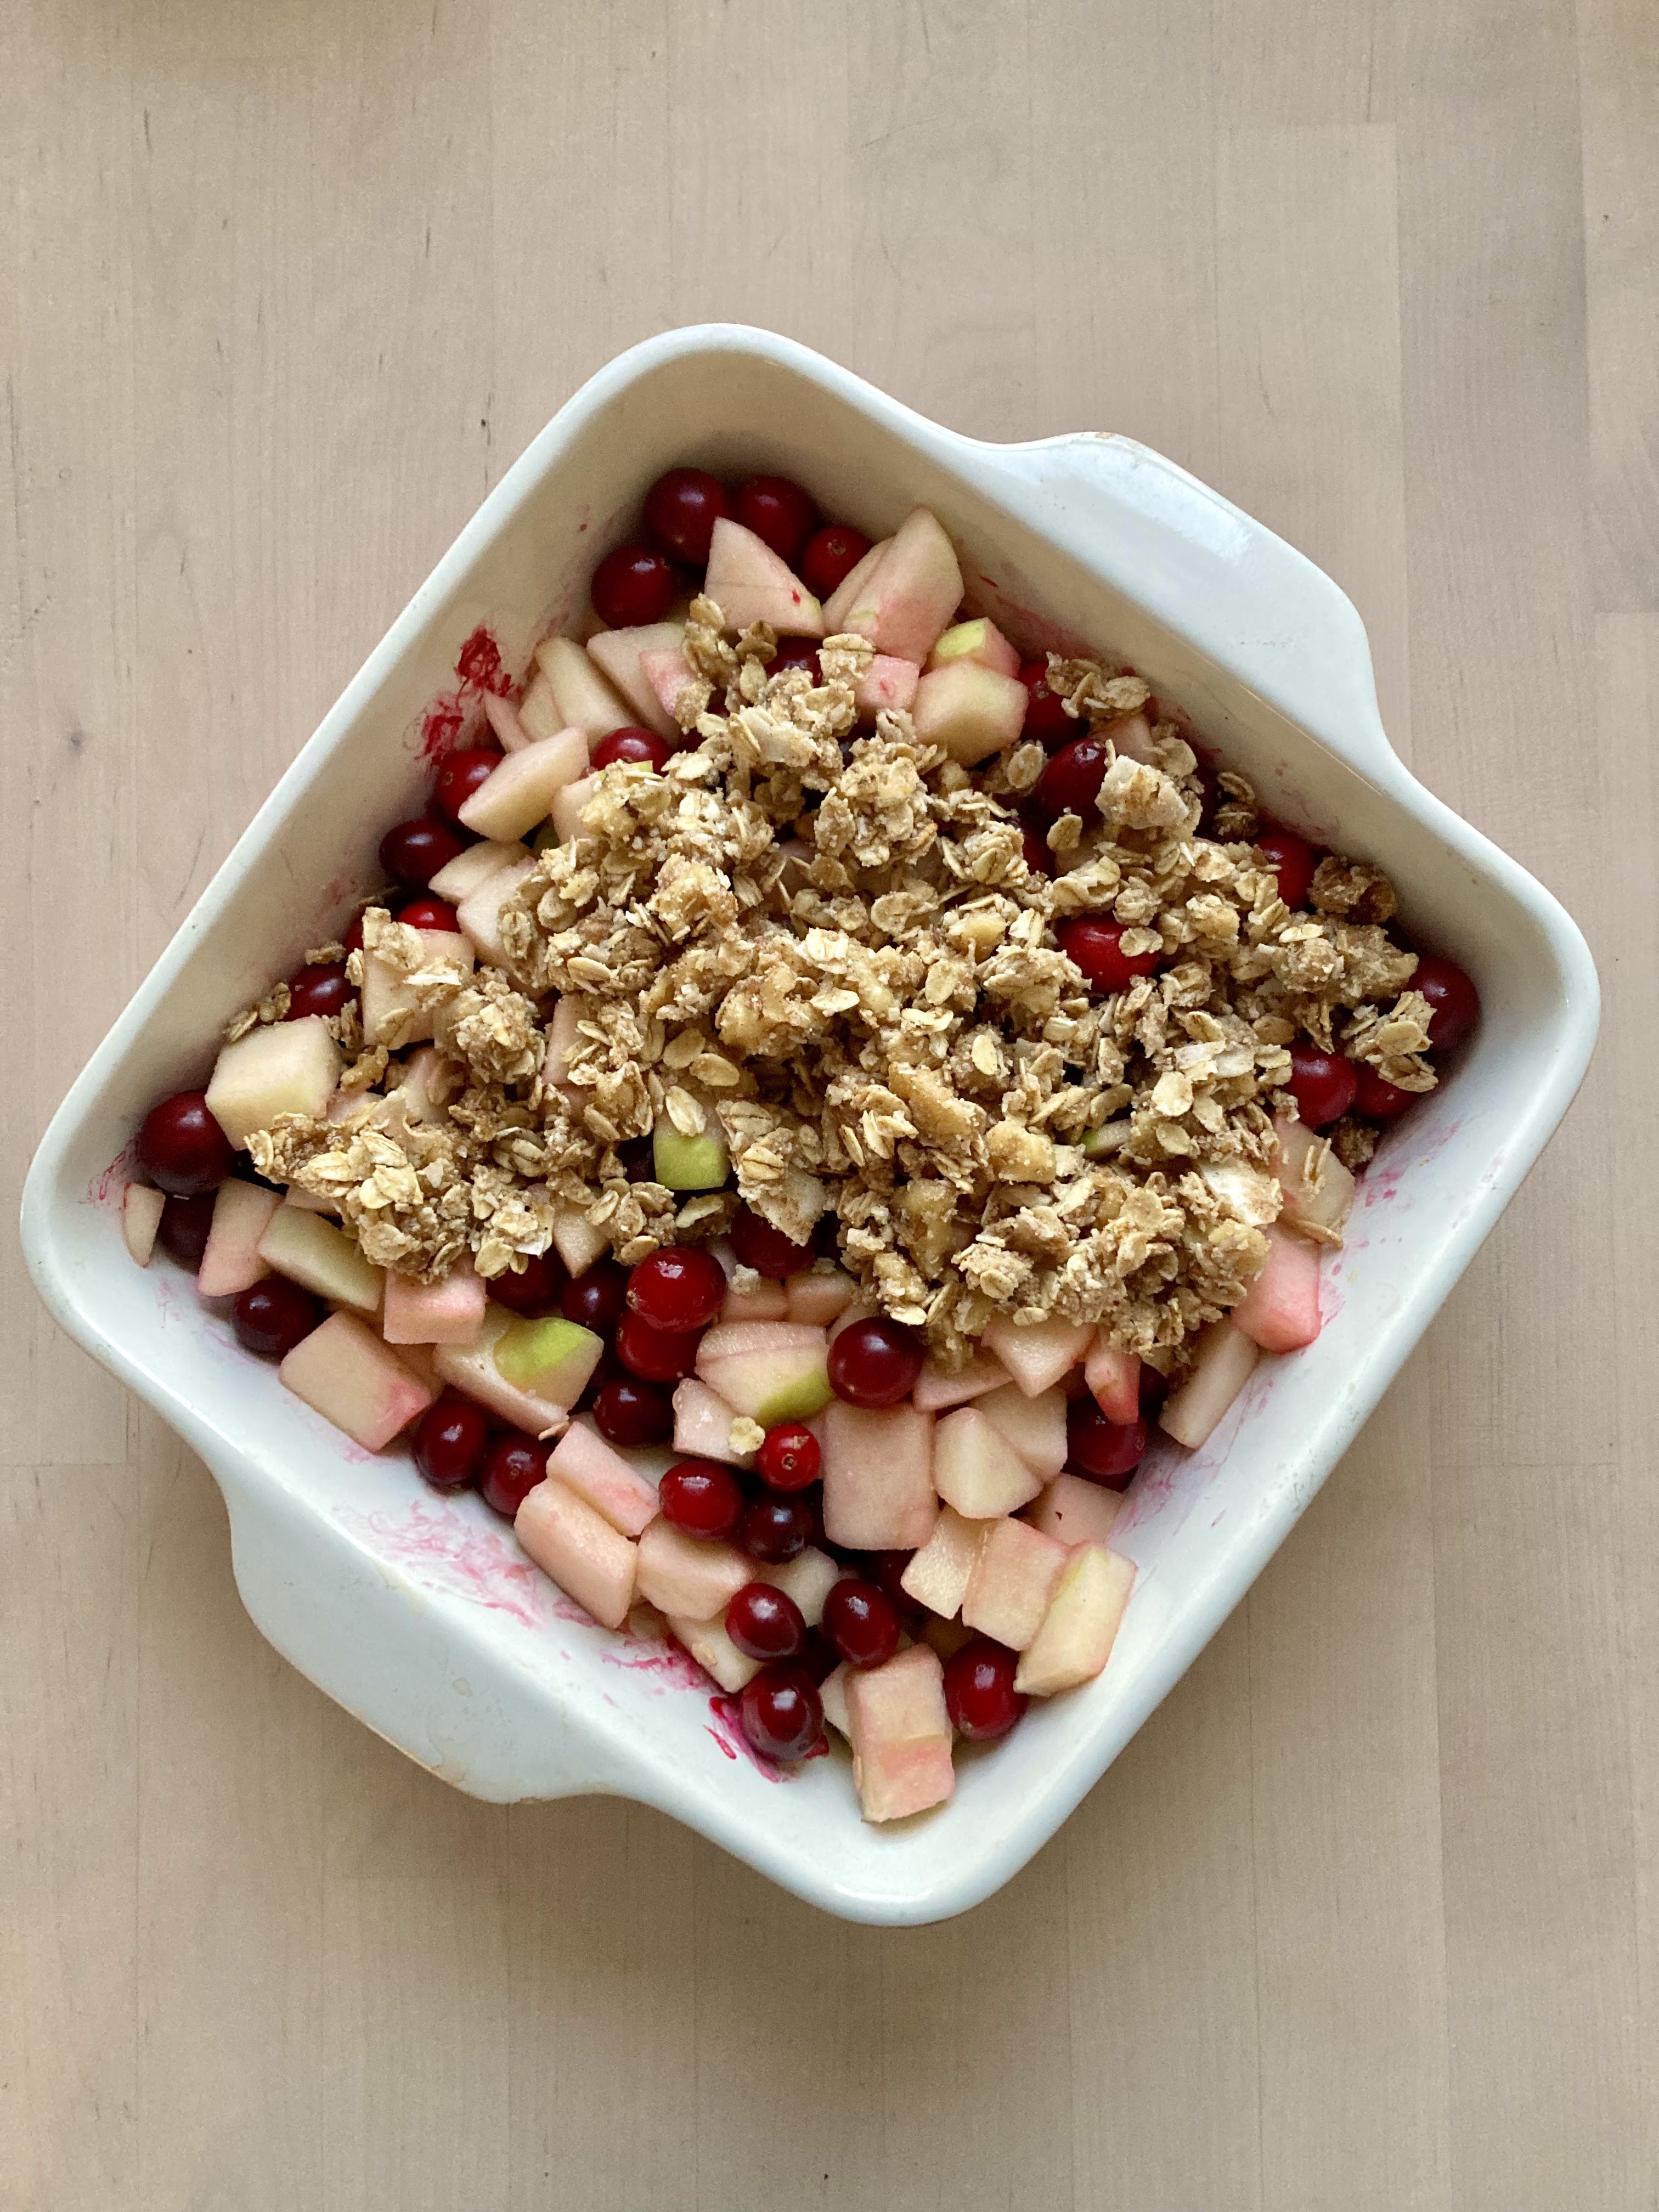
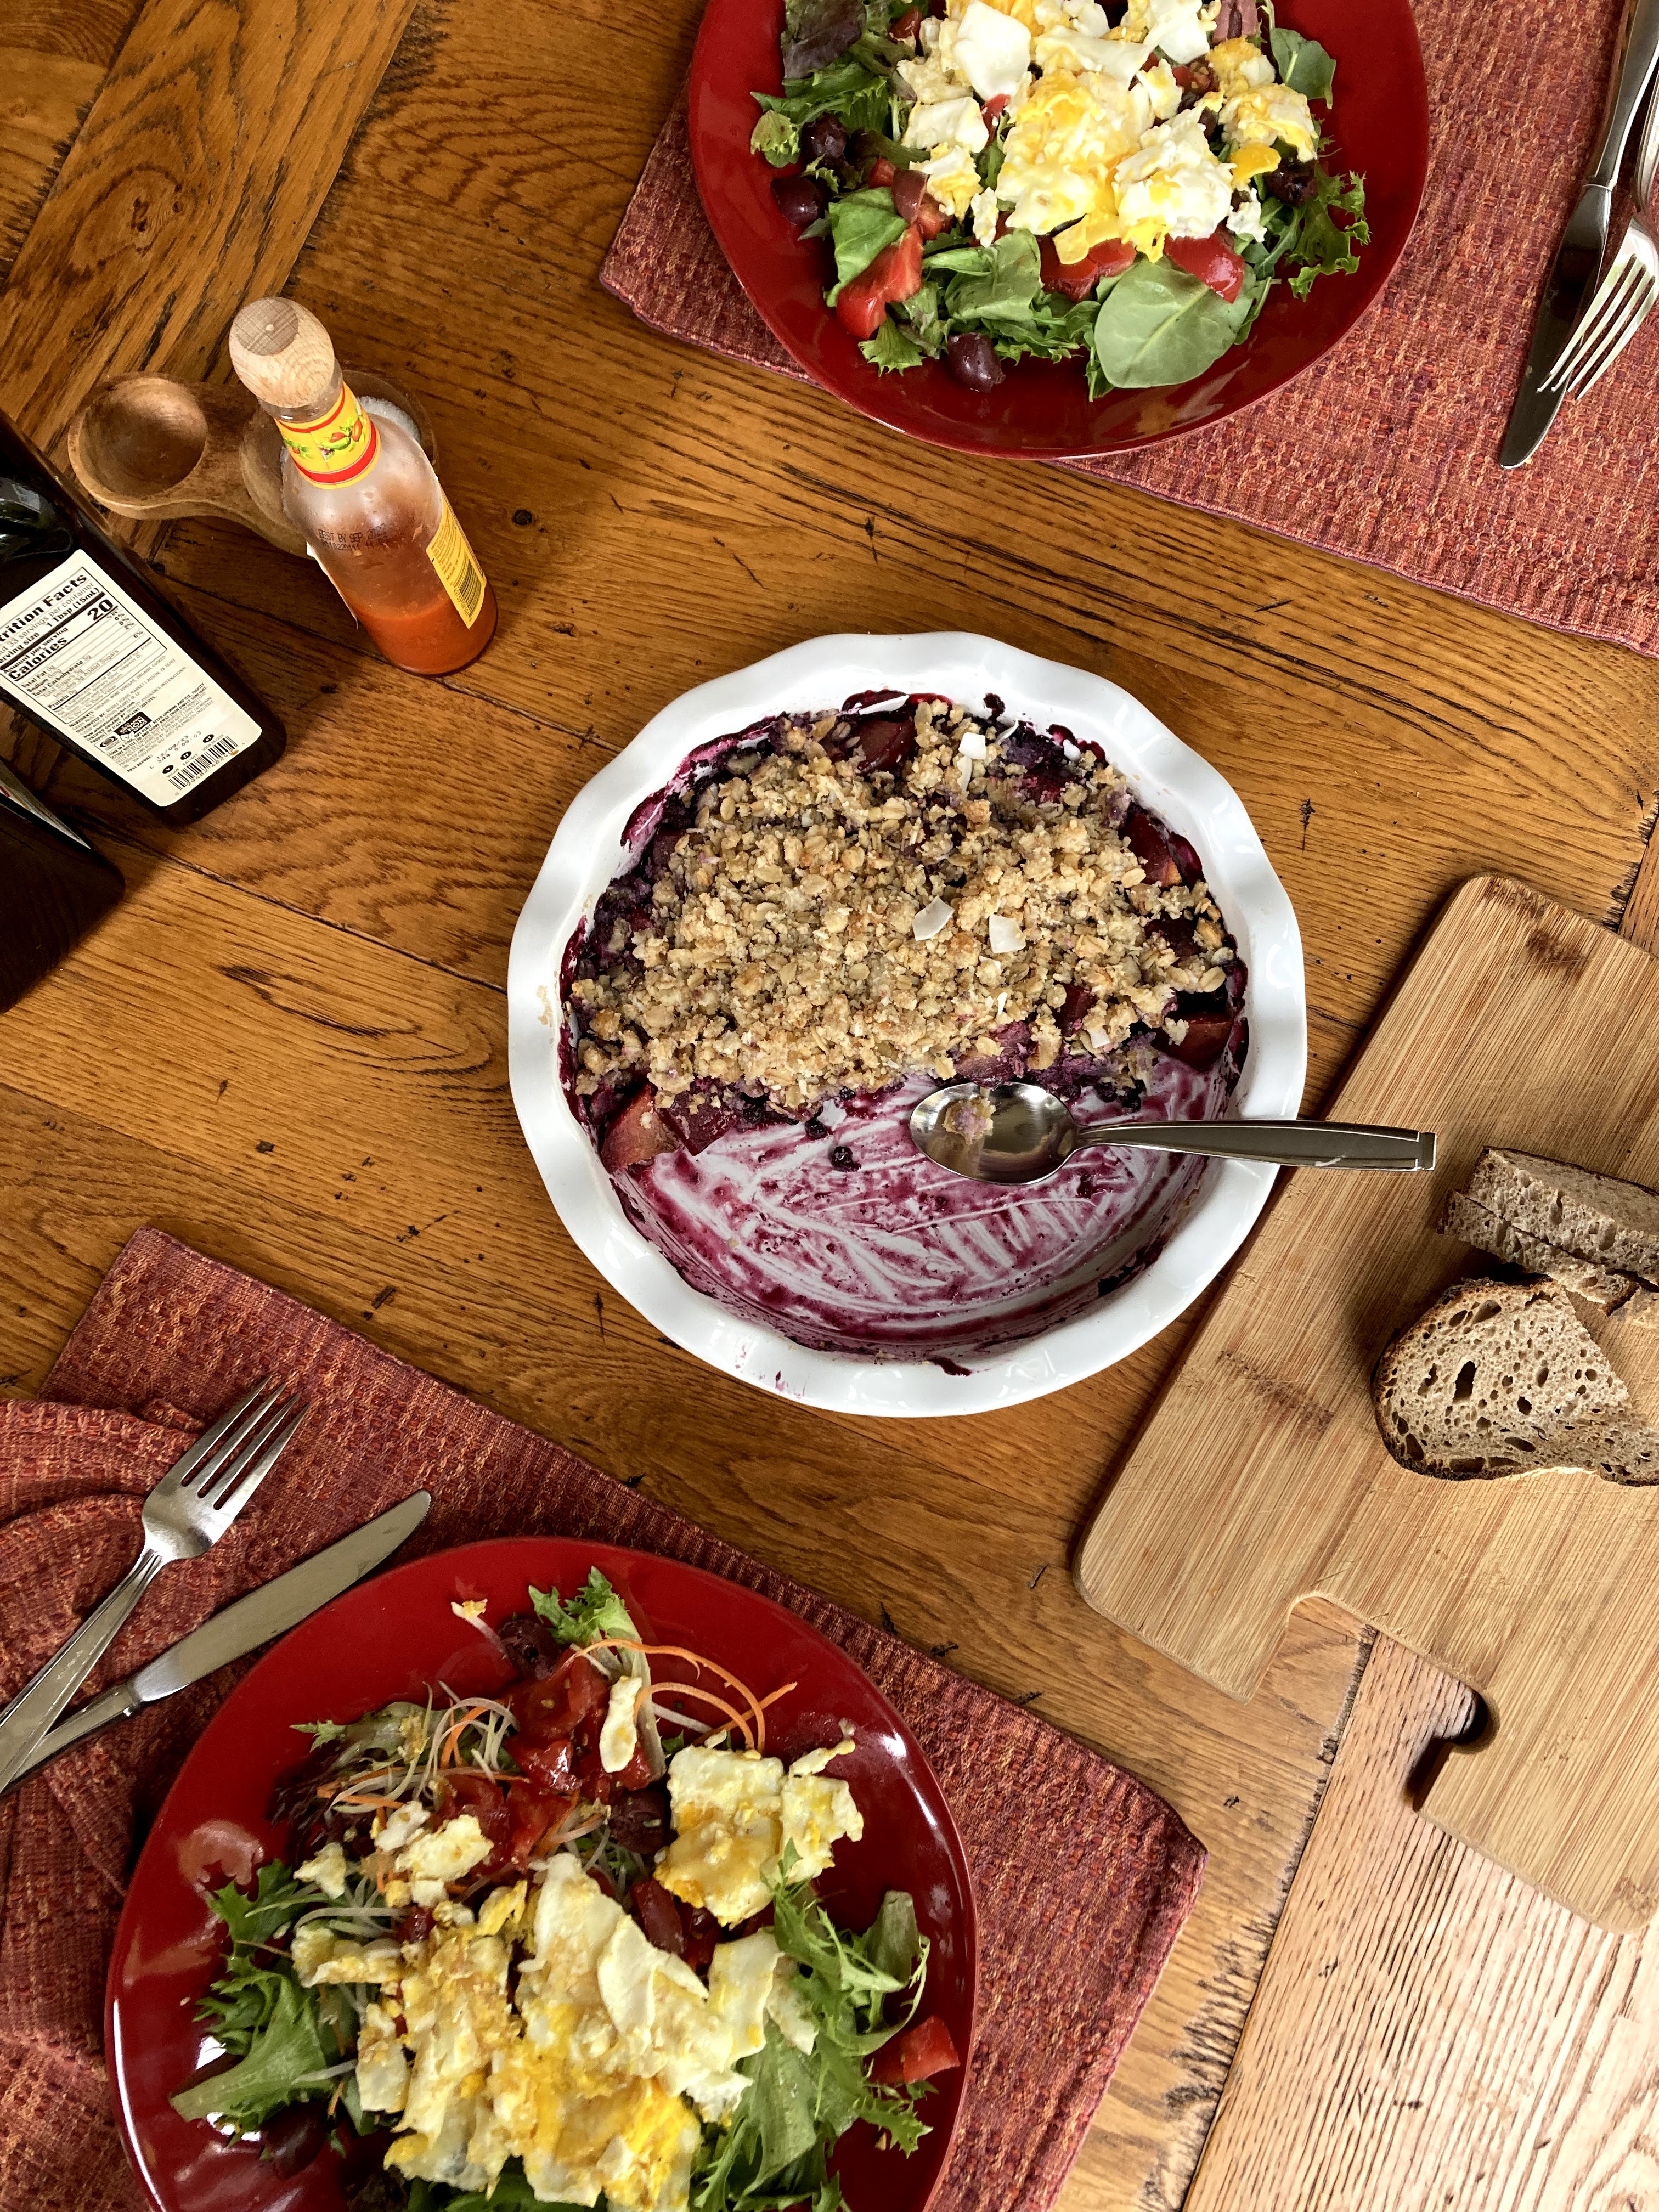
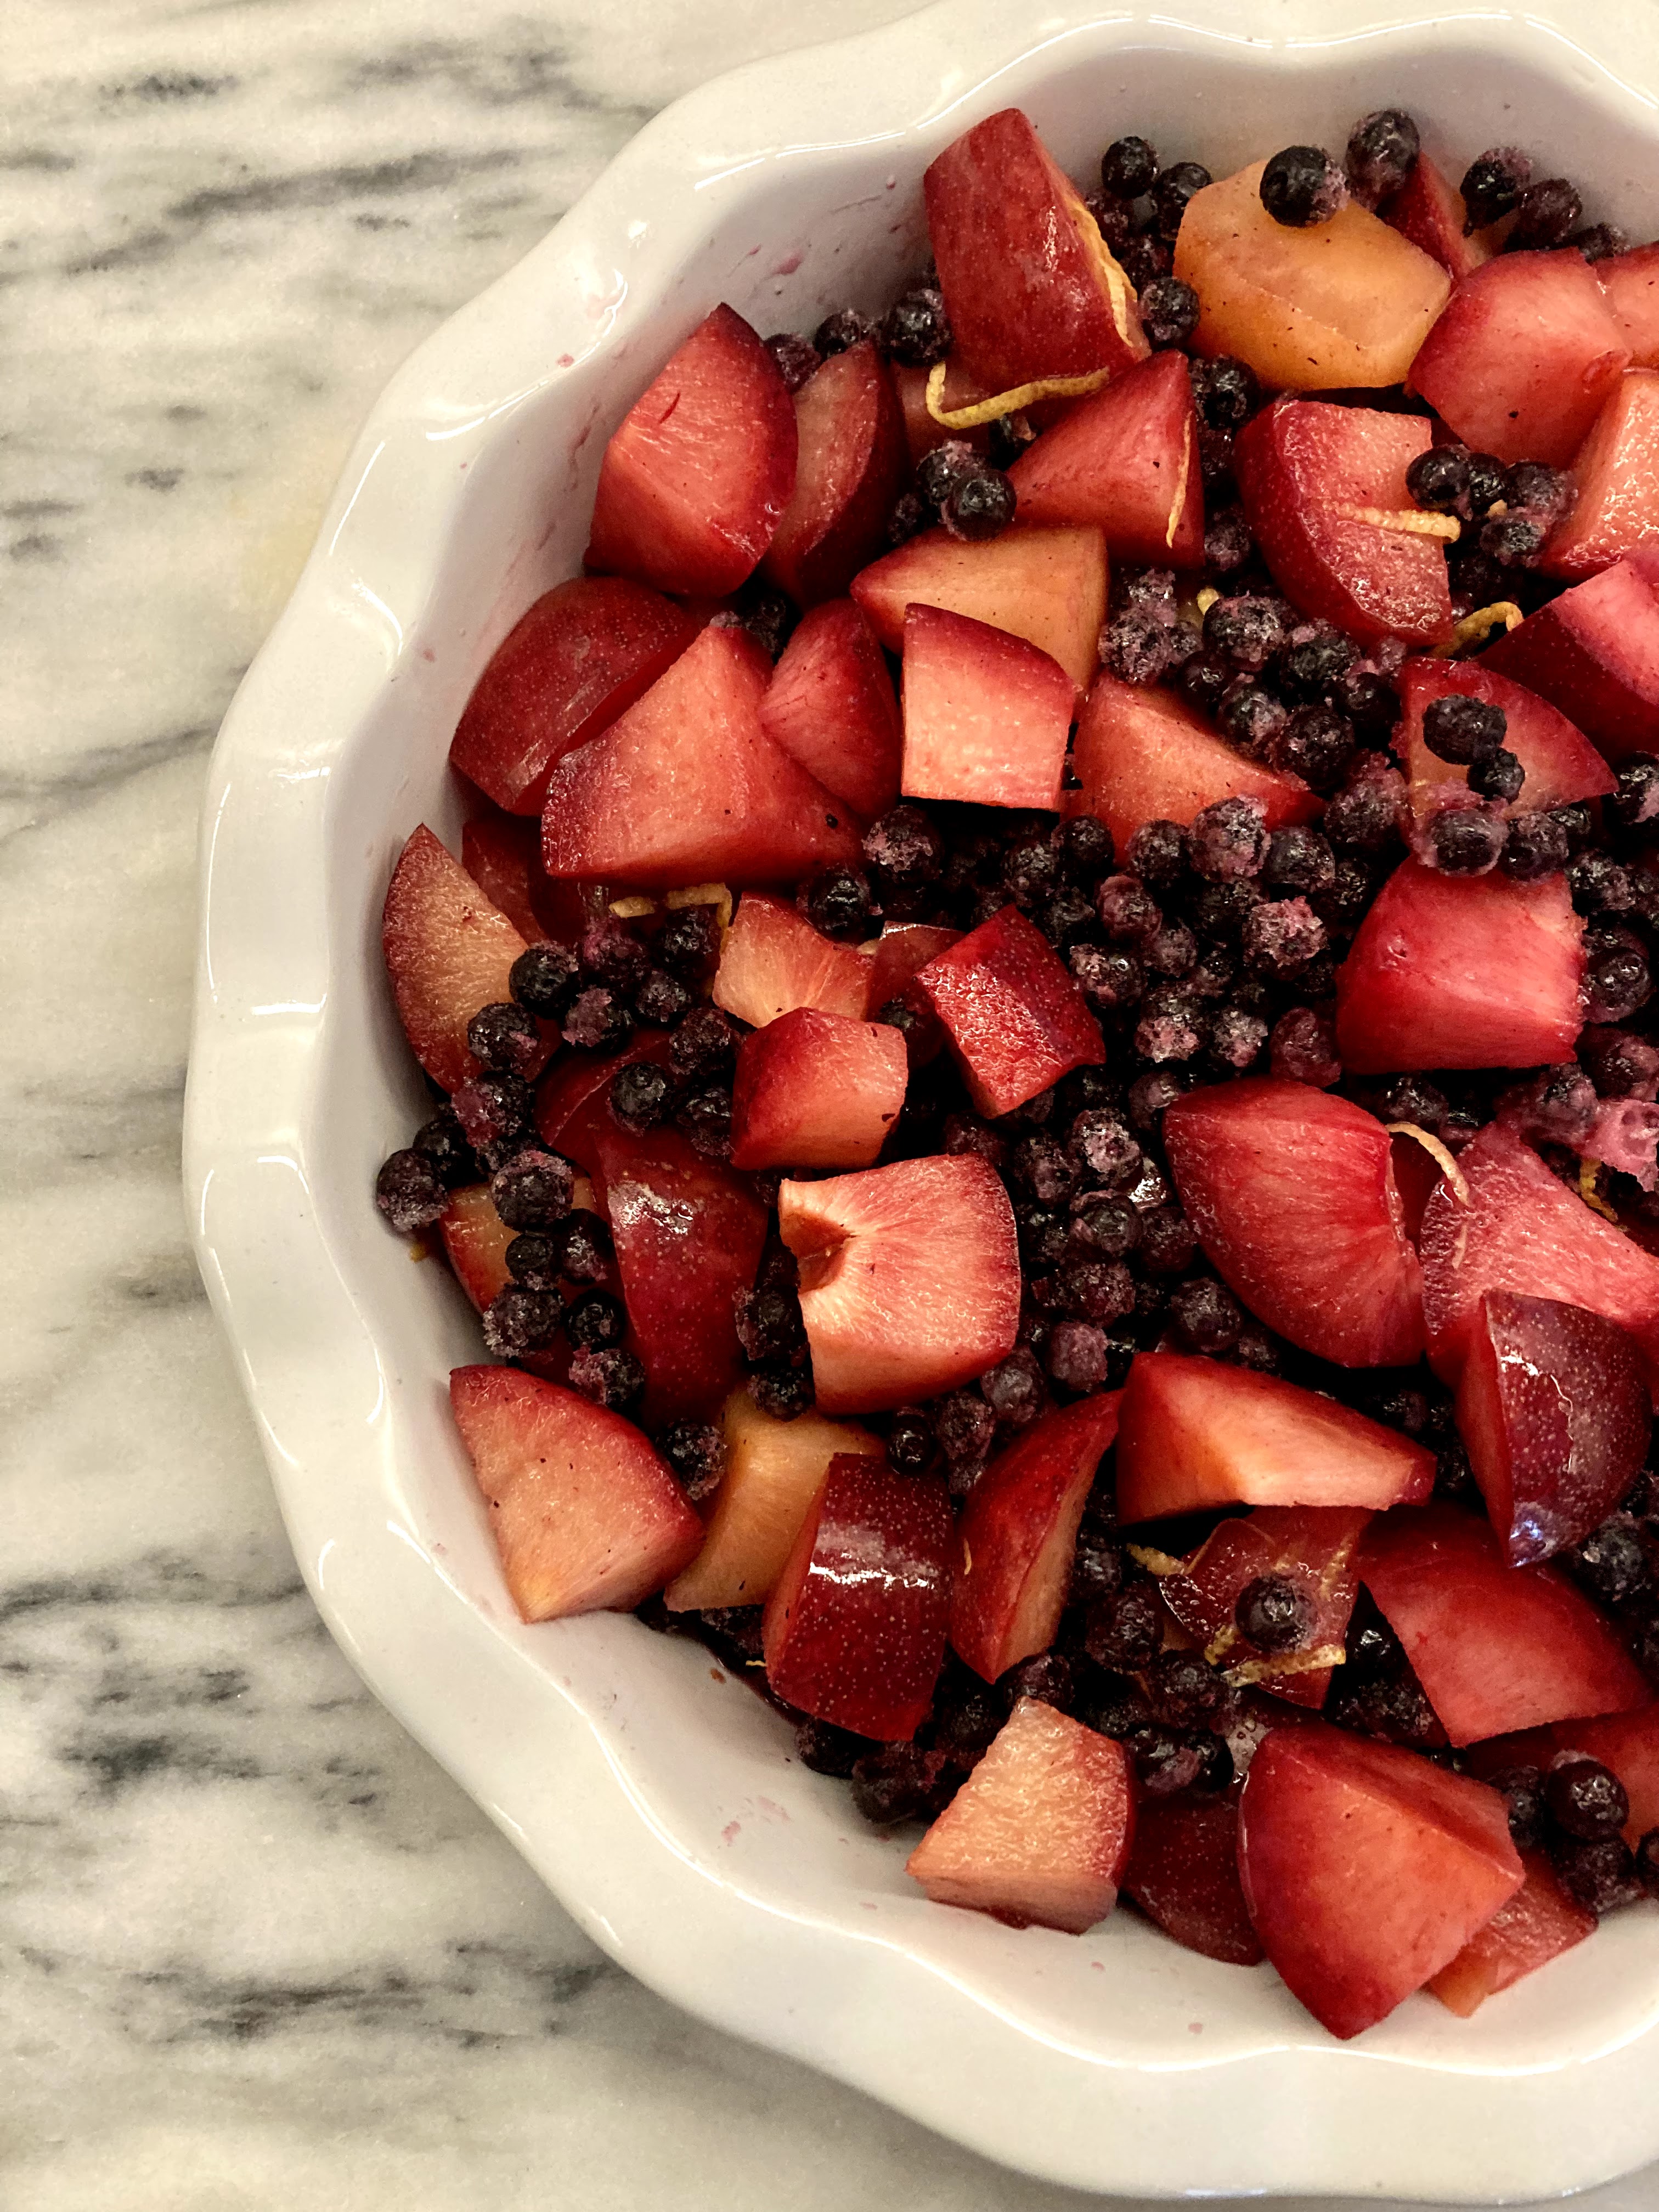
Also, it fits things like this when they need to chill (the old one didn’t, without basically removing everything else from it… slightly problematic as you can imagine). My new place is definitely feeling more like home these days – I have been here exactly a month! Hard to believe. New furniture comes next week too, so I have a bit of rearranging to do this weekend.

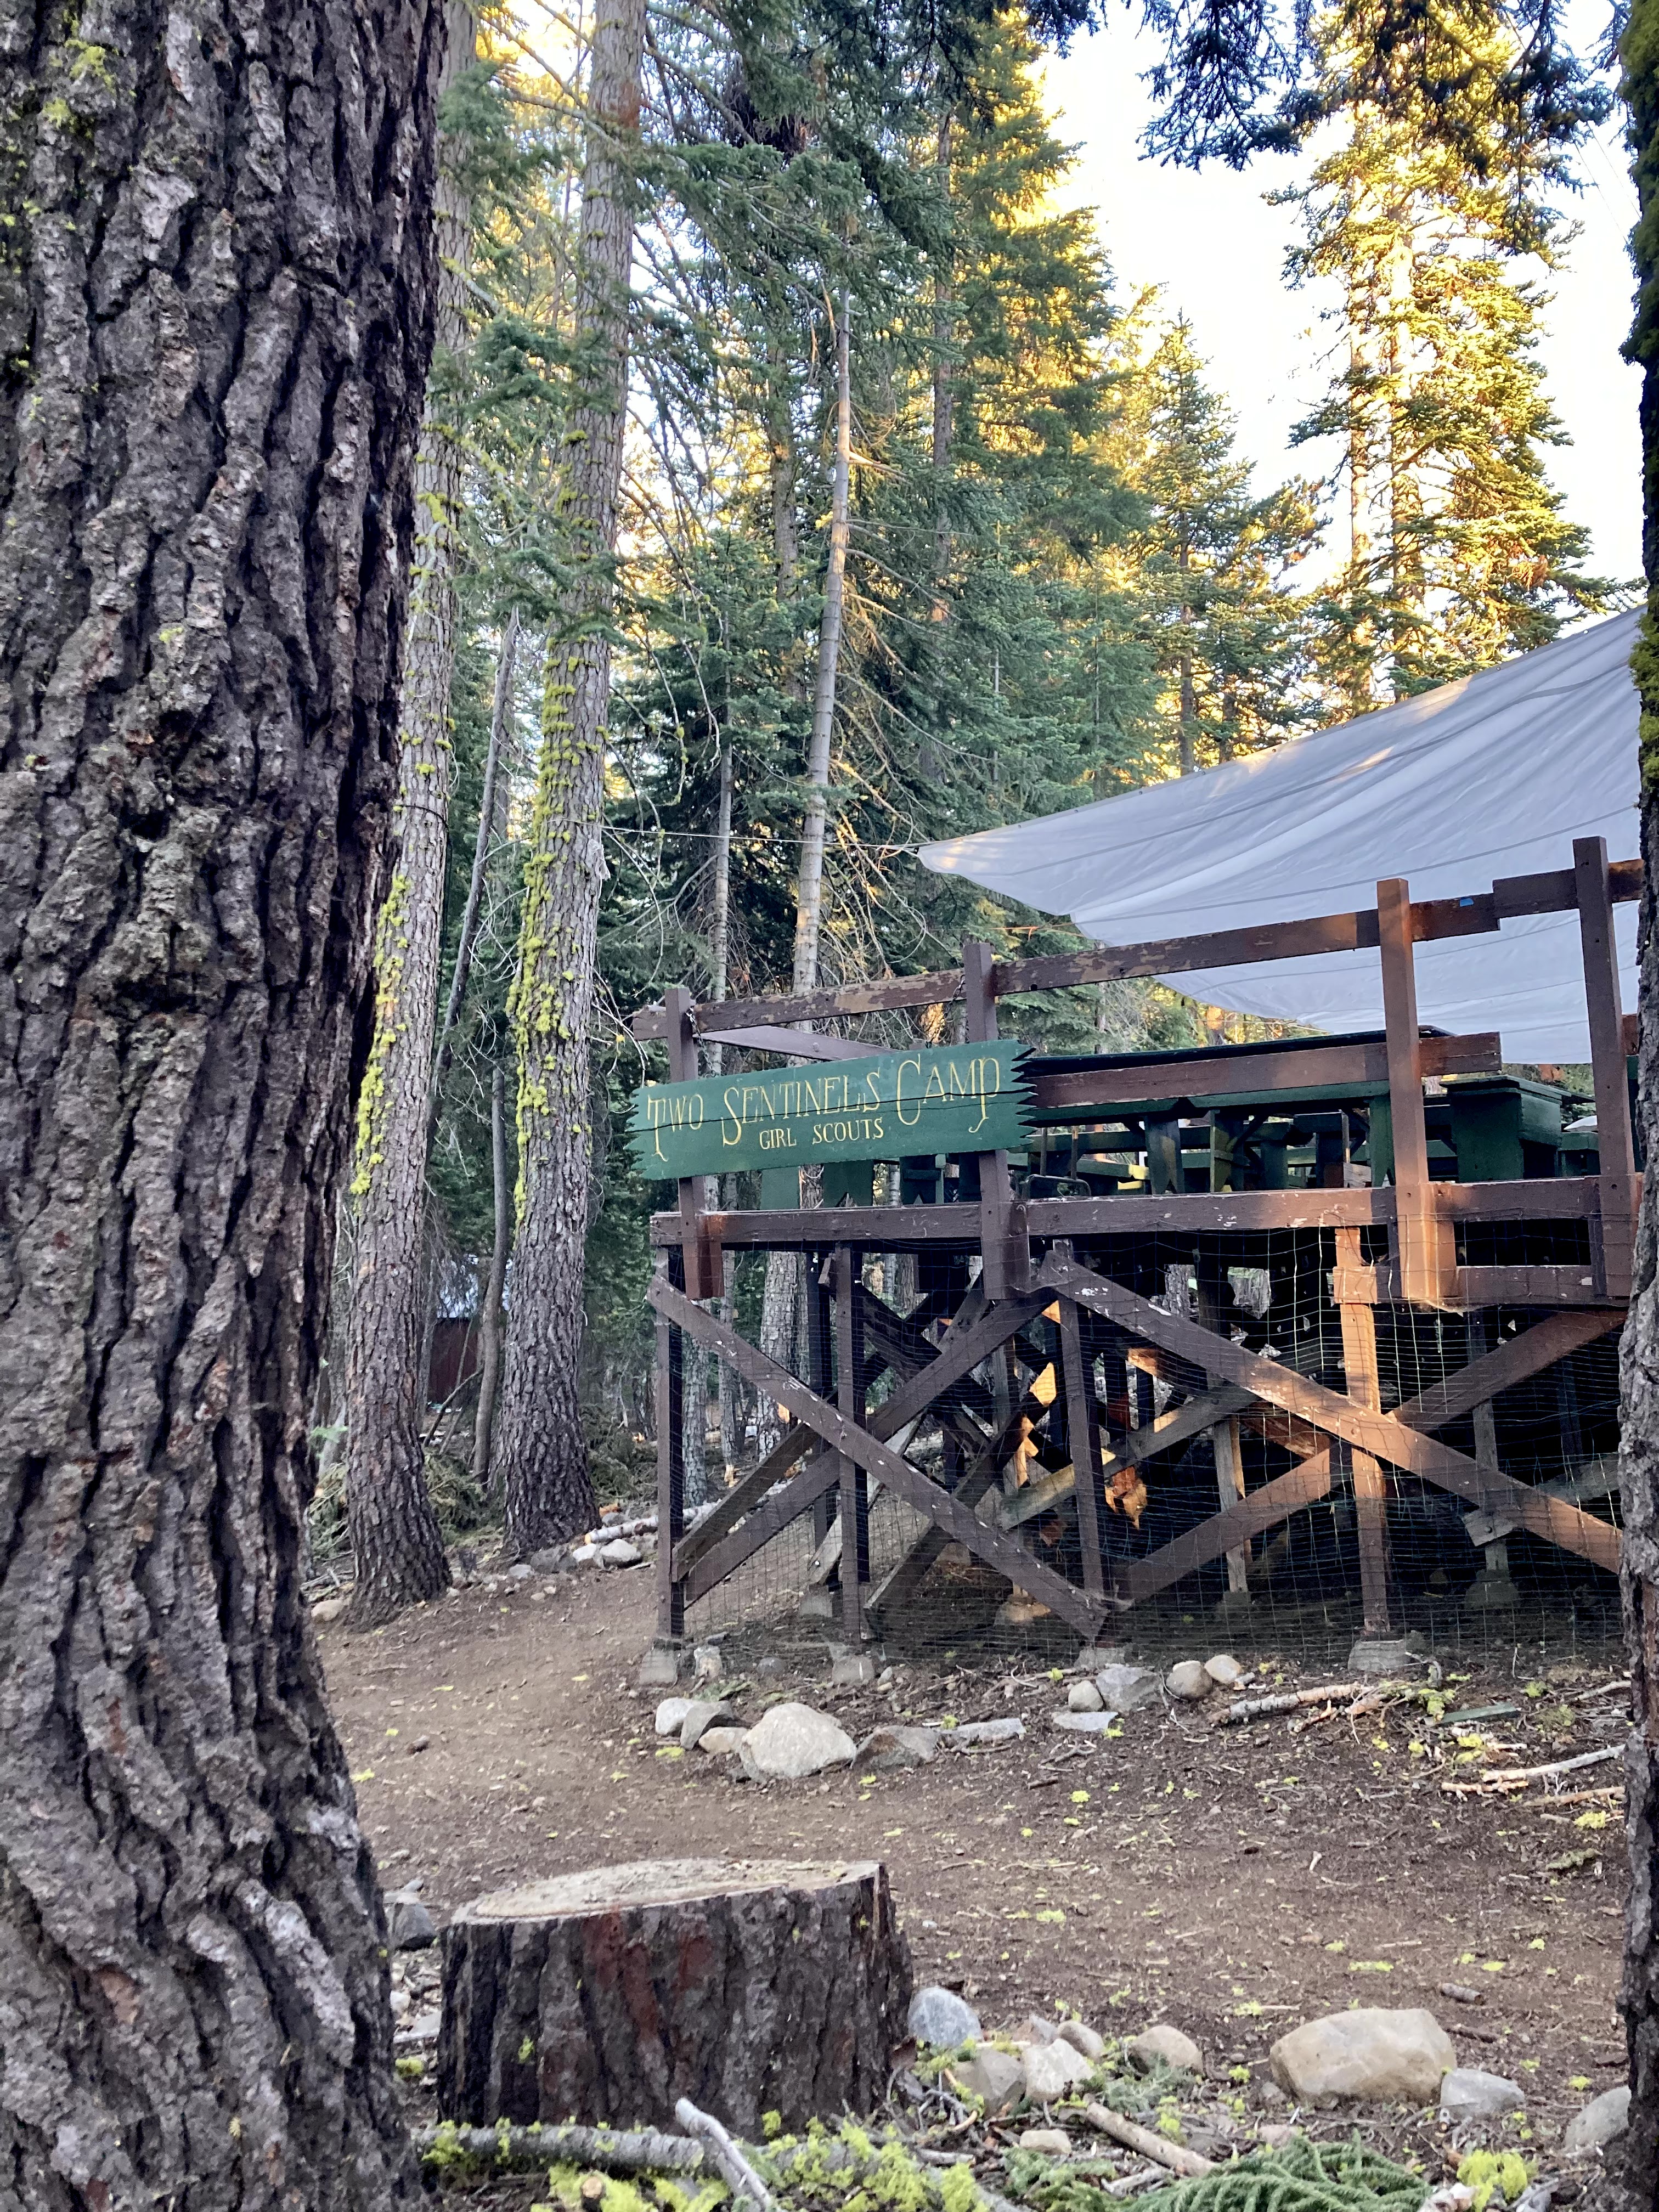
Realized I hadn’t made a panna cotta in ages and I miss them – I got to make one for our camp director working weekend a week ago, but one just wasn’t enough. Besides, C requested citrus and it works so well in them.

sun photobomb from a run a few weeks ago

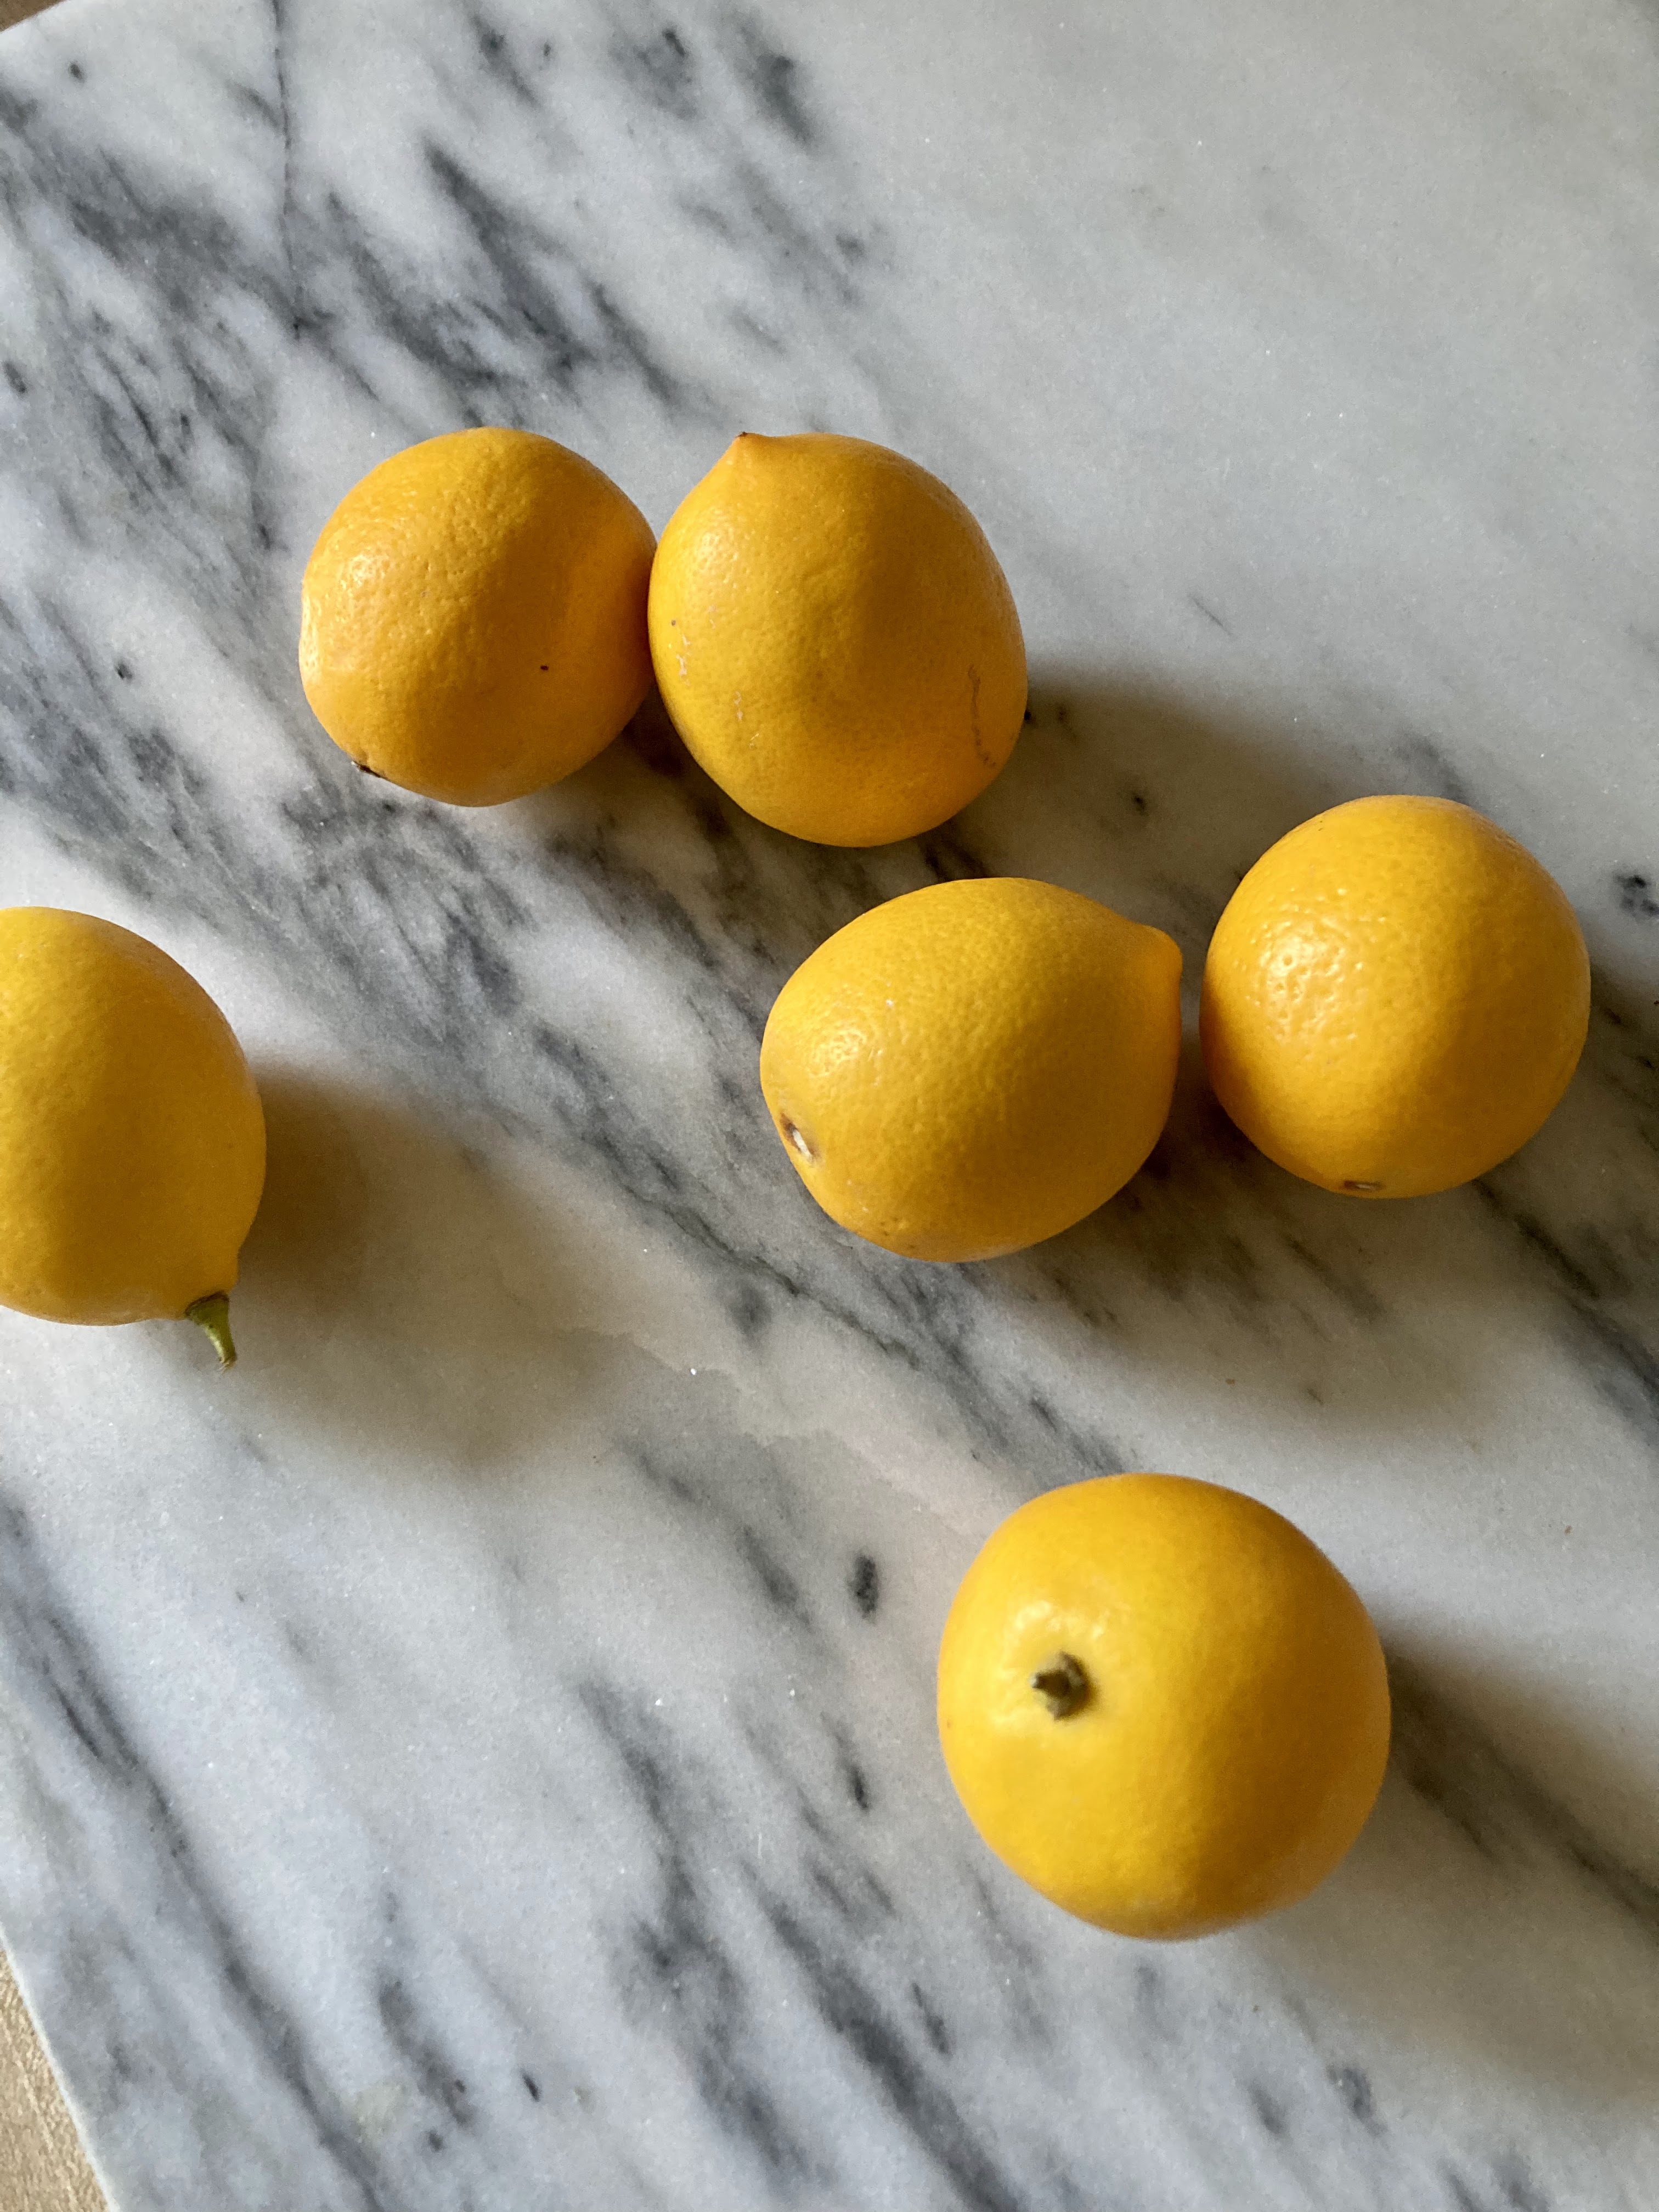
I decided to put it both in the crust and the panna cotta itself – definitely will be doing this again, it’s delicious! Not sure why I’ve never really put citrus zest into this crust but I’m glad I fixed that. Meyer lemons are still easily found around here too, so I’m trying to take advantage when I can.

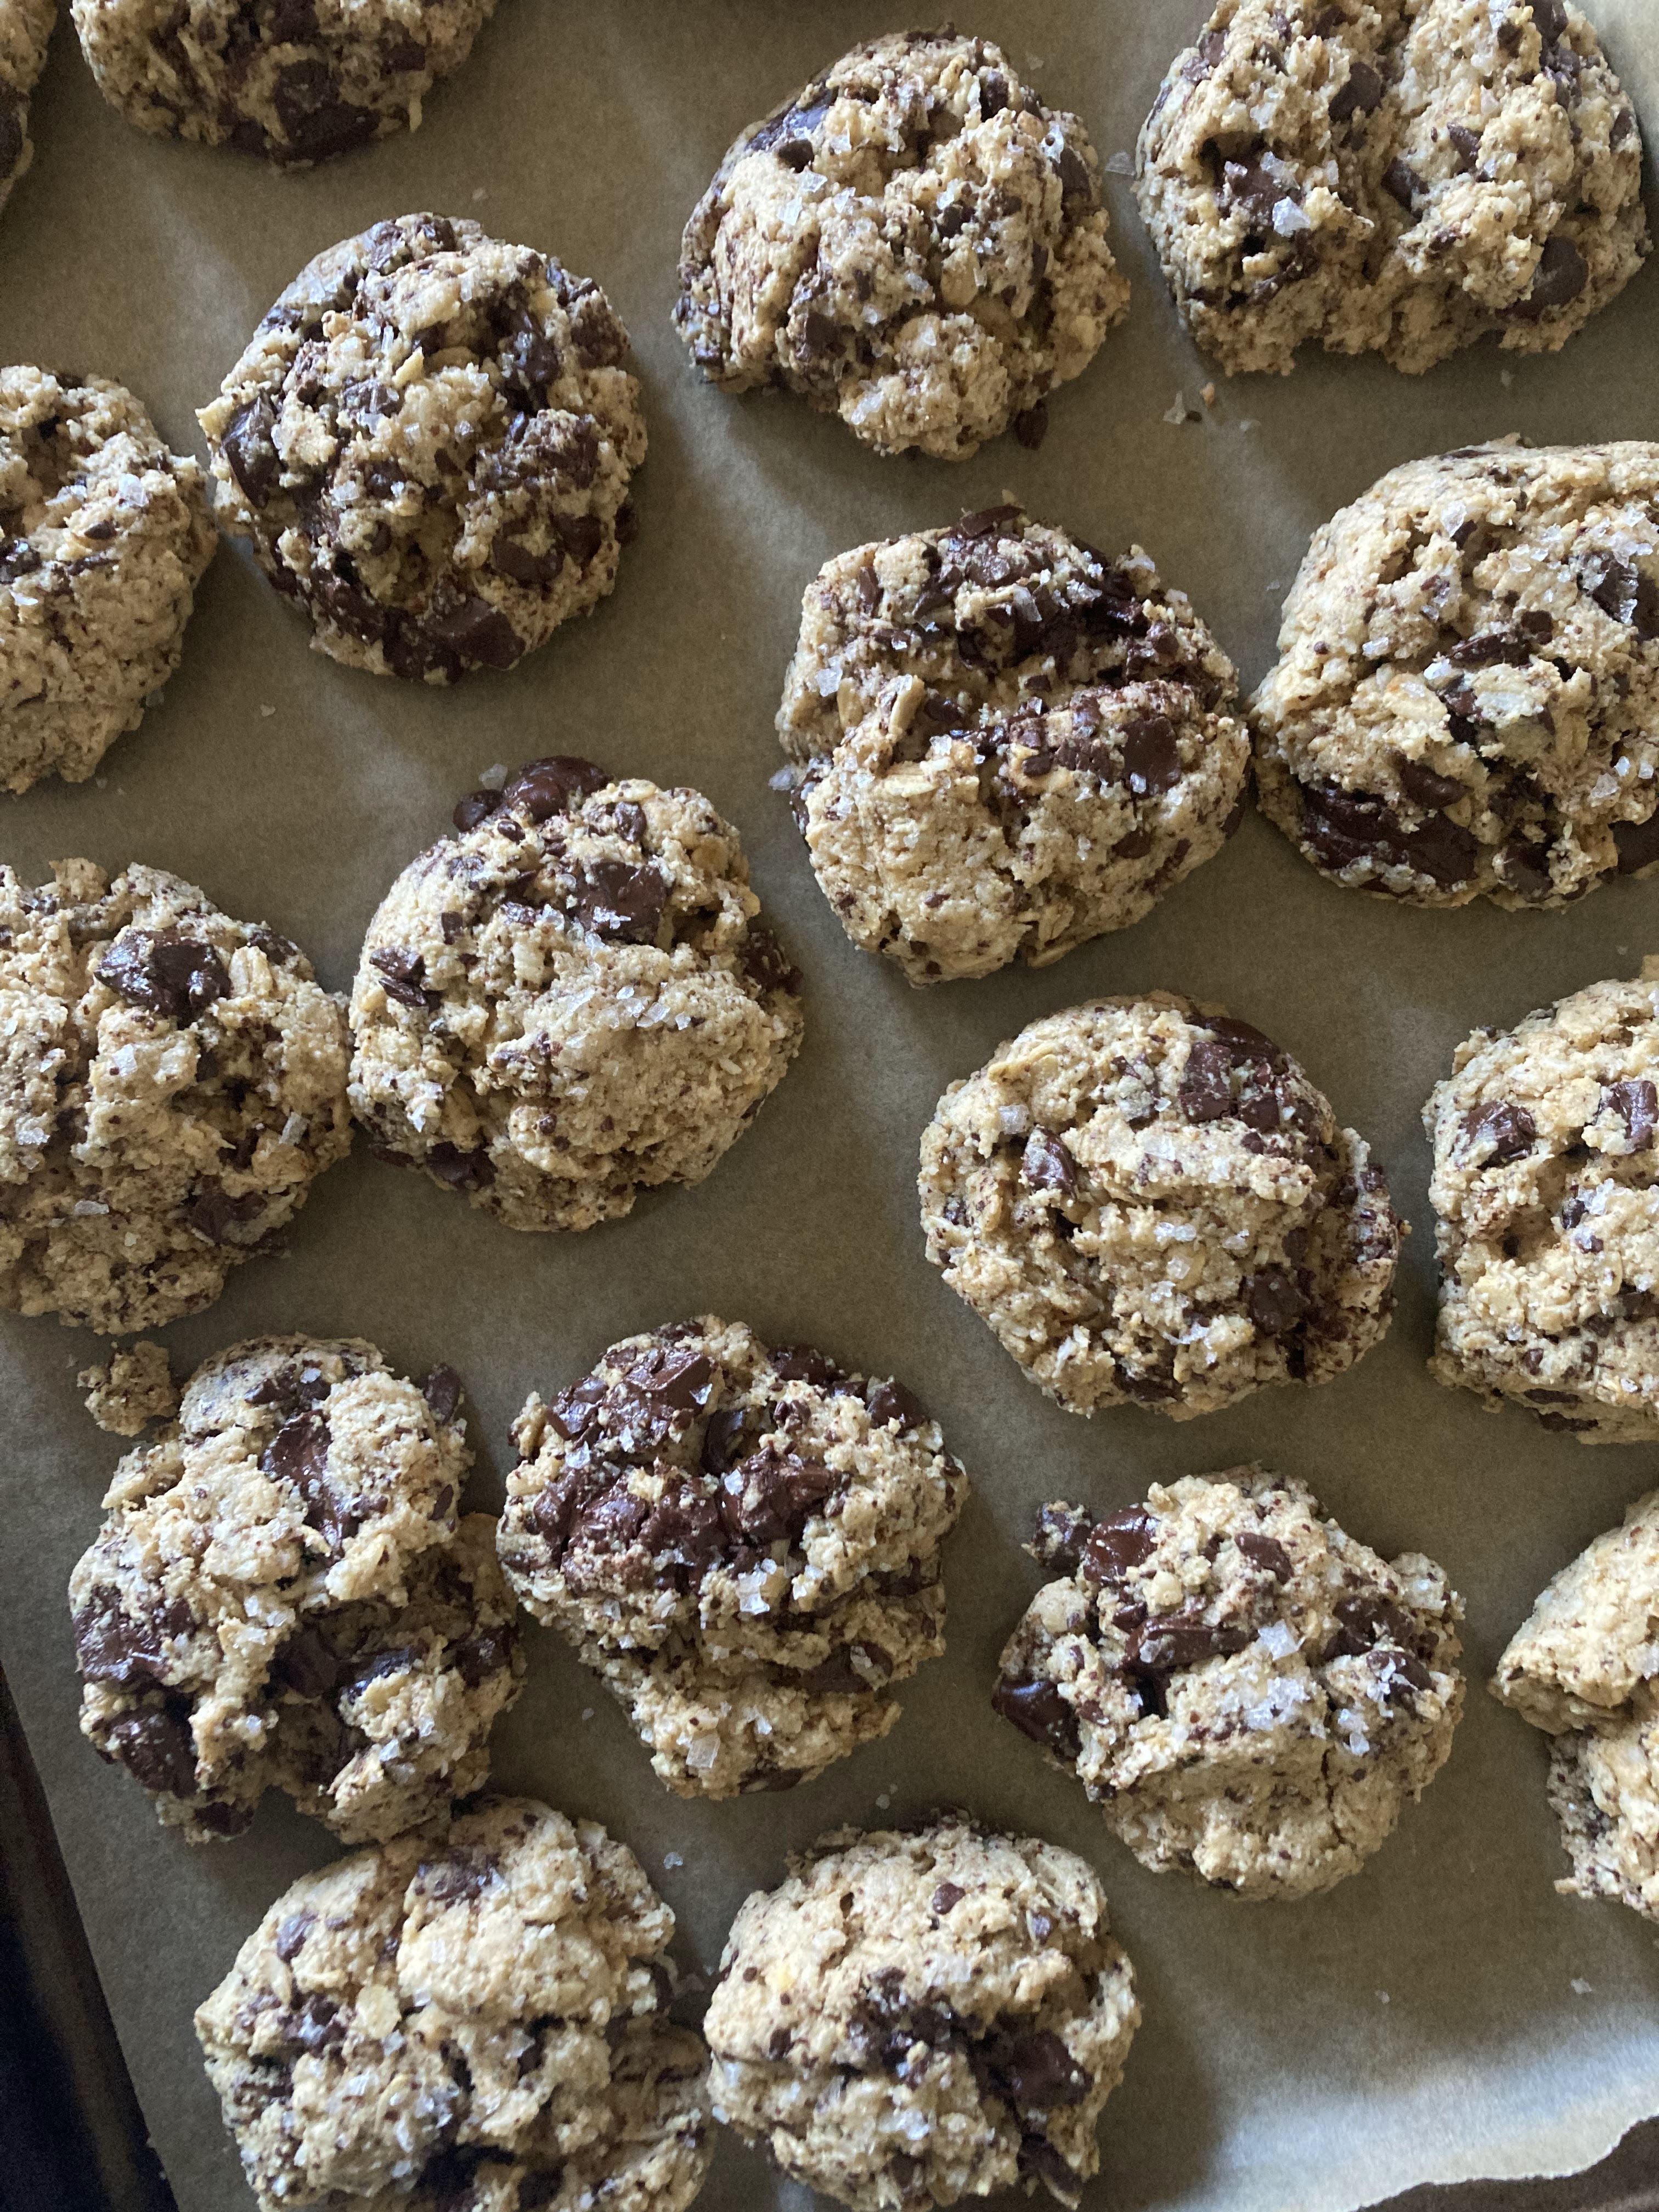
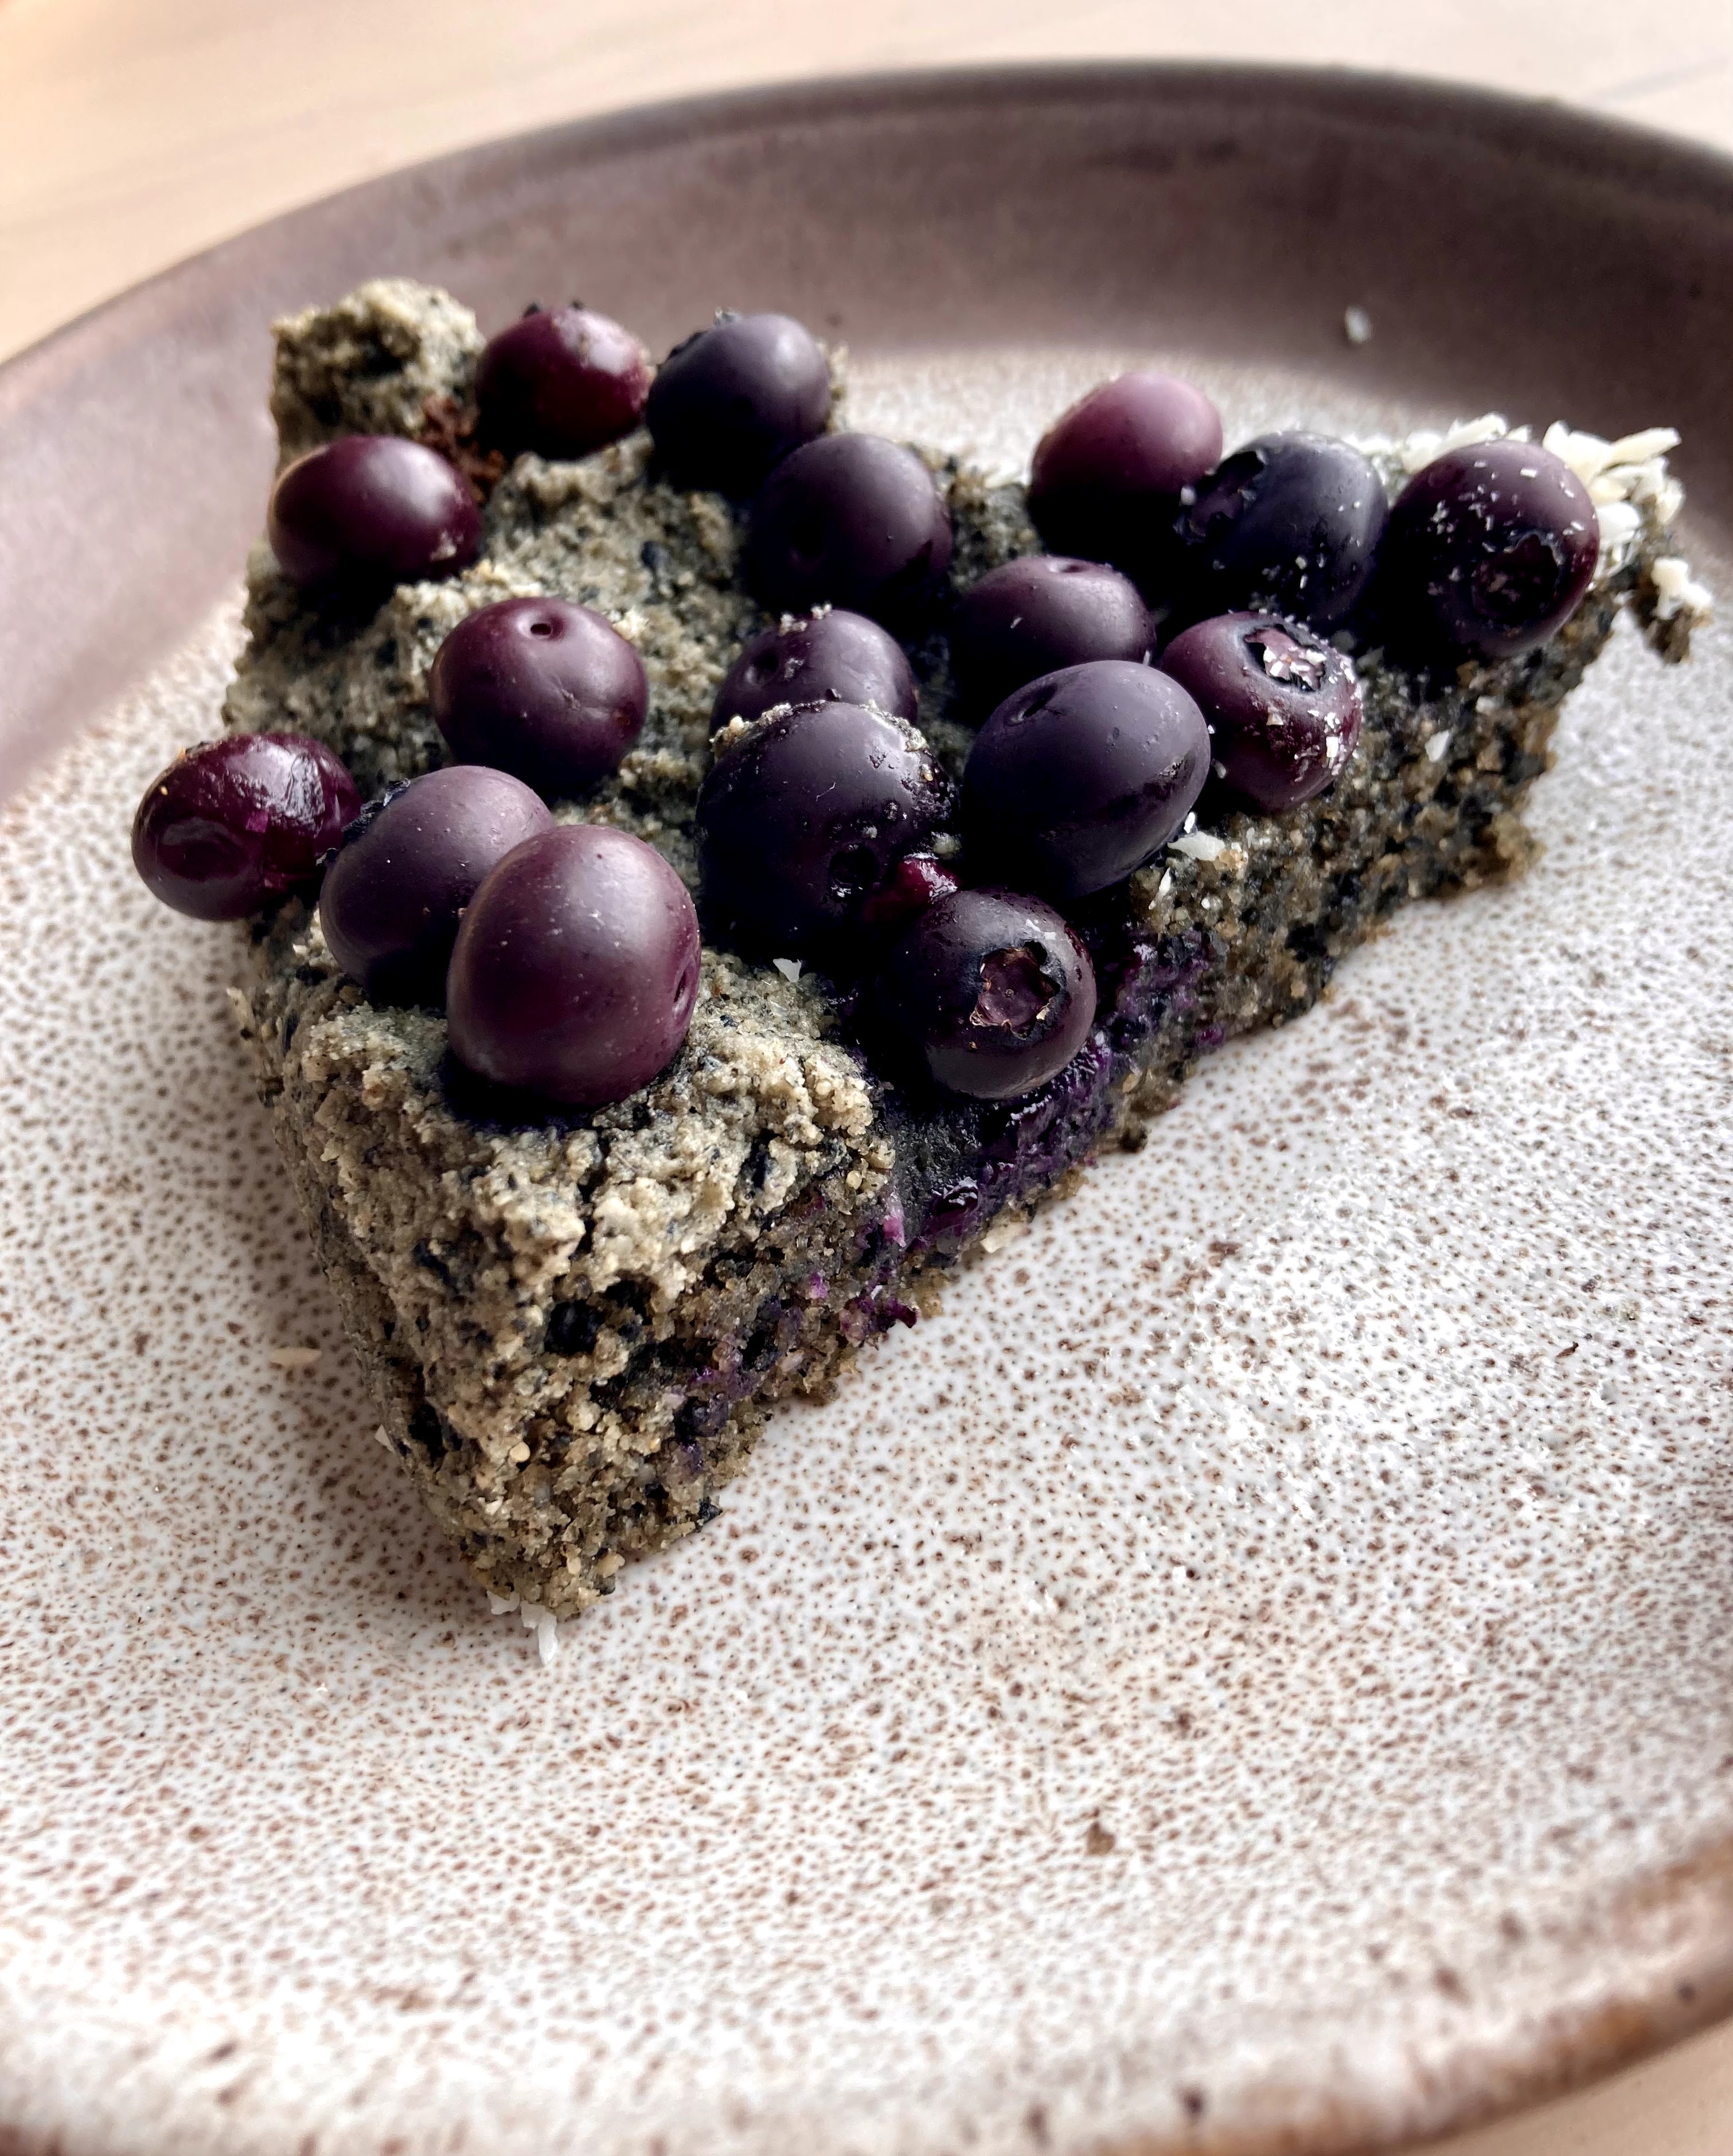
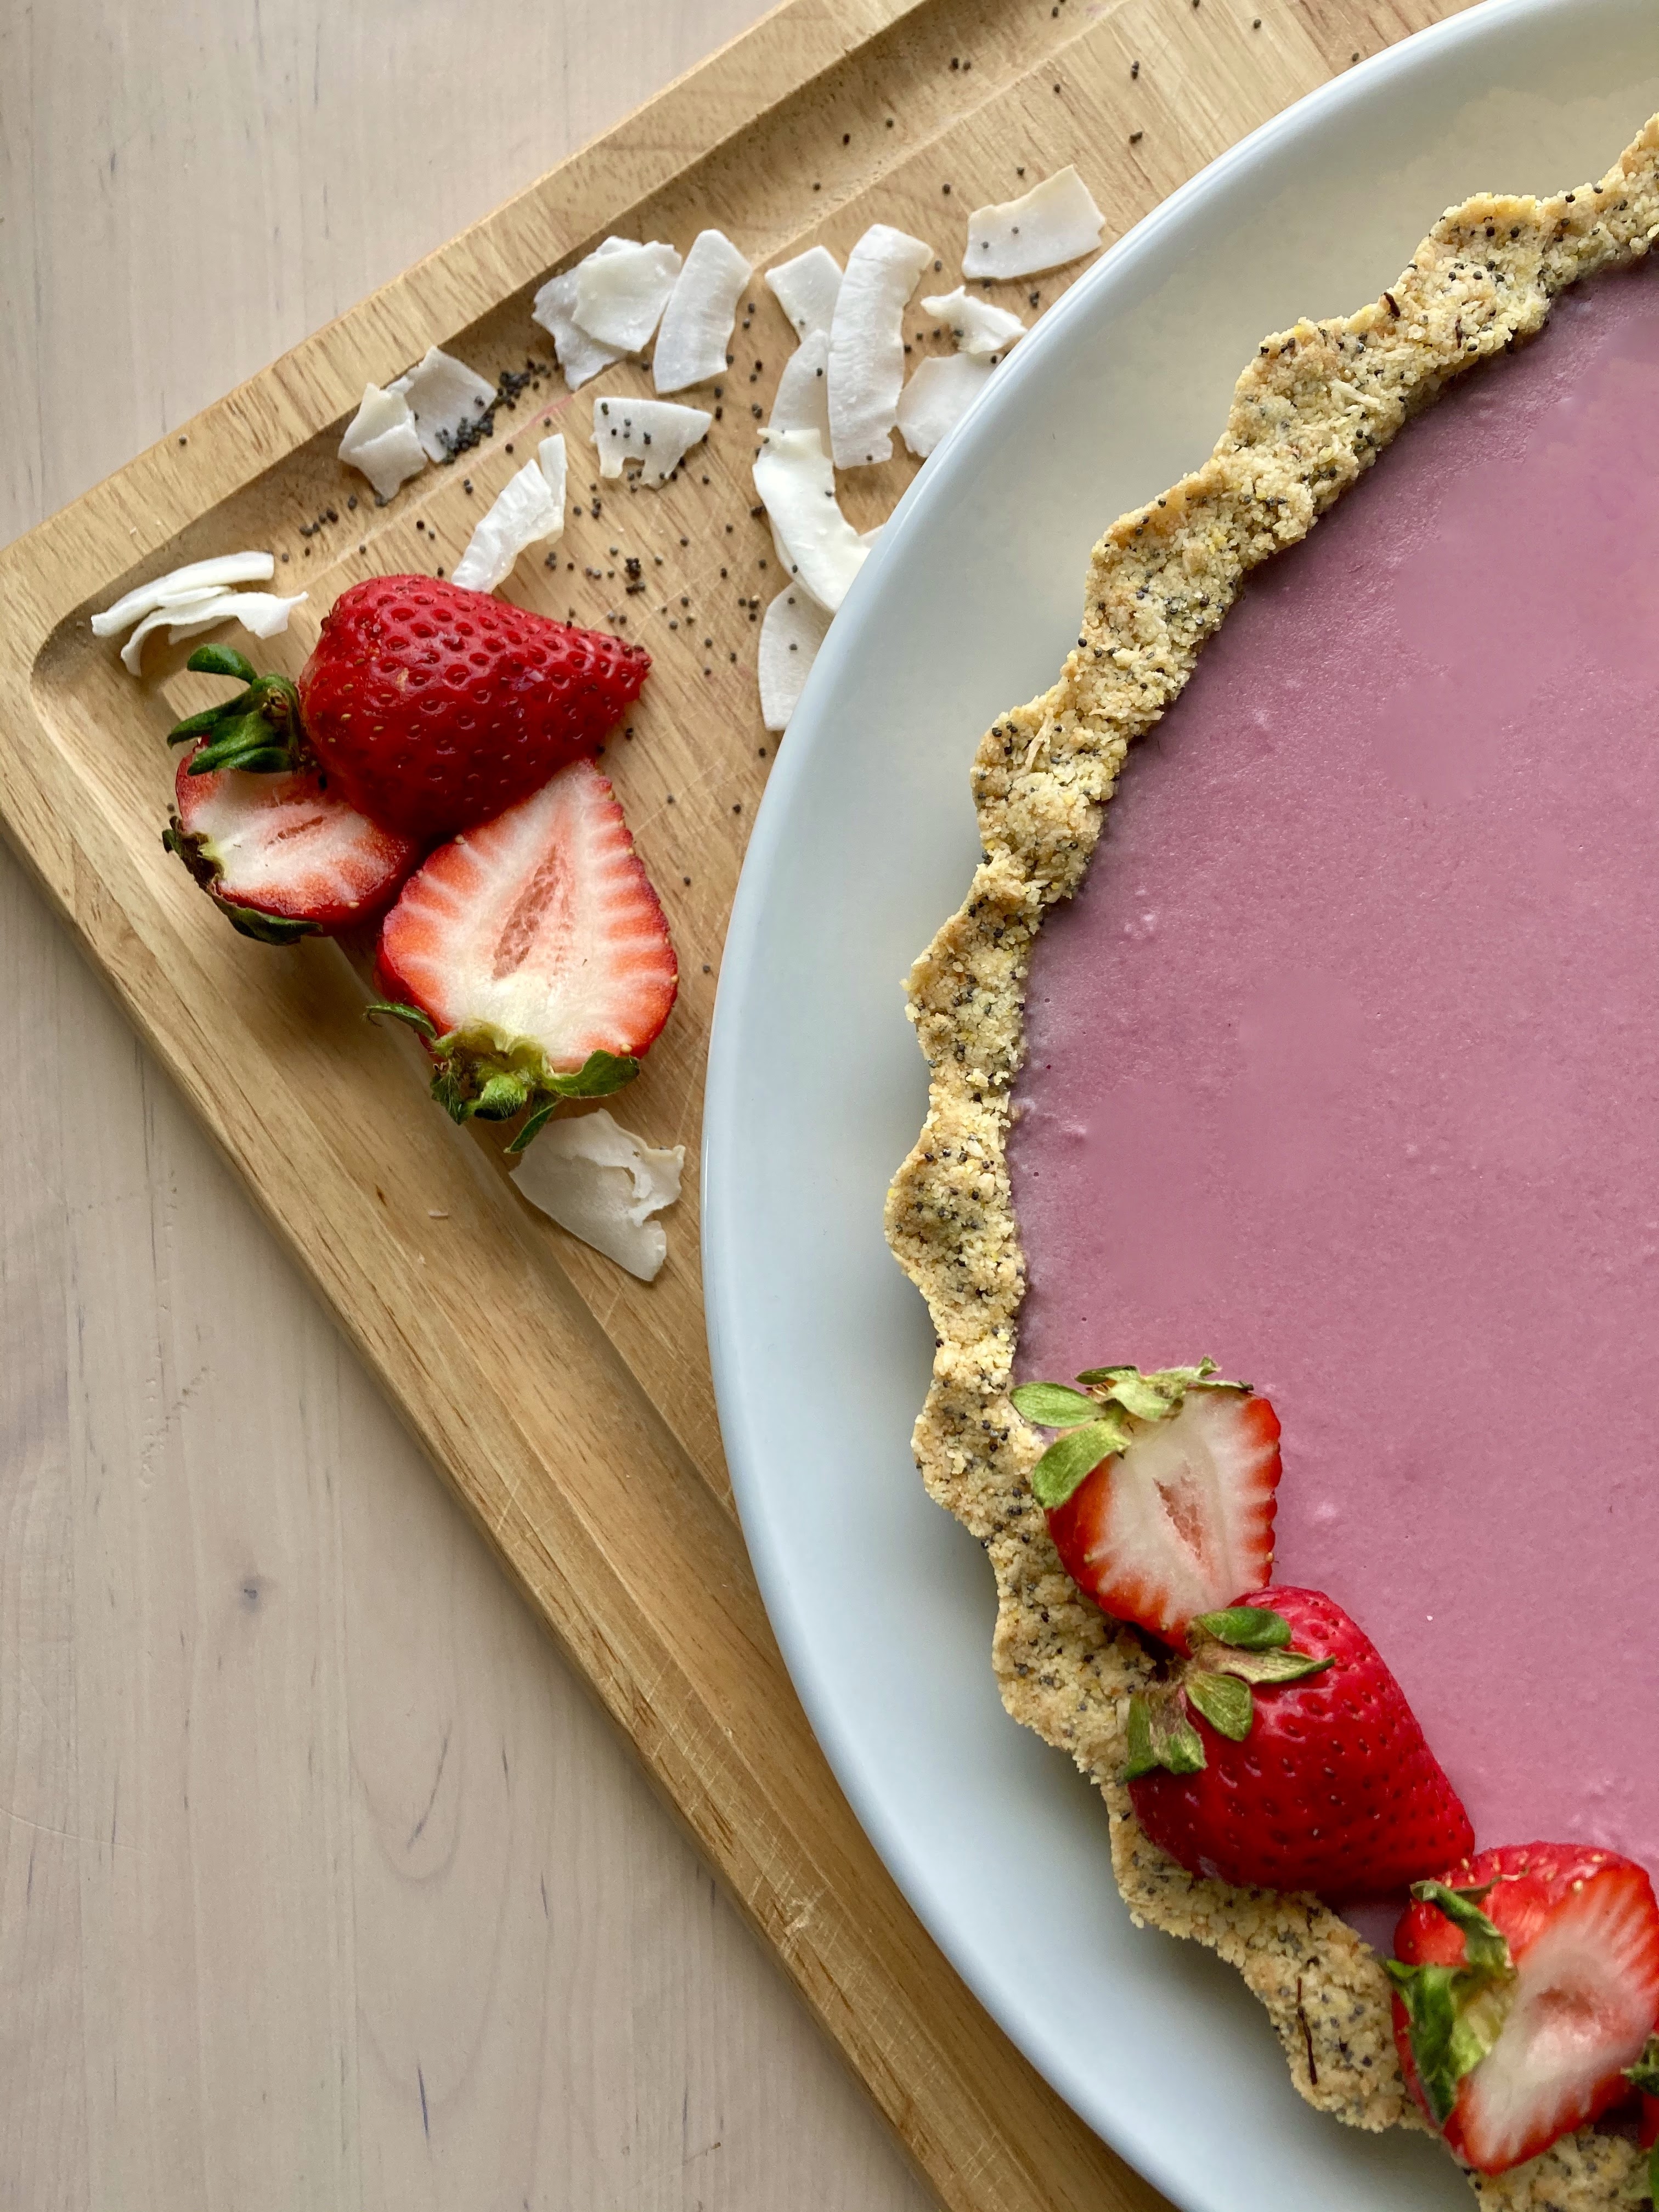
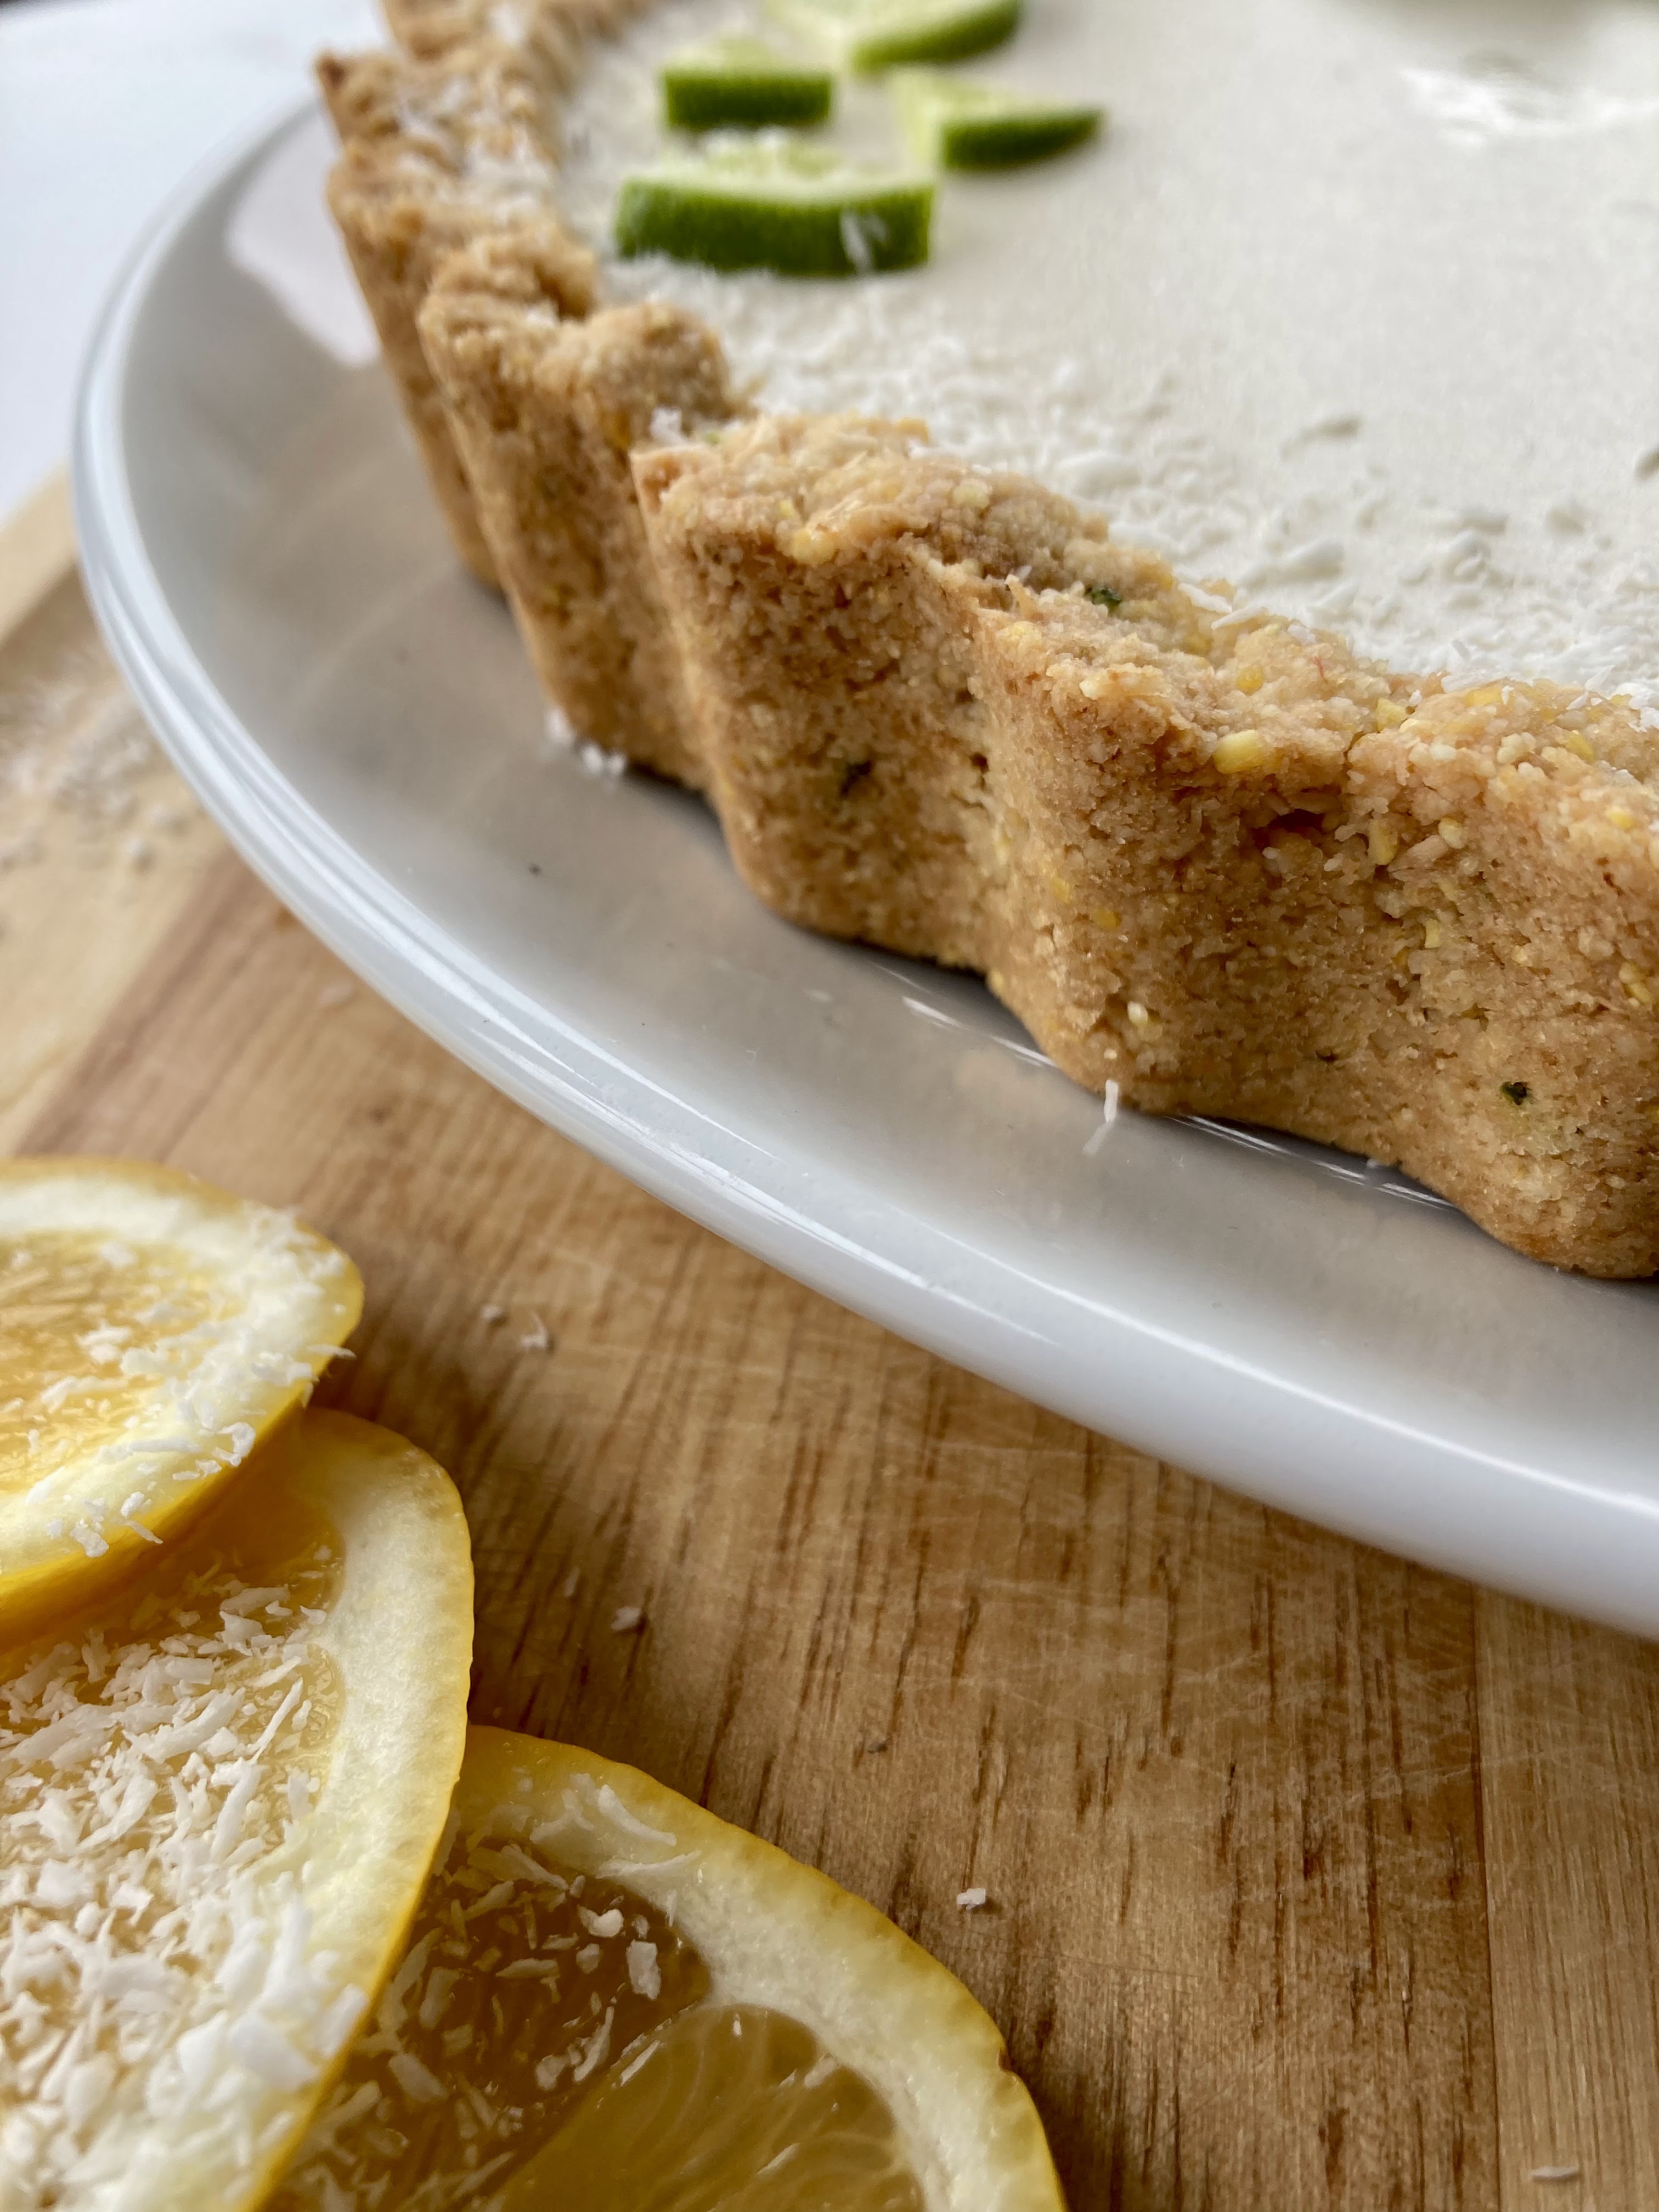
This tart is gluten free, dairy free and refined sugar free – lightly sweet and definitely citrusy. There is chocolate too, but just a little – I didn’t want it to overpower the lemon in the panna cotta or the lime in the crust. The crust reminds me of a shortbread in its flavor; the whole thing goes well with vanilla ice cream or flies solo and shines when sliced into pretty wedges.

Happy weekending!

Meyer Lemon Panna Cotta Tart on an Almond, Lime and Chocolate Crust

Gluten free, refined sugar free, and dairy free. Yield: 1 9″ tart, serves several. A Wait are those Cookies original.

For the crust:

1.5 c almond flour
1/3c unsweetened shredded coconut
1/3c cornmeal
heaping 1/4 tsp sea salt
1/2 tsp baking soda
zest & juice of two small limes
2 tsp vanilla extract
1/4 tsp almond extract
2 tbsp pure maple syrup
6 tbsp coconut oil, melted
2 tbsp dark chocolate

In a large bowl, stir together almond flour, shredded coconut, cornmeal, sea salt, and baking soda. Add in lime zest and juice, vanilla extract, maple, and melted coconut oil, and stir until completely combined. The dough will look crumbly, but you’ll be able to press it together with your fingers.

Preheat the oven to 350, and lightly grease a 9″ tart pan (w/ removable bottom) with coconut oil. Press the crust into the plate and up the sides with a spoon or your fingers, creating a smooth edge (or not, your call!). Poke the bottom with a fork a few times, and bake for 15 minutes. Remove from the oven and set aside. Once the crust is out, melt the dark chocolate in a double boiler or the microwave until smooth, stirring frequently. Spread a thin layer over the bottom of the crust. Let the whole thing cool to room temperature – once it’s cool, chill it in the fridge until needed.

For the Panna Cotta:
1 package unflavored powdered gelatin
1 can (14oz) full-fat coconut milk
1 tbsp vanilla bean paste
zest of 2 meyer lemons
2 tbsp maple syrup
Scant 1/4 tsp sea salt
1/2 c lemon juice, divided and chilled

In a small bowl, sprinkle the gelatin over 1/4 cup of the cold lemon juice. Let stand without stirring until the gelatin is moistened, about 10 minutes.

Pour the coconut milk into a small saucepan. Add remaining 1/4 c lemon juice, lemon zest, maple, vanilla, and salt. Bring to a simmer over medium heat, stirring frequently. Remove from heat, strain to remove lemon zest pieces (if they’re large; I use a microplane so often I will just leave them in), and whisk in the gelatin mixture. Whisk until completely dissolved, about 3 minutes. Cool until lukewarm – it should not be starting to set yet. Pour the panna cotta mixture into the cooled tart shell. Place in the refrigerator until set, approximately 4 hours or preferably overnight.

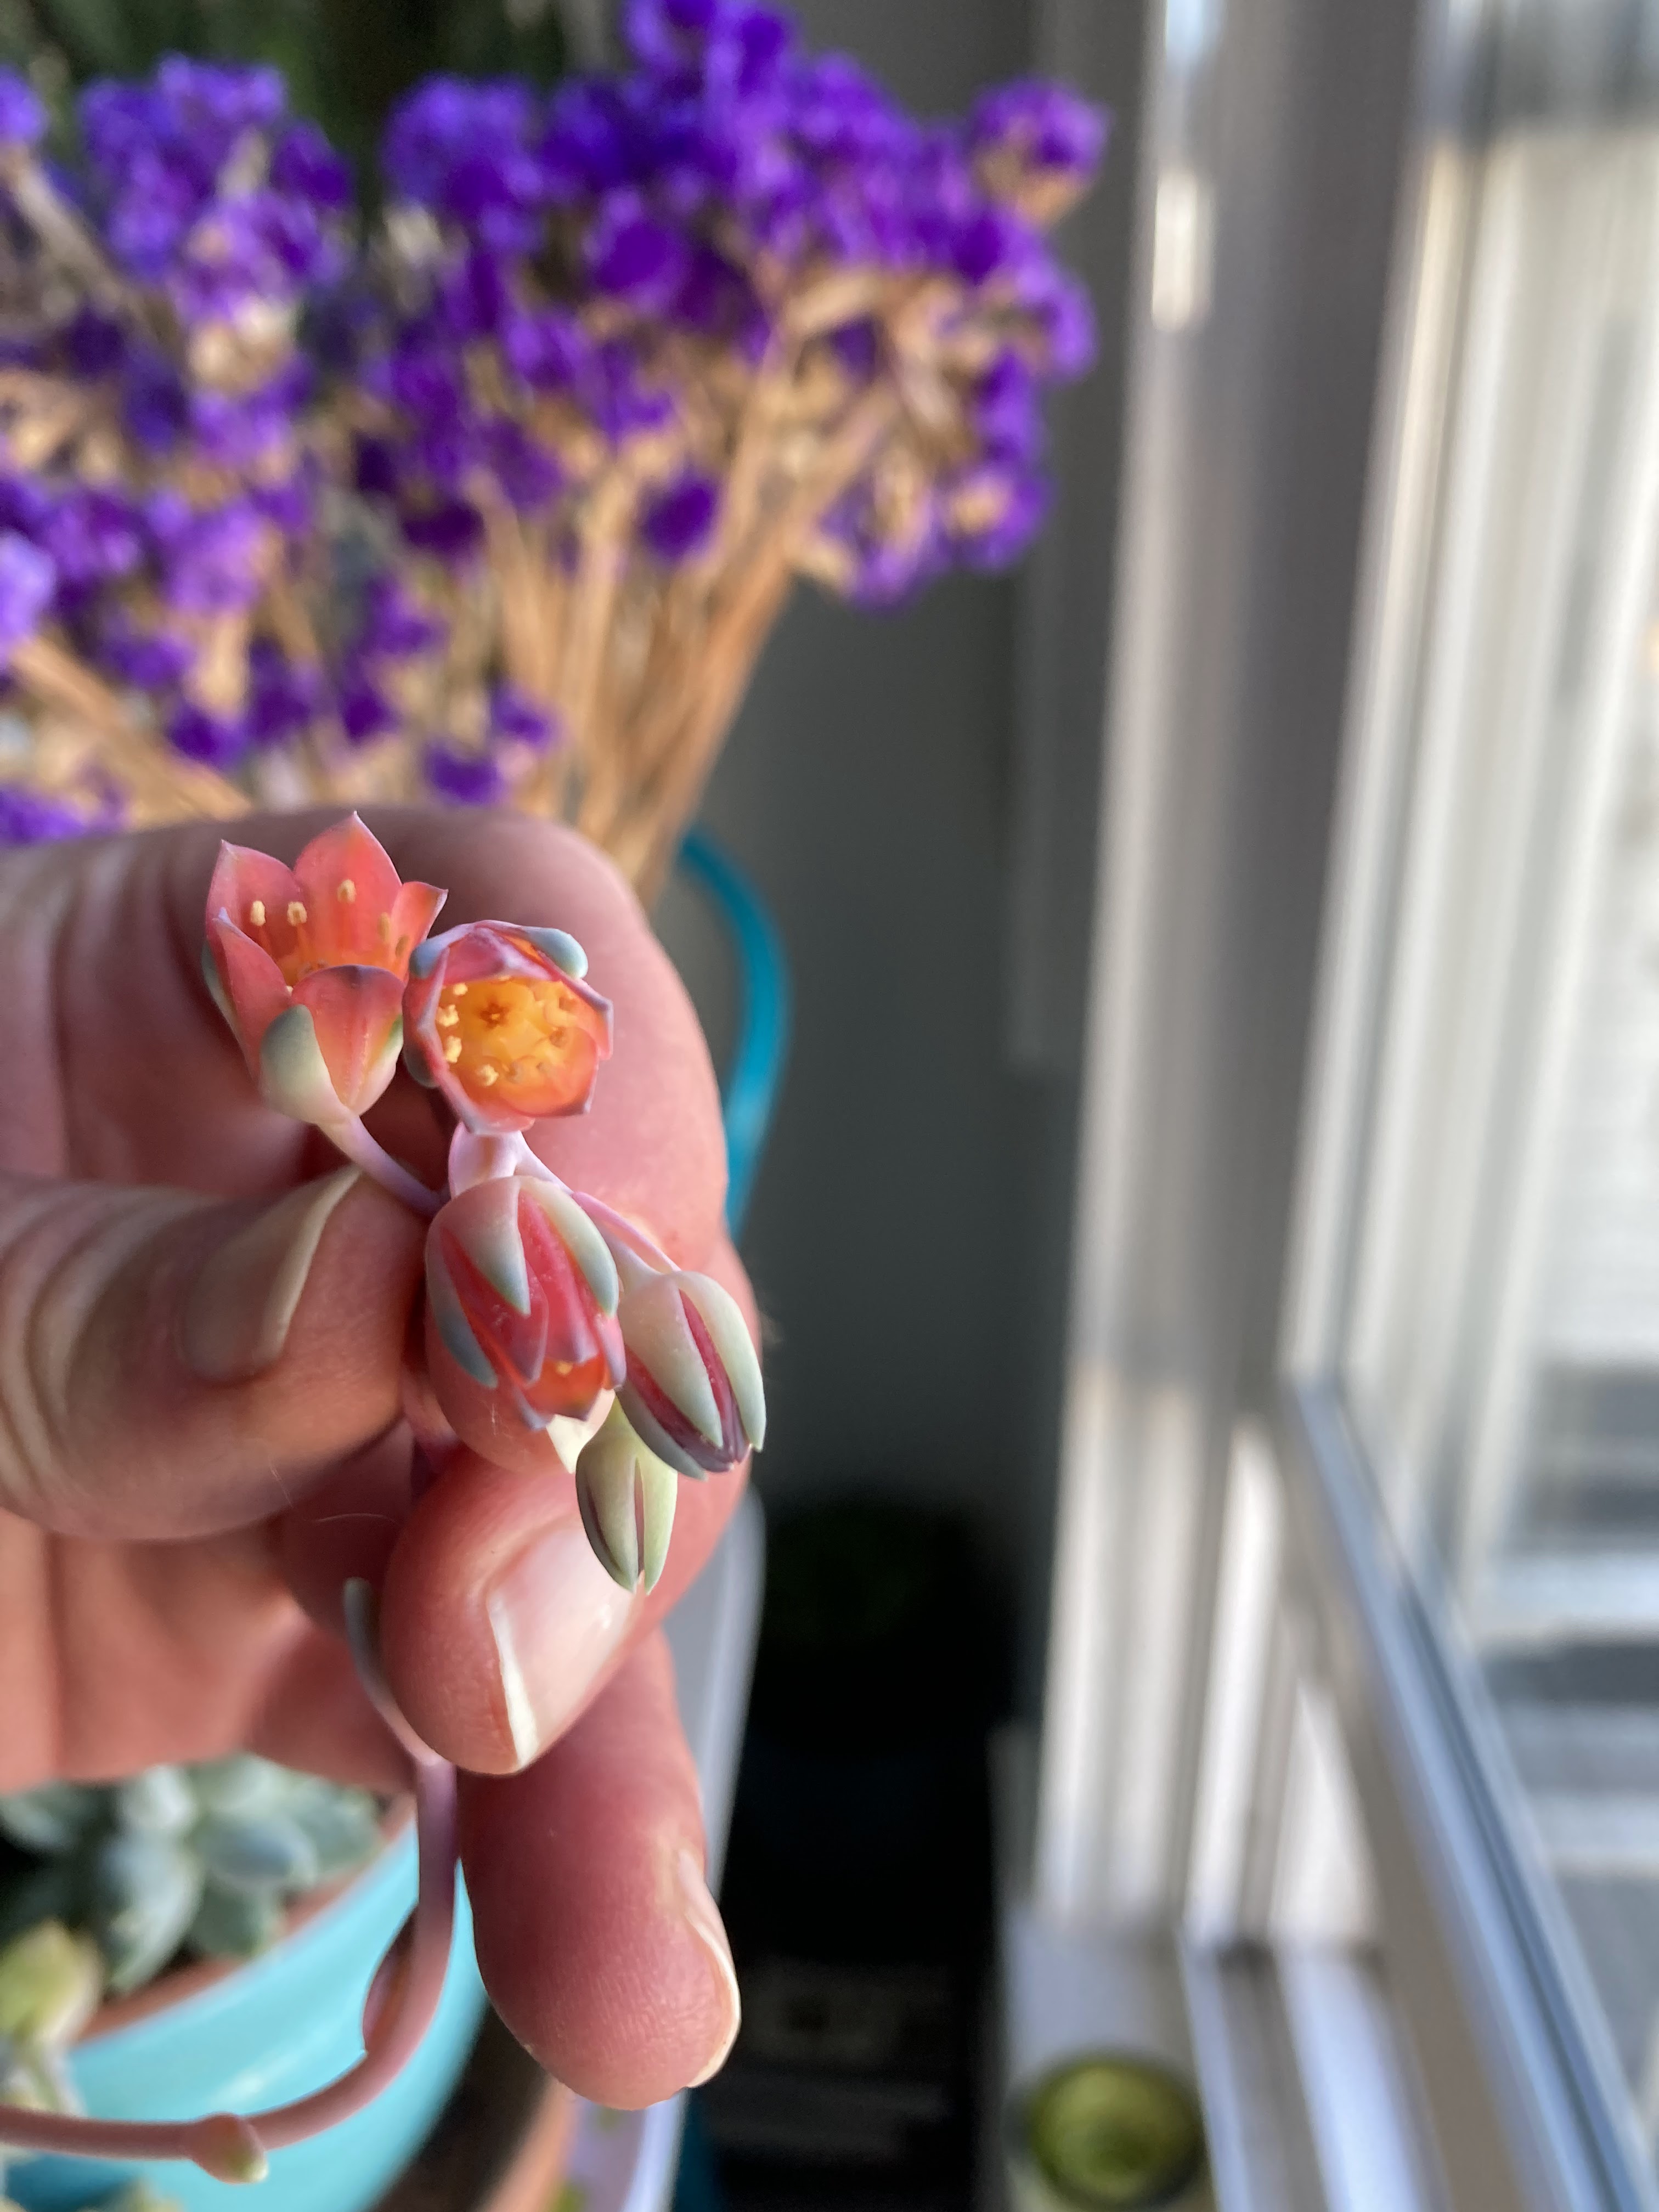
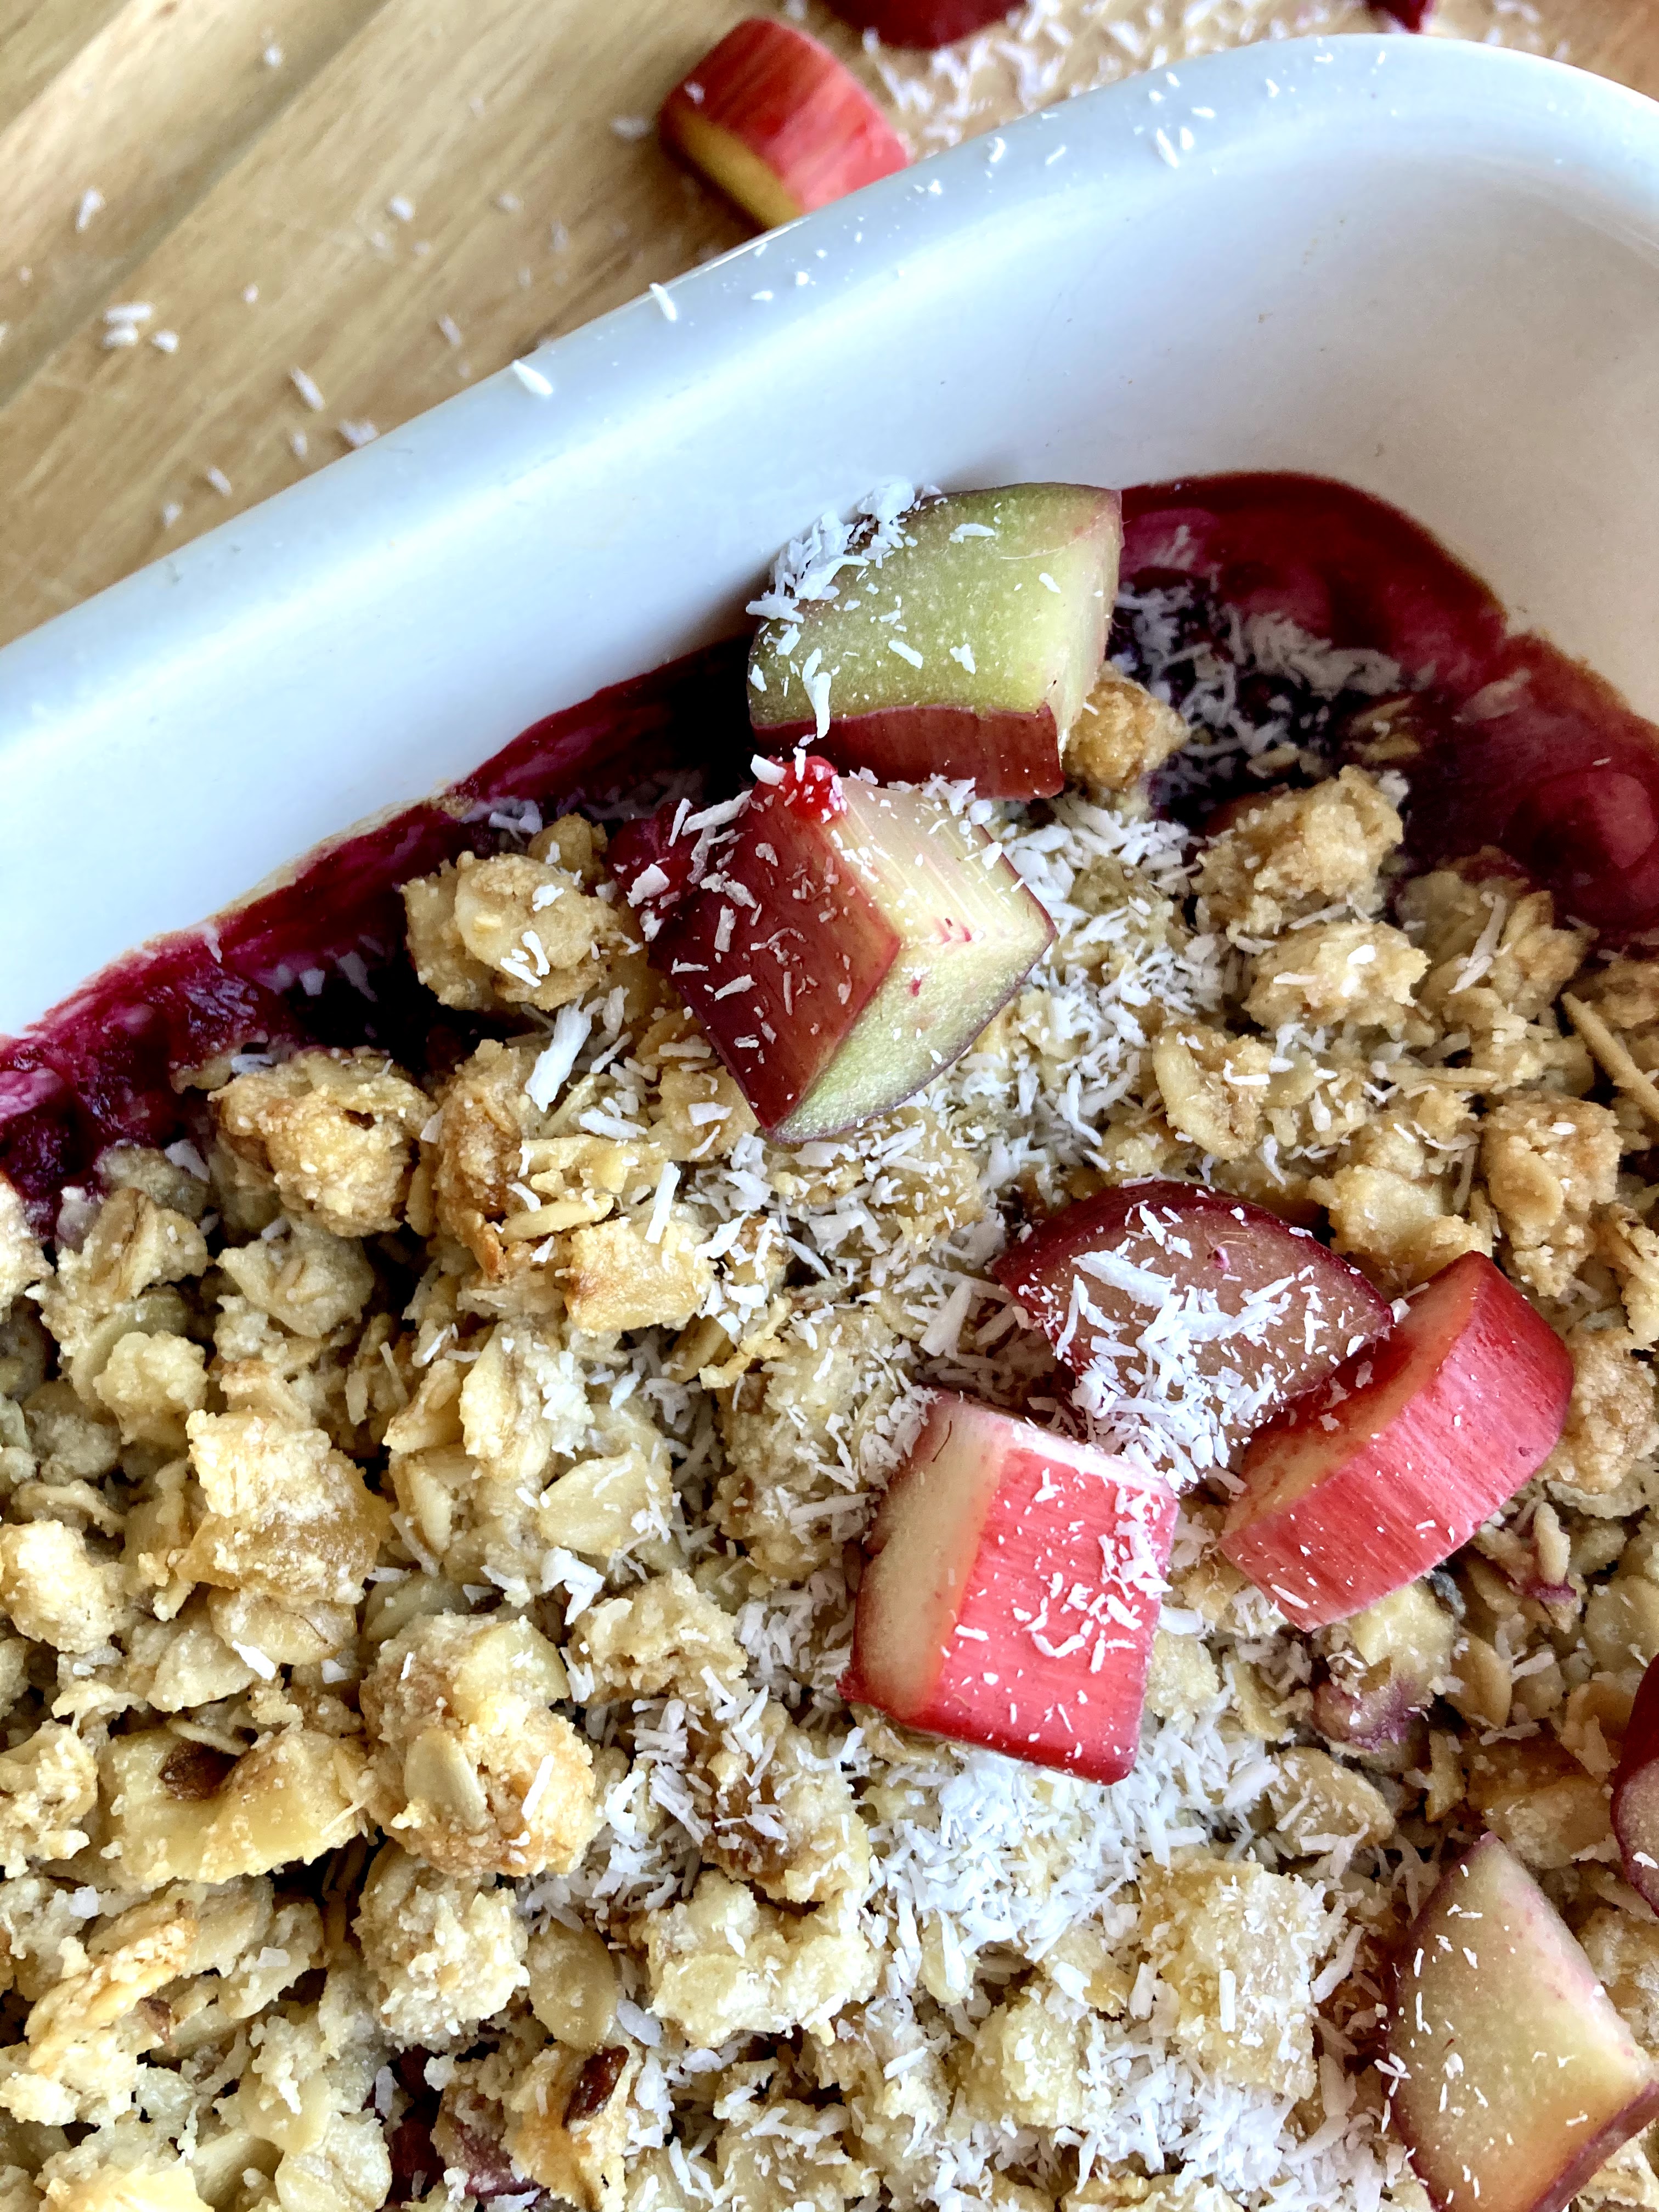
Top with whatever pretty things your heart desires! Serve cold out of the fridge. Store any leftovers covered in the fridge as well.

Sunny Citrus Bars and a Queen Anne Edwardian

Hi friends!

It’s been a minute and feels like an AGE since so much has happened since I posted last. Also. All of these photos look blurry to me and I can’t figure out why wordpress isn’t playing nice…. sorry about that. It’s not your eyes, I promise.

There is so much going on in the world right now… I’m going to take a minute to acknowledge that, but also choose to keep this space for life news and desserts only. I know we are all affected by global events, but sometimes you need to preserve a sunny little corner of the internet.

That being said – I have meyer lemon and lime bars for you today: these feel like a sunbeam incarnated into food form. A bit late in posting on account of a busy weekend (much needed friend & c’s fam time) but these bars were DELICIOUS so I wanted to make sure they made it on here. Not to mention, they’re the first real baked thing I’ve made in this kitchen, aside from cookies (those don’t count, I make them allll the time).

My new oven and I are still getting acquainted, but I think we’re getting there (and I also think my new oven thermometer is lying to me)… my oven is a bit funky, just like the grand dame of a Queen Anne Edwardian that I moved into. She’s a high ceilinged, mildly drafty beauty with a round turret, bay windows, original floors and gingerbready molding – and used to be a boarding house in the early 1900s!

Started the year before the 1906 earthquake, finished the year after. I am LOVING my new space, though admittedly having growing pains – what on earth do I do with this much space, I’m only one person?! I doubled my square footage after having lived in a studio for a loooot of years…. this feels enormous, but I’m getting used to it. New furniture helps too ;)

I’ll post some pictures one aforementioned furniture actually arrives – but for now a few little vignettes of my jungle deco (yes, that is an extremely accurate name for my aesthetic) beauty.

original rolled glass!

Okay okay back to the bars. Gluten free, refined sugar free and dairy free – easily grain free too, if need be (swap the cornmeal for an equal amount of almond flour, and use tapioca instead of cornstarch). A perfect dessert for this time of year when it seems like citrus is the only fruit that is really shining. Highly suggest the meyer lemon + lime pairing, though all lime or all meyer lemon (or regular lemon) would also be just fine.

Sending happy, sunny citrus vibes from my kitchen to yours!

+ plant. obviously.

Meyer Lemon and Lime Bars with a Hazelnut Crust

Tart, citrusy and nutty – a perfect dessert or snack. Gluten free, refined sugar free and dairy free. A Wait are those Cookies original. Yield: 1 9″ pan – serves several.

For the crust:

1.5 c almond flour (packed)
1/4 c unsweetened shredded coconut
1/2 c cornmeal
1/3 c hazelnuts, finely chopped
heaping 1/4 tsp sea salt
1/2 tsp baking soda
2 tsp vanilla extract
2 tbsp pure maple syrup
6 tbsp coconut oil, melted

Preheat the oven to 350, and lightly grease a tart pan with coconut oil. I use a 9″ tart pan with a removable bottom, but a deep pie dish or a square 9×9 would also work. You’ll be pouring the filling directly into the hot crust, so plan accordingly.

In a large bowl, stir together almond flour, shredded coconut, cornmeal, chopped hazelnuts, sea salt, and baking soda. Add in vanilla, maple, and melted coconut oil, and stir until completely combined. The dough will look crumbly, but you’ll be able to press it together with your fingers. Press the crust into the plate and up the sides with a spoon or your fingers, creating a smooth edge. Poke the bottom with a fork a few times, and bake for 15 minutes. Remove from oven and lower the oven temp to 325.

For the lemon bar filling:

4 eggs
2/3 fresh citrus juice (I used 6 small meyer lemons + 1 large lime)
1-2 tbsp citrus zest*
1/3 c maple syrup
1 tsp vanilla
2 tbsp cornstarch (or tapioca starch)

*I zested all of my small meyers and half the lime since it was so big. I’d just zest all the citrus you use – waste not, want not! I had just shy of 2 tbsp

While the crust is baking, make the filling. In a large bowl, quickly whisk together eggs, citrus juice and zest, maple, and vanilla until the egg is fully incorporated – there shouldn’t be much (if any) white visible. Whisk in the cornstarch until fully combined. Pour the filling into the hot crust, and stick it back in the oven for 20-25 minutes. The filling should be set; no jiggle when you shake it. Remove and let cool completely before slicing – ideally, chill it for few hours before serving. Leftovers keep well overnight, refrigerated.

Bay swims and blood oranges

First swim of 2022 accomplished! Took me awhile to get back down there but I’m very glad I did. This marks one year of extremely regular bay swimming! My average is probably twice a week – there were a bunch in there where I was very regular with a MWF schedule but lately not so much. It felt COLD to me today but that’s probably because oh right it’s January and also because it’s been a bit since I’ve been in… still in my sleeveless wetsuit though, so that’s something. I think the water temp today was 50? Not sure. Definitely one of my fave ways to start a weekend :)

I have a cake for you today! I think I say this every time but I really don’t make cakes that frequently. Probably because I can cram more fruit into something like a crisp or a galette and that’s always a priority, but I like a good cake now and again for a change.

This one fits the bill perfectly – it’s poppy seedy and almondy, with a moist crumb and a bit of pleasantly dense texture. As it is grain/gluten free, dairy free and refined sugar free, it relies primarily on eggs for its loft and is made only with almond flour. I consider this to be a super simple cake – it doesn’t require a bunch of different flours or a mixer. In fact, it could easily be put together for a brunch the morning of; the blood orange curd (gf but not dairy free) can be made in advance up to a week, so that’s an easy one to knock out a few days ahead.

I love this for dessert with ice cream but it most definitely holds its own in a brunch/breakfast situation, and it’s perfect alongside coffee. The blood orange curd is of course optional but highly recommended (and not intimidating! don’t let it scare you off). Plus, blood orange season isn’t super long – I try to take advantage while I can. They are so beautiful!

In other news, we’ve been having some beautiful sunrises and sunsets in the city of late – here’s a sunrise from earlier this week and a cactus happily doing its cactus thing.

I hope your weekend is full of good things! Maybe cake? I definitely recommend cake :)

Almond Poppy Seed Cake with Blood Orange Curd

Grain and gluten free, refined sugar free and dairy free. Kind of paleo, I guess? A riff on this almond cake I made years ago. Lightly sweet and perfectly moist, especially good for midwinter citrus season! The blood orange curd is gluten free and refined sugar free but made with butter; I think a dairy free butter would work here. Yield: one 6-9″ cake (depending on cake pan of choice), serves several.

2 c (packed) almond flour
1 teaspoon baking powder
½ teaspoon baking soda
½ teaspoon fine sea salt
1/4 c poppy seeds
4 eggs, beaten
1/3 c maple syrup
1/2 tsp almond extract
1 tsp vanilla extract
1/4 c coconut oil, melted
zest of 1 lemon
1 tbsp lemon juice
blood orange curd, for serving (recipe below)

Preheat the oven to 325. Grease an 8″ springform (or cake pan, or cast iron! I’ve used a deep 7″ cast iron to great effect here; I’ve also used a 6″ springform very successfully for a taller cake) with coconut oil and dust with a bit of almond flour. If I use a springform, I typically set it on a baking sheet lined with parchment to catch any drips.

In a large bowl, whisk together almond flour, baking powder, soda and salt, and poppy seeds. In a smaller bowl, whisk together beaten eggs (just beat these in the same bowl before adding everything else) maple, almond and vanilla extracts, and melted coconut oil. Whisk in lemon zest and juice. Stir wet ingredients into dry, until combined. Pour batter into your prepared pan, and bake for 35-40 minutes (9″ will probably be more like 35; my 6″ springform went for 40) – the top should be golden brown and firm to the touch. Remove from the oven and let cool on a rack! Ideally give it at least 10 minutes before releasing the springform; if you used a cake pan, I’d suggest letting it cool completely before removing. Serve warm, room temp or chilled (for a nicely solid cake; I love the texture of chilled coconut oil cakes) with a dollop of blood orange curd and a few citrus slices.

Keeps well overnight in the fridge.

Blood Orange Curd

3 whole eggs
2 egg yolks
1/2 c blood orange + meyer lemon juice (I used 4 small blood oranges + 1 lemon)
blood orange zest (I just zest as many as I will use for juice)
zest of 1 lemon
pinch of sea salt
2 tbsp maple syrup
4 tbsp butter, unsalted
1 tsp vanilla

I use a double boiler for this lemon curd, which I highly recommend! You don’t have to, but in my experience it makes for a better cooking process. Heat water in the bottom of the double boiler until it’s at a high simmer. In the top of the double boiler, whisk together eggs, egg yolks, citrus zest and juice, sea salt, and maple syrup. Add in the butter one tbsp at a time, whisking continuously, not adding the next tbsp until the first is completely melted. Whisk in vanilla. Cook, stirring constantly, until the curd thickens and will coat the back of a spoon (or your whisk leaves tracks) – usually around 5 to 8 minutes. It’s a noticeable change when it happens, so just watch the cooking magic! Remove from heat, and strain through a metal strainer to remove zest and any bits of cooked egg. Store in a glass container in the fridge until ready for use – can be made up to a week ahead.

Happy 2022!

Hi hello!

Wow it’s been an AGE. I didn’t mean to go this long without posting, but I actually didn’t bake as much as usual over the holidays and I also enjoyed some well deserved time off, so that meant I was outing-and-abouting more than I was thinking about new things to bake. C’est la vie!

I spent a week up in PDX with my parents – such a great week. Workout, eat, make more food, snuggle cat, read, puzzle, rinse, repeat. It snowed while I was up there too, which made for an extra magical holiday.

those tiny paws are wrapped FIRMLY around my heartstrings all the way from pdx
Thea is a champion head-butter

We did do some baking – mom and I made apple/blueberry/date rolls (adapted from this recipe; filling is basically just a compote of those three things cooked down with a bit of cinnamon and butter) plus of course cookies and a really delicious galette with pears and marionberry (rule number one: when in Oregon, eat ALL THE MARIONBERRIES)

Came back, unpacked and repacked and headed up the next day to ski with the fave human for three days over New Years! Hands down best new years and best skiing I’ve had in several years. The conditions were literally amazing; we skied nearly three full days and the snow was incredible for all of it. 10/10 recommend for best way to spend new years!

Then I came back, and a day later officially started a new job! See, told you there was a lot going on. I moved to LEDDY MAYTUM STACY Architects (LMSa) as their marketing manager and I am verrryyy excited to be working for a firm that is mission-driven and so focused on sustainability. Wheee!

So now I’m a week into my job and settling back into a (new) routine after a few weeks off, which means it’s time to get back on the regular baking schedule! This weekend’s crisp was a product of the eternal “what do I have on hand that I can use in order to avoid a trip to the market” game – and I’m not sorry with how it turned out! I love these crisps for how adaptable they are. This one is gluten free, vegan, and only has a few tablespoons of maple in the entire thing, making it very breakfast/snack friendly. I’ve made endless variations of this previously – this one is cranberry and apple with a cinnamon crisp topping, perfect for winter.

I hope you had a wonderful holiday season – happy 2022 from my kitchen to yours!

plants hiding off-camera

Apple, Cranberry & Cinnamon Crisp

Gluten free, dairy free, vegan & refined sugar free. Yield: 1 8-9″ crisp; serves several! A Wait are those Cookies original. Lightly sweet, perfect for wintery breakfast, dessert and anything in between.

For the filling:

4 granny smith apples, peeled and chopped into cubes
1 c fresh cranberries (or frozen)
1 tbsp tapioca starch
zest and juice of one lemon
1 tbsp maple
1/4 c water

For the crisp:

1 cup old-fashioned oats (use certified gluten-free oats for a gluten-free crisp)
½ cup firmly packed almond flour
½ cup chopped walnuts
1/4 c unsweetened shredded coconut
1/4 c flaked unsweetened coconut (optional, good if you have it!)
2 tbsp maple syrup
heaping ¼ teaspoon fine sea salt
1.5 tsp cinnamon
2 tsp vanilla extract
1/3 c coconut oil, melted

Preheat the oven to 350.
Toss apples and cranberries into your baking dish of choice (my dish is 8×8, 2 qt capacity; 9″ square or 9″ deep pie dish would also be fine). In a liquid measuring cup, whisk together the tapioca starch, maple, water until combined. Pour the mixture over the fruit and toss to combine. Bake for 20 minutes.

While the filling is baking, make the crisp. In a mixing bowl, stir together the oats, almond flour, chopped walnuts, coconut, salt and cinnamon. Mix in the maple, vanilla, and coconut oil, stirring until everything is mixed thoroughly.

Once the filling has baked for 20 minutes, stir it and and redistribute evenly in the dish. Plop spoonfuls of the crisp topping evenly over the filling – no need to pack it down. Return the dish to the oven and bake for 25 to 30 more minutes, until the filling is bubbling around the edges and the top is golden.

Let the crisp rest for 5 to 10 minutes before serving. Serve with vanilla ice cream, obviously! Keep leftovers, covered, in the fridge for 2-3 days (yeah right – would take some major feat to make it last more than overnight..)

Stone Fruit Season

I’ve decided that it’s very hard to not enjoy peak stone fruit season.

It’s literally all we want to eat (okay not true, I’m never NOT in the mood for thai food, ha) but for everything else right now… bring on the stone fruit!

This weekend was full of pluots, courtesy of my imperfect produce box – these were slightly scarred but so perfect, taste-wise. I wanted a crumble since I hadn’t done one in awhile; I love that they keep the focus on the fruit. It’s basically fruit and nuts, at least the way I make them! They end up making great breakfast the next day – not shocking to anyone who’s read this blog for awhile :)

The color of these lil beauties is amazing! Just look at it:

This is riff number approximately 10000 of fruit crumbles… I’ve probably made this exact version at some point in the past and just didn’t write it down. Regardless, it’s a much-loved favorite with the two of us! Super simple, very adaptable and quickly made.

Let’s see, what else! Had a little al fresco drawing adventure with a friend today, super fun as I haven’t drawn from life in a loooong time. I was still drawing buildings but hey, usually it’s from a photo! The wind proved challenging but it wouldn’t be the SF that I love without excessive wind, so we just made it work.

Lots of swimming for me lately of course – without a wetsuit! It’s the “warm” bay water season so I’ve been taking advantage of it. It’s maybe a strange choice of things to get you out of bed in the morning but I love my 6am swims, wetsuited or not! I find them extremely satisfying.

I suggest seizing the stone fruit moment while it’s still peak season! The closer we get to autumn, the less perfect they are. Get on it!

Pluot, Blueberry & Ginger Crumble

A Wait are those Cookies original. Yield: 1 9″ crumble, serves 4-6. Refined sugar free, dairy free, gluten free and vegan with a grain free option. Lightly sweet, nutty and fruit-forward.

For the crumble

1 c almond flour, packed
1/4 tsp sea salt, heaping
1/2 tsp cinnamon
1/2 c chopped walnuts
1/3 c oats* (Omit for grain free)
1/4 c unsweetened coconut
1/4 c crystalized ginger
1 tbsp vanilla
1 tbsp maple
1/4 c melted coconut oil

~6-7 pluots (they’re usually on the small side)*, chopped into slices or chunks
~1.5 c wild blueberries (mine were frozen)
1 tbsp tapioca starch + 1/4 c water
1 tbsp maple
zest and juice of one lemon

*since pluots are usually on the small side, I recommend using 6-7 of them; the flavor balance is perfect when it’s about half pluot, half blueberry

Preheat the oven to 350 and grab some kind of 8″ or 9” baking dish – this is the least fussy recipe ever, so square, round, etc – whatever you have is fine! I used a deep 9″ pie plate. In your baking dish of choice, toss together pluots, blueberries, lemon juice and zest. In a smaller bowl, whisk together tapioca starch & water, add maple, then pour over the prepared fruit. Bake for 20 minutes.

While the fruit is baking, make the crumble. In a large bowl, stir everything together: almond flour, salt, cinnamon, oats (if using), chopped walnuts and coconut, maple, vanilla, and coconut oil together, then stir in crystallized ginger.

Remove the fruit from the oven, and toss a bit to redistribute. Drop the topping over the fruit, and bake for another 25 minutes until the top is lightly golden brown and the fruit is bubbly. Remove and let cool completely before serving. Excellent with ice cream! It’s also fabulous cold after being refrigerated overnight and served straight out of the fridge – highly recommended. Leftovers keep well covered in the fridge for a day or two but I dare you to have any ;)

Camp & Cake

HELLO!

I am back (briefly) from my home away from home in the mountains – as always, camp was a balm for the soul that I didn’t know how much I needed until I felt the afterglow.

There’s something intangible and so special about that place and those people – my camp family will always see me and love me for who I am.

Words aren’t even really sufficient – it’s more of a feeling and less of something that I can properly explain. Even as a director where I’m actually technically ‘working’ while I’m there for the session (albeit fun work), I still come home feeling deeply rested and generally better about the other aspects of my life. Camp magic is a real thing. Something to do with laughing until I cry, sleeping under the stars, smelling campfire in my sweatshirts, and jumping in the lake with a cadre of women who have either watched me grow up or grown up alongside me.

This was year 18 at this magical place – almost at the two decade mark and going strong. I already can’t wait until next year! Even better, we passed our ACA reaccreditation with flying colors, which just clinches an all-around great camp year. Since words don’t really do it justice, I’m leaving a bunch of photos here instead.

the view from my bed…. tents are overrated

I am only back for about a week and a half before C and I leave again – this time to the east coast for some family reunion beach time, hooray! The beach is calling my name. Time for a true vacation.

In the meantime, I baked a thing! Had to squeeze something in so you didn’t wonder what happened to me – this one was thrown together from what I had on hand, since I’m avoiding buying anything else before I leave again.

Enter: the black sesame blueberry cake! Amazingly grey colored and fantastic tasting. It’s super simple to throw together – if you don’t have black sesame, no worries; I’m including a sub in the recipe notes. Great with coffee (what isn’t) or for dessert. It’s lightly sweet and nutty; highly adaptable for any summer fruit you have around. I grabbed a bag of blueberries I’d frozen before I left for camp, which worked perfectly – but anything that resembles a stone fruit or berry will do nicely.

Happy baking! Get after that summer fruit while it’s freshest. Have a great weekend!

Black Sesame and Blueberry Cake

Adapted from Food52, here! I tweaked it a bit for personal preferences and am very happy with the result. I may try it in a slightly smaller pan for a thicker cake, next time I make it. Gluten, dairy and refined sugar free. Yield: 1 8 or 9″ cake.

1 c black sesame seeds*
1 1/2 c almond flour
1/4 c oat flour
1/4 c unsweetened shredded coconut
1 tsp baking powder
2 large eggs, at room temperature
1/3 c pure maple syrup
1/4 c unrefined coconut oil, melted
1 tablespoon vanilla extract
1/2 teaspoon fine sea salt
1 c blueberries, fresh or frozen

*if you don’t have black sesame or don’t want to use them, omit them and increase the almond flour by 1c

Preheat the oven to 350, and line a cake pan (8 or 9″) with parchment paper. A springform would also work well for this I think, though I haven’t tried it.

In a food processor, grind the sesame seeds until fine (just don’t let them go until they start turning into tahini). Once ground, add them to a large bowl. Add in almond and oat flour, coconut, baking powder, and salt and stir to combine. In a separate bowl, whisk together eggs, maple, coconut oil, and vanilla. Stir the wet into the dry ingredients, until the batter is just combined. Scrape it into the prepared pan, smooth out and top with blueberries. Bake for 30-35 minutes, until a tester comes out clean (if your fruit is super juicy, it might go for a few more minutes). Remove and let cool on a wire rack for at least 10 minutes before removing from the pan. Slice and serve warm or cool. Keeps for several days in the fridge.

A perfectly imperfect pandowdy

Hi friends, happy holiday weekend!

Boy am I glad for an extra day off. Between busy work (so what else is new) and extremely busy camp as we gear up for the sessions starting in just over a month (!!!) it’s feeling like there is very little downtime in my weekdays lately.

I’m relishing not having any major plans this weekend – juning around my apartment with no agenda this morning felt so good. Especially because it’s foggy out (love) and my coffee is snuggly and warm (double love).

This will be a double-baking weekend – pandowdy for C and I tonight/tomorrow, and then something (galette? maybe) for a bbq on Monday, which feels very pre-pandemic in a very nice way.

I think today I’ll go out for a loooonggg walk and catch up on all the podcasts I’ve fallen behind on, and then come back and do the crossword. So low-key, so perfect.

Pandowdies are great if you’re less than comfortable with pie crust – they are purposefully imperfect and intentionally messy! I love them for being sort of a pie/cobbler hybrid since you don’t have a bottom crust but still get all that top-crust goodness. Also eliminates the need to muck around with making sure the bottom crust is perfectly baked, which can be nice on the occasion that you just want a low-fuss dessert.

This one is whole grain (whole wheat AND dark rye AND cornmeal!) and vegan, as well as refined sugar free, naturally. Rhubarb is in season right now out here in California so get it while you can! I love this with ice cream (obviously) but it’s also great on its own for breakfast – I mean really, it’s just whole grain and fruit so… breakfast!

I hope you have a lovely holiday! Happy weekending from my kitchen to yours.

Rhubarb, Raspberry & Rye Pandowdy

Springy, rhubarb-season goodness. A much less fussy cousin of pie that is purposefully messy and imperfect. Dairy free, vegan and refined sugar free. Yield: 1 9″ pandowdy, serves several. Best made the day of, though it’s still excellent the next day for breakfast. A Wait are those Cookies original.

For the filling:

2 ch chopped rhubarb, fresh or frozen
2 c raspberries (mine were frozen)
juice of two small lemons
6-7 medjool dates, chopped
2 tbsp tapioca starch
1 tbsp maple
1/4 water

Combine rhubarb, raspberries, and dates in a large bowl, and add in lemon juice. In a small bowl, stir together tapioca starch, maple and water. Pour it over the fruit, toss all of it into a deep 9″ pie plate and set aside while you make the crust.

for the crust:

1/2 cup unsalted butter diced and chilled*
1/2 cup whole wheat pastry flour
1/2 c dark rye flour
1/4 c cornmeal
1/2 tsp cinnamon
1/2 teaspoon salt (less if your plant butter is salty!)
2-4 tablespoons ice water
1 tsp vanilla
1/2 tsp almond extract
2 tbsp c rolled oats

*mine was vegan butter (Miyoko Creamery); vegan or regular butter both work equally well here

Preheat the oven to 400. Combine both flours, cornmeal, cinnamon, and salt in food processor and pulse briefly to mix. Add butter; process until it resembles coarse crumbs. Add vanilla and almond extract, then the ice water a tbsp at a time until the dough forms a ball – you’ll be able to tell when it’s ready! If it still looks dry, add water 1 tsp at a time. Turn the dough out a floured surface (ie marble slab, or countertop, etc) OR use two pieces of parchment paper like I do for less mess – no need to flour. Roll out the dough to be roughly circular (no need to be perfect here – pandowdies are pie’s unfussy cousin), and lift the dough onto the fruit. Tuck in the edges, leaving a rim of dough between the edge of the pie dish and the fruit – I crimped mine because I’m an overachiever and I also had extra dough, but no need to do that.

Make a few slits for steam to vent in the top of the crust, then brush the top with non-dairy milk or half and half, and sprinkle with coconut sugar. Pop the whole beautiful thing into the oven for 40 minutes; best if you line the rack beneath with foil or a large baking sheet – the juices sometimes runneth over!

Once you hit the 40 minute mark, take the pandowdy out, and use a sharp knife to break up the crust, thus ‘dowdy-ing’ its looks. Sprinkle it with oats. Stick the pandowdy back in the oven, and bake for another 10 minutes. Let cool completely before serving; it will be gloriously juicy and delicious so might I suggest serving it in bowls? Ice cream is… optional, sort of. You do you!

Store any leftovers (ha) covered in the fridge, but make sure to save some for breakfast. You’ll thank me later!

Fog & Fennel

It’s a foggy, mellow weekend in the city today – I LOVE days like this, where I wake up to the fog curling up against my windows, and then by noon it starts to clear but only kind of, so if you look up, you see it moving fast overhead, and obscuring bits and pieces of the city.

Then by midafternoon it starts coming in again, and by evening things are covered again. Arguably, I think one of my favorite things about living in the city is the fog – I find it magical and beautiful.

It’s also insanely windy today – I took a long, rambly walk down to Fort Mason & along the water, and the bay is verrrryyy whitecappy today.

fog!
for reference, this is where I swim! it’s protected by a pier but even so, there were some major swells in there today

In other news, made a crumble! I had some fresh fennel in my produce drawer that I’d been ignoring, and I really couldn’t figure out how I was going to get around to slotting it into meals. Instead, I used it here!

Fennel + apple + walnut is a match made in heaven, and I love the addition of ginger to anything. This crumble is also very dietary-choice friendly; it’s gluten, dairy & refined sugar free with an easy grain-free alternative. Yay! It also comes together in a snap and requires minimal effort, a yay for those lazy weekends.

I felt like I spent most of today doing house tasks… I kind of love days like this though, since they make me feel accomplished. Spent a ton of time troubleshooting & descaling my moka pot today too… I love good coffee and it’s so sad that my bialetti has suddenly decided to not work properly. I THINK it needed a good descaling, so ran it through two cycles of that… let’s see how this goes. Fingers crossed it starts behaving. It’s been giving me trouble for at least a week, and I’m over it.

Happy weekend! I hope yours is equal parts fun and relaxing.

Fennel, Apple & Blueberry Crumble

Gluten, dairy & refined sugar free + vegan. Easily grain free if needed/wanted – just omit the oats (it’s just as good that way, promise!). Earthy fennel, fresh apples + blueberries & a nutty crumble topping. Yield: 1 8 or 9″ crumble, serves several. A Wait are those Cookies original.

For the crumble

1 c almond flour, packed
1 tbsp vanilla
1/4 tsp sea salt, heaping
1 tbsp maple
1/4 c melted coconut oil
1/2 c chopped walnuts
1/3 c oats* (Omit for grain free)
1/4 c unsweetened coconut
1/4 c crystalized ginger
2 tsp fennel seeds, very finely chopped (or ground in a mortar)

1 bulb of fresh fennel, finely diced
2 granny smith apples, peeled & chopped into small cubes
~1 c wild blueberries (mine were frozen)
1 tbsp tapioca starch + 1/4 c water
1 tbsp maple
zest and juice of two lemons

Preheat the oven to 350 and grab some kind of 8″ or 9” baking dish – this is the least fussy recipe ever, so square, round, etc – whatever you have is fine! I used a deep 9″ pie dish. In your baking dish of choice, toss together fennel, apples, blueberries, lemon juice and zest. In a smaller bowl, whisk together tapioca starch & water, add maple, then pour over the prepared fruit. Bake for 20 minutes.

While the fruit is baking, make the crumble. In a large bowl, stir everything together: almond flour, vanilla, salt, oats (if using), maple, chopped walnuts and coconut, fennel seeds, and coconut oil together, then stir in crystallized ginger.

Remove the fruit from the oven, and toss a bit to redistribute. Drop the topping over the fruit, and bake for another 25 minutes until the top is lightly golden brown and the fruit is bubbly. Remove and let cool completely before serving. Excellent with ice cream! It’s also fabulous cold after being refrigerated overnight and served straight out of the fridge – highly recommended. Leftovers keep well covered in the fridge for a day or two but I dare you to have any ;)

Pink panna cottas

Hi friends!

Took a week off last week but I’m back with this tart that is big on the visual impact, light on the actual work you have to do. I definitely love involved baking projects, but there is a time and a place for them – sometimes you just want something that is very pretty and very simple to put together.

I think panna cottas can sound intimidating, but they’re really not! Basically, you’re just heating coconut milk and a few flavoring things until they simmer, stirring in gelatin, and then waiting for it to set. Added bonus is that this guy can be (and arguably should be) made the night before, which frees up the next morning for things like swimming in the bay at 8a when it’s still below 50 degrees out, like the crazy that you are.

I didn’t even have coffee before I swam this morning – who am I?! It was cloudy but the water was perfectly still (or as still as the bay ever really gets) which is my favorite combination of swimming conditions. No sea lion friends in the cove today though.

I created some inadvertent latte art with my residually cold hand after I got home – or maybe it’s a coffee Rorschach?

Anyway, back to the tart: this one was the result of me really not wanting to go to the market for more food. I do enjoy grocery shopping but I was NOT in the mood this week, so just wanted to keep it simple with what I had. I’m low on fruit but I did have half a bag of raspberries in the freezer, which work perfectly for this since you end up straining out the solids anyway (so the berries don’t have to be pretty!)

I love poppy seed-anything, so of course the crust is a major win. Plus add something fruity and dark chocolately but still on the lighter side (yay panna cotta) and you have a perfect spring dessert with a maximum visual impact but minimal work.

Happy weekending!

Raspberry, Poppy Seed & Dark Chocolate Panna Cotta

Gluten free, dairy free & refined sugar free. Perfect for that random half bag of raspberries lurking in your freezer – maximum visual impact, minimal work. Yield: 1 9″ tart; serves several. A Wait are those Cookies original.

For the crust:

1.5 c almond flour
1/3 c unsweetened shredded coconut
1/3 c cornmeal
2 tbsp poppy seeds
heaping 1/4 tsp sea salt
1/2 tsp baking soda
2 tsp vanilla extract
1/2 tsp almond extract
2 tbsp pure maple syrup
6 tbsp coconut oil, melted
1/3 c dark chocolate chips

In a large bowl, stir together almond flour, shredded coconut, cornmeal, poppy seeds, sea salt, and baking soda. Add in vanilla, almond extract, maple, and melted coconut oil, and stir until completely combined. The dough will look crumbly, but you’ll be able to press it together with your fingers.

Preheat the oven to 350, and lightly grease a 9″ tart pan (w/ removable bottom) with coconut oil. Press the crust into the plate and up the sides with a spoon or your fingers, creating a smooth edge (or not, your call!). Poke the bottom with a fork a few times, and bake for 15 minutes. Remove and let cool for a few minutes.

Melt the chocolate chips in a double boiler. Spread the melted chocolate over the interior of the crust, and let cool until set. You can also pop the whole thing in the fridge to help it set faster, if needed.

For the panna cotta:

1 c frozen raspberries
1 can full fat coconut milk
1 tbsp maple
1 tsp vanilla extract
1/4 c cold water
1 packet of powdered gelatin

Pour the coconut milk into a small saucepan and add the raspberries. Bring to a simmer over medium heat, stirring & mashing the berries occasionally. Remove from heat, cover and let steep for 10 minutes.

In a small bowl, sprinkle the gelatin over 1/4 cup of the cold water. Let stand without stirring until the gelatin is moistened, about 10 minutes.

Strain the berry solids out of the coconut milk. Whisk in maple and vanilla, and bring the milk back up to a simmer. Remove from heat and whisk in the gelatin mixture. Whisk until completely dissolved, about 3 minutes. Cool until lukewarm. Pour the panna cotta mixture into the cooled tart shell. Place in the refrigerator until set, approximately 4 hours or preferably overnight.

Top with whatever pretty things your heart desires! I used shredded coconut and strawberries. Store in the fridge until serving. Leftovers keep well up to two days in the fridge, covered.

I just want all the rhubarb

I found more rhubarb! Muahaa.

It’s been surprisingly difficult for me to source this year but maybe that’s just my local market. Either way, I absolutely love rhubarb so I’m happy to find it. It pairs so well with apples and raspberries… and obviously I use any excuse to put ginger in things.

This is also one of those that I love cold – refrigerating it makes the crisp topping chewy and SO good. Also highly recommend is a large scoop of vanilla over everything.

The poppies are so pretty right now! They’re all over the city.

Actually, ALL the flowers are so pretty right now:

Low key weekend over here for me, just mostly chilling and being mellow.

Happy weekending!

Rhubarb, Apple and Raspberry Crisp with Ginger

Gluten free, refined sugar free, dairy free and vegan. Springy and fresh! A Wait are Those Cookies original. Yield: 1 8 or 9″ crisp; serves several.

1 granny smith apples, chopped into cubes
3 stalks of fresh rhubarb
2 c frozen/fresh raspberries
juice of two limes
1 tbsp tapioca starch
1 tbsp maple
1/4 c water

1 cup old-fashioned oats (use certified gluten-free oats for a gluten-free crisp)
½ cup firmly packed almond flour
½ cup chopped walnuts
1/4 c unsweetened shredded coconut
2 tbsp maple syrup
heaping ¼ teaspoon fine sea salt
2 tsp vanilla extract
1/3 c coconut oil, melted
1/3 c dried ginger, chopped (mine isn’t crystalized; if yours is, thats fine!)

Preheat the oven to 350.
Toss apple, rhubarb and raspberries into your baking dish of choice (my dish is 8×8, 2 qt capacity; 9″ square or 9″ deep pie dish would also be fine). In a liquid measuring cup, whisk together the lime juice, tapioca starch, maple, water until combined. Pour the mixture over the fruit and toss to combine. Bake for 20 minutes.

While the filling is baking, make the crisp. In a mixing bowl, stir together the oats, almond flour, chopped walnuts, shredded coconut, and salt. Mix in the maple, vanilla, and coconut oil, followed by the chopped ginger. Stir until everything is mixed thoroughly.

Once the filling has baked for 20 minutes, stir it and and redistribute evenly in the dish. Plop spoonfuls of the crisp topping evenly over the filling – no need to pack it down. Return the dish to the oven and bake for 25 to 30 more minutes, until the filling is bubbling around the edges and the top is golden.

Let the crisp rest for 5 to 10 minutes before serving. Serve with vanilla ice cream, obviously! Keep leftovers, covered, in the fridge for 2-3 days (yeah right – would take some major feat to make it last more than overnight..)