Sunny Citrus Bars and a Queen Anne Edwardian

Hi friends!

It’s been a minute and feels like an AGE since so much has happened since I posted last. Also. All of these photos look blurry to me and I can’t figure out why wordpress isn’t playing nice…. sorry about that. It’s not your eyes, I promise.

There is so much going on in the world right now… I’m going to take a minute to acknowledge that, but also choose to keep this space for life news and desserts only. I know we are all affected by global events, but sometimes you need to preserve a sunny little corner of the internet.

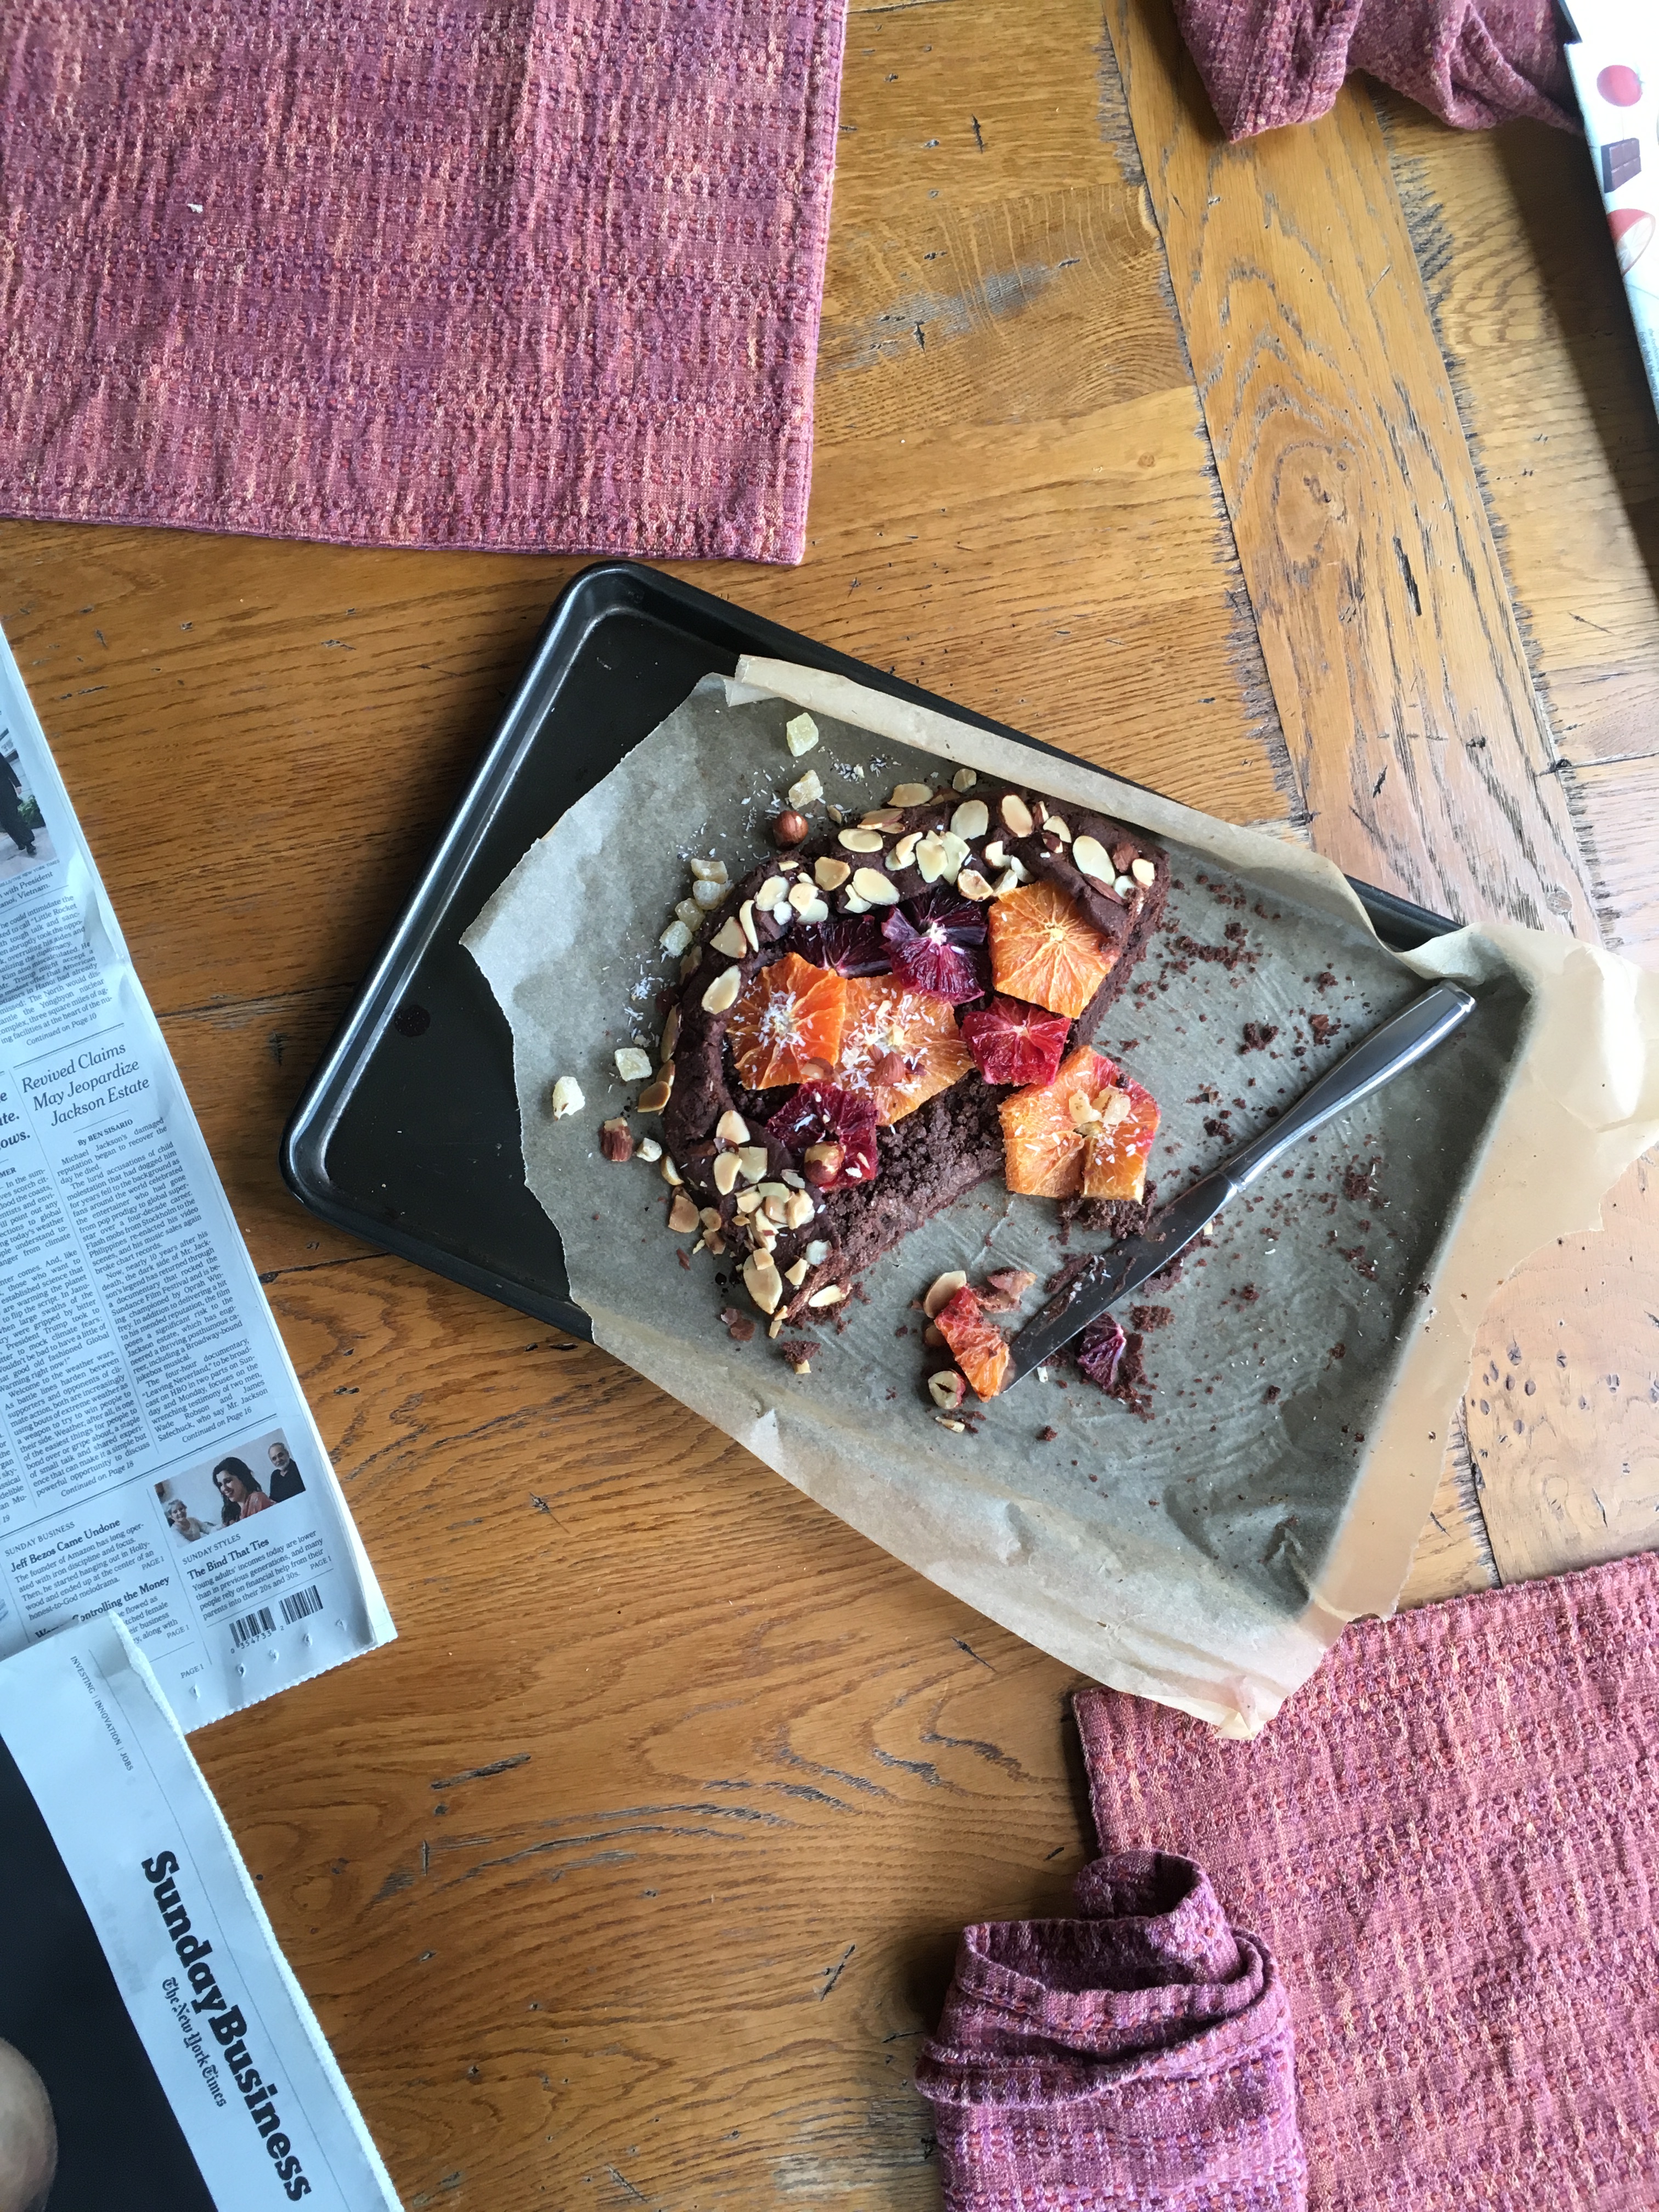
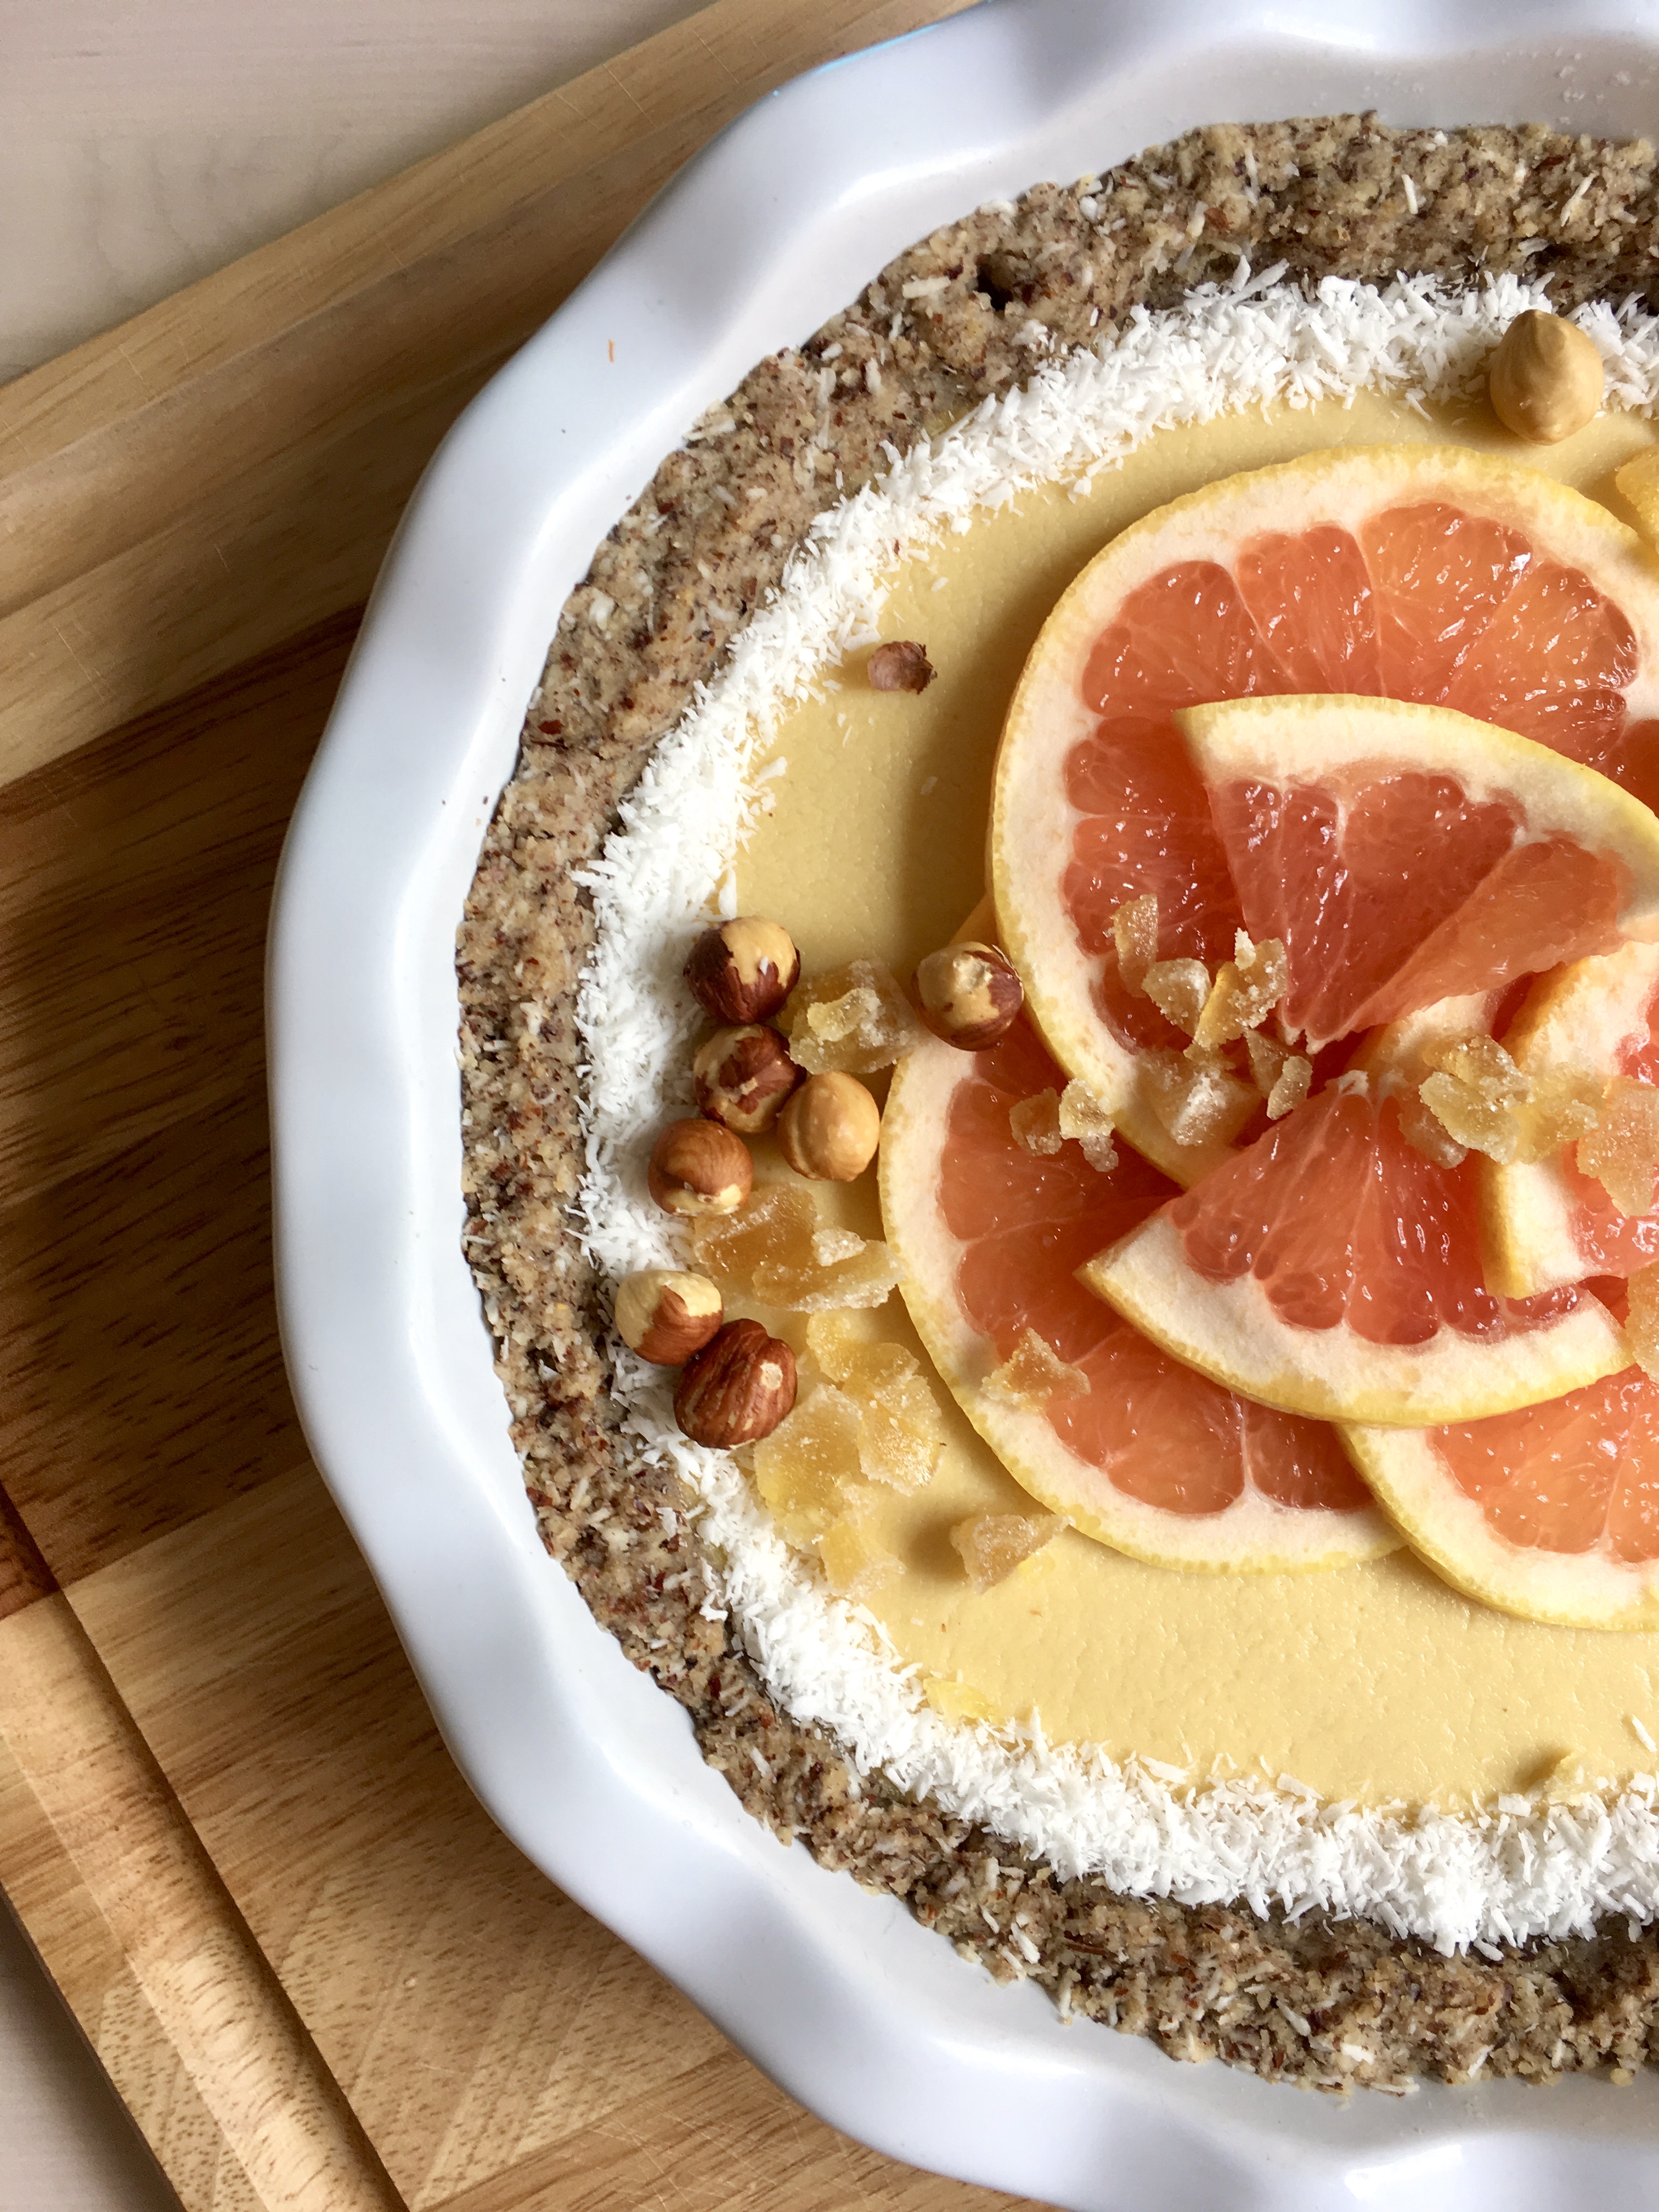
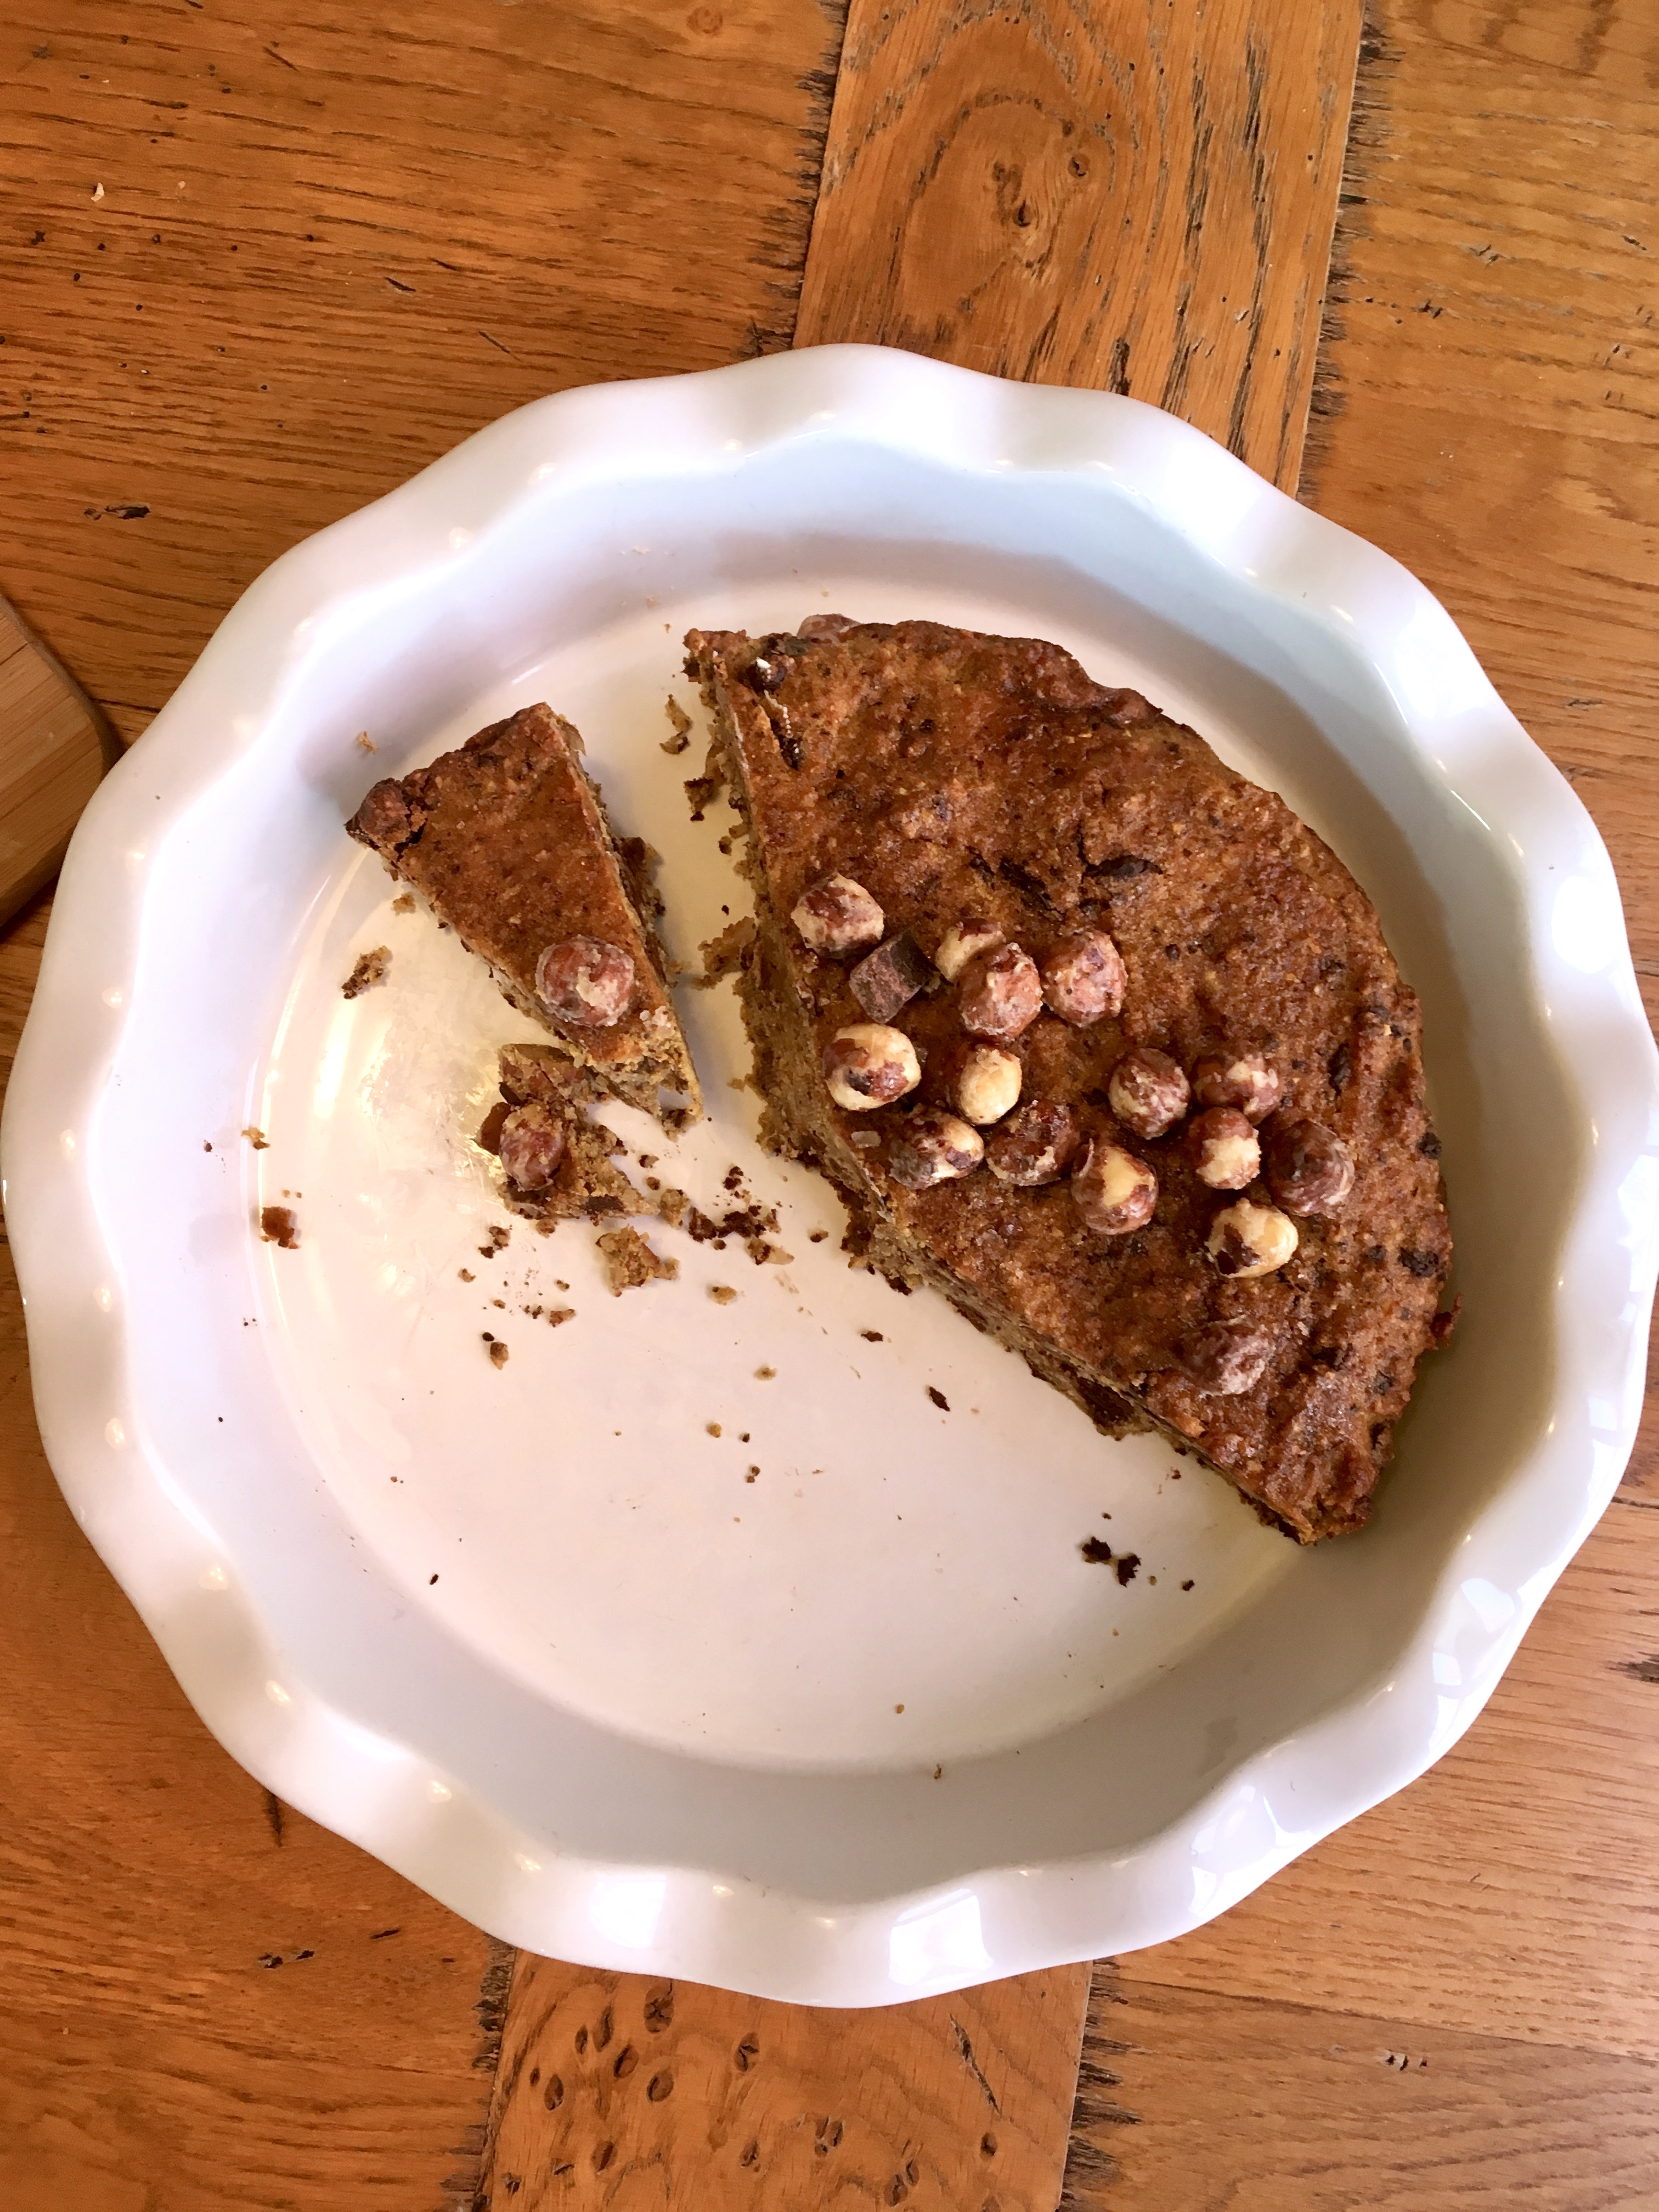
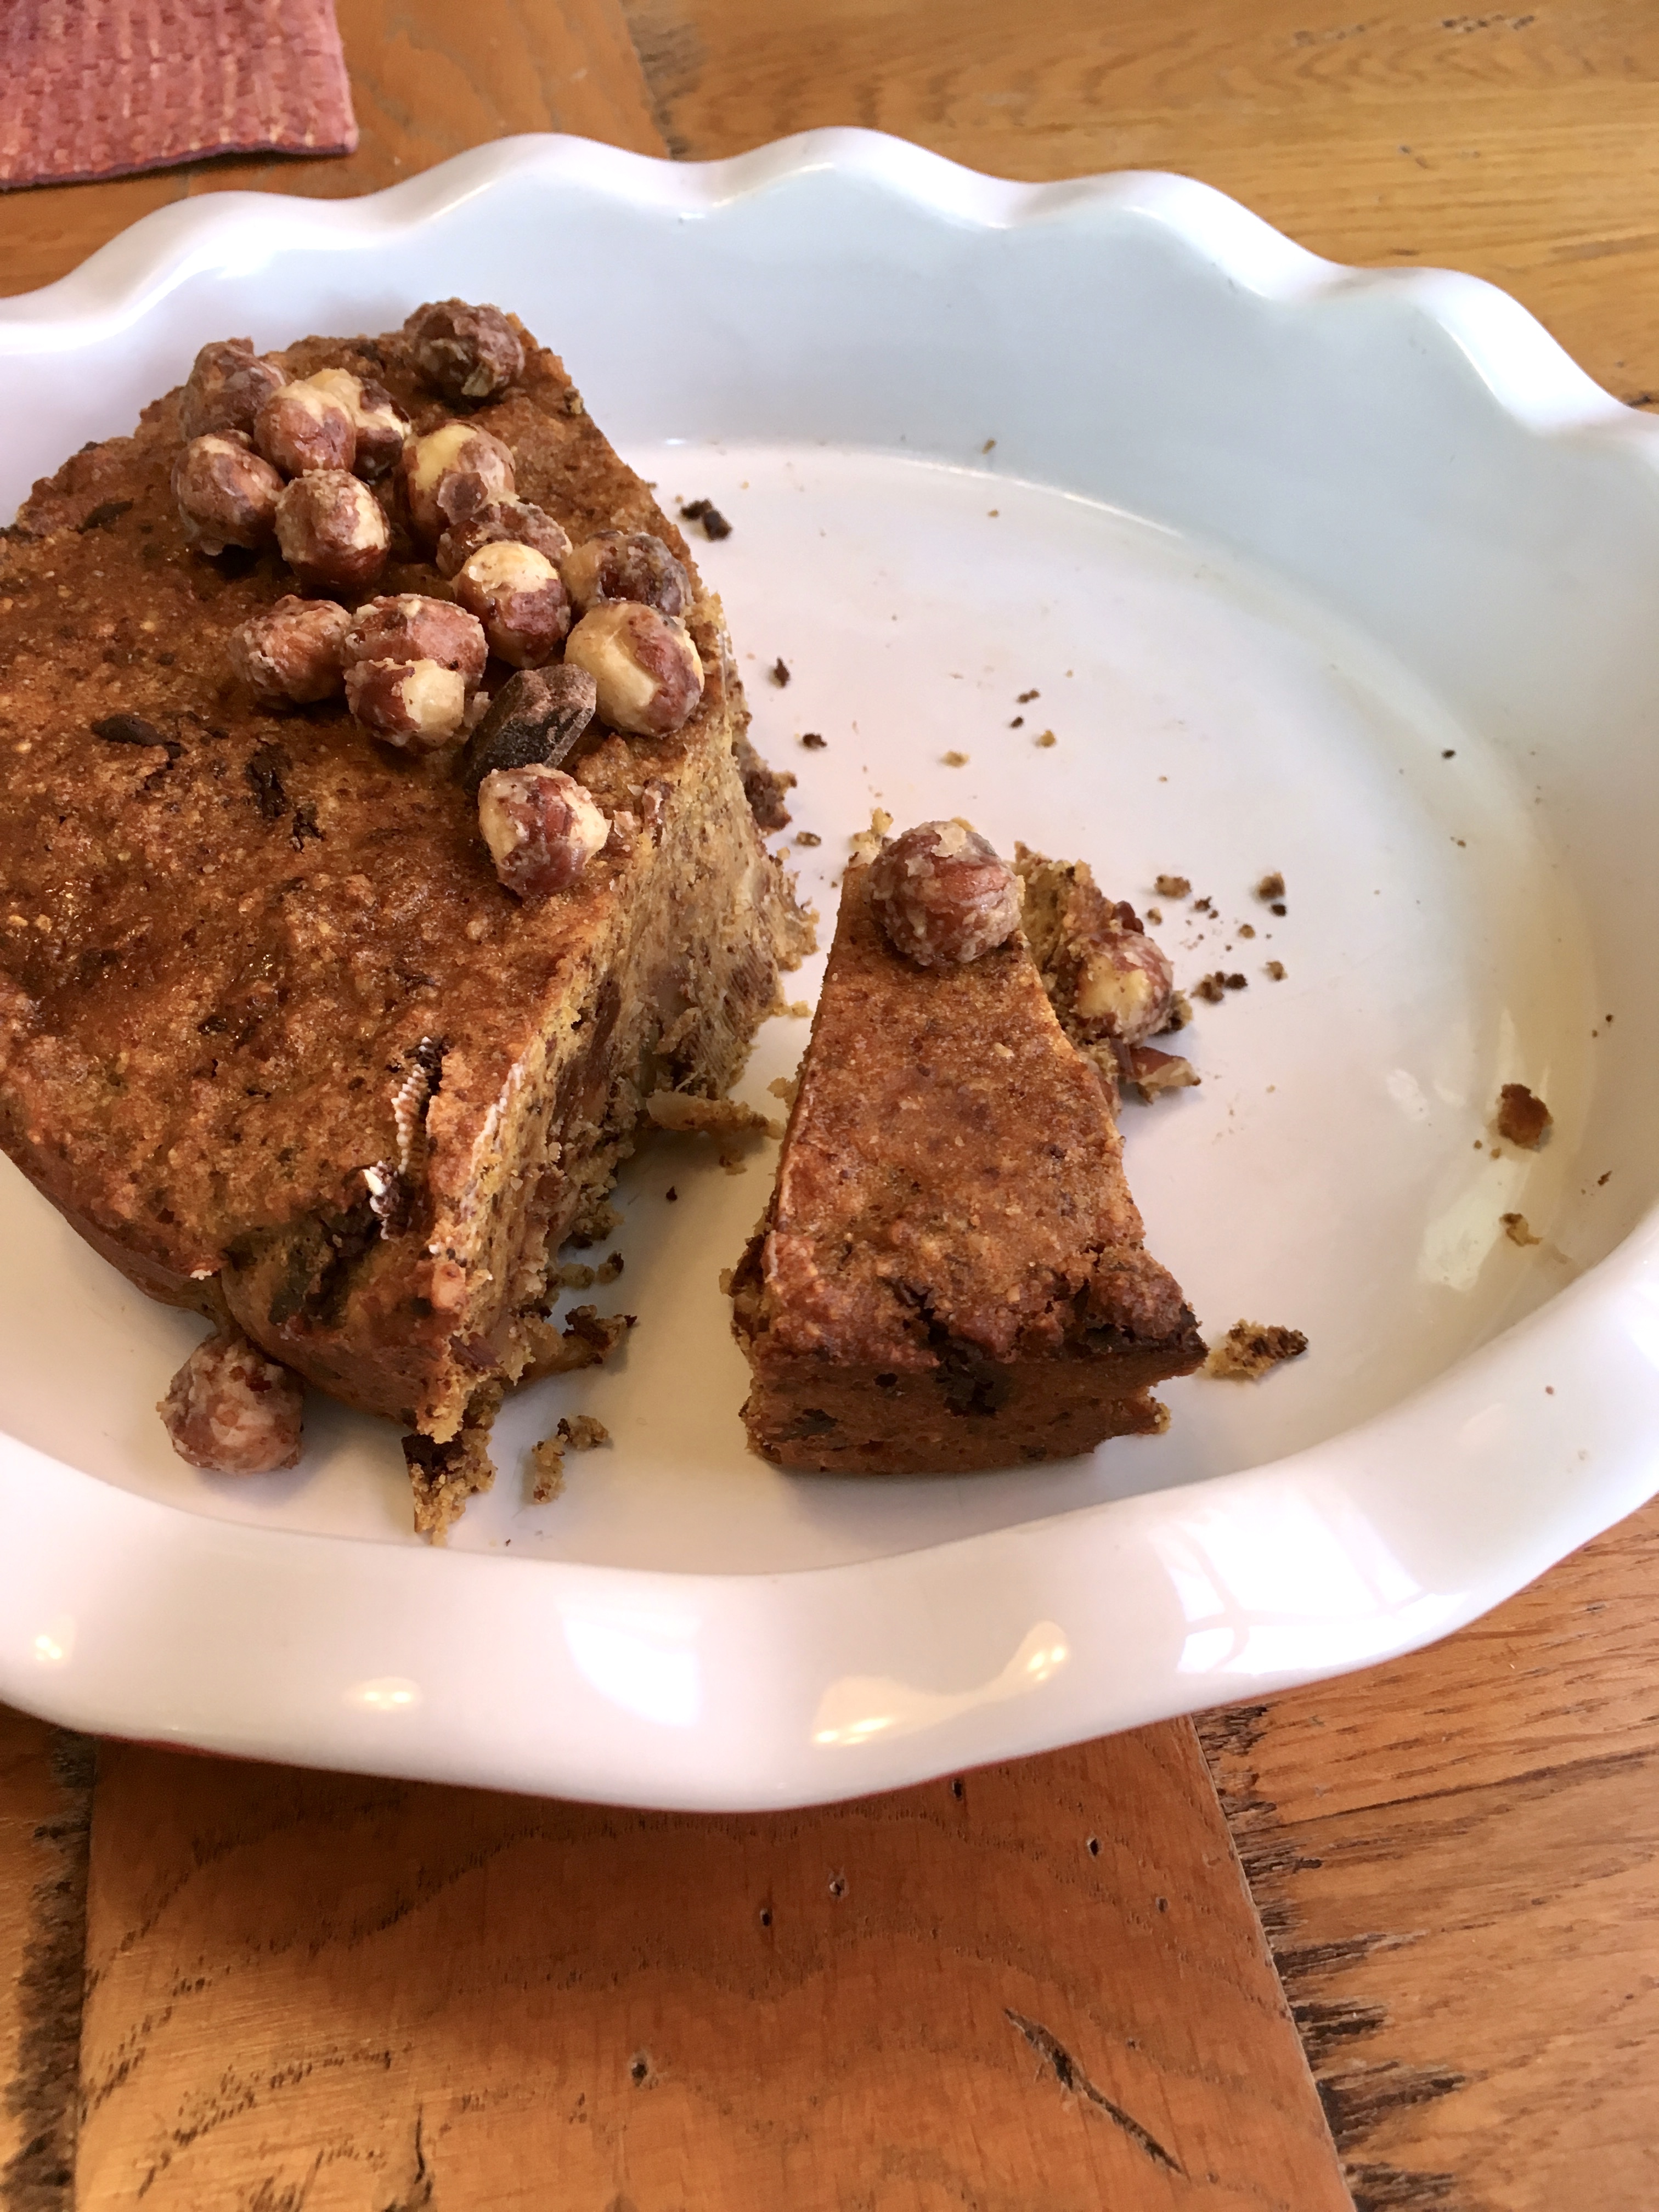
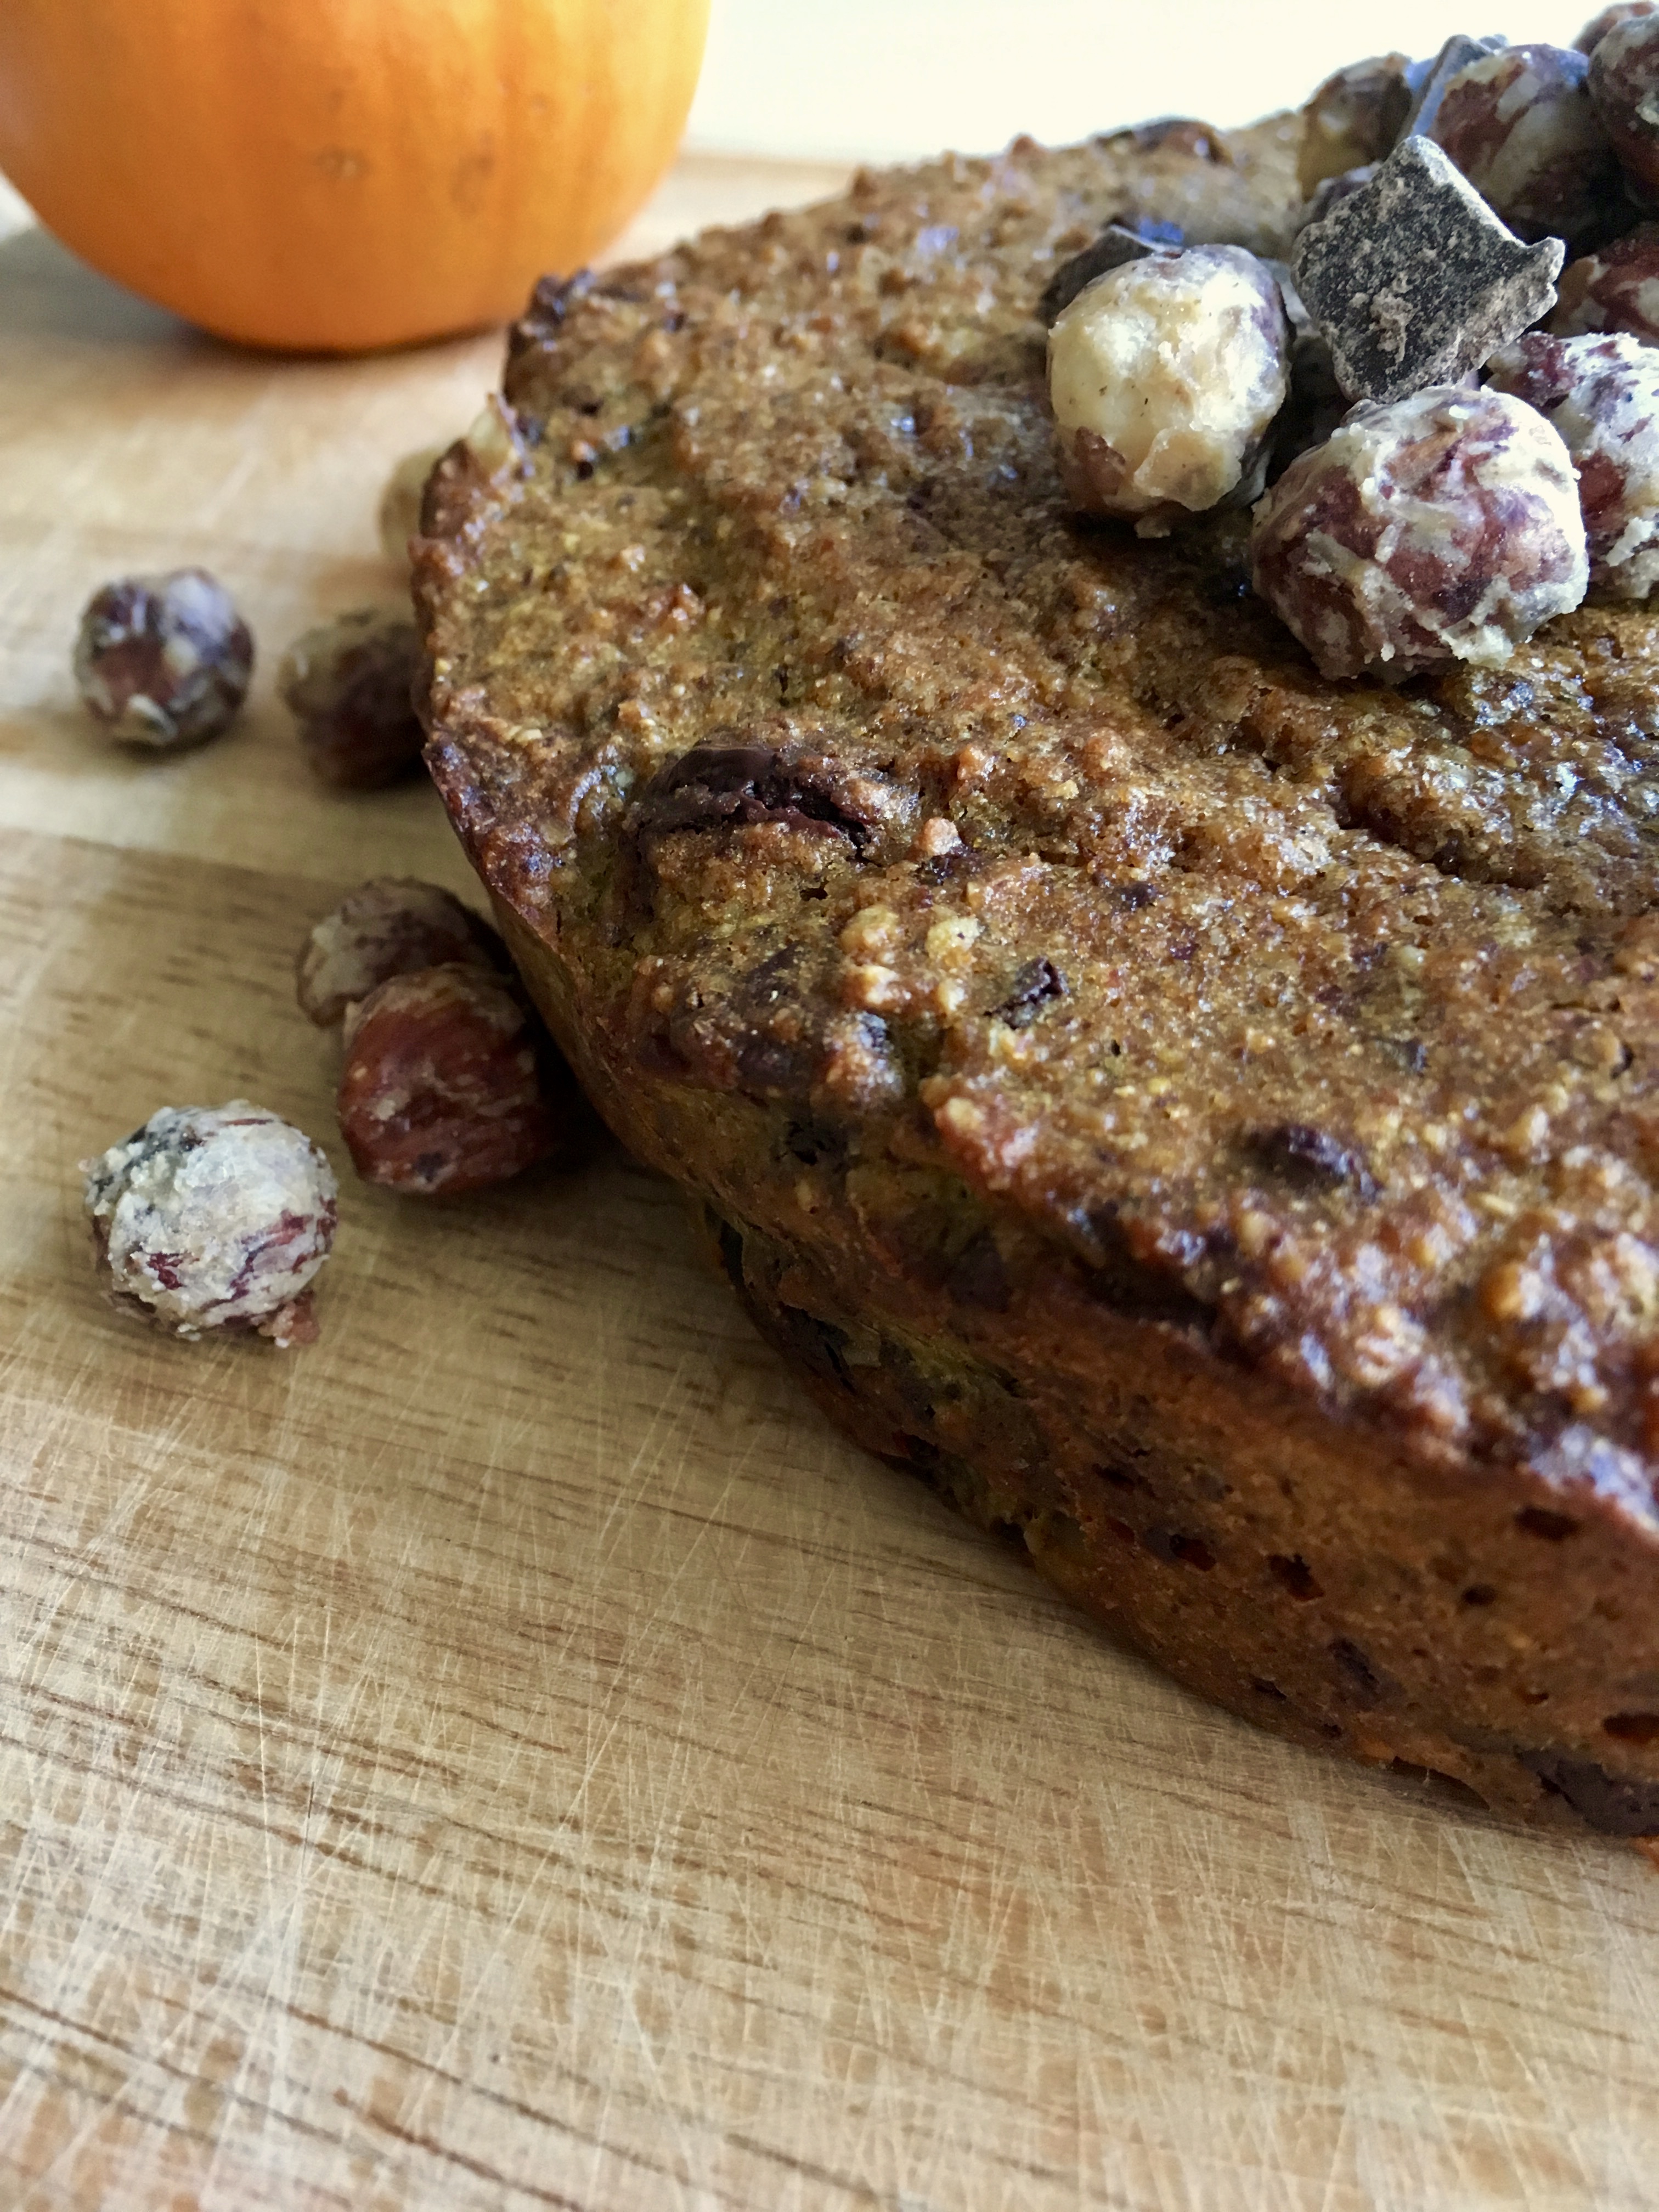
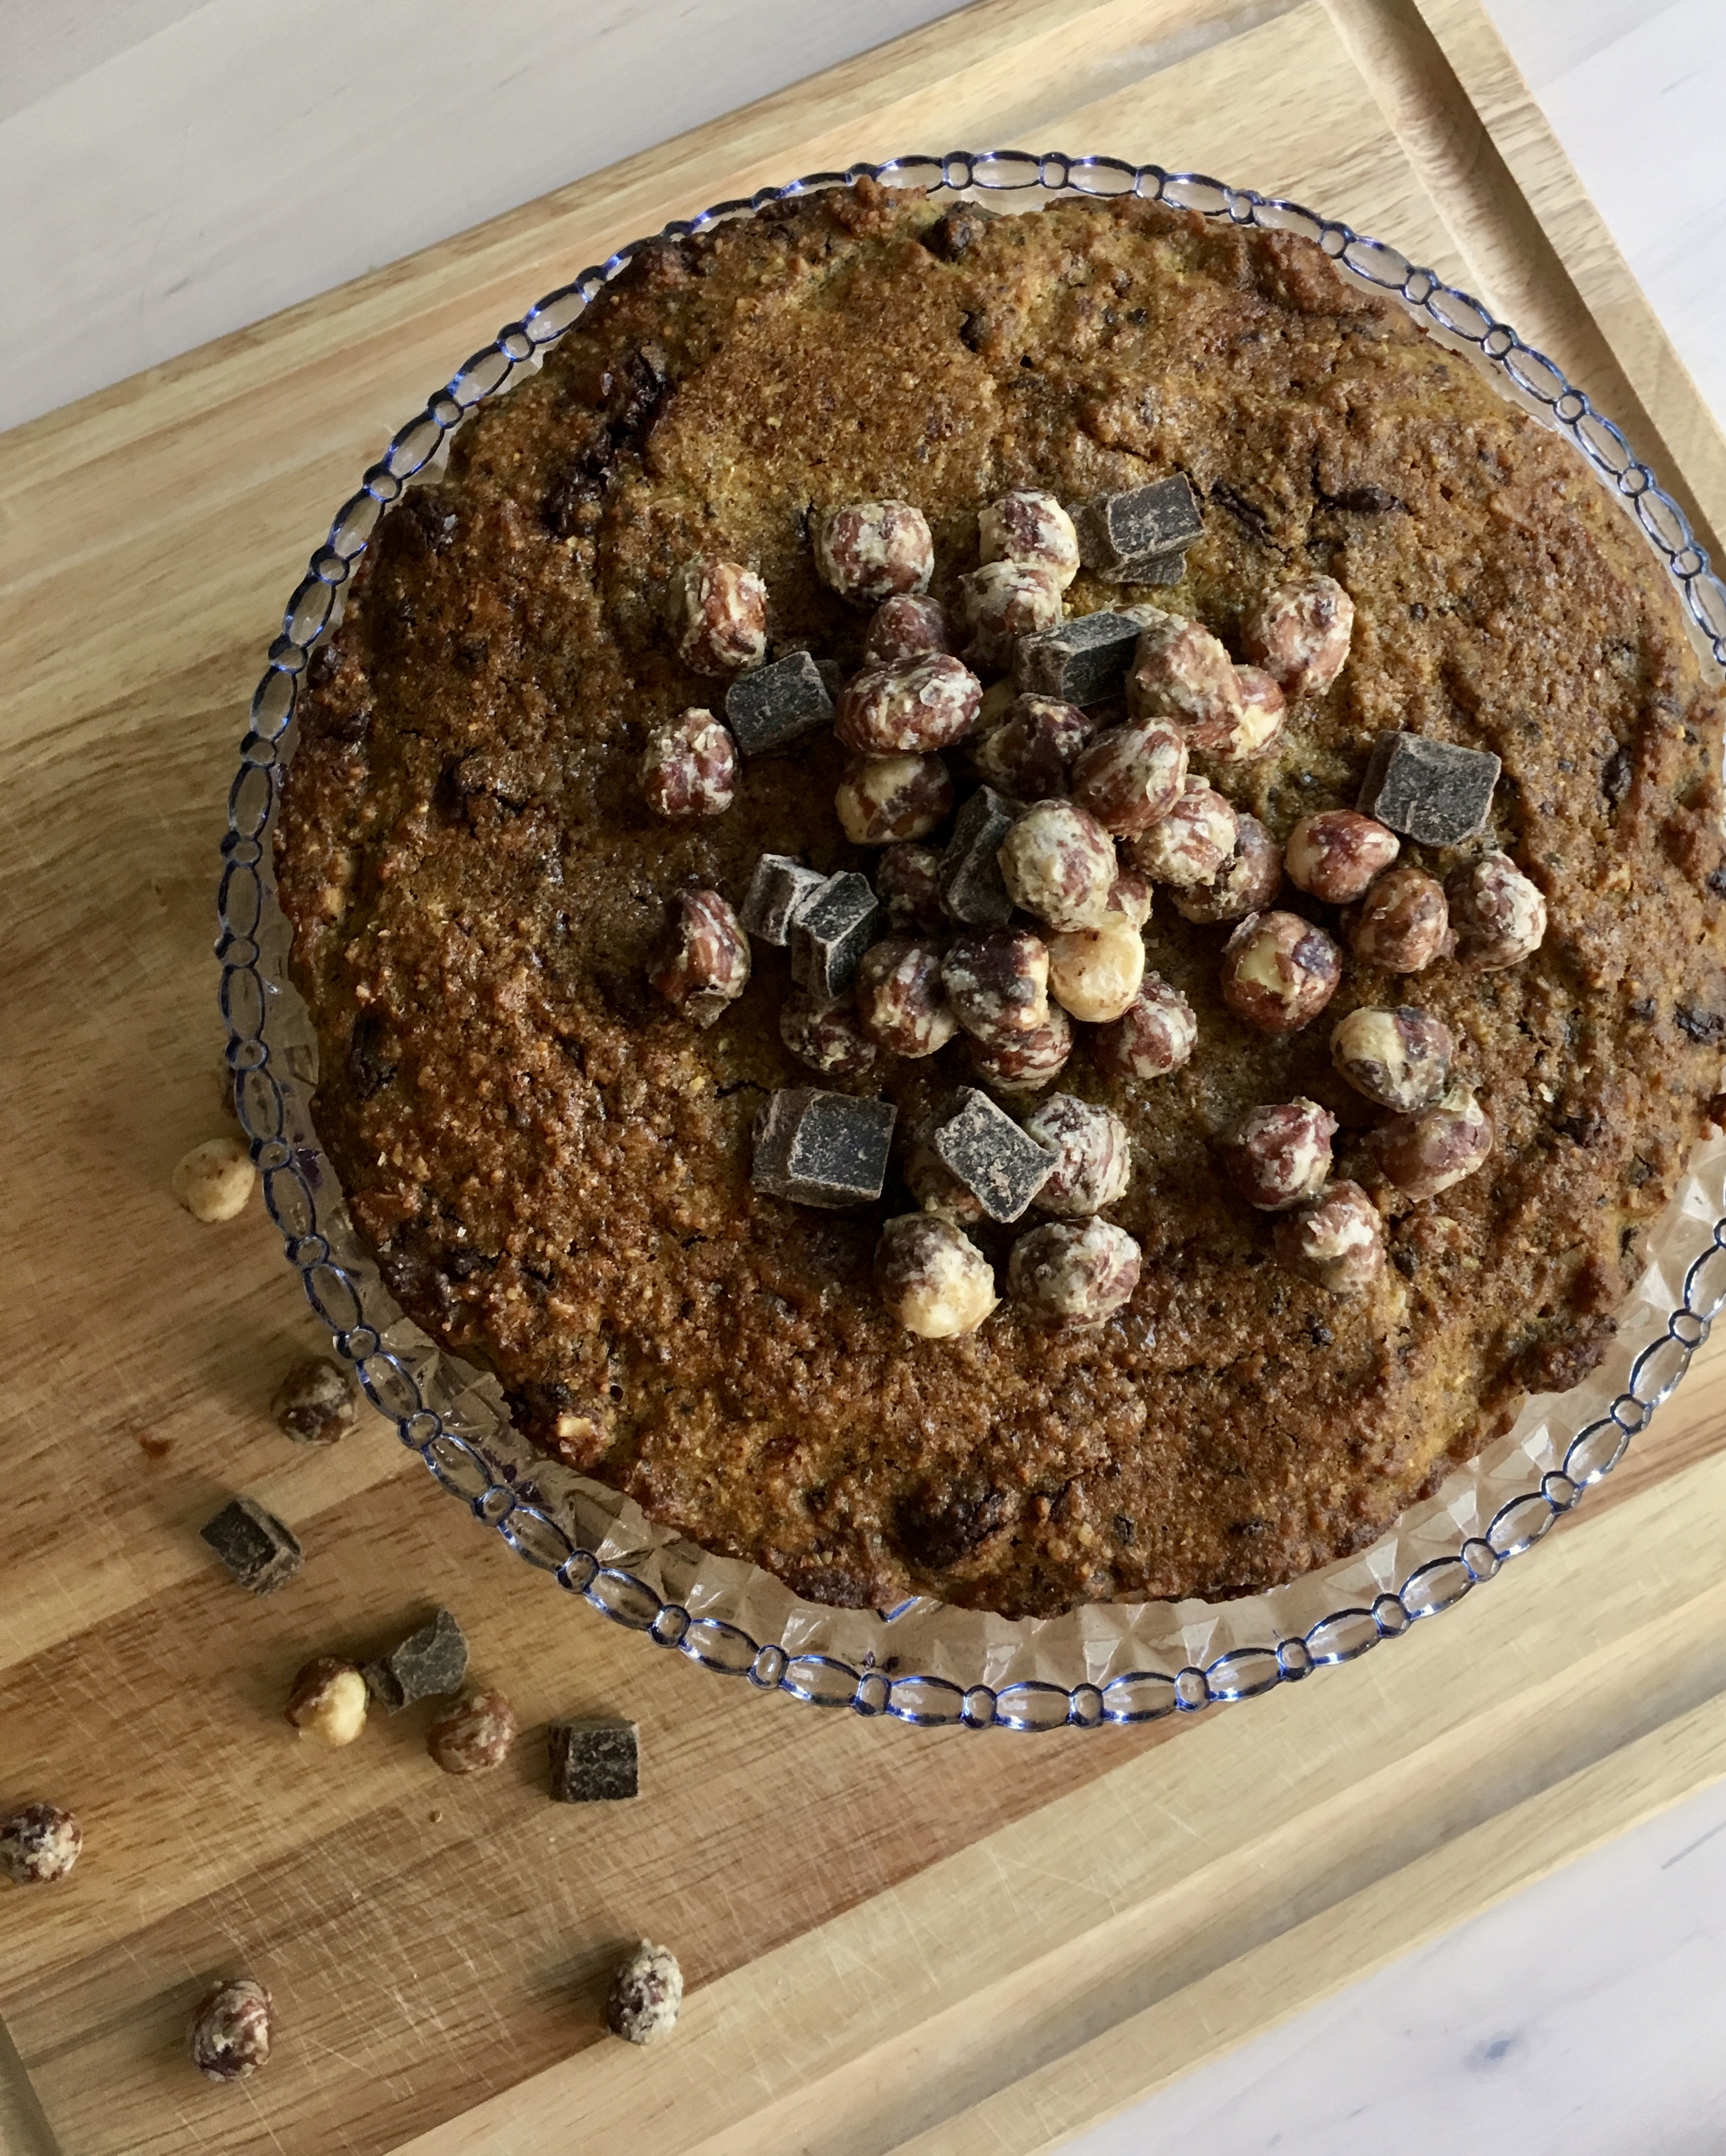
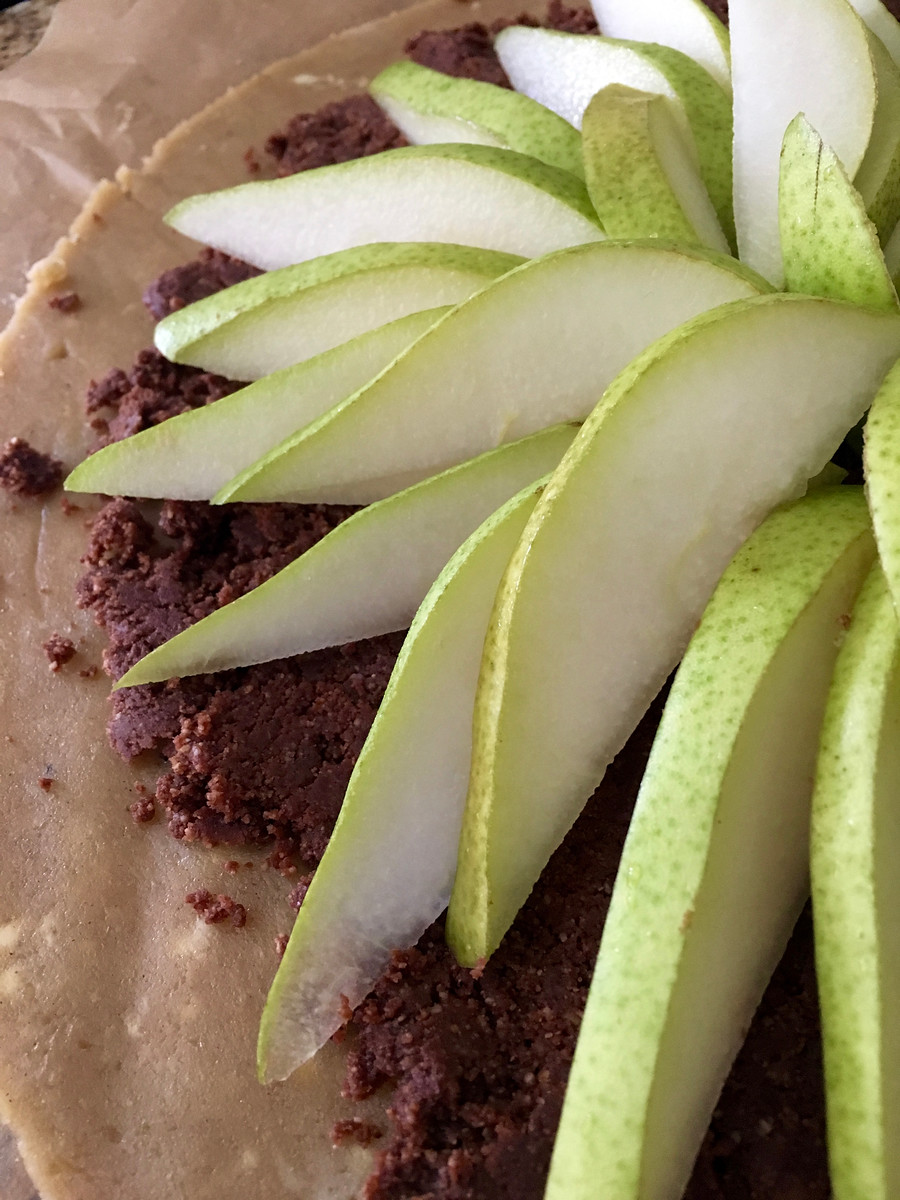
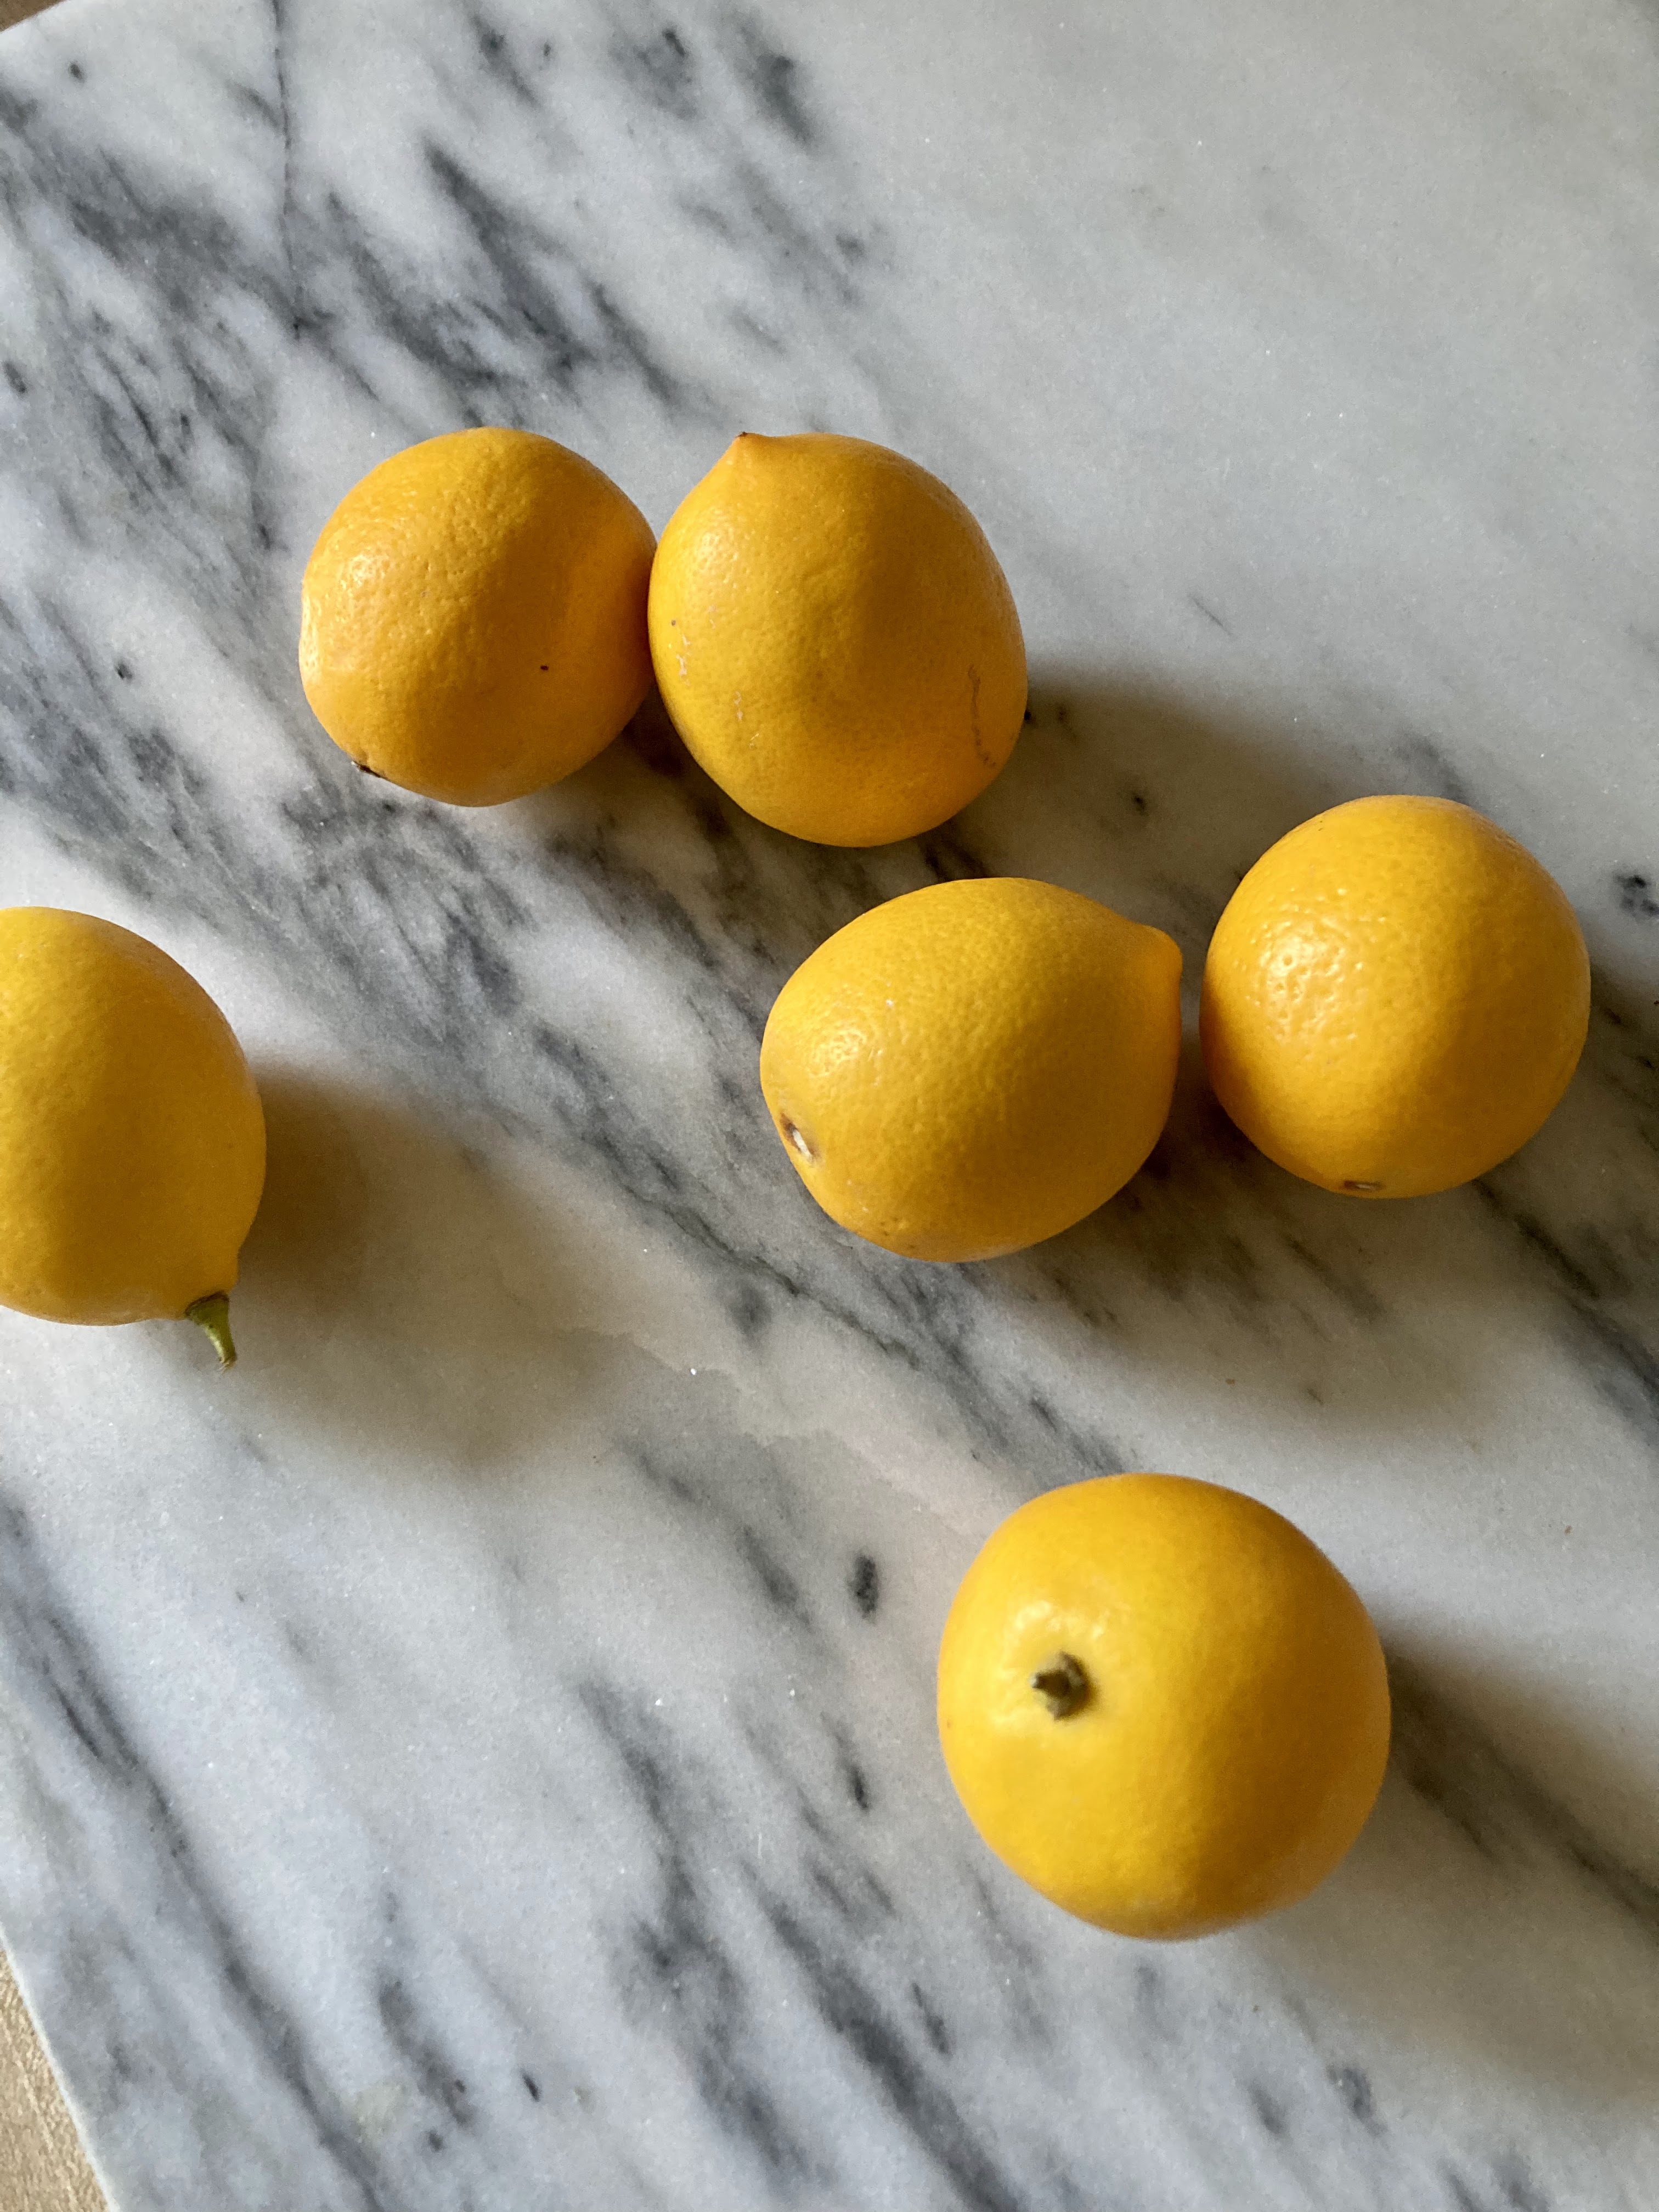
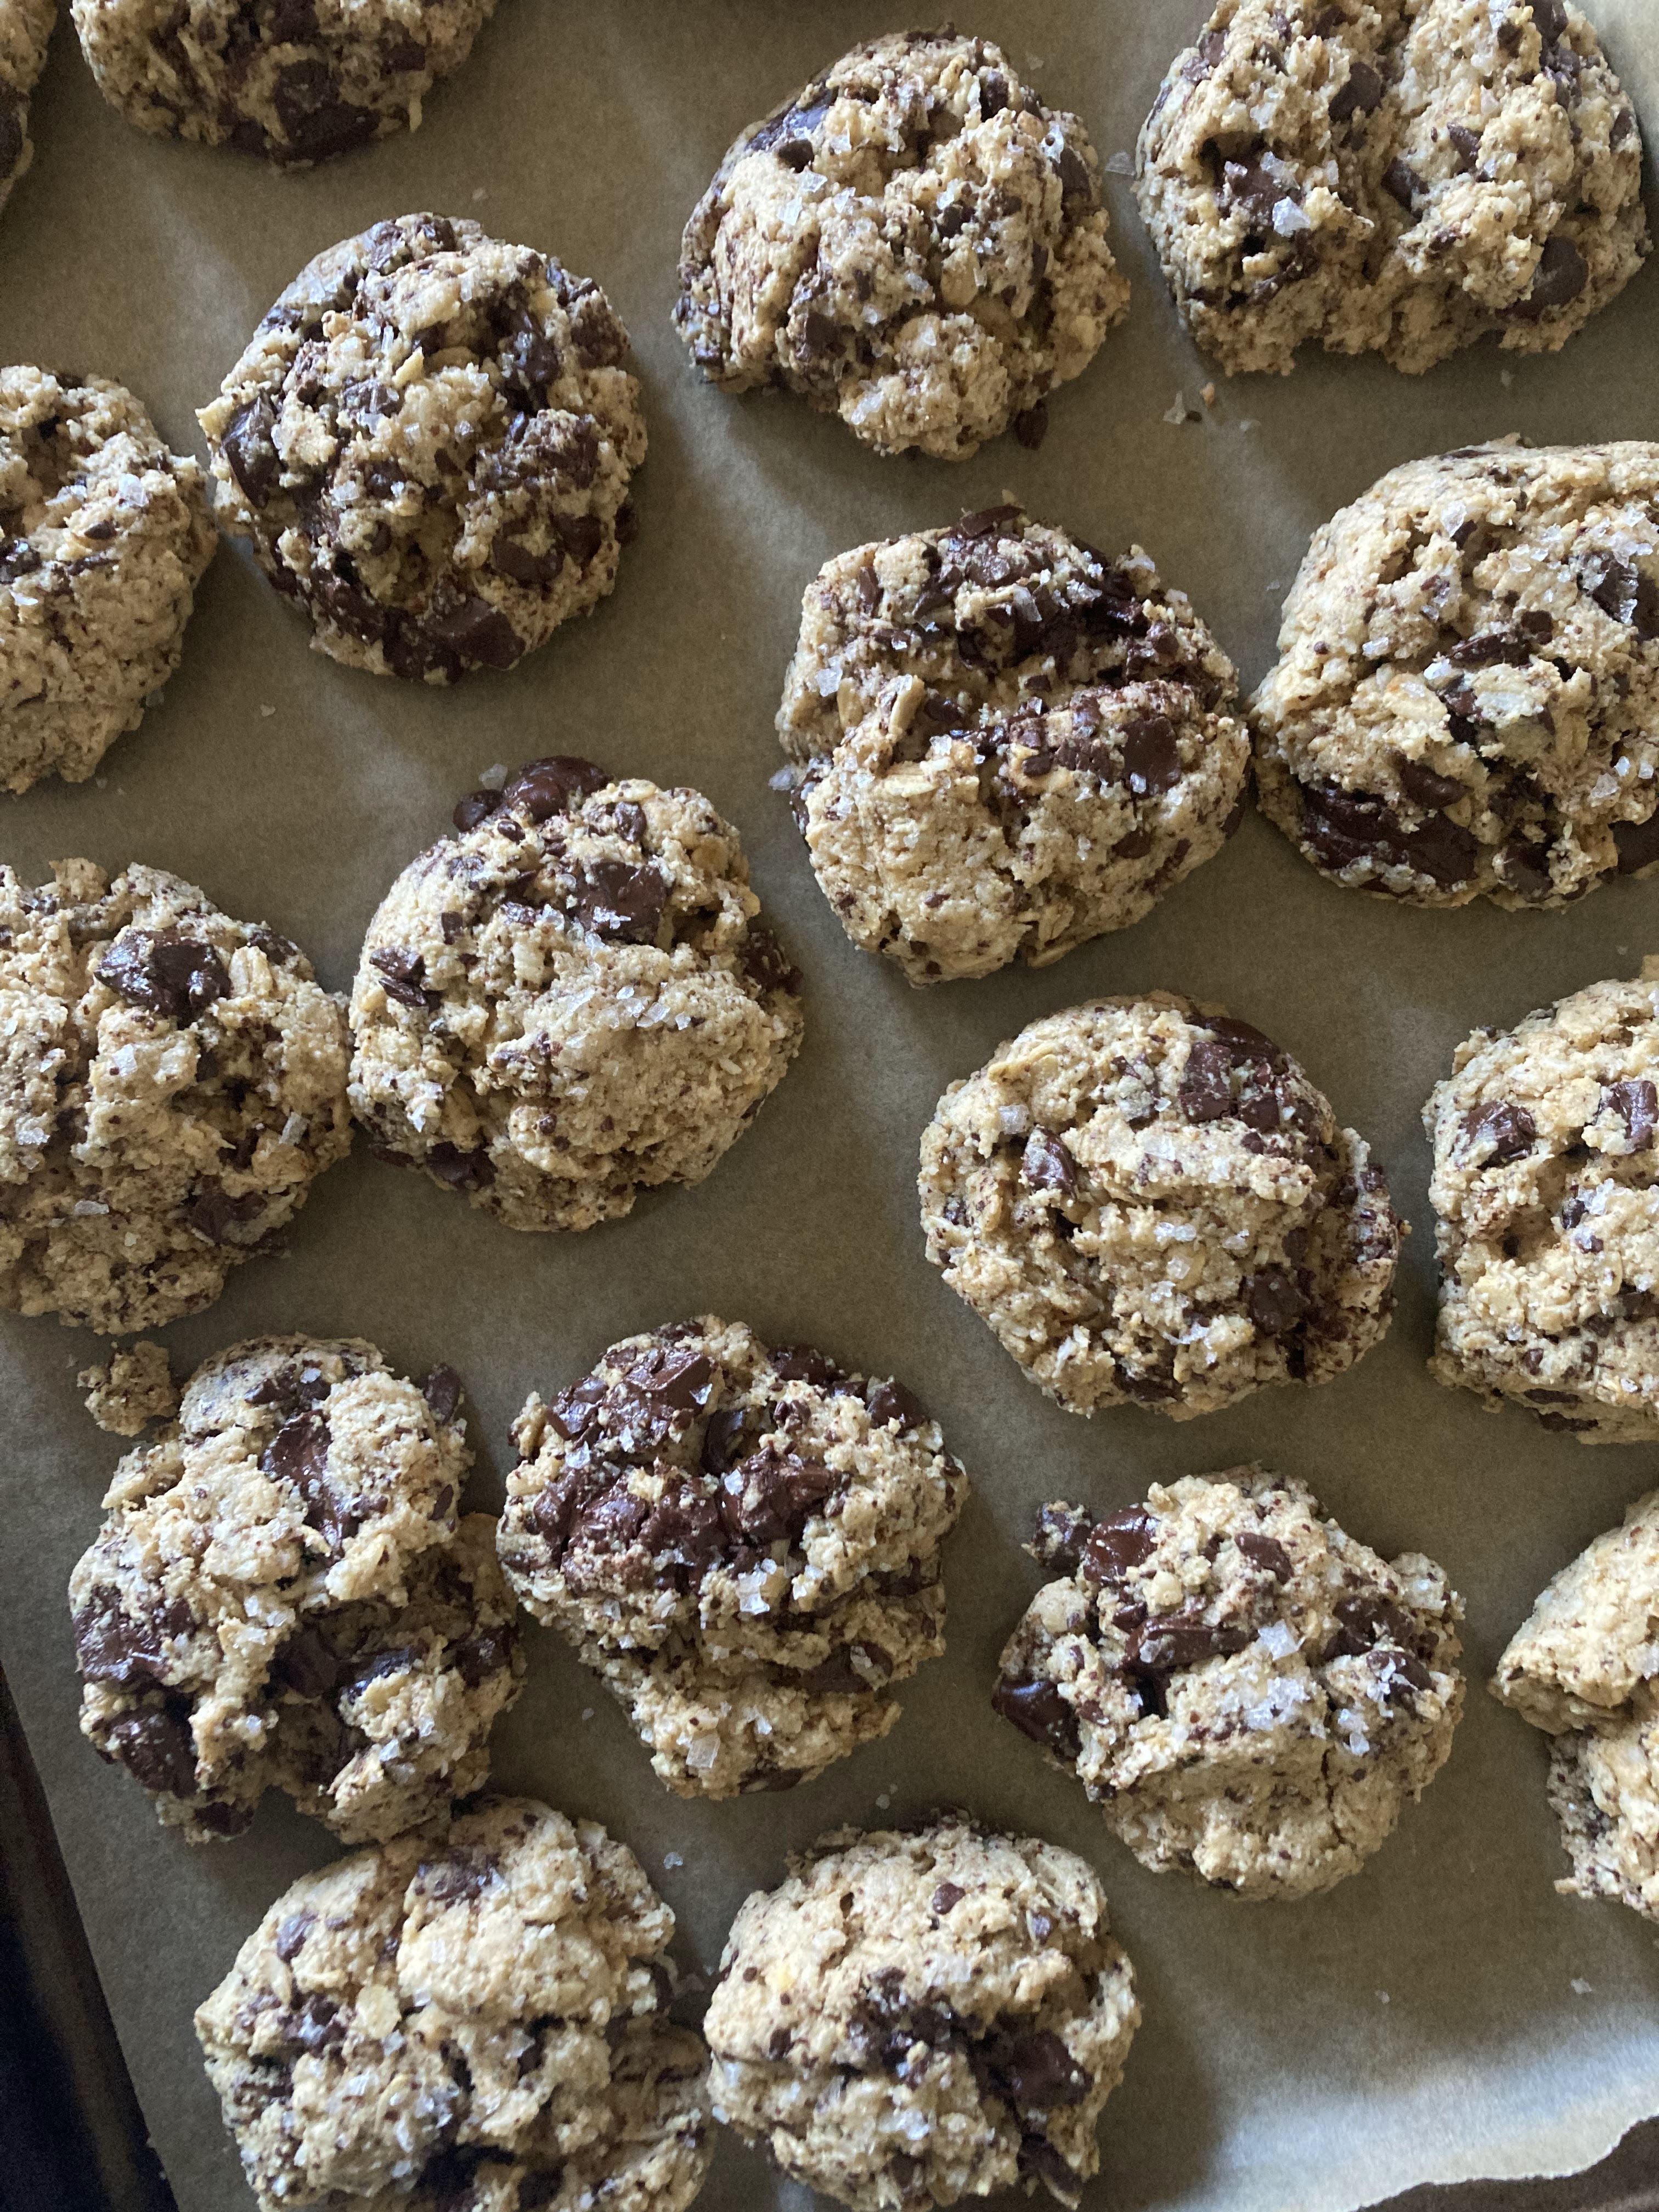
That being said – I have meyer lemon and lime bars for you today: these feel like a sunbeam incarnated into food form. A bit late in posting on account of a busy weekend (much needed friend & c’s fam time) but these bars were DELICIOUS so I wanted to make sure they made it on here. Not to mention, they’re the first real baked thing I’ve made in this kitchen, aside from cookies (those don’t count, I make them allll the time).

My new oven and I are still getting acquainted, but I think we’re getting there (and I also think my new oven thermometer is lying to me)… my oven is a bit funky, just like the grand dame of a Queen Anne Edwardian that I moved into. She’s a high ceilinged, mildly drafty beauty with a round turret, bay windows, original floors and gingerbready molding – and used to be a boarding house in the early 1900s!

Started the year before the 1906 earthquake, finished the year after. I am LOVING my new space, though admittedly having growing pains – what on earth do I do with this much space, I’m only one person?! I doubled my square footage after having lived in a studio for a loooot of years…. this feels enormous, but I’m getting used to it. New furniture helps too ;)

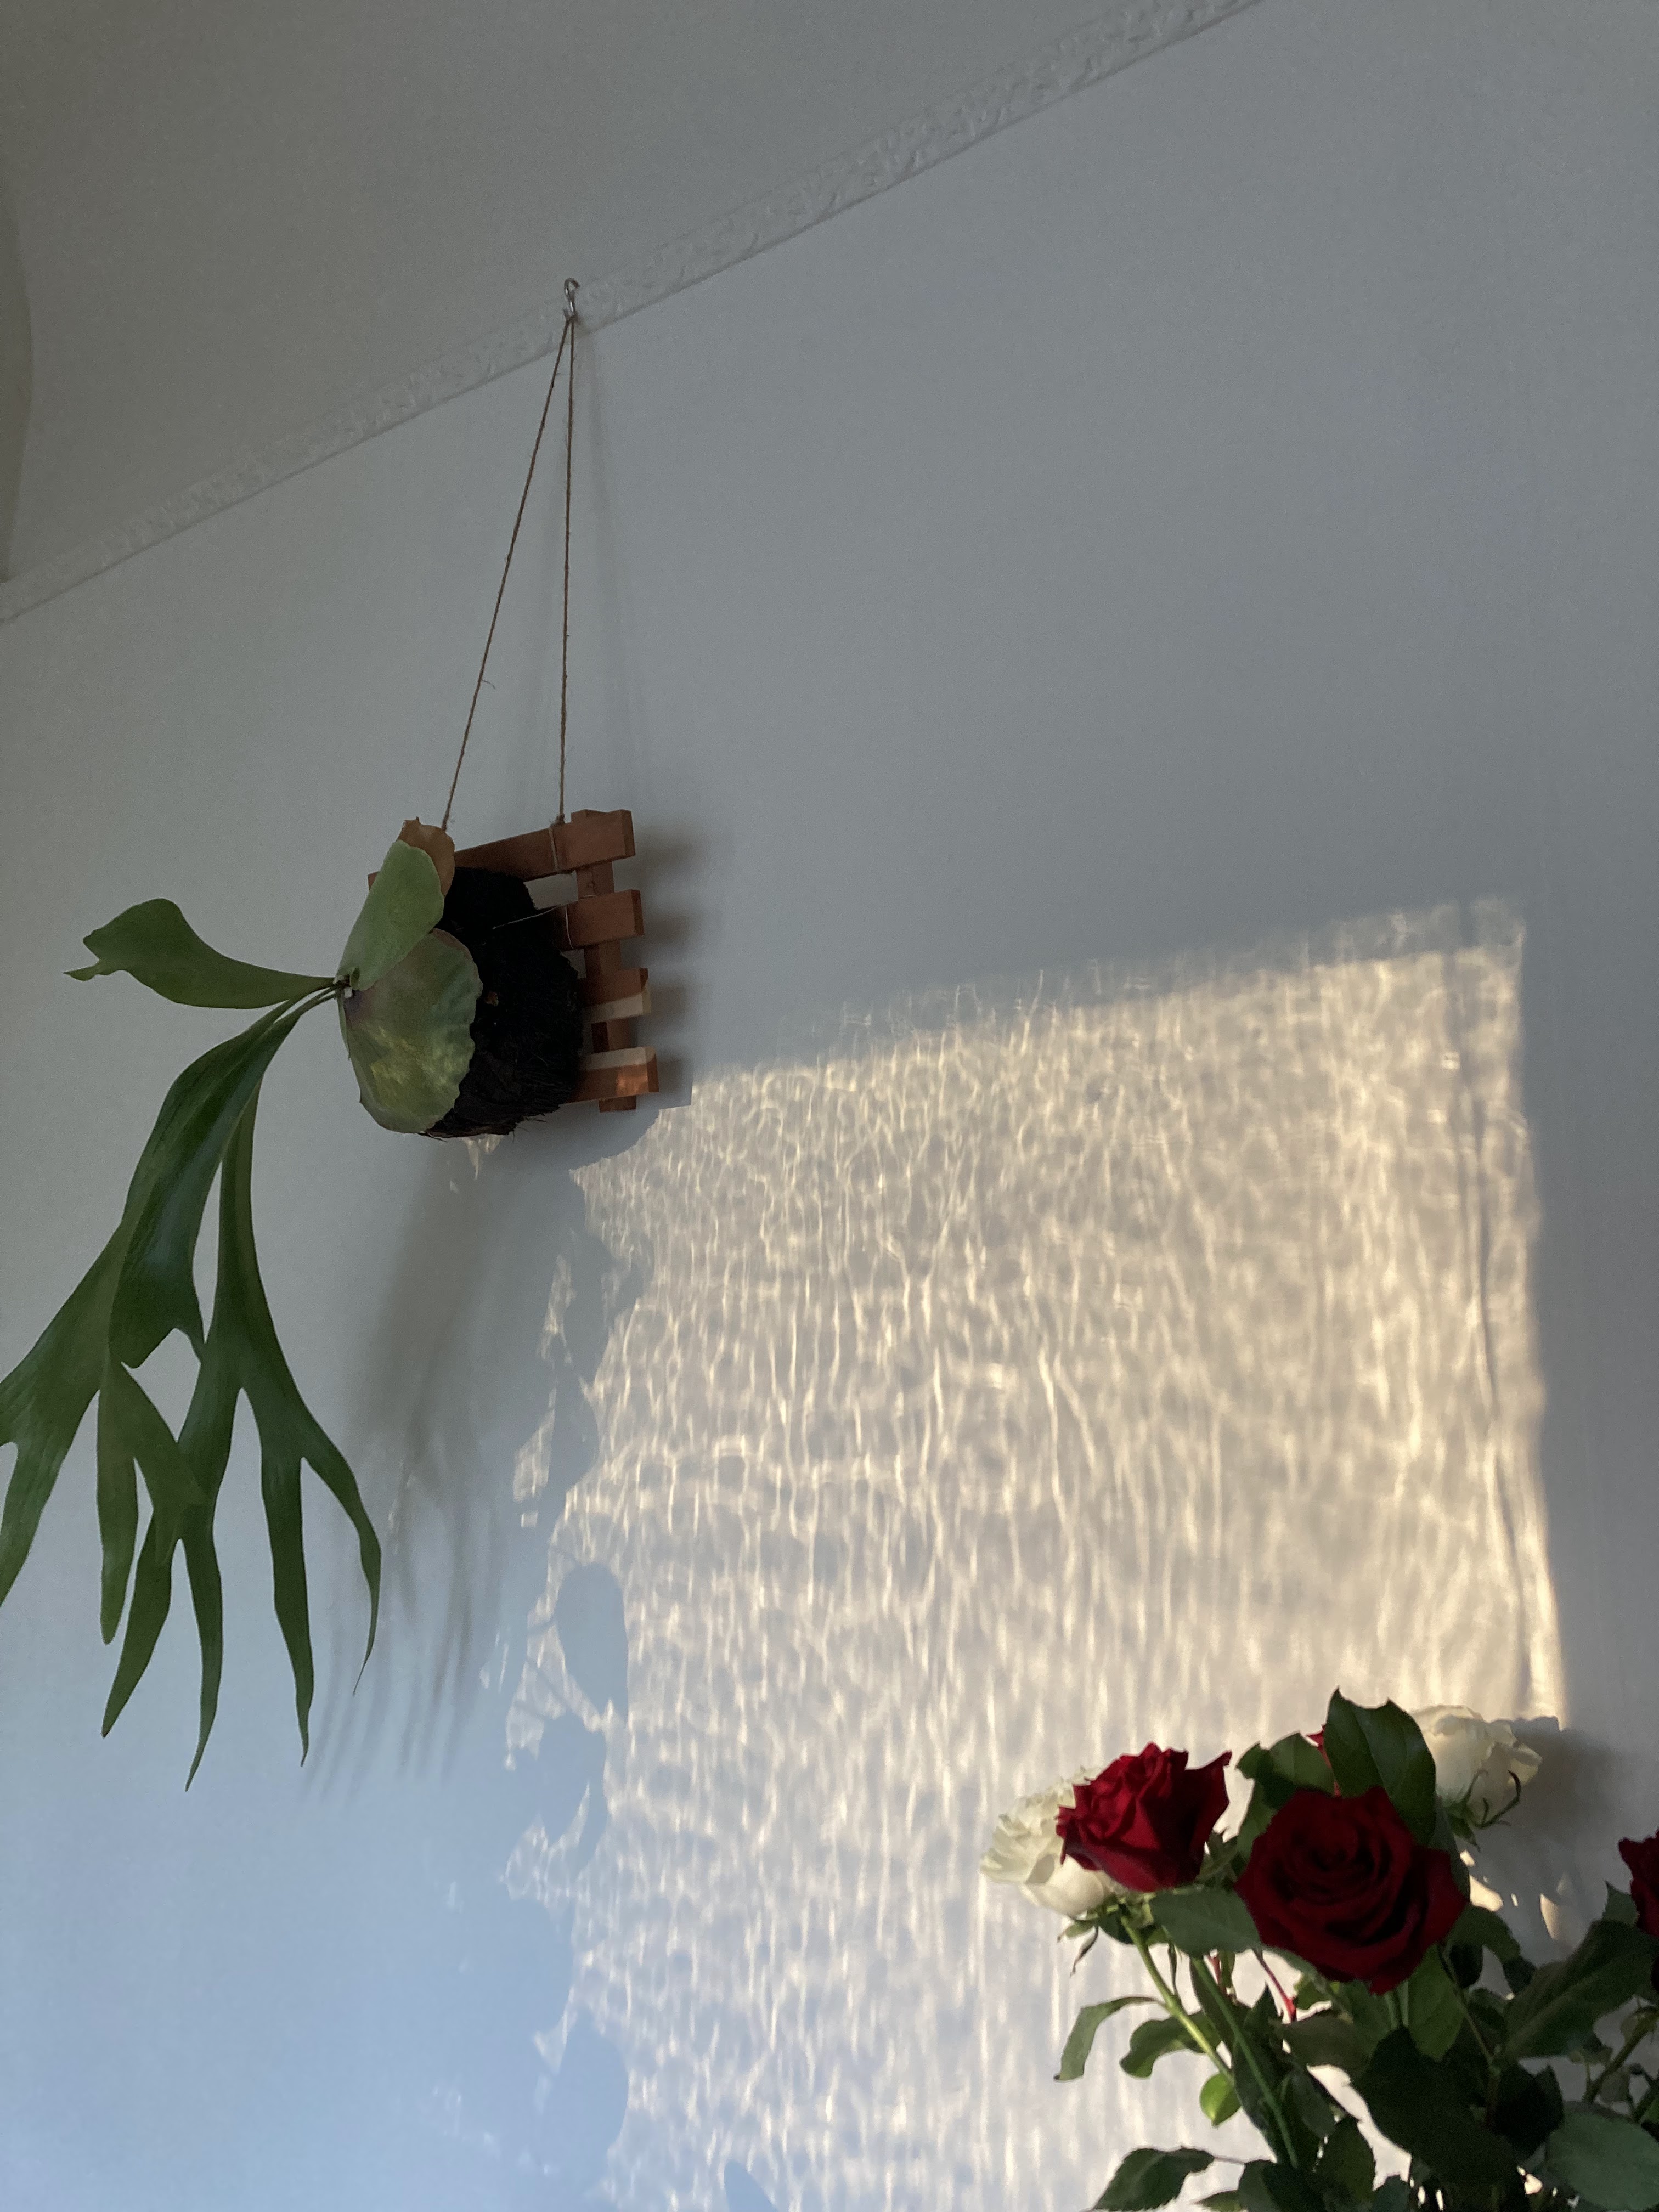
I’ll post some pictures one aforementioned furniture actually arrives – but for now a few little vignettes of my jungle deco (yes, that is an extremely accurate name for my aesthetic) beauty.

original rolled glass!

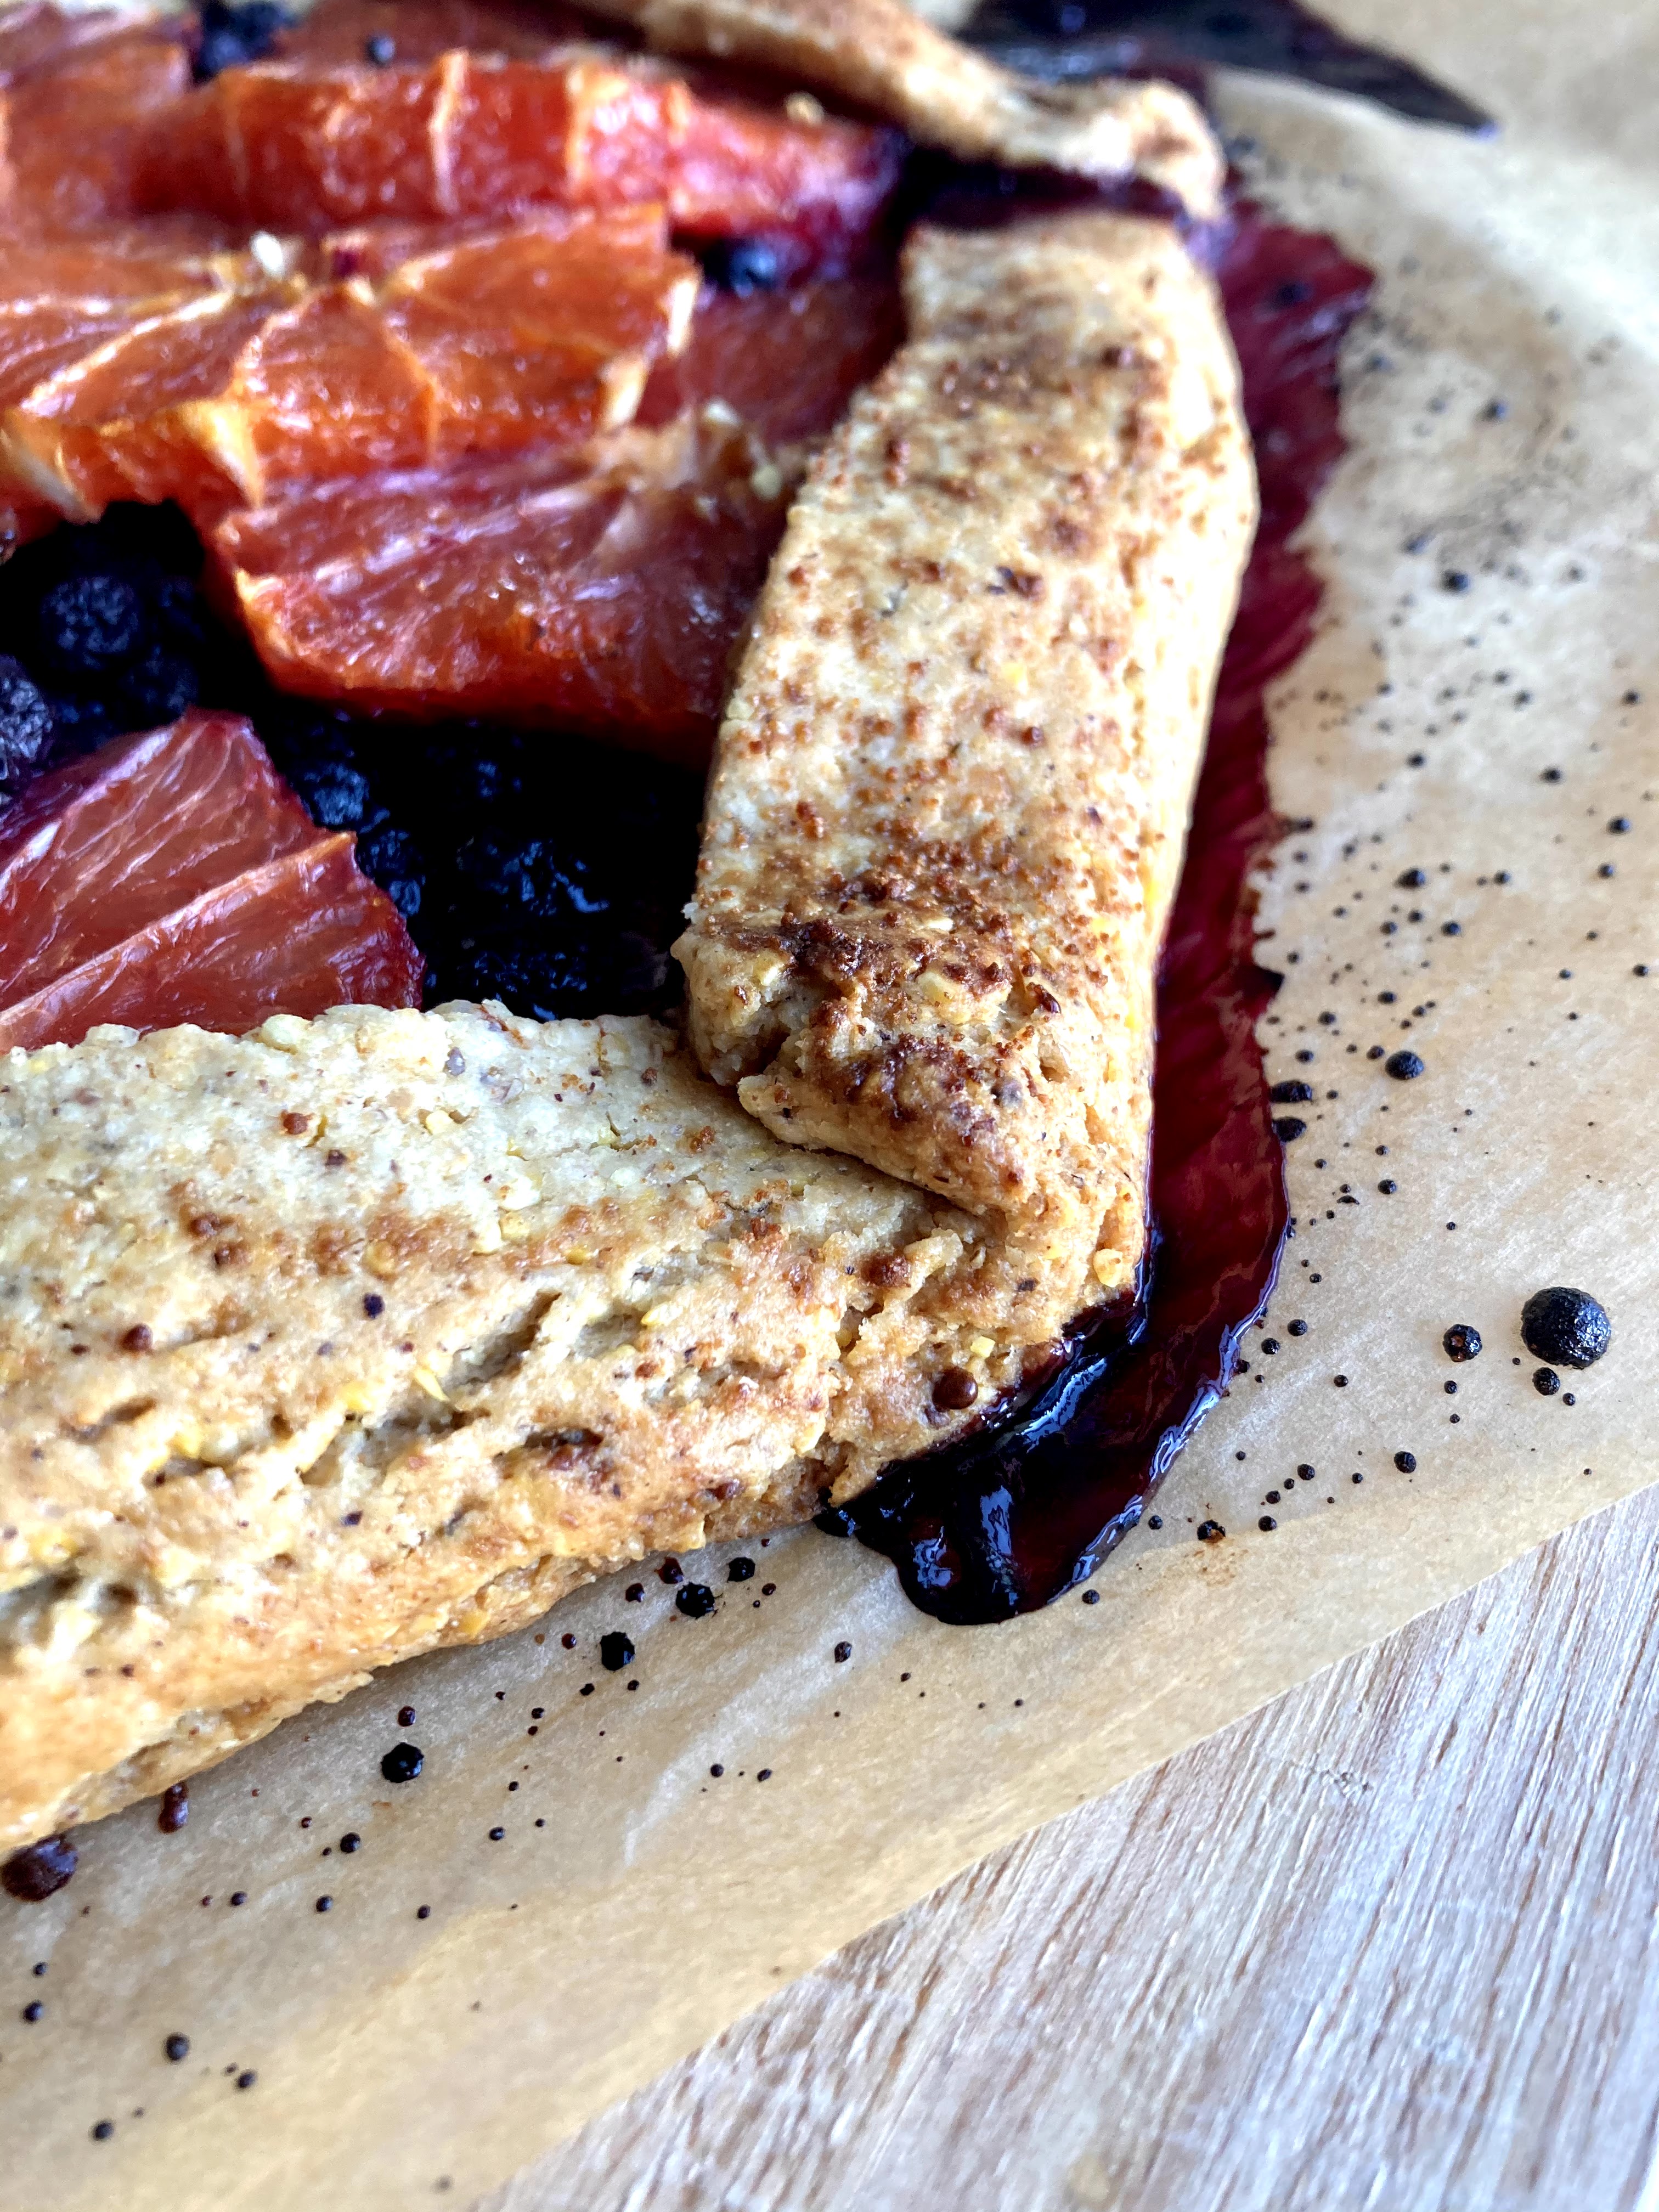
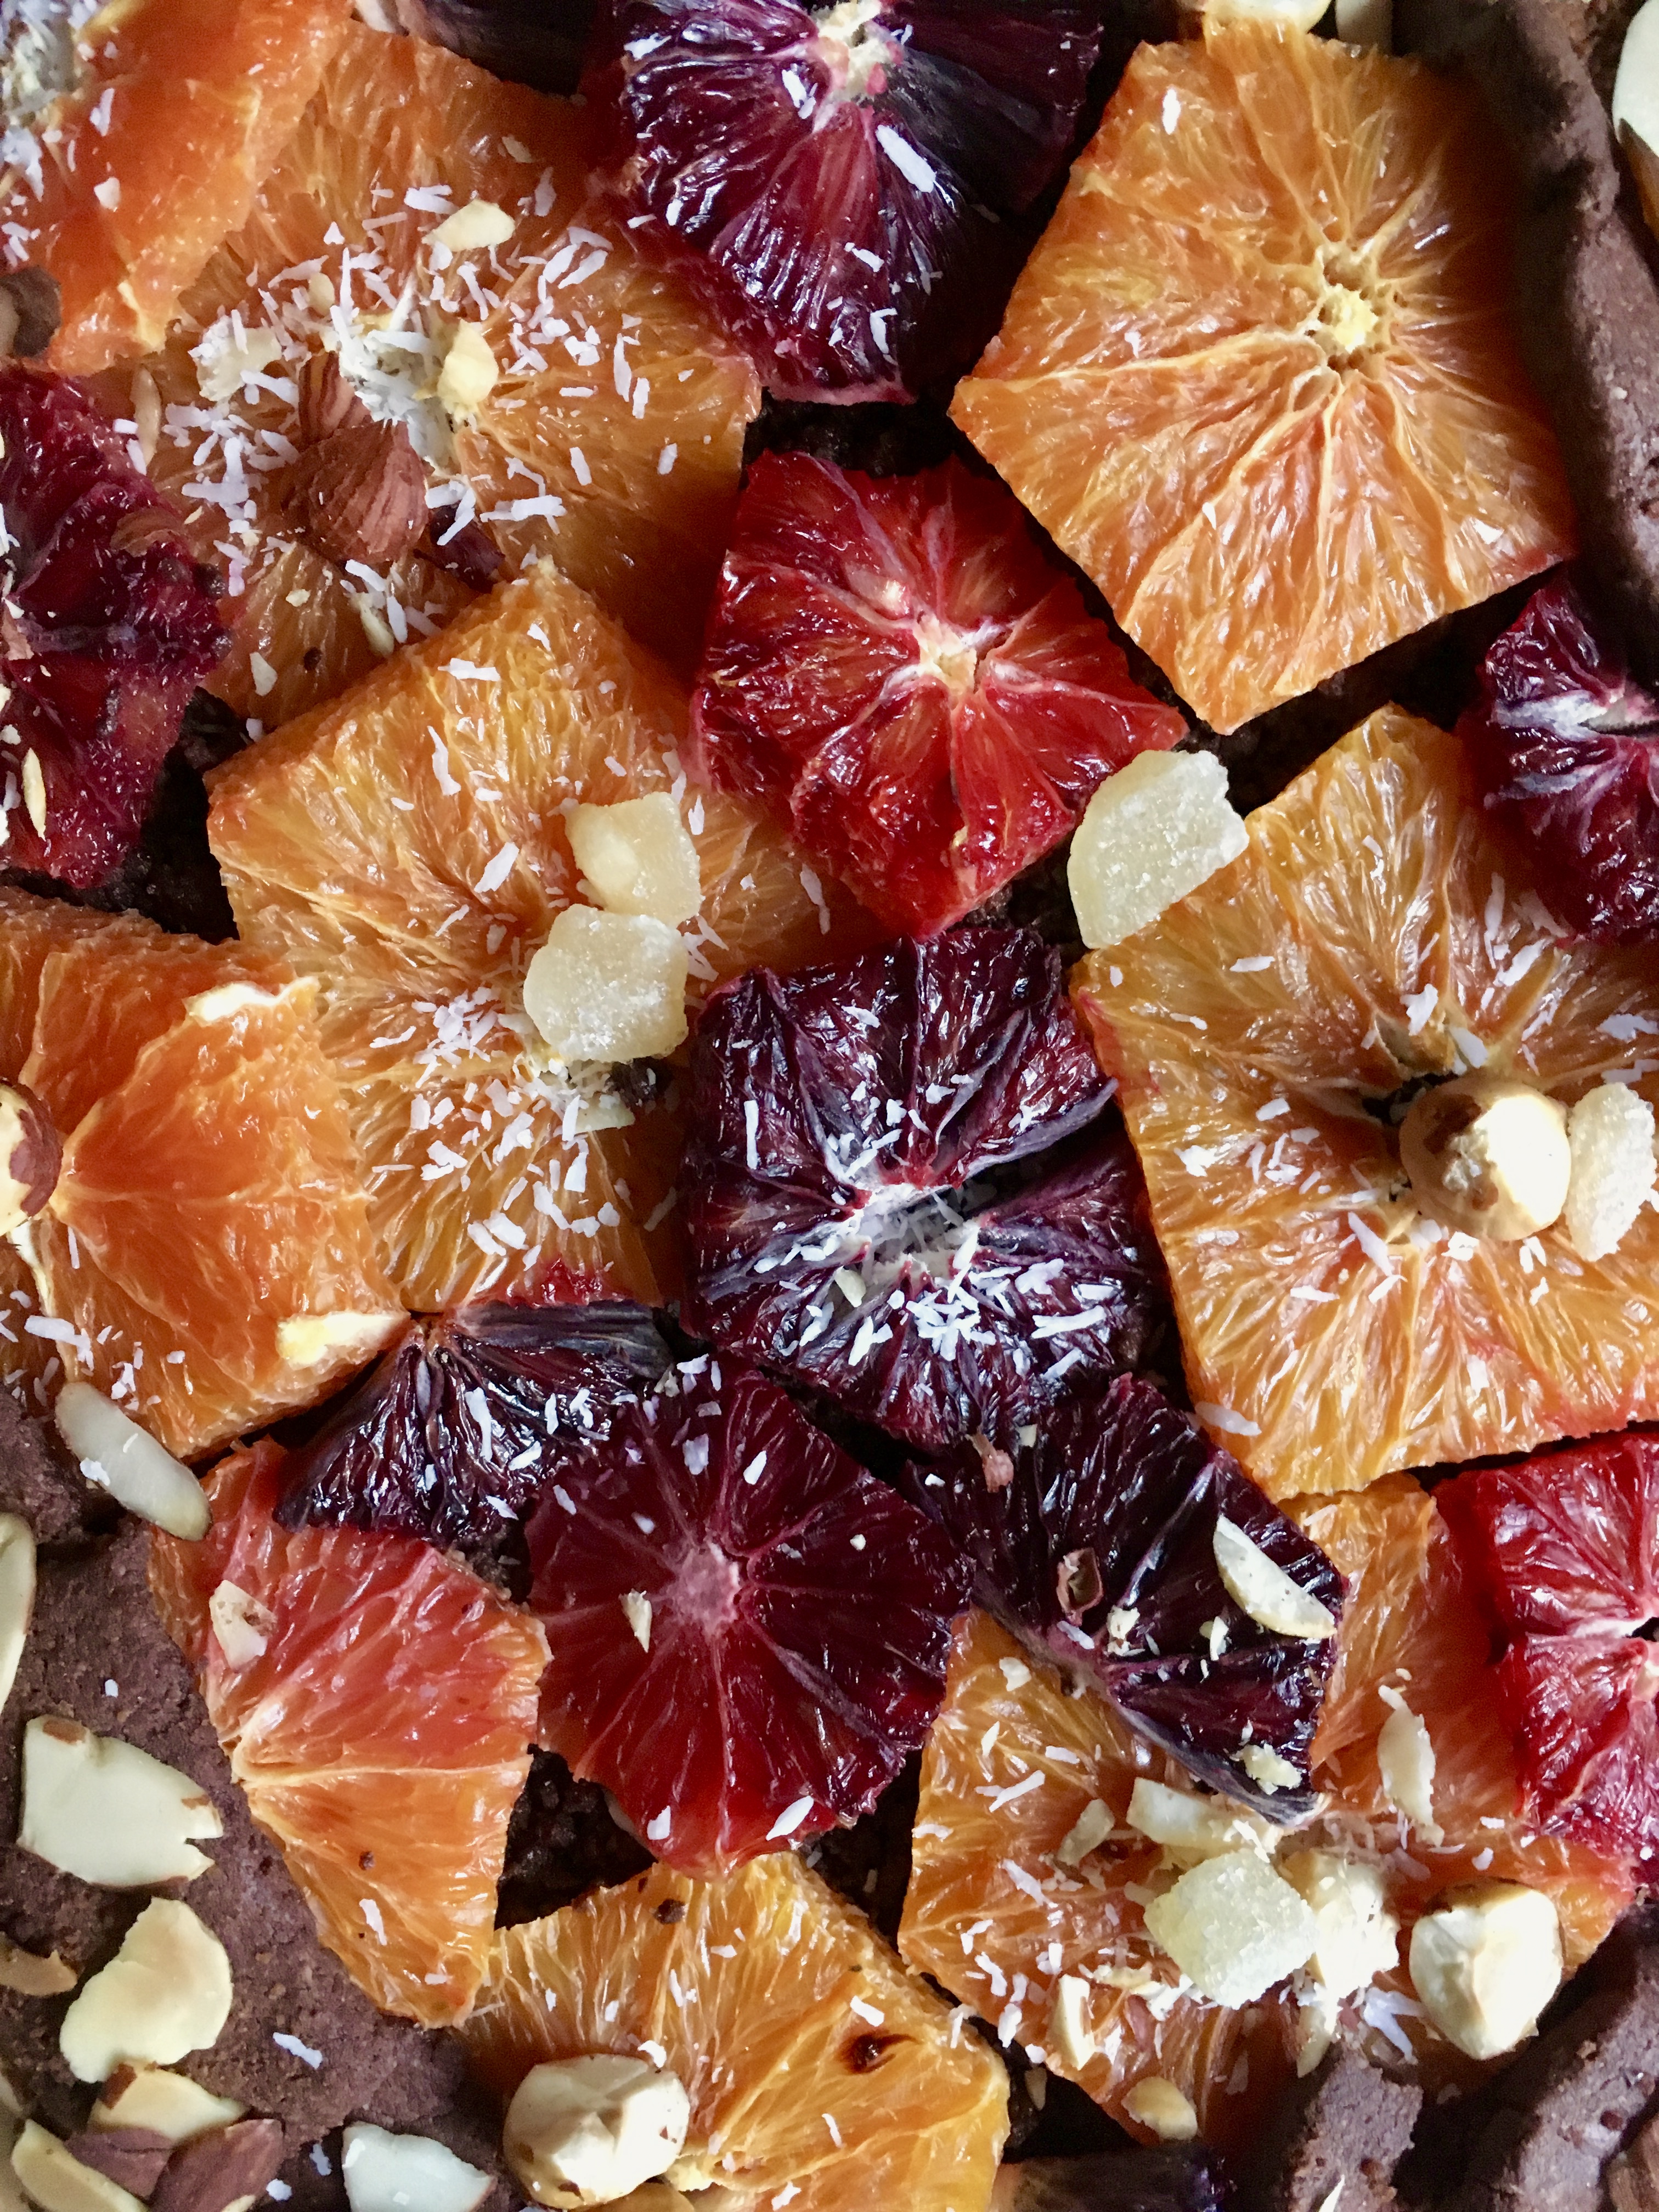
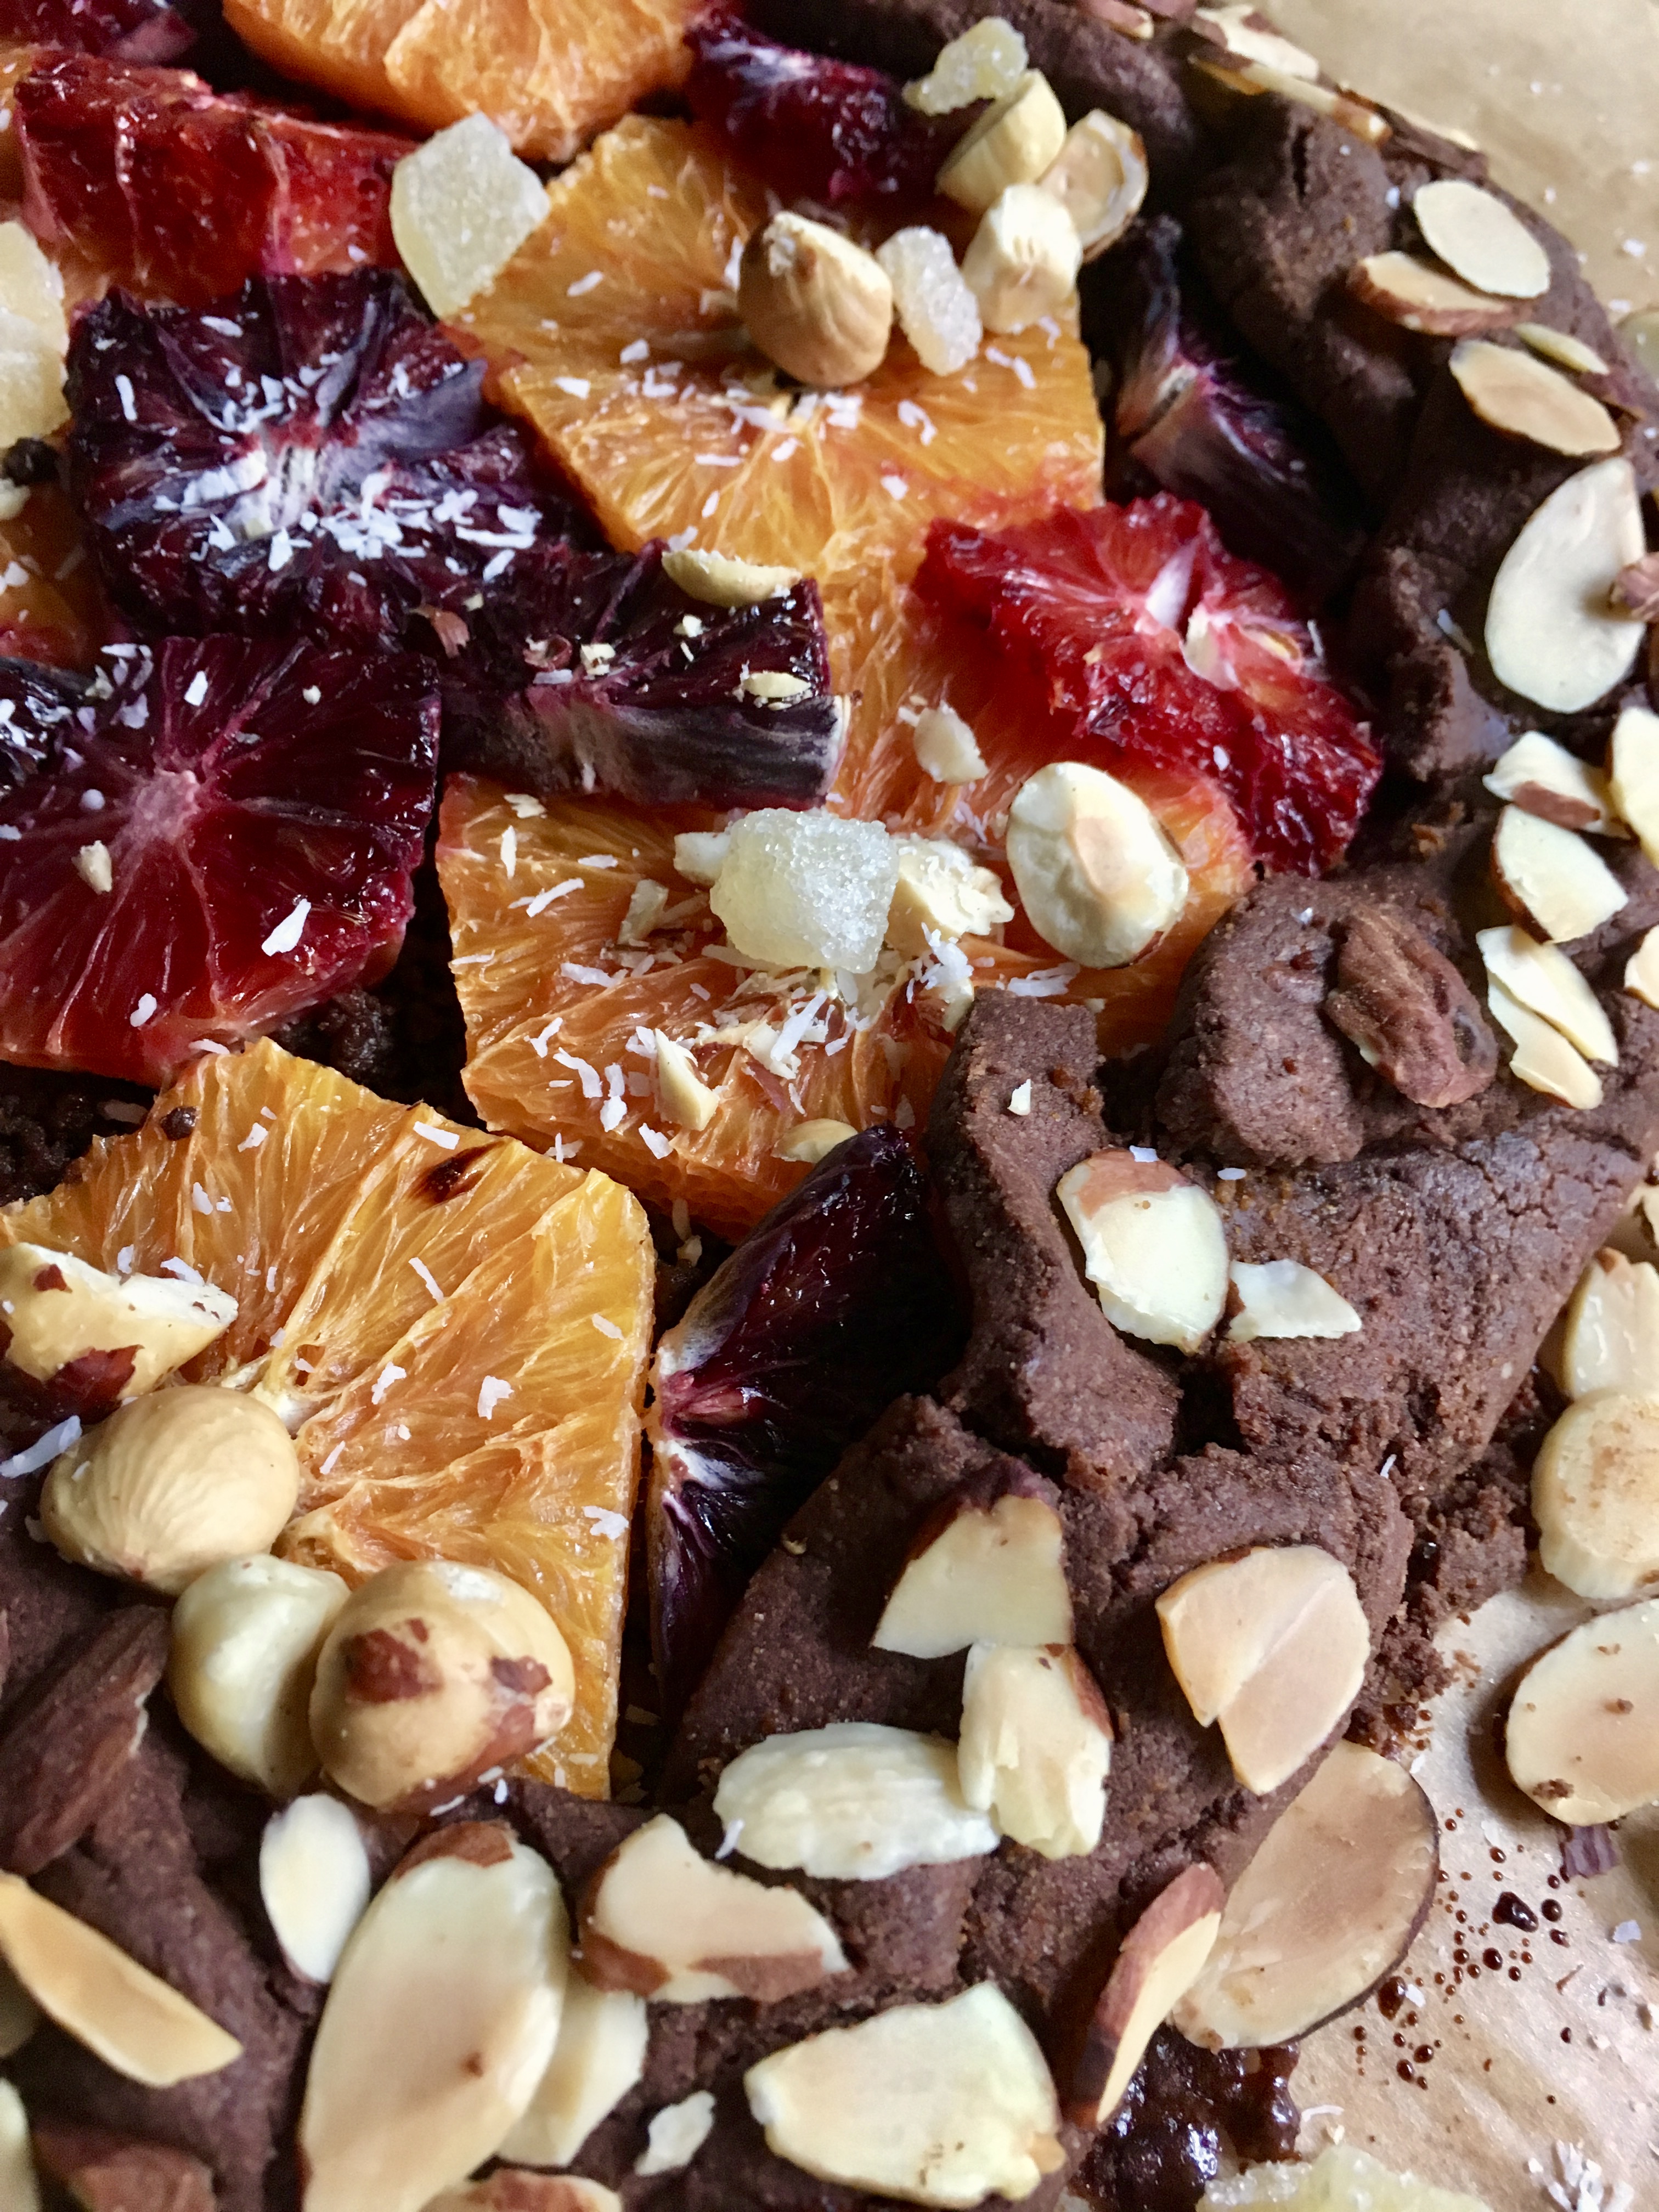
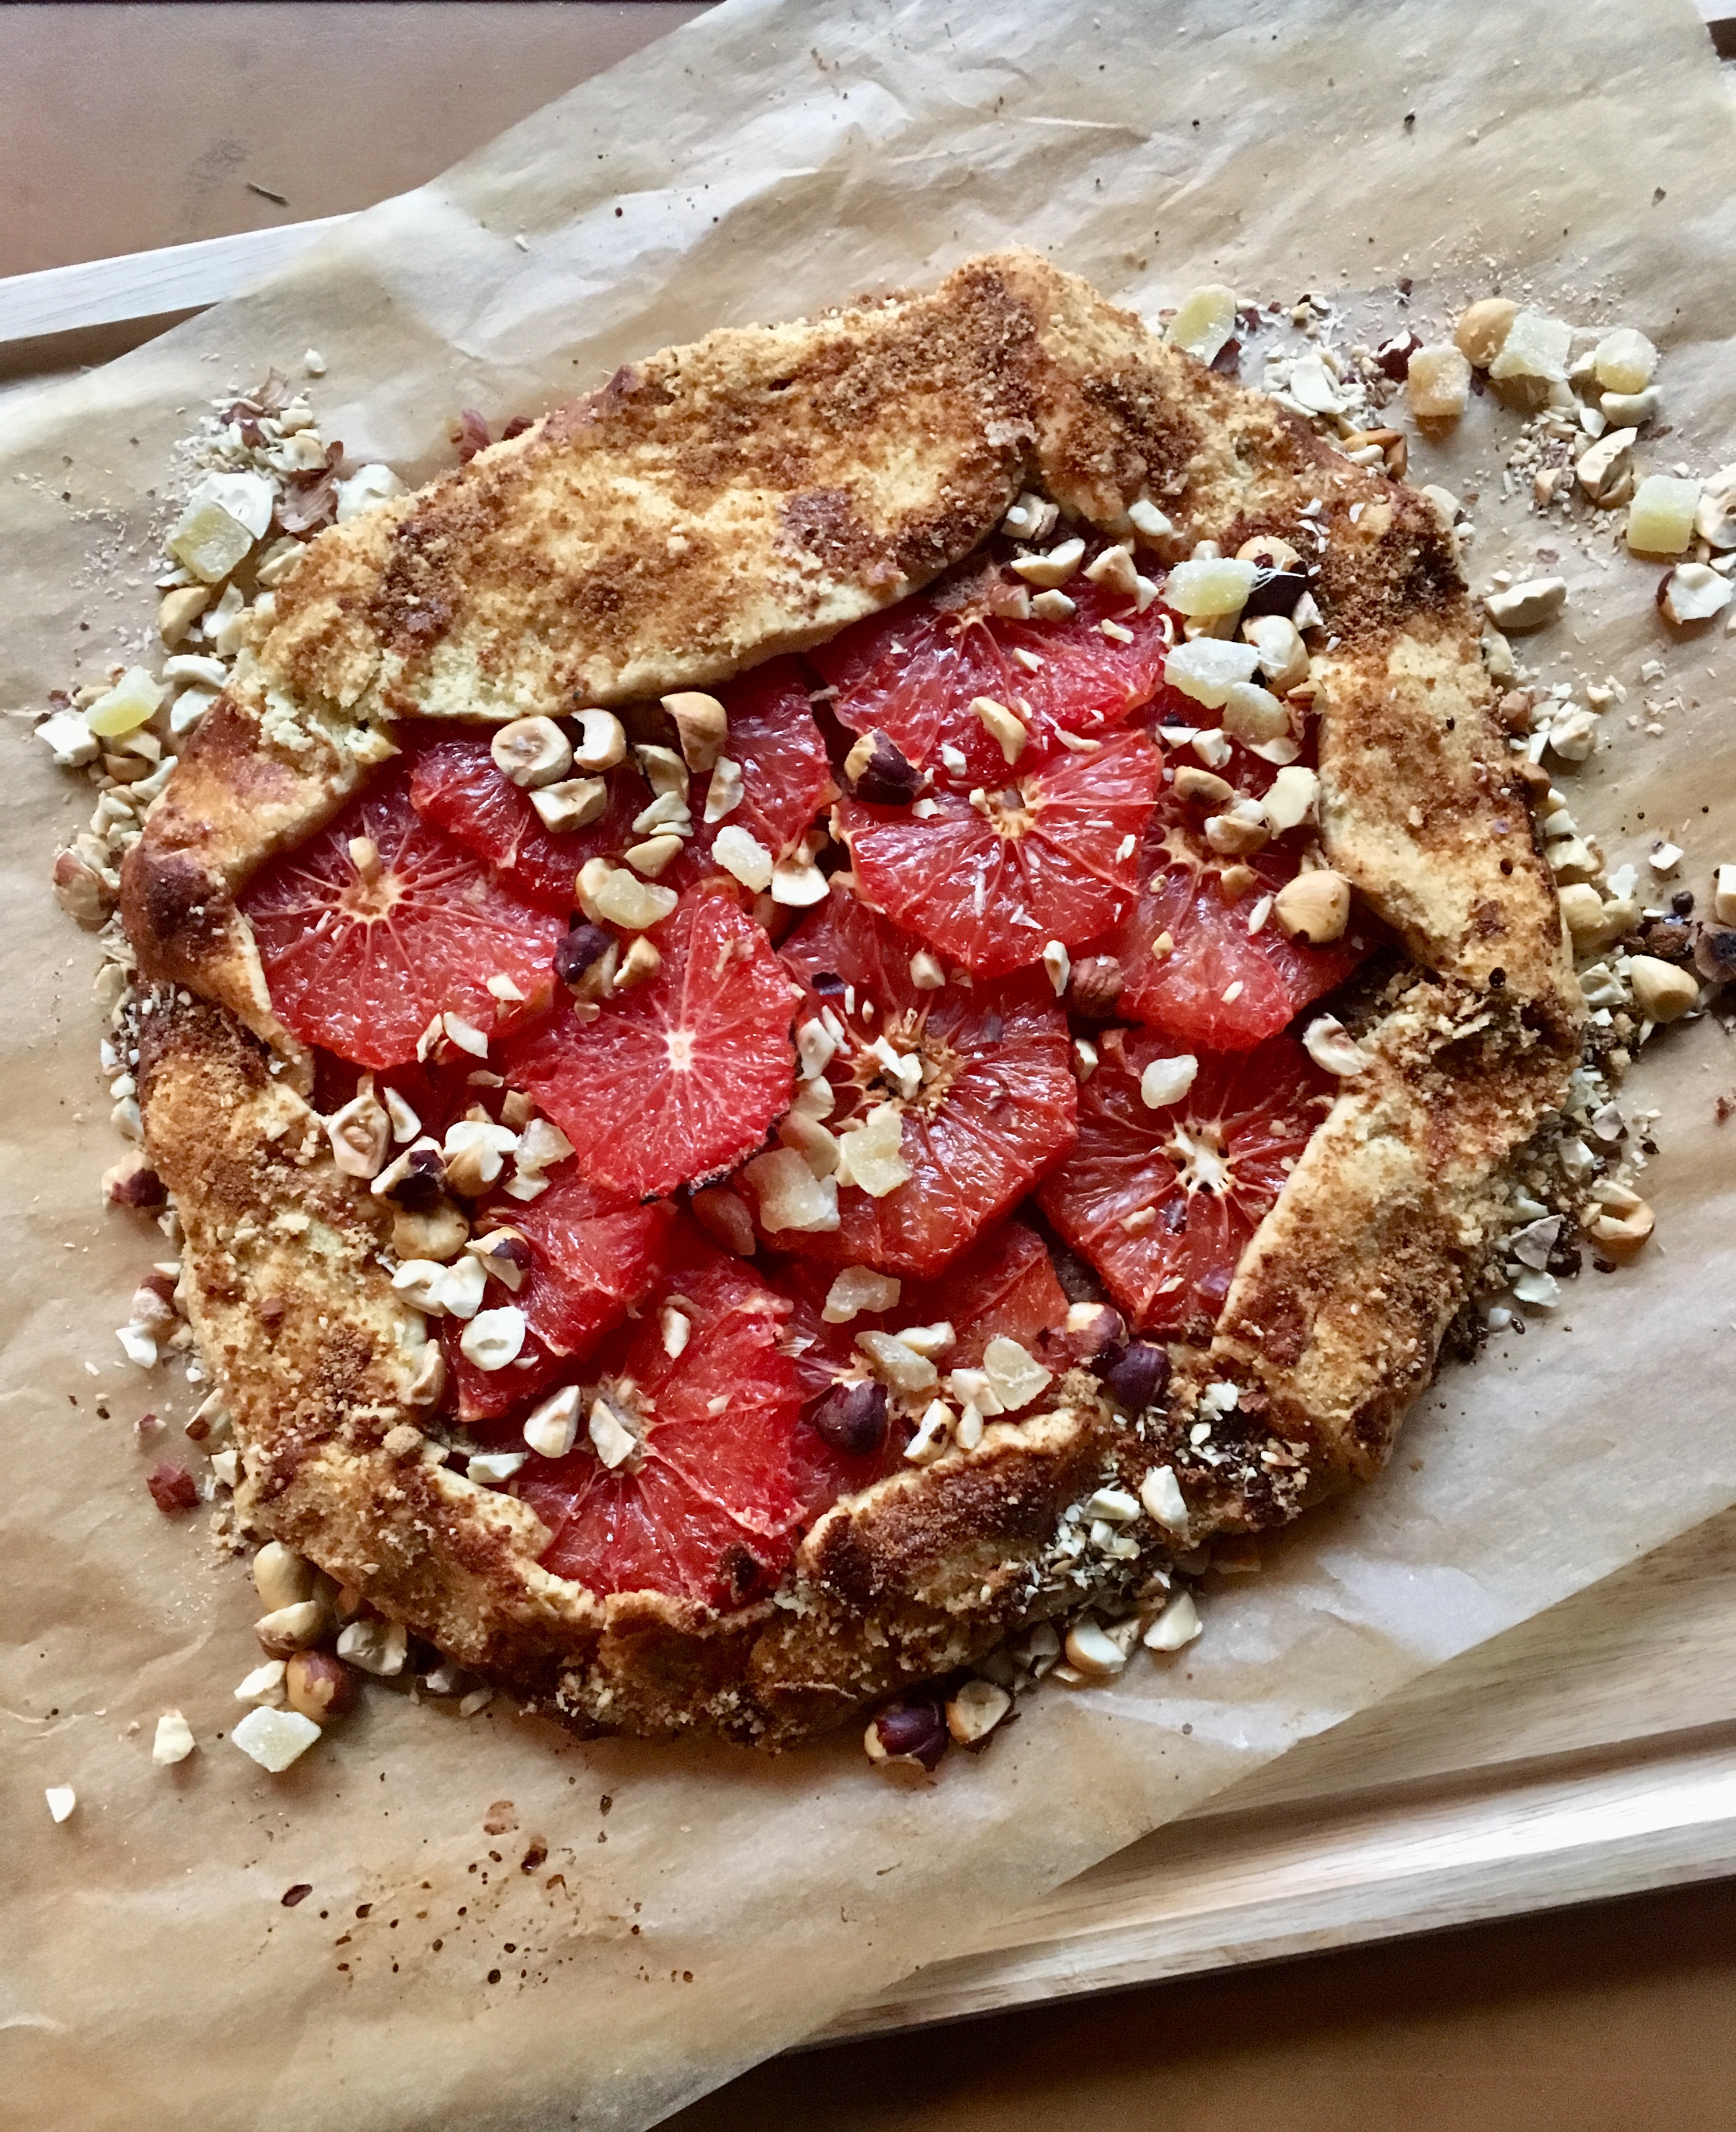
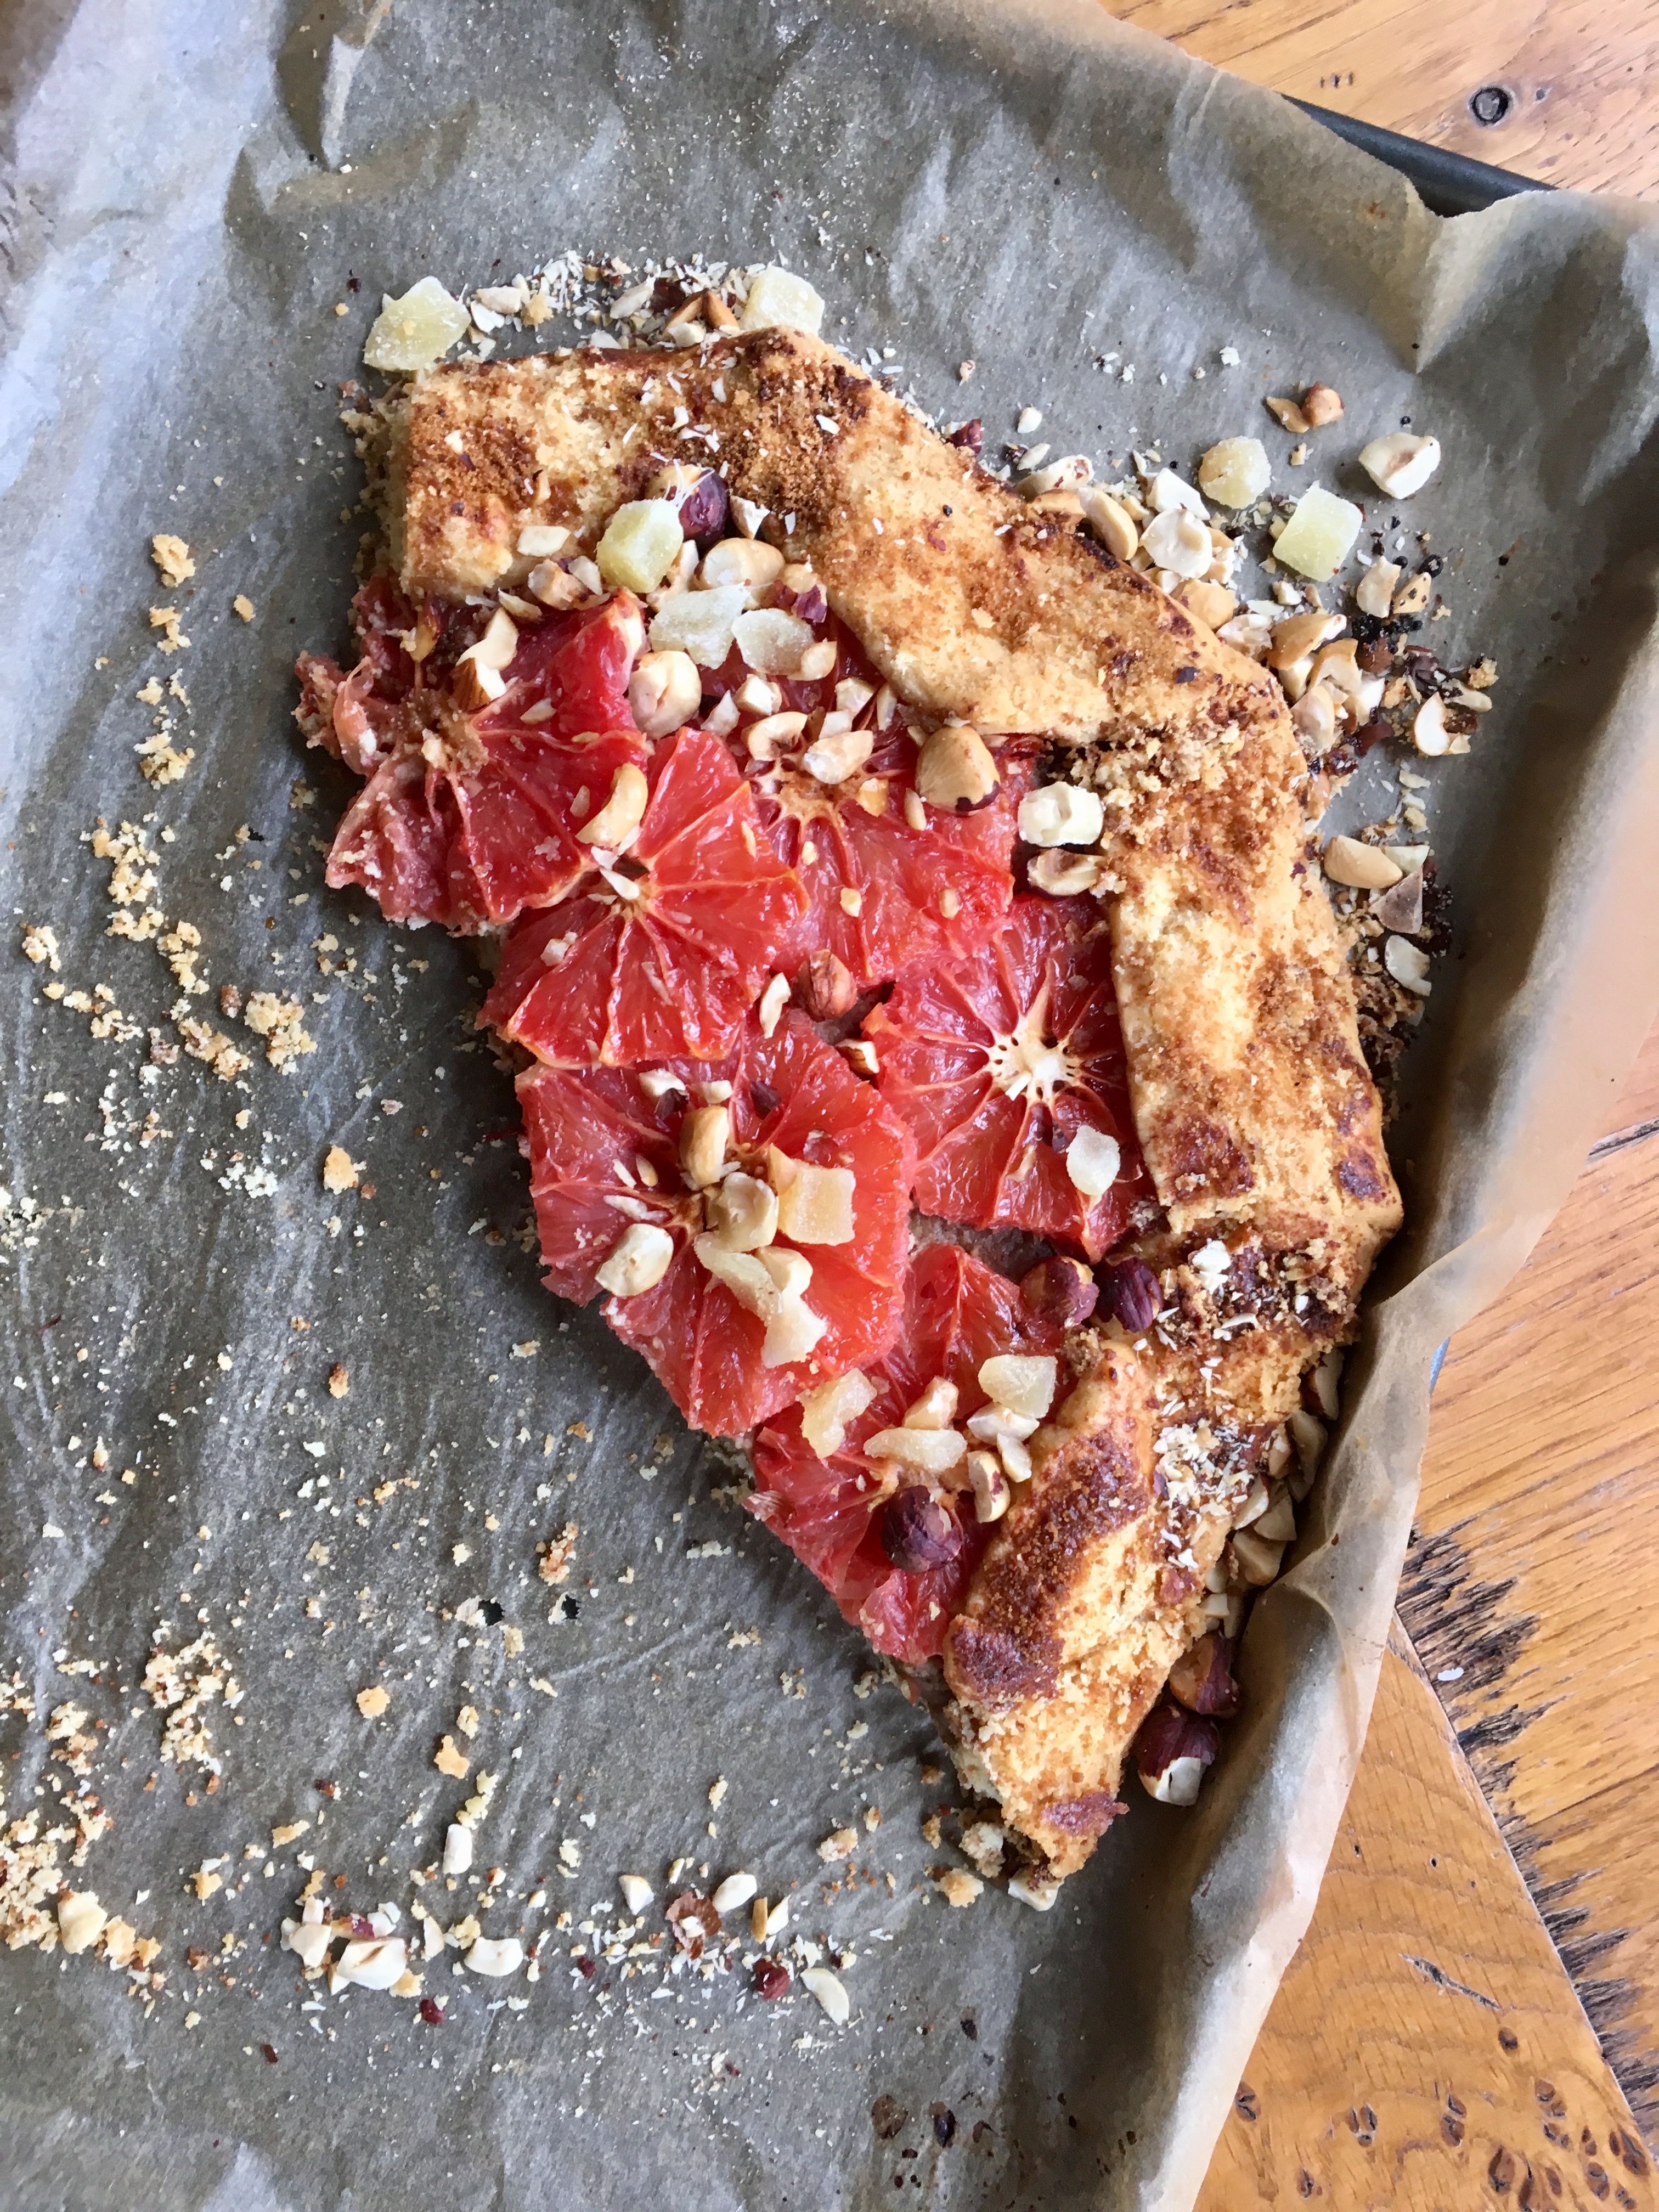
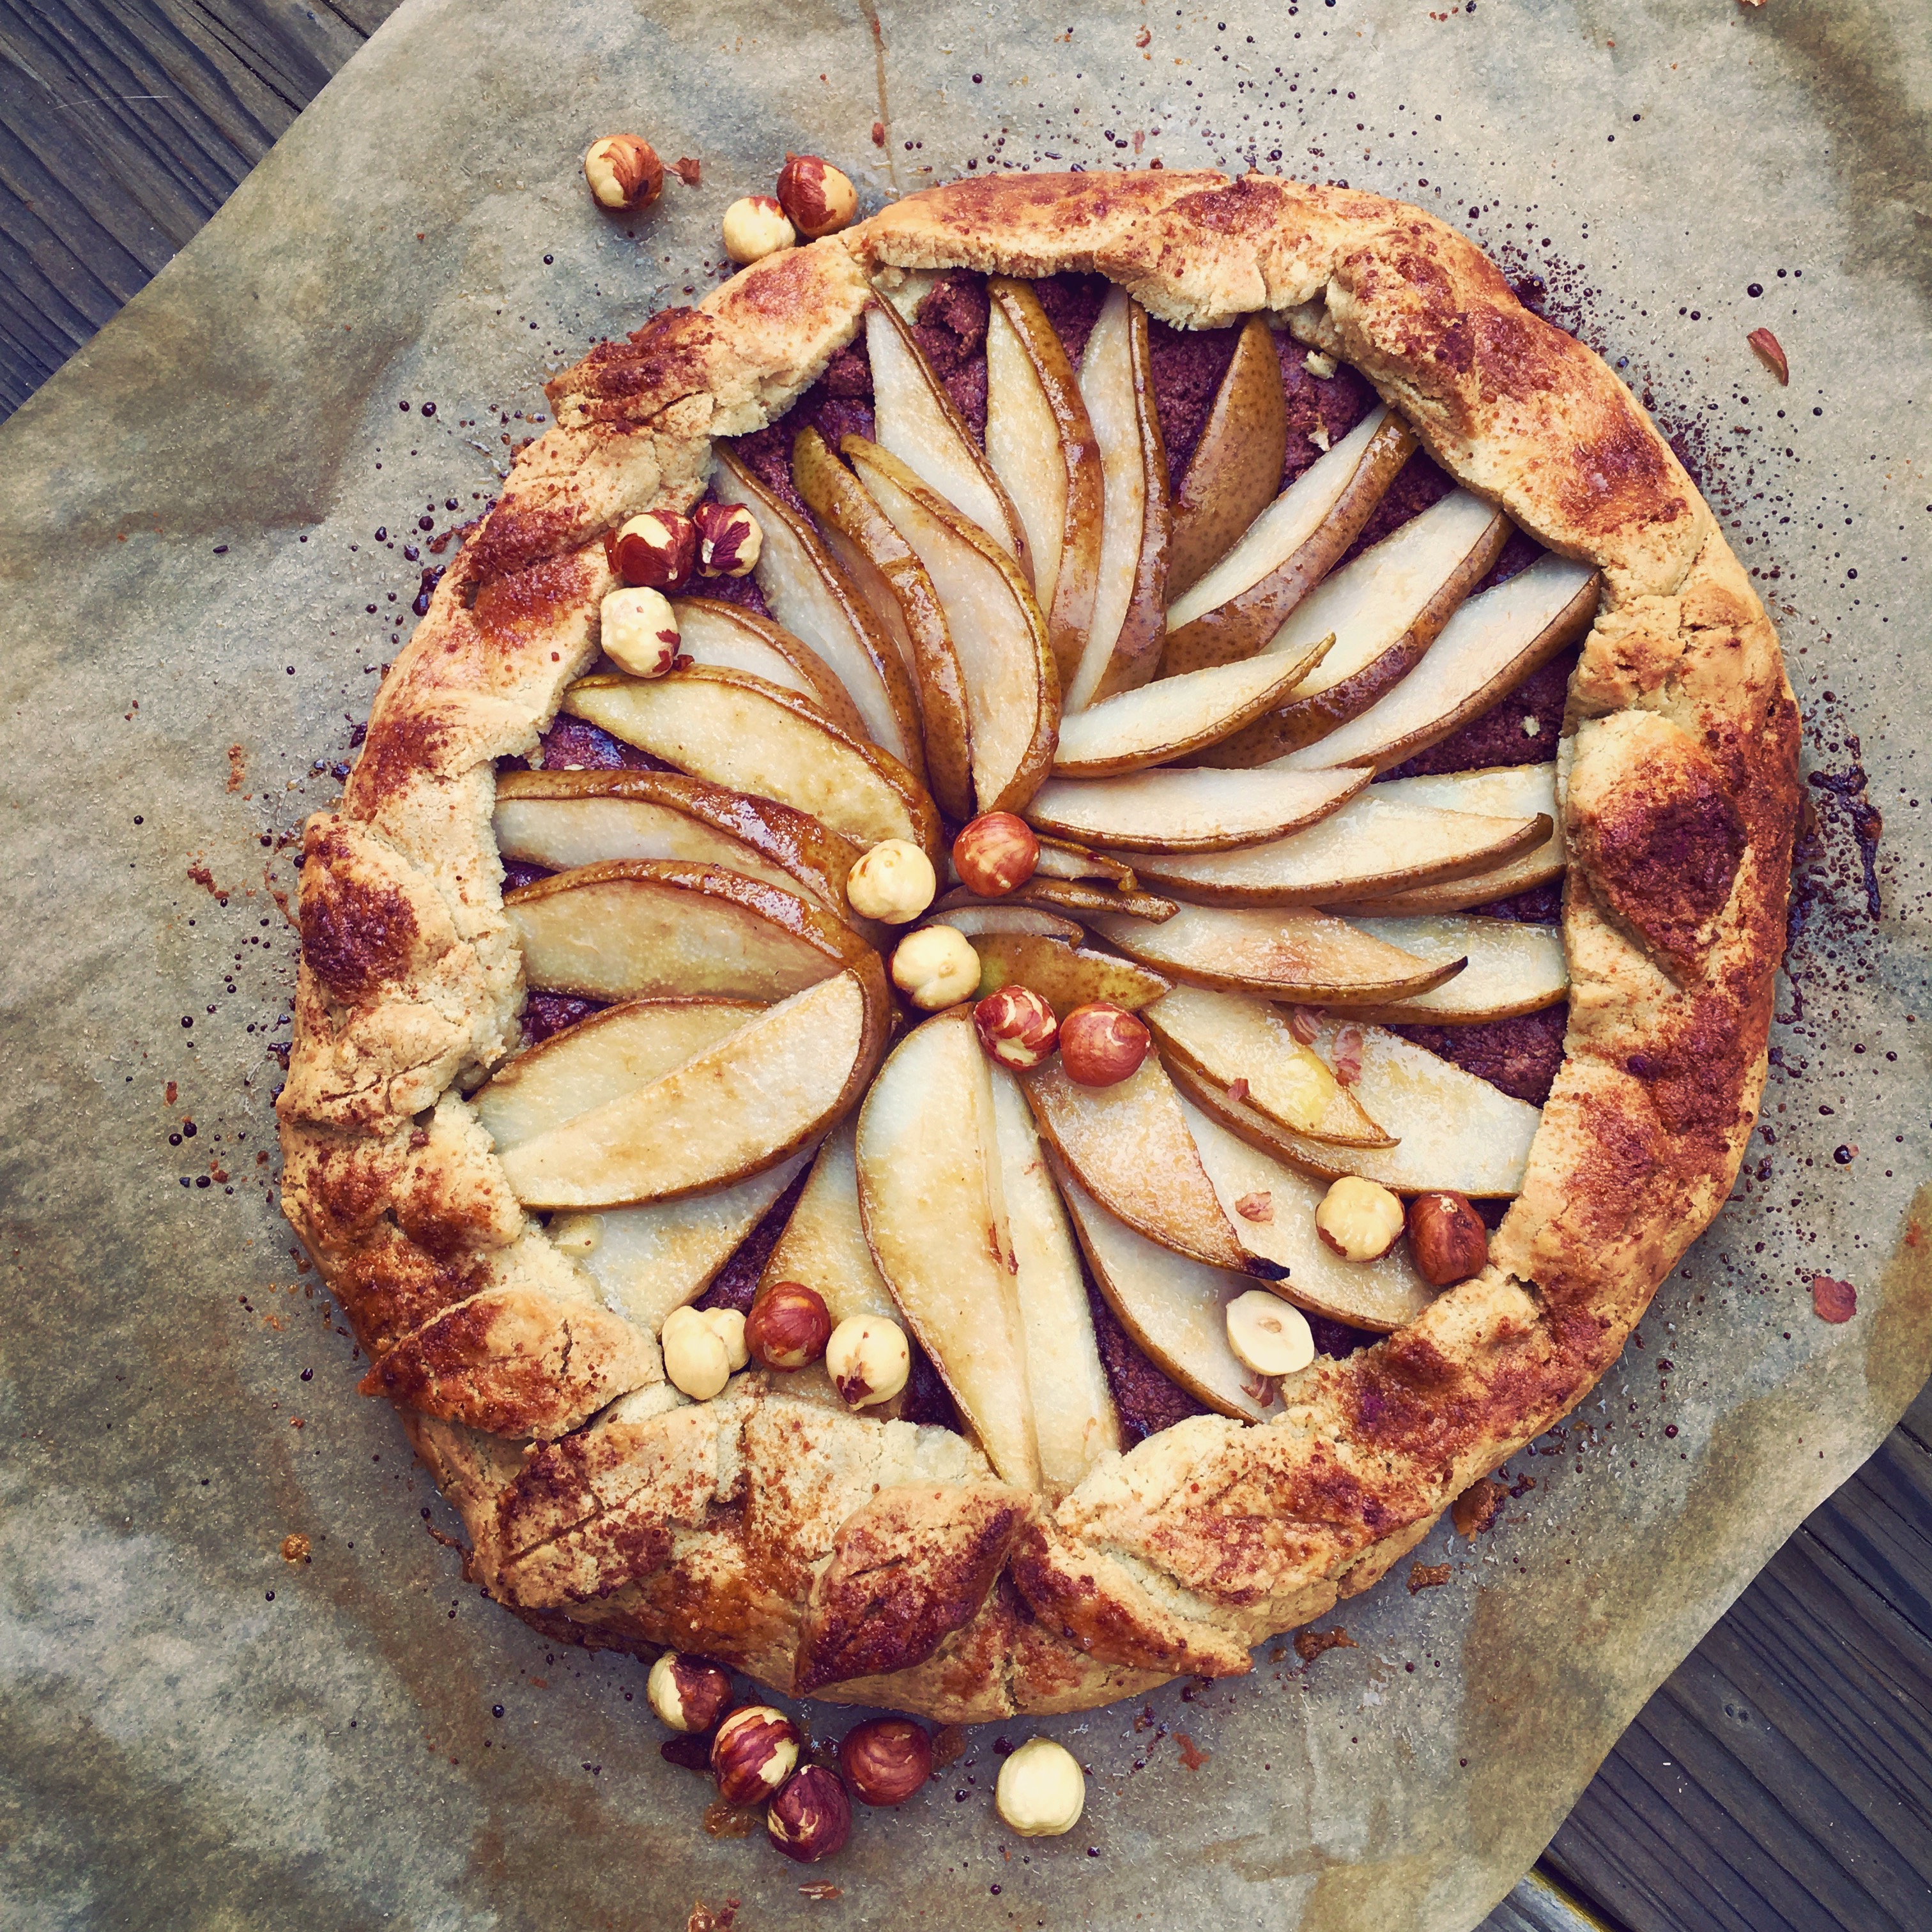
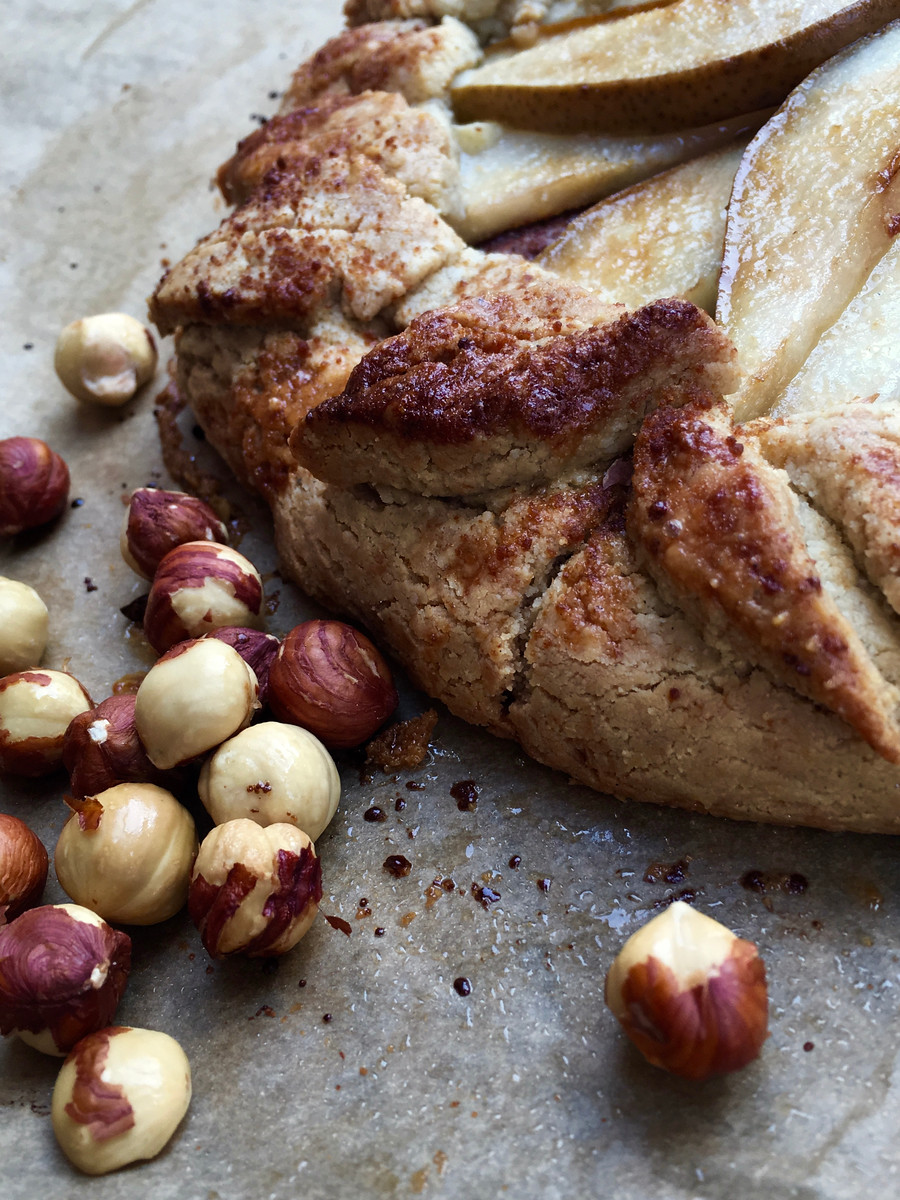
Okay okay back to the bars. Gluten free, refined sugar free and dairy free – easily grain free too, if need be (swap the cornmeal for an equal amount of almond flour, and use tapioca instead of cornstarch). A perfect dessert for this time of year when it seems like citrus is the only fruit that is really shining. Highly suggest the meyer lemon + lime pairing, though all lime or all meyer lemon (or regular lemon) would also be just fine.

Sending happy, sunny citrus vibes from my kitchen to yours!

+ plant. obviously.

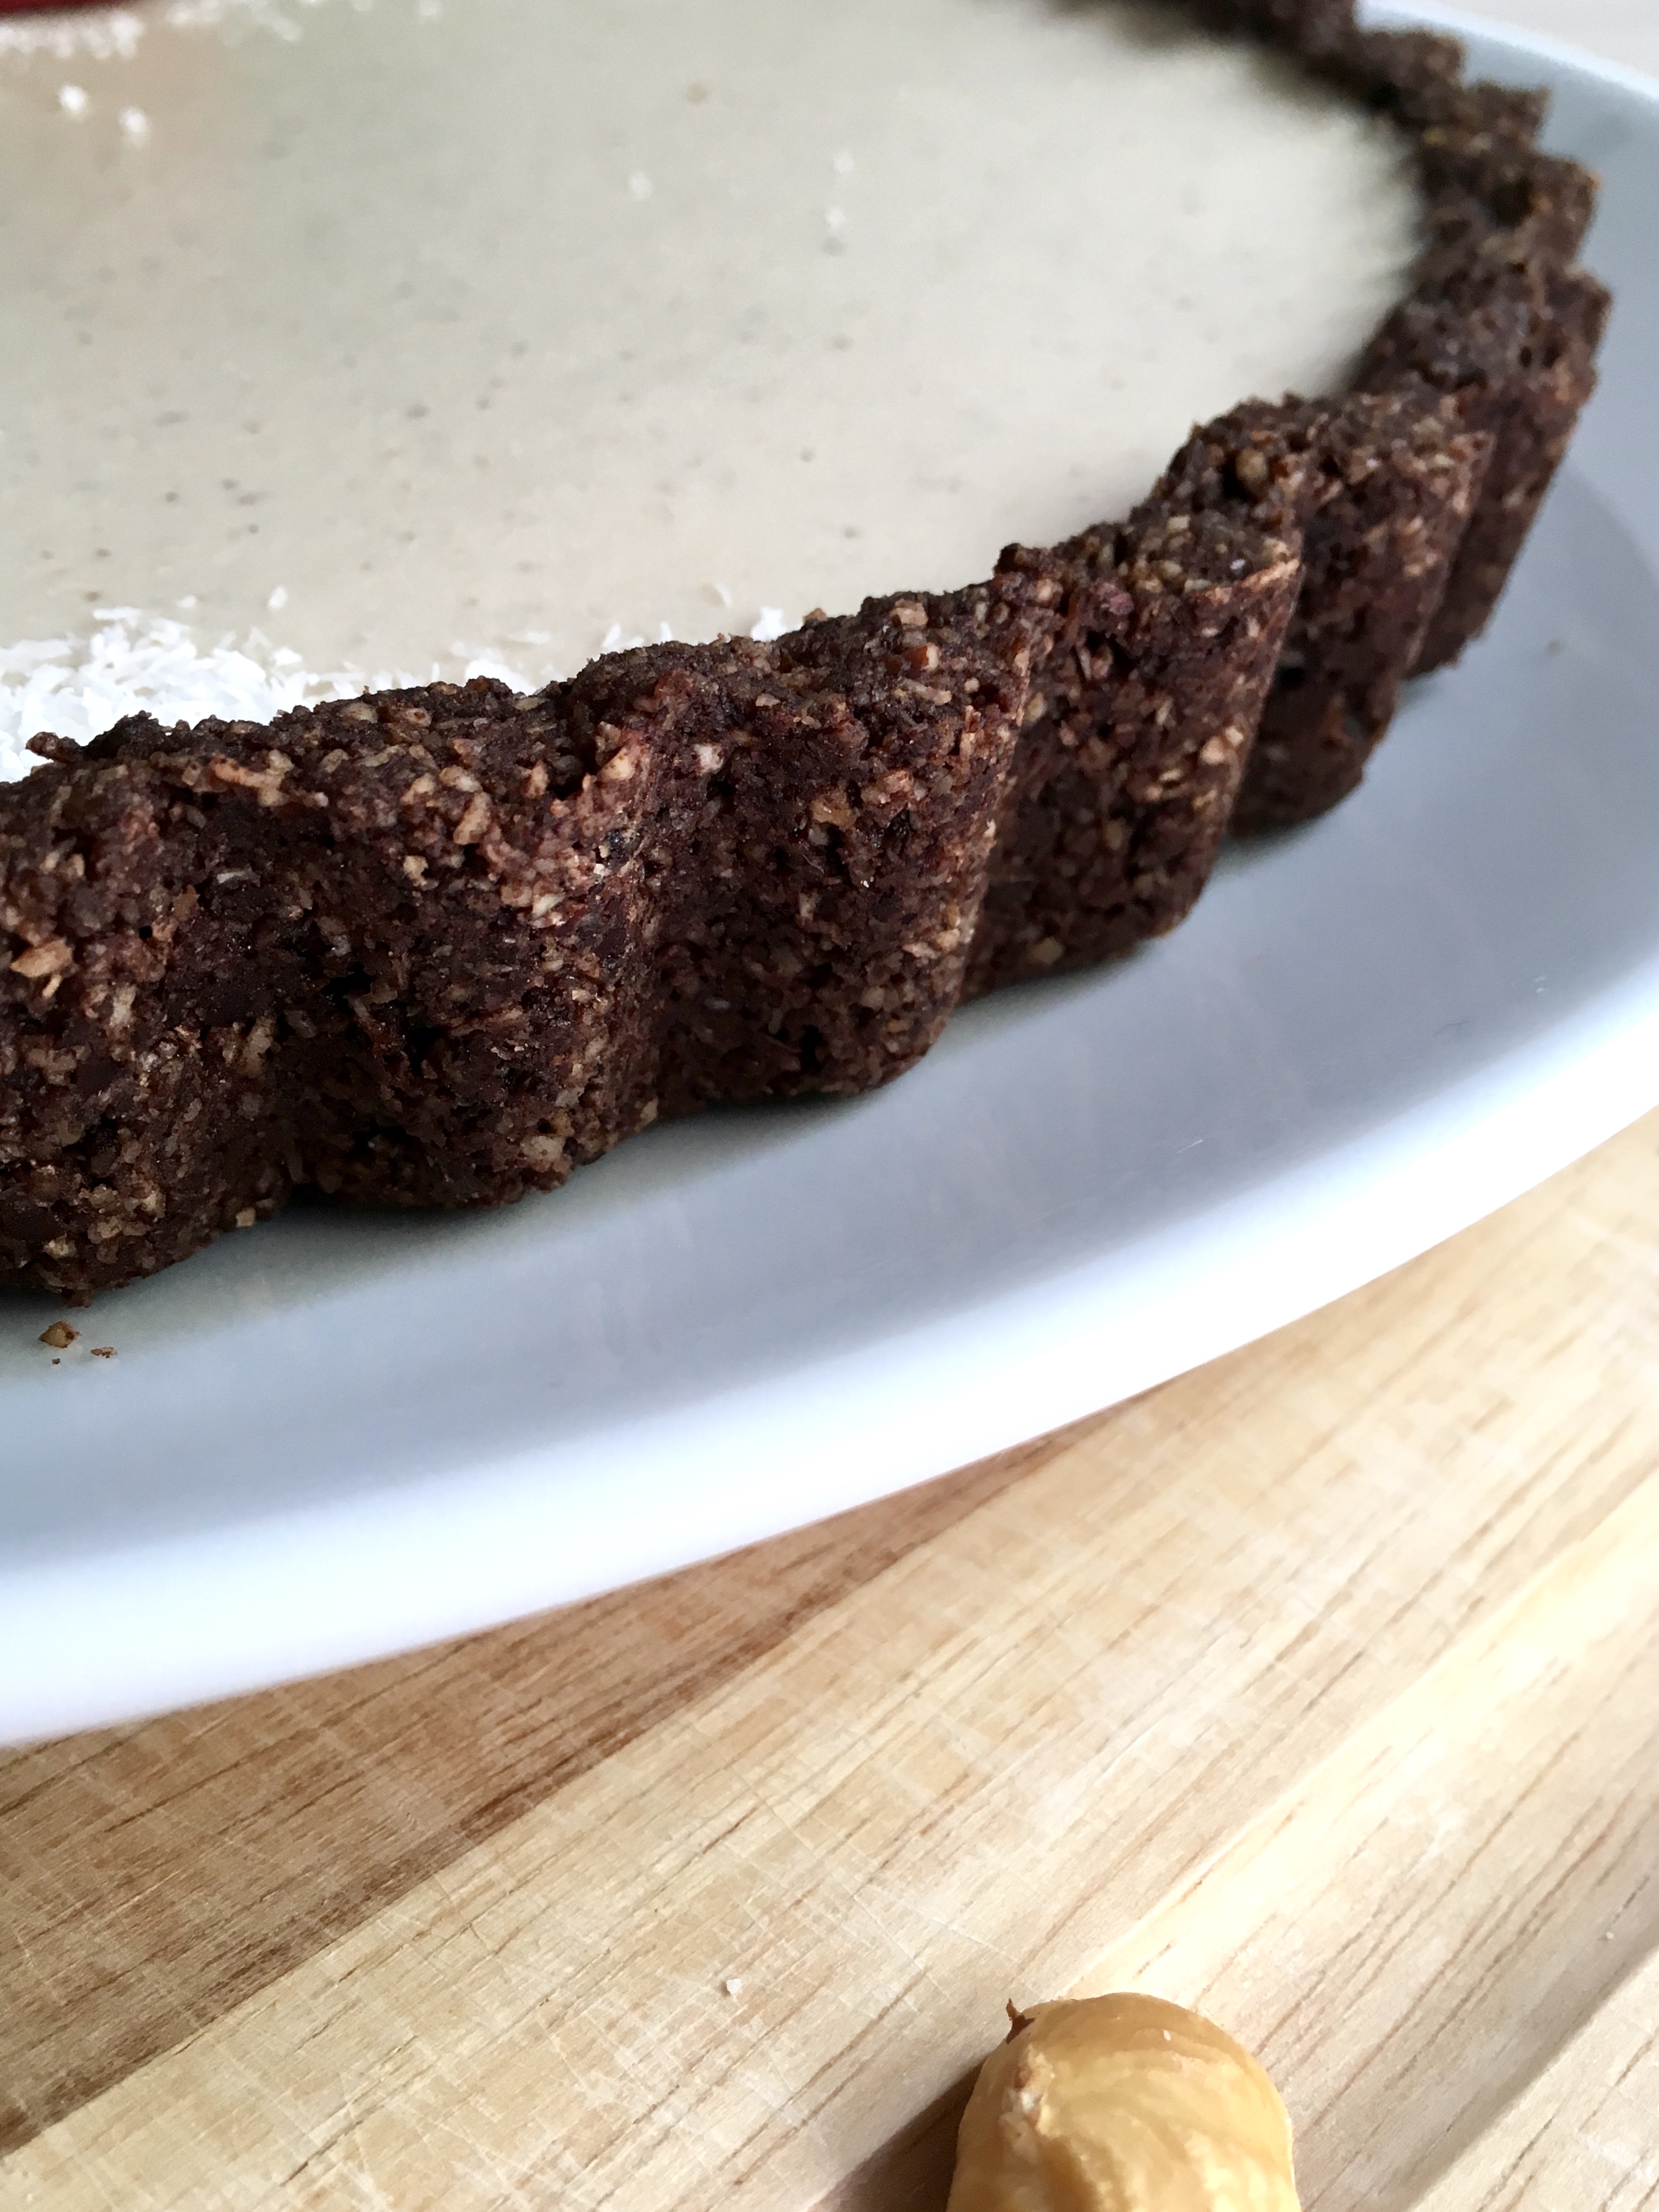
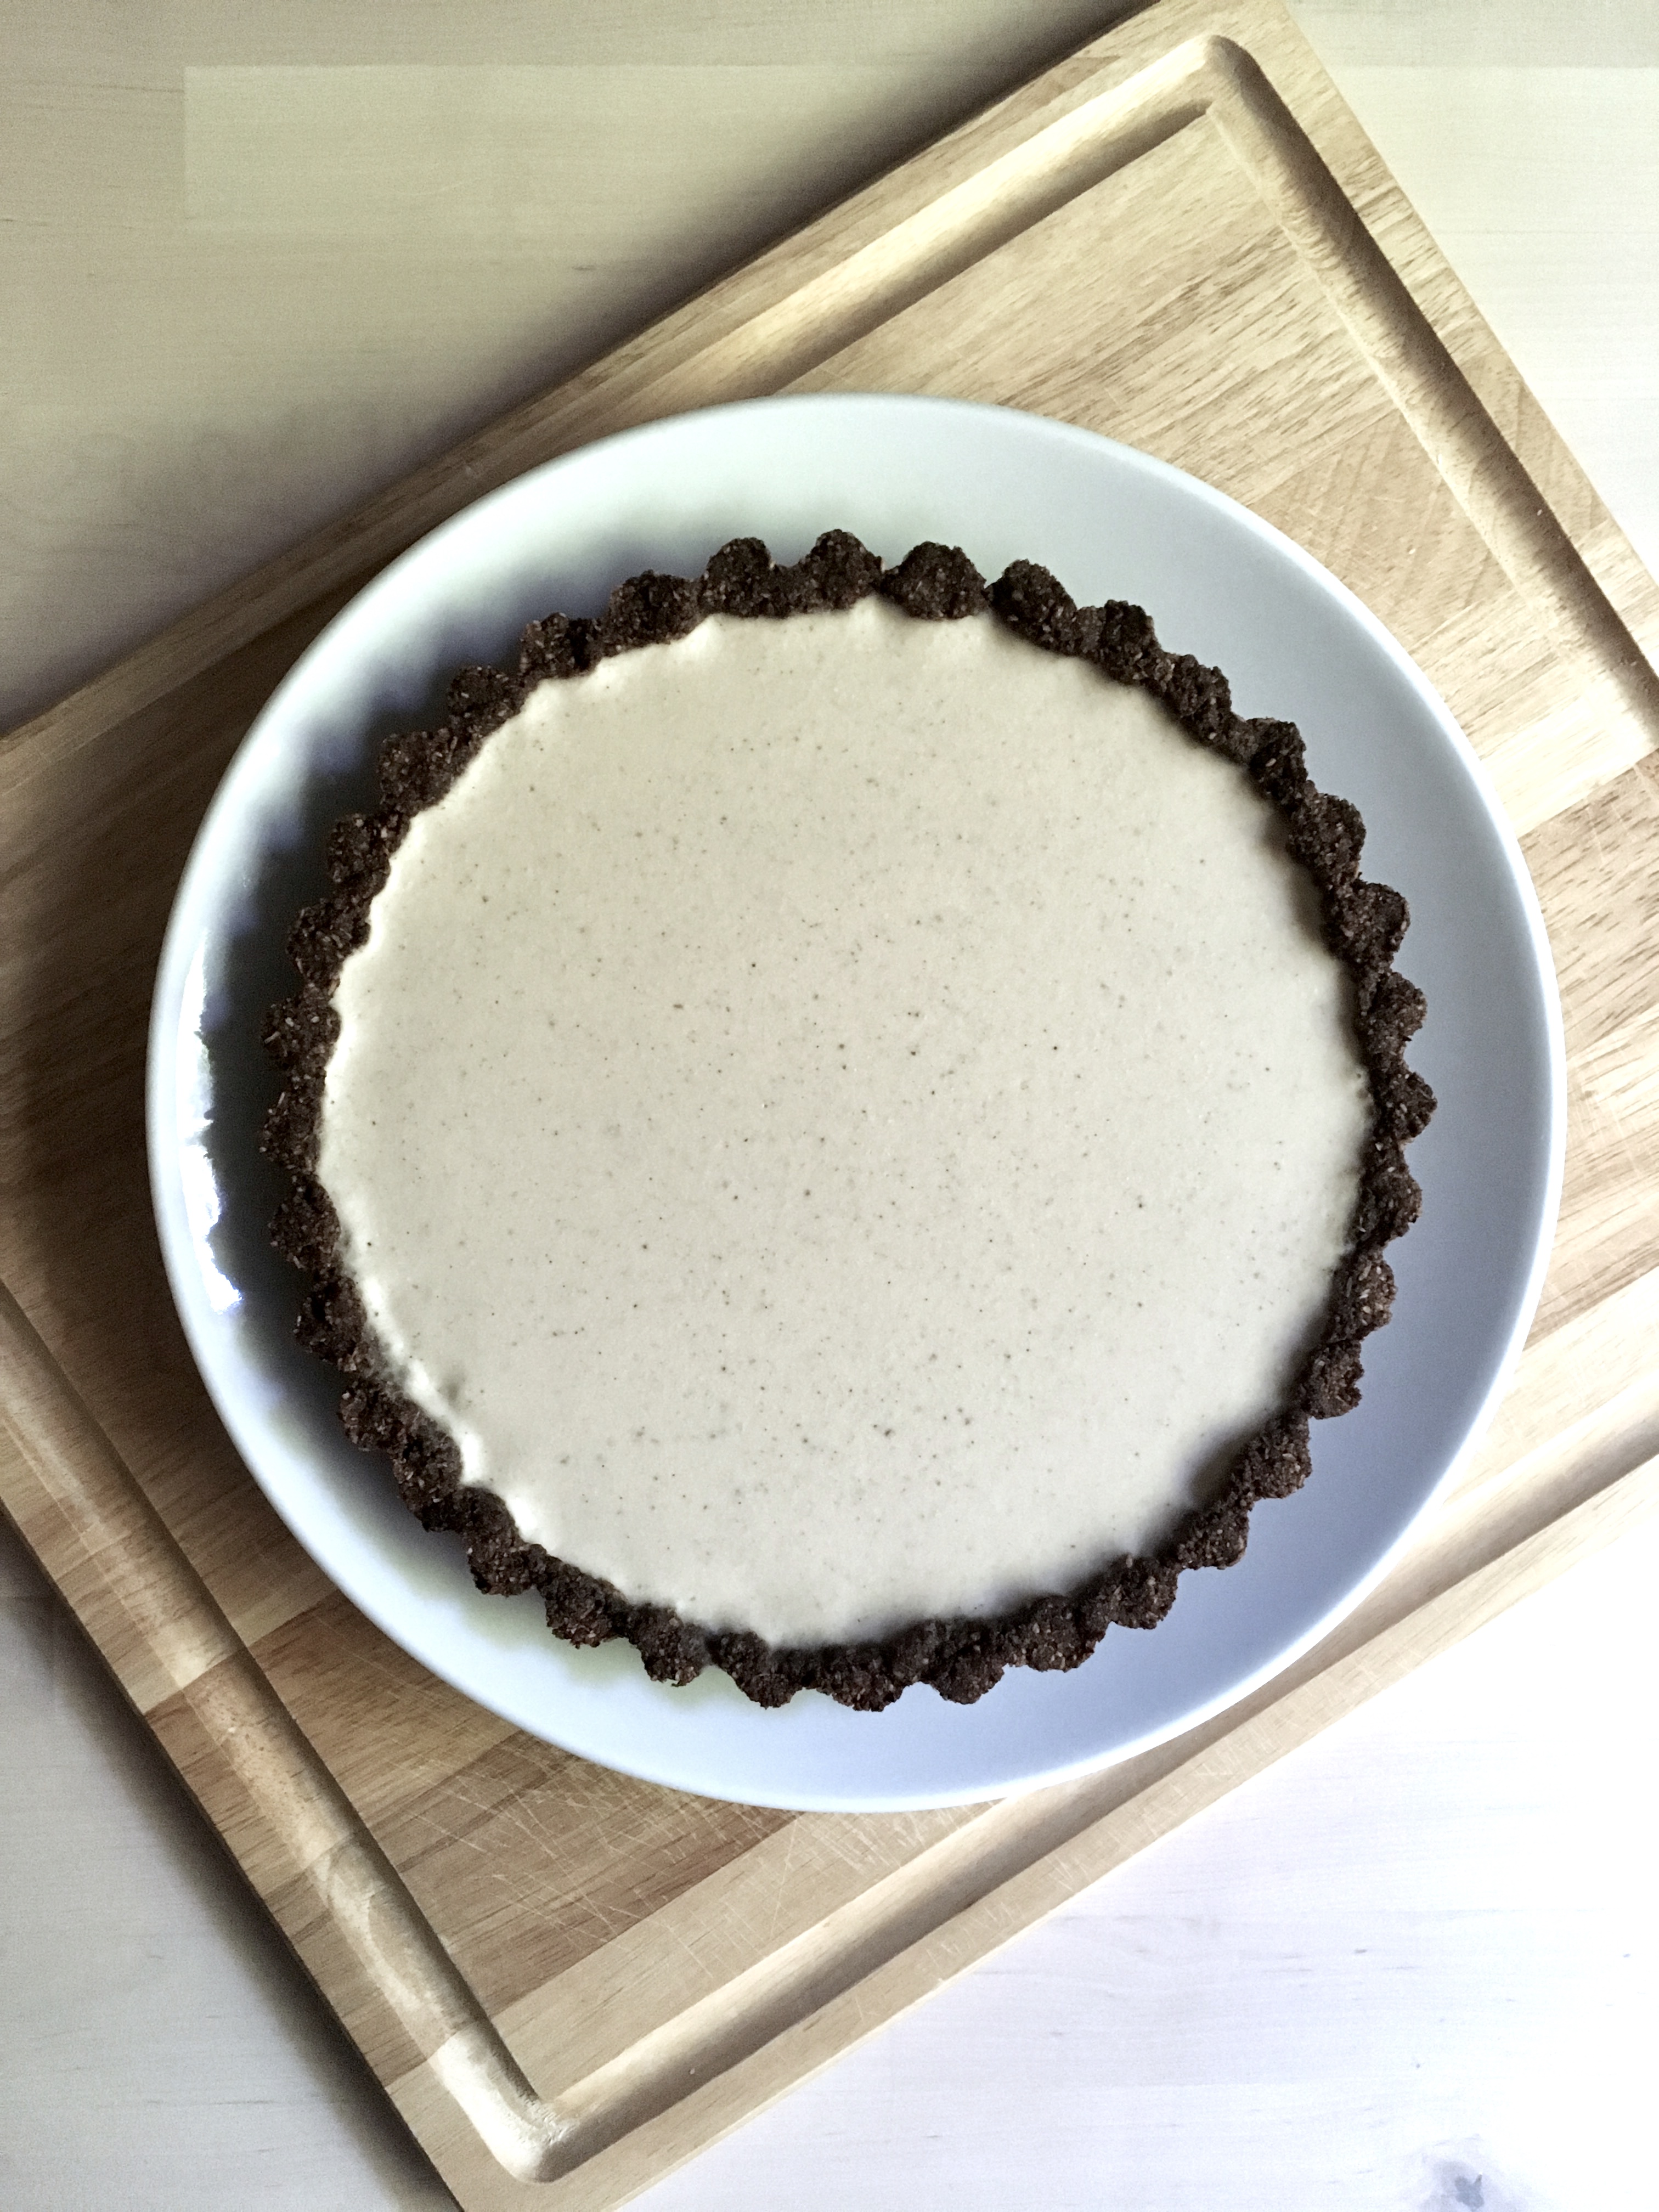
Meyer Lemon and Lime Bars with a Hazelnut Crust

Tart, citrusy and nutty – a perfect dessert or snack. Gluten free, refined sugar free and dairy free. A Wait are those Cookies original. Yield: 1 9″ pan – serves several.

For the crust:

1.5 c almond flour (packed)
1/4 c unsweetened shredded coconut
1/2 c cornmeal
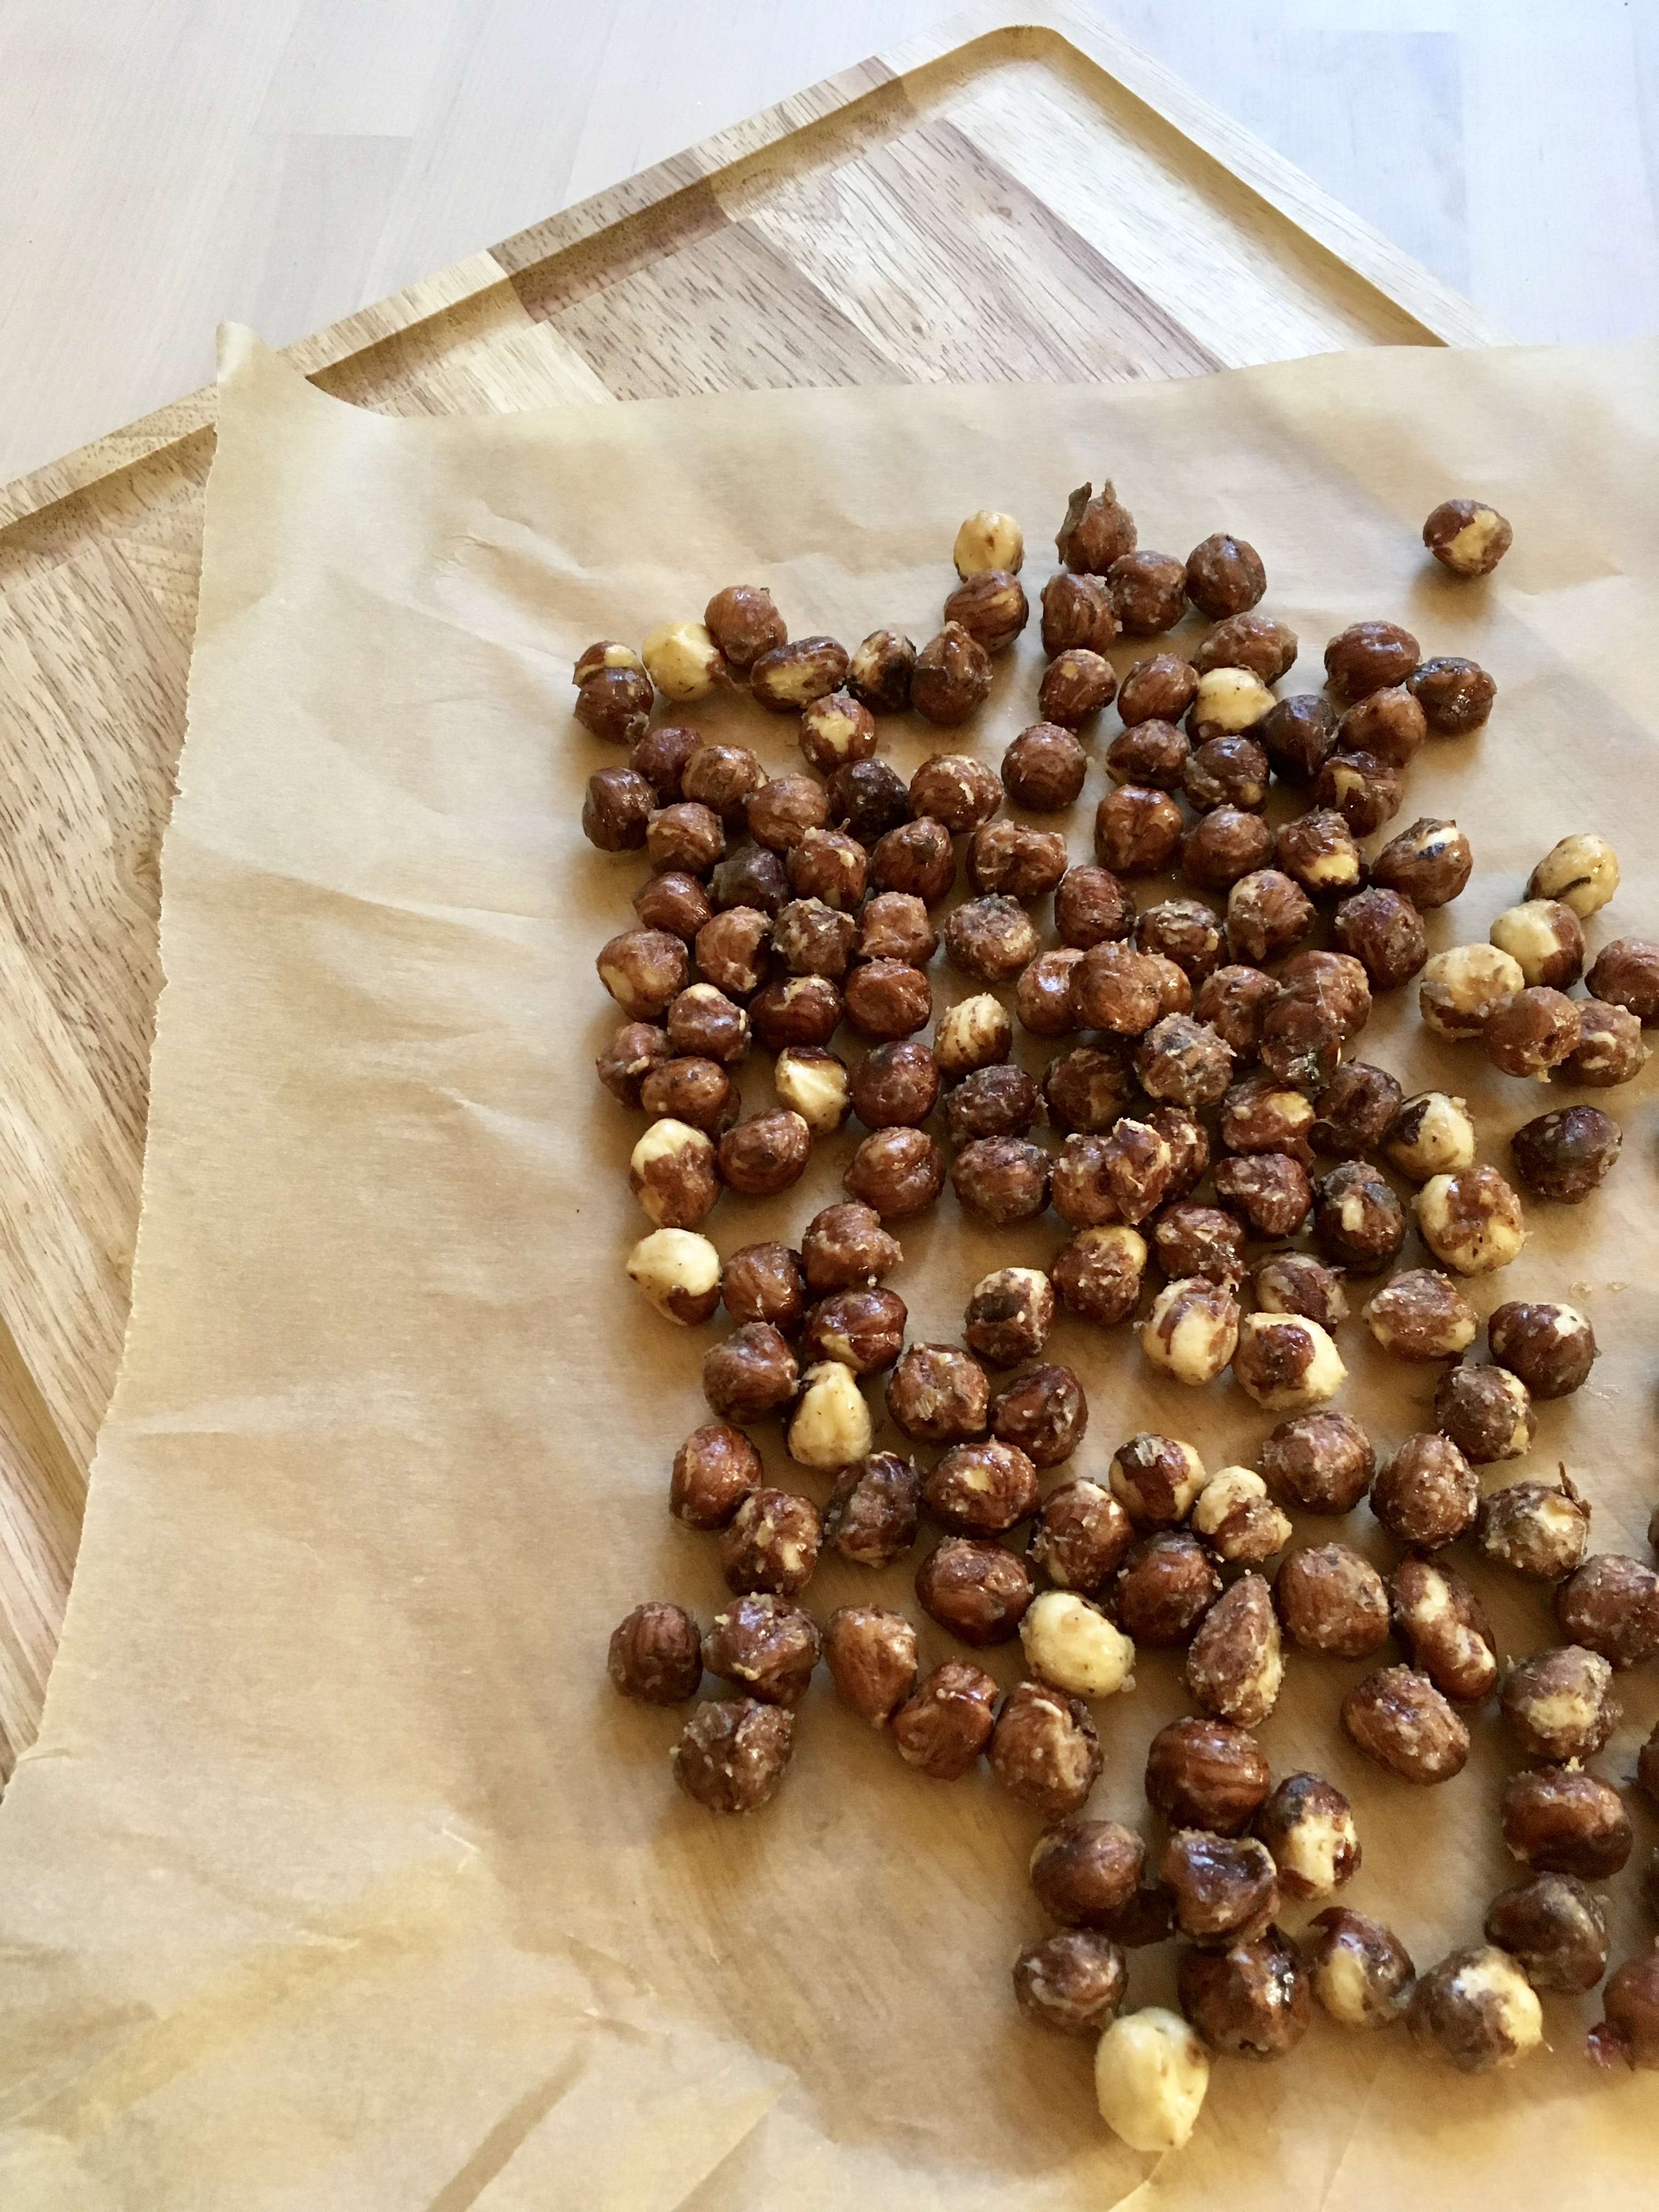
1/3 c hazelnuts, finely chopped
heaping 1/4 tsp sea salt
1/2 tsp baking soda
2 tsp vanilla extract
2 tbsp pure maple syrup
6 tbsp coconut oil, melted

Preheat the oven to 350, and lightly grease a tart pan with coconut oil. I use a 9″ tart pan with a removable bottom, but a deep pie dish or a square 9×9 would also work. You’ll be pouring the filling directly into the hot crust, so plan accordingly.

In a large bowl, stir together almond flour, shredded coconut, cornmeal, chopped hazelnuts, sea salt, and baking soda. Add in vanilla, maple, and melted coconut oil, and stir until completely combined. The dough will look crumbly, but you’ll be able to press it together with your fingers. Press the crust into the plate and up the sides with a spoon or your fingers, creating a smooth edge. Poke the bottom with a fork a few times, and bake for 15 minutes. Remove from oven and lower the oven temp to 325.

For the lemon bar filling:

4 eggs
2/3 fresh citrus juice (I used 6 small meyer lemons + 1 large lime)
1-2 tbsp citrus zest*
1/3 c maple syrup
1 tsp vanilla
2 tbsp cornstarch (or tapioca starch)

*I zested all of my small meyers and half the lime since it was so big. I’d just zest all the citrus you use – waste not, want not! I had just shy of 2 tbsp

While the crust is baking, make the filling. In a large bowl, quickly whisk together eggs, citrus juice and zest, maple, and vanilla until the egg is fully incorporated – there shouldn’t be much (if any) white visible. Whisk in the cornstarch until fully combined. Pour the filling into the hot crust, and stick it back in the oven for 20-25 minutes. The filling should be set; no jiggle when you shake it. Remove and let cool completely before slicing – ideally, chill it for few hours before serving. Leftovers keep well overnight, refrigerated.

Monochromatic & delicious galette

Hi blog friends!

I’ll freely admit I haven’t felt very blog-y lately, probably because I have been moping about having two metatarsal stress fractures in my left foot. Ew, ugh. I’m in a boot for minimum 3 weeks but probably more like four…. I go for a checkup with the podiatrist on Wednesday so we’ll see. Crossing fingers and trying to be so good about staying off it but OY I just wanna run around! At least I can still swim, thankfully. That is fully keeping me sane (plus I have mastered chair cardio with I’m sure looks ridiculous but is actually decently effective.)

sad reality. yes, I was very careful when I got up on the chair

Alright though, enough whining. I got to spend time with my bestie Ashley who came down to visit me from Idaho (hi Ashley!!) and we made up for the four year hiatus by talking pretty much non-stop.

hooray, a drive-able vista point! we drove out here so I could look at something other than my walls for a minute

I also made this monochromatic, toasty fall galette to share with C this weekend; we ate it over a few board games and nearly finished it in under 24 hours. Actually, as I write this, it’s probably completely gone, ha.

I love anything fig, but there’s something about the combo of apples + figs with rye + hazelnut that’s a real winner. I kept going back to trim off slivers. I know it’s not the most colorful thing I’ve ever made, not by a long shot – but it’s delicious, and simple.

I hope all of us have weeks that are like this galette…. full of delicious things, and simple.

Apple & Fig Galette with a Rye & Hazelnut Crust

Whole grain & refined sugar free (the fig jam I use is fruit sweetened, but there’s also so little per serving that I wouldn’t sweat it if it wasn’t) – full of late fall flavor and so simple to throw together. Excellent by itself or with ice cream! A Wait are those Cookies original, riffed on approx 1000 times. Yield: 1 galette, serves 4-6 (or just two, ha)

for the crust*:
1/2 c whole wheat flour
1/2 c dark rye flour
1/4 c cornmeal
1/4 c hazelnut meal
1/2 tsp sea salt
4oz/1 stick of unsalted butter, cubed
1 tsp vanilla
1/2 tsp almond extract
2-3 tbsp ice water

*the rye and hazelnut make this dough a little softer and stickier than straight whole wheat – make sure you roll it between parchment. I found it to be fine to work with immediately after making (ie no need to chill it in a disc before rolling) but if it’s giving you problems, stick it in the fridge for a bit to relax.

In a food processor, pulse together whole wheat flour, rye, cornmeal, hazelnut meal, and sea salt. Add in cubed butter and pulse until it resembled coarse sand. Add vanilla and almond extracts, then the ice water 1 tbsp at a time until the dough starts to come together. Turn it out onto a board and knead it into a ball. I like to roll it immediately since it’s most pliable – typically I haven’t had trouble with this dough sticking. I roll it between two sheets of parchment paper and use the bottom one to bake the galette on; makes an easy transferral method between cookie sheet & cooling rack. If you’re not rolling immediately, stuck it in the fridge on a plate. Can be made ahead the night before if need be – let it sit on the counter for a bit before rolling it out if it’s been refrigerated.

for the fruit:

apples, peeled & thinly sliced (I used three of them – 2 granny smith & one lady alice)
3 tbsp fig jam (I have some fruit sweetened preserves that I like; but anything will work)
1 tbsp half and half or cream, for brushing on the dough
coconut sugar for sprinkling

Preheat the oven to 425. Roll out the dough between two pieces of parchment paper until it’s about 1/4″ thick. Spread the jam in a thin layer over the middle of the dough. Pile the fruit in the center, leaving a border of about 3″. Fold up the sides of the dough over the fruit. Brush the dough with an half and half or cream, and sprinkle with a little coconut sugar. Dot fruit with butter if you like, though it’s not strictly necessary. Pop in the oven and bake for 35-40 minutes, until the crust is lightly browned. Remove to a cooling rack and let cool completely before slicing and serving. Store leftovers in the fridge overnight – it’s great for breakfast :)

More citrus! Shocked? I thought not.

Wow jeez apparently all I make anymore are citrus galettes! We both love them, they’re fast and easy, and citrus is perfect right now.

This week was a little better on the autoimmune front. Not perfect by any stretch of the imagination, but at least better for the moment. I took a sanity break/mental health day on Thursday and C and I went up for a skiing day trip! Super fun, it felt so good to be back on skis. Haven’t done that much driving in a looooong time, but the Prius handled itself admirably in the snow AND a long fun day was followed by a faceplant into a carnitas burrito and a giant plate of nachos. Win win win all around.

I’ve also been swimming in the Bay lately! I LOVE IT. It’s very cold obviously – wet suit necessary – but omg. It feels so good. Maybe I’m just a freak of nature but I really like cold water. I’m not far from Aquatic Park either so it makes for a great lunchtime break.

very red little ice blocks pretending to be feet

I love living in the Bay for that reason: skiing one day, swimming in the bay the next. It is so worth the ridiculous rents… mental health > high rent, always!

hull breach!

But anyway. Back to the topic at hand: galette! Hopefully you’re not sick of seeing yet another iteration of citrus galette…. I swear they’re delicious. This one had a hull breach, as you can see… but I like when they’re less than perfect. I use a jam that is only fruit-sweetened, so this little guy is technically free of added sugars, wooo! It’s also full of whole grains. I posted the link to a gluten/grain free crust too, if needed – I love that one too, it comes together really easily in the food processor.

Happy weekend! I hope yours is full of outside time and sunshine.

Grapefruit, Blueberry & Hazelnut Galette

Refined sugar free and whole grain! If you need a grain and gluten free crust, I like this one. I used two small grapefruit for this – you might be able to get away with one large one and more blueberries. Lightly sweet and perfectly citrusy! Yield: 1 galette, serves several. A Wait are Those Cookies original.

for the crust:

1 c whole wheat flour
1/2 c cornmeal
1/4 c hazelnut flour
1/2 tsp sea salt
4oz/1 stick of unsalted butter, cubed
1 tsp vanilla extract
1/2 tsp almond extract
2-3 tbsp ice water

In a food processor, pulse together whole wheat flour, cornmeal, hazelnut flour, and sea salt. Add in cubed butter and pulse until it resembles coarse sand. Add vanilla & almond extract, and then the ice water. I typically add three tbsp water, pulse a few times, then add more if need be, 1tbsp at a time, stopping just when the dough starts to come together. Turn it out onto a board and knead it into a ball. I like to roll it immediately since it’s most pliable – typically I haven’t had trouble with this dough sticking or cracking if rolled immediately. I roll it between two sheets of parchment paper and use the bottom one to bake the galette on; makes an easy transferral method between cookie sheet & cooling rack. If you’re not rolling immediately, stick it in the fridge on a plate. Can be made ahead the night before if need be. If you are rolling immediately, roll it out into a circle about 1/4″ thick.

for the filling:

2 grapefruits, peeled & sliced crossways
1/2 c wild blueberries (mine were frozen; no need to thaw)
2 tbsp apricot jam (I use St. Dalfour’s, which has no added sugar – just fruit juice)
milk/half and half for brushing

Preheat the oven to 425. Spread the apricot jam over the middle of the dough, leaving a 1″ border, then pile on the sliced grapefruit and blueberries. Fold up the sides of the dough over the fruit. Brush the dough with milk or half and half. Pop in the oven and bake for 30-35 minutes, until the crust is lightly browned. Remove to a cooling rack and let cool completely before slicing and serving. Store leftovers in the fridge overnight – it’s great for breakfast :)

Nuts about you

fullsizeoutput_2449

Hi friends!

fullsizeoutput_244f

I have a nutty, spring-y dessert for you this weekend, perfect for Easter or whatever reason you need dessert (or no reason at all, even better).

fullsizeoutput_244c

I get to do some awesome hiking in Marin today – I’m sure there will be pictures later! For now, I’ll leave you with tart & wisteria, since it’s gone bonkers over here. I LOVE wisteria – I know it’s not great to have it grow on houses, but it just looks so spectacular.

IMG_1199

This tart is awesome! Not to toot my own horn or anything, but the whole grapefruit – tahini – coconut – chocolate – hazelnut combination is quite rad, if I do say so myself. To be fair, everyone else who ate it (the fave human & parentals) agree, so it’s not just me.

fullsizeoutput_2447

It’s also grain & gluten free, dairy free, refined sugar free, and paleo! So if you’ve got a gathering of peeps who have varying dietary needs, it’s perfect – light, springy & delicious.

As usual, perfect for pre & post hike snacking, dessert, breakfast, brunch, and everything in between (which is how we ate it!)

fullsizeoutput_2450

I’m on dessert duty for Passover & Easter next weekend for a few peeps, but I don’t think I’ll be making anything new – looks like it’s be a repeat of some old faves. Most likely I won’t put up a new post, so I’ll just see you guys in a couple of weeks :)

fullsizeoutput_244d

I hope you’re out enjoying the beautiful spring weather, wherever you are! California is really doing it right and I’m about to get outside for the rest of the day. Yay! Happy weekending!

fullsizeoutput_2447

fullsizeoutput_244a

Tahini Grapefruit Panna Cotta Tart with a Hazelnut Chocolate Crust

Grain free, gluten free, refined sugar free & dairy free – paleo too! Perfect for a dessert to feed an Easter crowd, if that’s your jam. Very lightly sweet, with hints of citrus and just enough chocolate to satisfy. Yield: 1 9″ tart; serves several. A Wait are those Cookies original.

For the crust:

1.75 c hazelnut flour
1/3 c unsweetened cacao powder
1/4 c unsweetened shredded coconut
heaping 1/4 tsp sea salt
1/2 tsp baking soda
2 tsp vanilla extract
2 tbsp pure maple syrup
6 tbsp coconut oil, melted
1/4 c dark chocolate, melted

In a large bowl, stir together almond flour, cacao powder, coconut, sea salt, and baking soda. Add in vanilla, maple, and melted coconut oil and stir until completely combined. The dough will look crumbly, but you’ll be able to press it together with your fingers.

Preheat the oven to 350, and lightly grease a pie plate with coconut oil. Press the crust into the plate and up the sides with a spoon or your fingers, creating a smooth edge (or not, your call!). Poke the bottom with a fork a few times, and bake for 15 minutes.

Let cool for a few, then pour the melted chocolate into the bottom of the tart shell and use a spoon or a brush to smooth it out. Let cool completely to set the chocolate.

For the panna cotta:

1 package unflavored powdered gelatin
1/4 c grapefruit juice
1.5 cup full-fat coconut milk
1.5 tbsp vanilla bean paste
1/4 c tahini
scant 1/4 cup maple
Scant 1/4 tsp sea salt

For garnish: sliced grapefruits + toasted hazelnuts & coconut

In a small bowl, sprinkle the gelatin over the grapefruit juice. Let stand without stirring until the gelatin is moistened, about 10 minutes.

Pour the 1.5 cups of coconut milk into a small saucepan. Add vanilla, tahini, maple, and salt into it. Bring to a simmer over medium heat, stirring consistently. Remove from the heat. Add the gelatin mixture and stir until completely dissolved, about 3 minutes. Cool until lukewarm, about 5 minutes. Pour the panna cotta mixture into the cooled tart shell. Place in the refrigerator until set, approximately 4 hours. Top with sliced grapefruits, toasted hazelnuts & coconut.

Store in the fridge – keeps well overnight and is EXCELLENT for breakfast the next morning :)

fullsizeoutput_2438

fullsizeoutput_2446

Messy delicious

fullsizeoutput_2272

Hello!

fullsizeoutput_226f

Happy weekend :)

It’s raining again which I’m sure is driving everyone else crazy, but I love it… I’ve always loved the rain, but within the last year I’ve noticed that bizarrely enough my autoimmune symptoms calm down in the rain, so I have another reason to love it.

fullsizeoutput_225f

I have galette for you today! The last week FLEW by, but luckily I had stopped at the market for oranges earlier in the week, with an eye towards making this over the weekend.

fullsizeoutput_226d

I LOVE how beautiful blood oranges are – they are like natures equivalent of stained glass! It’s so fun to slice one open and see the color gradient – my art history side comes out in spades around them! Besides that, they are of course delicious.

fullsizeoutput_2272

It did the usual double duty for dessert+ice cream and then breakfast the next morning! C and I ate it post-climbing, and I have to say it makes a great snack.

IMG_0496

I forgot my laptop charger at work on Friday like a dummy so I’m trying to limp my laptop through the weekend… this will probably be a short post on account of that!

fullsizeoutput_2279

I hope you have something fun lined up this weekend – galette maybe?! :)

fullsizeoutput_2269

Blood Orange, Hazelnut & Chocolate Galette

Gluten free, grain free, refined sugar free & arguably paleo. Lightly sweet from the oranges, with a hit of dark chocolate that doesn’t put you in a coma! Great for dessert with ice cream or on its own for breakfast. A Wait are Those Cookies original! Yield: 1 galette; serves several.

For the galette dough:

1.5 c almond flour (not meal; you want the finer flour variety)
1/2 c tapioca flour
1/4 c unsweetened cacao powder
1/4 tsp fine sea salt
6 tbsp salted butter, chopped (or ghee)
1 egg
1 tbsp vanilla extract

In a food processor or high-power blender (I used a food processor), pulse almond flour, tapioca starch, salt, and butter to combine until it looks like coarse meal. Add in egg and vanilla extract and pulse just until combined. Turn out onto a piece of plastic wrap, shape into a disk and chill in the fridge for at least an hour, or up to overnight.

For the filling:

1/4c dark chocolate, melted
1/2 c hazelnut meal
2 tbsp maple
1 tbsp vanilla
2 blood oranges, peels removed & sliced
2 cara cara oranges, peel removed & sliced
Coconut sugar for sprinkling

In a food processor, combine hazelnut meal, melted dark chocolate, maple and vanilla. I leave mine pretty chunky/coarse, as opposed to making nut butter – but either one is fine. Set aside.

Once the dough has chilled, preheat the oven to 375. Roll out the dough between two pieces of parchment paper, keeping the circle to about 1/4″ thickness. Peel off the top piece of parchment, and slide the rolled out dough on its parchment onto a baking sheet. Top with the dark chocolate – hazelnut mix, spreading it carefully in order to not rip or crack the dough. Add the sliced oranges. Begin folding up the sides, creasing them together as you go – if the dough rips, that’s okay (you can crimp the cracks back together; remember: galettes are forgiving and rustic!); you can use the bottom piece of parchment to help fold up the sides. Sprinkle dough with a little coconut sugar and press the sides with sliced almonds if you want! Bake for 35-40 minutes until edges are golden brown — mine came out just fine at 35 minutes, so check accordingly.

Let cool for a few minutes on the baking sheet, then carefully slide the whole galette onto a cooling rack to let it cool completely. Serve with your fave ice cream or whatever of choice! Keeps well covered in foil on the counter.

fullsizeoutput_2274

The Queen of Citrus

fullsizeoutput_21b9

Hello! I have a big mess of galette for you today.

fullsizeoutput_21b1

Slight change of plan – vacation got rescheduled to March, so I am back with more dessert sooner than I thought I would be! I don’t think anyone was mad about that…

fullsizeoutput_21ad

Grapefruit and hazelnut for you today: as C put it, grapefruit is the queen of flavors! I’d be inclined to agree; it’s high up there on my list of faves. I really love it with hazelnut, too. This galette disappeared in literally two sittings (granted, we went to the gym before the second one so – warranted!) but it’s quite light and makes a great breakfast. This is definitely NOT a dessert that will weigh you down after one slice.

fullsizeoutput_21b6

fullsizeoutput_21b5

C and I went skiing! Such a great time – several gorgeous days spent up at my beloved Kirkwood, which of course means I’m also right near camp – I can never stay away from camp for too long! See photo evidence below…

IMG_0211

fullsizeoutput_215c

fullsizeoutput_219d

fullsizeoutput_217f

fullsizeoutput_2185

Anyway, galette. I whipped this one up on short notice – though it sounds complicated, it’s really quite simple & quick to make. The dough and the hazelnut filling are made in the food processor, and all that’s left is to slice the grapefruits & bake! It’s quick, I promise; and well worth it for the delicious factor.

fullsizeoutput_21af

Happy weekend!

fullsizeoutput_21b0

Grapefruit, Hazelnut & Ginger Galette

Grain free, gluten free, and refined sugar free. Tart, nutty, and simple – this comes together super fast. A Wait are Those Cookies original. Yield: 1 galette, serves 3-6 (or in our case, two very hungry humans over two sittings!)

fullsizeoutput_21b8

For the galette dough:

1.5 c almond flour (not meal; you want the finer flour variety)
1/2 c tapioca flour
1/4 tsp fine sea salt
6 tbsp salted butter, chopped (or ghee)
1 egg
1 tbsp vanilla extract

In a food processor or high-power blender (I used a food processor), pulse almond flour, tapioca starch, salt, and butter to combine until it looks like coarse meal. Add in egg and vanilla extract and pulse just until combined. Turn out onto a piece of plastic wrap, shape into a disk and chill in the fridge for at least an hour, or up to overnight.

For the hazelnut filling:
1 heaping cup roasted hazelnuts
1 tbsp maple syrup
1 tbsp vanilla
pinch of sea salt

Grind the hazelnuts in a food processor until they begin to resemble nut butter – I keep mine on the coarser side, but that’s up to you. Add in maple, vanilla & salt and pulse to combine.

For galette assembly:
2 grapefruits, sliced (I cut the peel off the whole thing and then slice)
1 egg, beaten
coconut sugar to sprinkle
chopped hazelnuts
crystallized ginger, optional

Once the dough has chilled, preheat the oven to 375. Roll out the dough between two pieces of parchment paper, keeping the circle to about 1/4″ thickness. Peel off the top piece of parchment, and slide the rolled out dough on its parchment onto a baking sheet. Top with the hazelnut filling, spreading it carefully in order to not rip or crack the dough. Add the sliced grapefruits and chopped hazelnuts. Begin folding up the sides, creasing them together as you go – if the dough rips, that’s okay (you can crimp the cracks back together; remember: galettes are forgiving and rustic!); you can use the bottom piece of parchment to help fold up the sides. Brush the dough with egg wash, and sprinkle with a little coconut sugar. Bake for 35-40 minutes until edges are golden brown — mine came out just fine at 35 minutes, so check accordingly.

Let cool for a few minutes on the baking sheet, then carefully slide the whole galette onto a cooling rack to let it cool completely. Top with crystallized ginger if desired, and extra chopped hazelnuts. Serve with your fave ice cream or whatever of choice! Keeps well covered in foil on the counter.

fullsizeoutput_21b3

Rhubarb, irises & other pretty spring things

IMG_3014

Hello there!

fullsizeoutput_1586

More rhubarb today – we both love it so it’s an easy pick. I always grab it when I see it in the market – you can guarantee I always have some frozen around this time of year… the season is short enough that I get antsy! Ha.

fullsizeoutput_1566

fullsizeoutput_157f

This crisp is jammy and delicious underneath but crispy and nutty up top – it comes together in a snap and is so delicious. As always, it works so well both for breakfast and dessert! I love it with ice cream for dessert, of course, but there is something extra delicious about having it for breakfast too.

fullsizeoutput_1574

fullsizeoutput_158b

In other news, spring has definitely sprung – I love irises, they are one of my favorites.

IMG_3011

IMG_3008

Keeping it short and sweet today… happy baking!

fullsizeoutput_1584

fullsizeoutput_1588

Hazelnut Crisp with Rhubarb, Raspberry and Ginger

Gluten free and refined sugar free. Perfect for the spring when rhubarb is at the peak of its season. This is fruity and light – great for both breakfast and dinner! I use my 2 quart square 8×8″ baking dish – could also use a deep 9″ pie dish or a casserole of your choice – whatever is deep enough to hold fruit and crispy topping! Serves: 2 for dessert and breakfast the next day or… less greedily… probably 4-7 :) A Wait are Those Cookies original.

fullsizeoutput_157d

For the filling: 

  • 4 c rhubarb, chopped*
  • 1 c raspberries*
  • 1/4 c candied ginger, chopped
  • scant 1/4 c maple syrup
  • zest of 1 meyer lemon
  • juice of 1 meyer lemon (or regular)
  • ¼ cup port (or water)
  • 2 teaspoons arrowroot starch 

*I just approximate; I use however many it takes to fill my 2 quart, 8×8 baking dish
*I baked straight from frozen; fresh would also be fine

For the crisp: 

  • 1 cup old-fashioned oats (use certified gluten-free oats for a gluten-free crisp)
  • ½ cup firmly packed hazelnut meal
  • ½ cup chopped hazelnuts  
  • 1/4 c unsweetened shredded coconut 
  • scant 1/4 c maple (or coconut) sugar 
  • ¼ teaspoon fine sea salt
  • 2 tsp vanilla extract 
  • 4 tablespoons unsalted butter, melted
  • ¼ cup plain whole milk Greek yogurt 

Preheat the oven to 350. 

Toss chopped rhubarb, raspberries and ginger into your baking dish of choice (my dish is 8×8, 2 qt capacity; 9″ square or 9″ deep pie dish would also be fine). In a liquid measuring cup, whisk together the maple and water/port until combined. Add the lemon juice and zest, arrowroot, cinnamon and allspice, and whisk to combine. Pour the mixture over the fruit and toss to combine. Bake for 20 minutes.

While the filling is baking, make the crisp. In a mixing bowl, stir together the oats, hazelnut meal, chopped hazelnuts, shredded coconut, maple sugar and salt. Mix in the vanilla, melted butter and the yogurt. Stir until everything is mixed thoroughly. 

Once the filling has baked for 20 minutes, stir it and and redistribute evenly in the dish. Plop spoonfuls of the crisp topping evenly over the filling – no need to pack it down. Return the dish to the oven and bake for 25 to 30 more minutes, until the filling is bubbling around the edges and the top is golden.

Let the crisp rest for 5 to 10 minutes before serving. Serve with vanilla ice cream, obviously! Keep leftovers, covered, in the fridge for about 2-3 days (yeah right. It would take some kind of major feat to make it last that long) – the crisp will get softer the more days it sits but is definitely still crispy the next day. 

fullsizeoutput_158c

fullsizeoutput_156f

{Citrus} Zest for life

IMG_2650

I do love California’s winter citrus season.

fullsizeoutput_1416

Doesn’t seem to matter which kind of citrus – though I think grapefruit and meyer lemon are tied for first for me. Especially when it’s grey out (which really doesn’t bother me in the slightest), I love baking with citrus: it smells like sunshine!

fullsizeoutput_141b

I’ve done a grapefruit tart on the blog before (several times, actually!) but never paired it with hazelnut, which I’m finding is an excellent combination.

fullsizeoutput_141e

As per usual, this tart does double duty for dessert paired with ice cream or for breakfast alongside the usual fare, and coffee, obviously.

fullsizeoutput_142a

fullsizeoutput_1428

I like versatile baked things! Life is more fun when you can eat them for breakfast, preferably in good company on a lazy weekend morning.

fullsizeoutput_141d

Let’s see, life things lately…

IMG_2595

My car needed a new distributor (you may recall my interesting adventure with a freeway onramp from my last post), but I have it back now, so that’s all fine and dandy. The sky has been doing some crazy things lately, but I’ve been loving the rainy weather, and heaven knows we need it! Maybe maybe I can squeeze in at least one ski day before the end of the season… fingers crossed.

fullsizeoutput_1424

fullsizeoutput_1425

In the meantime, I shall eat tart in the company of my fave human and be content, because that is what weekends are for.

fullsizeoutput_1418

Go find yourself some citrus and join me! You won’t be sorry, promise :)

fullsizeoutput_141a

Grapefruit Curd and Ginger Tart on a Hazelnut Coconut Crust

Tart but sweet, creamy and a perfect winter dessert when citrus really shines. Grain free, gluten free, refined sugar free, dairy free, pretty much paleo! A Wait are Those Cookies original. Yield: 1 9″ tart, serves 2-6!

For the crust:

1.5 c hazelnut meal
1/2 c unsweetened shredded coconut
heaping 1/4 tsp sea salt
1/2 tsp baking soda
2 tsp vanilla extract
2 tbsp pure maple syrup
3 tbsp coconut oil, melted

In a large bowl, stir together hazelnut meal, shredded coconut, sea salt, and baking soda. Add in vanilla, maple, and melted coconut oil, and stir until completely combined. The dough will look crumbly, but you’ll be able to press it together with your fingers.

Preheat the oven to 350, and press the mixture into the bottom and up the sides of a 9″ pie plate. Poke the bottom a few times with a fork, and bake for 10 minutes.

Maple Grapefruit Curd:

2 whole eggs
2 egg yolks
1/3 c grapefruit juice
zest of 2 grapefruits
pinch of sea salt
2 tbsp maple syrup
3.5 tbsp coconut oil
1 tsp vanilla

I use a double boiler for this curd, which literally is a game changer. Highly recommended! Heat water in the bottom of the double boiler until it’s at a high simmer. In the top of the double boiler, whisk together eggs, egg yolks, grapefruit zest and juice, sea salt, and maple syrup. Add in the coconut oil one tbsp at a time, whisking continuously, not adding the next tbsp until the first is completely melted. Whisk in vanilla. Cook, stirring constantly, until the curd thickens and will coat the back of a spoon (or your whisk leaves tracks) – usually around 5 to 8 minutes. It’s a noticeable change when it happens, so just watch the cooking magic! Remove from heat and strain through a mesh strainer into your glass/pyrex storage container. Keep in the fridge until ready to use – curd keeps for about a week.

Assembly:
1 packet gelatin (pref. grass fed)**
1/4 c meyer lemon or grapefruit juice, *cold (refrigerated)
1 grapefruit, sliced
shredded coconut, candied ginger, hazelnuts, etc for topping

I stabilized the curd for this tart with gelatin, since I was a little suspicious of its structural integrity. To do so, since I’d already made the curd ahead of time, I needed to bring it back to a warm enough temperature to dissolve the gelatin. The following is what I did – if you’re making it all at once, no need to do as I did, just stir the softened gelatin into the already warm curd once it thickens.

In a small bowl, sprinkle 1 packet of gelatin over 1/4 c cold meyer lemon or grapefruit juice. Stir until incorporated and let sit for a minute. Once softened, stir into the warm curd, stirring until the gelatin is dissolved completely (give it 1-2 minutes of stirring). Pour the curd into the baked crust shell, and let cool for a few minutes on the counter before transferring to the fridge to cool completely – preferably overnight but at least 4 hours.

**If you prefer not to use gelatin, you could also set the curd by pouring it into the baked tart shell, and baking the whole thing at 350 for 8-10 minutes, then letting cool completely and refrigerating for at least 4 hours before serving. I prefer the gelatin method with this curd since it will set completely – the baked version might have more wobble / lose some structural integrity when sliced, but it’s a pretty solid second option.

Top with sliced grapefruit, hazelnuts, shredded coconut and candied ginger if desired. I prefer to chill mine in the fridge for at least two hours before serving.

Keeps well in the fridge covered overnight, though it’s best eaten in 2-3 days.

fullsizeoutput_1422

fullsizeoutput_1415

Cake with breakfast? Sure, why not.

IMG_1980

Sometimes, you just need cake.

fullsizeoutput_104a

Might I recommend this one?

fullsizeoutput_104b

fullsizeoutput_1049

It’s seasonal without being overbearing (because sometimes you just need a little gastro-break from festive food), perfect for dessert with ice cream or breakfast with eggs, and structurally sound enough that you can pick up wedges and fly them around like a Star Destroyer with appropriate sound effects (not like I do that or anything, ahem. Moving on)

fullsizeoutput_1042

fullsizeoutput_1039

Anyway, I have cake for you today. Not so many words because sometimes life gets in the way, but pictures and cake that I promise is yummy.

fullsizeoutput_1026

fullsizeoutput_1043

I also have a tiny tree, since tis the season and I like to get in a festive mood (plus, who doesn’t like the excuse of having a tree in your living room?)

fullsizeoutput_1008

fullsizeoutput_fff

Make cake. Eat with loved ones! There is nothing better than cake with those who make you smile.

fullsizeoutput_104c

Pumpkin Hazelnut Cake with Dark Chocolate

Gluten free, dairy free, and refined sugar free. Not too sweet, so works for dessert with ice cream or breakfast alongside eggs. Nutty, chocolatey, and seasonal, without being overbearing. Recipe adapted from Food and Wine, here. Yield: 1 8″ cake, serves 2-6.

fullsizeoutput_1035

1/4 c brown rice flour
heaping 1/4 c oat flour
2 tbsp cornmeal
1/2 teaspoon ground cinnamon
1/2 teaspoon ground cardamom
1/4 teaspoon ground nutmeg
1/4 teaspoon sea salt
1 c hazelnut meal*
1/3 c hazelnuts
3 large eggs
1/4 c maple syrup
1 tbsp maple (or coconut) sugar for sprinkling
1/2 cup melted coconut oil
1/2 cup pumpkin puree
1 teaspoon vanilla
1/3 c extra dark chocolate, chopped

*If you can’t find hazelnut meal, almond meal is an easy substitute. Or, if you have a food processor, you can grind fresh hazelnuts and make your own – use slightly more than 1 c of toasted hazelnuts for 1 c meal, but be careful you don’t let it process too long or you’ll end up with hazelnut butter! Delicious, but not practical in this case…

Preheat the oven to 325° and line the bottom of an 8″ cake pan with parchment paper (you could probably also use a 9″ round pan but keep in mind your cake will be thinner). In a medium bowl, whisk together the flour, cinnamon, cardamom, nutmeg, and salt and set aside.

In a small frying pan over medium heat, toast the hazelnuts until fragrant, about 3 minutes. Roughly chop hazelnuts and chocolate into small pieces. Add both to the bowl of dry ingredients.

In a large bowl, whisk together the eggs, maple, coconut oil, pumpkin puree, and vanilla until very smooth. Stir the dry ingredients until incorporated. Scrape the batter into the parchment lined pan, smooth out the surface of the cake batter with the spatula (or not!) and sprinkle the tablespoon of maple (or coconut) sugar over the top.

Bake for 45 minutes until a tester inserted in the center comes out clean. The top of the cake should be crispy and cracked from the scattered sugar coating. Let the cake cool for 15 minutes before removing it from the pan. Gently peel off the parchment paper from the bottom and let stand.

The cake can be made in advance up to 24 hours, thought it’s probably best served the day it was made. Store covered in the fridge for up to 3 days; but good luck keeping it around that long! I like it cold, but feel free to bring it to room temp before eating leftovers.

fullsizeoutput_1025

fullsizeoutput_1044

Galette for breakfast: guaranteed to improve your election day experience

img_5117

Galette and pears and hazelnuts and dark chocolate and November!

img_5107-x3

I love fall because it means pears are EVERYWHERE and I love pears so this just feels like a win-win situation. Besides that, throw in some dark chocolate hazelnut filling and put all that goodness in a cardamom crust? Sign me up. And then eat it for dessert with ice cream and then for breakfast with (what else) eggs and kale and sourdough toast? Yeeessssss please thanks.

img_5101-x3

Let’s see, what else… today is election day! Did you vote?! I voted absentee ages ago and didn’t get a sticker… they should send stickers with the ballots!

And the time changed, woohooo for not having to get up in the dark anymore! I miss the extra daylight hours but I’d rather not go to work when it’s still dark out… Jessie and I enjoyed our extra hour of snuggles:

img_5089

Pretty skies lately!

img_5111img_5091

Annnnnd I’ve been drawing again, shocker I know. I just read a study that says making art reduces cortisol levels! Which is awesome and I think I subconsciously knew that because drawing always gets me into the flow state, pretty much without fail.

img_5110-x3

But anyway, back to galette!

img_5094-x3

This sounds complicated but totally isn’t. The crust is forgiving and easy to work with, and the filling comes together in a snap. Also, unlike the last time I made galette and crammed a truckload of blueberries into it, this one is far more structurally sound since pears are a little easier to wrangle than blueberries.

img_5097-x3

Give yourself a break from watching those election returns and gaze on this instead. I guarantee it’ll lower your cortisol levels ;) 

img_5109-x3

Pear Galette with Dark Chocolate Hazelnut Filling and Cardamom Crust

Grain free, gluten free, paleo and refined sugar free. Yay! There is butter, though a sub for coconut oil might definitely be possible (if you try it, tell me how it goes!). Yield: 1 galette, serving sizes are up to your discretion ;) A Wait are those Cookies original!

img_5096-x3

For the crust:

  • 1.5 c almond flour
  • 1/2 c tapioca starch
  • 1/4 tsp fine sea salt
  • 1 tbsp coconut sugar
  • 3/4 tsp ground cardamom
  • 1 egg
  • 6 tbsp salted butter, chopped
  • 2 tsp vanilla extract

In a food processor or high-power blender (I used a Vitamix), pulse almond flour, tapioca starch, cardamom, salt, and butter, and pulse to combine until it looks like coarse meal. Add in egg, coconut sugar, and vanilla extract and pulse just until combined. Turn out onto a piece of plastic wrap, shape into a disk and chill in the fridge for at least an hour, or up to overnight.

For the dark chocolate hazelnut filling*:

  • 1 c roasted hazelnuts, skins mostly removed (reserve a few for topping purposes if you want!)
  • 3 tbsp raw cacao powder
  • pinch of sea salt
  • 1.5-2 tbsp pure maple syrup
  • 1 tsp vanilla extract

* measurements are approximate! Adjust as necessary to suit your tastebuds :)

Blend hazelnuts in a vitamix or high power blender / food processor until a nut butter consistency forms (it’s okay for it to be on the chunkier side; mine wasn’t completely smooth). Add cacao powder, sea salt, maple, and vanilla and pulse until combined. This can be made up to a week ahead — just store it in an airtight jar in the fridge!

For the galette:

  • 1 crust
  • most or all of the hazelnut spread
  • 2 pears, thinly sliced (I used d’Anjou; Bosc would also be good) — you can peel them if you want, I chose not to
  • 1 egg, lightly beaten
  • 2 tbsp coconut sugar, divided
  • 1 tbsp salted butter, melted
  • extra hazelnuts for topping, if desired!

Preheat the oven to 375.

Roll out the dough between two pieces of parchment paper, keeping the circle to about 1/4″ thickness. Peel off the top piece of parchment, and slide the rolled out dough on its parchment onto a baking sheet. If you’re feeling extra artistic or motivated, cut some extra dough off the edge of the circle and cut leaf shapes out of it because… I’m an overachiever and it’s FALL! YAY! Anyway… moving on.

Spread the hazelnut paste carefully over the dough circle, leaving about a 2″ border from the edge — I found that the back of a spoon worked nicely for this (Try not to move it around too much, just press it into place so that the bottom dough stays intact). Spread the sliced pears in a fan shape if you’re feeling fancy, or just toss them all in there (I’m definitely not going to judge!). Begin folding up the sides, creasing them together as you go – if the dough is cracking, that’s okay (you can crimp the cracks back together; remember: galettes are forgiving and rustic!); you can use the bottom piece of parchment to help fold up the sides. Stick the leaves on the edges if you went that route. Brush the pears with the melted butter, and top with 1 tbsp of coconut sugar. Brush the dough with the beaten egg (I like a pastry brush for this), and sprinkle with the remaining tablespoon of coconut sugar.

Bake for 35-40 minutes (mine was perfectly done at 35, so check accordingly), until the dough is firm to the touch and golden brown. Let cool on the baking sheet for a few minutes, then slide the whole piece of parchment paper and galette onto a cooling rack to cool completely (or serve immediately!). Eat with some kind of vanilla ice cream thing (dairy or not) because… you should!

Leftovers keep covered at room temp for about… 1 day. Because it will be gone by then anyway so you won’t even have to worry. Promise!

img_5102-x3