Cookie Monday

IMG_5925

Cookie Monday.

Because, honestly… Mondays. Ugh. Today was an alarm goes off, I turn it off, roll over and promptly ignore it while carrying on a ridiculous conversation with myself about why I should get up morning. Or not. Not won and I spent and extra half an hour in bed. I am SO ready for this time change, I do not relish getting up in the pitch blackness of ugh.

IMG_5921

At least if you have cookies, Mondays are slightly better. Not that I have these, mind you, I made them last Wednesday and they were eaten in… six hours.

Yeahhh. Hello small batches and starving post-spin class family, bye bye cookies! At least they were a decent post-spin meal, what with having good fats and being refined sugar free and all that. You know, business as usual around here in the hippie natural food universe…

IMG_5917

Also. My lovely neighbors dropped off a bag of pomegranates and they’re GORGEOUS so I’m including photos for your fall pleasure. This is my favorite time of year!

IMG_5908

IMG_5914

So now it’s Monday and I’m tragically cookie-free, but lucky for you, I hand deliver cookies to your inbox! Happy Monday, even if they’re virtual. Toddle off into your kitchen and you can have these for yourself in less than half an hour, which would a) make your Monday better, b) prevent bart strike angst by giving yourself something far more productive than work to do (who needs to commute, anyway?), and c) give your body what it wants while tricking your brain into thinking you’re eating something decadent. Everybody (stomach gremlins included) wins!

IMG_5919

Two types of cookies for you today: I made a half batch of each since I couldn’t decide which one I wanted to make more. Life is full of such complicated decisions…
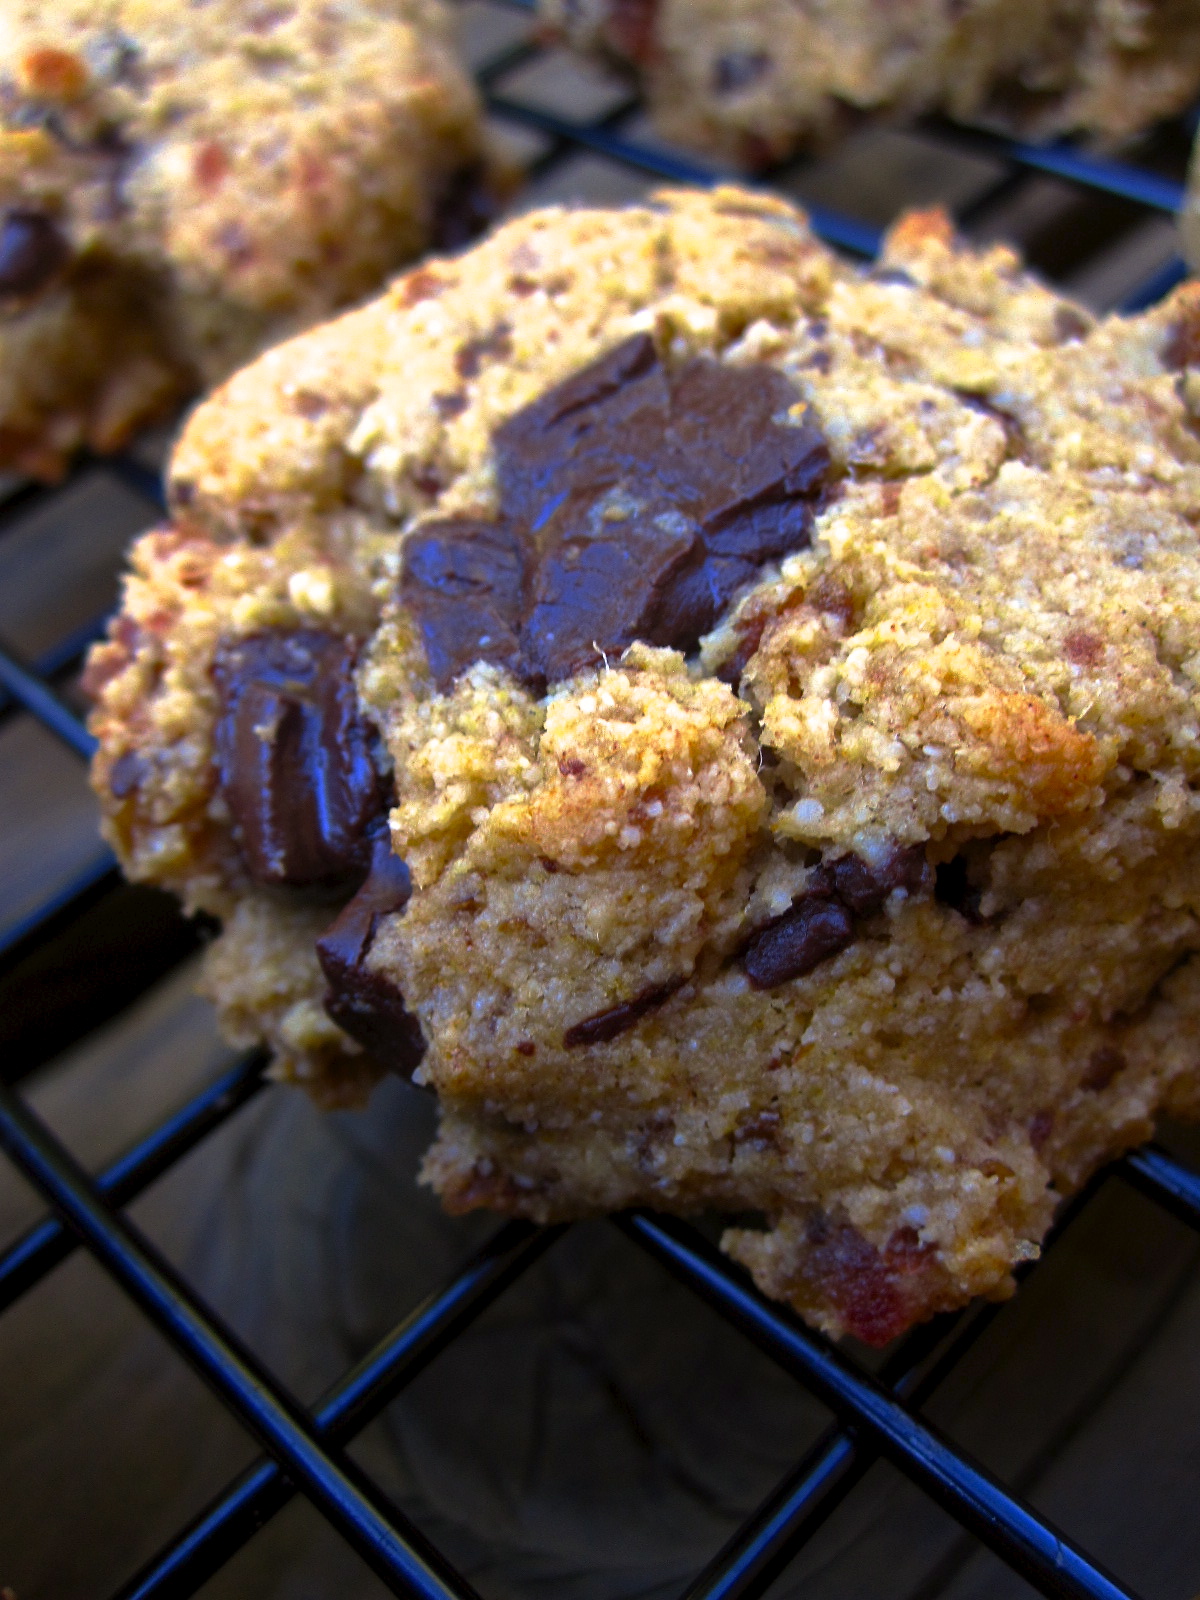
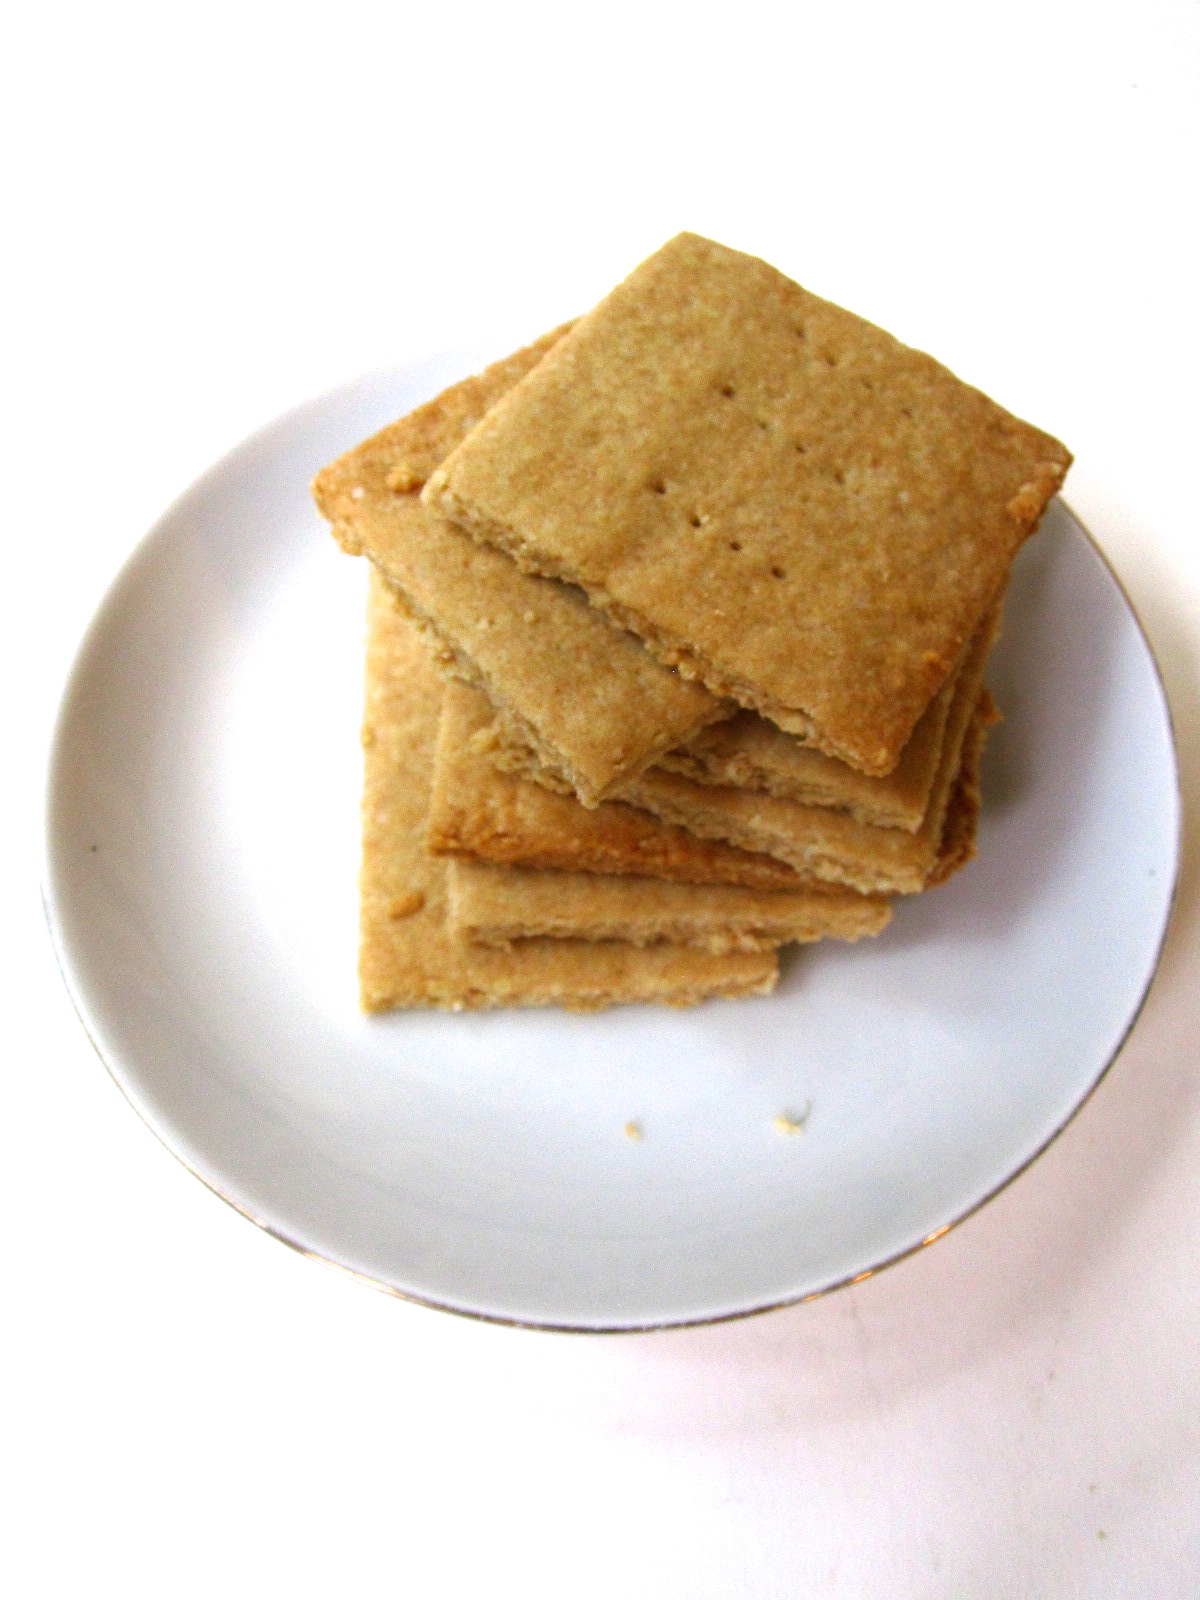
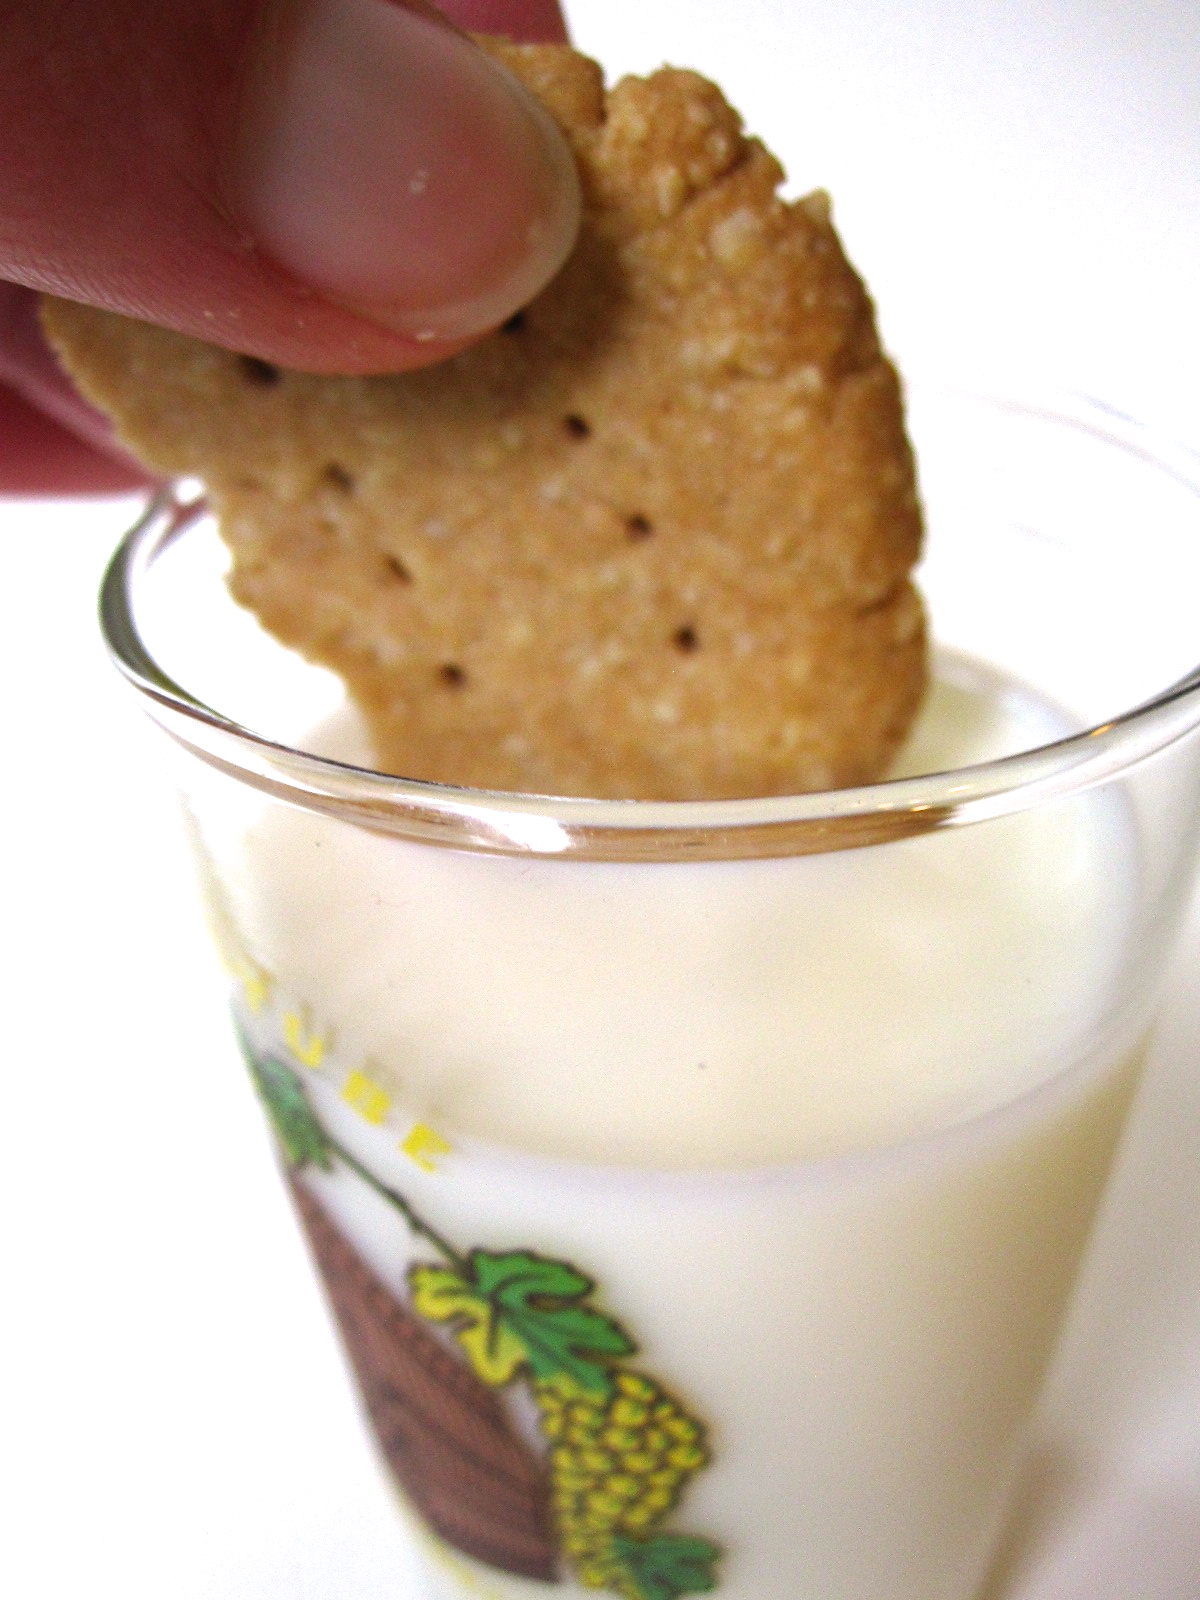
IMG_5922

Quinoa Date Cookies

Lightly sweet, chewy, and thick. These are delicious warm or room temp, and if you make a half batch as I did, you should come out with about 8. Gluten free and refined sugar free. As posted, this makes 8 cookies—double for a full batch! Recipe only slightly adapted from Sweetest Kitchen, here!

  • 1/2 c sprouted quinoa flour
  • 1/4 tsp baking soda
  • 3/4 tsp organic cornstarch
  • 1/8 tsp salt
  • 1/2 c dates, pitted
  • 1/8 c coconut oil
  • 1 egg white
  • 1/2 tsp vanilla extract
  • 1-2 squares super dark chocolate, chopped

Preheat oven to 350, and line a baking sheet with parchment paper.

In a medium bowl, whisk together quinoa flour, baking soda, cornstarch, and salt. Using a food processor (or alternatively an immersion blender—-this is what I did as I didn’t feel like doing extra dishes, but it works slightly less well), puree dates. Add in coconut oil, egg white, and vanilla, and stir to combine. Add wet into dry, and stir in chocolate pieces. The dough will initially seem dry, but keep stirring and it’ll incorporate. Drop by the spoonful onto your prepared cookie sheet and flatten slightly. Bake for about 10 minutes, until firm to the touch and slightly browned.

IMG_5923

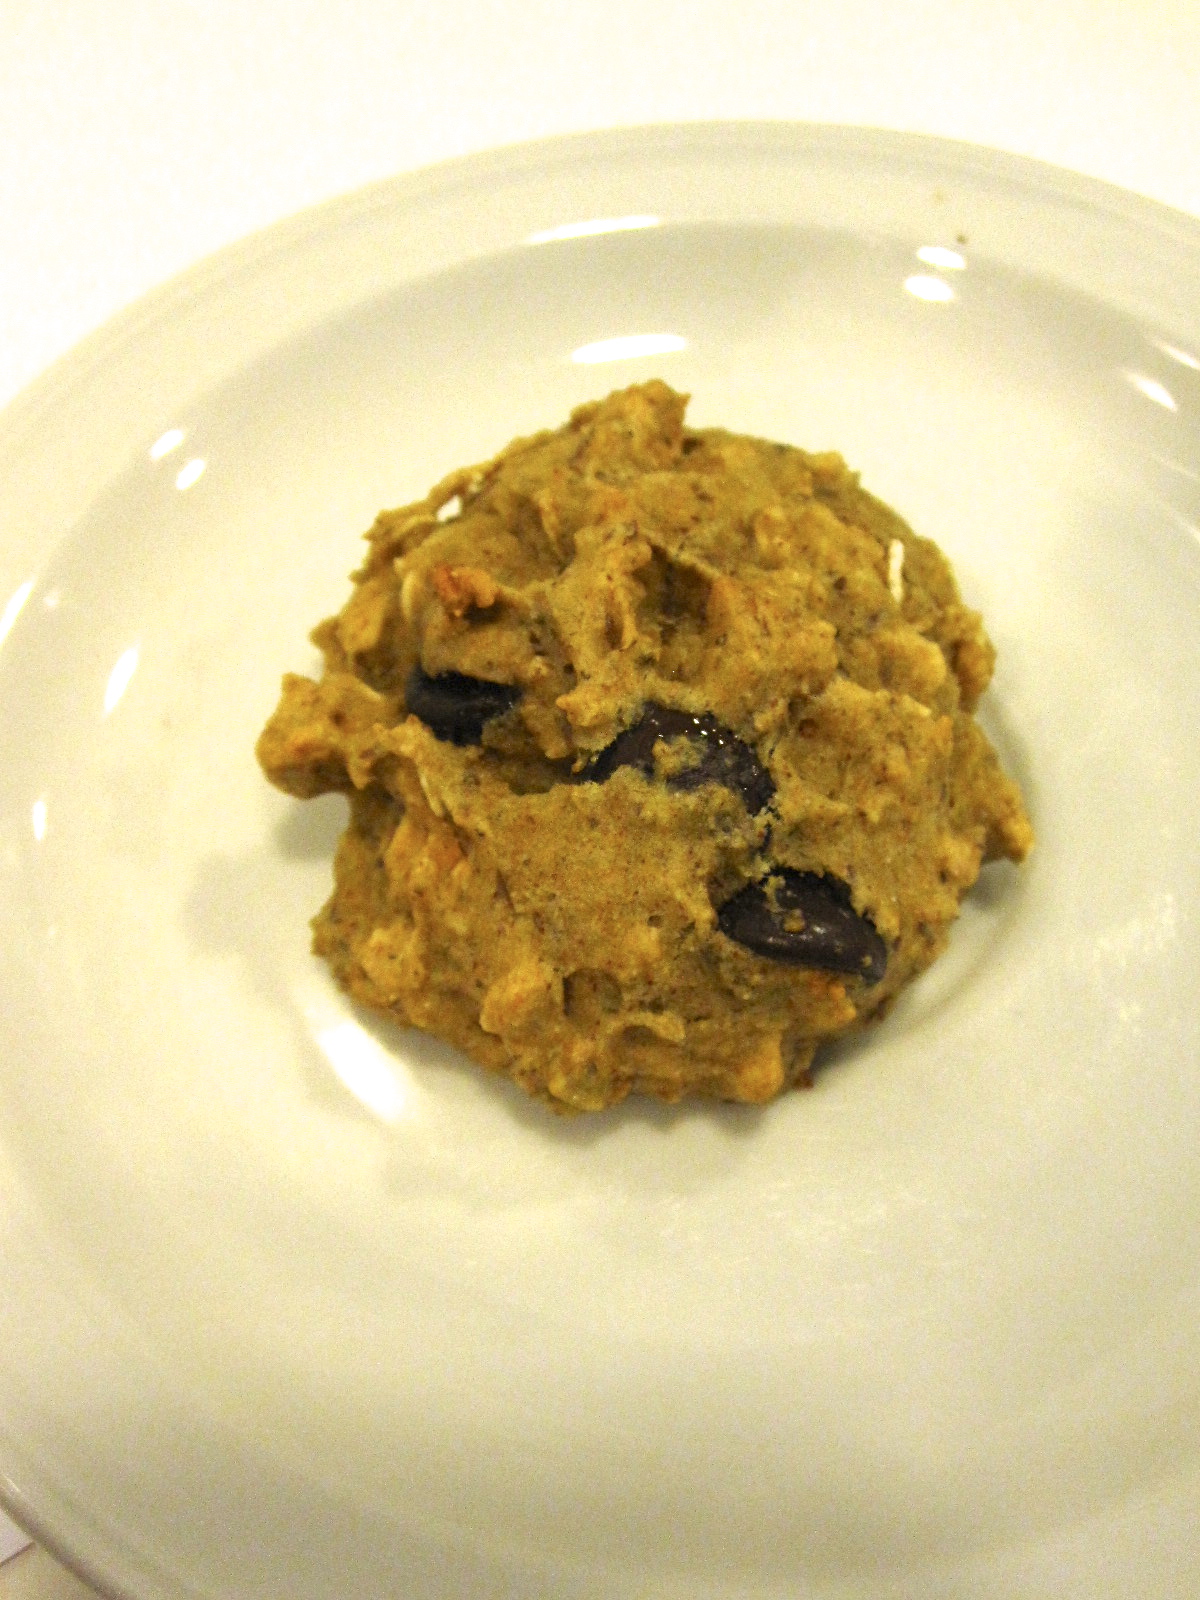
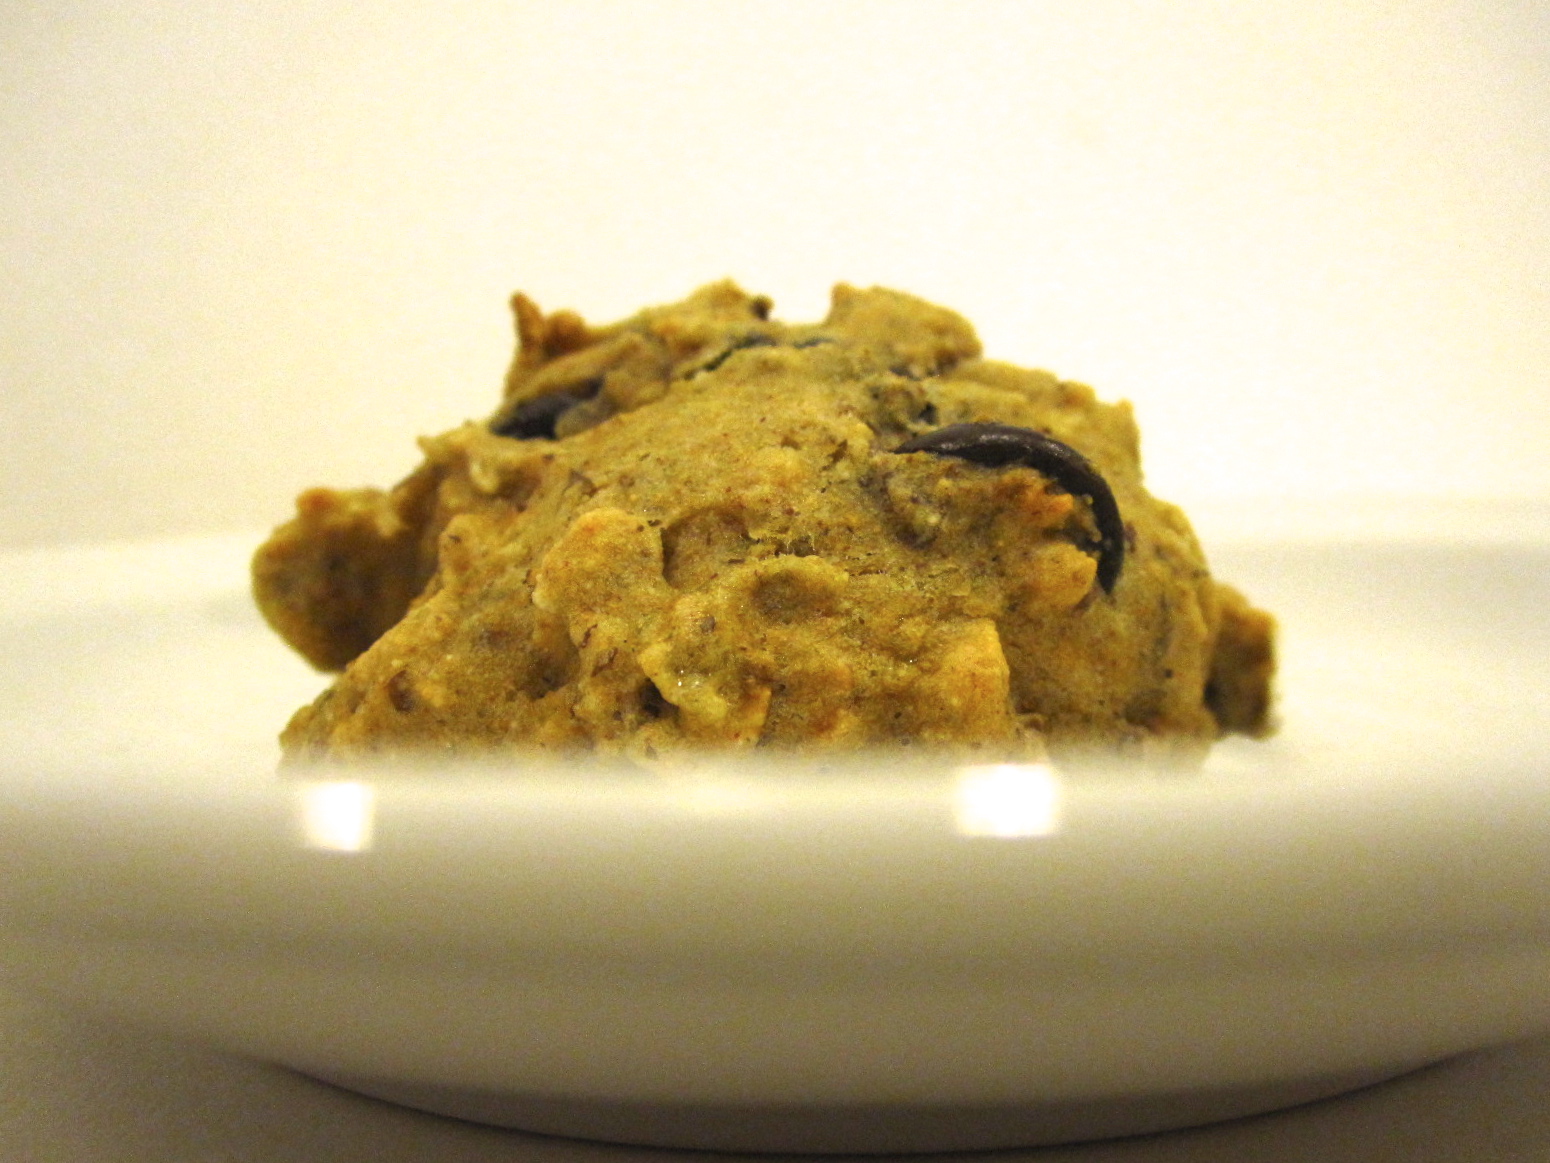
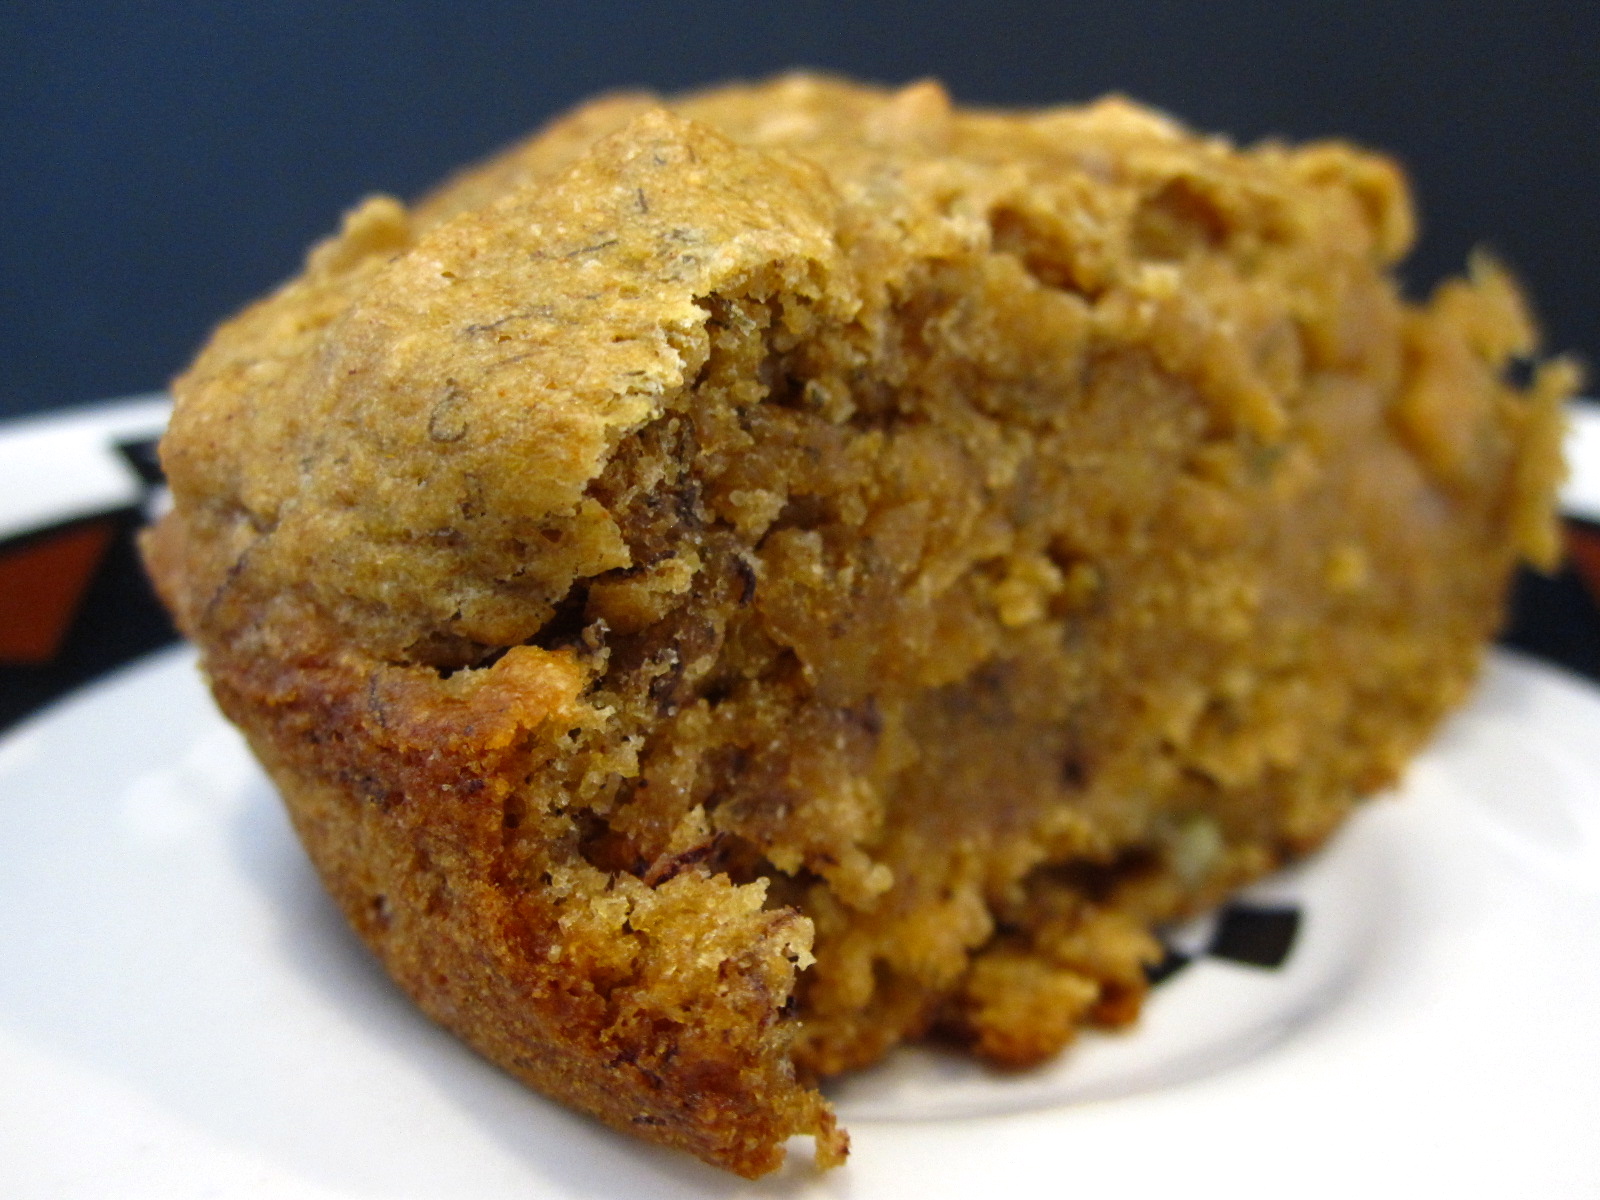
Almond Butter Pumpkin Cookies

Mine came out very soft and flat, with a bit of a gooey consistency (likely the result of too much flax egg, but I don’t care—they were delicious!). Gluten free, vegan, and refined sugar free. Wheeee! Again, I made a half batch of 7 cookies. Double for more! Recipe from the awesome blog Mangia, here!

  • 1/4 c pumpkin puree
  • 1/8 c maple syrup (I use organic grade B)
  • 1/4 c unsalted almond butter
  • 1/2 tbsp ground flaxseed+1.5 tbsp water (1/2 a flax egg)
  • 1/4 tsp (runneth over) vanilla extract
  • 1 tbsp almond flour
  • 1 tbsp coconut flour
  • 3/4 tsp pumpkin pie spice
  • 1/4 tsp baking soda
  • 1-2 squares dark chocolate, chopped (I used a mexican stone ground vanilla chocolate, so delicious)

Preheat oven to 350 and line a baking sheet with parchment paper. Combine flax and water and let sit aside.

In a mediumish bowl, stir together pumpkin puree, maple, almond butter, flax egg, and vanilla. In another smallish bowl, whisk together almond flour, coconut flour, spice, and baking soda. Dump dry into wet and stir to combine (cookies are maybe like the most wonderful, easiest thing ever), toss in chopped chocolate, and drop by the spoonful onto your cookie sheet. Bake for 10-13 minutes—I checked mine at 10, but let them go closer to 13. Let cool on the cookie sheet for a few minute (almond flour is delicate), then remove to a cooling rack.

I’m sure these store well, but I had absolutely no opportunity to test this as they disappeared the day I made them. Ah well, cookies are best fresh ;)

IMG_5915

Mondays are better with brownies, obviously

IMG_5849

Hiya!

Happy Monday! Because I knoooow these are going to make your Monday that. much. better.

They’re BROWNIES.

IMG_5856

Of COURSE they’ll make your otherwise slightly blah Monday better. Especially when I tell you that they are a) full of health bennies just for you and b) defs allergy friendly. And… as I said…

They’re BROWNIES!

IMG_5847

When have brownies in your inbox *not* made your Monday better? Right. I rest my case.

Have I ever shared my weird brownie proclivities on here? I’m not sure that I have so just in case you were dying to know…

IMG_5859

I’m weird. I like (no. Maybe love) brownies, but… I NEVER eat them. Nor do I ever make them. For some reason, I am never satisfied with the brownies that my kitchen produces. Why? Not crackly enough on the crust. Not chewy enough on the edges or fudgy chewy in the center. Whatever the reason, I am never quite sold on my own brownies, so they kind of get relegated to the bottom of the recipe pile. Which means that I only really eat brownies once a year… at camp.

Guys. These brownies are like CRACK. They are so ridiculously amazing, I can’t stop at one which means that I usually eat them all week long, multiple times a day (it’s a good thing the camp is at 8000 feet elevation…). I have a problem. But also. Those are, strangely enough, made from a mix!! I’m mildly ashamed to admit it (given that EVERYTHING on this blog is from scratch, and I never use mixes when I cook), but there it is. Favorite brownies come from a mix and are made in gigantic sheet pans in the temperamental Two Sentinels ovens that don’t heat evenly. But they’re fantastic. And they’re full of love, which is probably why I adore them so much.

IMG_5845

However. I broke my once-a-year brownie trend for these, mostly because they looked so tasty in the photos and they’re good for me. Ish. Obvs still a treat but whateverrrrrr, happy belated to me and vaccuum vati!

I’m not paleo. I like beans. But I also like a good cooking challenge and I have quite a few paleo friends, so here you go. Paleo brownies in yo’ inbox.

Happy Monday! Sorry I’m not sorry y’all want brownies now, heeheehee!

IMG_5840
Jackson Pollock-style brownies are WAY more fun…

Sweet Potato Brownies

Not quite cakey, not quite fudgy (which is good since a brownie somewhere between is my favorite), totally good for you and easy to whip together. High in Vitamin A/Beta Carotene, good fats, antioxidants, fiber, gluten free and refined sugar free. Recipe adapted from Eat Drink Paleo, here! Makes 9 large or 12 small squares.

  • 1 sweet potato (I used orange), grated in the larger holes on a box grater
  • 2 eggs
  • 2 tsp vanilla
  • 1/2 c pure avocado oil*
  • 1/2 c maple syrup**
  • 1 tbsp baking powder
  • 1.5 tsp baking soda
  • 1 c unsweetened cocoa powder
  • 1.5-2 tbsp coconut flour
  • 2-3 biggish squares of dark chocolate, melted (I used 75%), for topping
  • dairy or nondairy ice cream thing to make sundaes (you know you want to)

*I use avocado oil or coconut for anything above 300 or 325—-they have a higher smoke point. Mine is organic.
**I always use 100% pure organic grade B maple syrup.

IMG_5844

Preheat the oven to 365, and line a 9 by 9″ pan with parchment paper for easy removal.

Get a bicep workout by grating the sweet potato. Toss grated bits into a medium sized bowl, then add in eggs, vanilla, avo oil, and maple. Stir in baking powder and soda, then cocoa powder (try to smash out any major lumps, but it doesn’t have to be perfect). Lastly… stir in coconut flour (avoid using too much, it will make the brownies dry and gritty)—start with 1 tbsp and work from there. I ended up using the full 2 tbsp, but I think I could have reduced it to 1.5. The batter should be thickish. Spread it into the prepared pan, and bake for 25-30 minutes. I took mine out at 25—a tester came out clean and the top was still a bit soft when pressed.

Let cool in the pan for about 10 minutes, then lift the parchment out onto a cooling rack to let them cool completely.

Once cool, “frost” with melted dark chocolate and shredded coconut. It’s a really excellent idea to make these into sundaes… juuust sayin’!

Store them in the fridge in the foil covered pan if you have any left over!

IMG_5860

Upgrading the childhood favorites, one cookie at a time

IMG_5734

As you can see, I’m having quite a bit of fun riffing on things that I used to eat as a kid, except making them… edible. Because I don’t know about you, but if I try to eat conventional graham crackers now, they taste like cardboard. STALE cardboard… which is about as bad as it can get, in my book.

IMG_5736

So this is fun! Real food ingredients that you can pronounce and have fun eating. Because these taste almost like the “real” thing, but BETTER! Wheee!

Graham crackers. What an ubiquitous little kid snack (um. And adult?! Hellooooo).

IMG_5744

My grandma used to keep them in the cupboard above her fridge, probably because it was high enough up to be out of the reach of small Hayley (though why the baking drawers with chocolate chips and butterscotch chips were at child level I’ll never know—I got really good at swiping handfuls of ‘baking morsels’ every time I went into the kitchen… although sometimes it was with my grandma’s consent, ha). Anyway. She ALWAYS had graham crackers. And I loved them. Crunchy-soft, subtly sweet. Besides that, I have called my grandma Gram for as long as I can remember, and gram=graham! Get it?? Like Gram Crackers? The crackers that Gram always has? Do you see? Perfect.

My dad and I used to eat them for lunch sometimes with milk. We’d get out a really nice plate, put a glass of milk in the center, and then break up about two sleeves worth of crackers nicely and place them around the edge of the plate. And then sit outside, preferably, in the sun, companionably dipping graham crackers.

IMG_5738

Middle school meant that I was obsessed with the cinnamon graham sticks, except my mom would never buy them (actually… thanks mom! In retrospect that was an excellent choice you made), so I would always eat them over at my friend’s house… with applesauce. For some reason that was our thing and we would literally go through a box in one sitting. Whoops. I do have to say, they were startlingly good dipped in applesauce. Weird.

Later in life (ie college) I started buying organic ones and eating them with nut butter and dark chocolate for dessert. Sort of like a deconstructed s’more, except better as I don’t care for marshmallows… so this just leaves you with the good parts… carbs and chocolate! Yessss.

IMG_5747

SO anyway. Lots of good memories associated with these little guys, besides the fact that I like the way they taste. BUT. I don’t really like that they come in a package, even if they are organic. SO. I’ve started making my own! It’s WAY more fun, AND I know exactly what’s going in them. Solving for nostalgia and taste, all in one fell swoop.

IMG_5748
Milk in a shot glass. So classy.

Homemade Graham Crackers

Recipe from Salt&Smoke, here! I adapted it only very slightly. I made two batches, one with coconut oil and maple syrup, and one with butter and honey. The butter ones browned a slight bit more, due to the honey, but they’re both delicious. I think the coconut oil one is actually my favorite—you can’t taste the coconut, but something about the almond flour/coconut oil/maple/vanilla combo really tastes like graham crackers to me. I think my next project will be adding cinnamon to the batter, to make cinnamon crackers!!

I got a yield of 20 from the coconut oil batch, and 23 from the butter batch. They’re about 2″ by 2.5″ (ish).

  • 1 c almond flour
  • 1 c whole wheat pastry flour
  • 1/2-1 tsp sea salt (I used fine grain with 1 tsp, if you’re using coarse, use 1/2!)
  • 1/2 tsp baking powder
  • 1/4 tsp baking soda
  • 5 tbsp refined coconut oil or butter (I used unsalted)
  • 4 tbsp maple syrup or raw honey
  • 1 tsp vanilla
  • a small splash of almond extract*

*I only used the almond extract in the butter/honey version, and to me it is barely noticeable

Preheat oven to 350.

Combine dry ingredients in a medium sized bowl, and stir until combined. In a small bowl, combine coconut oil or butter, and maple or honey, and microwave (I’m lazy—you can also use a saucepan) until melted and combined. Stir in extract(s). Pour wet into dry, and stir until mixed.

Roll dough out between two pieces of parchment paper, approximately the size of your cookie sheet. I rolled mine out to about 1/8″ thick—-go thinner if you want really crunchy cookies. Score into rectangles using a butter knife, then get fancy and poke little holes in the tops with a fork (because graham crackers aren’t complete without fork marks, duh). I trimmed the excess dough off the edges and re-rolled it into more squares and a few circles.

Bake for 13-15 minutes, until lightly golden. I took both batches out around 13, let them cool on the sheet for a few minutes, then moved the parchment paper to the cooling rack.

IMG_5751

Fig Newtons don’t have figs in them… do they?!

IMG_5722

I’m pretty sure everyone has a fig newton memory.

Not necessarily a good one, mind you, but I’m sure there’s at least one stored away in those memory banks. Mine happen to be a positive ones… I looooved those little figgy cookies growing up. I liked to eat around the cakey outside first, and then eat the middle with tiny little nibbles (Strangely enough I did that with Madeline cookies too, I see a trend here?!). But probably if you’d have asked me if I liked figs, I would have turned my nose up in an unbridled look of disgust. Because I did I associate figs with fig newtons? Absolutely not. Does a fresh fig taste like the interior of a fig newton? Um… no.

IMG_5721

Luckily for me, liking figs had nothing to do with liking fig newtons. I was fairly well supplied with fig newtons as a child, and even into college when I became obsessed with the Whole Foods version of “healthier” figgy bars (and my mom would nicely send a box of them in my freshman care packages). I’m pretty sure I hadn’t eaten a real fig until I was (gasp) OUT of college. Whoops. Definitely didn’t do that on purpose. Hey, in my defense, I didn’t cross paths with figs very often (until now).

IMG_5727

Oh fig newtons, how full of processed crap you are! I want to like them from a nostalgic point of view, but seriously?! I tried a bite of one a while ago and almost spat it out. Fact: they taste like cardboard. Thanks, five kinds of corn syrup… you might enable these to last through the apocalypse, but you can’t make them taste like food! Oh wait. That’s right, they’re a food product, not a food.

BUT!

Lucky for you. THESE taste even better than a fig newton AND they’re made from real food and things you can pronounce. Wheeee!

IMG_5723

Vegan Figgy Bars

I got about 20 little bars out of this, that were slightly bigger than a conventional fig newton. Vegan, refined sugar free, and gluten free. What’s not to like? Oh and right, they’re delicious. Recipe slightly adapted from The Iron You, here!

  • 1.25 c almond flour
  • 1/4 tsp sea salt
  • 1/4+1/8 c maple syrup
  • 1/8 c refined coconut oil, melted
  • 1/2 tbsp vanilla extract
  • 1/2 c (a good handful) dried figs*
  • 1/8 c lemon juice
  • 2 dates, chopped
  • 1 tbsp peach jam**
  • 1/2 tbsp vanilla extract

*my figs were SO dry, they were like small pebbles. I reconstituted them in a bit of boiling water for about 10 minutes, which made them soft enough not to kill my food processor.

**mine was flat peach, raspberry and vanilla (freaking delicious), courtesy of Anna!! Her blog is over here.

In a largeish bowl, combine almond flour and salt. In a slightly smaller bowl, stir together maple syrup, melted coconut oil, and vanilla extract. Add wet ingredients to dry, and stir until combined. The batter will be super runny, which is okay! Cover the bowl and pop it into the fridge for at least an hour, to let it solidify a bit.

In the bowl of your food processor, process figs until they’re more like a chunky paste. Add in lemon juice, dates, jam, and vanilla, and blend until combined. I tasted mine a few times along the way and adjusted as I went. Set the filling aside until the dough is done.

Preheat oven to 350, and line a baking sheet with parchment paper. Using two separate sheets of parchment, roll out the dough to about 1/4″ thickness. Use a knife to divide it into two roughly even rectangles, then spread the filling down the dough, slightly off center so there is enough dough to cover it back up. Use the parchment paper to roll the dough back over the filling, pressing the edges and the ends together to seal it off. Make them look pretty by smoothing with your fingers (you’re all alone in the kitchen, who’s to see?!)… then pop them into the oven for about 20-25 minutes, until they begin to brown. They should feel slightly firm to the touch in the center when they’re done. Let cool on the baking sheet before moving them, as they’re slightly delicate before they’re cooled. These keep best in the fridge!

IMG_5726

One awkwardly dead banana and what to do with it

IMG_4721

Banana bread bites.

Somewhere between a cookie, banana bread, and… a scone? Muffin? A skookie? Or a brone? Or a mookie?

Clearly my brain has gone on holiday, can you tell?

IMG_4727

Either way, these are delicious! Vegan, refined sugar free (and low sugar), whole grain, high in fiber, and full of potassium and antioxidants. I can’t even really call it a cookie because it’s so healthy… but then you can have a cookie for a snack and feel good about it, so errrybody wins. And I win, because I’ve been buying an excess of bananas so that I can let some go all mushy and disgusting. This is all on account of Vacuum Vati, you see. I thought I ate a lot of bananas?! Apparently it’s genetic. Sheeeesh. If I didn’t buy extras and explicitly forbid him from eating them, there would never be any banana bread/bites/cake/cookies around here. And that would just be sad. So obviously I just circumvent this by buying an extra bunch and doodling on their skins to designate them off limits. MY DEAD BANANAS! MINE!

IMG_4724

I am, of course, very nice. How, you say? Welll… I share the PRODUCT of the hoarded bananas! I may be territorial regarding my dead bananas, but there are always several lucky recipients of the buuhhnahhhnuhhh creation. I think these went over well…. there are currently two left. *Pause for effect*… I made them yesterday. Obviously time to make something else, wouldn’t you think?

Except now I have one awkwardly dead banana and I’m not sure what to do with it. It needs friends. Does anyone care to donate their dead bananas? Anyone? Anyone? …Bueller?

IMG_4730

Vegan Banana Bread Cookie Pucks

Recipe adapted ever so slightly from Minimalist Baker (fabby blog!), here! The recipe makes about 18 little puck thingies… about 2-3″ across. Freaking delicious. Good for you. There is absolutely nooo reason why you shouldn’t trot off to your kitchen and make these… (unless, that is, you haven’t properly hoarded and defended your dead bananas).

IMG_4725

  • 2 ripe (read: dead) bananas
  • 1 tsp baking soda
  • 1/2 tsp baking powder
  • pinch of salt
  • 2 tbsp ground flaxseed
  • 1 tsp vanilla extract
  • 1/4 tsp pure almond extract
  • 2 tbsp smooth almond butter (I used Maranatha unsalted)
  • 1.5 tbsp grade B organic maple syrup
  • 1.5 tbsp olive oil
  • 1 c whole wheat pastry flour
  • 3/4 c rolled oats
  • 1/4 c dark chocolate chips

In a bowl, mash the two dead bananas so they can become delicious. Toss in baking powder, soda, salt, flaxseed, extracts, almond butter, maple, and olive oil, and stir to combine. Add in flour, oats, and chocolate chips, and once more stir to combine everything. The dough should be thick and a bit sticky. Cover the bowl with whatever’s handy, and refrigerate while the oven is preheating.

Preheat the oven to 375, and line a baking sheet with parchment paper. Once the oven is done, grab your chilling dough, and drop heaping tablespoons onto the sheet, with a bit of room between (though I was able to get all 18 on one sheet). Slightly flatten the tops. Bake for 9-10 minutes, until the tops are set. Don’t let them brown, as you want them hydrated and soft! Let cool on a rack for a bit, then store in a tupperware for about five seconds before they all get eaten.

IMG_4733

Cast iron and being a gore-tex wussie.

IMG_4658

B Bread.

In. A. Skillet!

What is it about baking in cast iron that makes me feel so old school? Not even old school, more like a pioneer…like one of those badasses who trekked across America in wool. Ew. Itchy. I can’t imagine doing something crazy like that with no goretex. Clearly I’m not baller enough for that kind of trek. Besides, a covered wagon sounds all kinds of awful. But really… cast iron! It’s pretty freaking amazing.

IMG_4655

I’d never really considered baking in it before though, as weird as that is… previously to the revelation a skillet was specifically to be used for dutch baby pancakes and browning beef. Maybe naan. Annnddd…. that’s pretty much it. Except for maybe whacking some intruder if I ever had to deal with that kind of thing.

But now! Nowwww I can make banana bread in a skillet, which results in a ridiculously tasty crust and a fun circular shape. This makes me want to procure a baby skillet and make tiny cookies (skillet cookies are BOMB, they’re really more like a pie than a cookie).

IMG_4669

Anyway. This time I made a vegan banana bready thing… kind of like a hybrid between cake and bread, except not bad for you. You could use any recipe you want, just adjust the cook time accordingly as the banana bread will likely be flatter and will cook faster. I made a half recipe to fit my little skillet.

IMG_4665

Banana Skillet Bread

Recipe adapted slightly from A Splash of Something, here! These measurements are for the half recipe that fit in my baby skillet (about 6″). The bread isn’t overly sweet, and is excellent with nut butter (obvs I would say that…)

  • 1 c whole wheat pastry flour
  • 3/4 tsp baking soda
  • 1/4 tsp salt
  • 1/4 tsp cinnamon
  • 2 ripe bananas, mashed
  • 1/8 c organic grade B maple syrup
  • 1/8 c water
  • 3/4 tsp vanilla extract
  • 1 tsp canola oil
  • 2 tbsp unsweetened applesauce

Preheat the oven, and also the skillet, to 350.

In a medium bowl, whisk together flour, baking soda, salt, and cinnamon. In a larger bowl, mash bananas, then add in maple, water, vanilla, oil and applesauce. Stir in flour, until just barely incorporated.

Take the skillet out of the oven (carefully, it’s hot…), and melt a bit of Earth Balance or coconut oil in it, to coat the bottom and sides. Pour in the batter and flatten it out a bit, then bake for about 30 minutes, or until a tester comes out clean.

Once mine was slightly cooler, I brushed the top with a bit more maple syrup. Let cool in the skillet, and store tightly wrapped (I use foil).

IMG_4674

Fickle tastebuds and a bit of gastronomical distraction

Woah. I just ate the best pear. Ever.

mmmm, PEAR!

Like, so freaking good I got distracted from what I actually sat down to write about, and took pictures of its deliciousness. Occupational hazard, you know. Textbook example of the fickle nature of my tastebuds.

But seriously. Pear = gastronomical delight. Go eat one. Do it now, do it now, do it now….

fork full o’pear

Or maybe do it after you make these cookies— you know, the whole reason I was going to write this post, NOT the pear. That way, while the cookies are baking, you can eat your pear. Because pears and pumpkin are basically fall in a bite. Annnnd, they go really well together. Like pumpkin butter on an almond butter-pear sammie. Delicious. Especially when you use your Star Wars sandwich cutters. What? No, of course I don’t own those… um. Moving ON!

As we know, I am the Queen of Orange! Soooo, that means when pumpkin season rolls around, I start hoarding. Because you never know when some crazy might buy ALL of the pumpkin in the store, and heaven forbid THAT might happen, I would be devastated. To prevent this (imagined) eventuality, I buy about two cans of pumpkin per shopping trip. Just in case, you know. Besides, considering I used two cans in the last two days, my stockpile lasts a laughably short time. Ridiculous, I know… but I LOVE pumpkin cookies almost as much as I love pears, aaannnddd pumpkin curry happened last night. I also recently discovered that pumpkin in quesadillas is BOMB. Feel free to be jealous…

Pumpkin cookies are amazing. I’ve lost track of how many different recipes I’ve tried, but I have at least one reigning favorite vegan one at the moment, and then the one I’ll share below. The one below is fabulous chilled—in fact, I prefer them that way, as they get nice and solid, with a bit of chewy from the oats, and they taste almost like pumpkin pie. AND they’re healthy: totally breakfast appropriate. They’re fat free and  (very nearly) cholesterol free, if you’re into that kind of thing, relatively low in sugar, and full of whole grains. Besides all that, on a very kindergartenish level, when I come home, they mean I can have milk and cookies. Which to me, is  a perfect afternoon pick me up.

So. Go make these. And then eat a perfect pear while the cookies are baking. And then eat a cookie. And then smile inside and out :)

Chewy Oaty-Pumpkin Cookies

The recipe is slightly modified from Pardon the Dog Hair, here! I ended up with 18 tablespoon-ish sized cookies (which I naturally squashed all onto one cookie sheet, as I’m lazy).

  • 1 c whole wheat pastry flour
  • 2 c rolled oats
  • 1 tsp baking powder
  • 1/2 tsp baking soda
  • scant 1/2 tsp salt
  • 1 tsp cinnamon
  • 1/4 tsp allspice
  • 1/4 tsp ground ginger
  • pinch of cloves
  • 2 tbsp unsweetened applesauce
  • scant 1/2 c maple syrup
  • 1 egg
  • 6 tbsp pumpkin puree (perfect for using up those awkward amounts)
  • 1 tsp vanilla extract
  • 1/4 c chocolate chippies

I’m pretty sure you’re familiar with cookie making methods… buttttt, just in case:

Preheat the oven to 350. Line a cookie sheet with parchment paper, or lightly grease.

In a bowl (no, really?), whisk together all the dry ingredients: flour, oats, baking soda and powder, salt, cinnamon, allspice, ginger, and cloves. Set aside. In a slightly smaller bowl, vigorously (use those biceps!) whisk applesauce and maple syrup. Add in egg and whisk a few seconds more. Add in pumpkin and vanilla, and whisk to combine. Pour wet into dry and add chocolate chippies, and stir until incorporated. Drop by fatty tablespoonfuls onto prepared cookie sheet, and bake for about 11-12 minutes. Easy money! Let cool on a rack before storage—I like to store mine in a tupperware in the fridge. Enjoy the fall deliciousness :)