Thursday things.
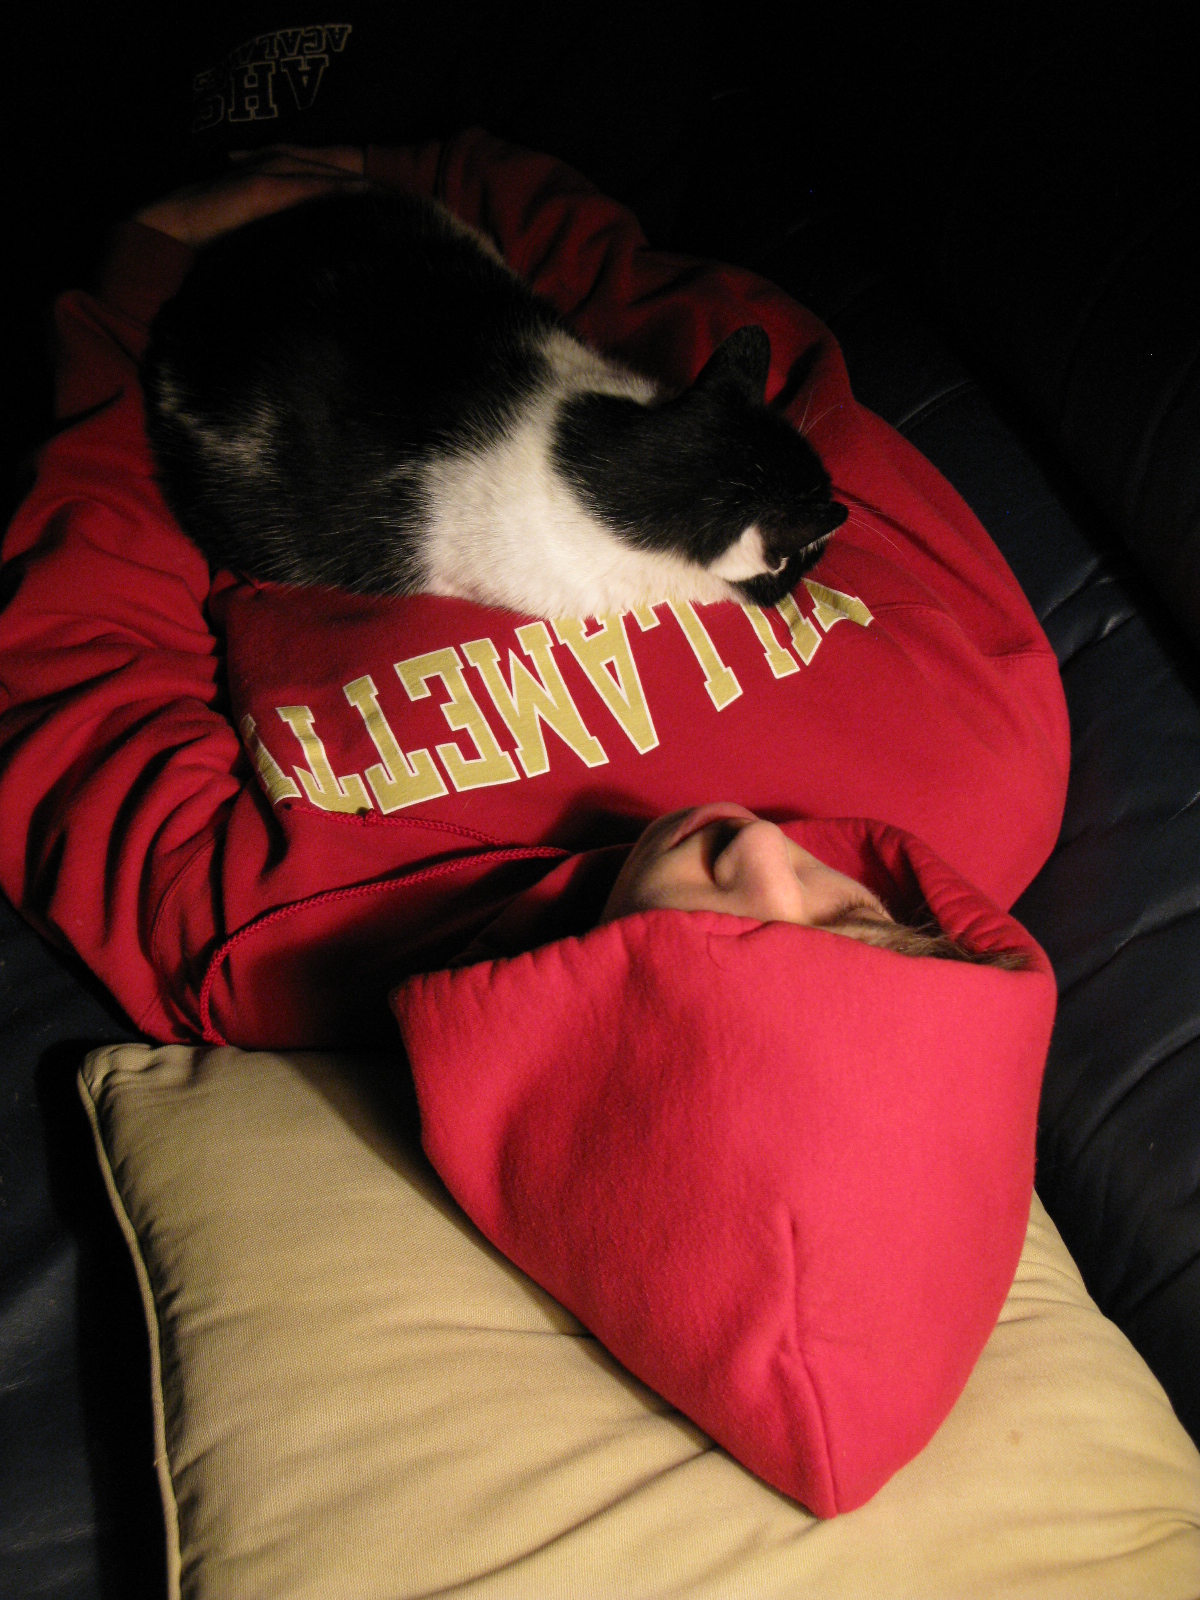
1. Apparently I make an excellent napping place:
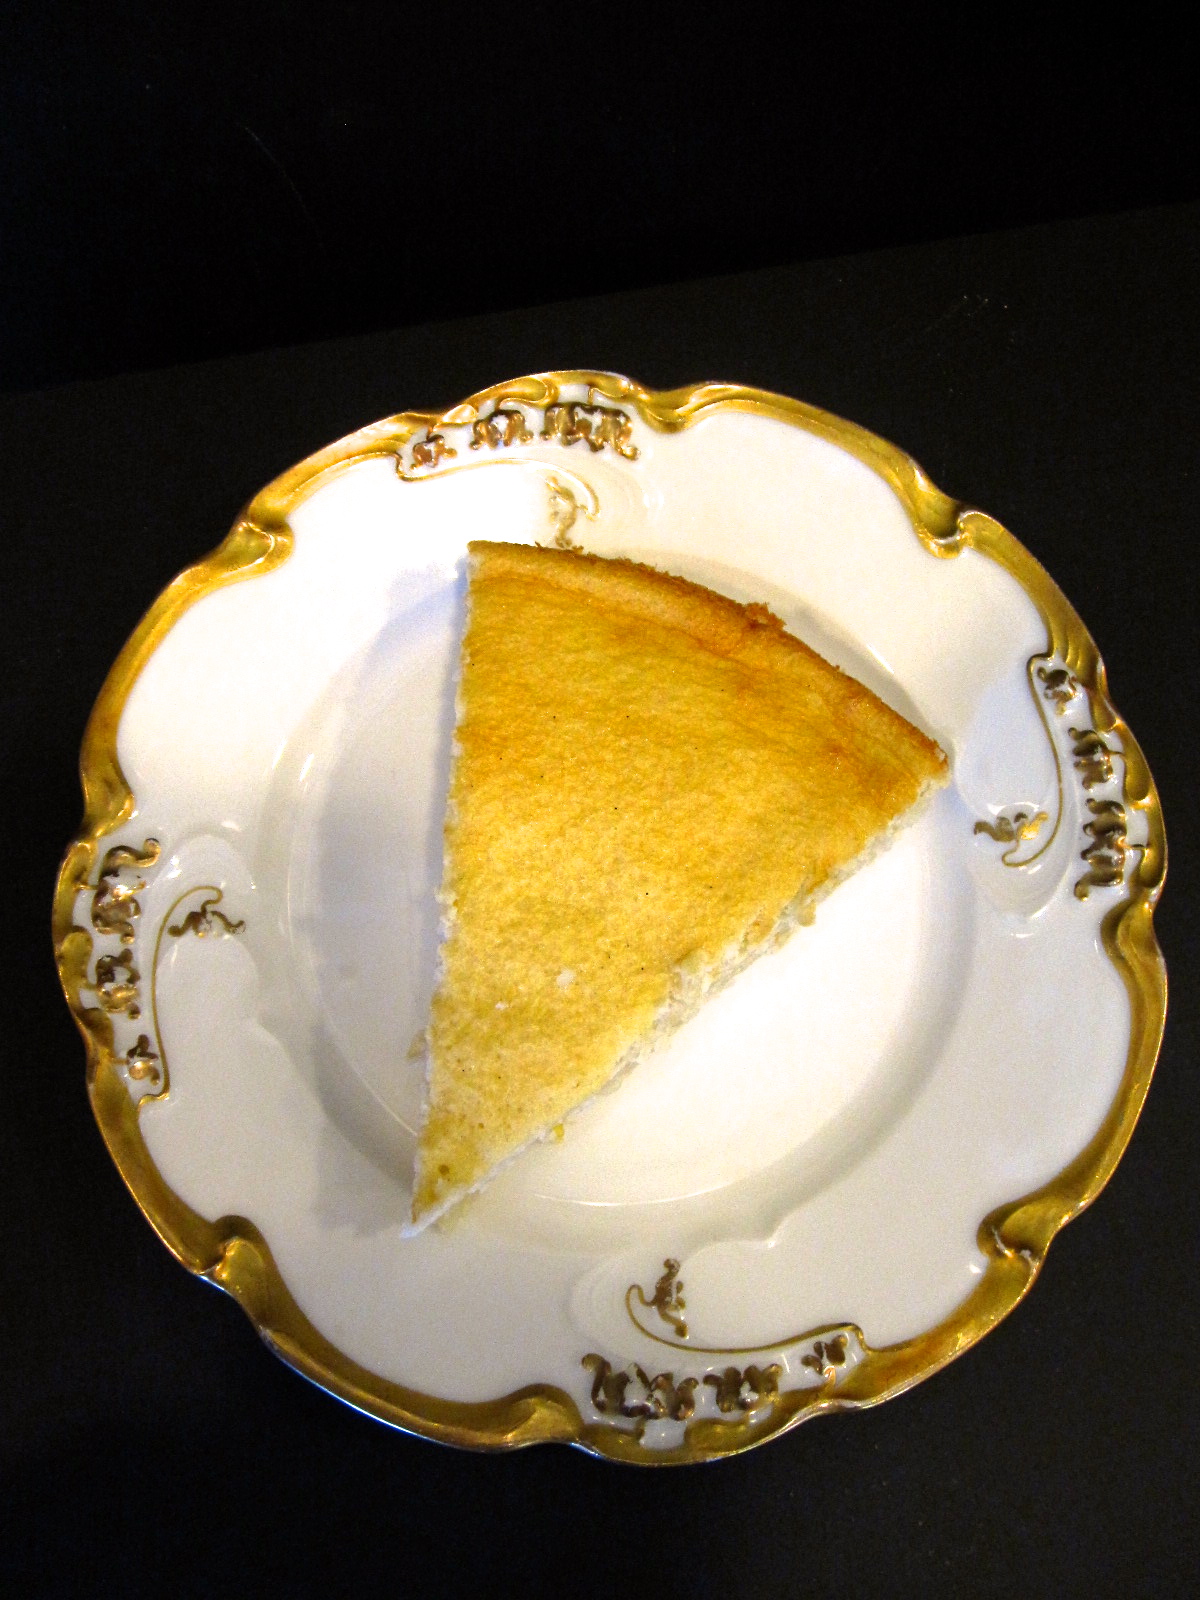
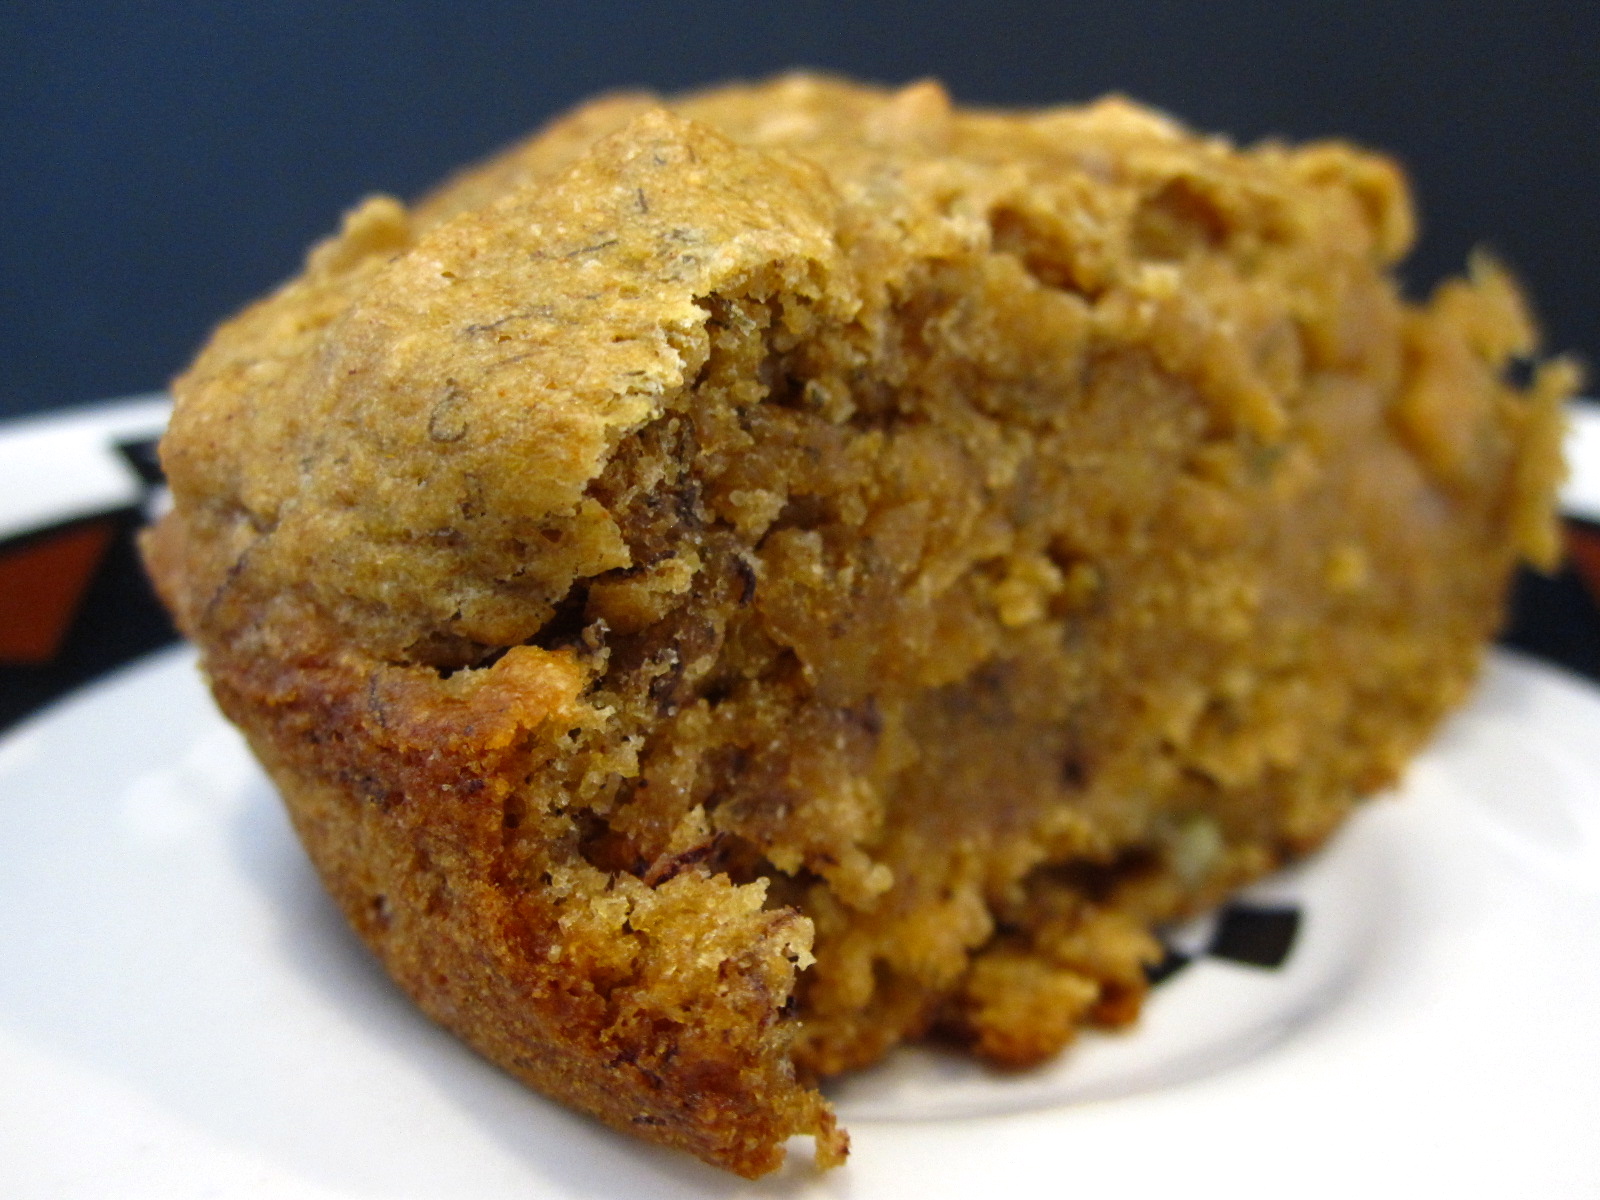
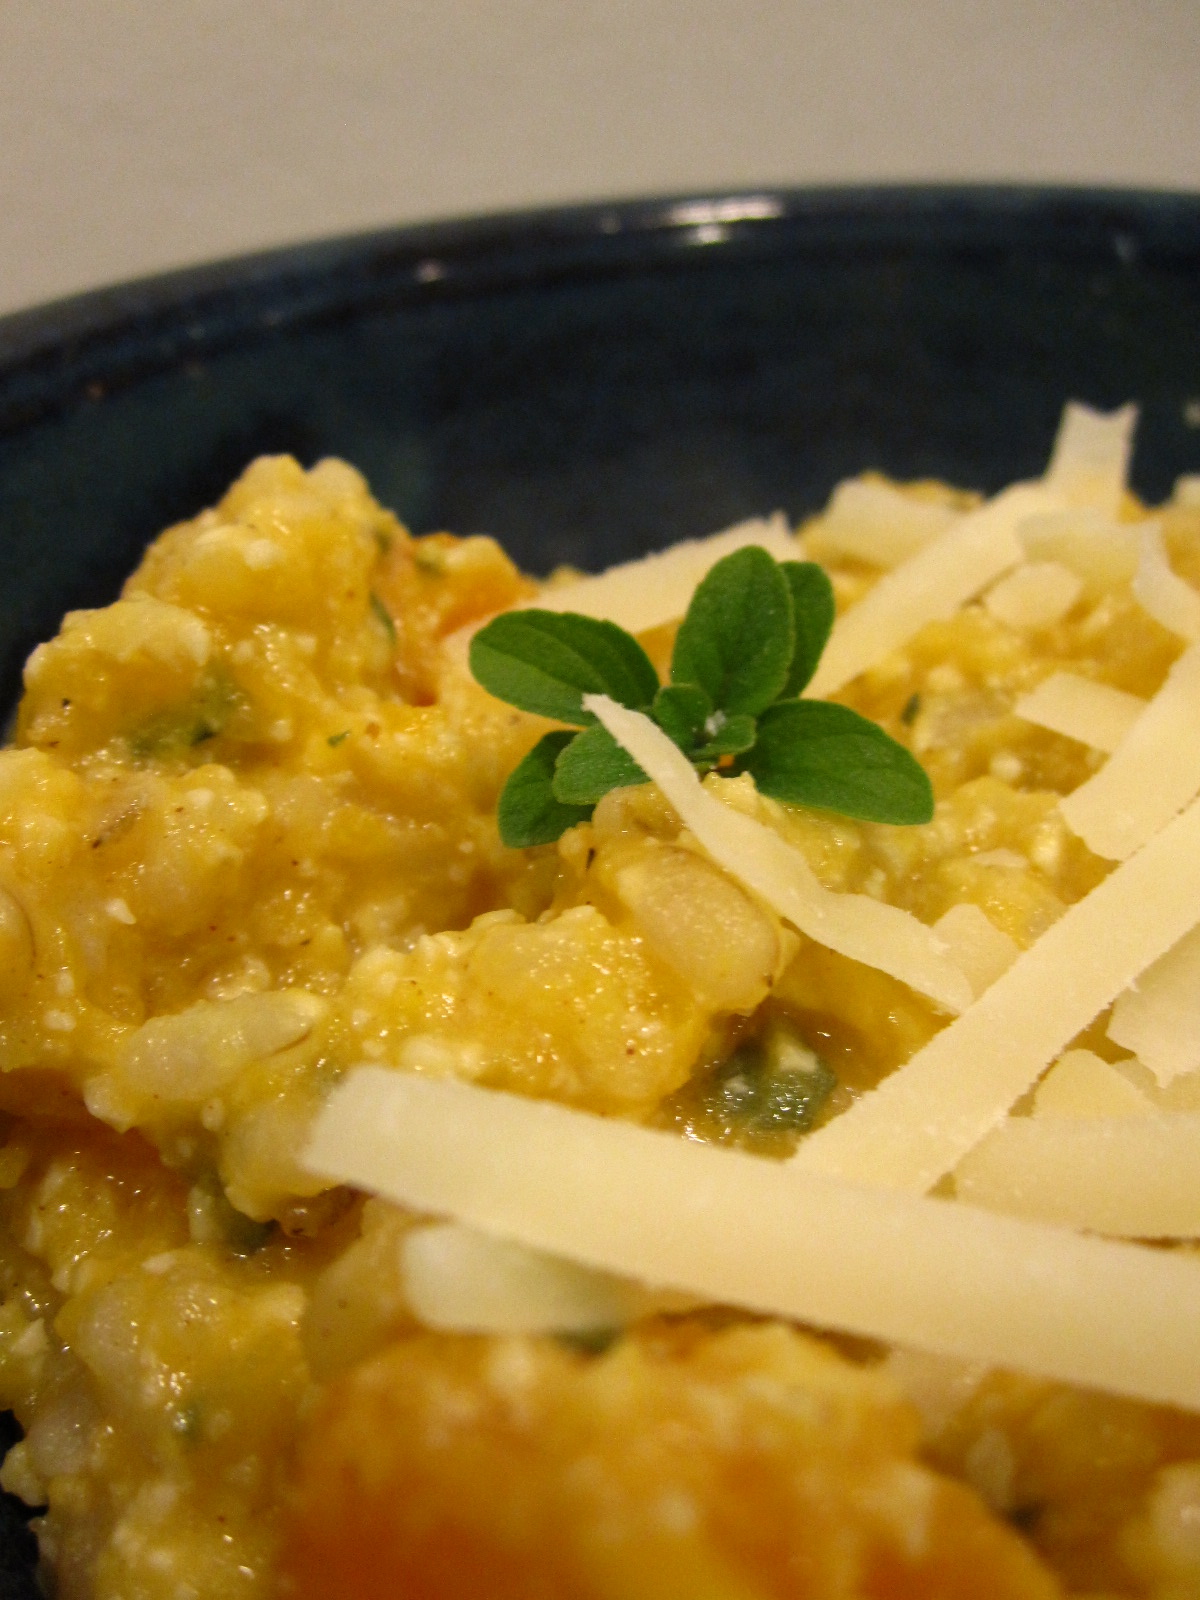
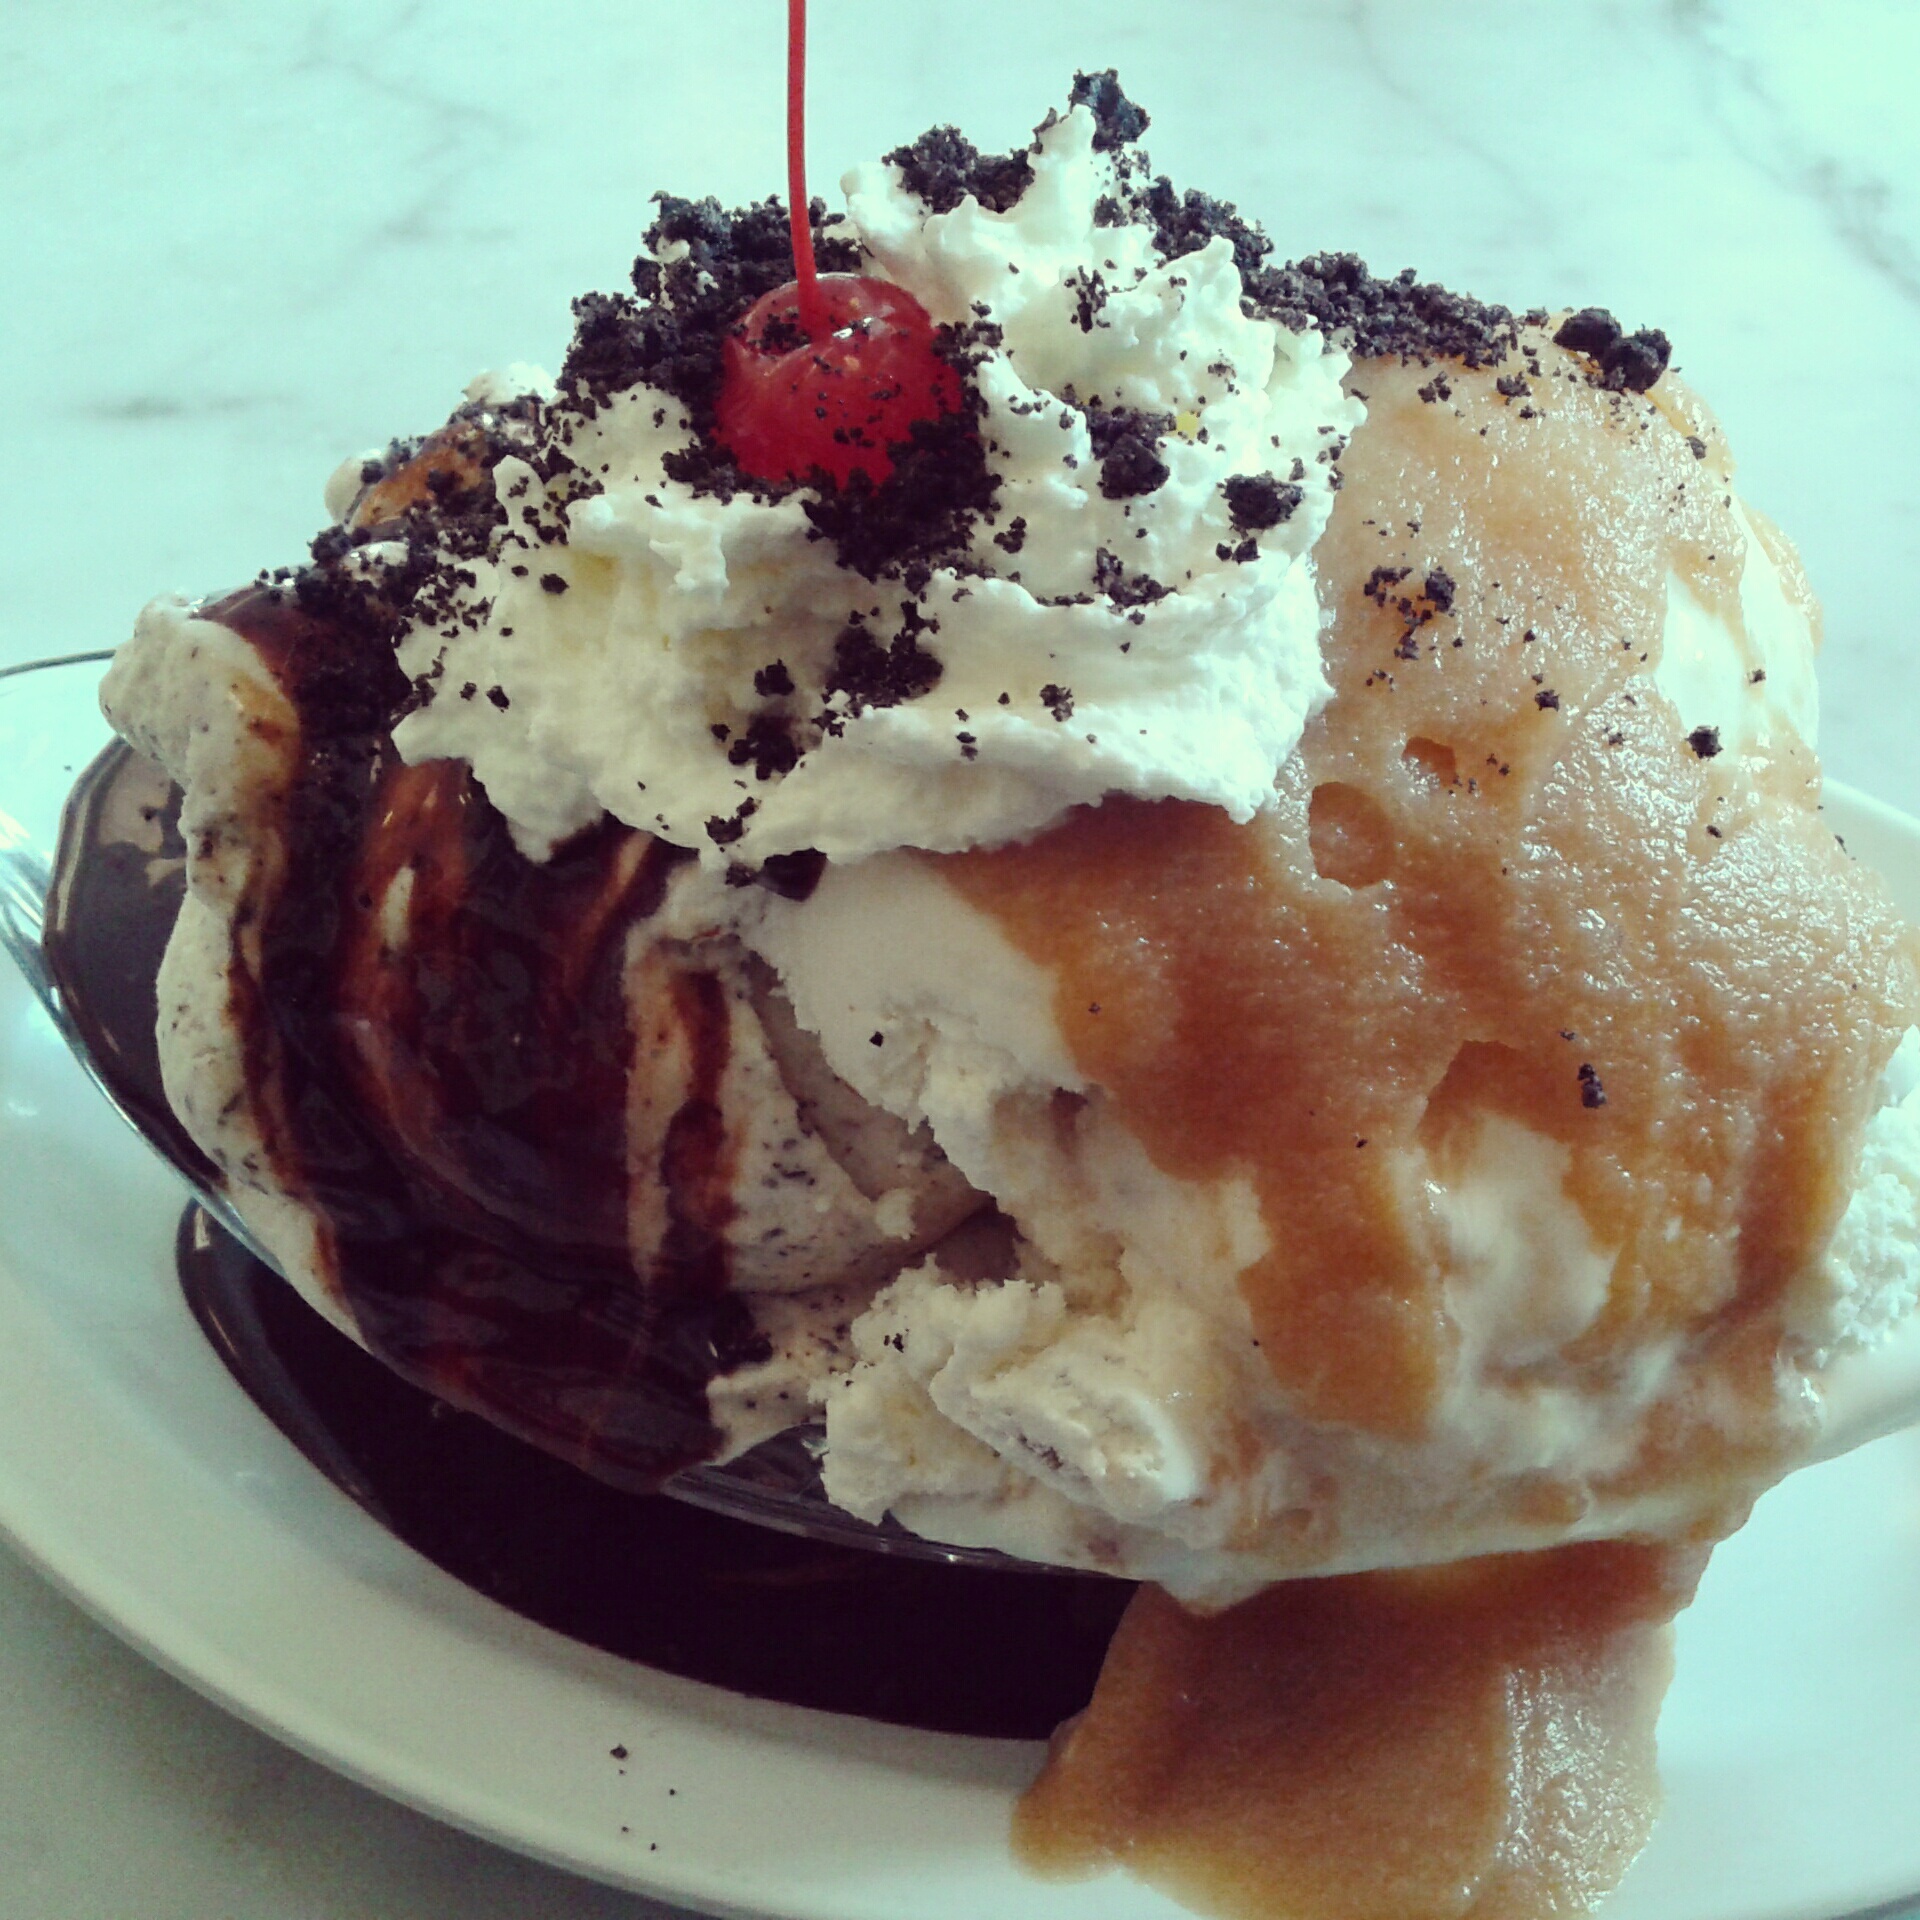
2. You know that Oscar Wilde quote I always toss around, “Everything in moderation, including moderation”…? Yeahhhhh. About that moderation thing. Out the window it went on Tuesday when I went to Fenton’s and ate this food coma-inducing wonder. Luckily I split it with Vacuum Vati or else I might be dead by now, ha. This was moderation in moderation in action:
and then.
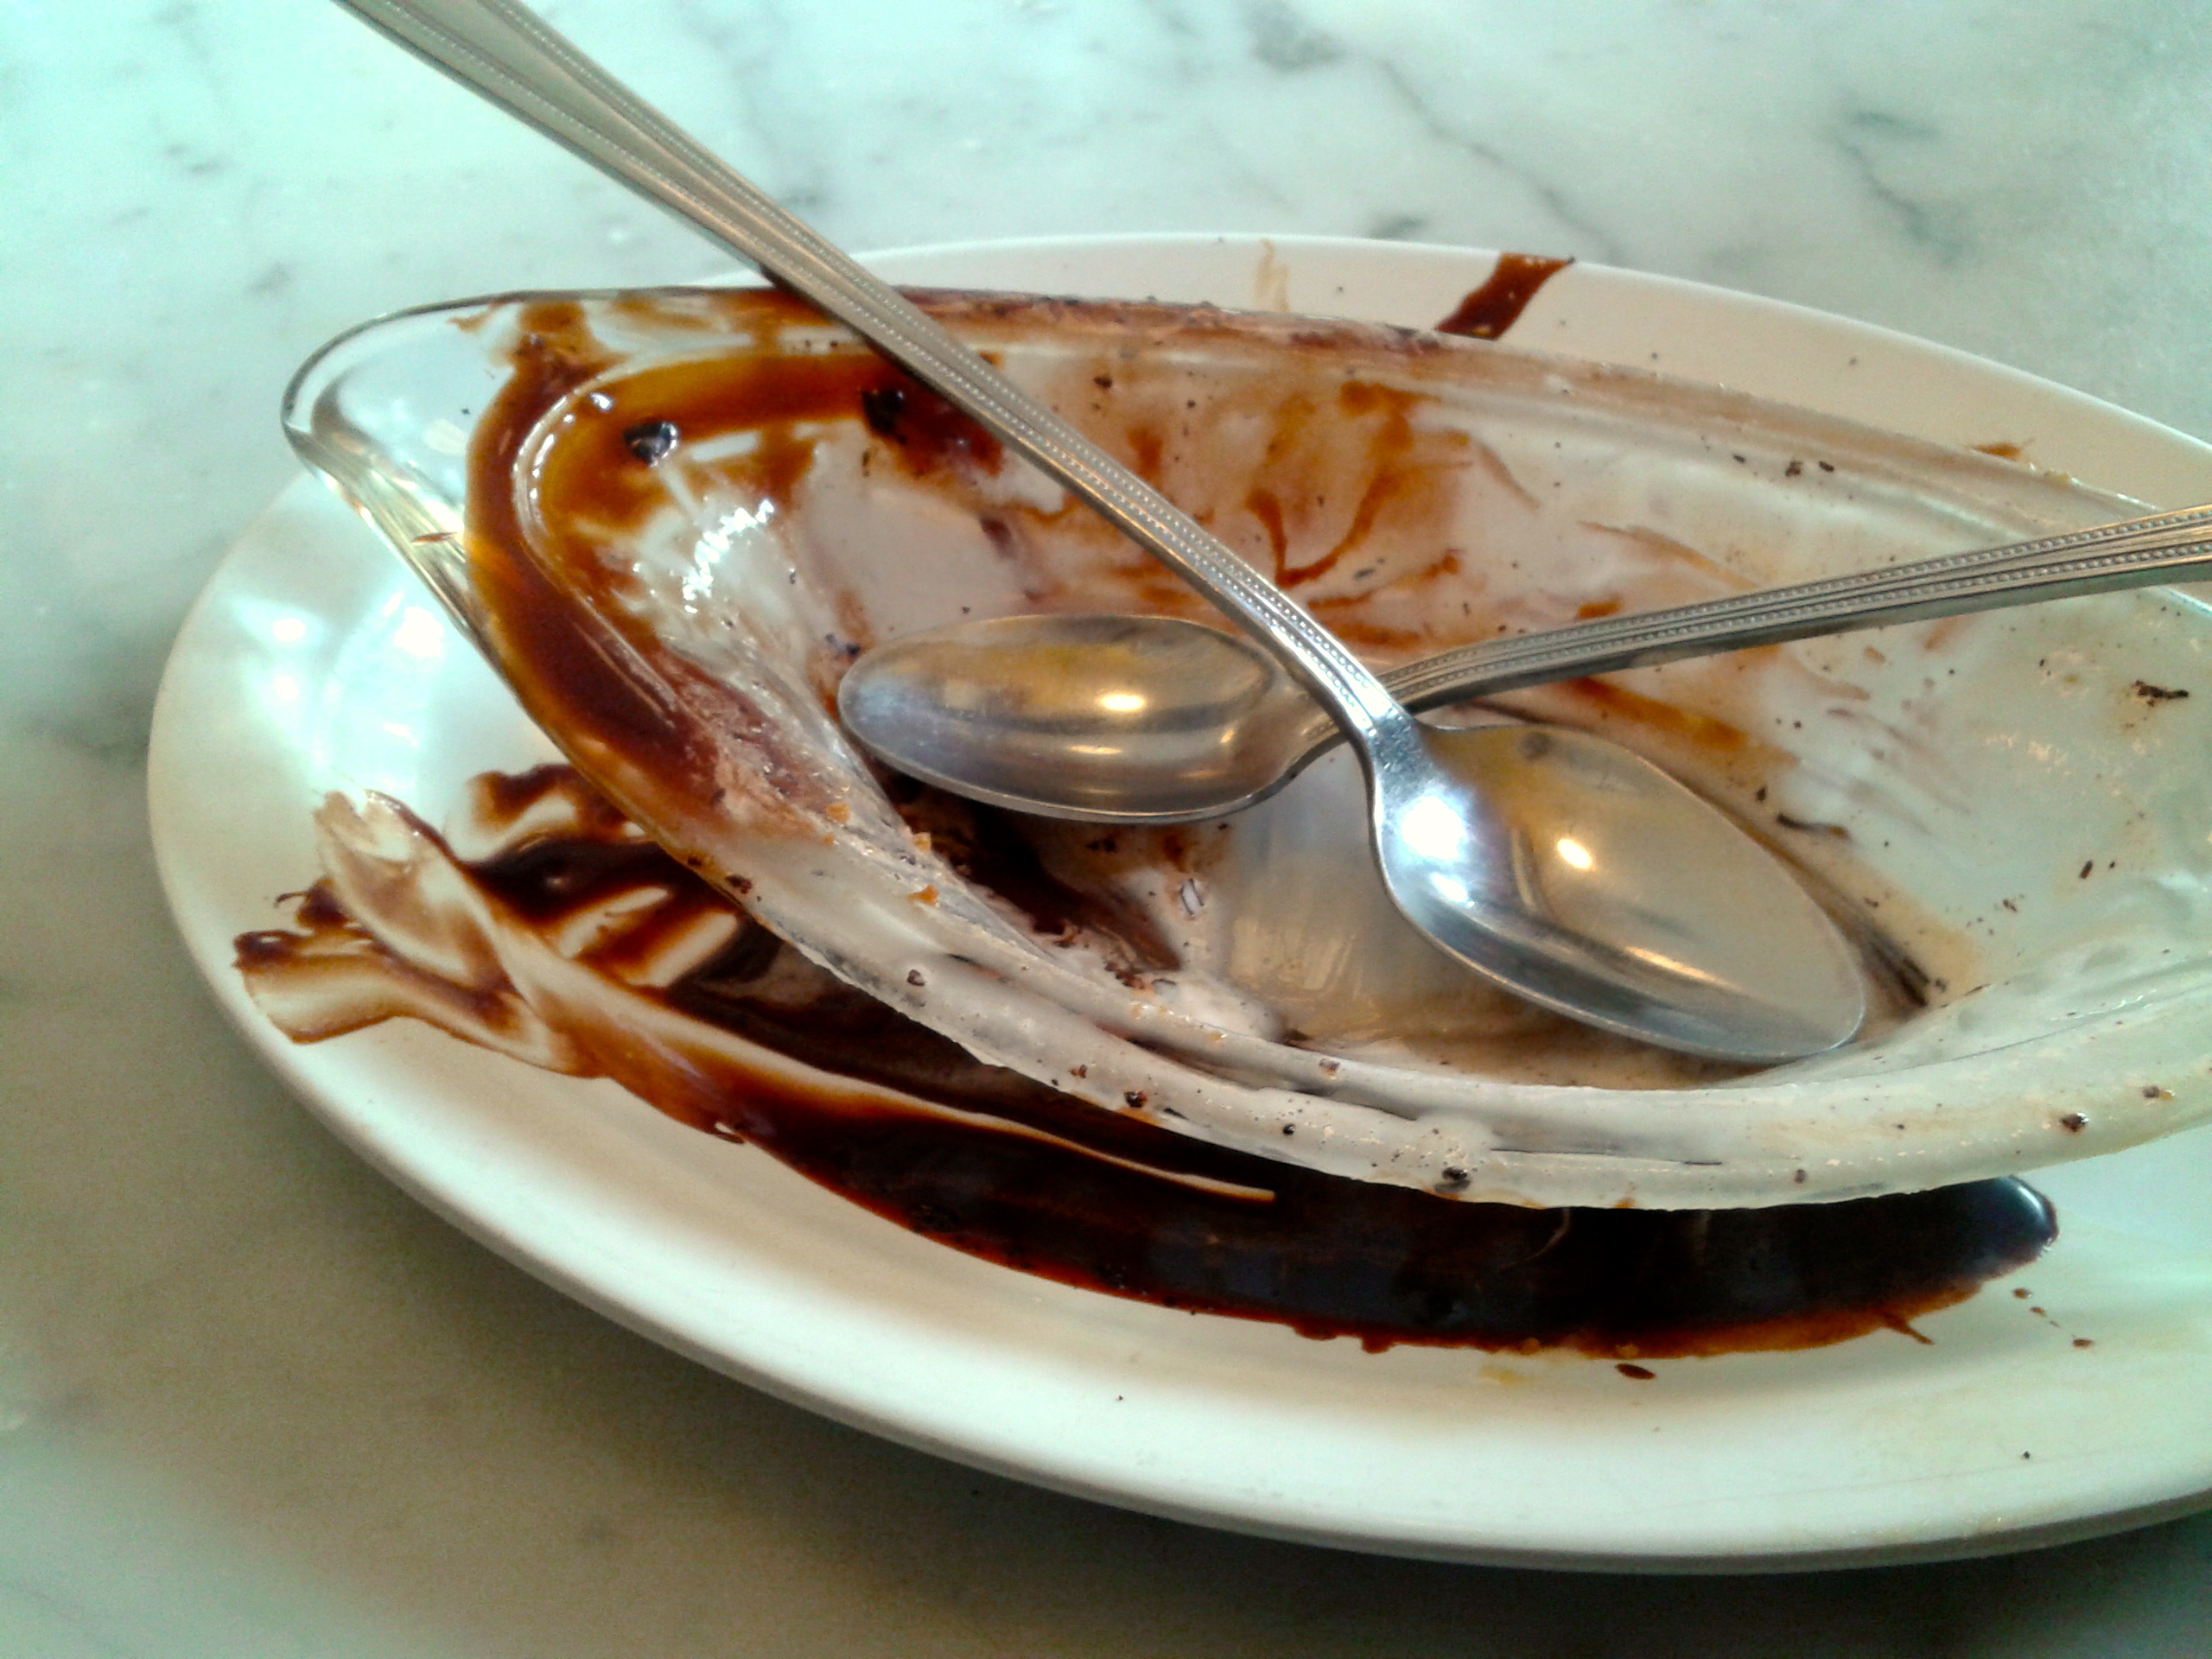
muahahhaha.
3. And then last week I ate this: bourbon cornflake ice cream with bourbon caramel and tahitian vanilla ice cream with slivered, sweetened almonds. Thank you, Humphrey Slocombe, for sending me to gastronomical heaven.

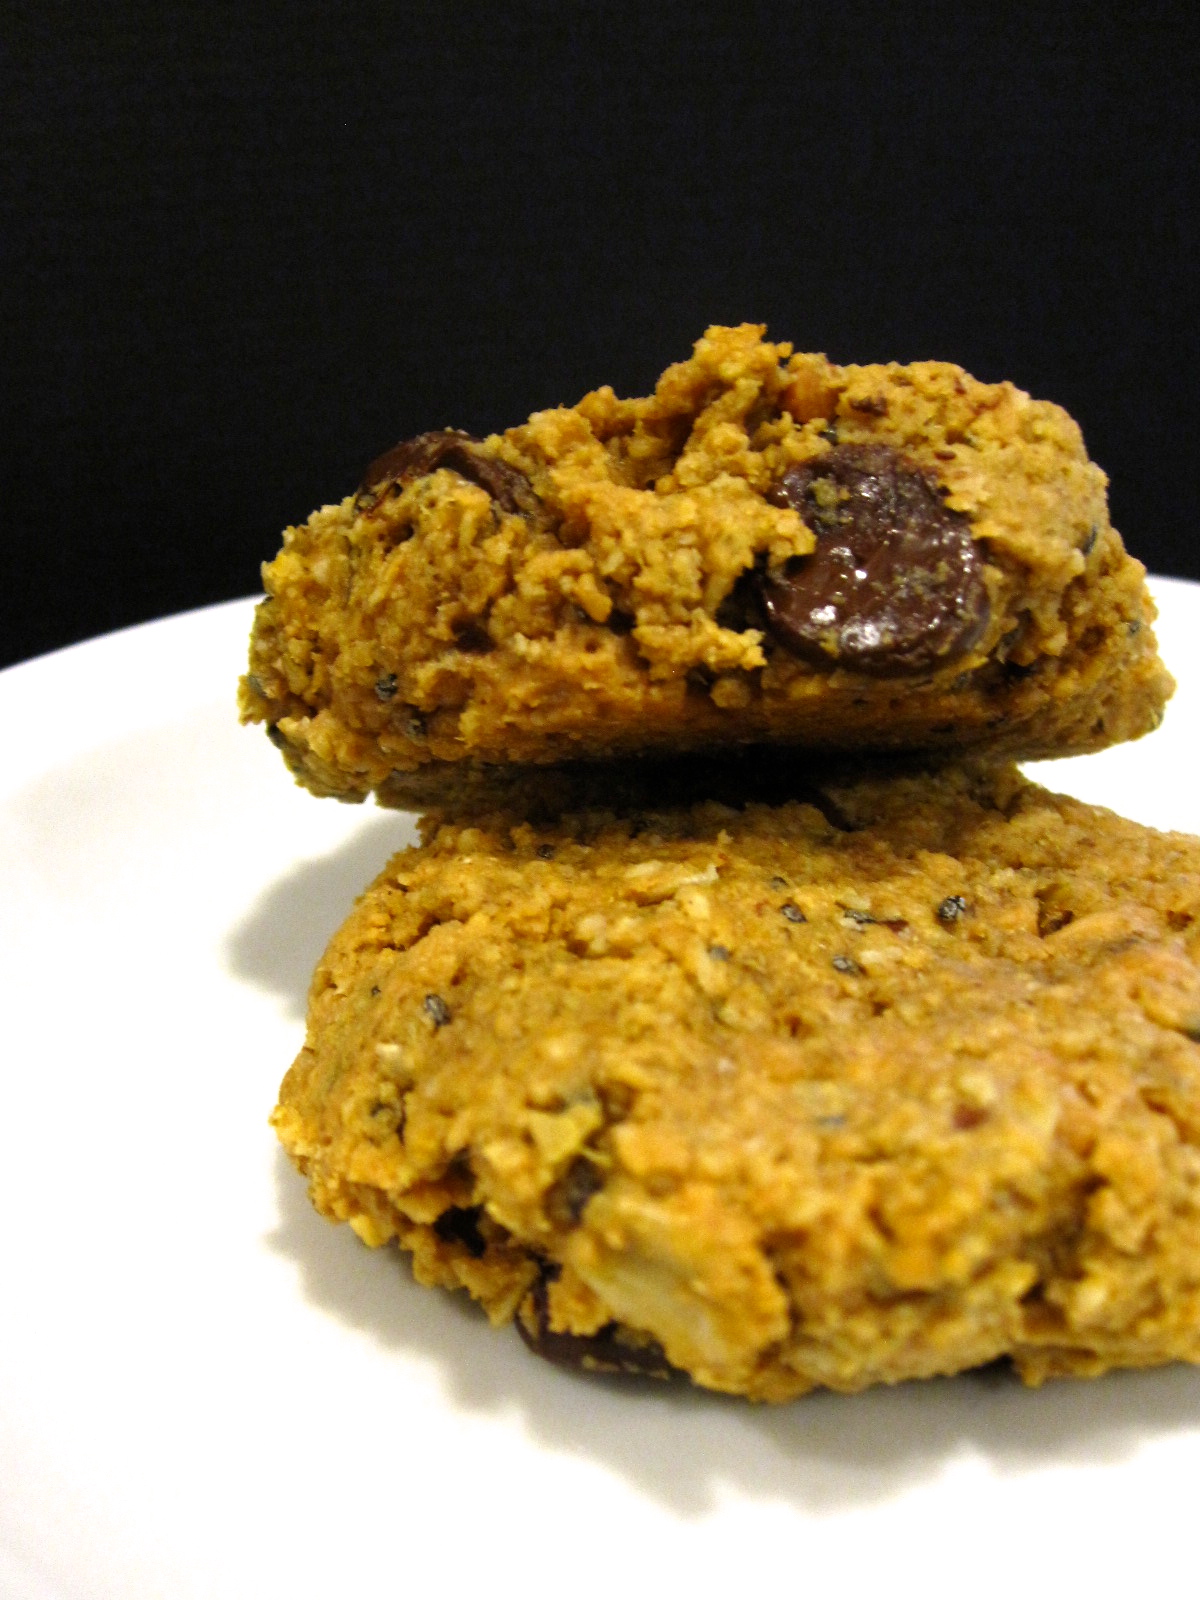
4. AVO!!! I made paleo cookies to use up the last of my coconut flour. They were… ehh. As much as I love coconut, I just can’t get past the sucks-all-the-moisture-out-of-your-mouth grittiness of coconut flour. It’s okay… but ehhhhh is really how I feel about it.

5. I really like architecture. Juuuuust saying. Neo gothic seems to find me everywhere after my thesis, but I can’t say I’m sorry: it’s like finding an old friend wherever I go!

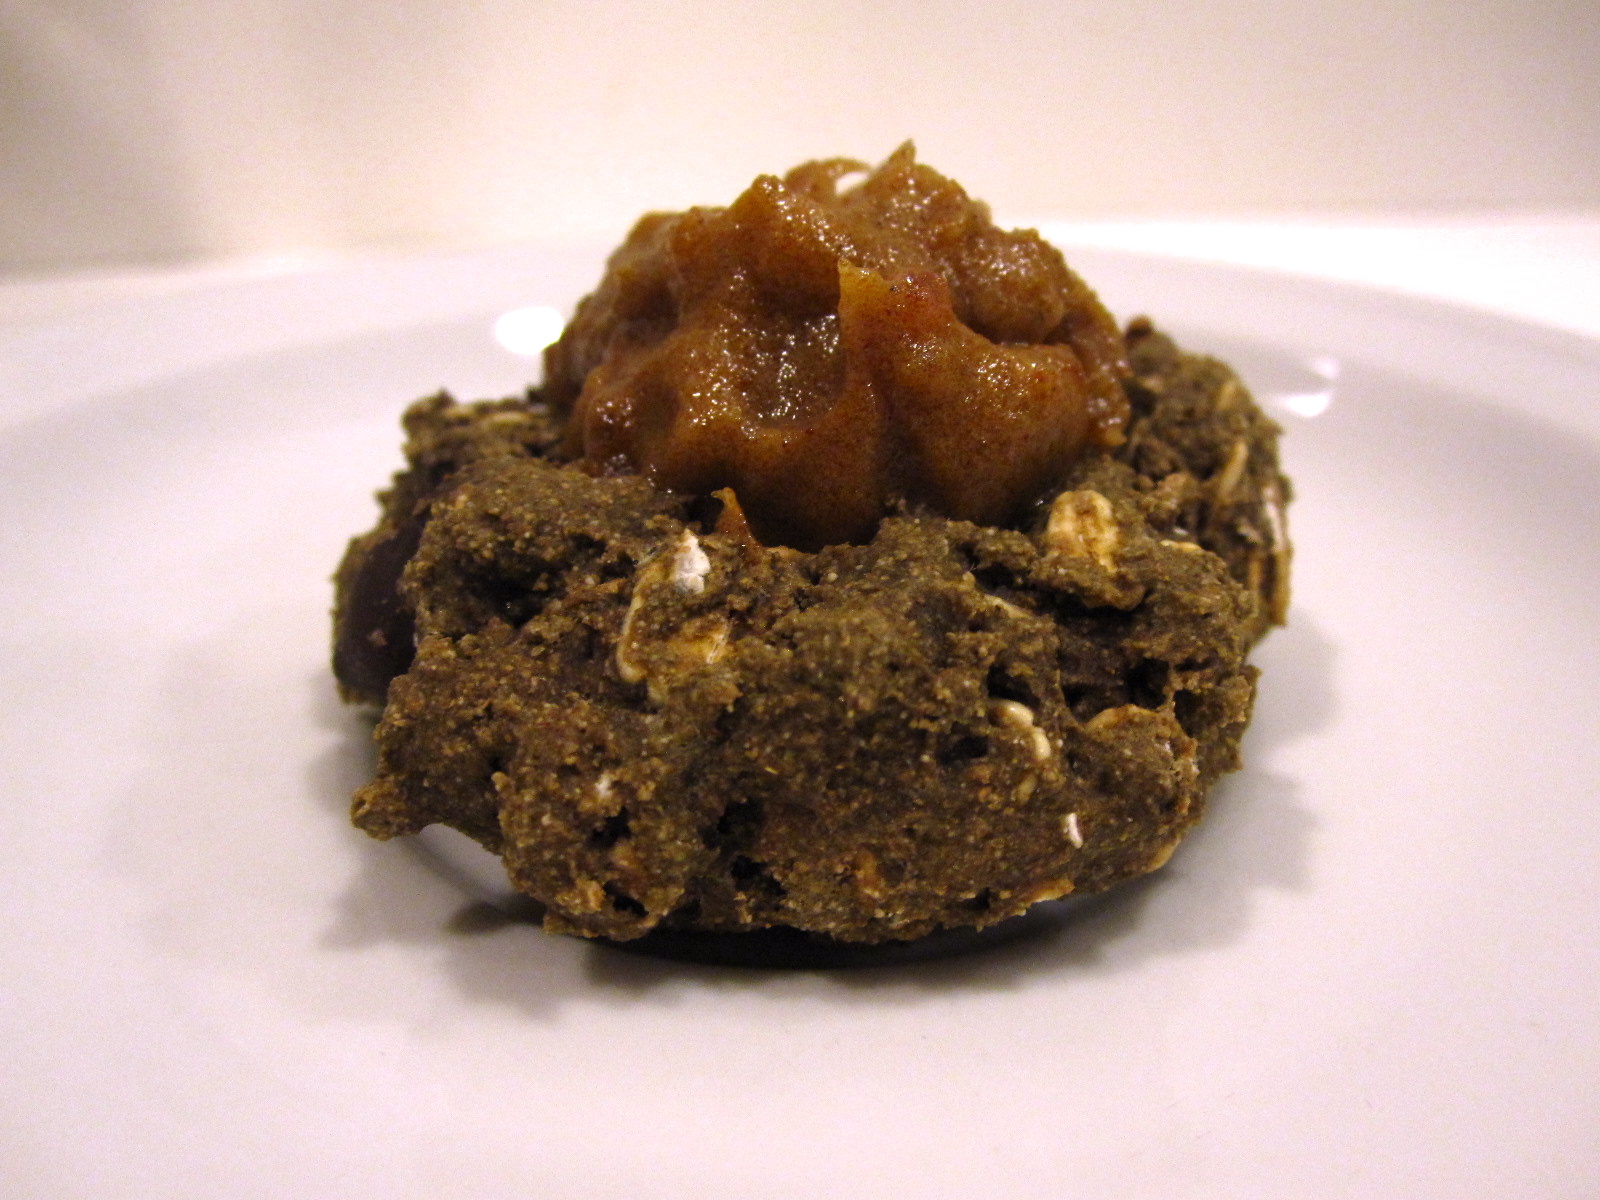
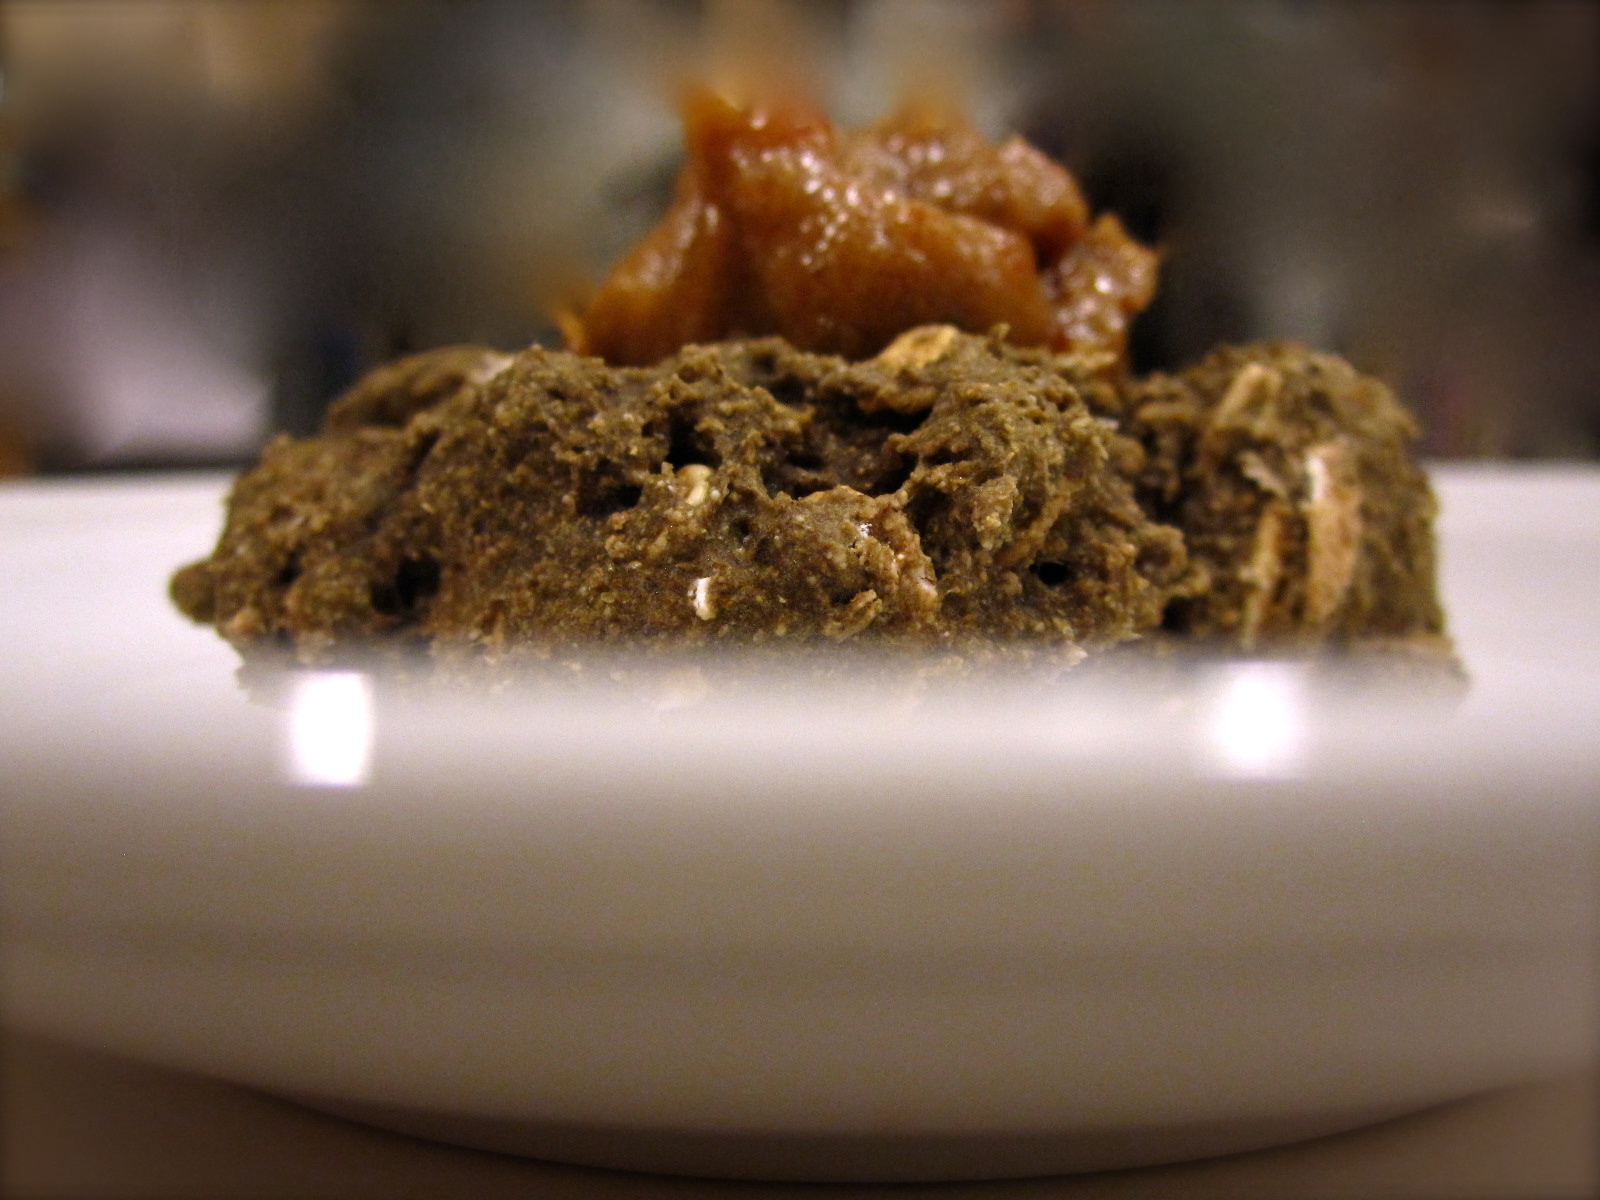
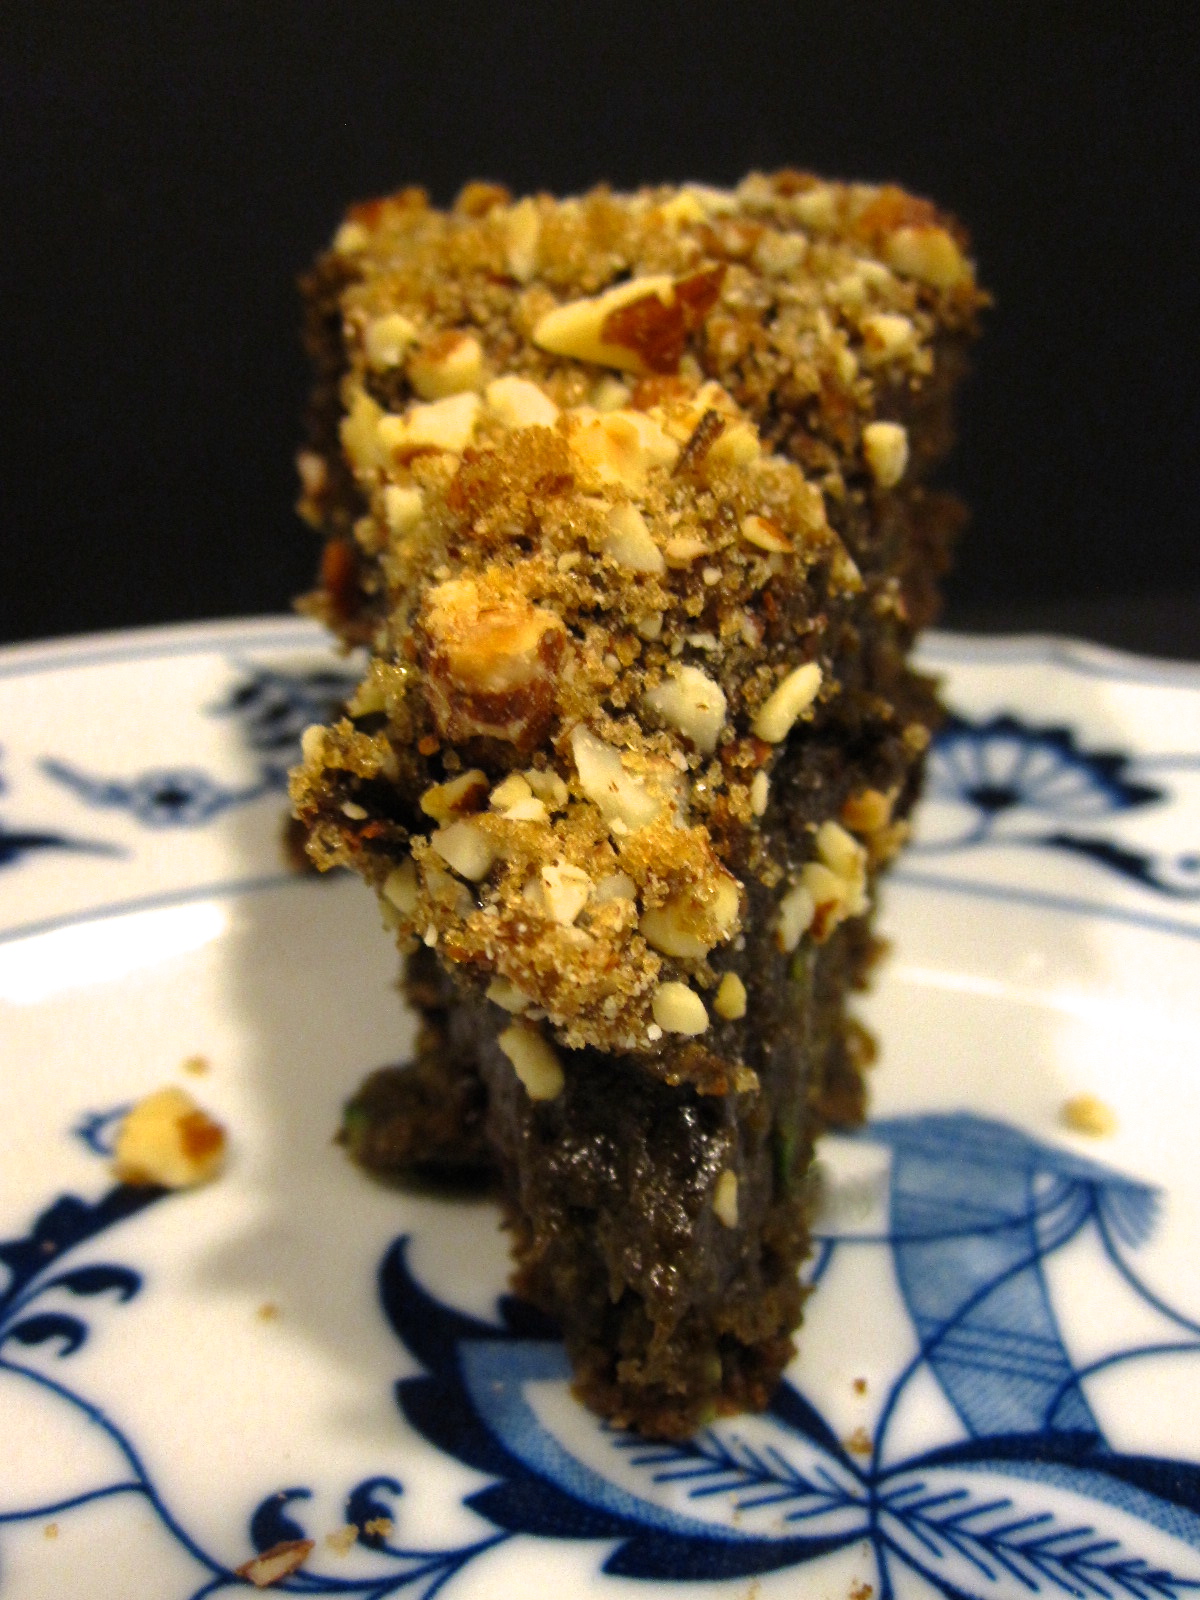
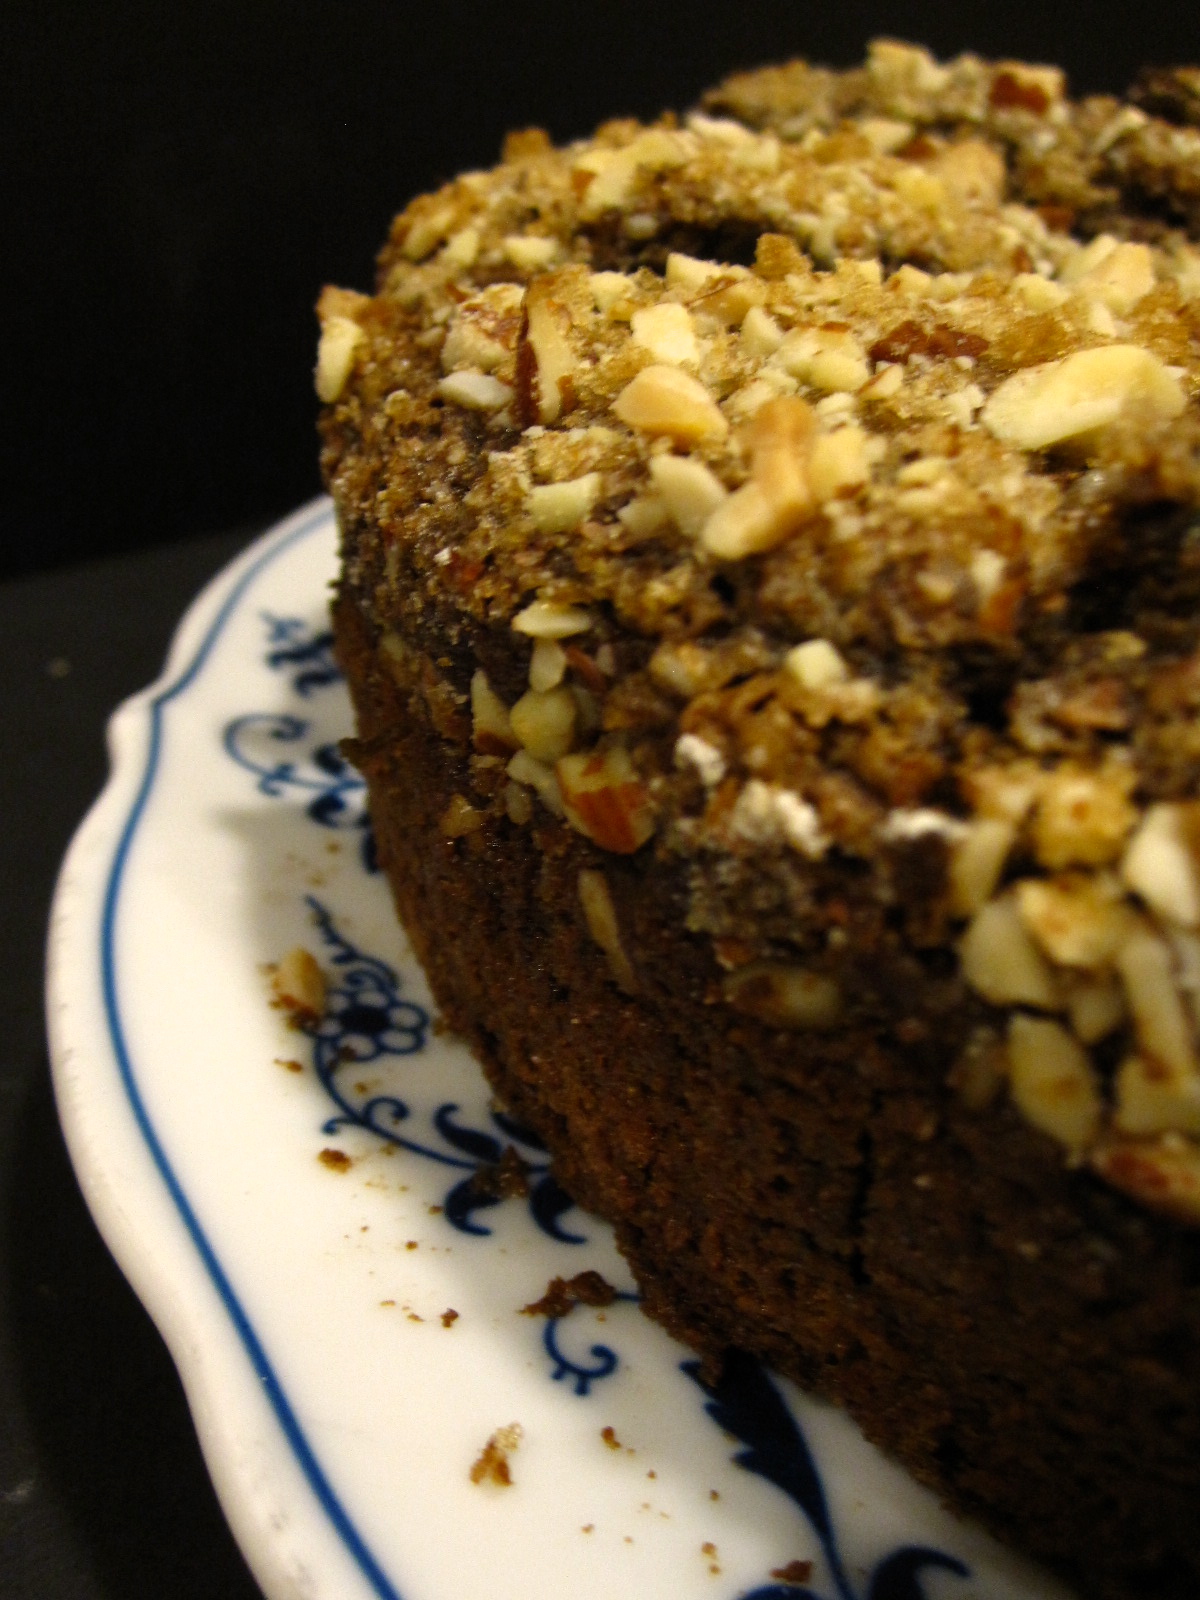
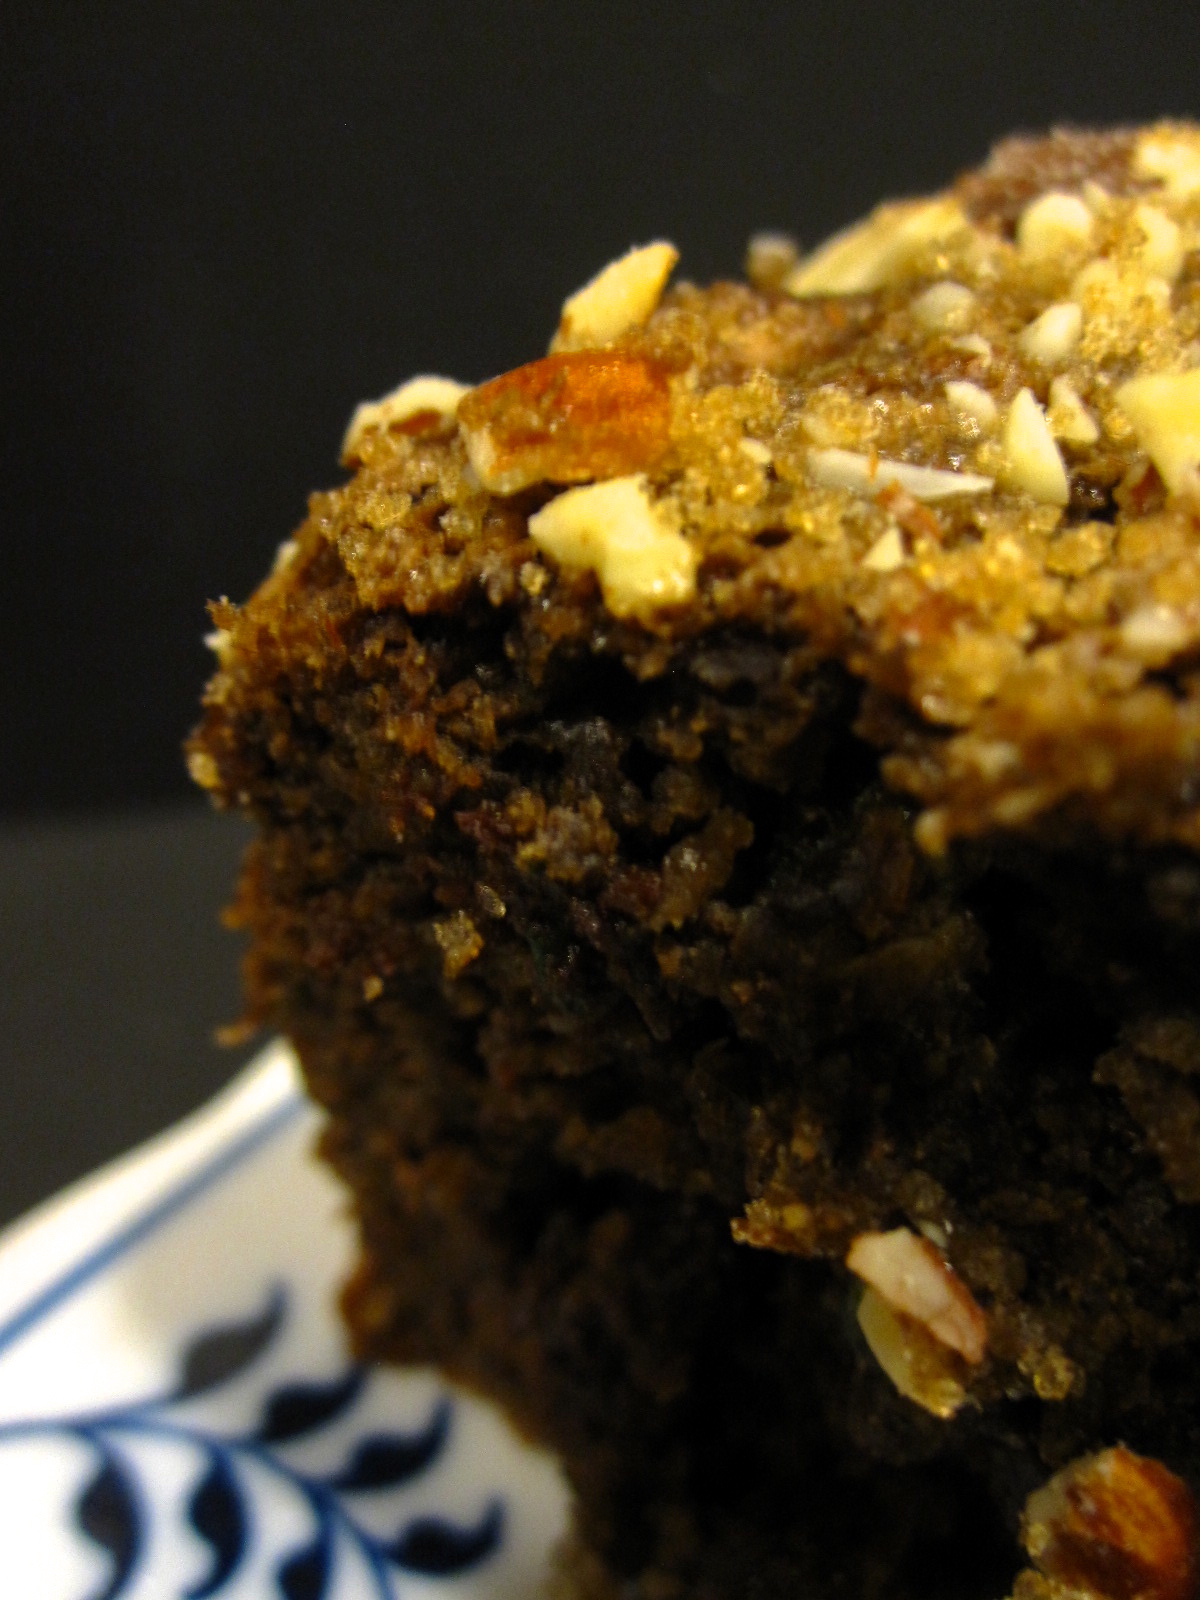
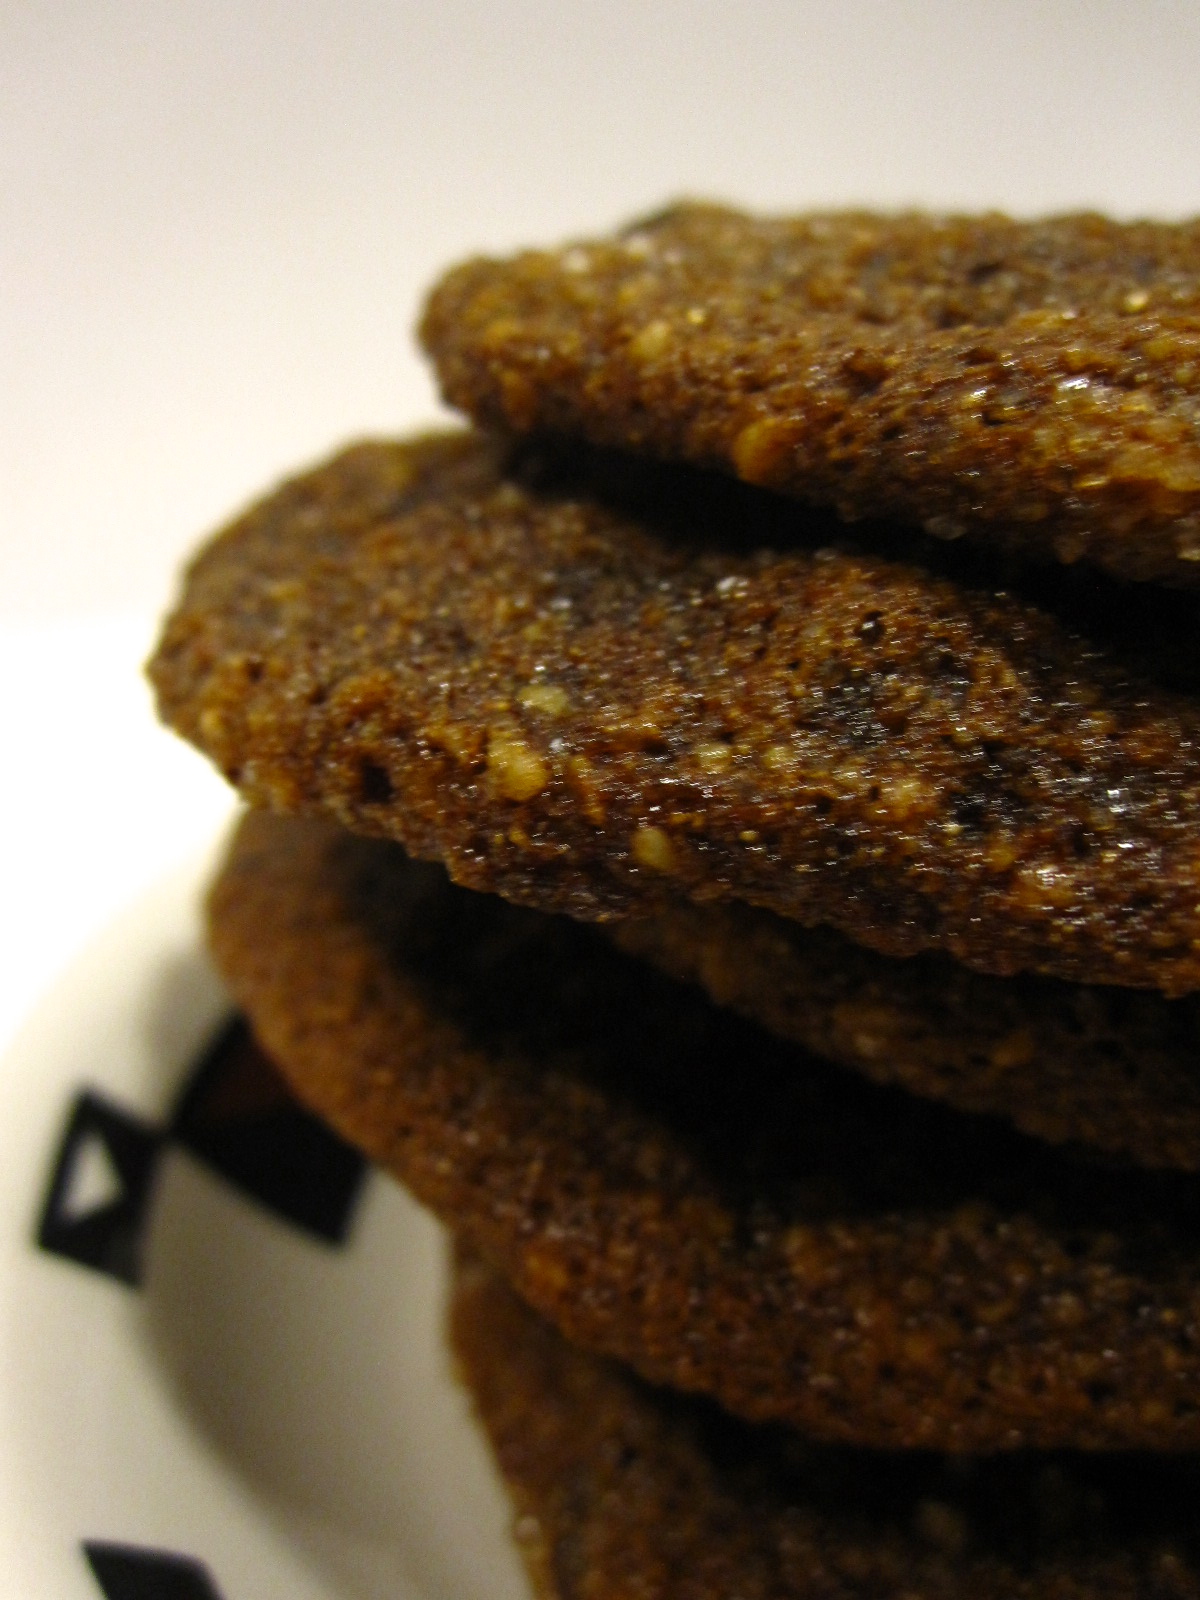
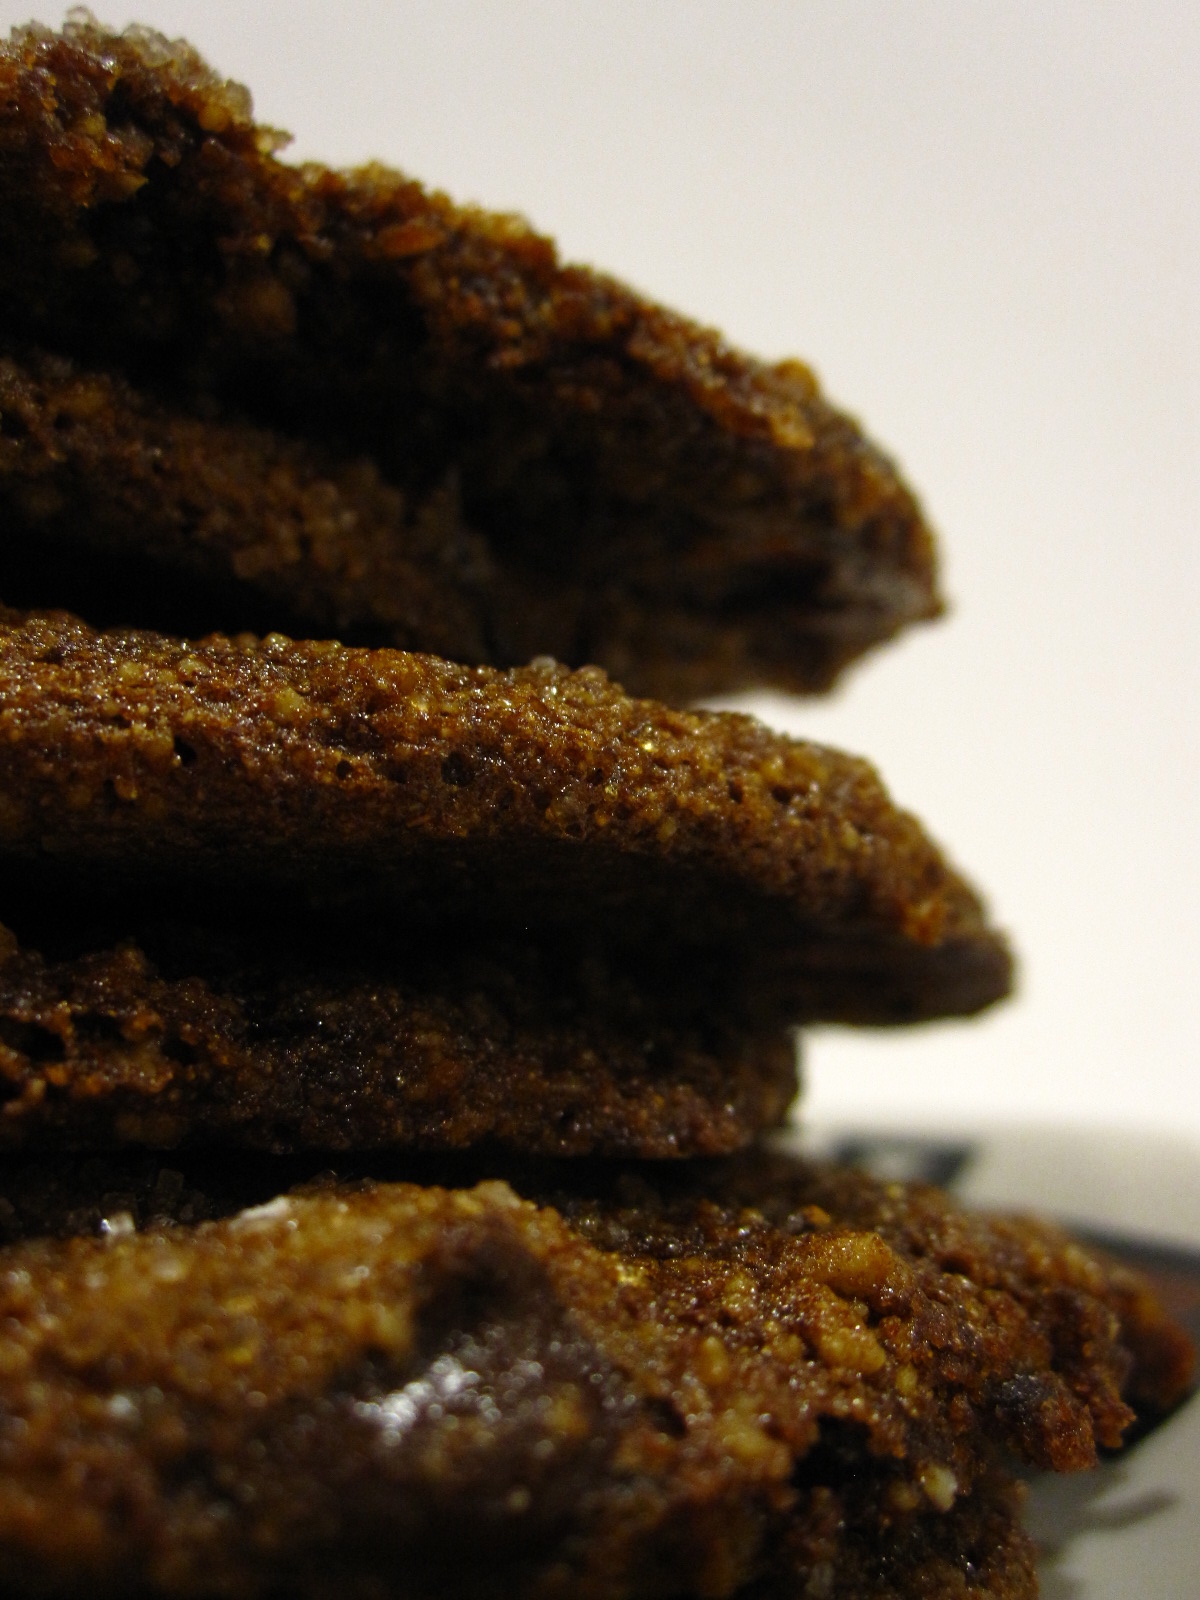
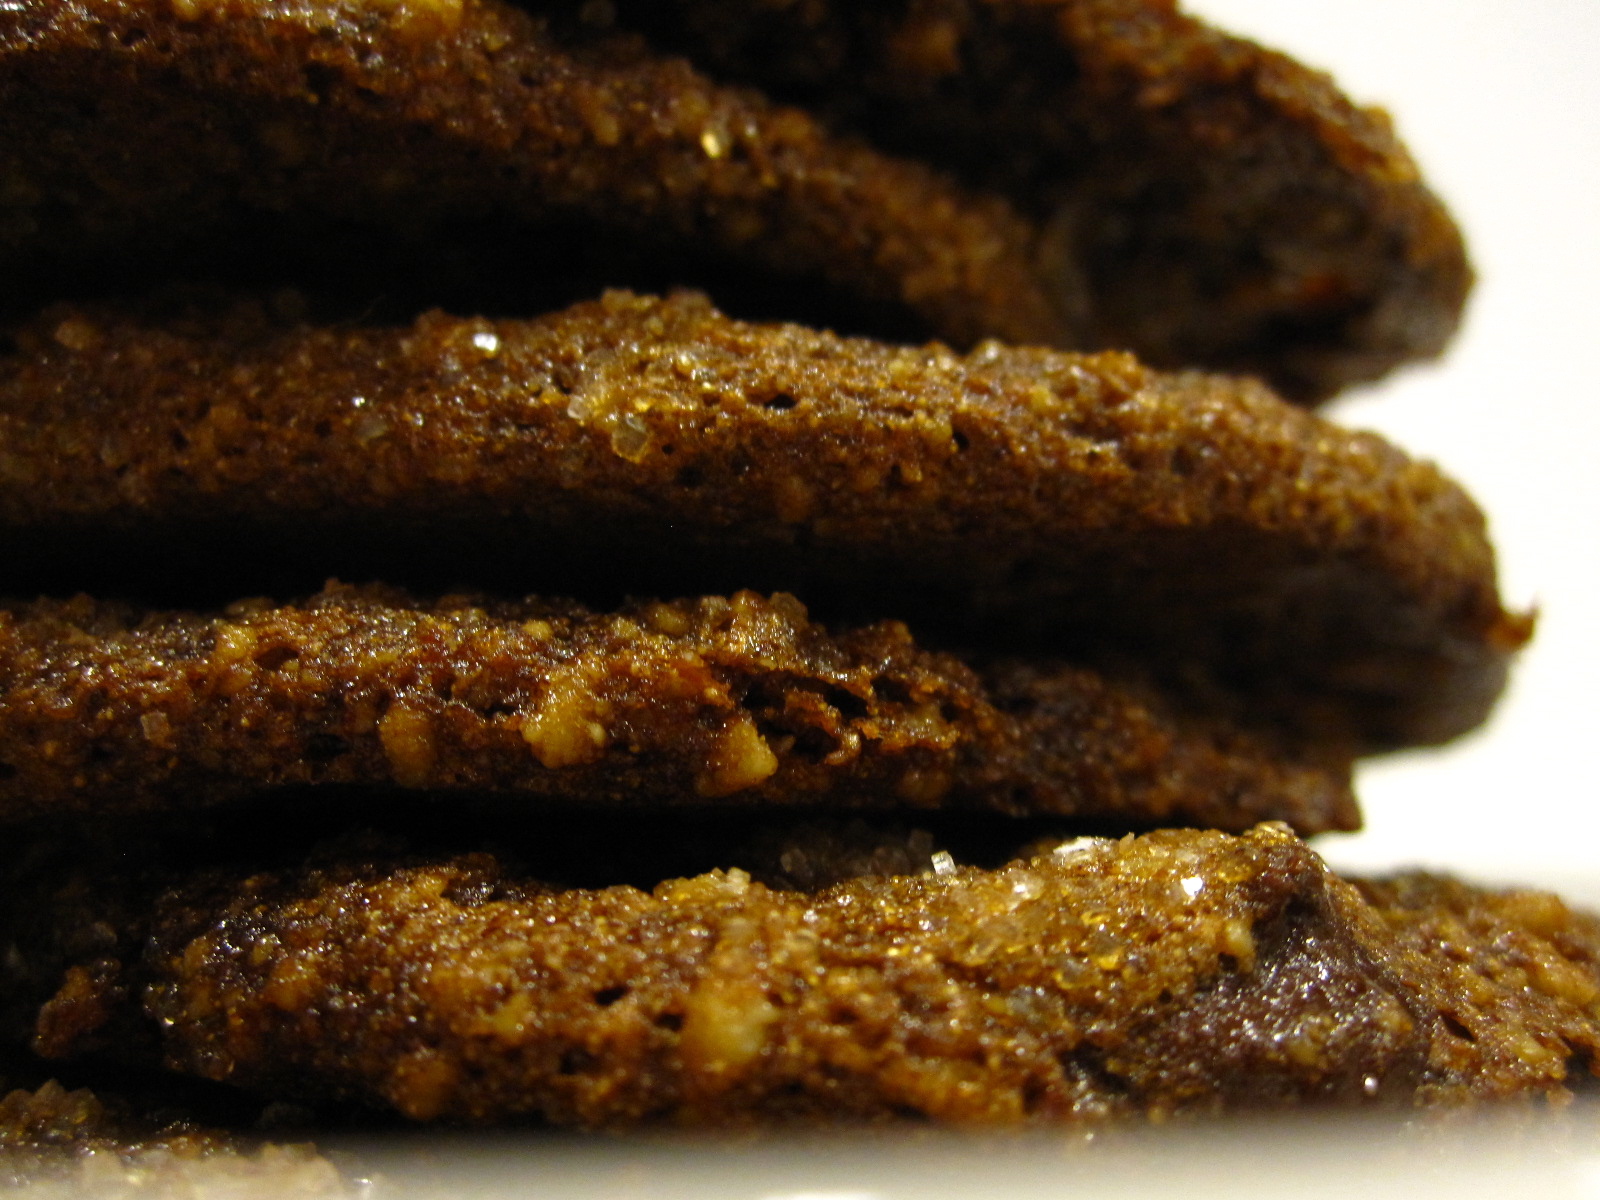
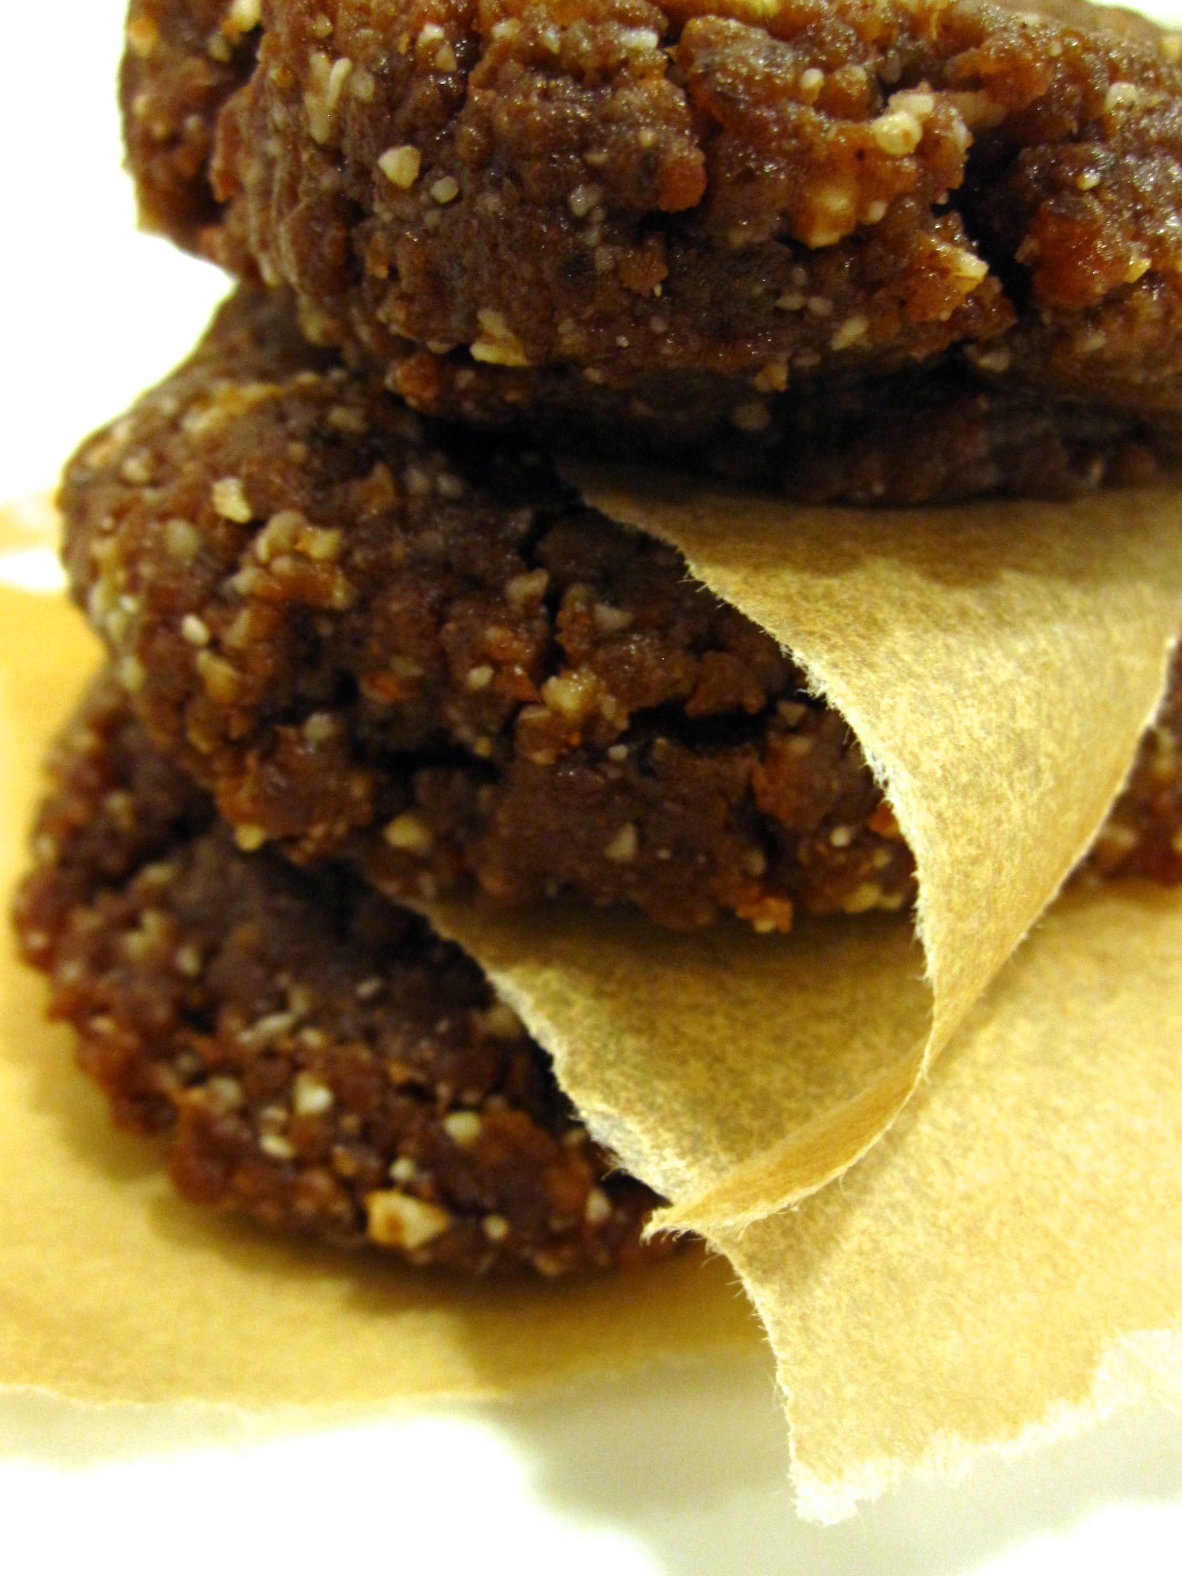
6. OHMYGOSH. I made the ehhh paleo cookies. AND THEN. I made… these. They’re amazing and amazing for you. Make them. (Just as long as you’re not allergic to nuts please). I want them for second breakfast since it’s nine and I’ve had eggs and spinach already. Time for cookies, obviously…
7. One last thing. Um… Downton Abbey?! Helloooo, what a horrible way to end the season. Couldn’t we have just had a nice ending to the SERIES, with everyone all happy and whatnot? Jeez. At least my favorite Machiavellian meddler is still alive and sarcastically kicking—I’d seriously have to quit watching the show if Maggie Smith left. I think I now have sympathetic post-partum depression. Ugh. At least Mad Men is starting up again in April (!!!)… I’ll attempt to fill the gaps between wildly addicting tv shows somehow… more baking perhaps?!

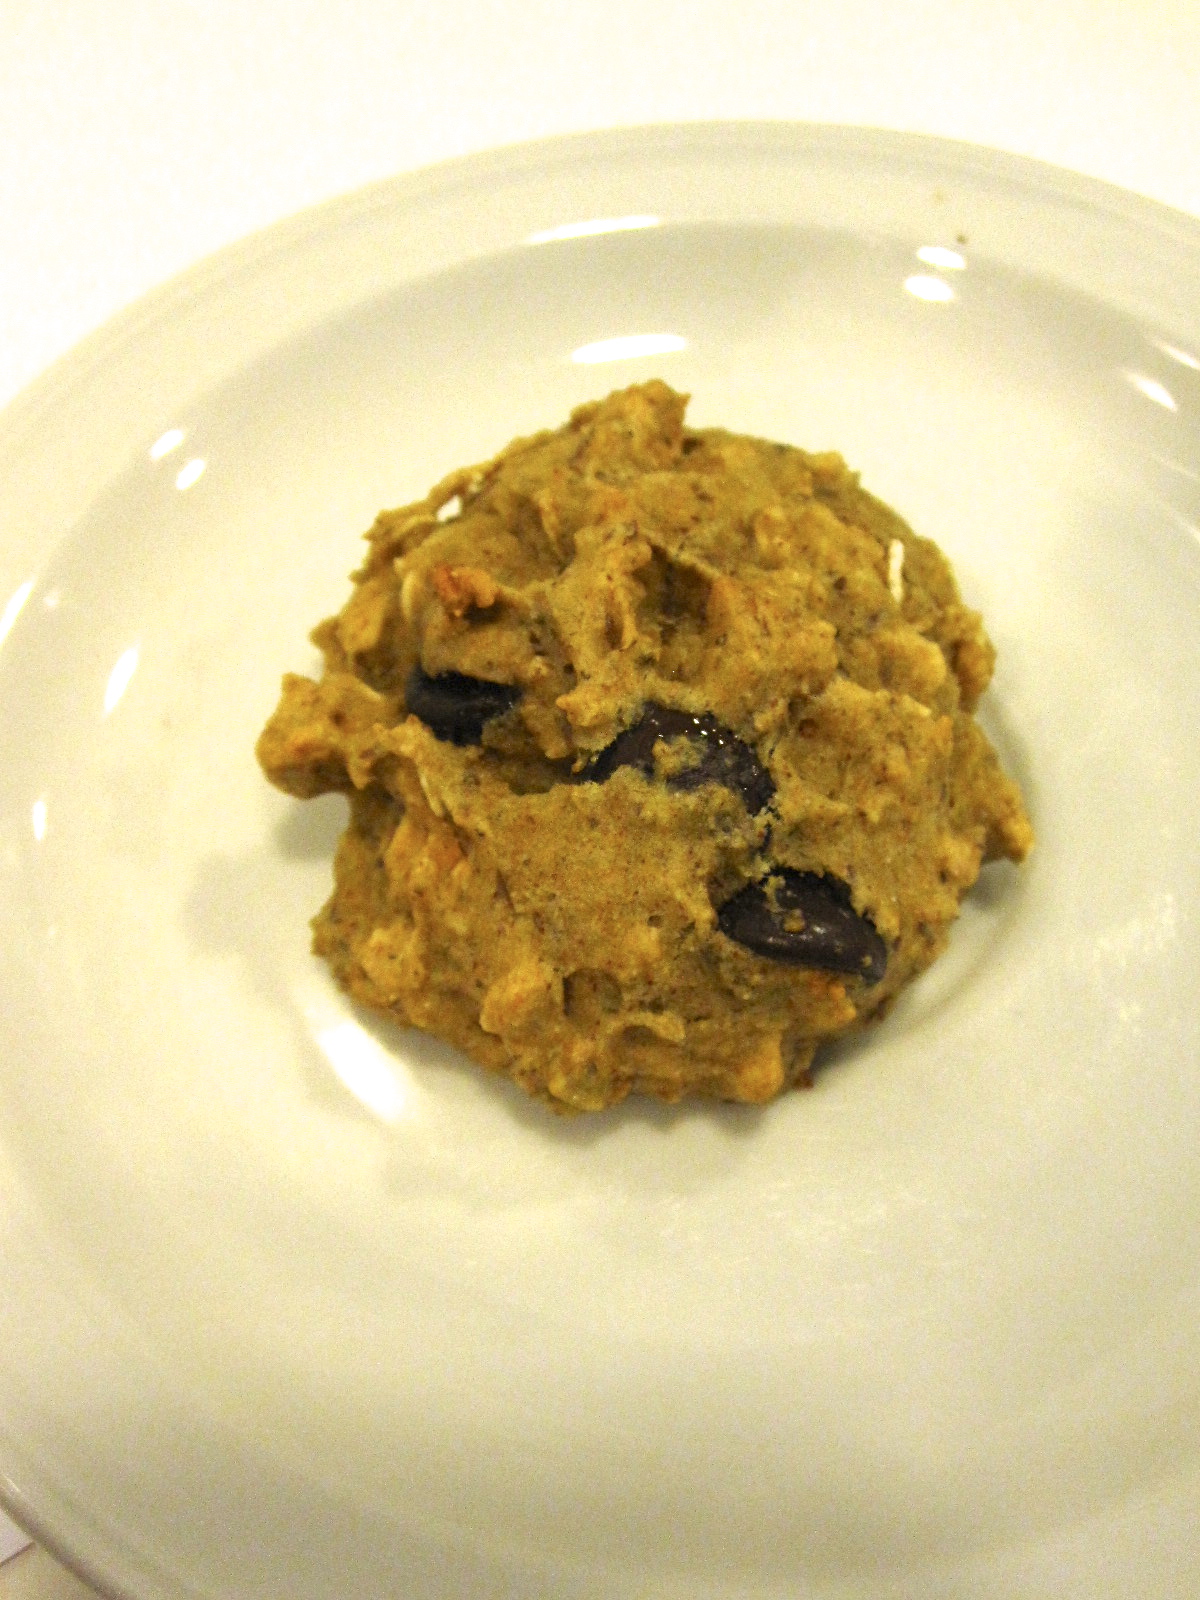
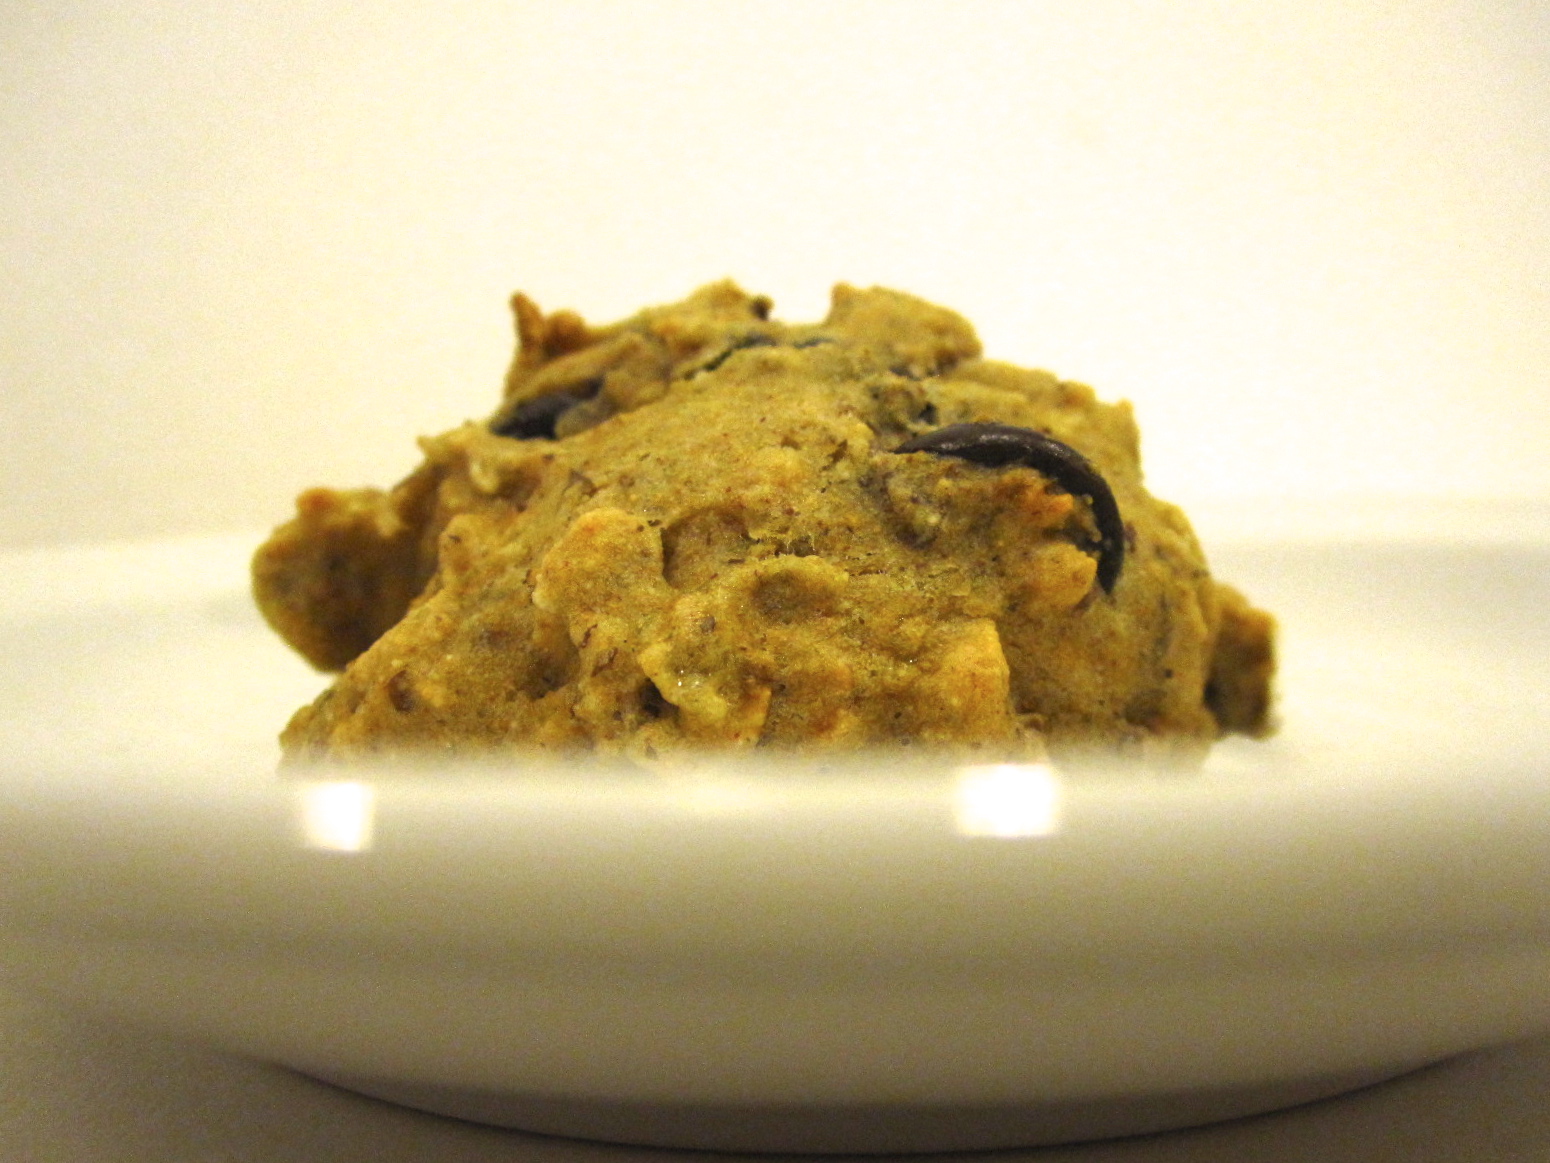
Chocolate-Date Almond Butter Cookies (No Bake)
The recipe is from Vegetarian Ventures, here! Sooo glad I came across it, these are freaking amazing. Especially with date caramel on top! You can never have too many dates. These cookies are raw, no bake, and vegan (and gluten free!). They’re full of healthy fats, good protein, and antioxidants… annnndddd all they have is natural sugars! No added or refined anything, which means they’re a snack/breakfast/dessert you can eat and love! I got 11 2″ish cookies.
Whatcha need:
- 1/2 c raw pecans
- 1/2 c raw almonds (mine were already partly ground)
- 1 c dates, pitted and soaked in water for about 15 minutes
- 1/2 c unsalted organic almond butter (I used Maranatha)
- 1 oz of dark chocolate, melted
- 1/2 tsp cinnamon
- 1/2 tsp nutmeg
- 1/4 tsp sea salt for a garnish
This is beyond easy, no excuses:
After dates are finished soaking, chuck everything into a food processor, and blend until smooth. Mine went for probably about 3-4 minutes, or until the “dough” forms a bit of a ball. If needed, add a little bit of water (I didn’t and mine stay together fine). Here’s where you get to play with your food! Roll dough into little balls and smoosh them out into a cookie-like shape… make a crisscross pattern with a fork if you’re feeling fancy, and sprinkle with sea salt. Or leave them as balls, up to you! Store in the fridge, in a sealed container with wax paper between the layers. I let mine chill for a bit before eating—they solidify into sort of a fudgy-consistency. Soooo. Freaking. Good!