The advent calendar of baked goods continues! TWO MORE WEEKS. Actually, less than two weeks. Let’s get to days, shall we? 13. And that includes weekends.
Also, the to-do list is finally getting smaller, which might account for the two types of baked things that emerged this weekend.
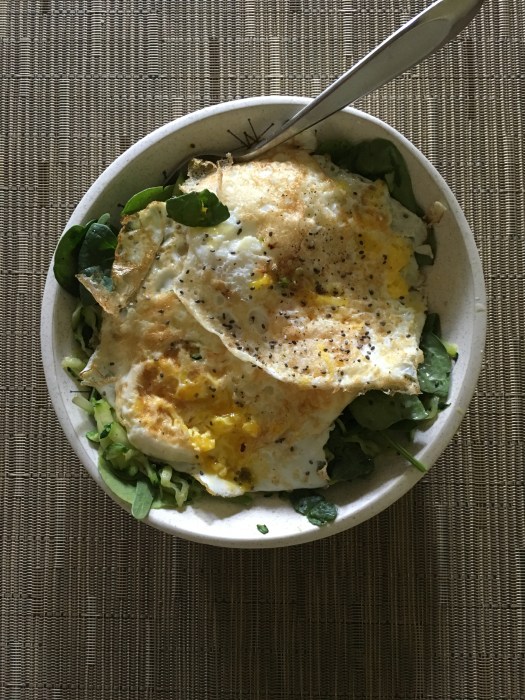
And eggs! Always eggs. These were especially pretty though, so… here they are.
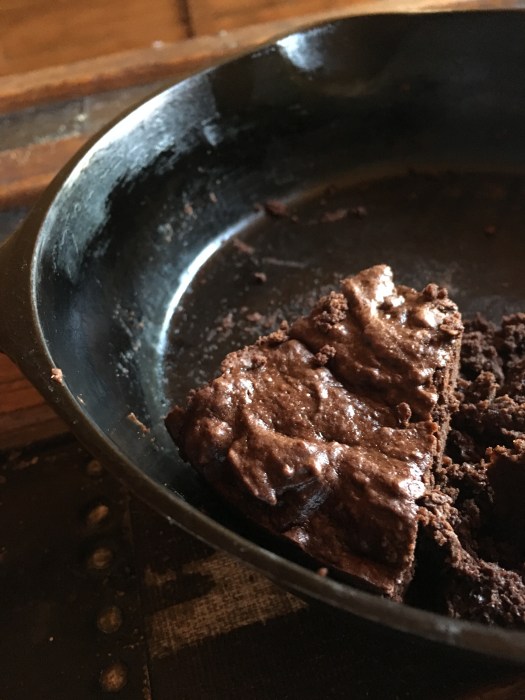
I exercised my math skills and made 3/4 of a brownie recipe this weekend, because a) I’m just cool like that and b) I was using my favorite skillet and I decided that a 1/2 batch doesn’t appropriately fill up the skillet and c) more brownies is ALWAYS the answer. This isn’t a new recipe, but these are probably just my favorite brownies, pretty much ever. Big claim, I know… but I think if I had to pick one brownie recipe for the rest of forever, there is a really good chance it would be these.
And they disappeared in short order (though I did have help…)
This is the recipe I love so much — I suggest just making a double batch (I list the 1/2 batch measurements here) because they’re just THAT good. Gluten free, grain free, refined sugar free, full of healthy fats and… nearly three kinds of chocolate. WINNING.
That elusive last piece…
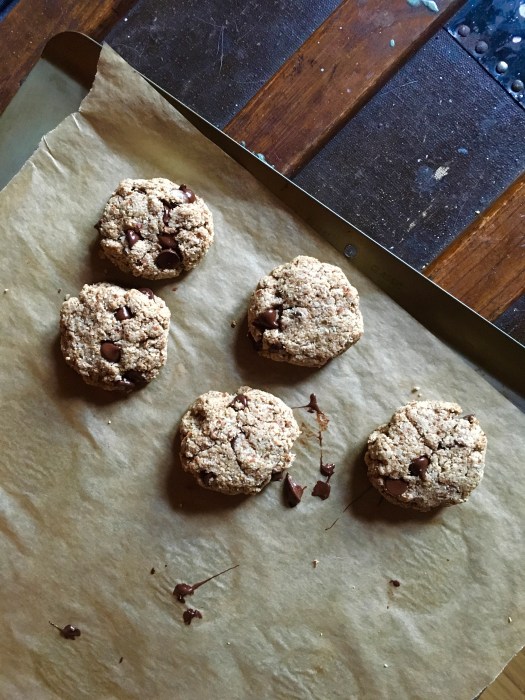
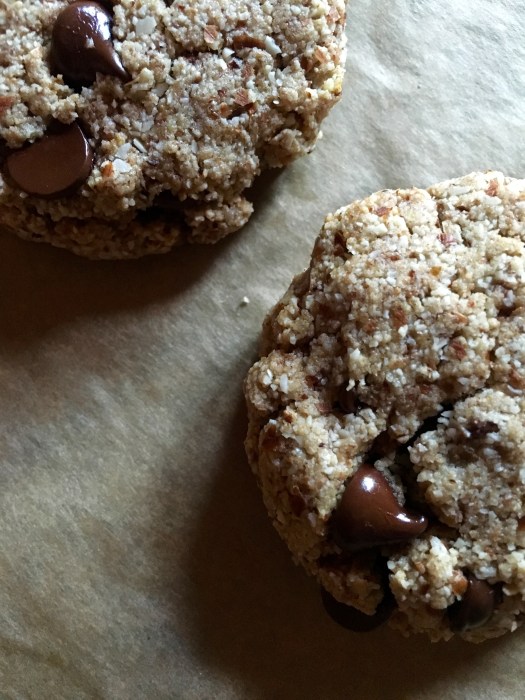
And then in the midst of presentation preparations (PowerPoint for DAYS), I needed a study break so I made a small batch of chocolate chip cookies… because, cookies. I wasn’t even really craving cookies, but just to stand up and look at something that was NOT a computer or a powerpoint slide…. and then I ended up with cookies. Solid choice.
The cookie recipe is from Living Healthy With Chocolate, here! I didn’t alter it aside from using 1/4 c date sugar instead of coconut and added ~1 tbsp maple syrup.
They’re delicious! And they’re vegan which was important because I was feeling the need to eat a few bites of the dough…
It’s the homestretch! Let’s see if we can’t squeeze in at least one more baked thing between now and June 3. Ready… GO.
Three weeks. But who’s counting?! Not me, obviously…
Two weeks till I graduate, three weeks from today till I’m done done done! I feel like my posts of late are kind of like some version of a baked goods advent calendar until I’m done with my Master’s degree. Is that a thing?! Well whatever, I just made it a thing.
I’m taking study breaks with baked goods! This week’s offering could not be more different than the last post — that one was fruity and light, this one is shut-the-front-door dense, caramel-y, gooey, rich, and decadent (in the best way, of course). All while being paleo (it’s sweetened with maple so not strict paleo), vegan, free of the glutens, and full of healthy fats and real food! Because, well, because. Because real food is good for you! And it tastes better anyway, right? Right.
Might I point out this also makes a great side dish for breakfast… alongside eggs and salad and leftover caponata. Don’t question. Just do it!
Highly recommend to consume this in front of Monty Python and the Holy Grail with excellent company for full brain-rejuvenation effect and happy taste buds.
And that is officially all I got on the anecdote front. Brain is in maxed out mode, I think it’s time for bed. Yes, I know it’s 8:45 on a Friday night. Nope, I’m not sorry at all.
Happy Weekend!
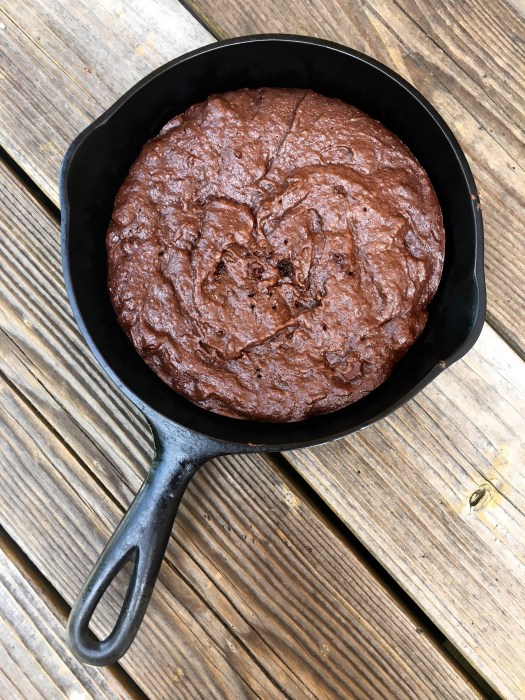
Vegan Salted Caramel Skillet Blondies
Vegan, paleo, gluten free, refined sugar free. Dense, fudgey, gooey, and delicious. Yield: 1 8″ cast iron skillet, which feeds however many you decide (1? 2? a dinner party? you do you). Lightly adapted from With Salt and Wit, here!
Preheat the oven to 350, and bust out your trusty little 8″ cast iron skillet! No need to grease it, such is the wonder of cast iron and the use of caramel under the blondie batter…
Mix the flax and water in a small bowl and let sit until gelled, about 5 minutes.
In a large liquid measuring cup (one of those pyrex ones works nicely) or other tall thing, vigorously whisk the almond butter, maple and coconut oil for the caramel until combined. You can do this in a blender if your almond butter is particularly thick — mine was runny enough to make a bicep workout feasible (and I decided I was too lazy to wash the blender later). Pour the caramel into the skillet and set aside.
In a larger bowl, combine almond meal, baking soda, sea salt, and cinnamon. Stir to combine. Add in flax egg, melted coconut oil, applesauce, maple, and vanilla. Stir until combined (shouldn’t take too long). Toss in chippies and give it one last good stir. Pour the batter into the caramel — you may have to smooth it out a little, and it will cause the caramel to creep up the sides. All good!! The caramel forms a nice crust for the gooey blondies, which turn out almost like cookie dough. Don’t worry too much about it spreading out perfectly, I promise it will be delicious.
Bake until the top is firm and the caramel is crackly on the edges. I checked mine at 20 minutes, then let it go for another 5 minutes since the blondie wasn’t as firm as I wanted. Final bake time was probably closer to 30 minutes. It helps to bang the skillet on the stove a bit to get the batter and caramel to settle. Once done to your liking, remove from oven and let sit for a few before annihilating.
Absolutely delicious with paleo gelato, or whatever floats your boat! Store any leftovers in the fridge.
Sincere apologies for the strange coloration on the photo below; I have no idea what happened and sadly grad school nonsense takes priority over having a proper photo shoot for the last remaining piece of blondie. Le sigh. Three weeks!
And yes. I have absolutely no excuse for the dearth of posts, minus the fact that grad school owns my life for another 10 weeks (how is it possible that I graduate in 10 weeks… can someone explain this?!). At which point I will hopefully get back to posting on a semi-regular basis… Until then…. we’ll just see. But I’ve missed my invisible internet friends! I hope you’re all doing just wonderfully.
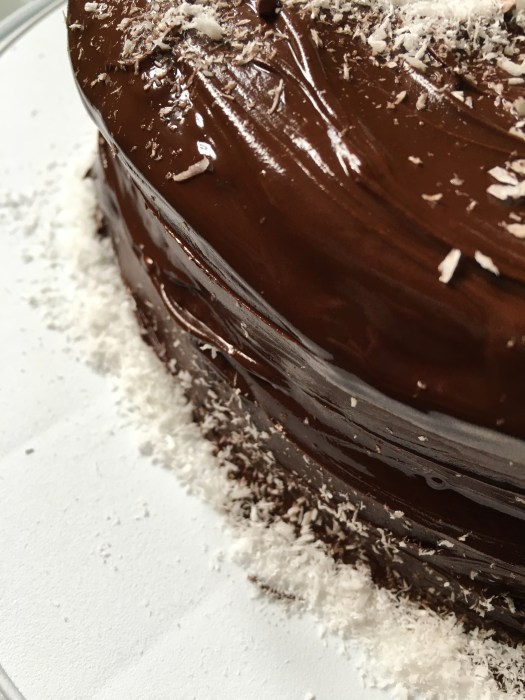
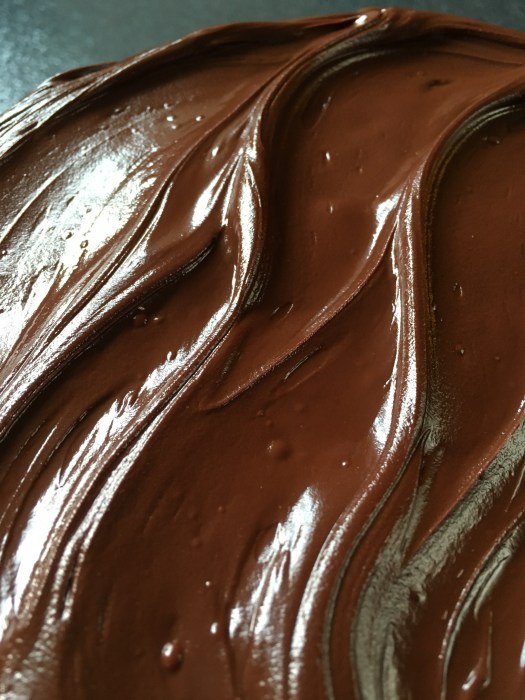
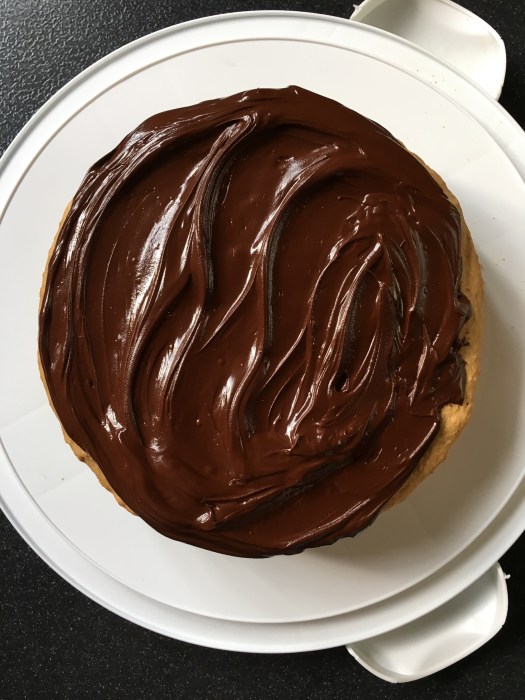
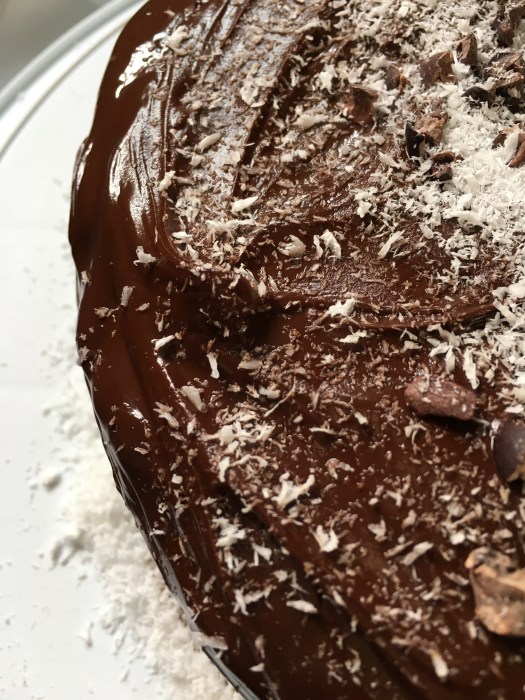
To tide us over, here is an ode to cake. This is the same whole wheat banana cake with dark chocolate ganache that I’ve made umpteen billion times because it’s basically the most perfect banana cake I know. It’s not vegan, or grain free or even gluten free, but for what it is, I love it. It’s also large enough to feed a crowd, which was called for in this particular sitch.
I’ve made this for birthdays of loved ones, thank you-s for advisors, and welcome home presents for besties. It’s a winner: silky chocolate ganache surrounding soft, not too sweet, not too dense but just dense enough banana cake. This particular iteration is refined sugar free, sweetened with a combination of date sugar and coconut sugar. Perfect for a mid afternoon Easter treat, no post-cake nap necessary. The link to the original post is here.
In other news…
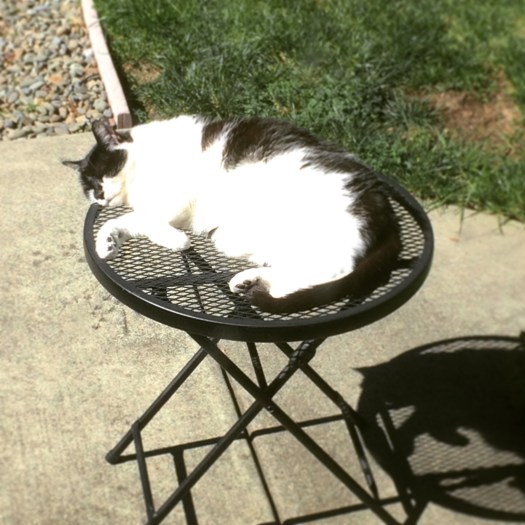
Sunbathing adorable Jessie.
Flowers.
Perfect avo.
It’s good to be back! Enjoy the rest of your weekend — I hope it has a treat in it somewhere!
Woah. Apparently I’ve totally fallen off the blogging wagon. It’s nothing personal, don’t worry — I still love you, invisible internet friends!! But life seems to be taking me in different directions these days, so time to blog is few and far between.
That’s not to say I haven’t been baking…. or cooking… or eating… because all of those have been happening in spades.
AND I made cookies last night apparently several days ago since I really failed at actually posting this when I thought I was going to… AND the cookies are fantastic.
AND my winter quarter started today, how on earth is that possible?! I swear I just started break. Can I rewind and redo and have an extra month of break please?
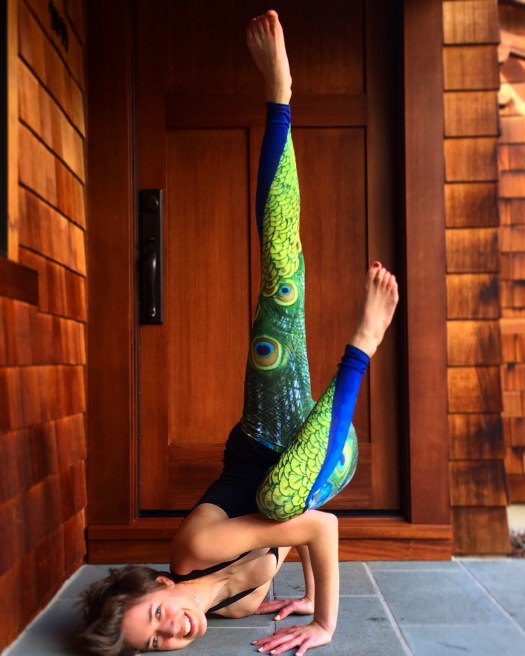
In other news, my contribution to the Scott Fam holiday card was quite fun to execute, especially in fun new leggings…
I’ve been drawing again, wheeee!
But anyway, cookies! These are fantastic — chewy edges with softer centers, and extra chewy when you keep them in the fridge, which is my fave.
Happy 2016! I think this year is going to be pretty fabulous.
Vegan Oatmeal Chocolate Chip Cookies
Vegan, refined sugar free, full of healthy fats and whole grains. Just sweet enough for the post holiday season. Thick, chewy edges with a softer center. Perfection. Yield: 17. Recipe lightly adapted and gratefully borrowed from Pralines and Greens, here!
1 flax egg (1 tbsp ground flaxseed+3 tbsp water)
1 c almond flour
1 c whole spelt flour
1 c rolled oats
1/2 tsp baking soda
1 tsp baking powder
3/4 tsp cinnamon
sprinkle of fresh ground nutmeg
1/2 tsp fine sea salt
1/3 unrefined coconut oil, melted
scant 1/4 c maple syrup
scant 1/4 c coconut sugar
1 tsp vanilla extract
1/3 c extra dark chocolate chips
Preheat the oven to 350, and line a baking sheet with parchment paper. In a small bowl, combine flaxseed and water and let sit for the flax egg.
In a larger bowl, whisk together almond flour, spelt flour, oats, baking soda and powder, cinnamon, nutmeg, and sea salt. In a smaller bowl, combine melted coconut oil, maple syrup, coconut sugar, and vanilla. Pour wet into dry, and stir until just combined. Add flax egg. Toss in chocolate chips. Form the dough into little balls, and flatten slightly once they’re on the cookie sheet. Bake for just about 11-12 minutes, then let cool on the baking sheet for a few minutes before transferring them to a cooling rack to cool completely. Store in an airtight container at room temp for softer cookies, or in the fridge for cookie with chewier edges (my personal fave).
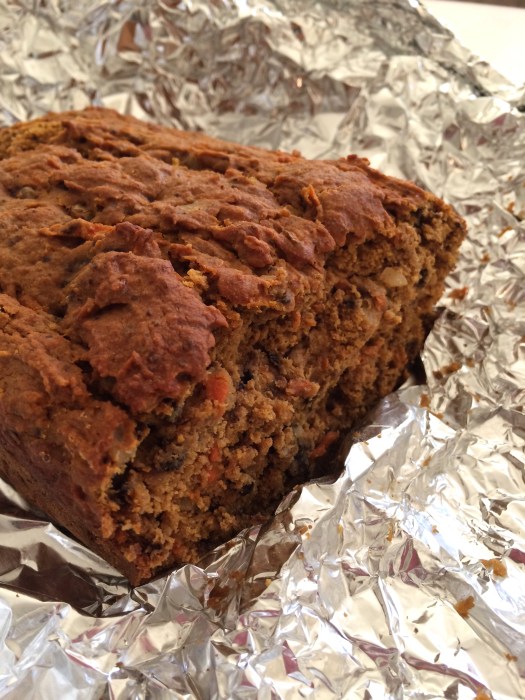
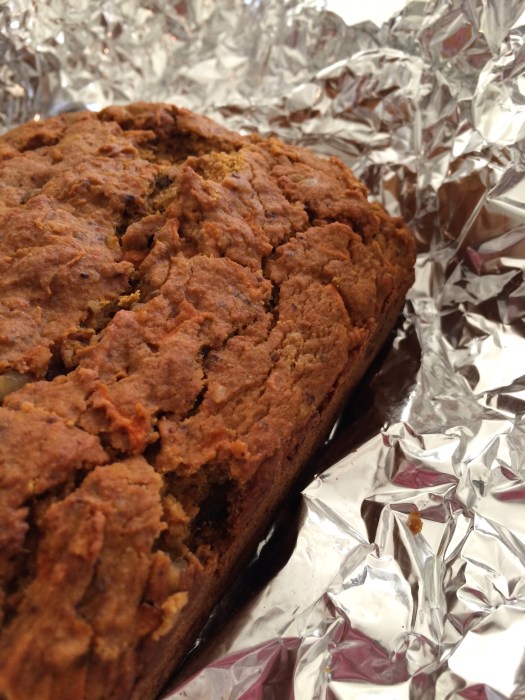
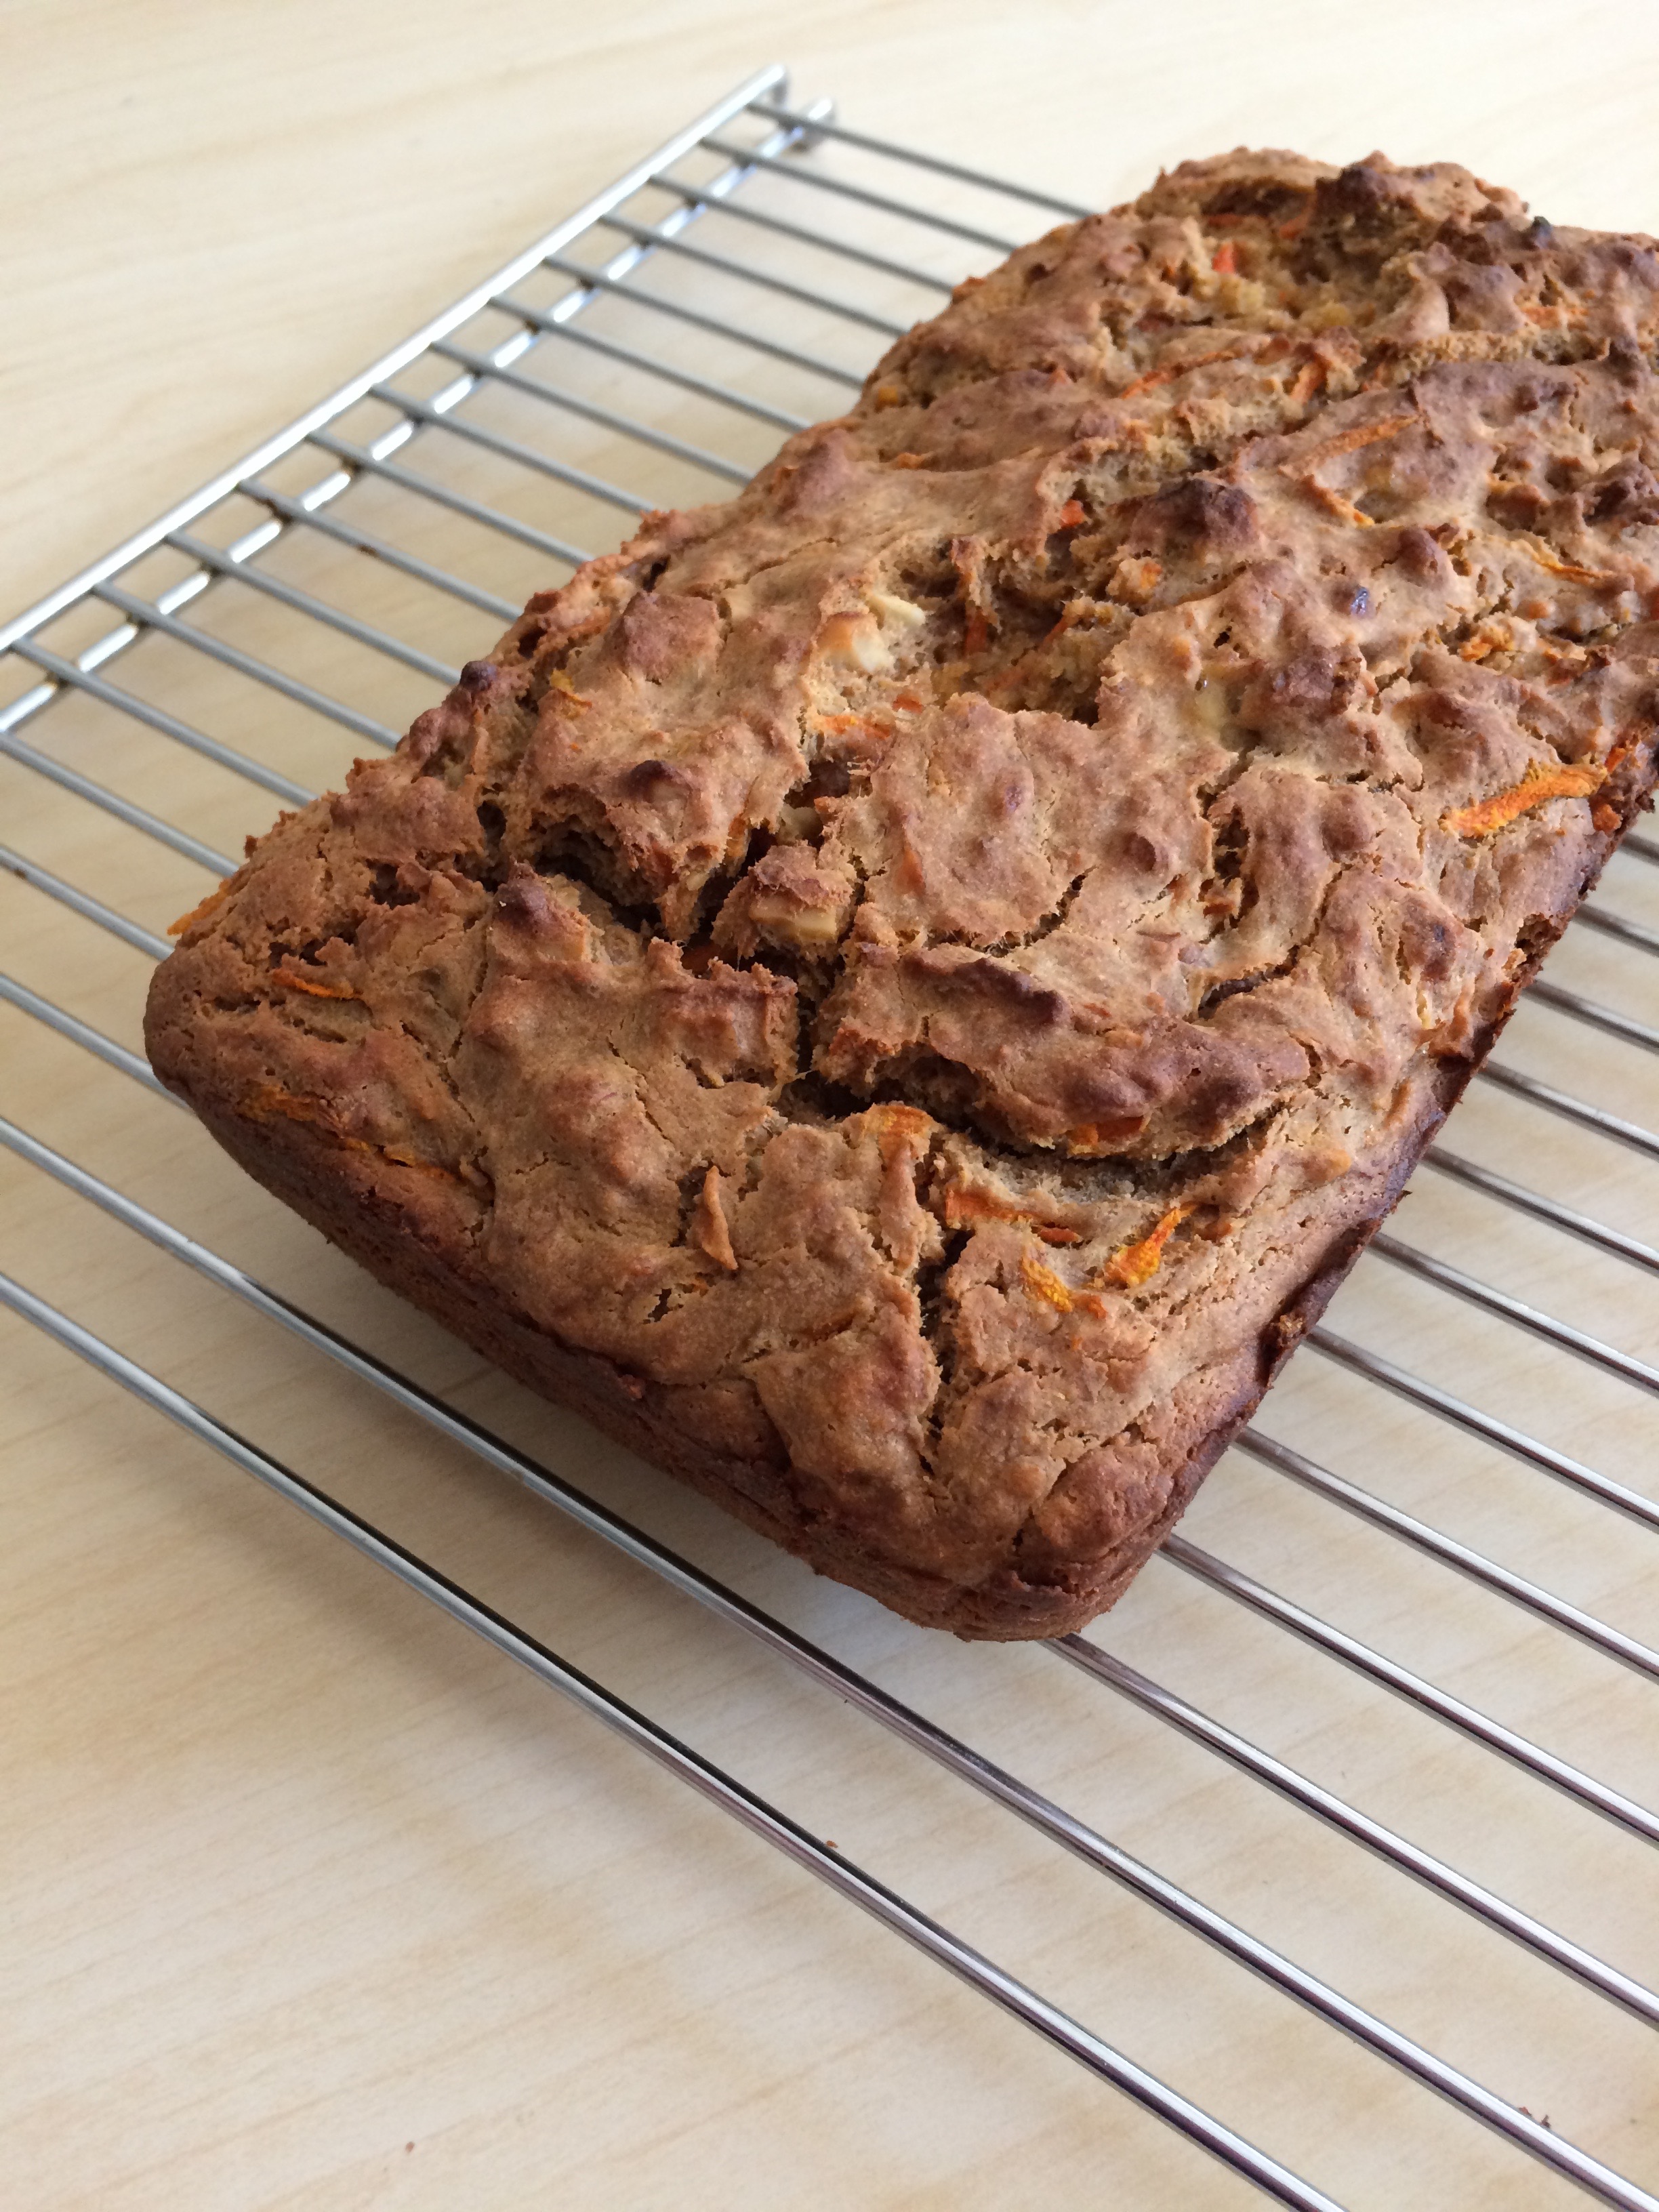
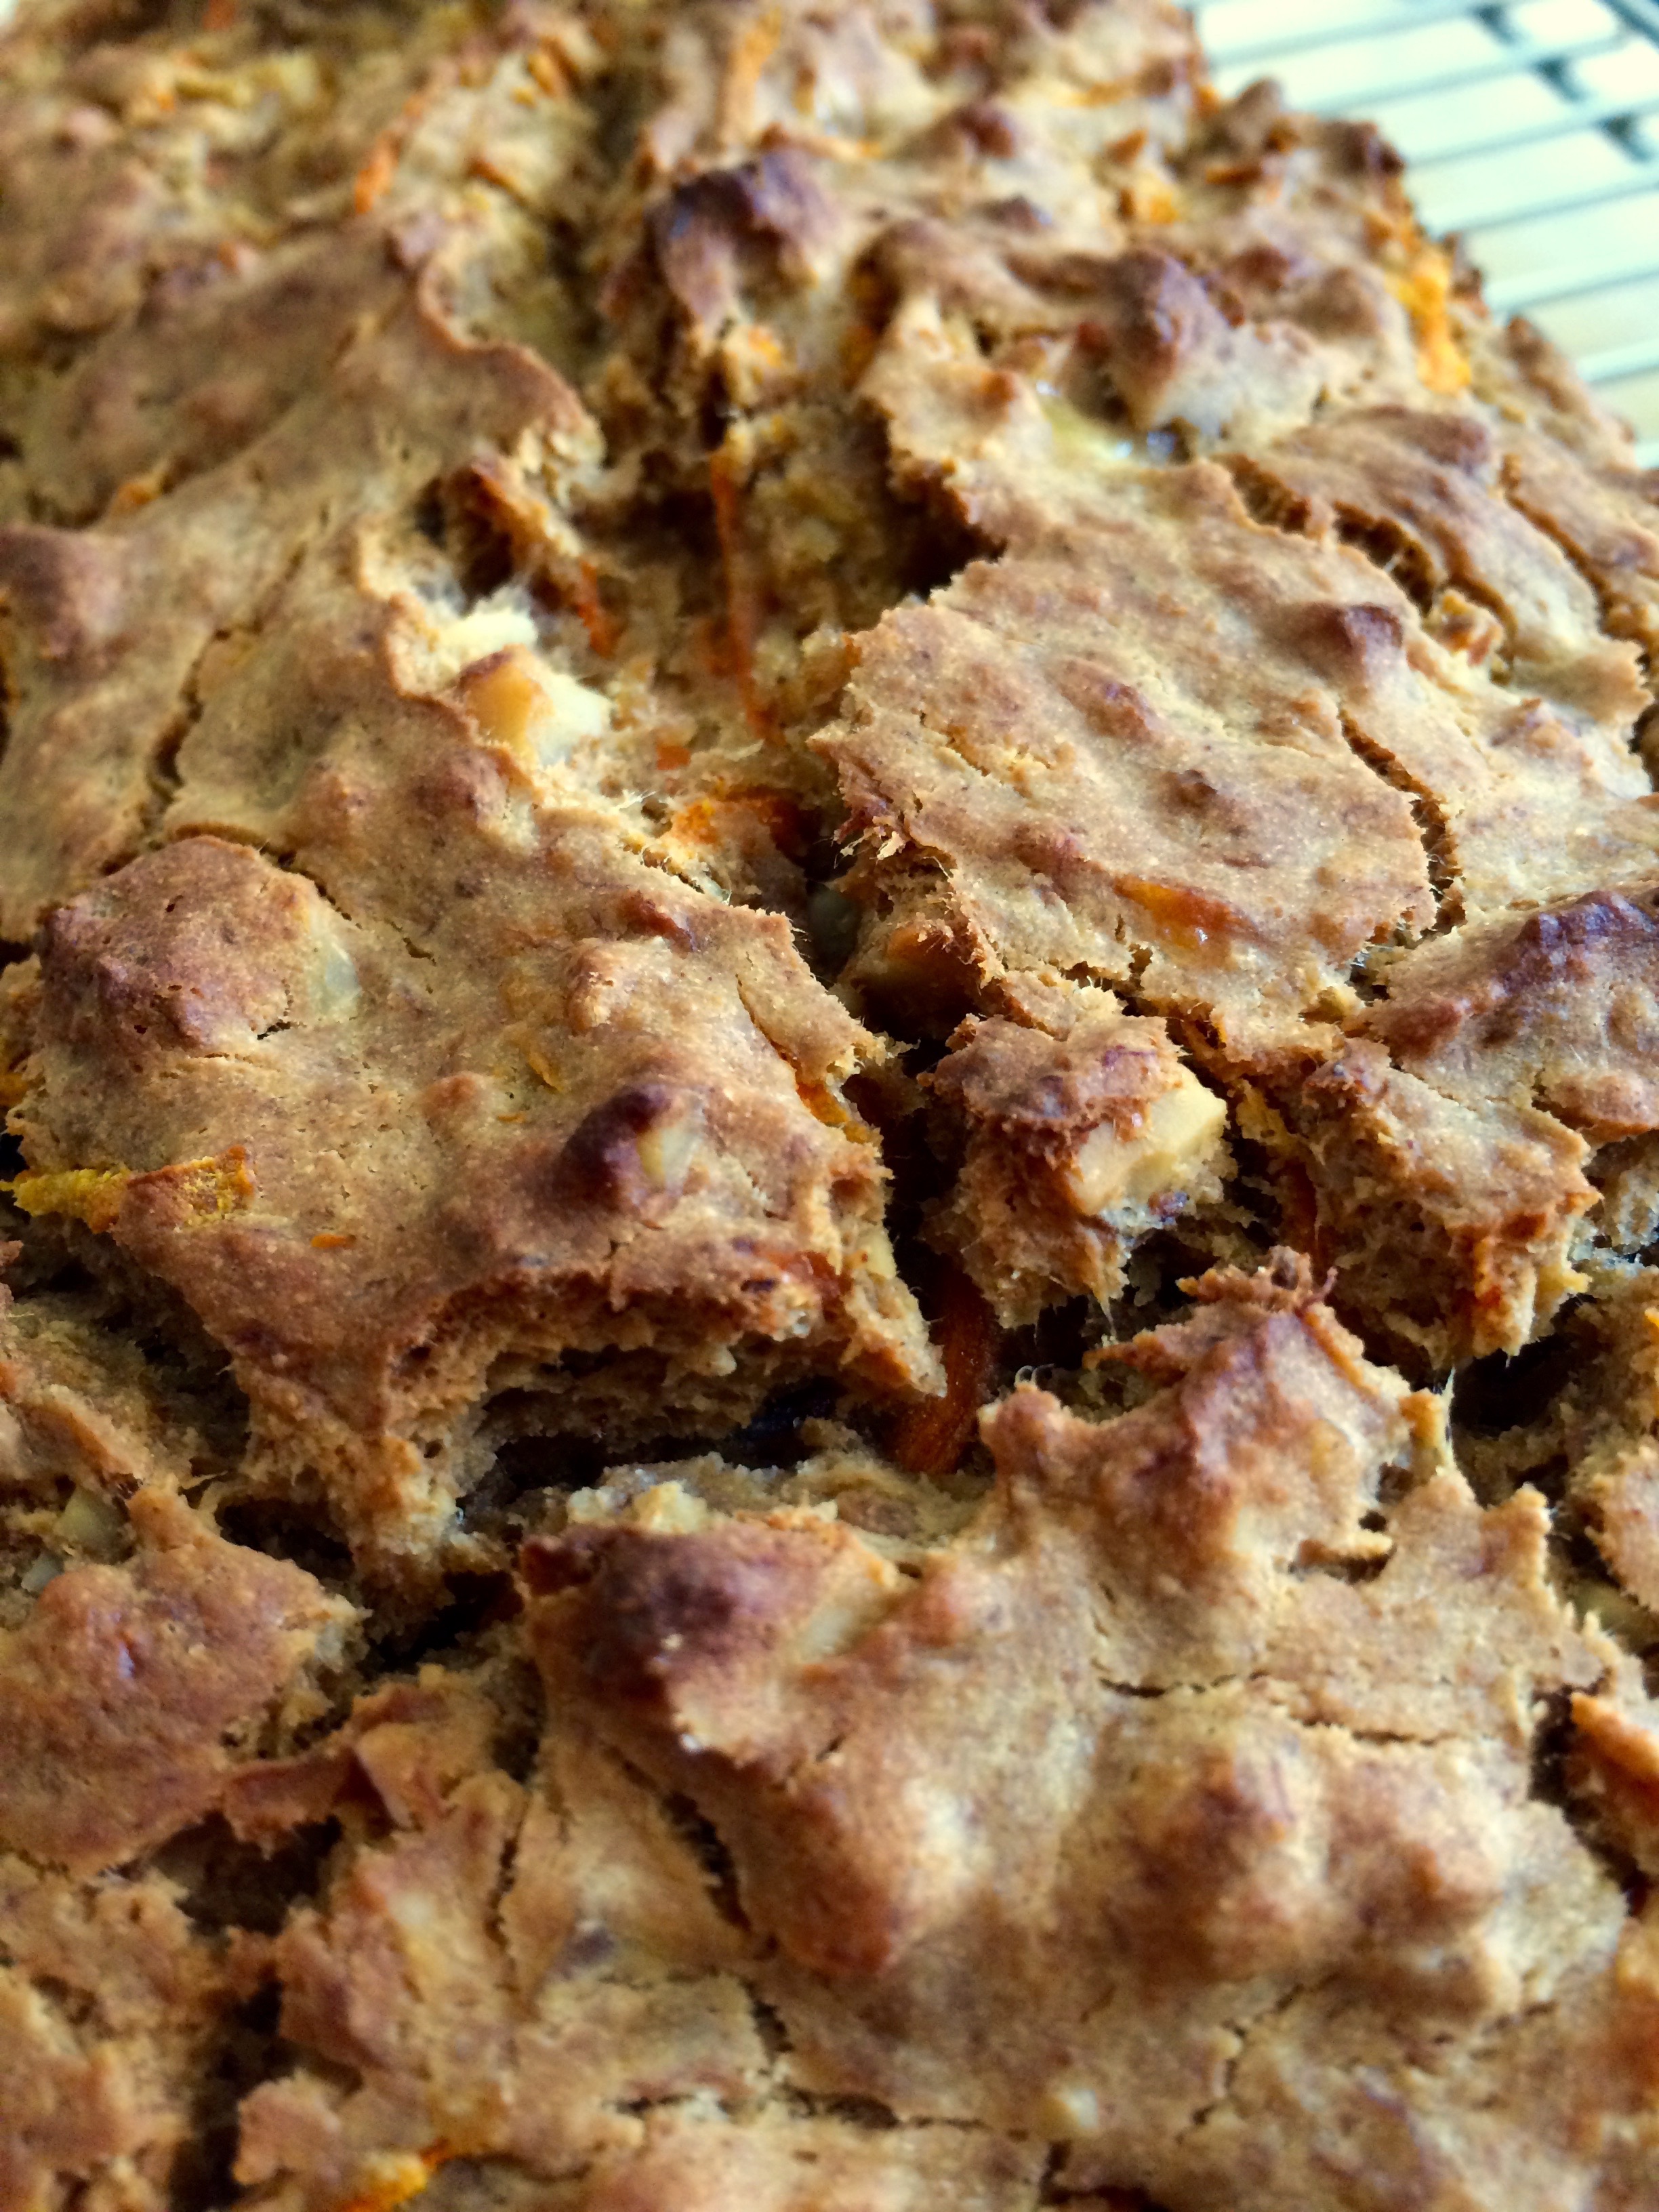
The first of the pumpkin loaves! I made one other pumpkin thing but this is more specifically FALL BAKING status. Because it’s suddenly freezing here and I’ve begun wondering how I survived in Oregon and also, where have all my warm clothes and layers gone?! I think I purged them from my wardrobe in a fit of frustration…. and now it’s become tank top, sweatshirt, scarf, fleece. Which is working tolerably well but… clearly I need help in the wardrobe department. Probably because whenever I try to buy sensible things I end up with boots and scarves and jewelry and don’t judge me, I know you have your weaknesses too, I see you over there on Etsy and Modcloth and Pinterest… oh wait, just me?!
Also ps. Sorry for the slight awkwardness of the photos. I ate a bunch of the loaf before I realized it was good enough to share…. so you get half eaten loaf. I know that is sooooo appealing.
On another semi unrelated note, I only have one more round of midterms and then it’s Thanksgiving! THANK GOODNESS. I have never been so grateful for the end of midterms in my life. Three rounds, so gross. I can’t really believe that I’m already only 3 weeks away from the end of the quarter. Can someone explain how that happened?! Mind blown. I have a feeling opera and jazzercise will get me through the last three weeks of medstats. And that will be my last three weeks of medstats EVER because obviously I am never doing that again.
I’ve been drawing again as a break from the madness:
Jessie says hello, with drool:
SO! Baking = coping mechanism. Let’s do this.
This bread is lightly sweet but so very fall-y and pumpkin-y and satisfying and delicious. I like the walnuts in there for texture but if that’s not your thing, chocolate would be just as good. It’s also stuffed full of beta carotene antioxidants, which is just generally fab.
Quinoa Flour Pumpkin Carrot Bread
Vegan, refined sugar free, whole grain, can be gluten free! Friendly for IBS too since it has lots of great soluble fiber. Just in case you’re blessed with that sort of fun thing… it also might be fodmap friendly, depending on your fodmap tolerance; it was totes fine for me but it depends on you and your bod!
Yield: 1 loaf
1 c quinoa flour, toasted*
2/3 c whole spelt flour**
1 tsp baking soda
1 tsp baking powder
1/2 tsp fine sea salt
1 tsp cinnamon
heaping 1/4 tsp ground ginger
1/4 tsp nutmeg
1 c pure pumpkin puree
1/3 c pure maple syrup
1/4 c coconut oil, melted
1/4 c unsweetened applesauce
1 tsp vanilla extract
1 tbsp ground flaxseed + 3 tbsp water; let sit for 5 minutes
2 large carrots, grated
1/4 c walnuts, chopped
*toasting gets rid of the natural bitterness — I do it in a skillet over medium heat, stirring occasionally, for about five minutes or until the flour smells toasty
** Replace with more quinoa flour for gluten free!
Preheat the oven to 350, and lightly grease a standard loaf pan with coconut oil or your greasing thingy of choice.
In a large bowl, whisk together toasted quinoa flour, spelt flour, baking soda and powder, sea salt, cinnamon, ginger, and nutmeg. In a smaller bowl, whisk or stir or whatever with your fave implement the pumpkin puree, maple, coconut oil, applesauce, vanilla, and gelled flax egg. Toss this whole bucket of delicious into your dry ingredients, and stir until combined. Add in carrots and walnuts about halfway and stir until the dry mix is incorporated. The batter will be pretty thick – spread it into your prepared loaf pan, and bake for 40-50 minutes, or until a tester comes out clean. I had my timer set for 46 minutes, but my loaf came out perfectly at 42 — I started smelling it baking, and I don’t trust my super hot and uneven oven, so I tested it and it was actually perfect, so out it came. Let cool for about 10 minutes in the pan, then turn out onto a rack to cool completely.
Leftovers store best wrapped in foil in the fridge.
How is it almost November? Can someone explain this madness to me? I mean, first of all it’s still kind of hot (summer, you can bugger off now… you have officially overstayed your welcome) but also, where did September and October go?! I want them back please.
And I know the term compost cookies is probably unappealing, but it’s always made me laugh. I suppose you could call these ‘pantry cookies’ but isn’t compost more fun?? Besides… these are hippie enough that the stuff going into them is stuff that usually lurks in the fridge or fruit basket, and therefore is more like… compost! Obviously.
These cookies get a little crisp on the outside while staying cakey and delicious on the inside. If you want a chewy pumpkin cookie, these aren’t it… but they ARE quite tasty. They store well in the fridge and make for a fast breakfast or a good snack. AND they’re full of healthy fats and good fiber, plus antioxidants. No refined sugar, can be gluten free… the options are endless. Don’t like walnuts? Use something else. Hate sunbutter? Use almond or peanut— These are extremely forgiving cookies.
They’re also super fast to whip together, no muss no fuss. I made them on a lunch break between classes because I desperately needed a brain break — I can only cram facts and knowledge into my brain in concentrated intervals for so long before I start glazing over. Case in point:
Sometimes, you have to take a break from taking lecture notes for your own sanity.
Making cookies like this reminds me of undergrad when I would run home and make lunch and a batch of cookies in the hour I had between class and work. If that isn’t time management, I don’t know what is.
Also, I really need to study right now but I am sleepy and brainsore (that’s a thing) and I just want to cuddle on the couch with my novel and a cookie and a nap. But.. le sigh. That is currently impossible because stats and the billion other things I have to do are calling my name and I really should get on that. But at least I shared cookies, so that if your Sunday is less nuts than mine, you can make something delicious out of your fridge compost. Happy almost November! Enjoy your pumpkin goodness.
Pumpkin Banana Compost Cookies
Vegan, low FODMAP and IBS friendly, gluten free option (just switch the spelt flour for a gf flour of your choice), refined sugar free. And delicious! A Wait are those Cookies original. Yield: 12 cookies.
heaping 1/2 c pumpkin puree
1 ripe banana, mashed
1 tsp vanilla extract
3 tbsp maple syrup
1 tbsp sunbutter (mine is unsalted)*
1 tbsp almond butter (mine is unsalted)*
1 tbsp unsweetened hemp milk
2 c rolled oats (gf if desired)
3 tbsp spelt flour
1/4 tsp fine sea salt
1/2 tsp baking soda
1/2 tsp cinnamon
1/4 tsp nutmeg
1/4 tsp ground ginger
~1/4 c chopped raw walnuts and dark chocolate
*alternatively, you can use 2 tbsp of the same nut butter; I just wanted a little variety
Preheat the oven to 350, and line a baking sheet with parchment paper (or 2, if your oven is stupid tiny like mine and normal cookie sheets don’t fit. Rude. Bring on the quarter sheet pans).
This is pretty much as easy as it gets. Bust out a bowl. Mash up the banana with a fork, then stir in pumpkin puree, vanilla extract, maple, sunbutter, almond butter, and hemp milk. In the same bowl, because we’re making cookies on our lunch break between classes today and this needs to be fast, toss in oats, spelt flour, salt, baking soda, cinnamon, nutmeg, and ginger. Stir to combine. Stir in chopped walnuts and chocolate. Make sure the whole thing is nicely mixed, then drop lazy spoonfuls onto your prepared cookie sheet (all 12 should fit onto a standard cookie sheet no problem; these don’t spread). Bake for 15-16 minutes, until the top is lightly browned and mostly firm to the touch. Let cool on the pan for a minute before moving, then move to a rack to cool completely. Store leftovers in a plastic container in the fridge (glass will make them go soft).
Despite the weather not exactly cooperating (it sort of did yesterday…. I wore a light sweatshirt past 10 am. Omg. It was awesome), I have checked the box next to the ‘first pumpkin baked good for fall” box. Would have been earlier, but 90 plus temperatures don’t really lend themselves to pumpkin… I mean, they can but apparently for me they don’t.
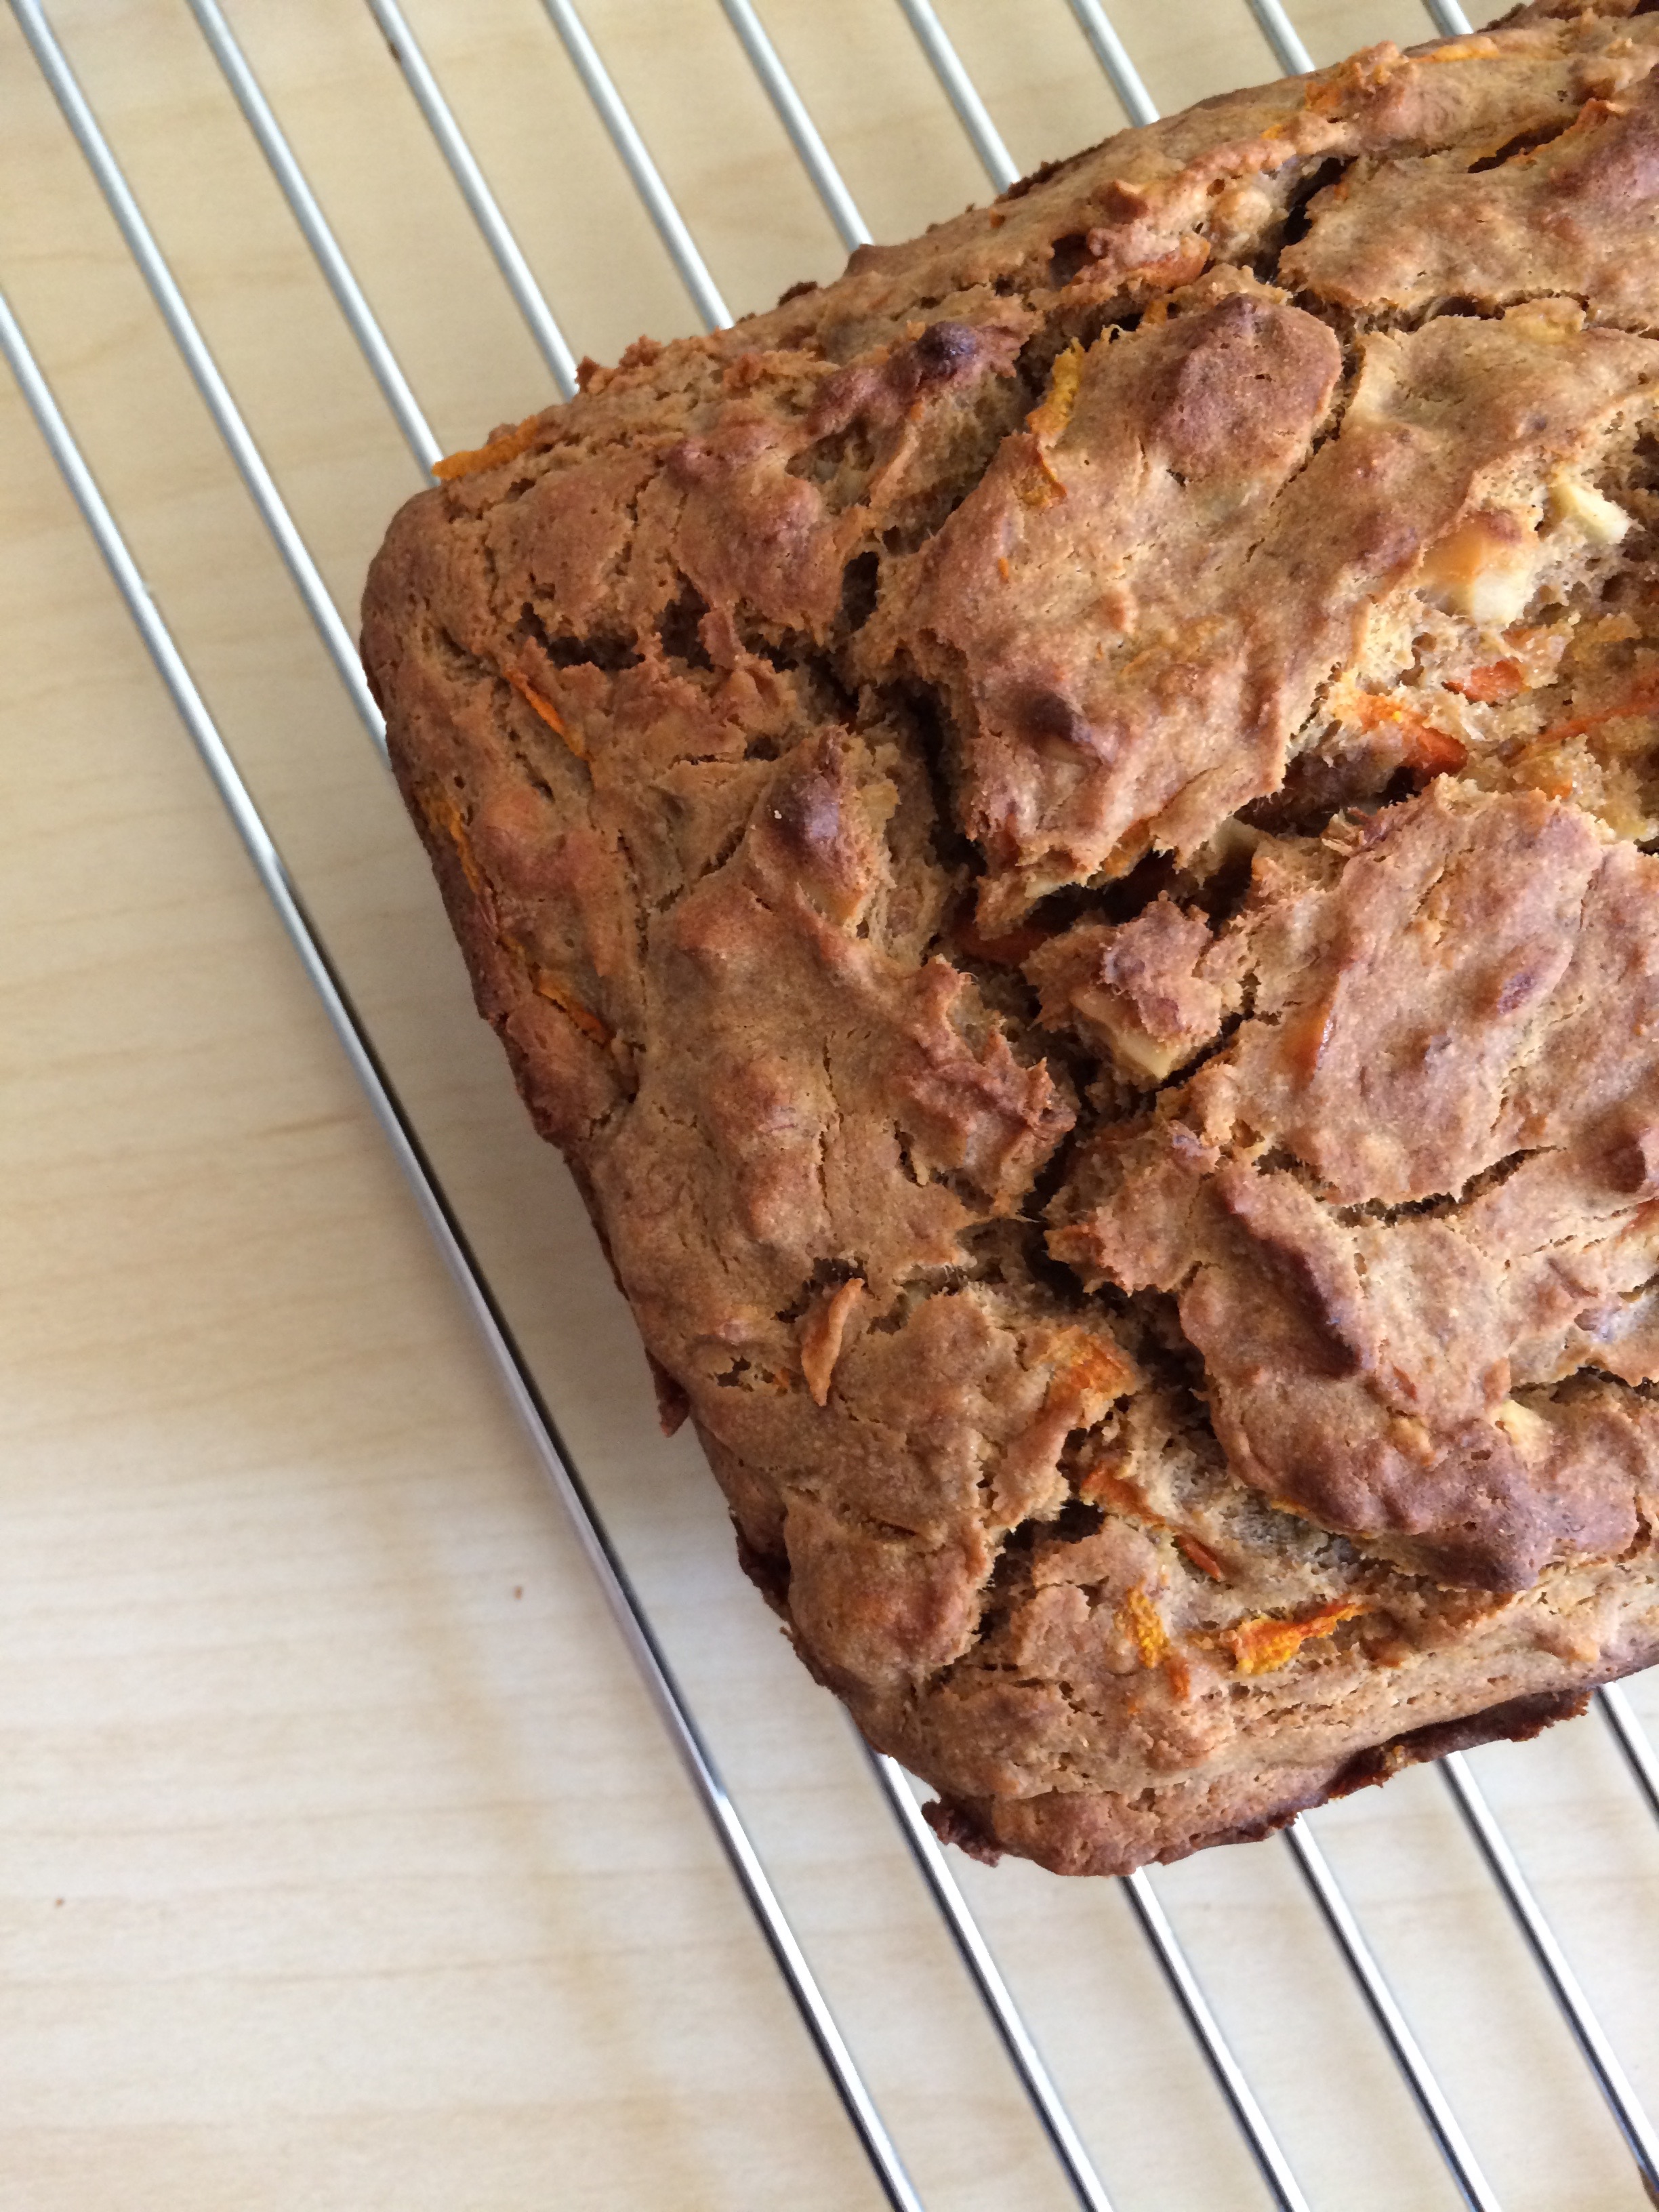
BUT. Solved that problem yesterday (made this, with a few tweaks: chopped dates instead of chocolate, omitted coconut flour; used difference spices and only 1/4 coconut sugar + maple), plus mashed potatoes, shredded ginger-rosemary chicken, mashed potatoes, rice, hardboiled eggs… And I also somehow found time yesterday to have brunch+a walk with a best camp friend, run a grocery errand, go to Target, clean my apartment, do laundry, read for epi, write more of my midterm paper, and finish my stats homework…. which as anyone in my cohort knows is quite a feat, 18 pages of SAS printout later… AND I made quinoa banana carrot bread, which is actually what this post is about, because I’ve now made it twice in two weeks so obviously it’s a winner.
And I’m stealing the 10 minutes I have early early in the am when it’s still dark out and I’m not studying to share it with you because I love my invisible internet blog friends WAY more than I love doing homework.
I also drew the next installment for the drawing challenge. Day 5: Best Friend. I have so many friends I couldn’t live without; and they all hold a piece of my heart!
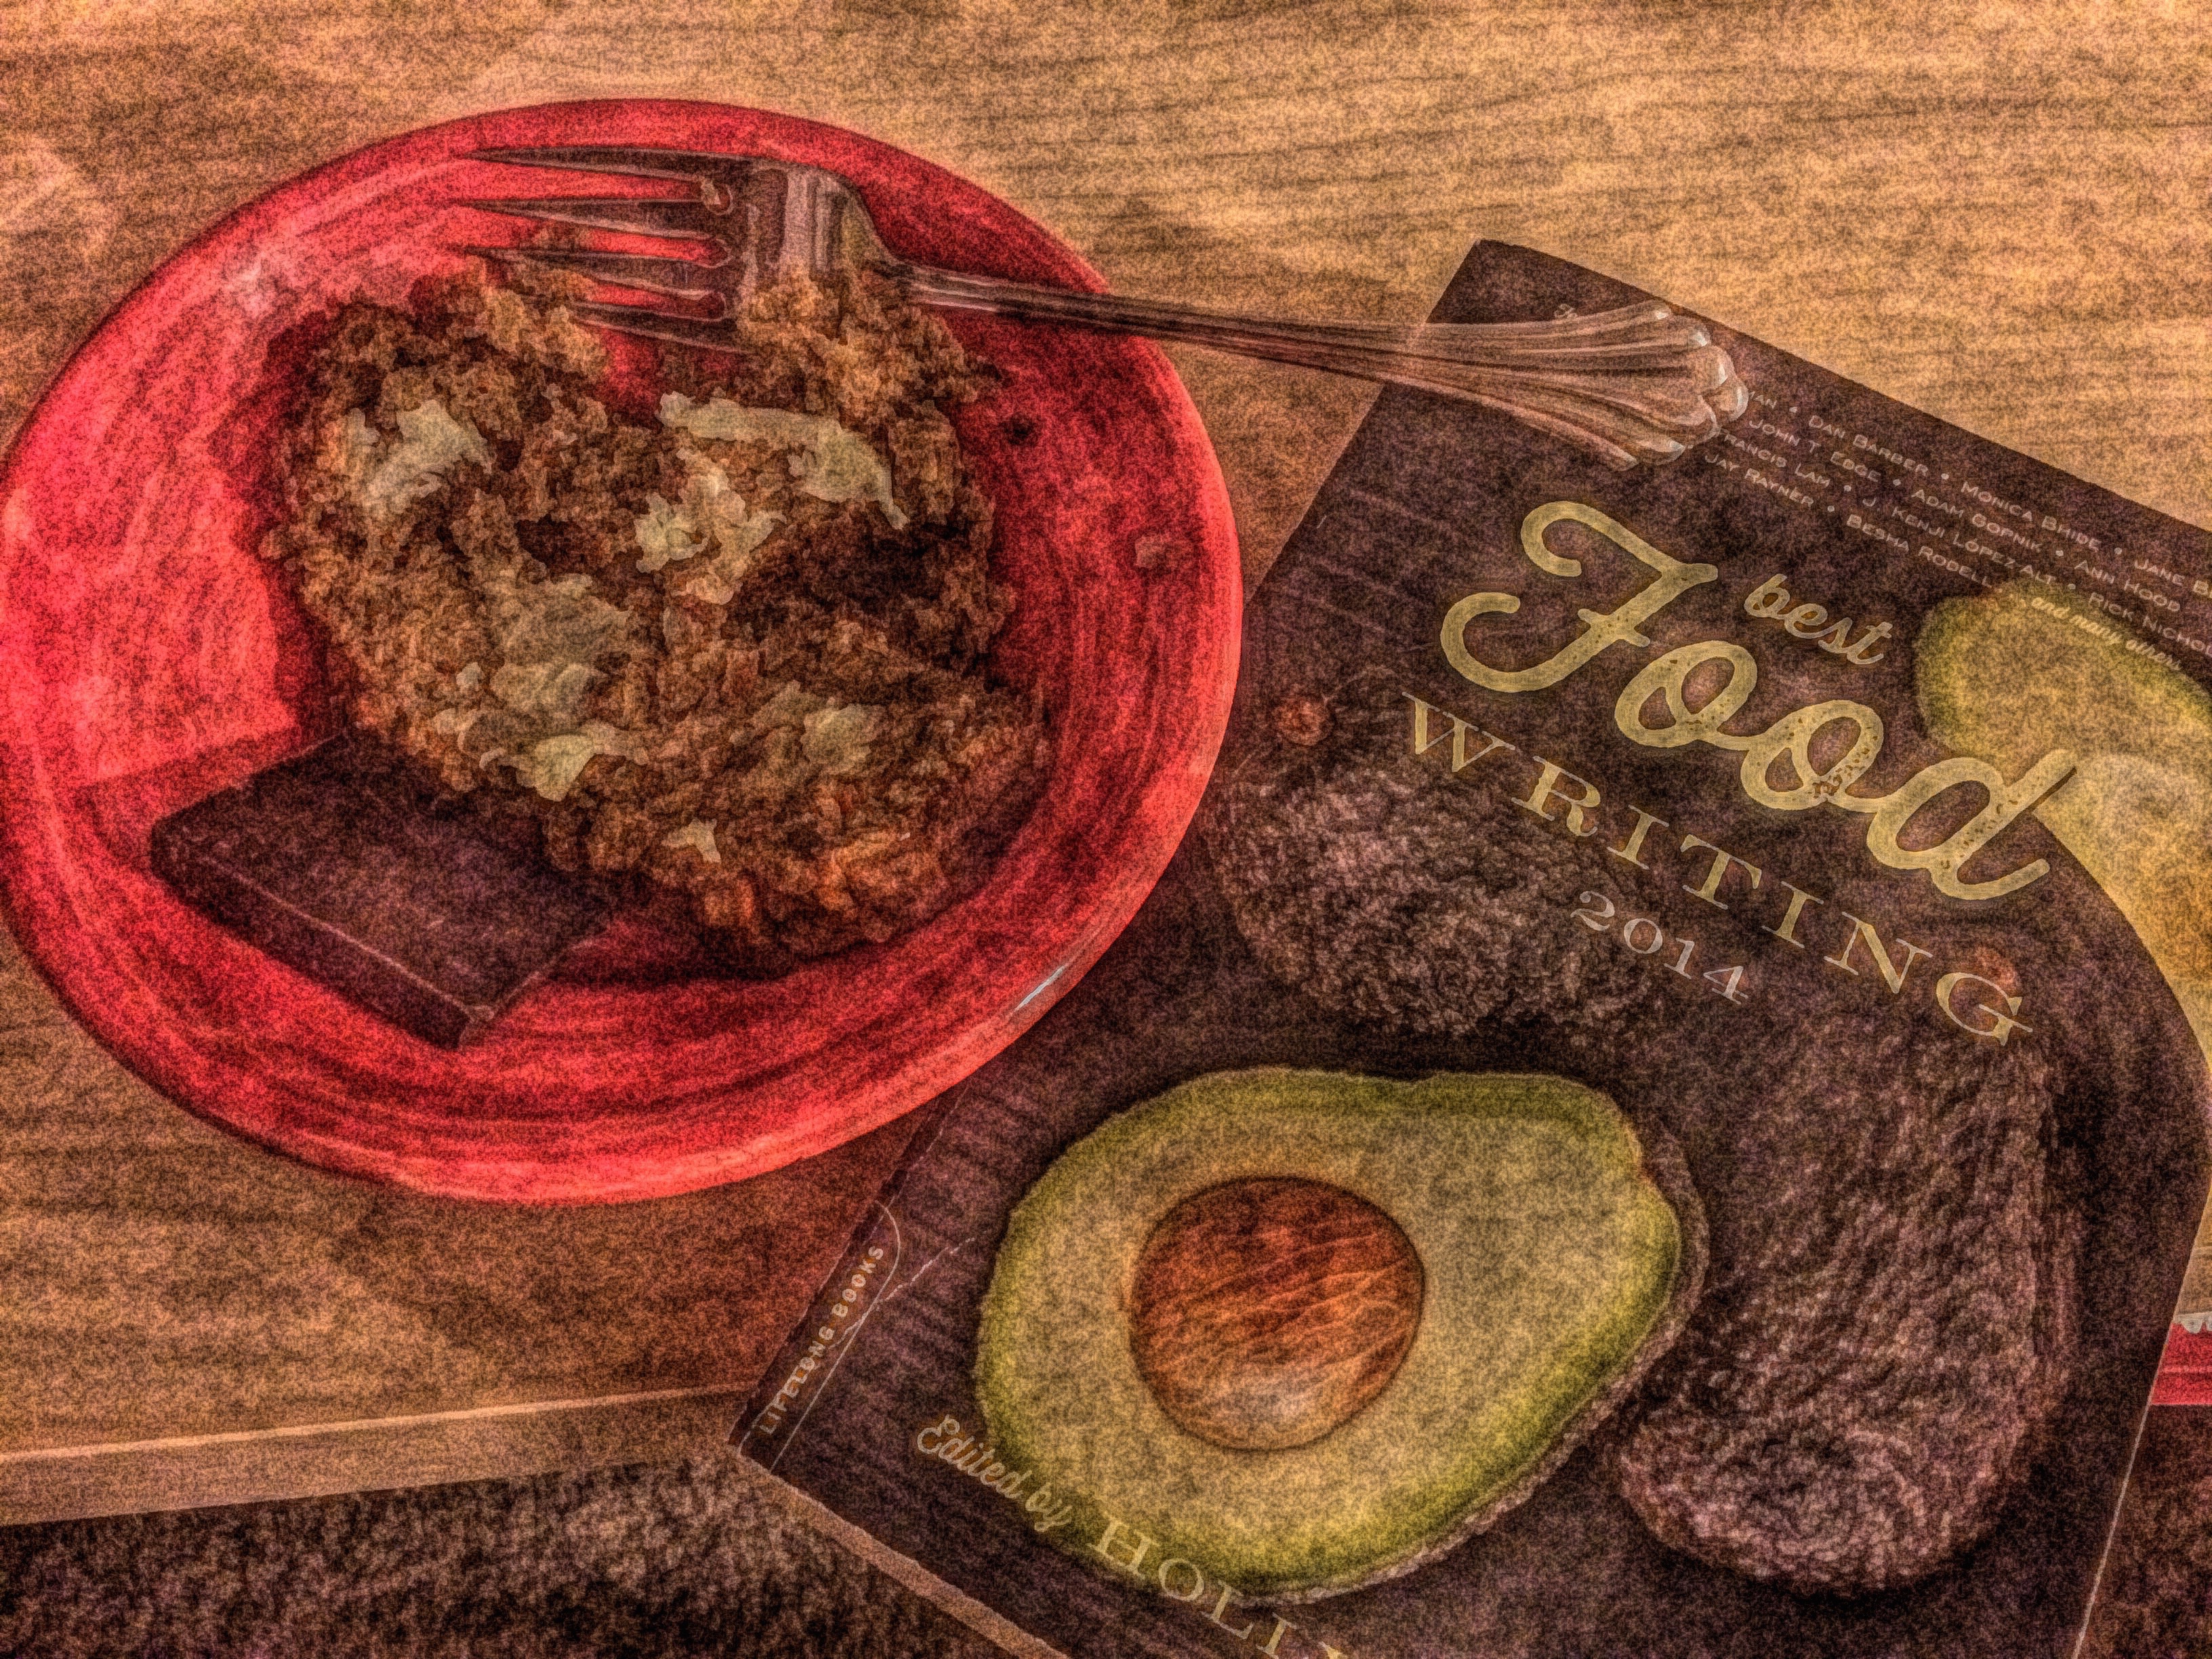
Also, sometimes this is what a grad school coping mechanism looks like (and yes, this app is still floating my boat) :
extra dark chocolate, bbread with butter, food writing and a fun app = coping.
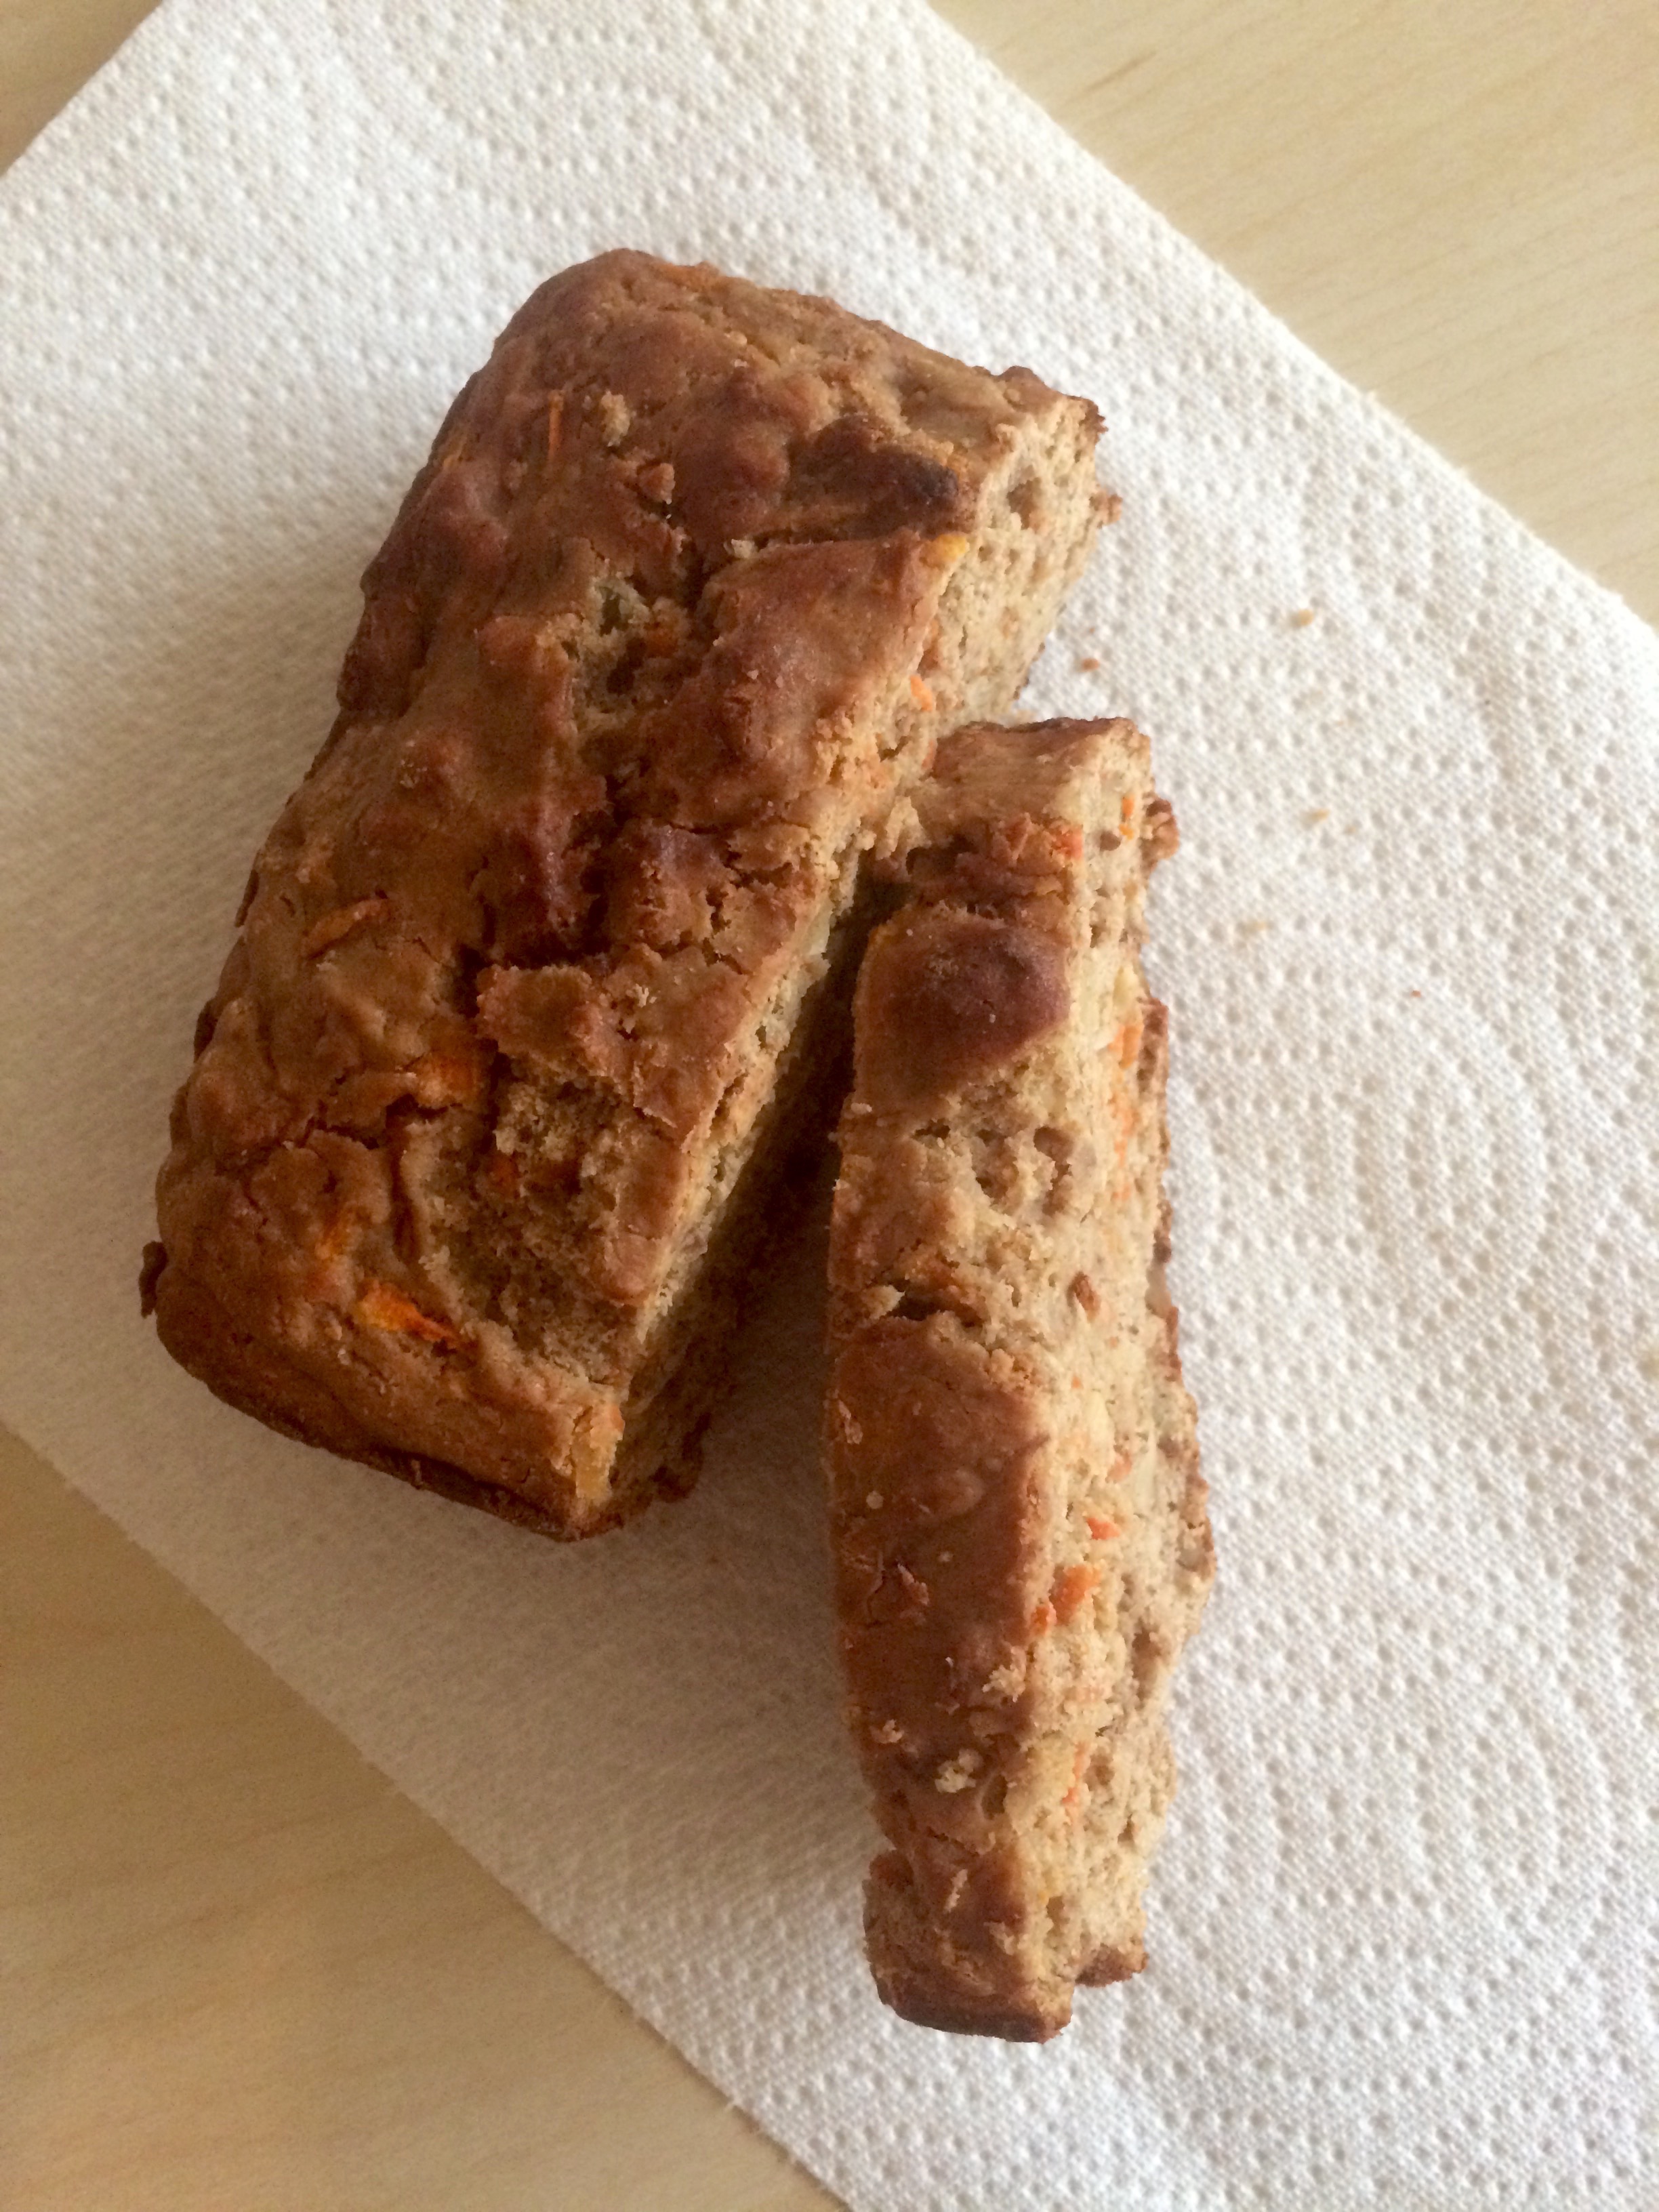
So! This bread. Is the right combination of not too sweet, just sweet enough, dense without being too dense, satisfying when you want a snack or dessert. It also has that great craggy top and slightly chewy sides that I think all quick breads should have, but that’s just me. It’s also fodmap friendly, IBS friendly, gluten free with only one teeny tweak, refined sugar free, and whole grain. YAY!
Quinoa Carrot Banana Bread
Yield: 1 loaf. FODMAP friendly, IBS friendly, gluten free option (Just sub the 1/3 c spelt flour with an equal amount of quinoa flour), refined sugar free, high in beta-carotene and omega 3’s… and absolutely delicious. Inspired by Power Hungry, here!
1 c quinoa flour
1/3 c white or brown rice flour (I’ve used both and either is delicious)
1/3 c whole spelt flour
1/2 tsp fine sea salt
2 tsp baking powder
1 tsp cinnamon
1/6 c coconut sugar
3/4 c (2 large) bananas, mashed
2 tbsp pure maple syrup
2 large carrots, grated
1/4 c mostly-melted coconut oil
1 tsp vanilla
1 egg
1/3 c unsweetened hemp milk (or non dairy milk of choice)
1/3 c chopped walnuts
Preheat the oven to 375 (or 360 in the case of my abnormally hot and uneven oven), and grease a standard loaf pan with coconut oil.
Toast the quinoa flour in a skillet over medium heat, stirring occasionally, until you can smell it: about 5 minutes (this is important! Quinoa flour can be a little bitter if this step is omitted); let cool for a few minutes. In a large bowl, whisk together toasted quinoa flour, rice flour, spelt flour, sea salt, baking powder, cinnamon, and coconut sugar. In a smaller bowl, mash bananas, then add maple syrup, grated carrots, melted coconut oil, vanilla, egg, and hemp milk, and whisk vigorously to combine. Pour the wet into the dry ingredients, and stir to combine (the batter will be thick, which is fine). Stir in walnuts. Pour the batter into your prepared pan, and bake for 45-50 minutes (mine comes out of my stupid hot oven perfectly browned at 360 degrees and 46 minutes; but you most likely have a normal oven that heats appropriately…) Check for a lightly browned top and a skewer that comes out clean. Let cool in the pan for 10 minutes, then turn it out onto a cooling rack to cool completely.
For storage, wrap this in foil and store it in the fridge for the 30 seconds that the leftovers last…
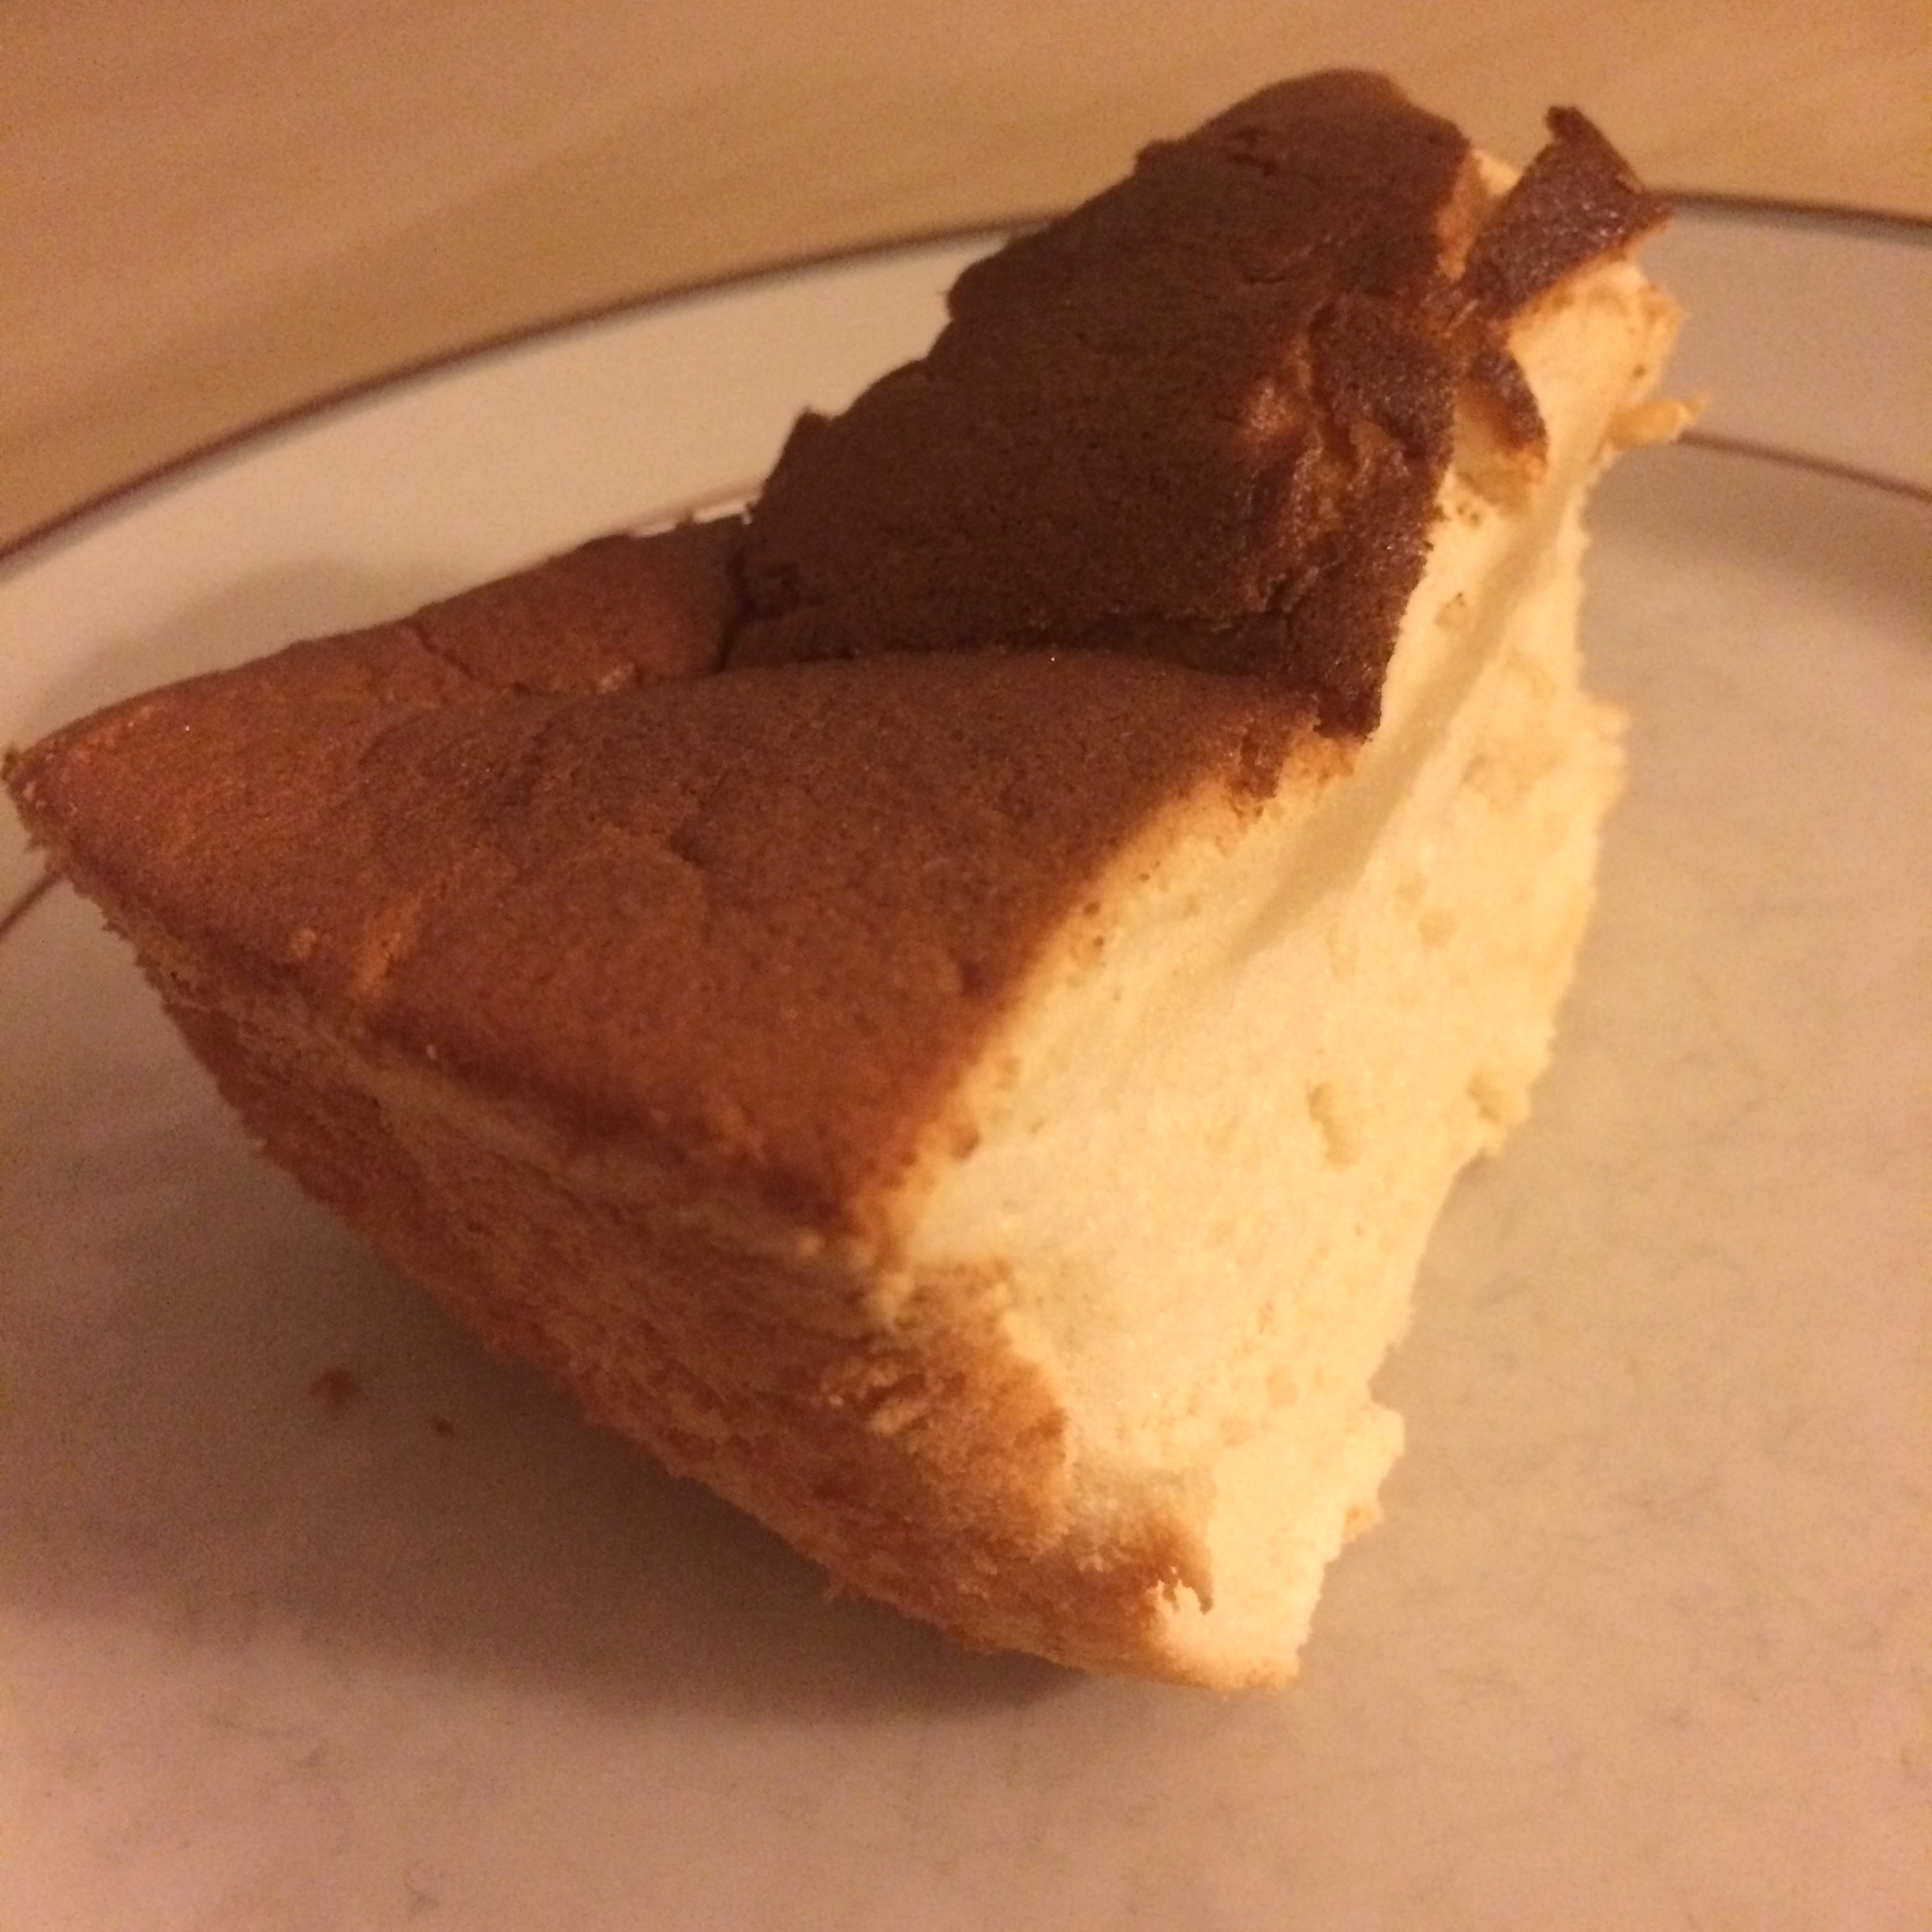
You can thank grad school for that (and for being a royal pain in my butt). My stomach was being a real winner today too, rude. On the bright side, one of the things it seems to tolerate with a minimum of fuss is this cake! Probably because angel food is basically egg whites and air and fluff, in the best possible combination. I’ve always loved angel food — I asked for it for a birthday cake at some point when I was a kid, and I’ve always thought it was delicious.
It’s fun to make, too! Egg whites are my favorite piece of kitchen chemistry. I love watching them go from foamy… to glossy… to peaks! I never get tired of it. And besides, even though I am the one who hardly ever uses a mixer unless I really have to, angel food gives me the chance to get out my beautiful red kitchenaide stand mixer! Wheeeeee! It looked so happy to see me. And don’t tell me inanimate objects don’t have feelings… KITCHEN APPLIANCES totally do. They feel neglected and sad when you just leave them to languish in the pantry… which is also why I love my pegboard so much. It means that my pots and pans and whatnot can hang out and watch the action from their corner (and egg me on. It’s like “use me!!! I am so great for making eggs!!! … constant ruckus from the peanut gallery).
…
But actually.
I will stop anthropomorphizing my appliances for the time being in order to get back to the cake. But admit it… if you love to cook and bake, your favorite pans and appliances become your friends. Don’t try to deny it, I know you. You know where they stick, how they heat, if they affect the consistency of whatever you’re baking… they’re like friends!
But also, in other news…
Mother Nature puts on some pretty amazing shows:
Day 4 of the Drawing Challenge! Favorite Place… this one was easy :)
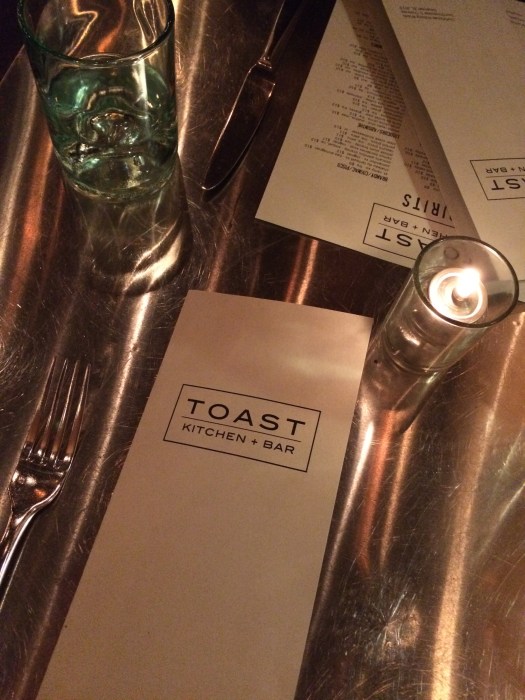
And E and I had a fun date night at the British pub Fox and Goose, in the historic R district of Sacto. Fun fun!
But. Back to the regularly scheduled programming…
THIS CAKE! IS AMAZING!
Yep. still obsessed with this app.
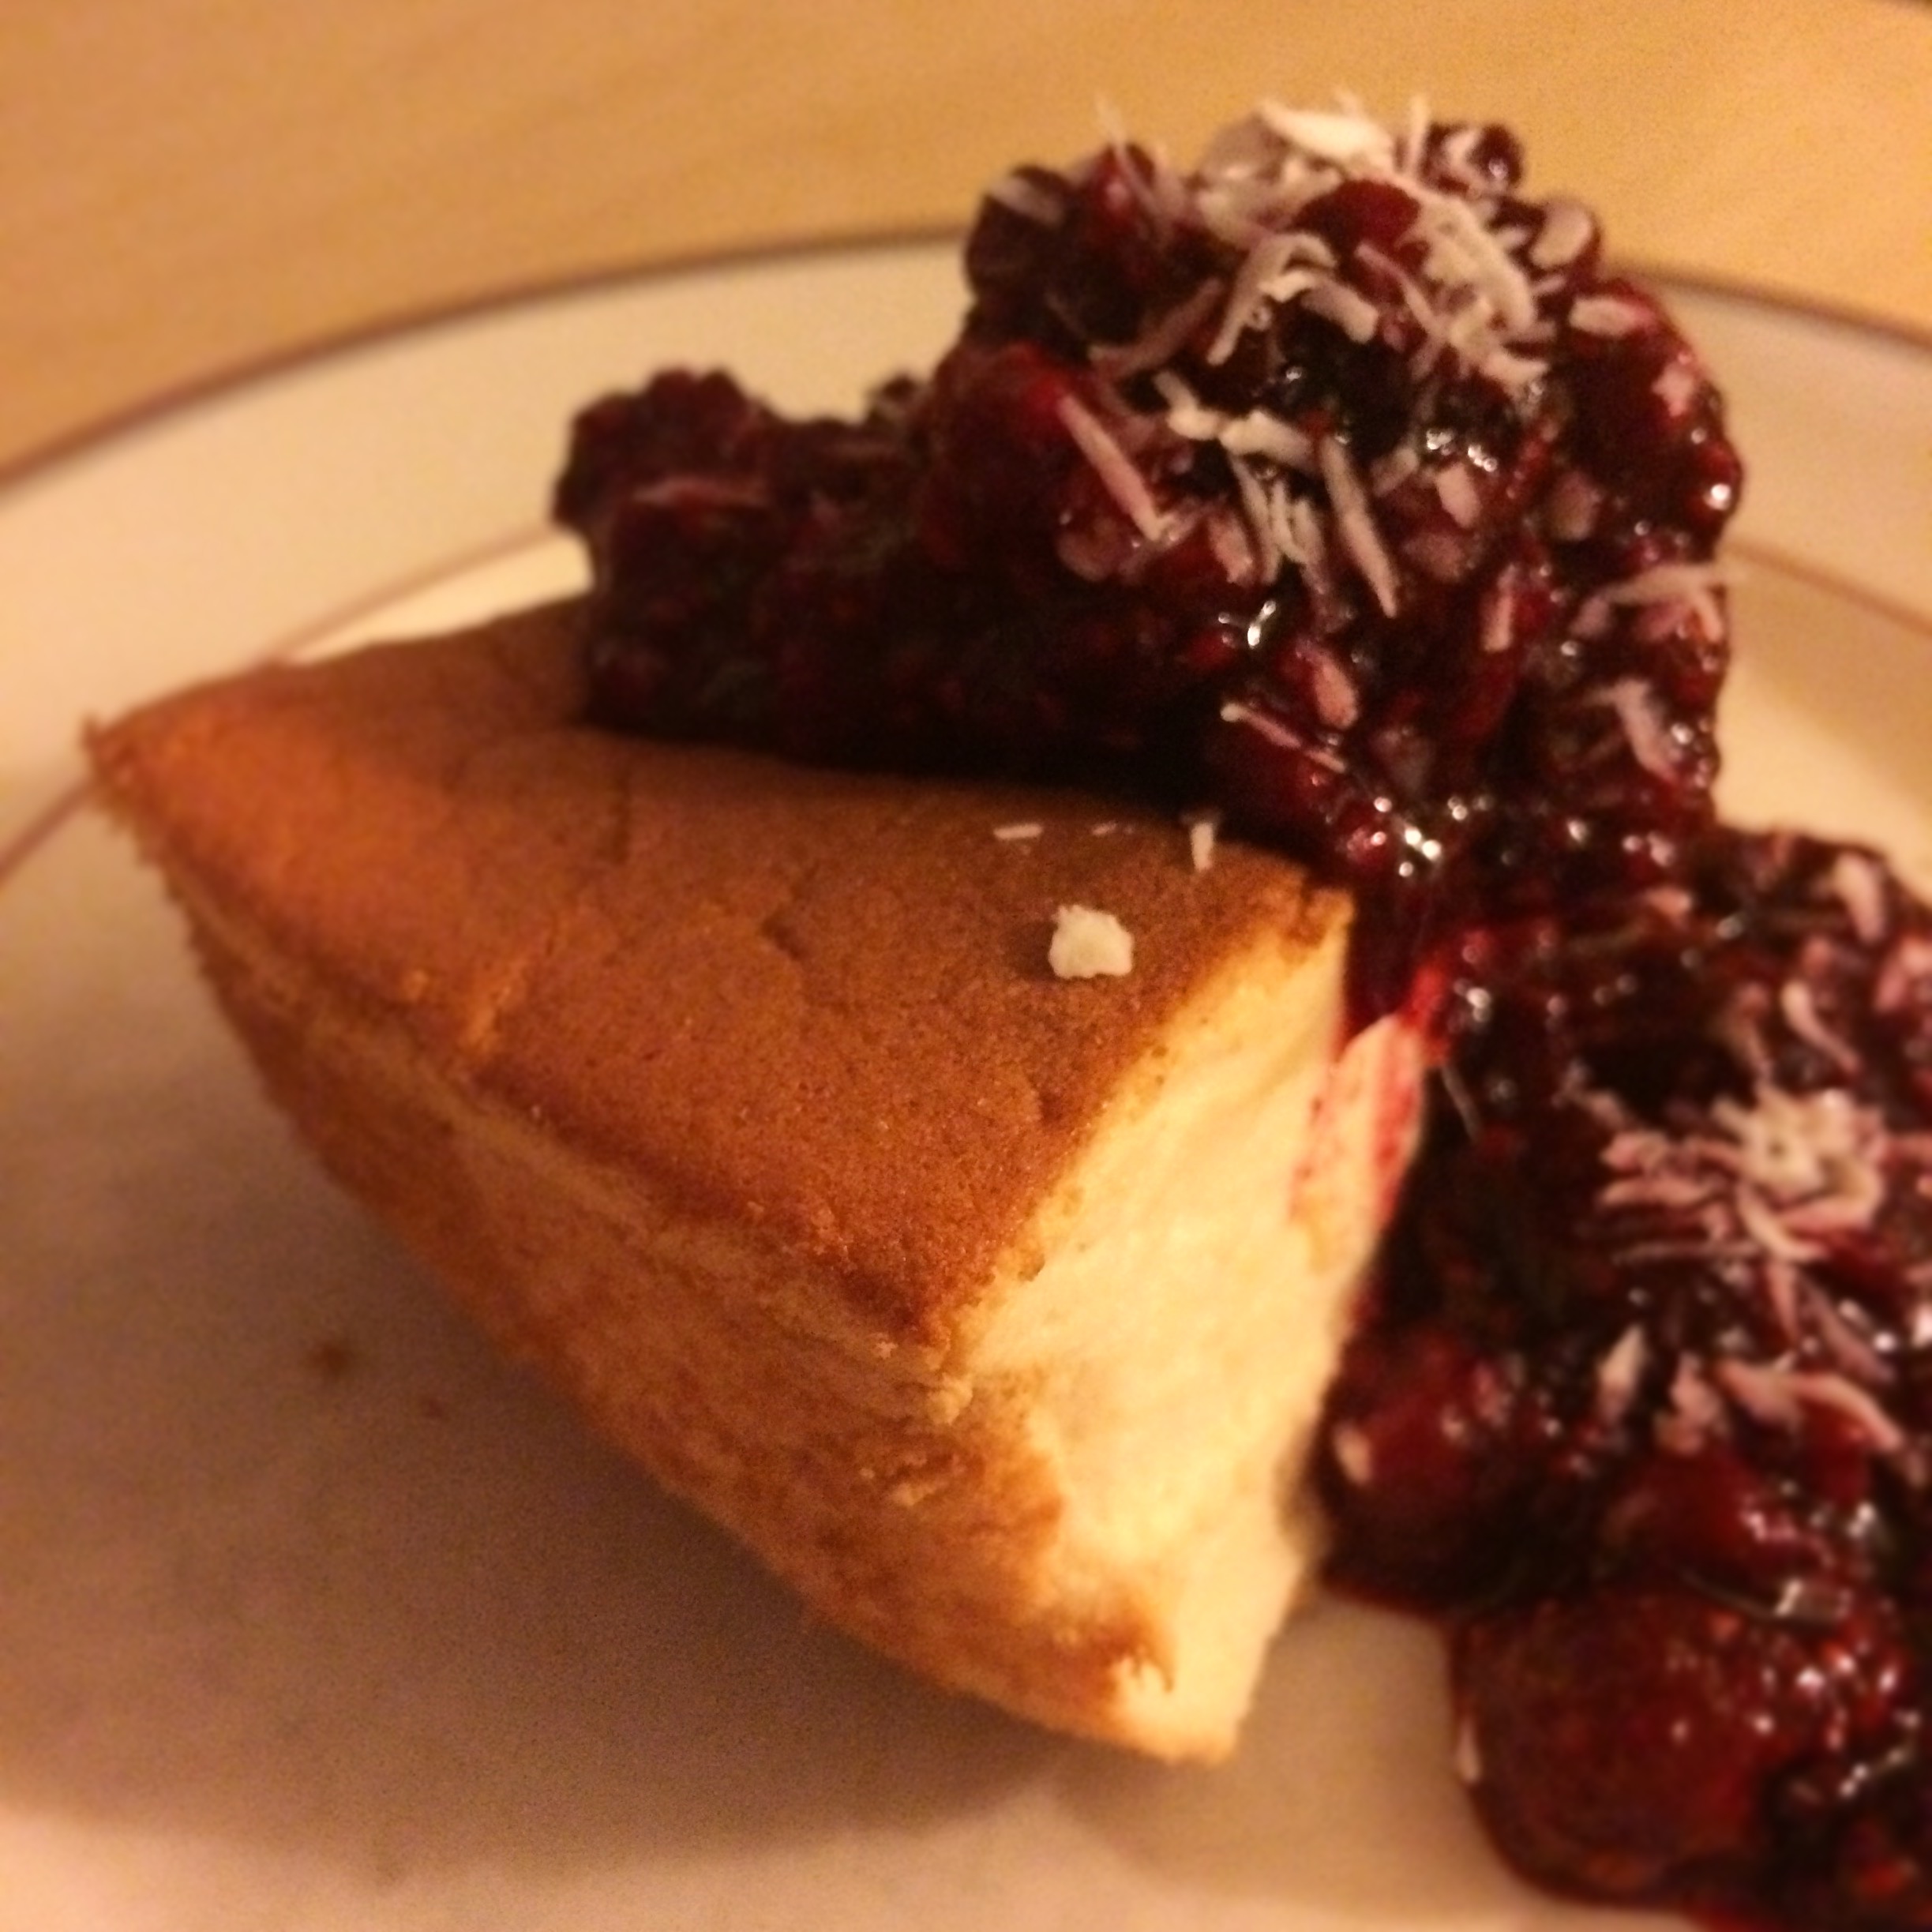
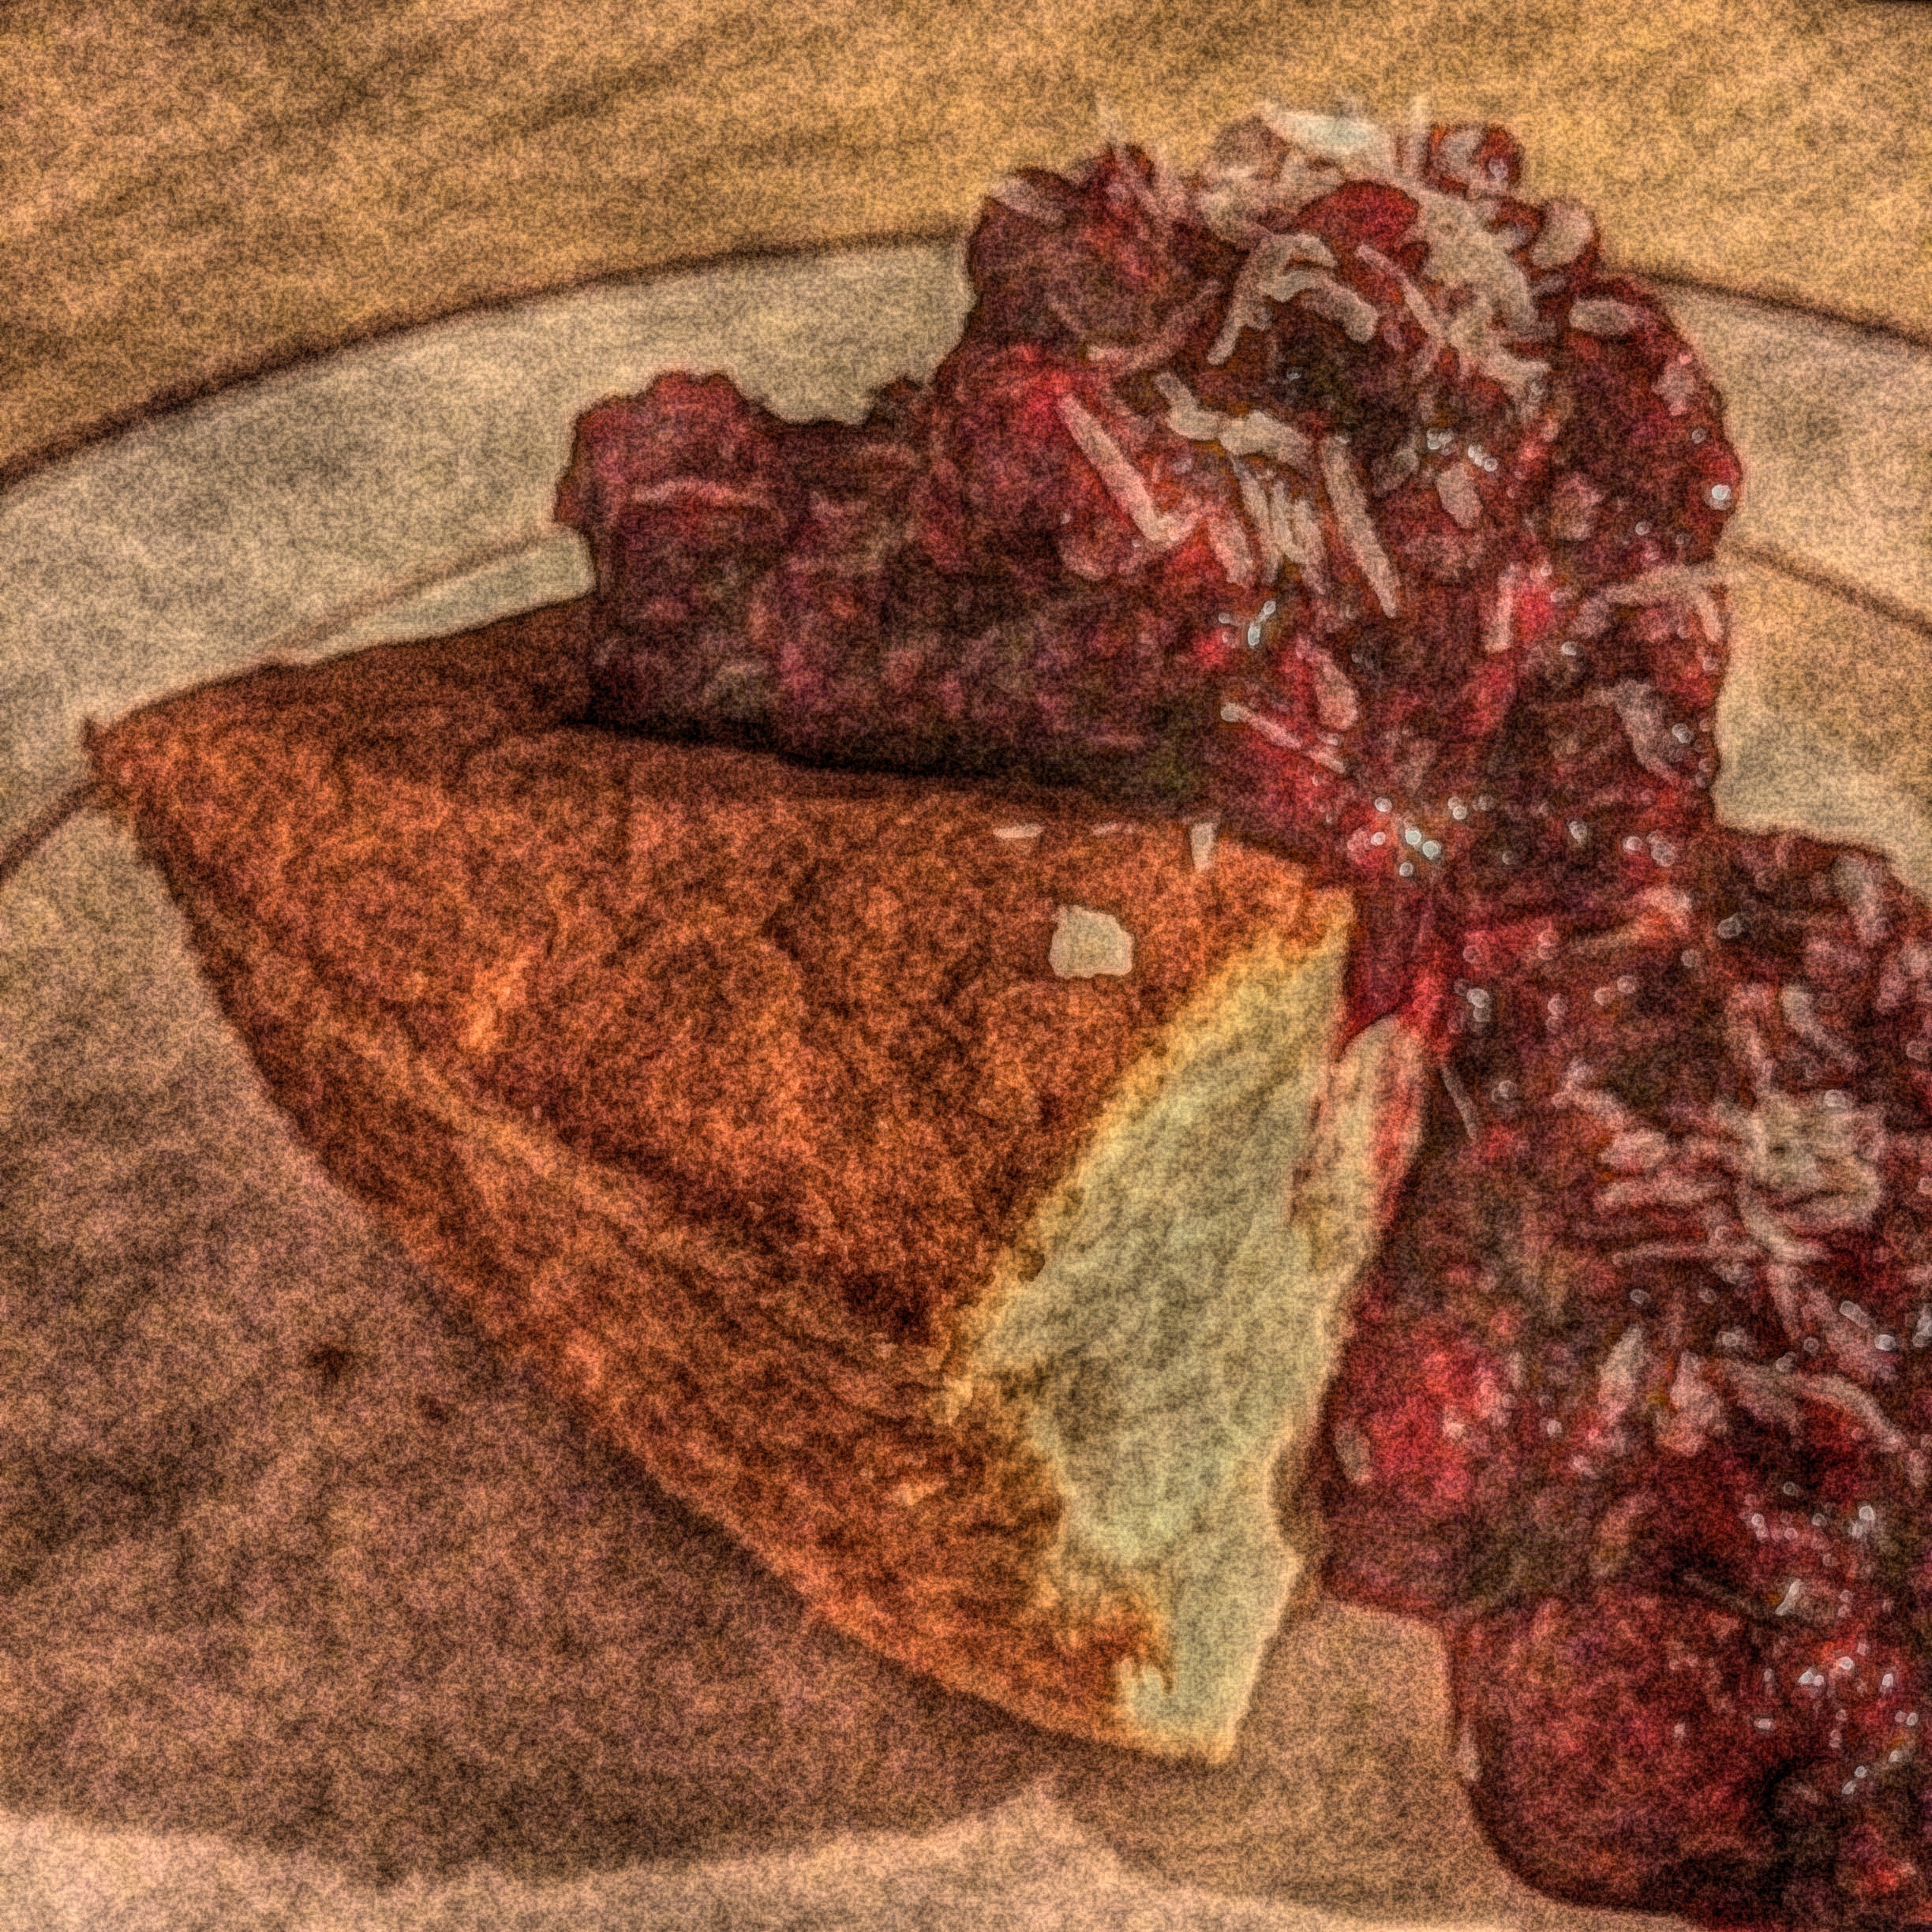
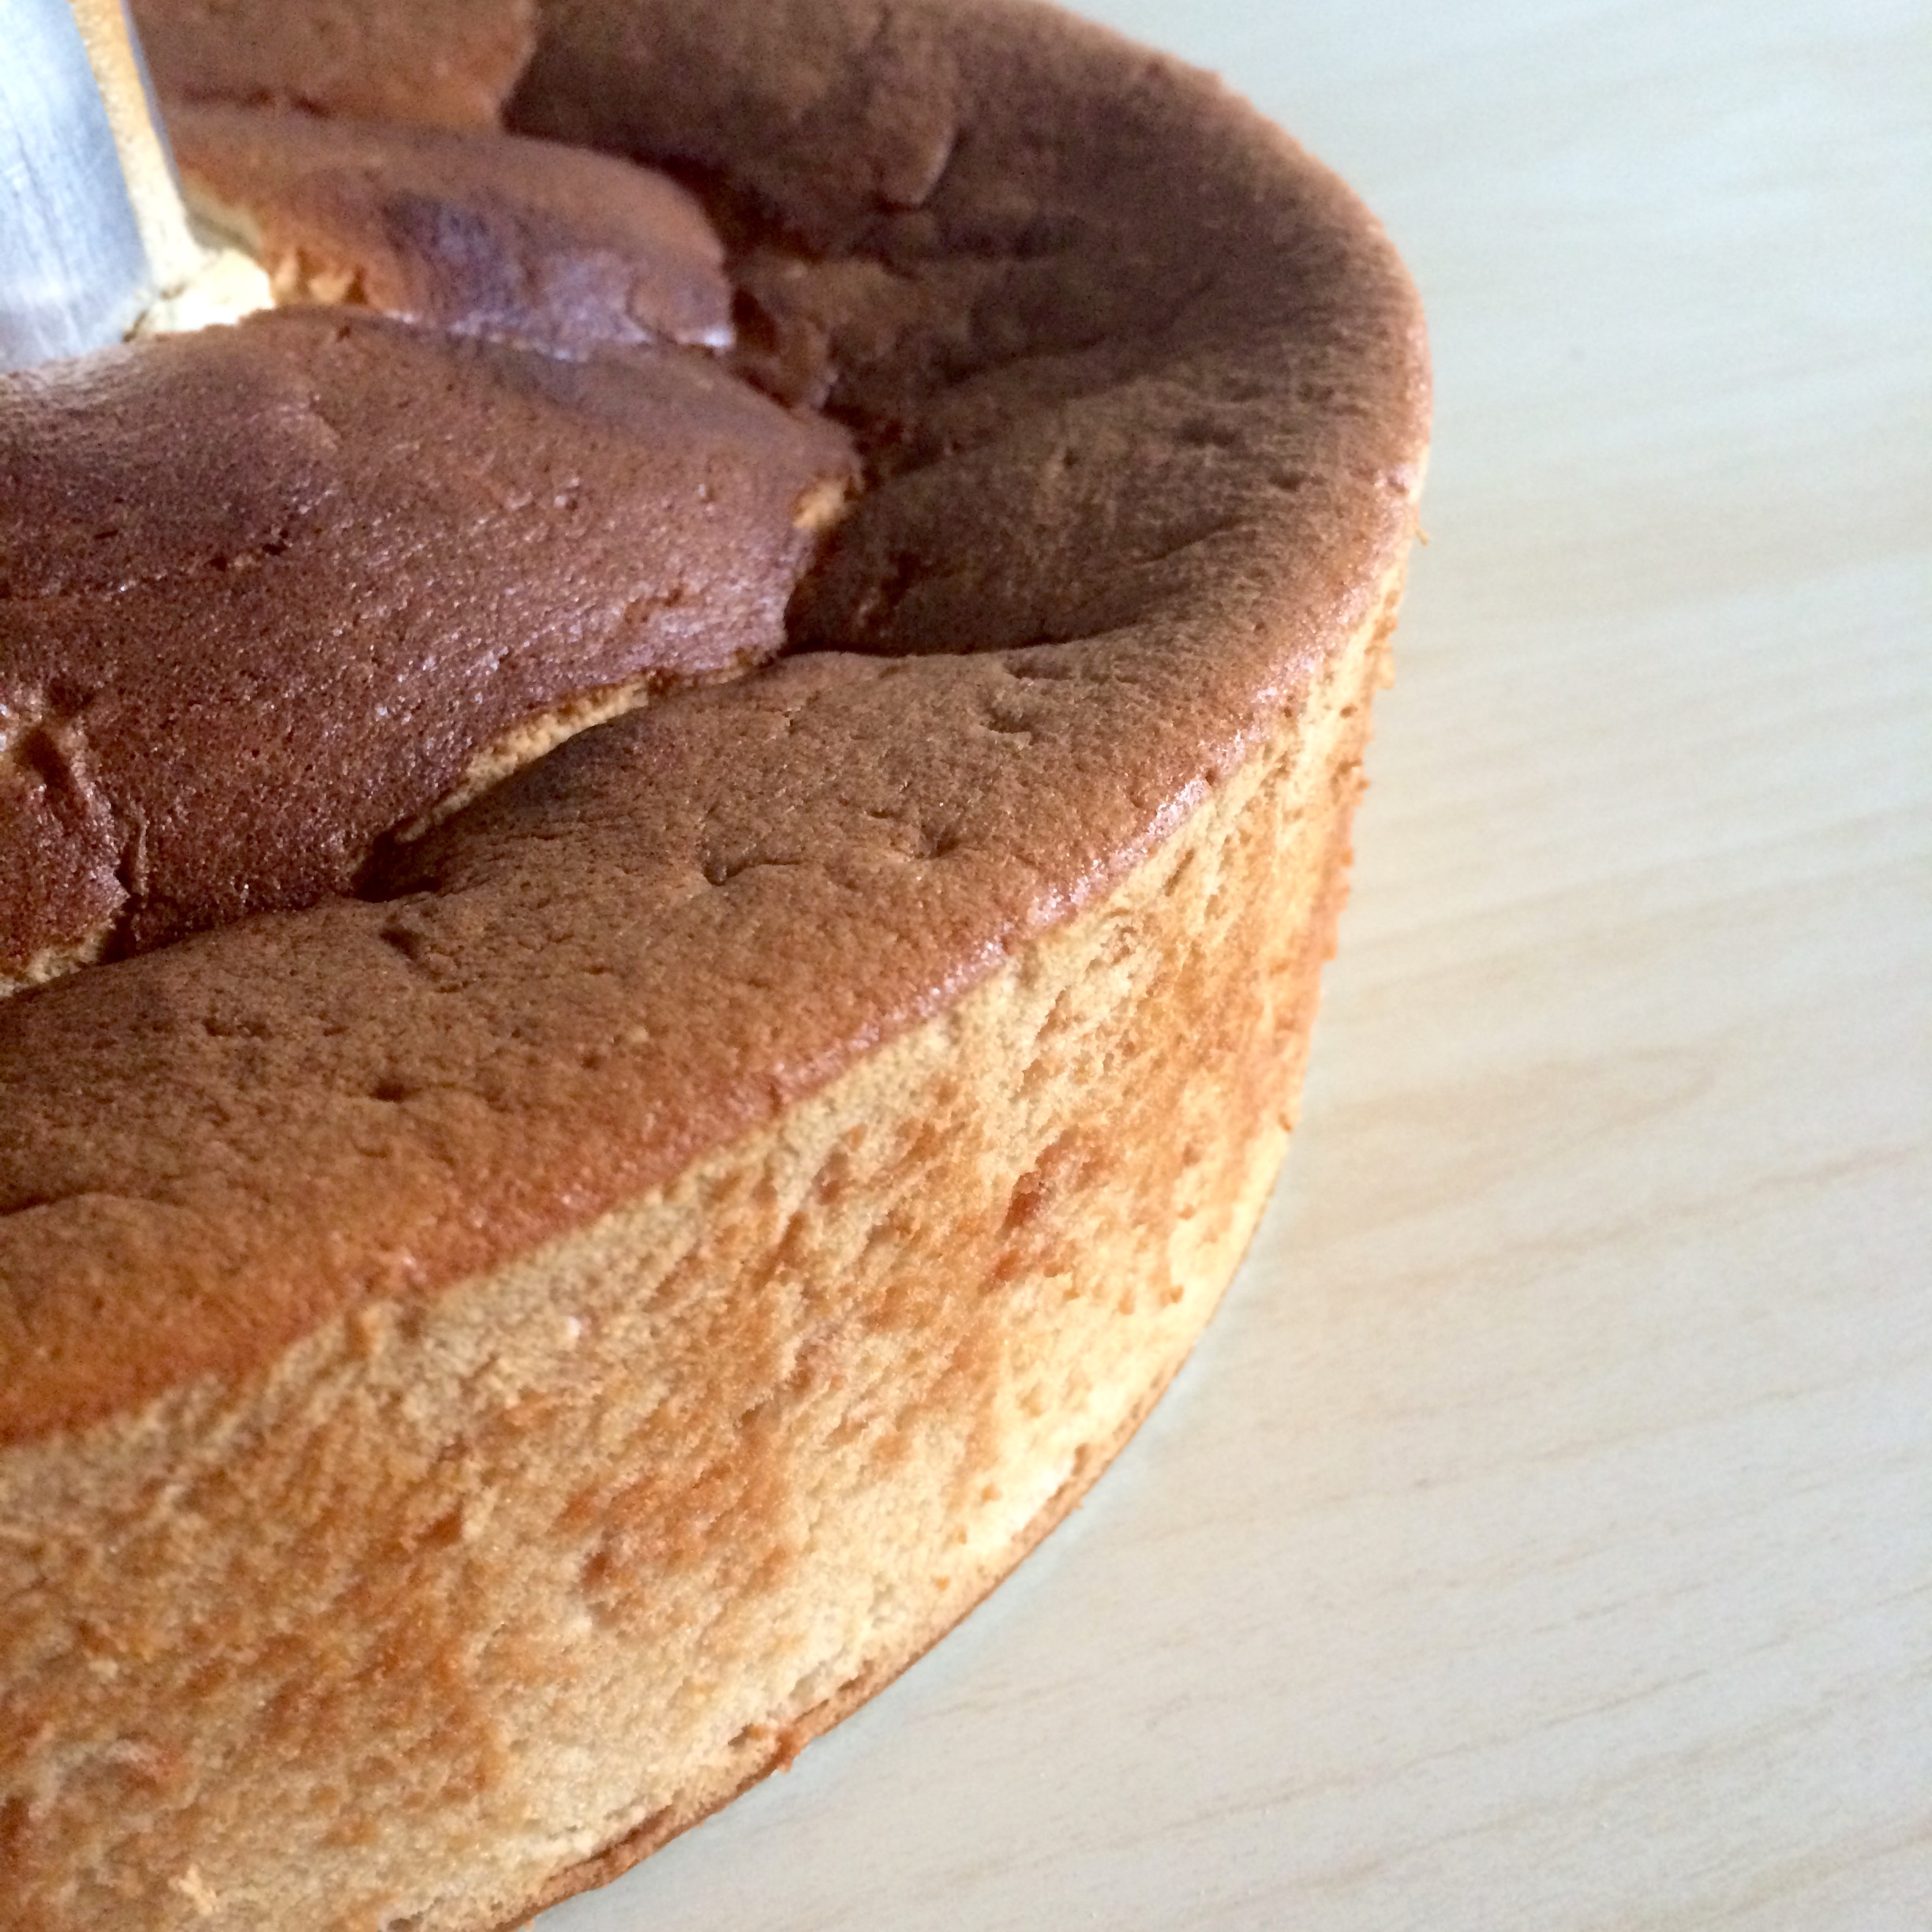
And is gluten free, refined sugar free, and beyond delicious. When I made this, I actually ended up with a much denser consistency than angel food usually has (I have reason to suspect my oven; firstly, it is wee. It’s like half the size of a normal oven, so consequently all of my sheet pans are quarter sized. I feel like a Barbie. But also I do believe it runs hot and heats unevenly. Further research is required; until then it’s an interesting challenge) — but I don’t care, because it is AMAZING! It’s almost… custardy. But also kind of fluffy?! If you can possibly have custard and fluff at the same time, this is it. Mine got a tad overdone on the top half, and I actually pulled it out far sooner than it was supposed to go (hence the suspicion that my oven runs hot), since it was done and browning quickly. It didn’t rise as much as they normally do, but it has that custardy wonderfulness so E and I definitely don’t care. Add to that, it’s tummy friendly and lower in sugar than most angel food cakes, so it just wins all around.
That all being said, I highly recommend making it on a Friday afternoon when your week has been rather wretched and you just need some cake. Not that I speak from experience or anything. Nope. Not me..
Grain Free Maple Angel Food Cake
Made of arrowroot starch, this cake is tummy friendly for IBS, gluten-free, grain free, and paleo. It’s also refined sugar free and lower in sugar than most angel food cakes, which is a bonus in my book for sure. Recipe from Deliciously Organic, here! I didn’t change a thing, as it was perfect as is. Yield: 1 cake (standard angel food pan).
12 egg whites (I used 1 carton = to 10 whites + 2 whites from whole eggs for convenience)
1 tsp fresh lemon juice
1/4 tsp fine sea salt
1.25 tsp cream of tartar
1 tbsp pure vanilla extract
3/4 c maple sugar, divided
1 c arrowroot starch
whatever toppings float your boat for serving — I made a simple raspberry compote and topped it with a little shredded coconut
Preheat the oven to 350, and get out your *un-greased* angel food tube pan. You might want to put a cookie sheet down below the cake pan in the oven to account for any leakage — my tube pan tends to leak just a bit out of the bottom. Adjust the rack for the cake to be in the middle of the oven.
In the bowl of a stand mixer, beat the egg whites with the lemon juice on medium high until foamy. Add salt, cream of tartar, and vanilla, and continue beating on medium high until soft peaks form, about 1 to 2 minutes.
With the mixer running on medium, slowly add 1/2 c of the maple sugar, a spoonful at a time. Sift the remaining maple sugar and arrowroot starch into a small bowl, and, with the mixer still running, slowly add this to the mixer bowl. Once it’s all added, whip on medium high until completely incorporated (you may need to scrape the sides of the mixer bowl, I did). Pour the batter into your tube pan, and bake for 35-45 minutes*, until the top is golden brown and the cake is puffed.
*Normal ovens are probably done at a minimum of 40 minutes. Mine was excessively brown at 35, and done, though not as puffy as it could be.
Remove the cake from the oven, and immediately invert over the neck of a wine bottle to cool completely — about 1 to 1.5 hours. Cooling it upside-down helps maximize loft! Once the cake is completely cooled, run a knife around the inside of the pans to loosen the sides, and pull the cake + the removable bottom out of the pan. Run a knife along the bottom between the pan and the cake to loosen it fully, then lift off to the serving plate. Decorate at will!
Angel food cake keeps well at room temp for a day or two if it’s not too hot or humid where you are. I’m keeping mine in the fridge and it’s totally fine — cover it with an inverted bowl and it will stay good for several days in the fridge.
I survived summer session!!! Donedonedonedonedone. And now I get a very well deserved week and a half to sit on my butt or go do jazzercise or reorganize the apartment which is slowly starting to look less like the home of the box-people, or quite probably some combination of the above.
And I also get to COOK. And maybe even BAKE, now that the weather in Davis has decided that it will deign to be somewhere under 100 degrees. It might only be somewhere between 95 and 98, but I tell you what — that is a hell of a lot better than walking out in 107 and feeling like you’ve been punched in the face by a wall of heat. Also, incidentally it feels like walking into a hairdryer set on high. Groooosssss. BUT! This week is supposed to be under a hundred, so perhaps it’s time to test run the teeny tiny oven in my apartment.
Side note. I have noticed, in subsequent kitchen explorations of my apartment, that everything is sloped. Literally EVERYTHING. My bar counter slopes one way, the stove slopes the other. Which is super fun when you’re making eggs and they all decide to run together in the back of the pan, in one giant egg party blob. I foresee some hilarious cooking adventures ensuing, not to mention some slightly crooked cakes.
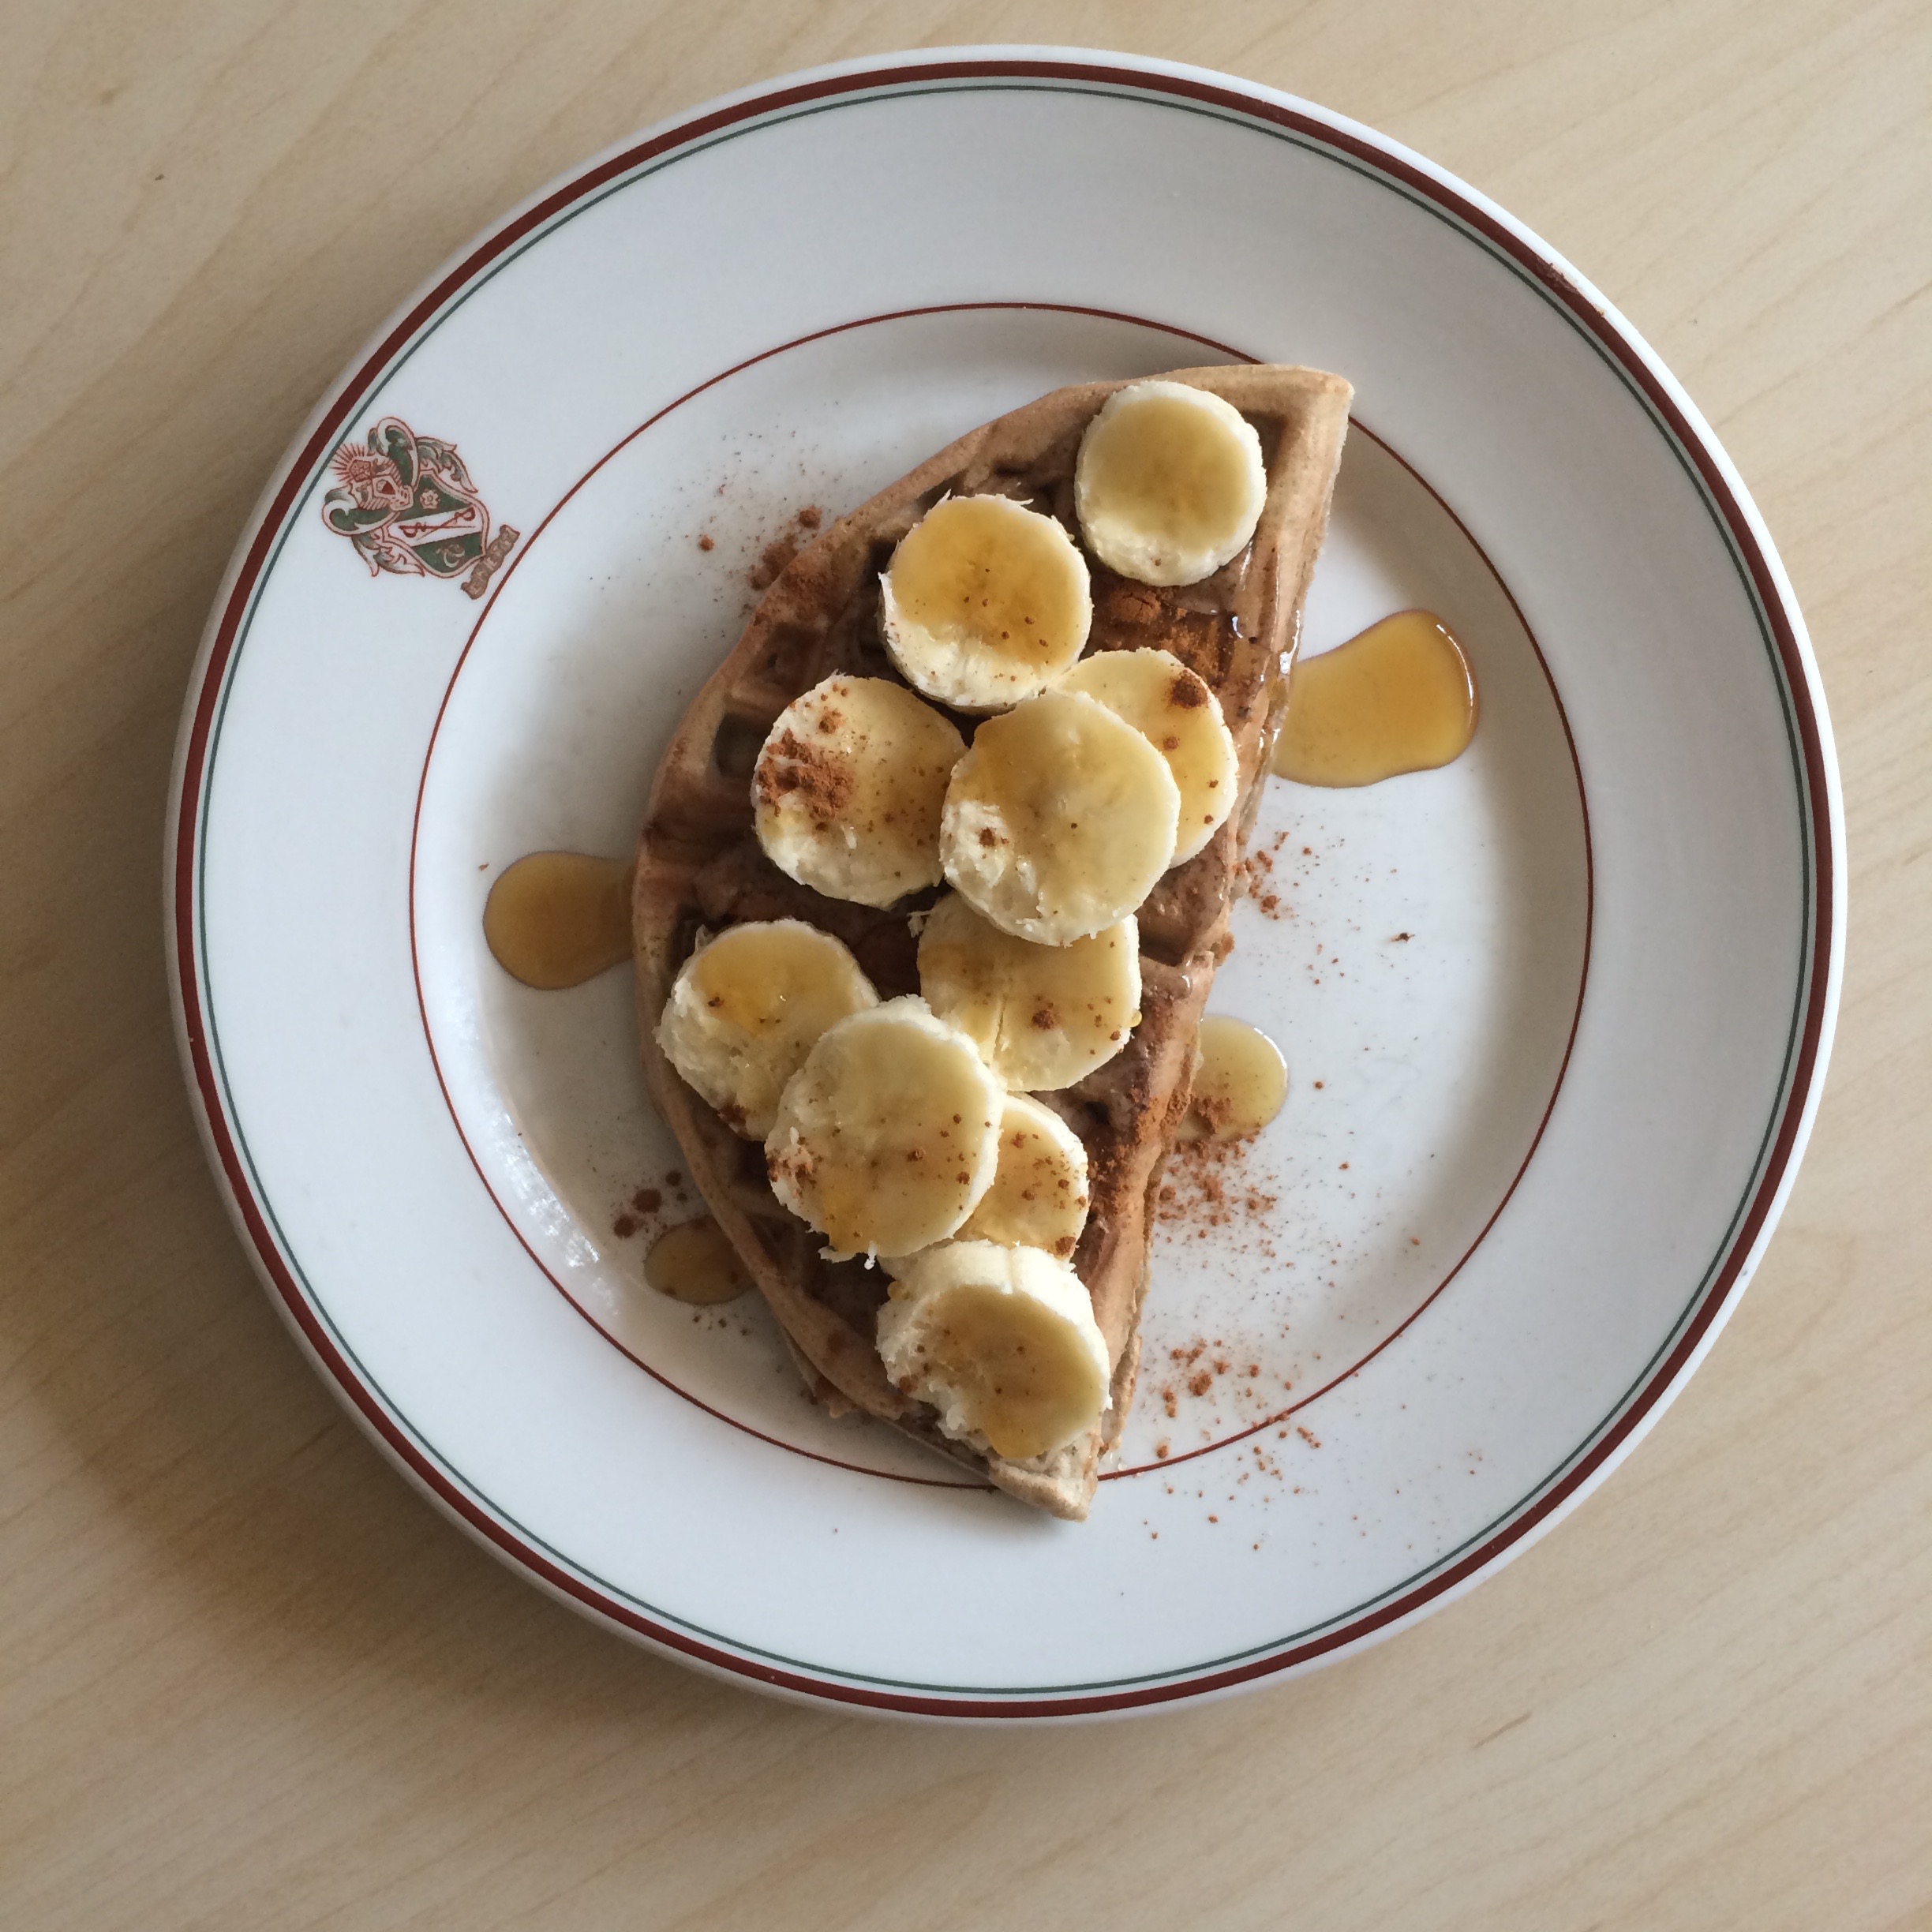
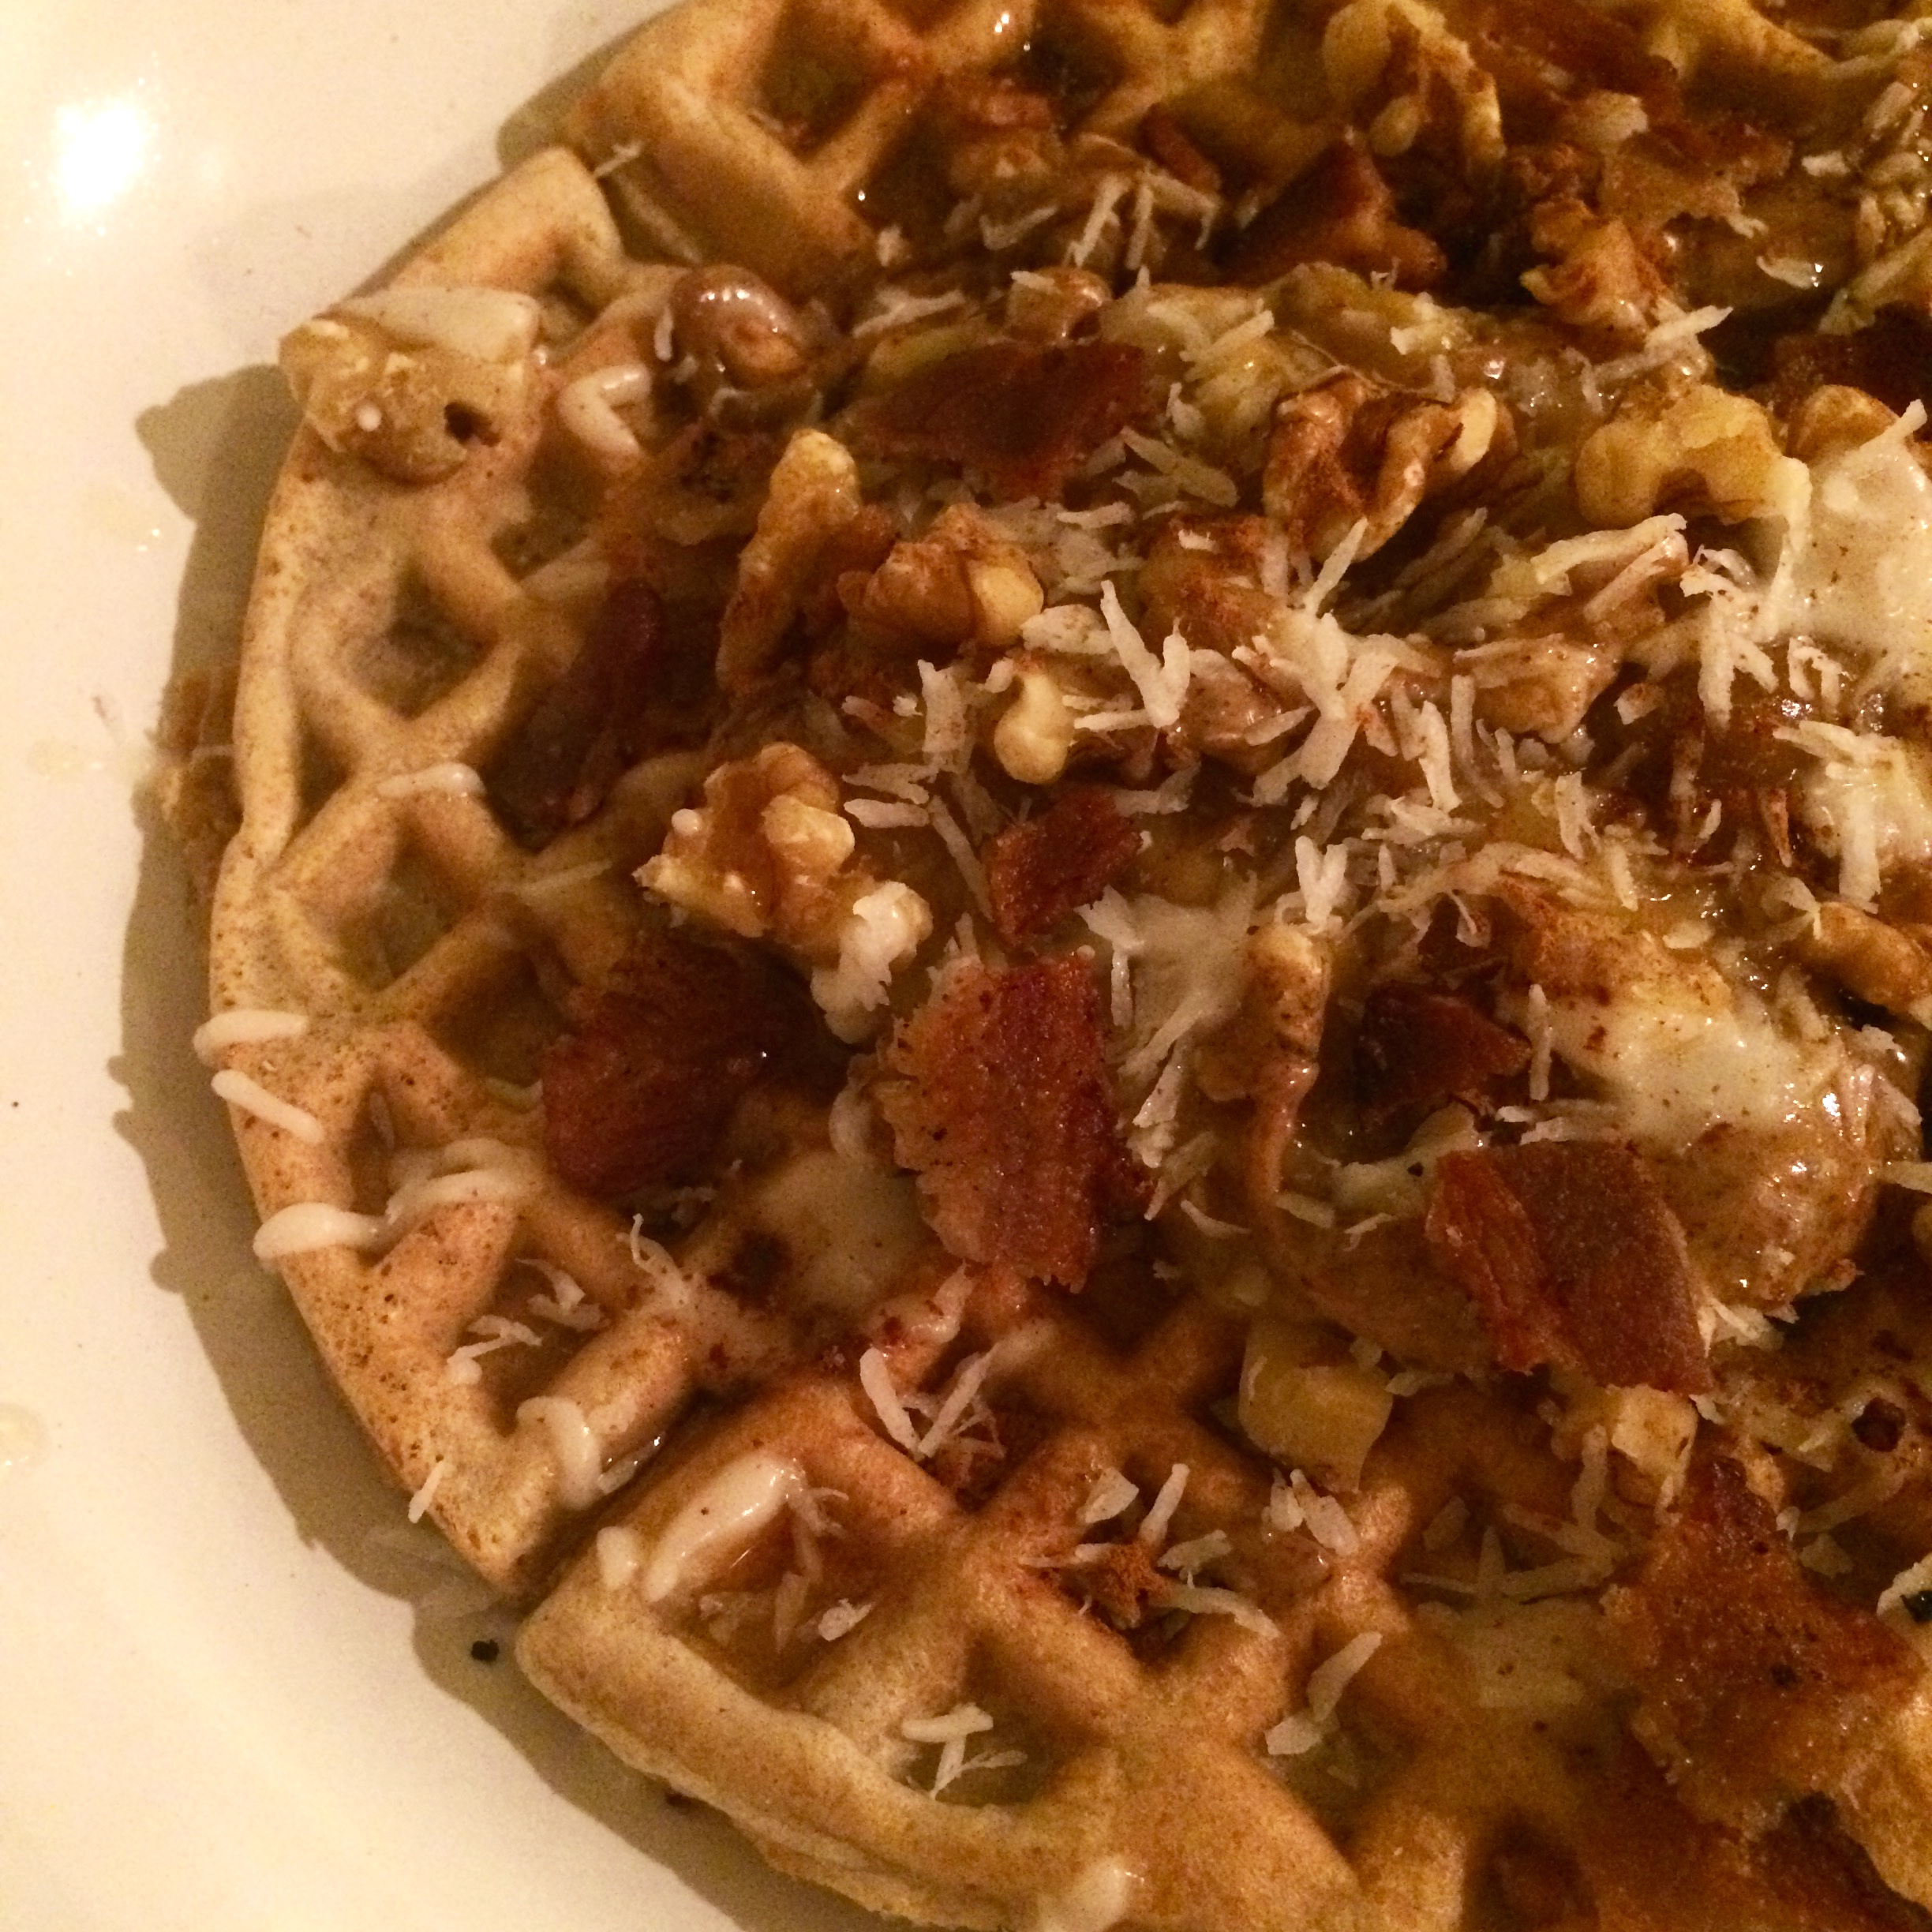
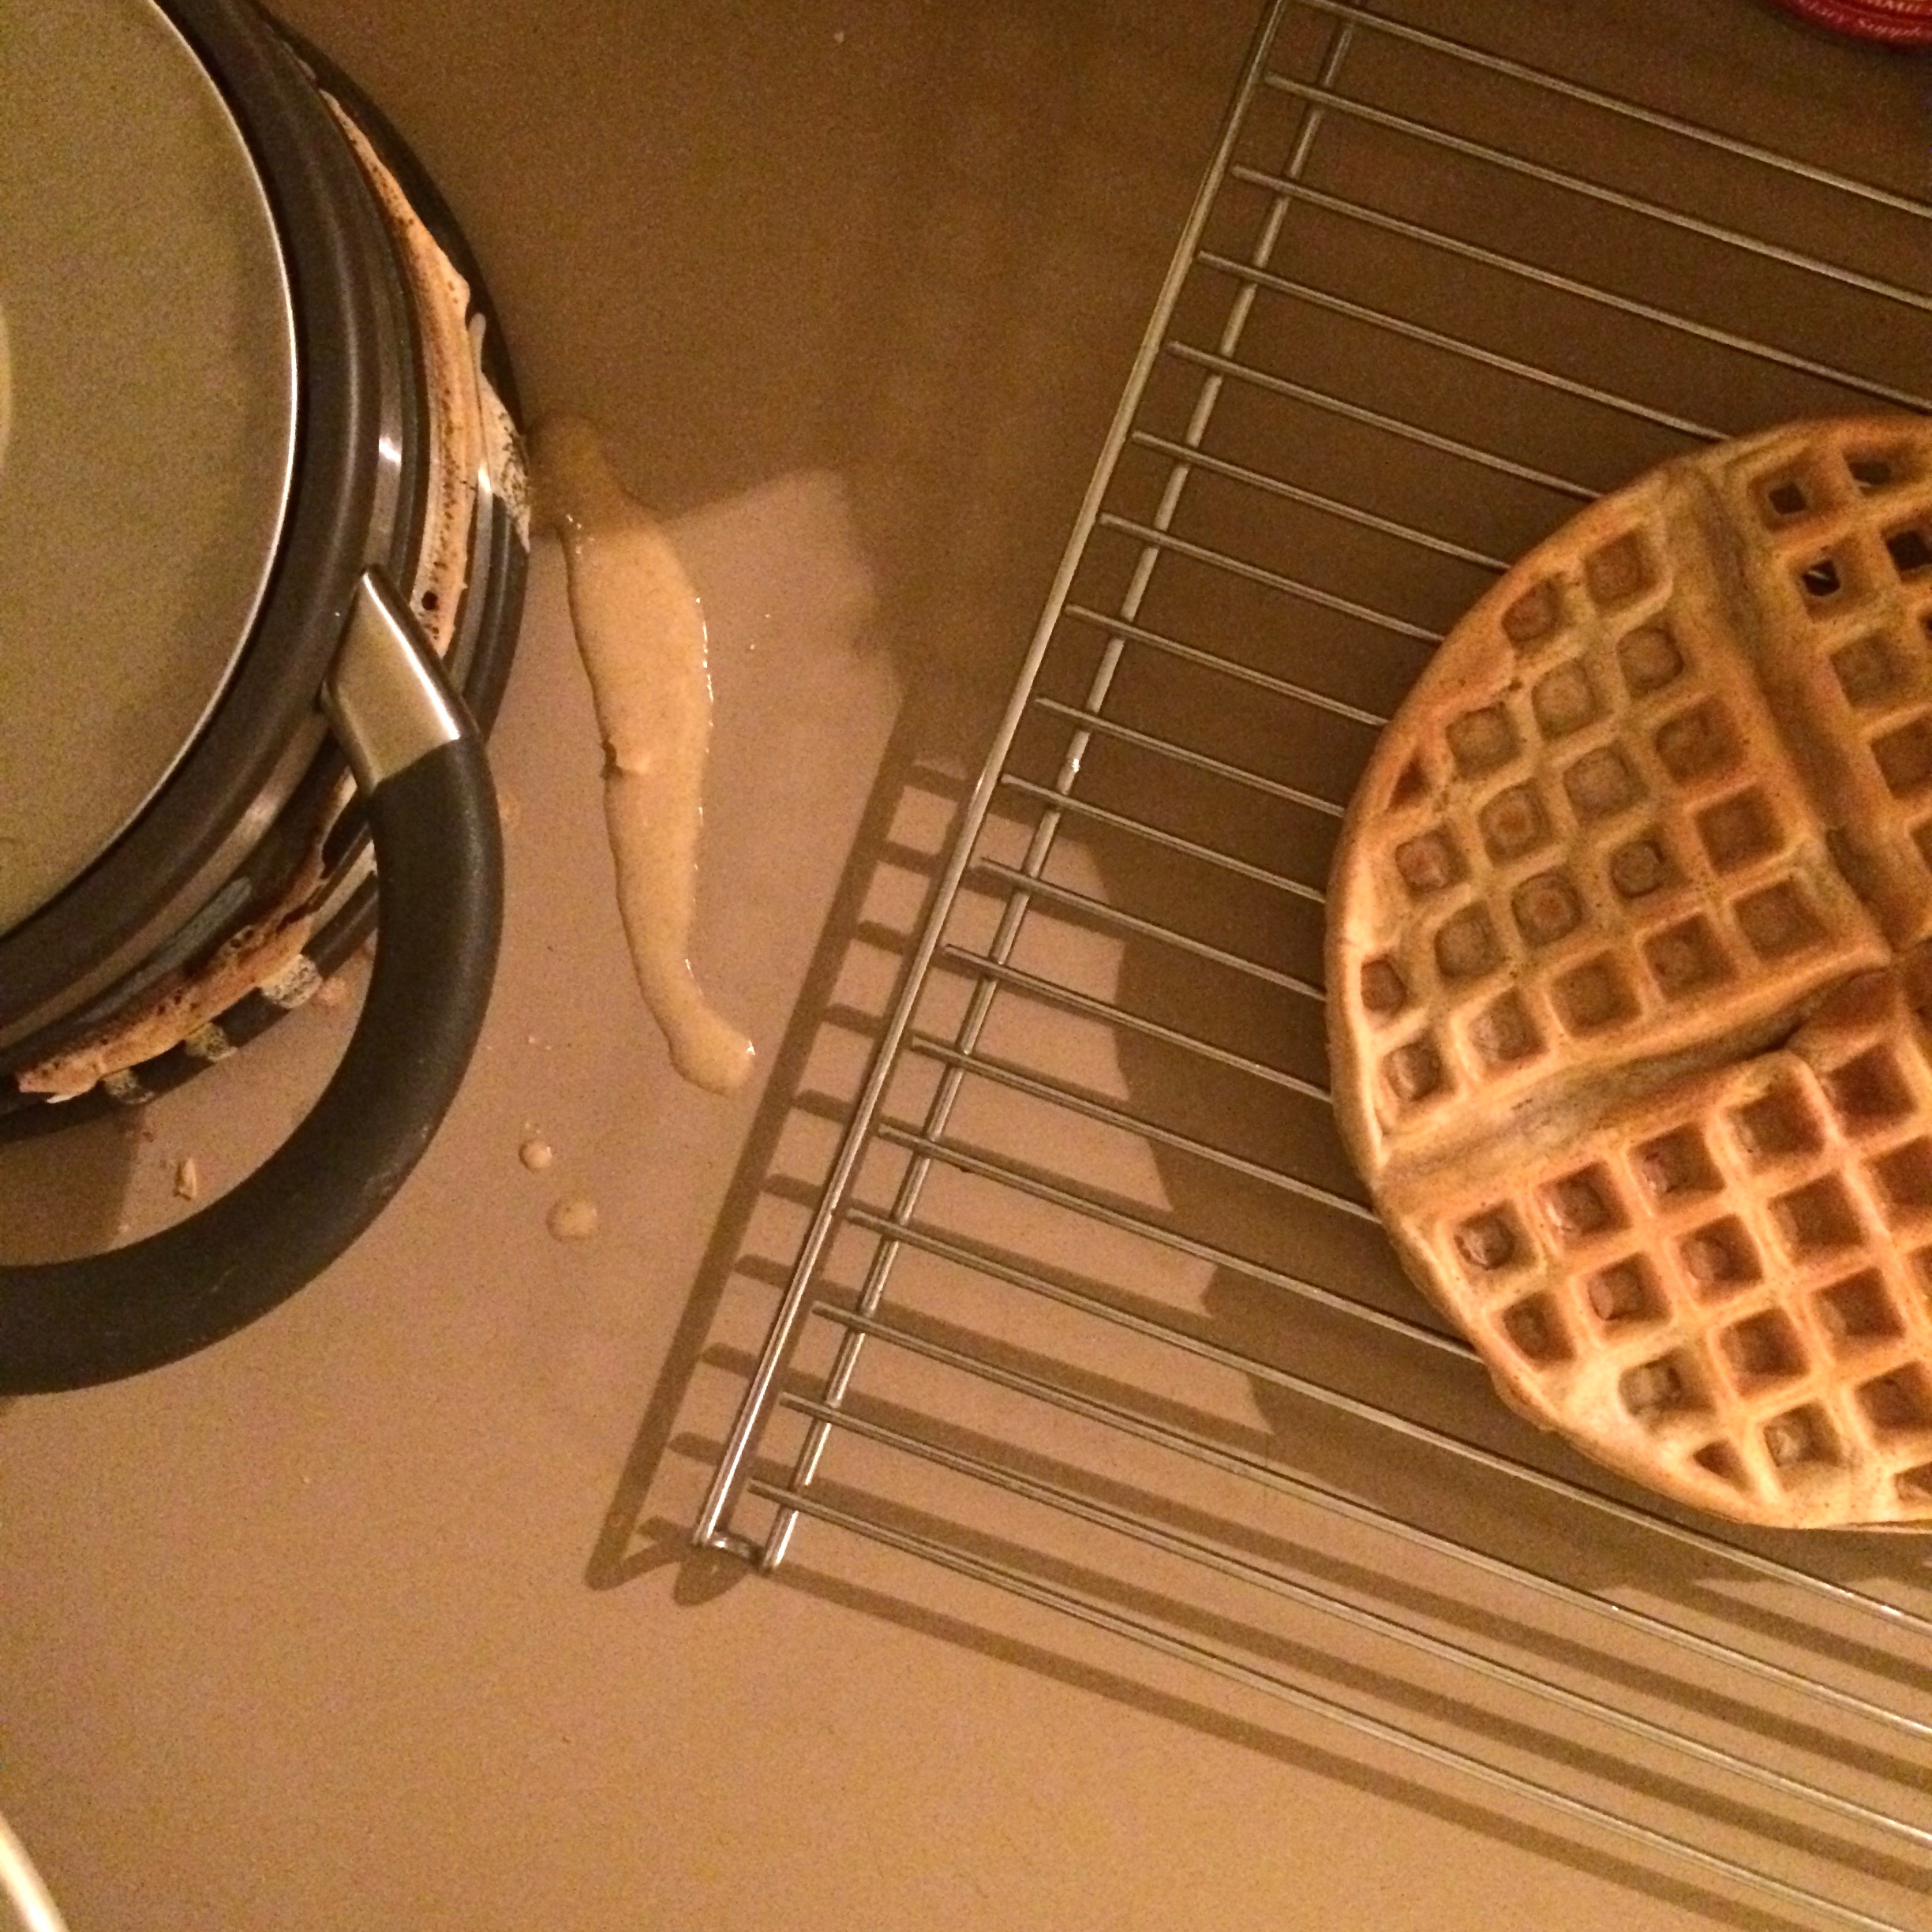
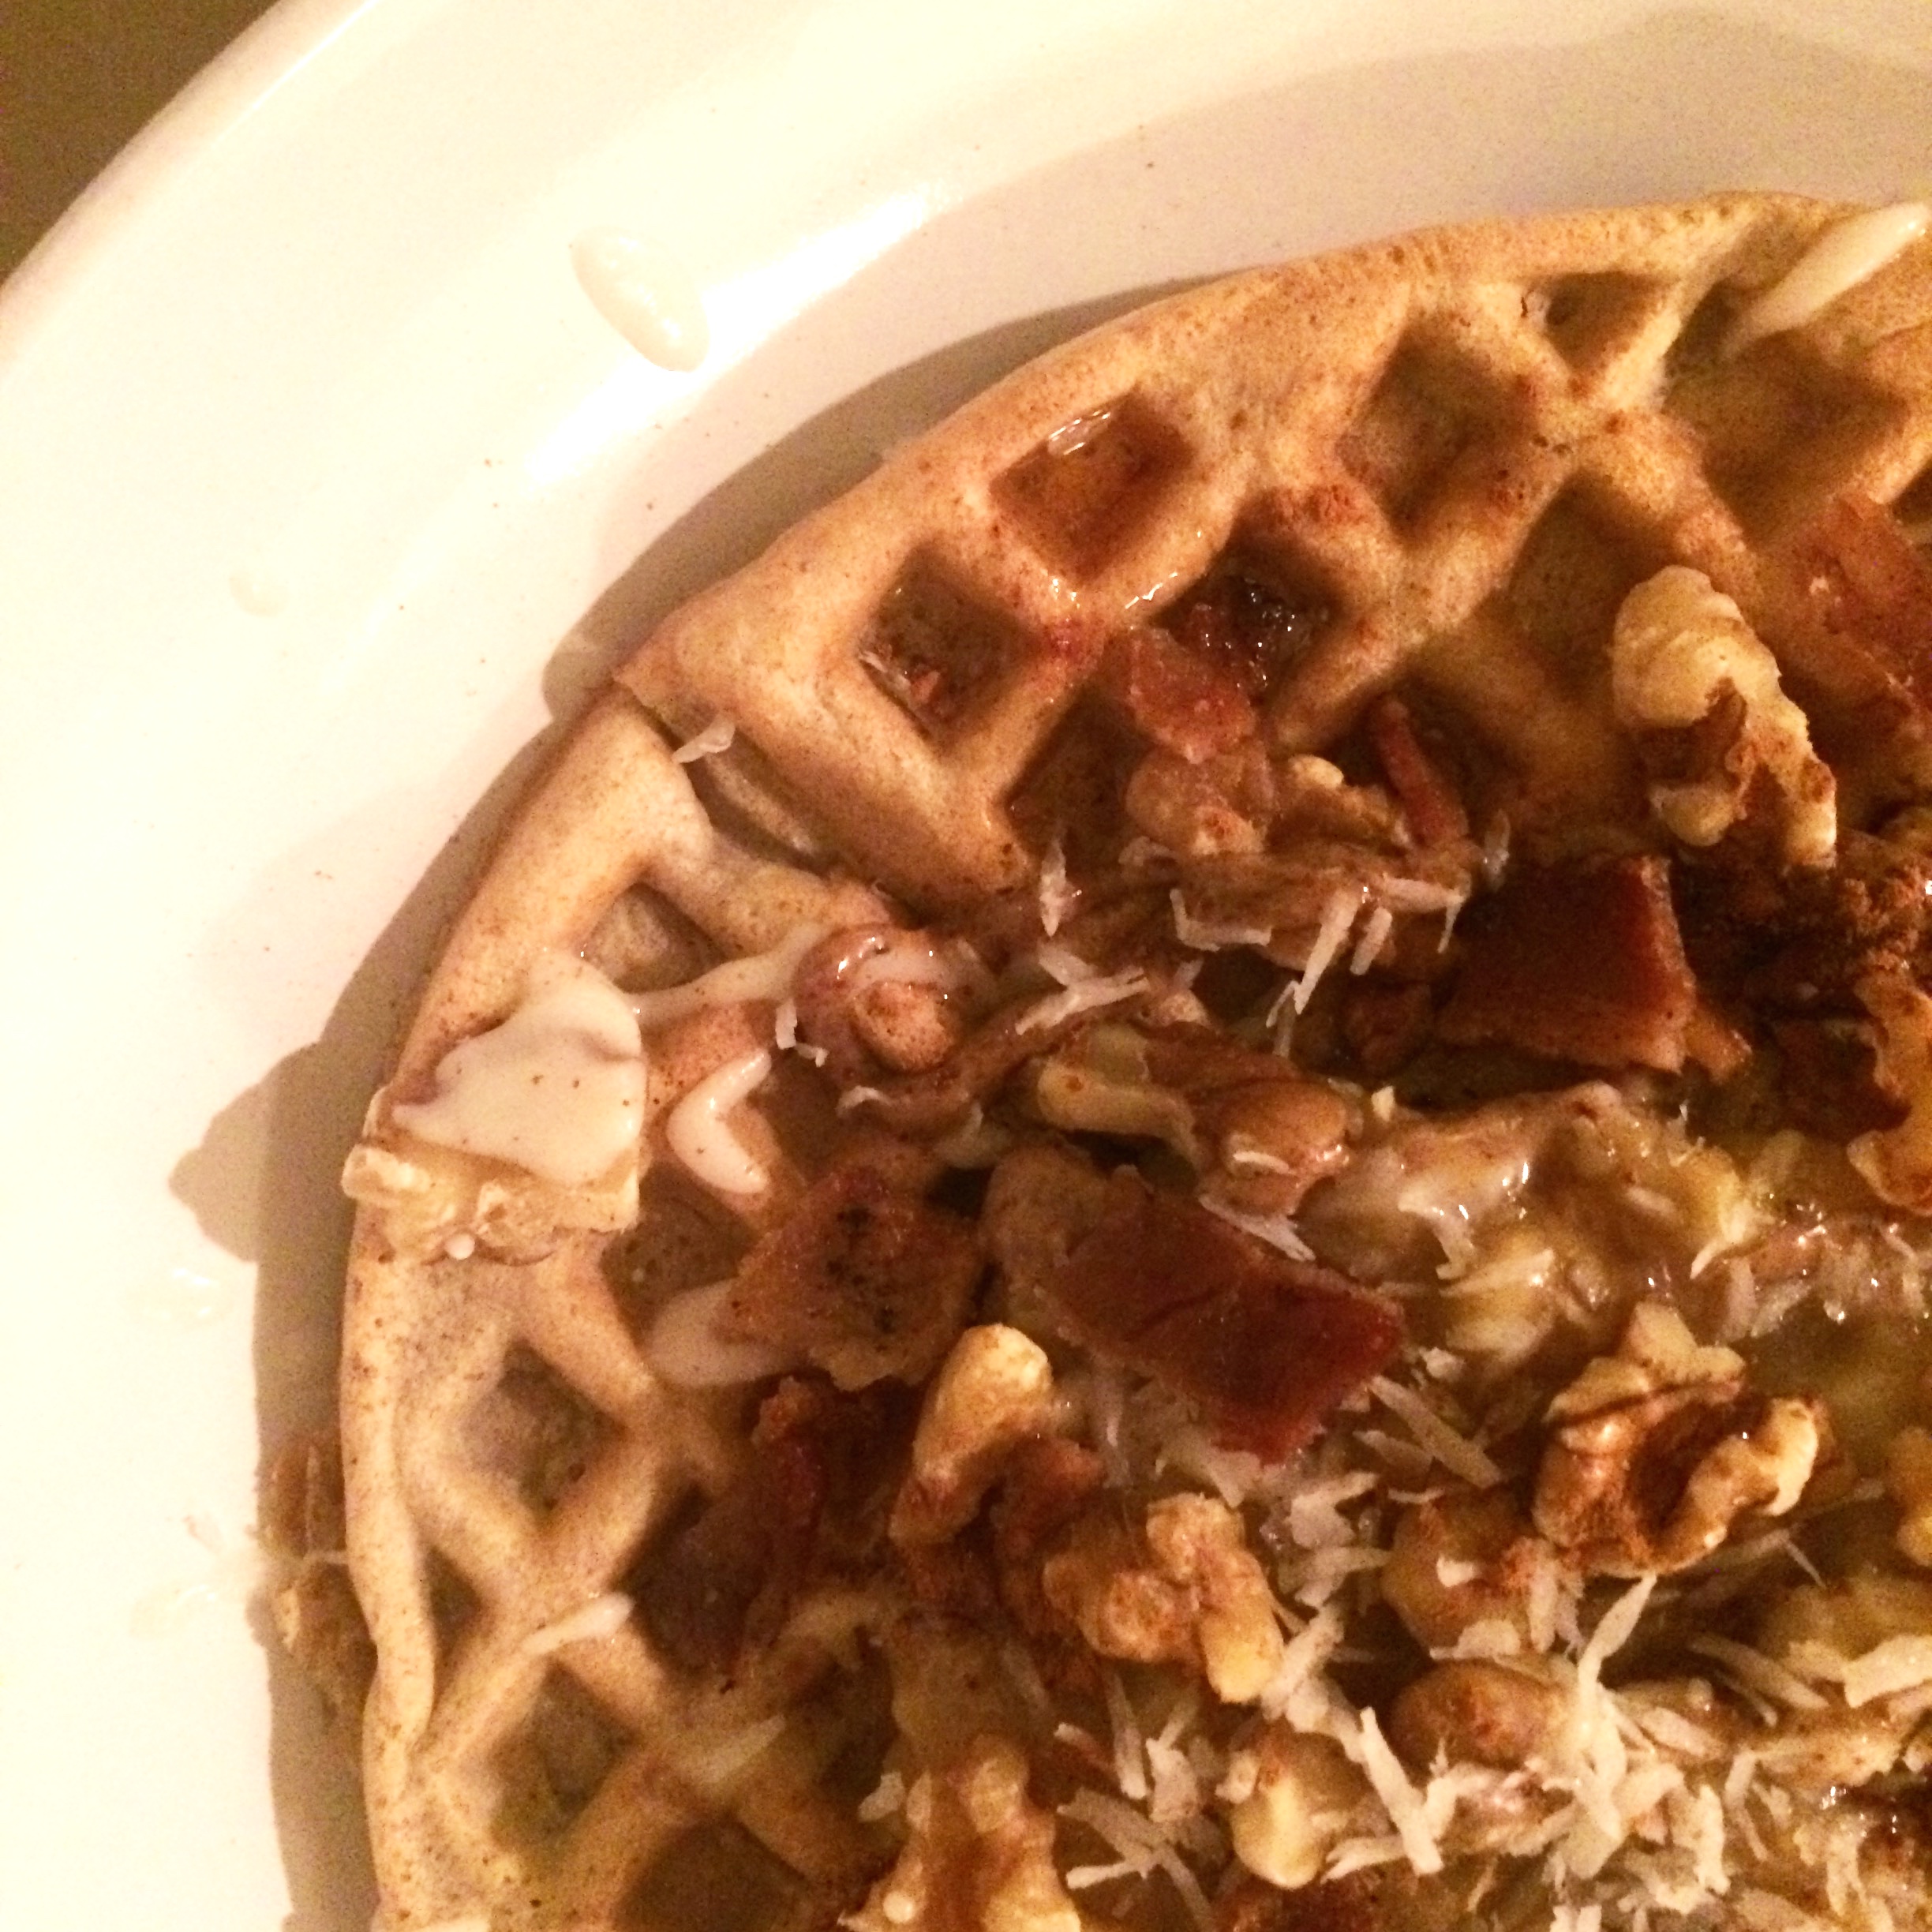
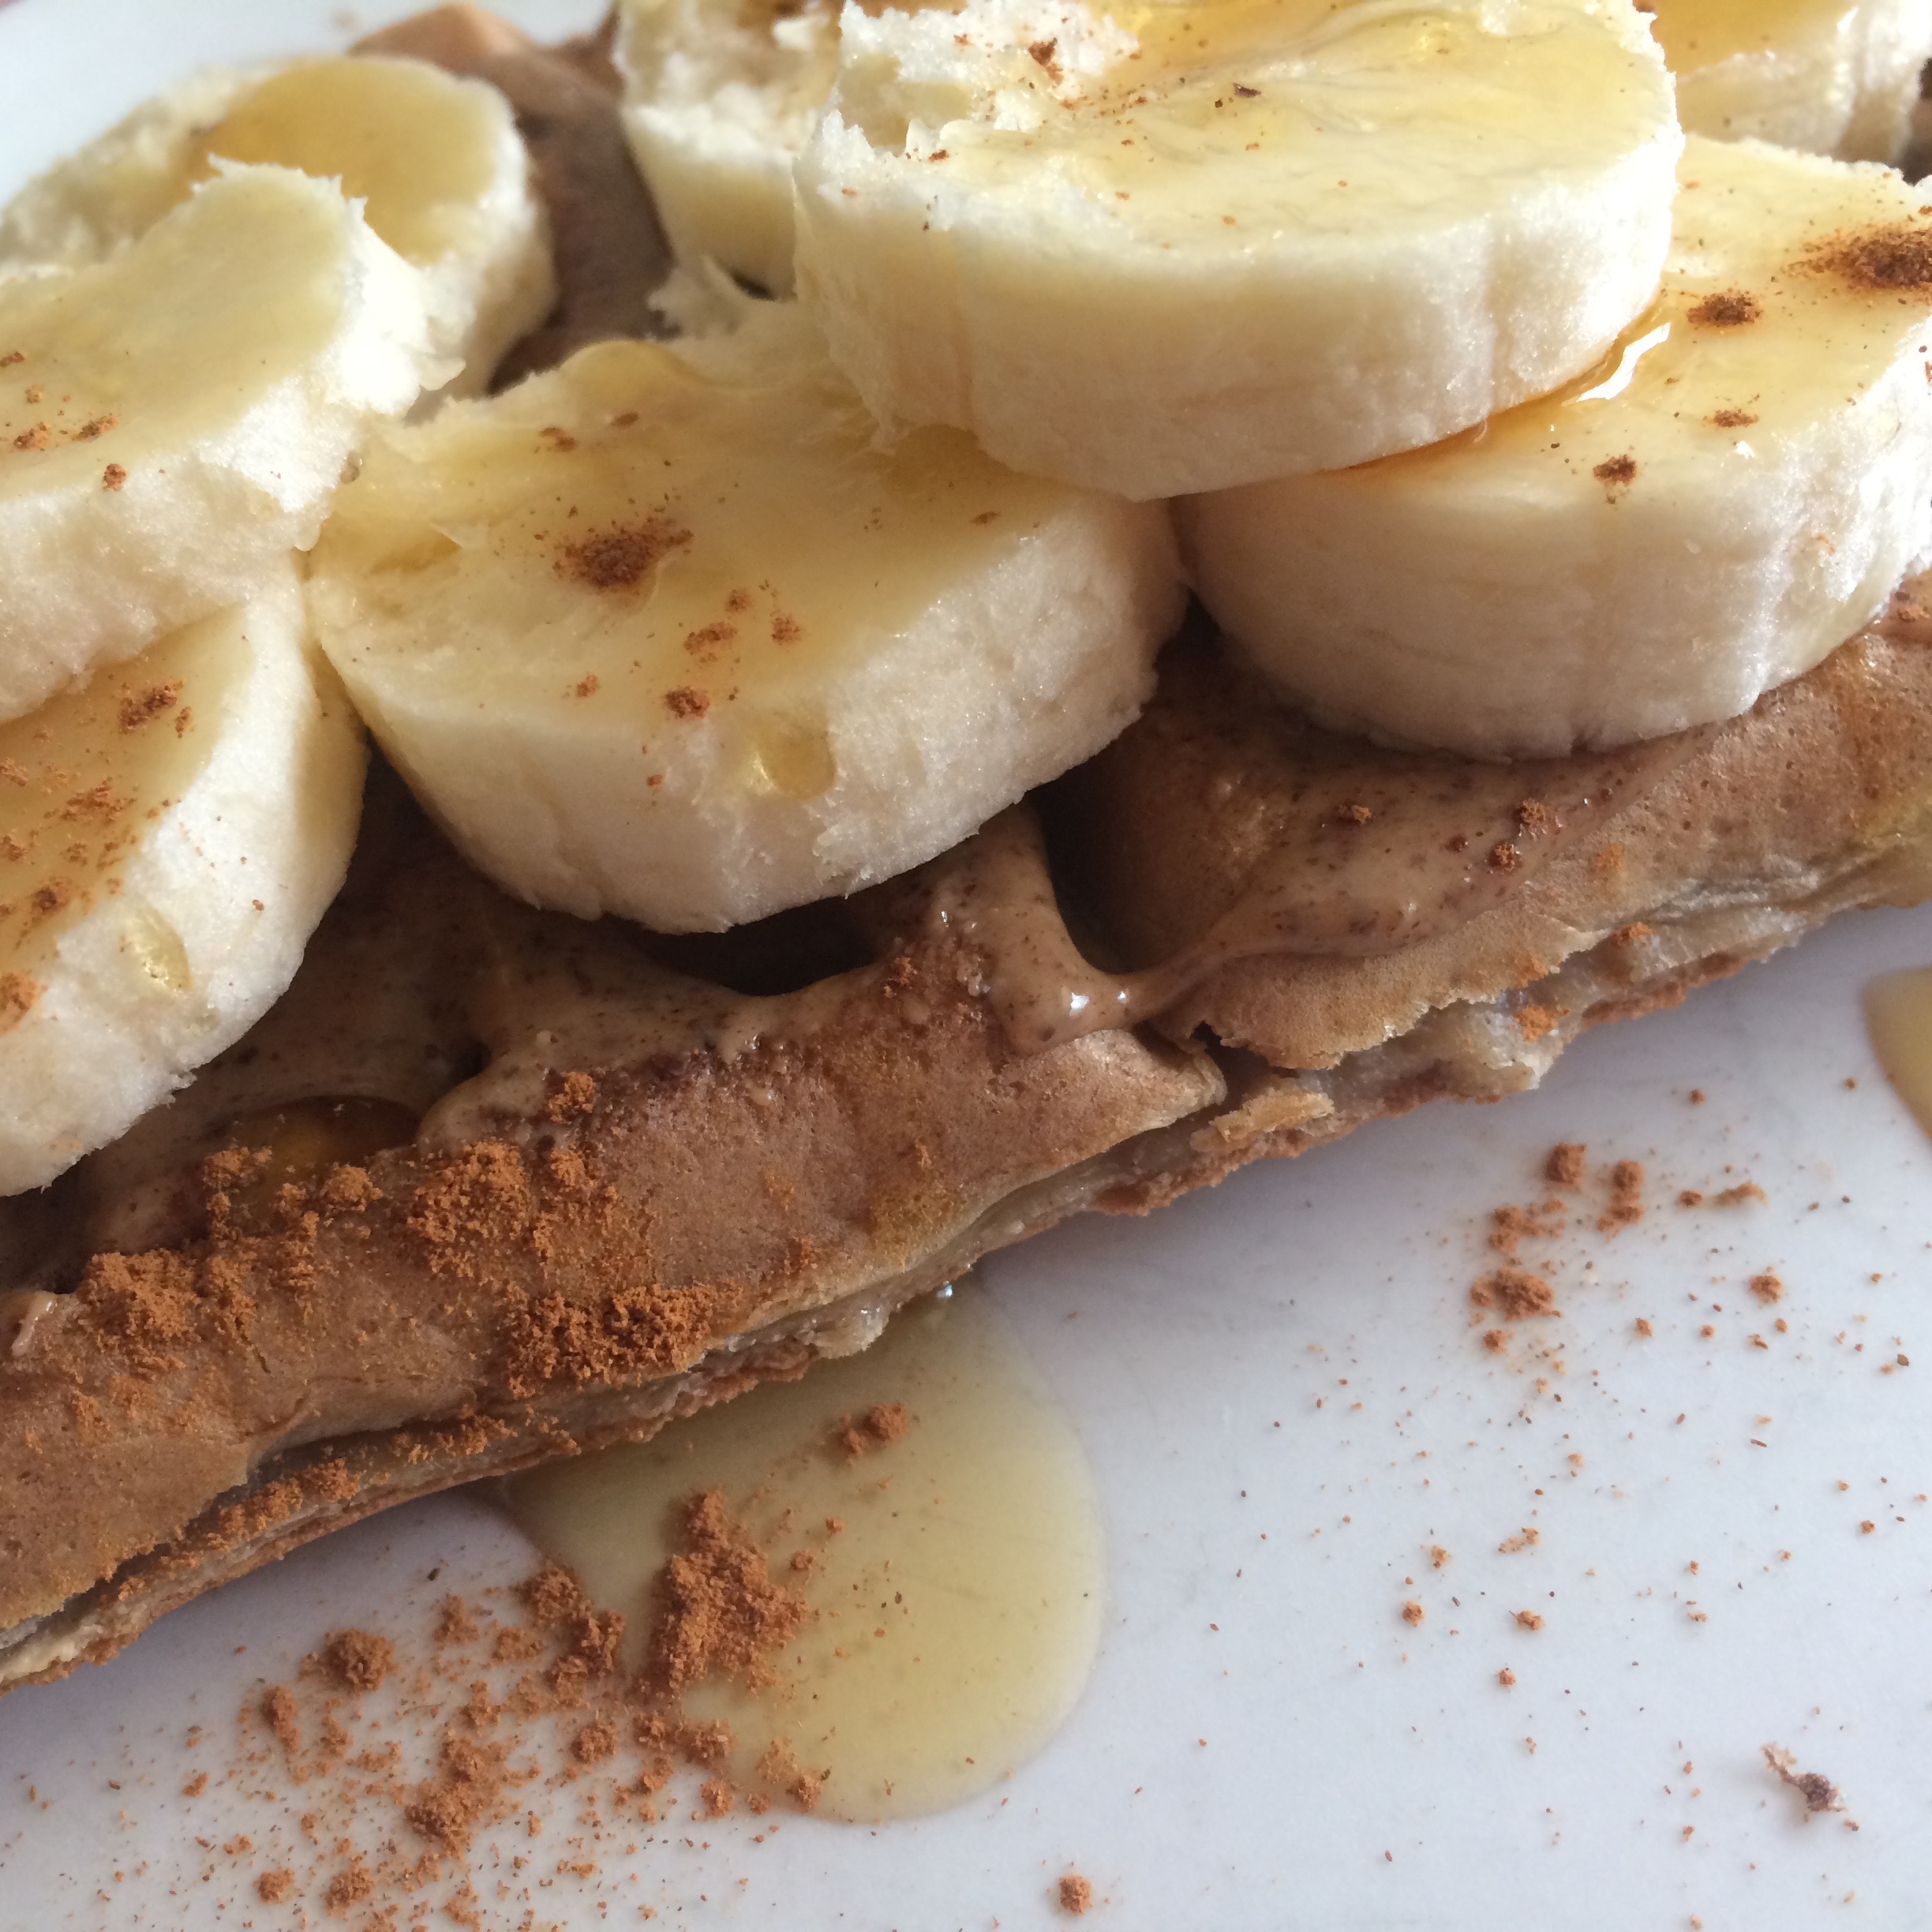
This was also in evidence last night when E and I made waffles (because Friday night = breakfast for dinner, obviously) and the waffle batter all ran to one side of the waffle iron, creating very interesting effects and only mild spillage / escaping batter. They were still delicious, because also BACON and walnuts and banana jam and paleo and maple and grass fed butter and zucchini (I had to have something green. It would be out of character if I didn’t). And sorry if the pictures are garbage. I promise these waffles are DELICIOUS, which is why my pictures are lame because I really just wanted to eat them… Pictures of the fully loaded waffle were dinner last night, and the halfsie waffle with banana slices was second breakfast today. WINNING.
Also, one random thing… Kira and I are doing a 30 / 60 day drawing challenge! (30/60 because LIFE and we may not actually be able to do it in 30 days… margin for error). SO! Day 1. Drawing Self. I am supremely out of practice with drawing people / faces / self… not to mention that self portraits are HARD! But I declare it a credible effort, so here you go. Just one more way to keep myself accountable to finish this thing!
Happy Weekend! Make waffles, eat, be happy with your crooked kitchen and slightly janky stove.
Paleo Blender Waffles with Bacon and Banana Jam
Gluten free, paleo, refined sugar free, high fiber, grain free, fast and easy. Makes a delicious dinner when paired with bacon and walnuts (because bacon, duh) and banana jam. Recipe adapted from the Roasted Root, here!
For the waffles:
4 eggs
1/4 c coconut flour
1/2 c tapioca starch
3/4 c unsweetened hemp milk
1 tsp vanilla extract
1 tbsp maple syrup
heaping 1/4 tsp cinnamon
1/4 tsp sea salt
For the banana jam:
2 ripe bananas, all spotty: mashed
1/2 tsp cinnamon
splash of hemp milk
For serving: cooked bacon, chopped into little pieces, chopped walnuts, shredded unsweetened coconut, grass fed butter, almond butter, and coconut butter (or some crazy combination of all of that).
Let’s waffle: preheat your waffle iron, and brush it with a little bit of coconut oil. I had no problems with these sticking, but only you know the character of your waffle maker! In a blender, combine all ingredients and blend until smooth. Once the waffle iron is hot, you know the drill…. pour about 1/4 to 1/3 c of batter into the waffle iron (the batter is super thin and that’s fine—just pour straight out of the blender) and cook until either the indicator light for doneness comes on (I estimate roughly 3-4 minutes per waffle for mine—I like them browned), or until you can lift the lid and take them out with no sticking. Keep warm in a low oven until serving, or just eat immediately! These also freeze and reheat in the toaster extremely well.
While the waffles are cooking, assemble all the delicious other things (toppings are the whole reason we eat waffles, yes??)…
For the banana jam, mash up the bananas with a splash of hemp milk and some cinnamon. Preheat a small skillet over medium heat, and cook the bananas until they firm up a little and lose some of their water content. They should caramelize just a little on the bottom of the pan, and you’ll know they’re done when you start smelling the delicious banananess of it all. Serve on top of the waffles for extra delicious.
Looklooklook I actually had time to make something!!! Actually, I had time to make TWO somethings, because well.. the oven was already on. So obviously. I also had a super productive weekend that also included time to work out and time to sit on my butt and read. Generally speaking, I consider this a highly successful weekend. Jessie thinks so too.
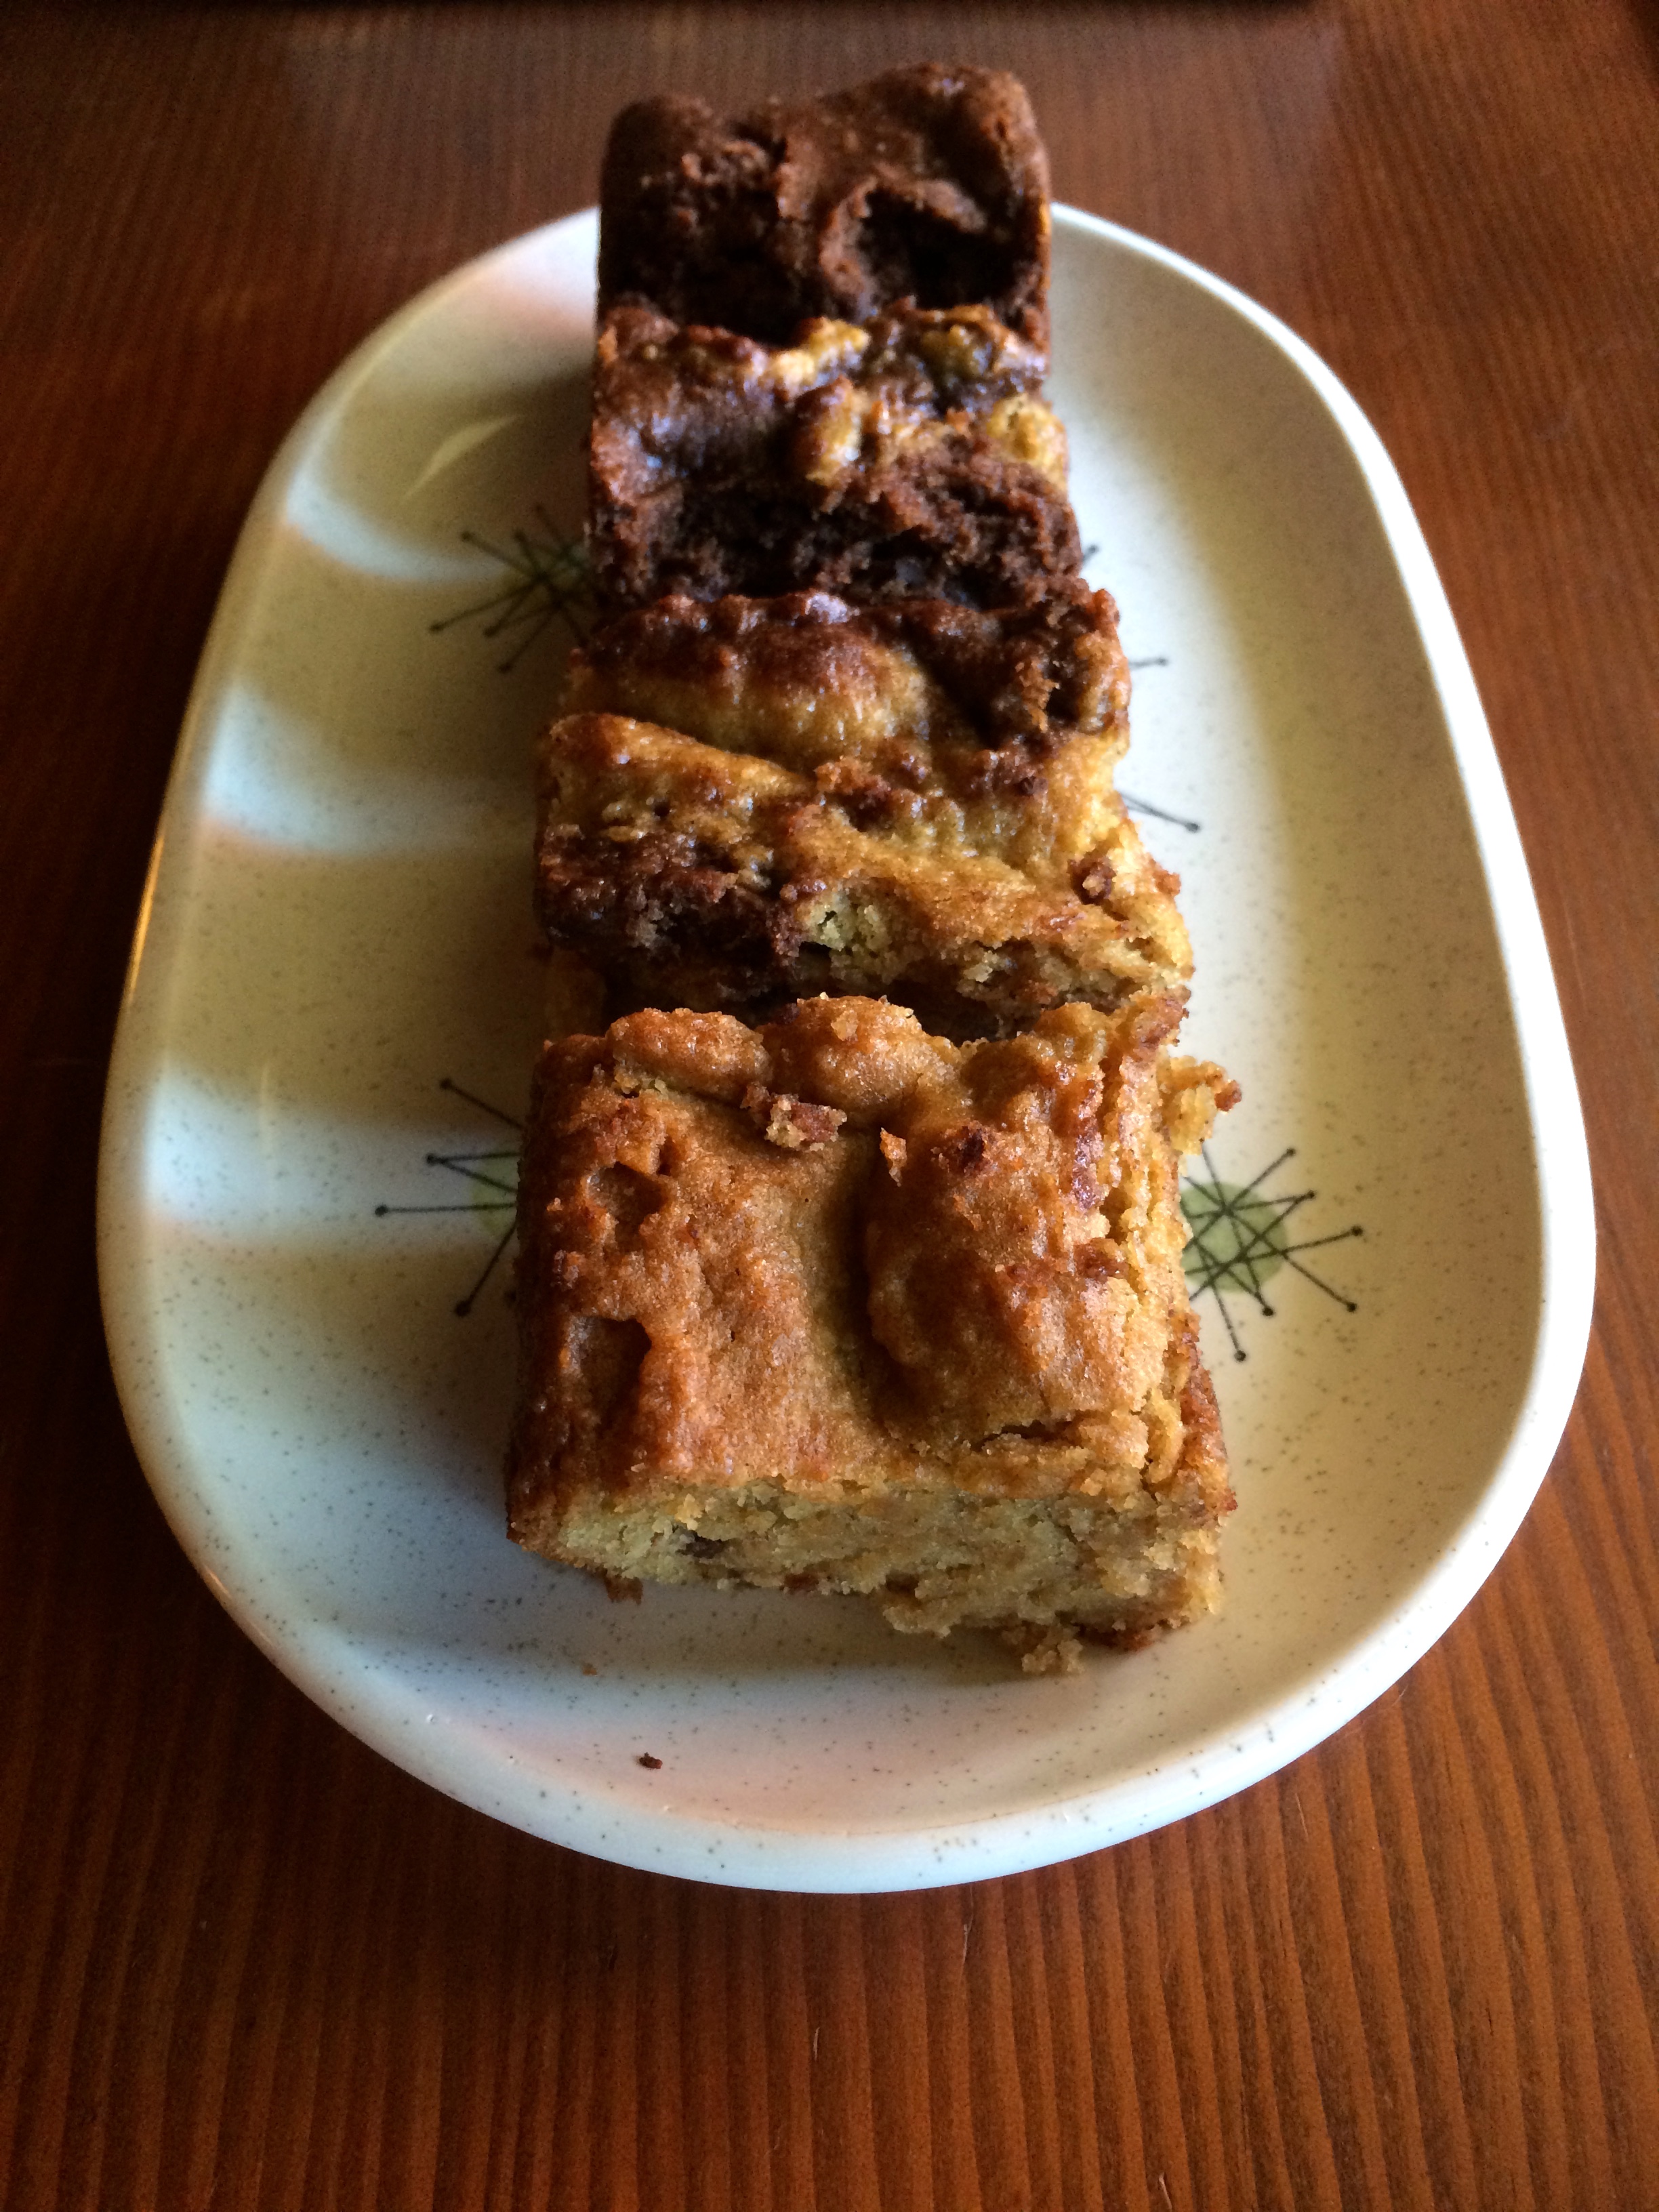
And… I made bars!
It felt so good to bake. I swear, it’s probably been about a month and that is WAY too long. These were a product of that fun game “let’s see what’s in the fridge and what I can make with it, depending on my mood and a billion other factors, but actually depending on what food is actually present”. It’s fun, kind of like a treasure hunt in the pantry.
And (shockingly, not), I ended up with barz! I know, I know. But they’re just so delicious and fast and easy and satisfying. So, bars. Cookies were slightly too high maintenance for this particular weekend (though I did make a tiny batch of 10 cookies, just to be thorough).
These are great for the indecisively minded, which I tend towards when I’m baking…. usually I want five things and can’t decide which of the five to bake. Sooo…. I decided to get creative and make both, at the same time. Problem mega solved. Now I have barz AND blondies AND brownies without having a gigantic pile of baked goods staring me in the face. Winning, winning.
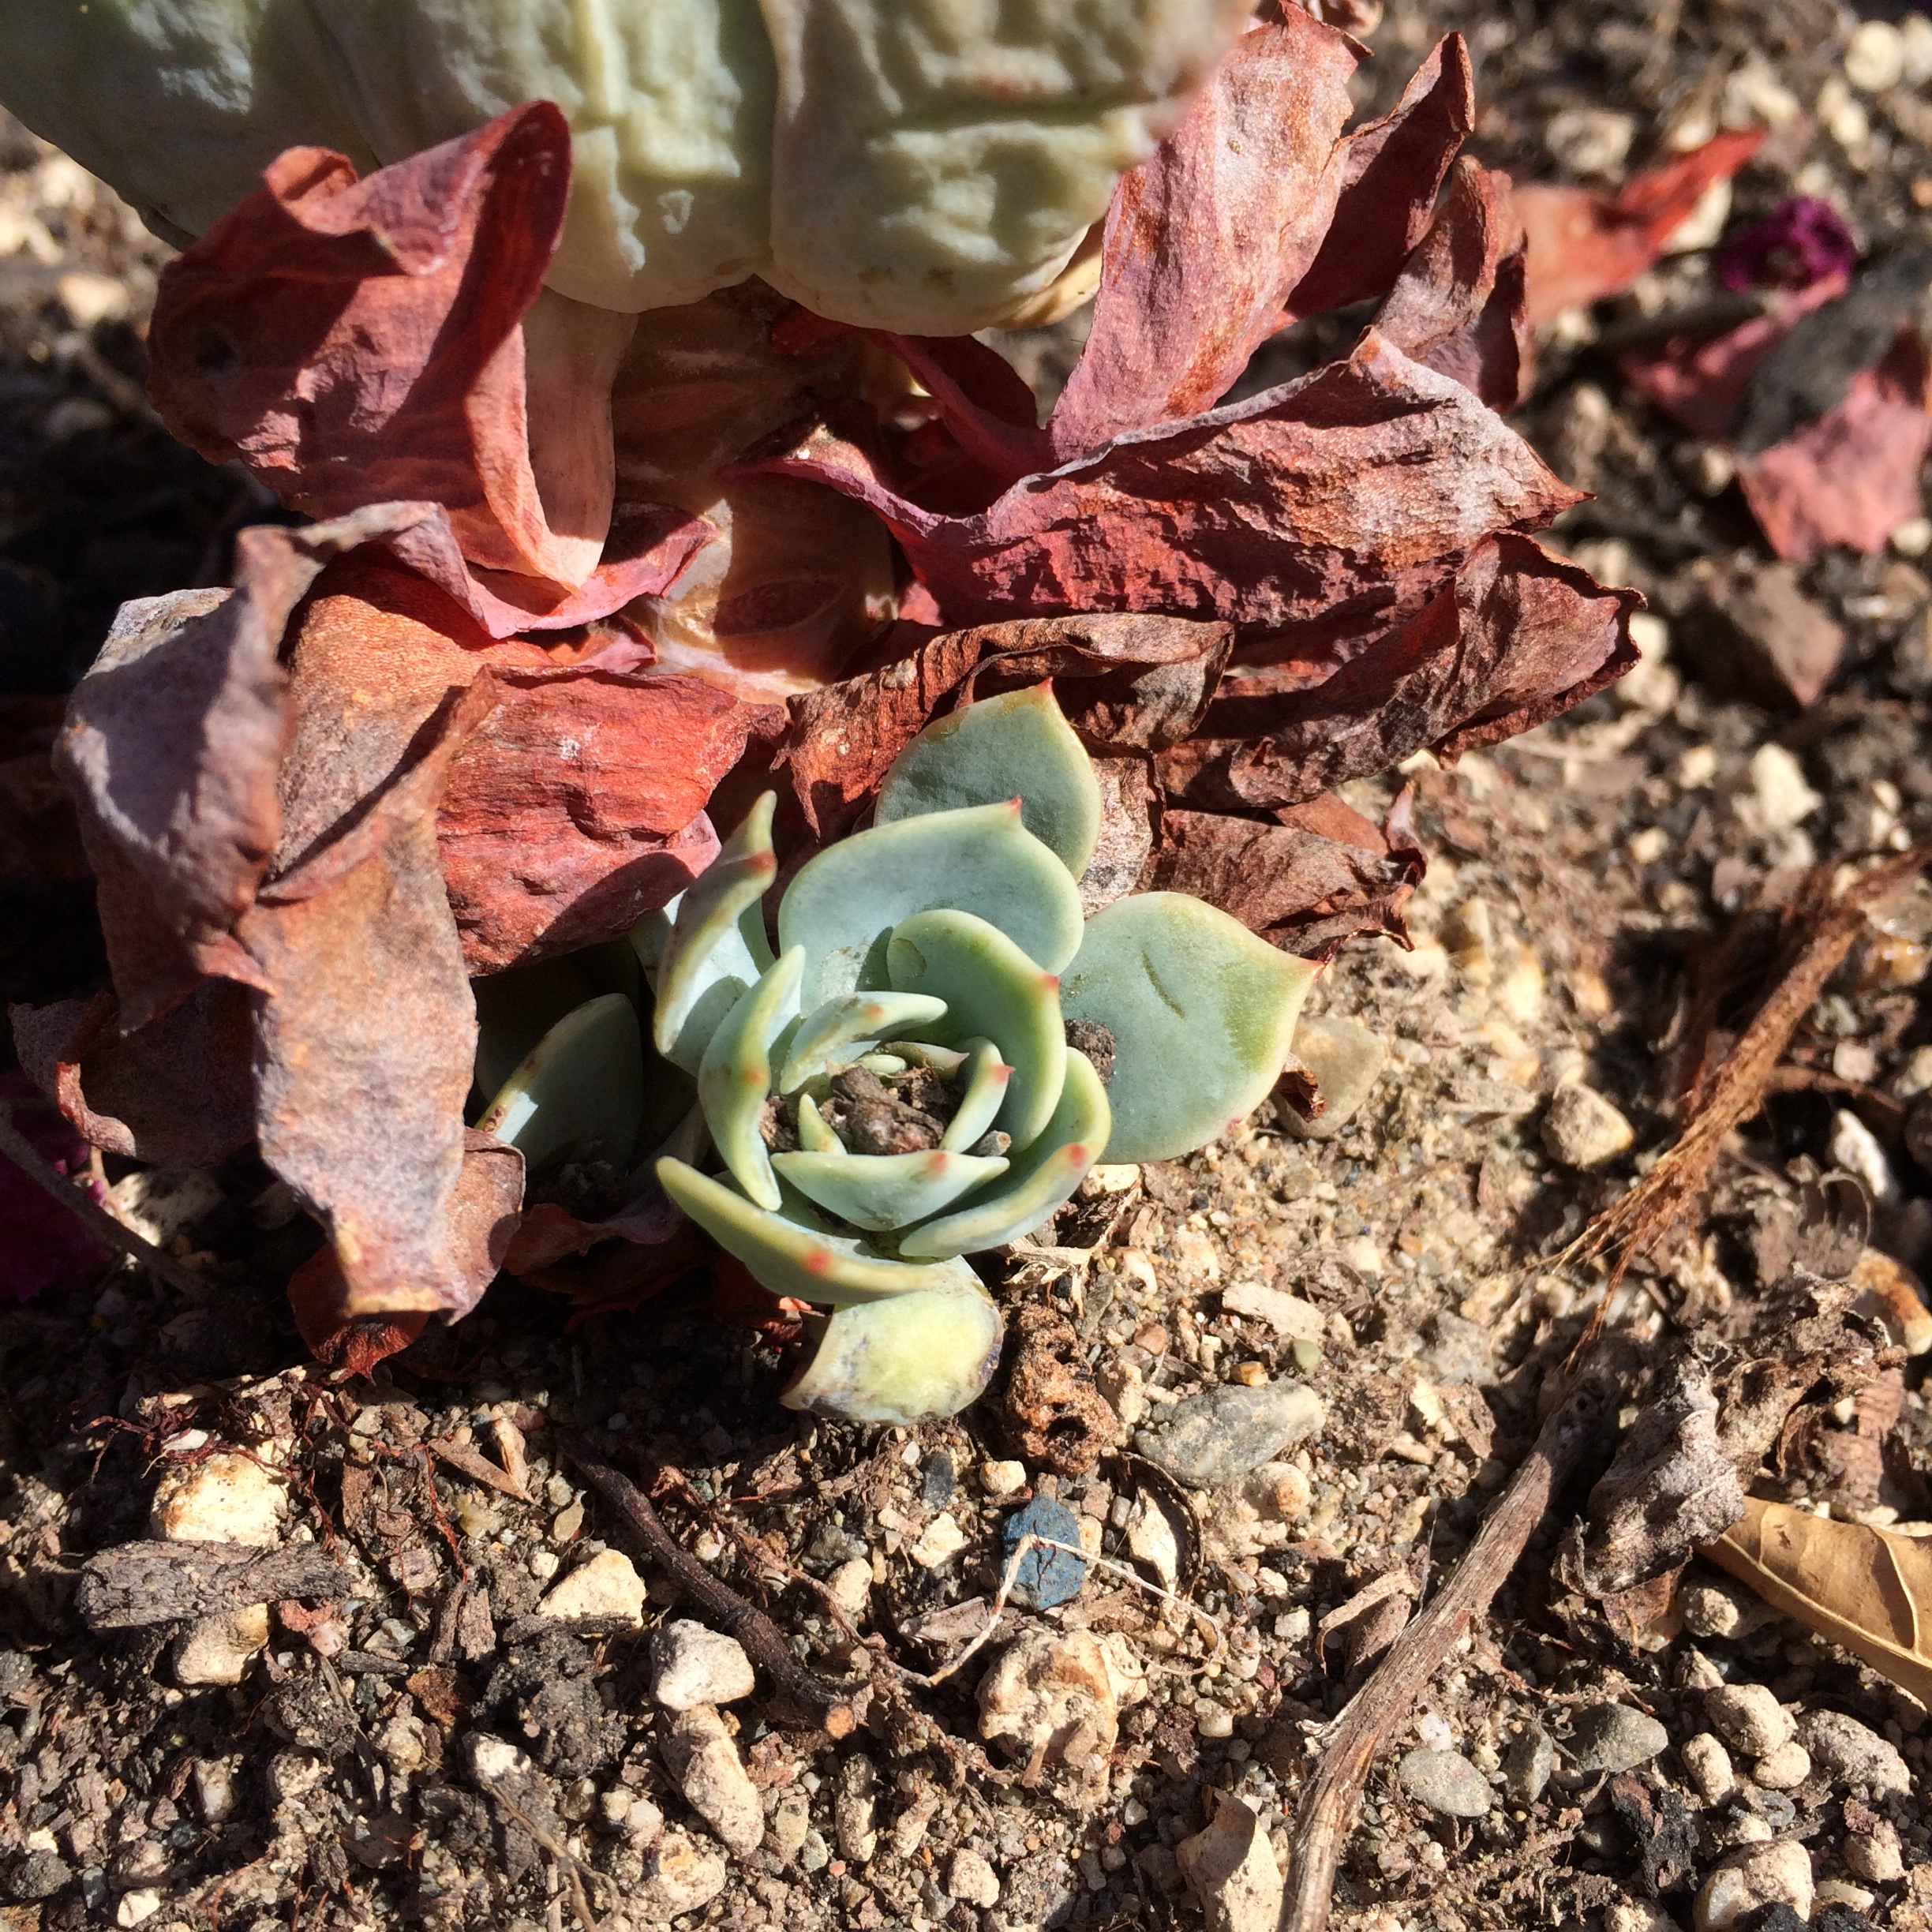
Also, succulents are awesome!
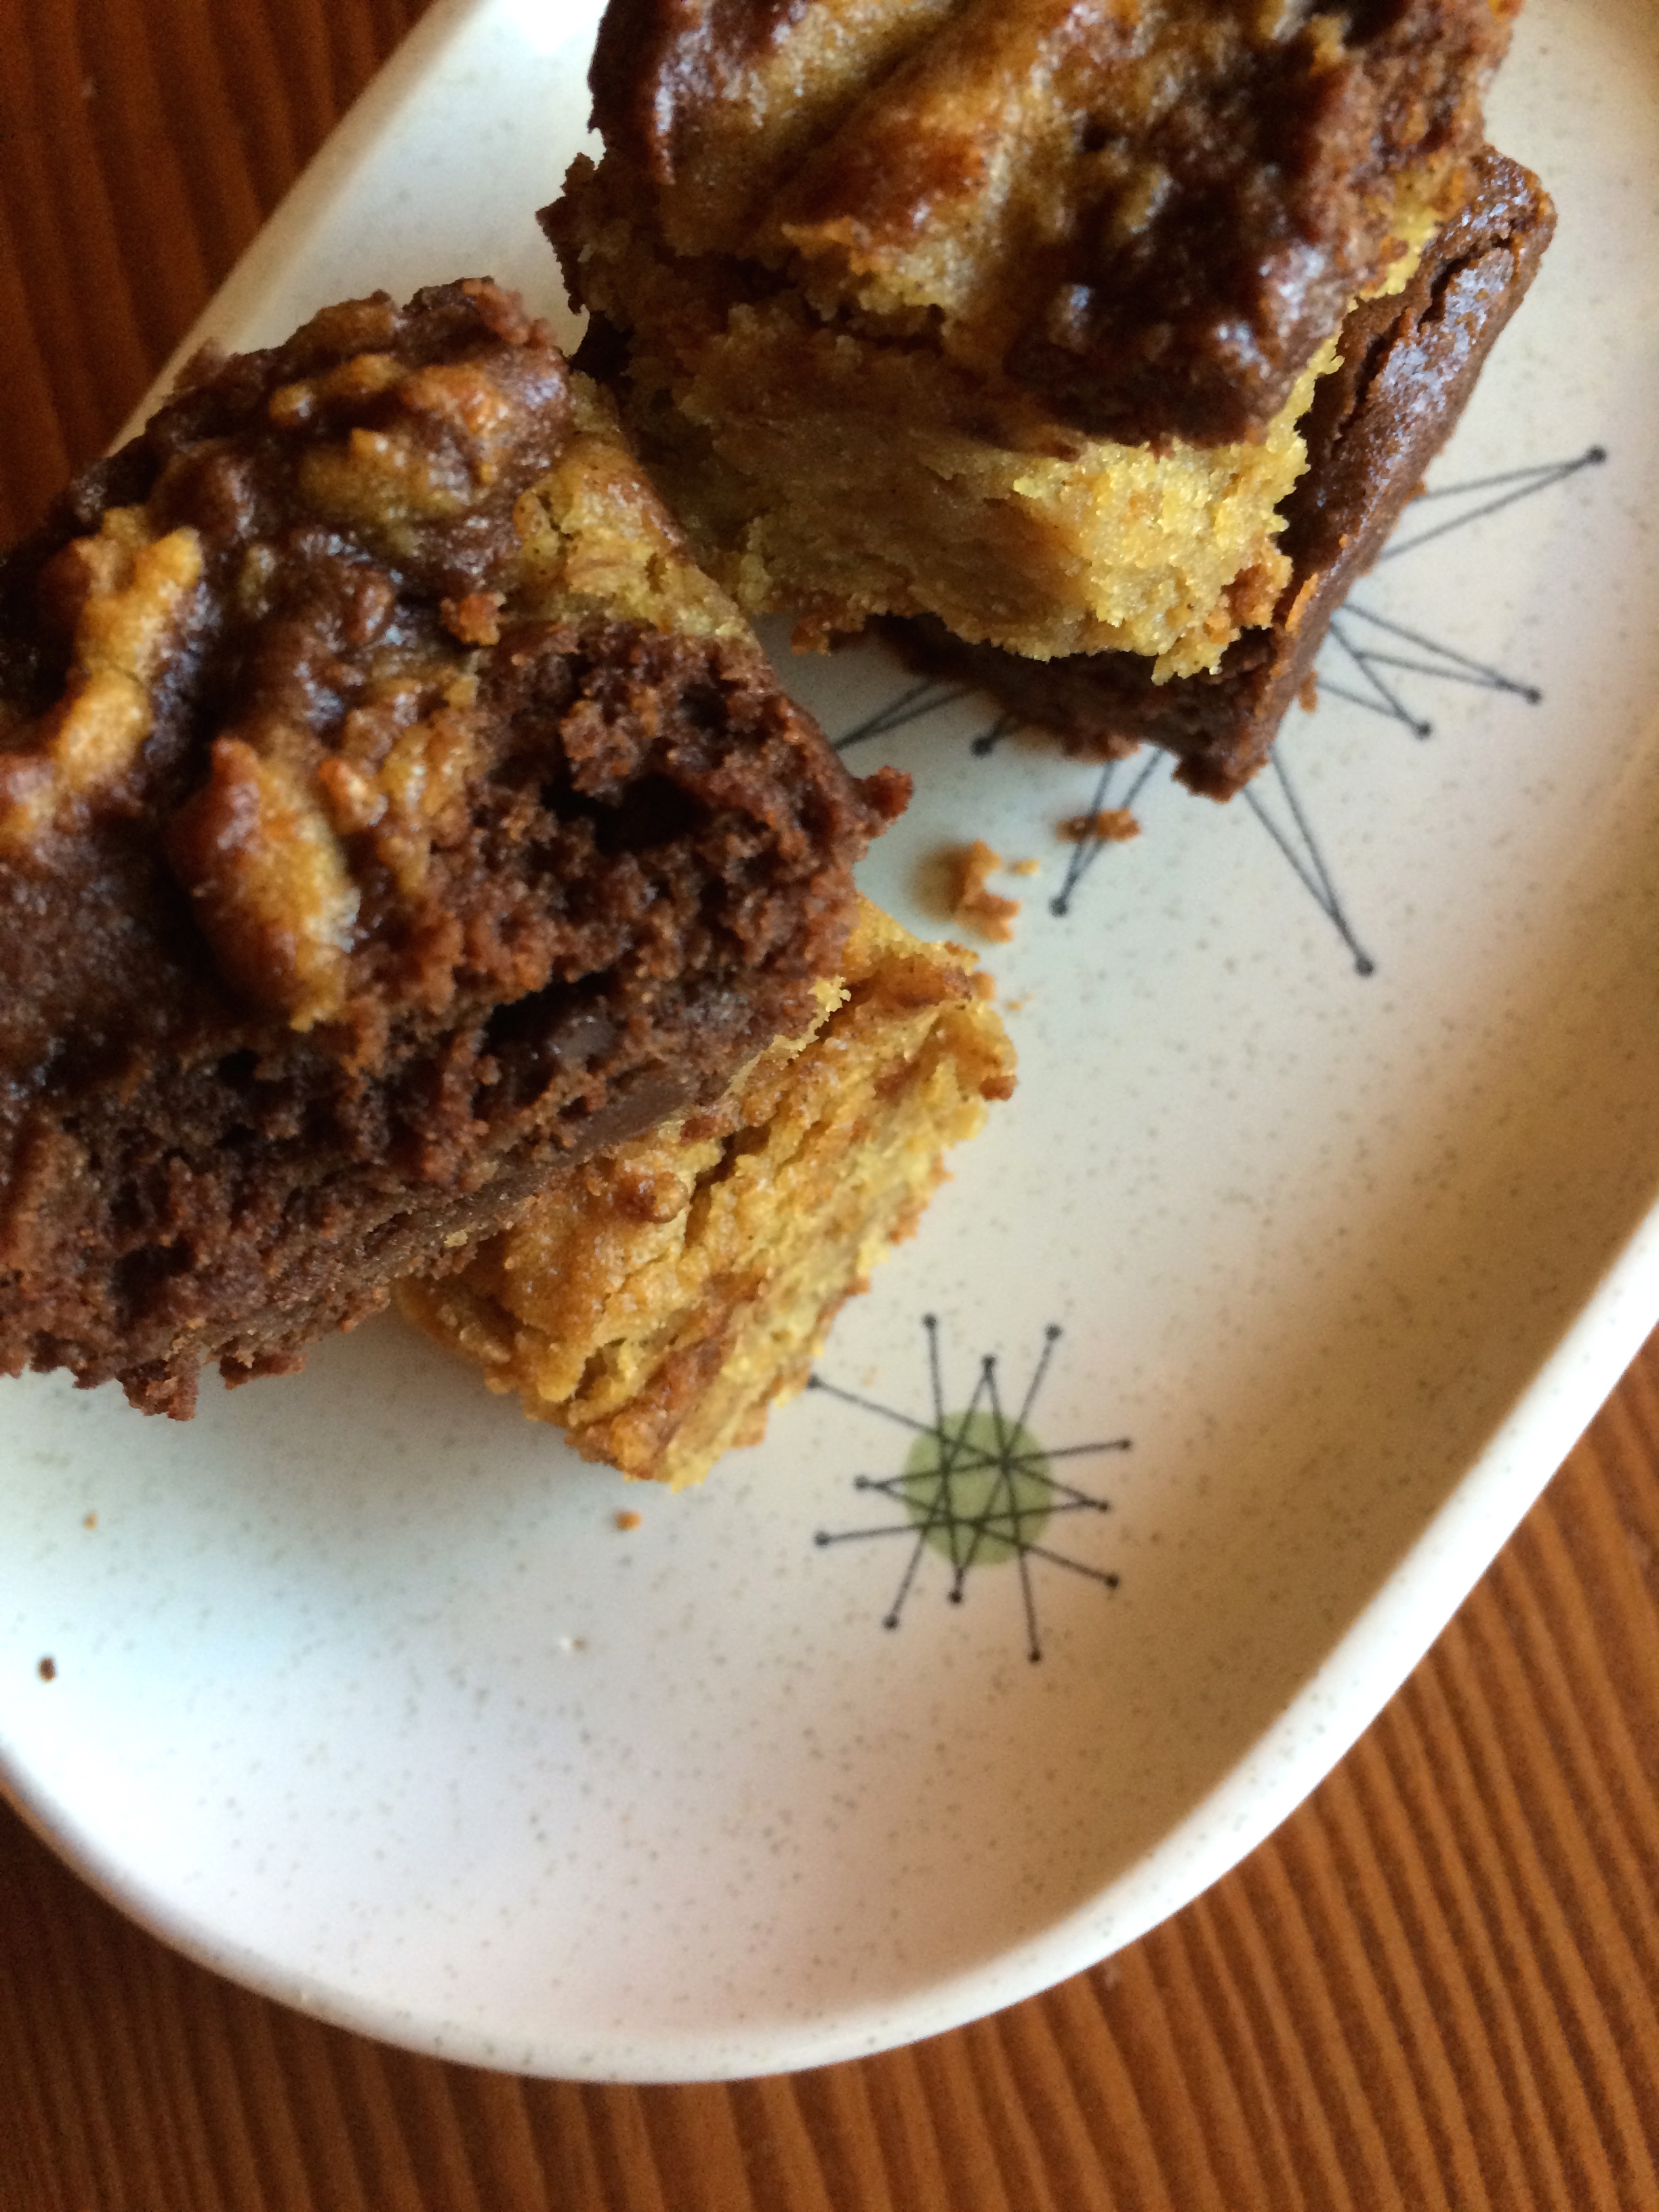
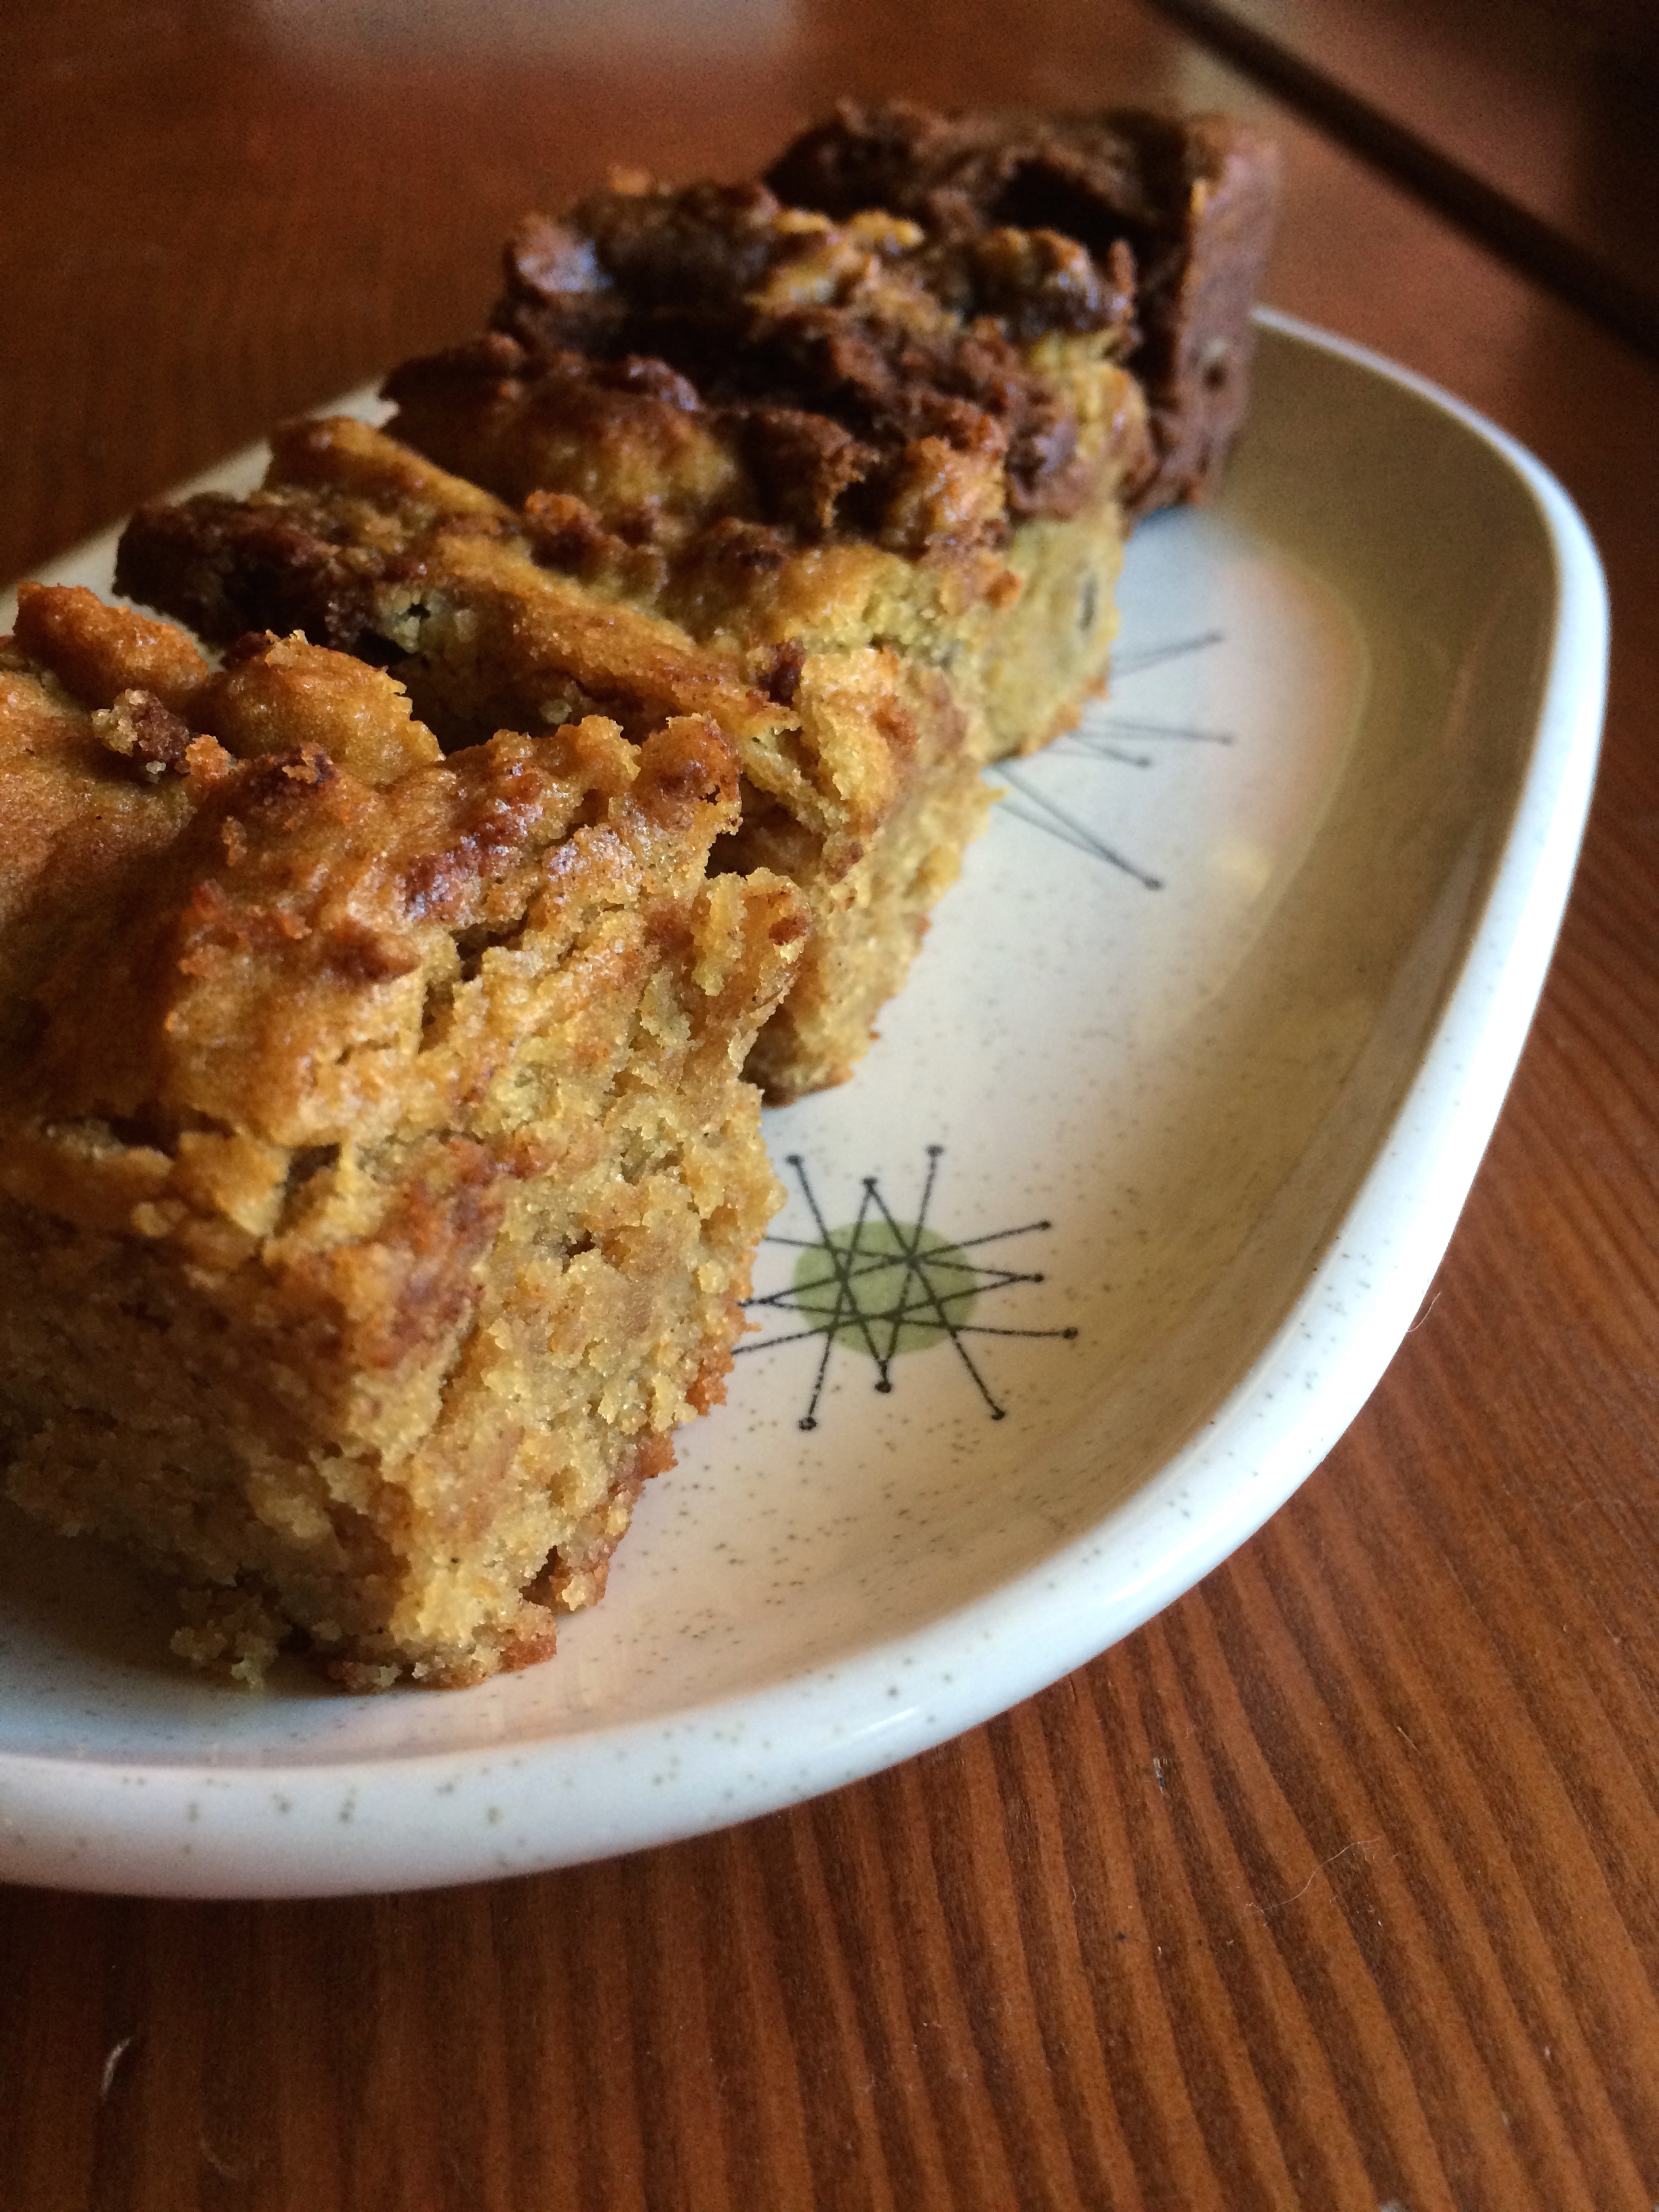
Swirled Chocolate Tahini Barz
Half blondie, half brownie, for when you really can’t decide or you’re so braindead from biostats that you just decide that deciding isn’t worth the effort. Enter the hybrid bar. The best of both worlds with a minimum of effort.
Gluten free, dairy free, soy free, refined sugar free and vegan! Spread the love. A Wait are those Cookies original.
1/4 c unsweetened applesauce + heaping 1/8 c unsweetened applesauce, divided
1/4 c unsweetened cocoa powder
1/3 c extra dark chocolate chips
*In a medium sized skillet over medium heat, stir the flour occasionally until it’s fragrant, about 5 minutes. Toasting reduces the otherwise slightly bitter nature of quinoa and quinoa flour.
Preheat the oven to 350, and lightly grease an 8 by 8 pan.
Make flax eggs, and set aside to gel.
In a large bowl, whisk together almond flour, quinoa flour, baking soda, and sea salt. Add in tahini, flax eggs, 1/2 c maple, avo oil, and 1/4 c applesauce. Stir until just combined — try to avoid overmixing. Take half of the batter and plop it into half of the prepared pan. Add the cocoa powder, 1 tbsp maple, and 1/8 c applesauce to the remaining batter, and stir to combine. Drop this chocolatey goodness into the other, empty, half of the prepared pan, and using a knife, swirl the middle bits together (or go crazy and do the whole thing, I’m not going to stop you!). Pop this goodness into the oven for just about 35 minutes, when the top should be mostly firm and a tester comes out clean. Cool completely in the pan, then cover and store any leftovers in the fridge.