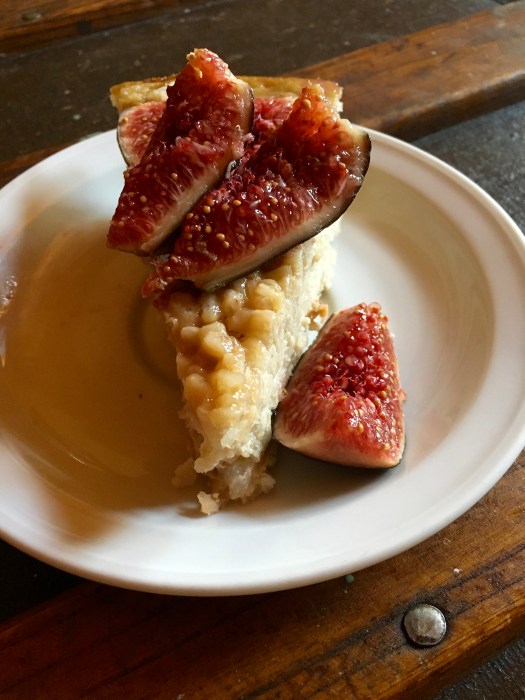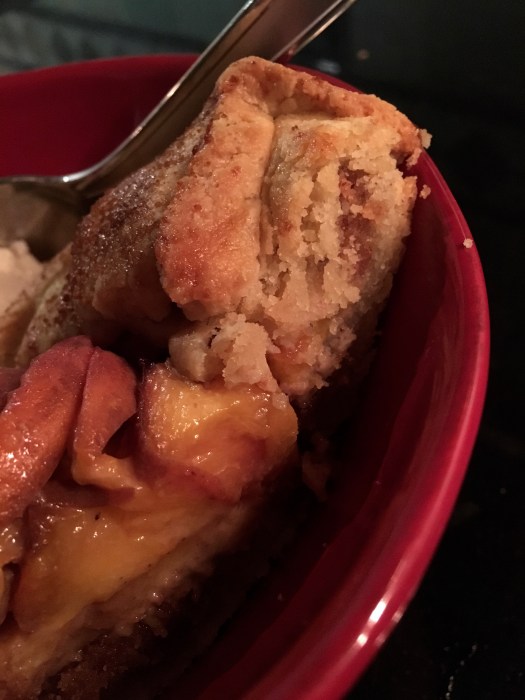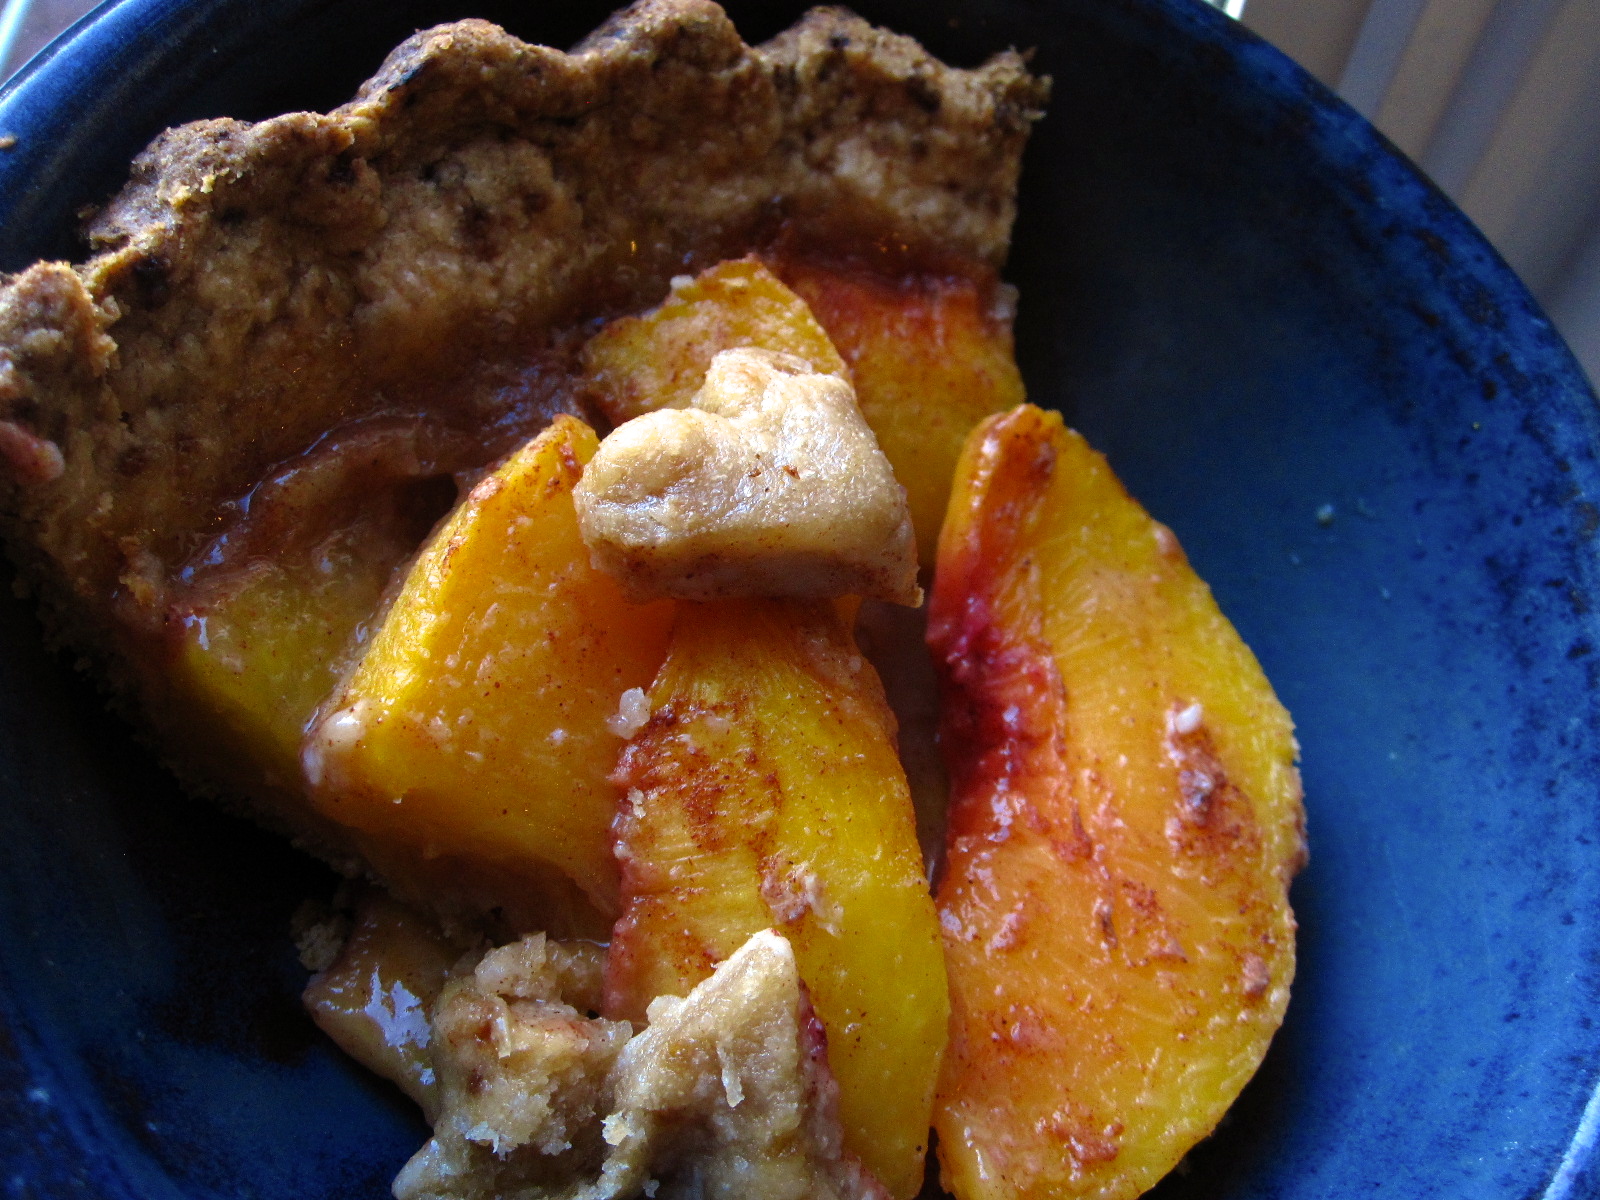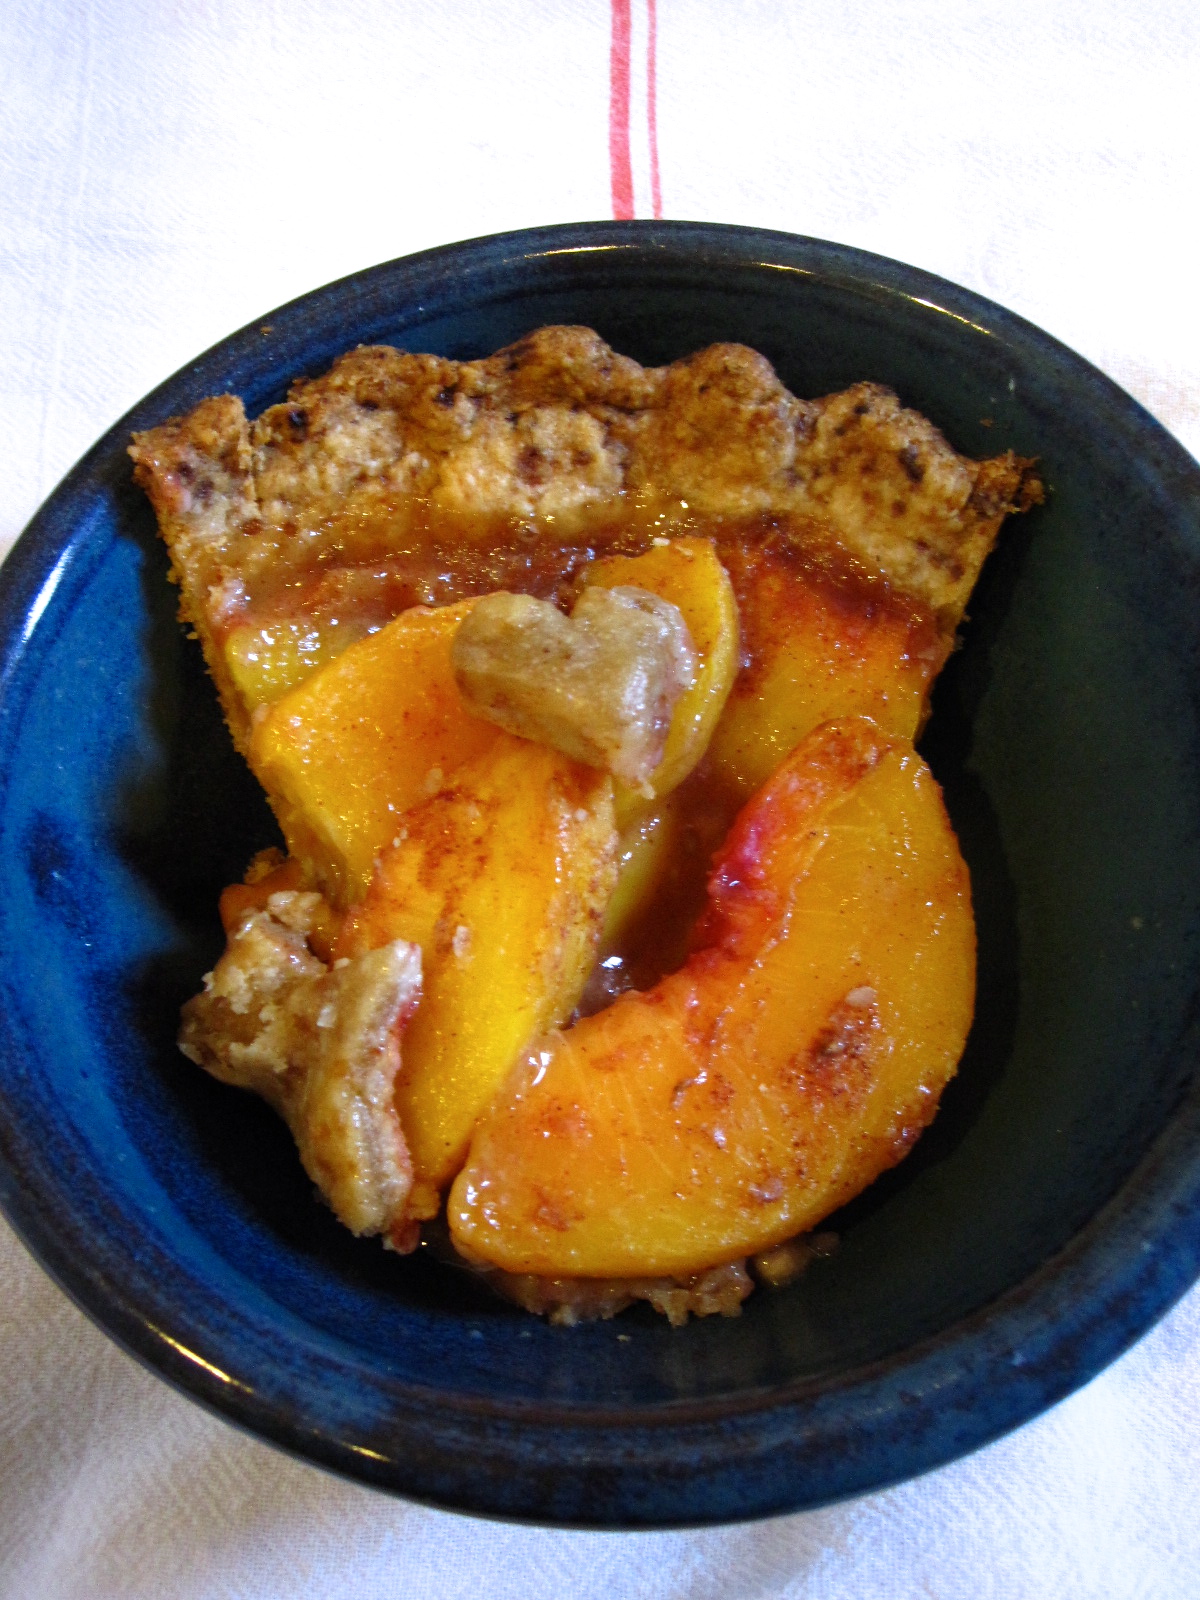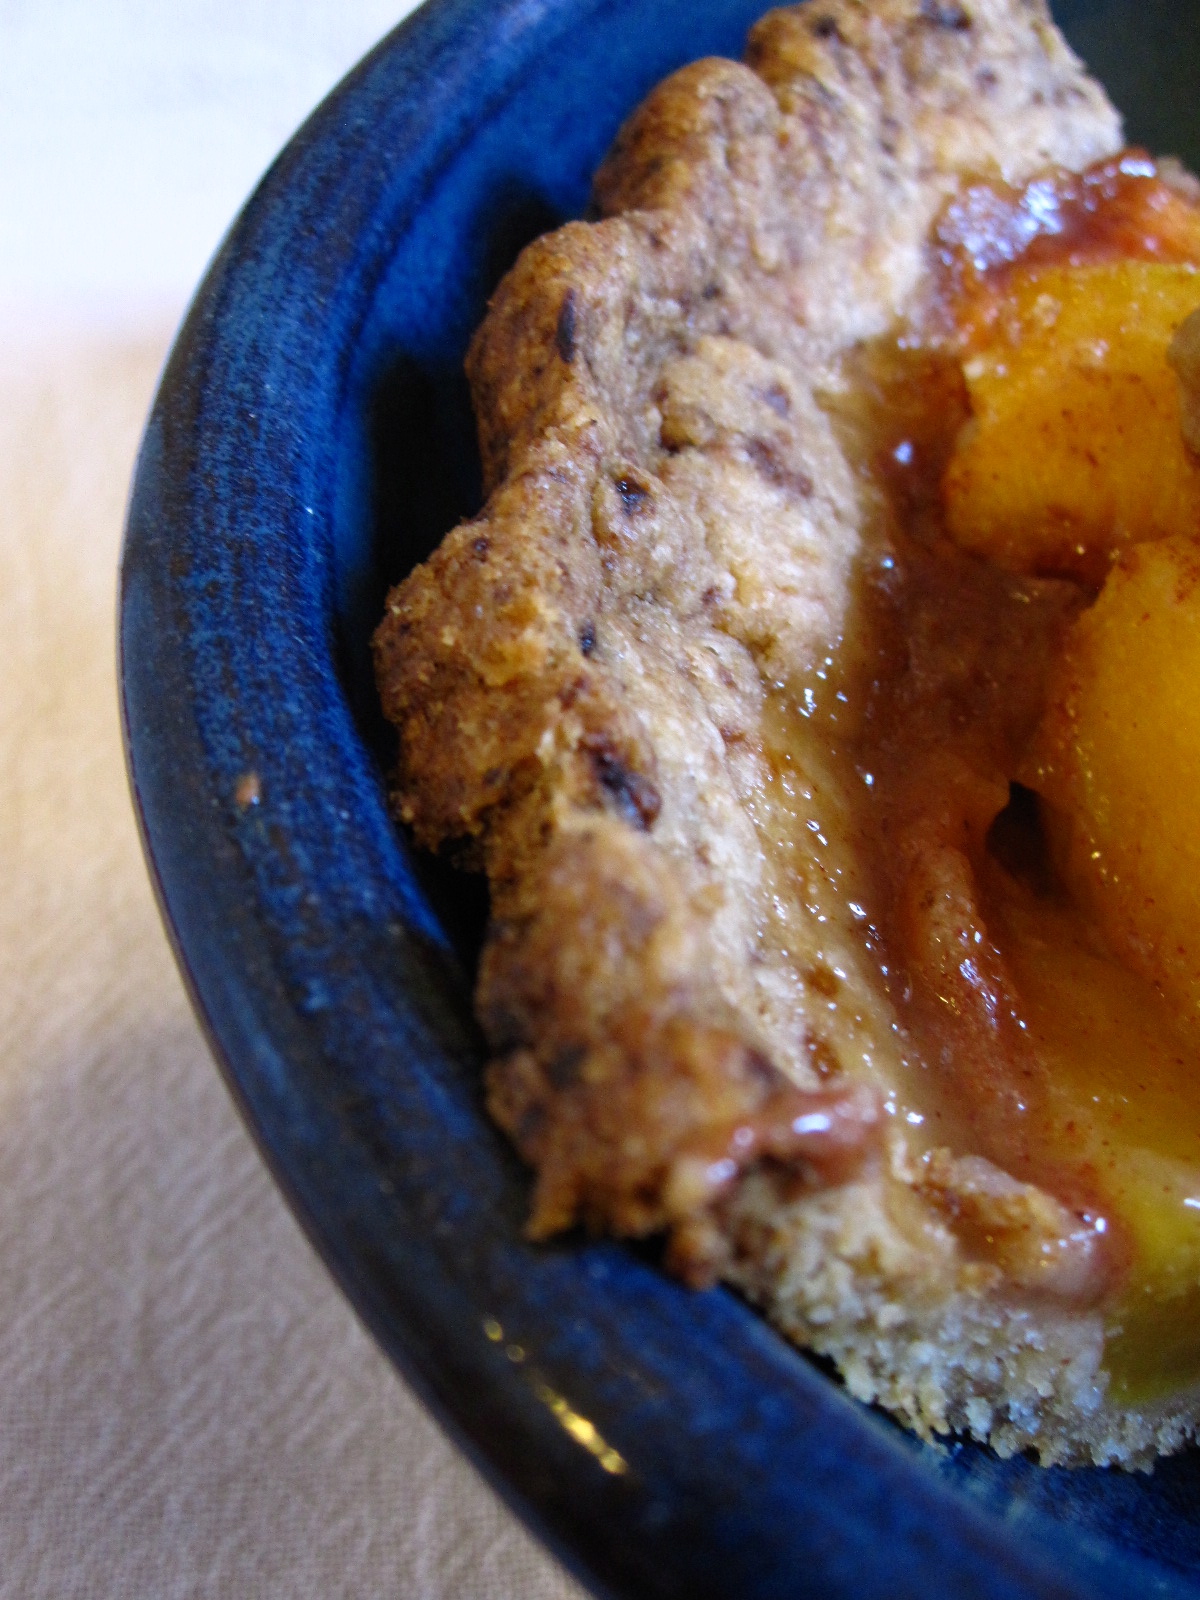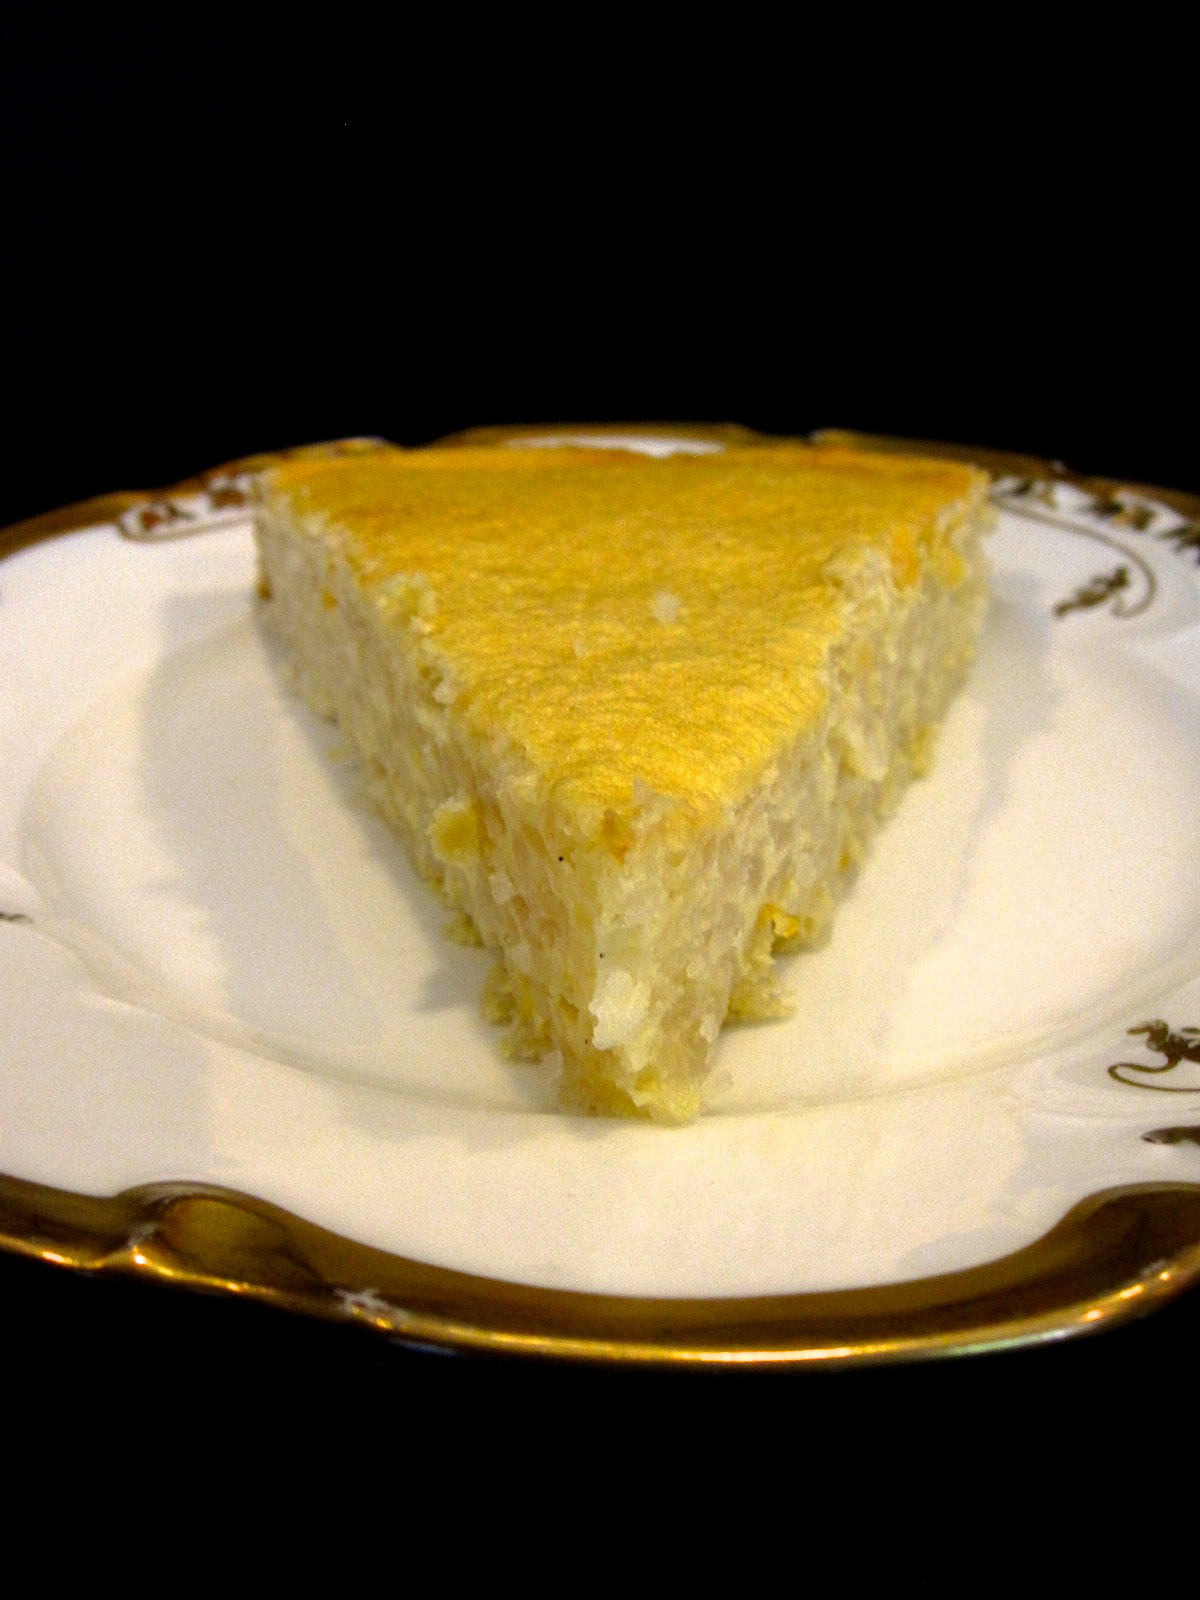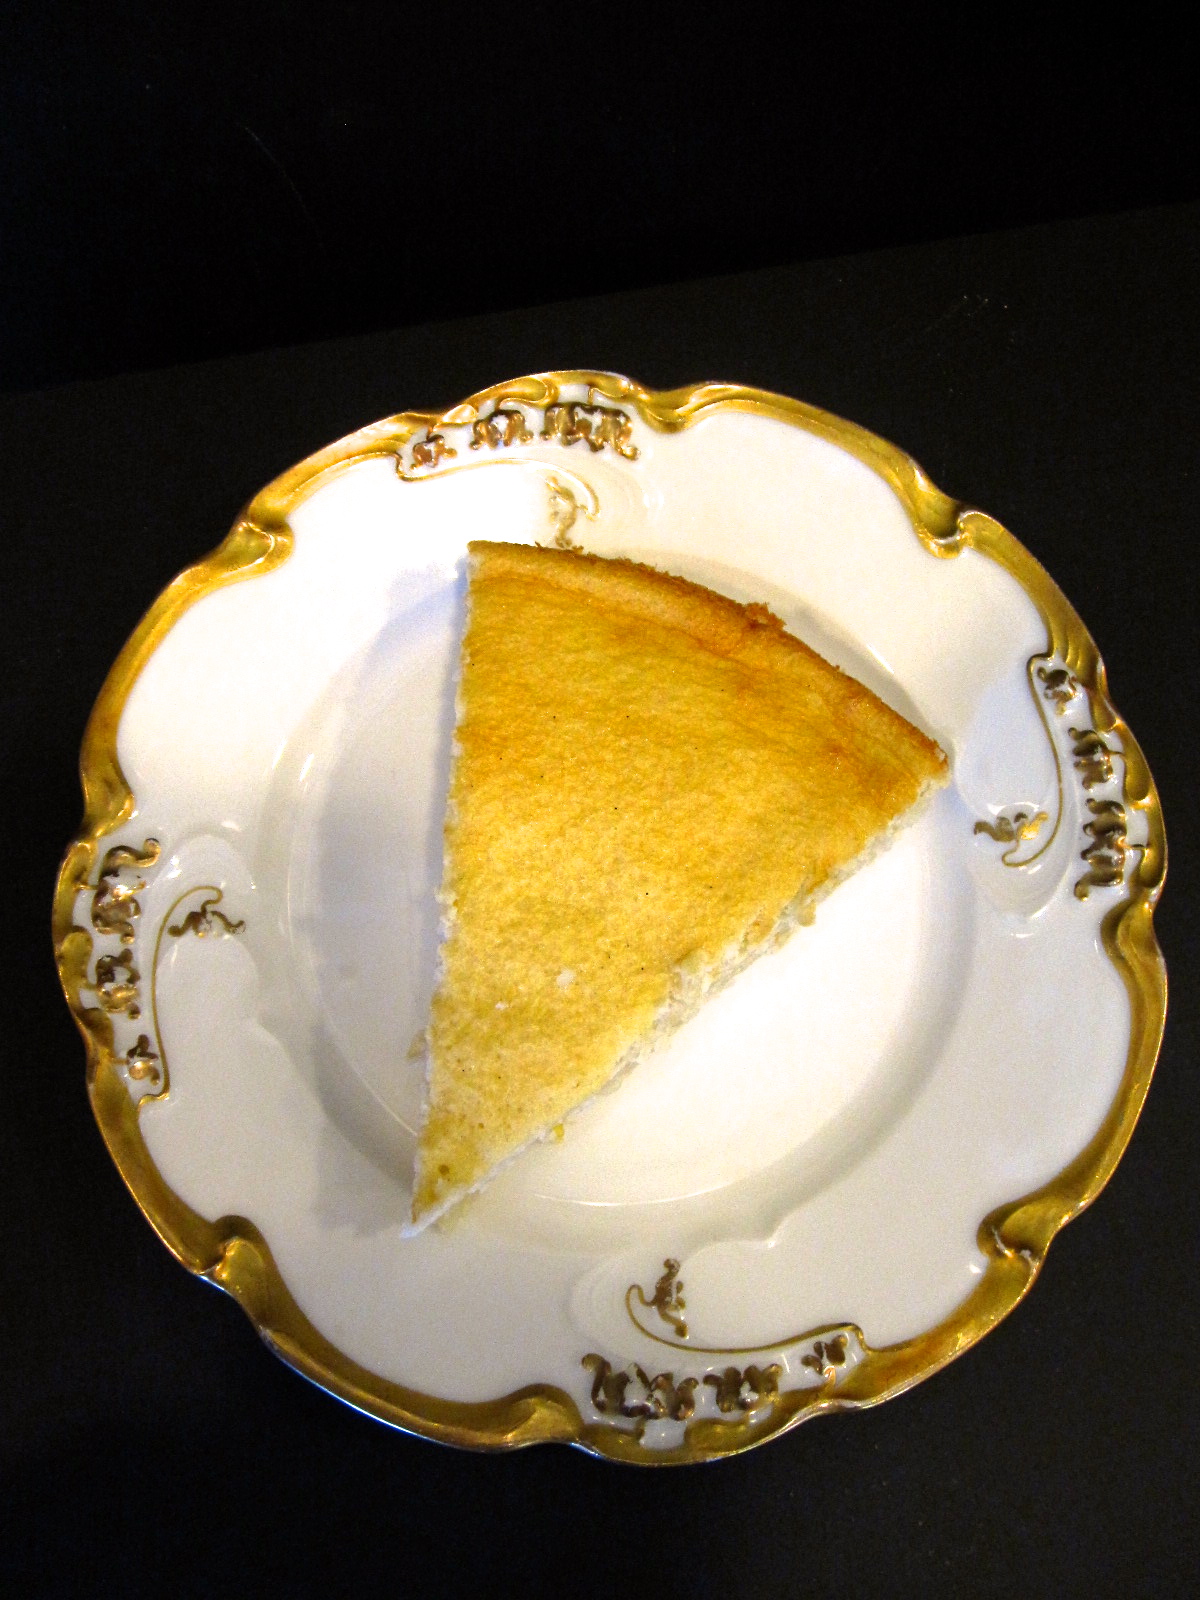
This tart is a lesson in what dessert sometimes should be: an aesthetically pleasing, sloppy, delicious mess. Because sometimes dessert should just be eaten out of the pan it was baked or assembled in, with two spoons and happy grins. Or, you could attempt civilized plating (as I did) when you consume it for dessert, with a hasty decant into bowls topped with ice cream. Which is perfectly acceptable. Until the next morning when you peek at the custard tart that’s been hangin’ in the fridge overnight and notice that the custard has decided to attempt an escape outside its proscribed bounds, at which point you decide to eat it out of the pan with spoons. Wise and delicious decision!
Sometimes, you need a less than perfect dessert. Messy, delicious and less than perfect is exactly what this tart is. You’ve been warned! Indulge accordingly.

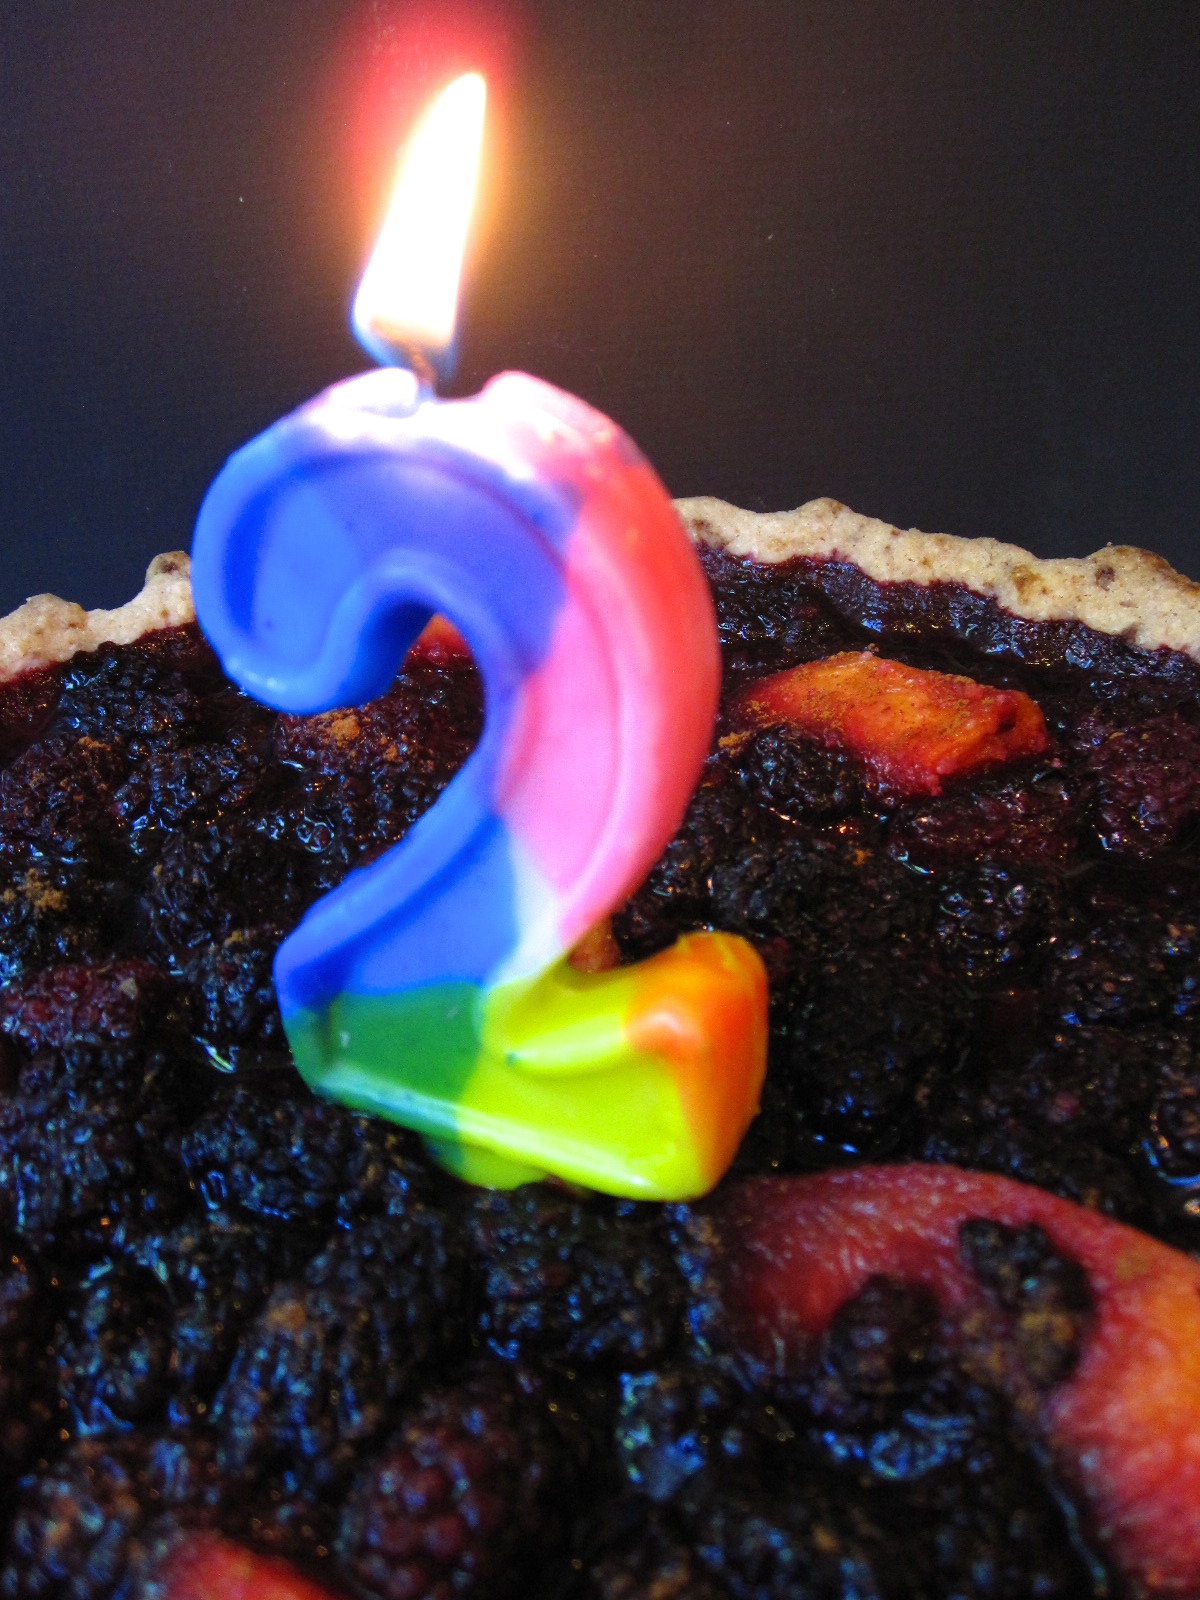
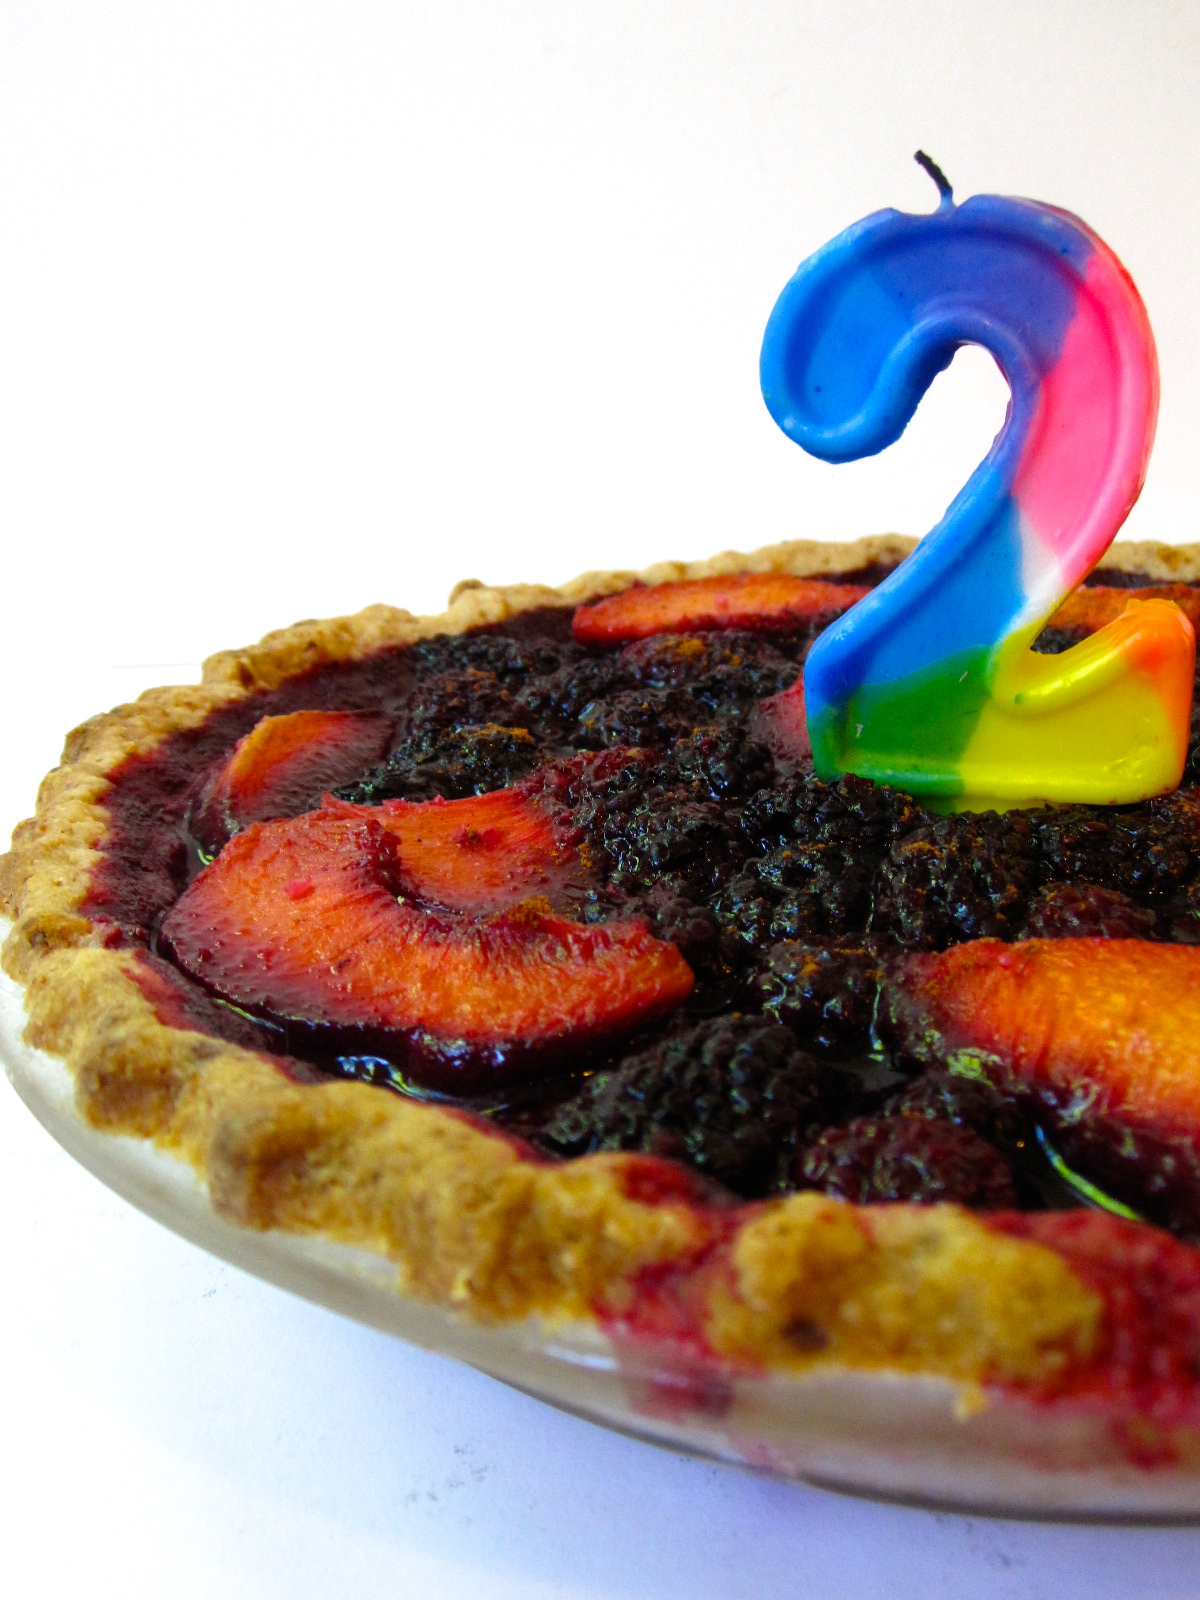
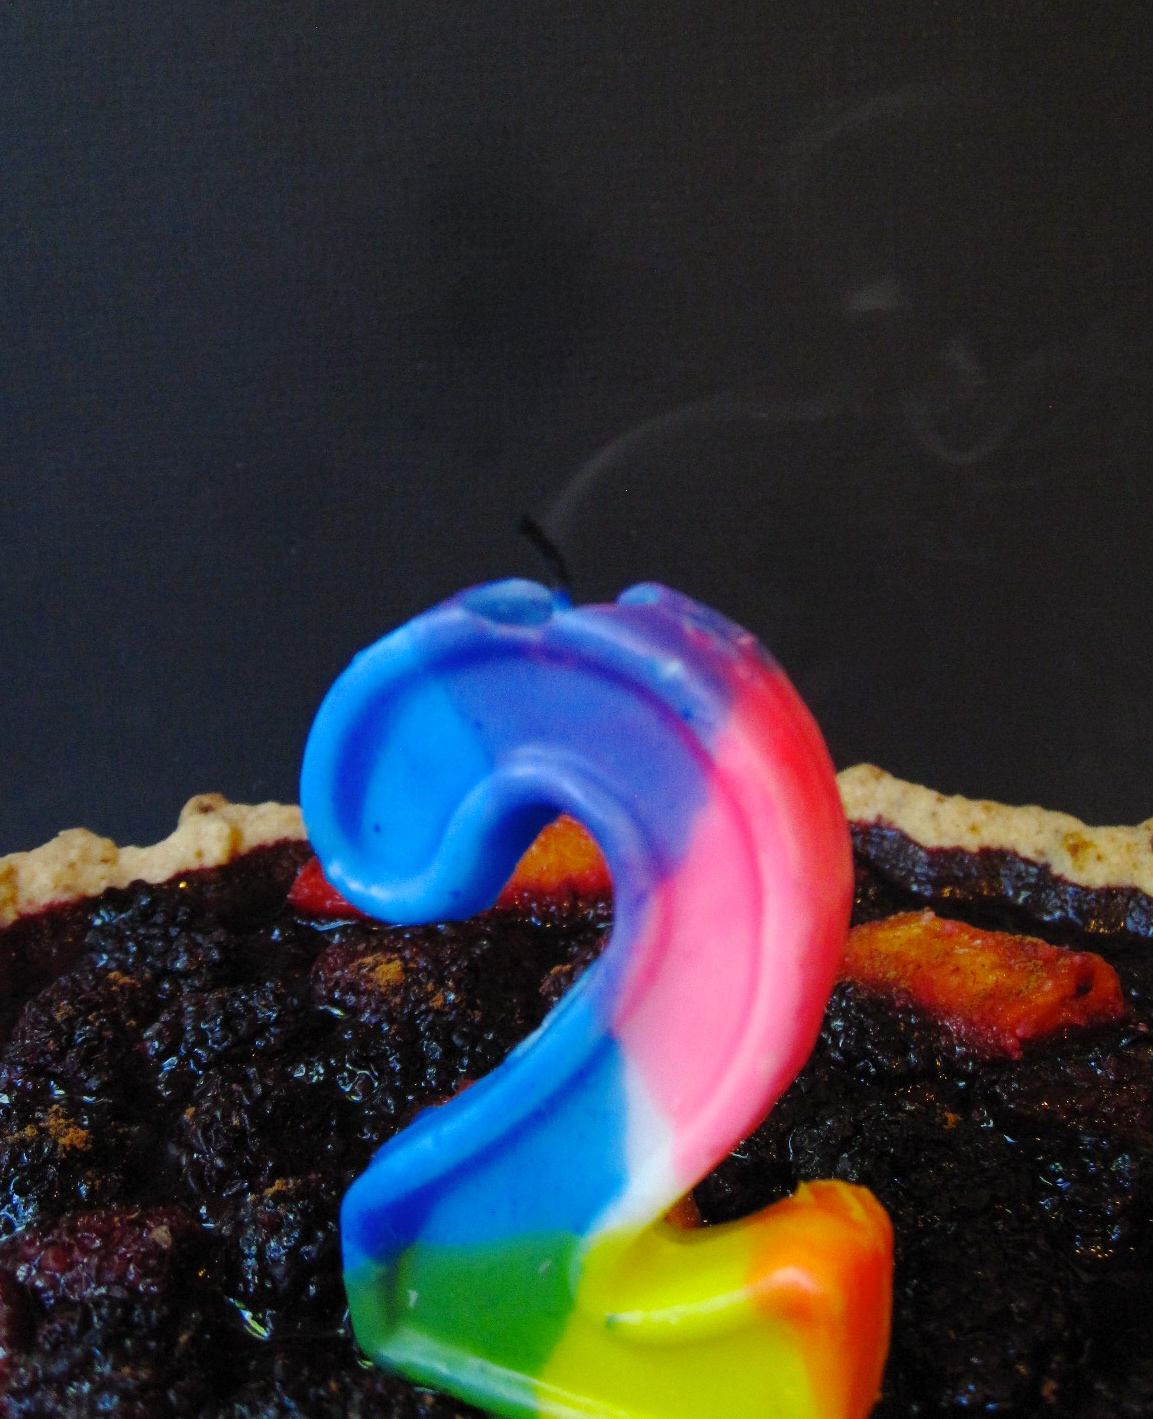
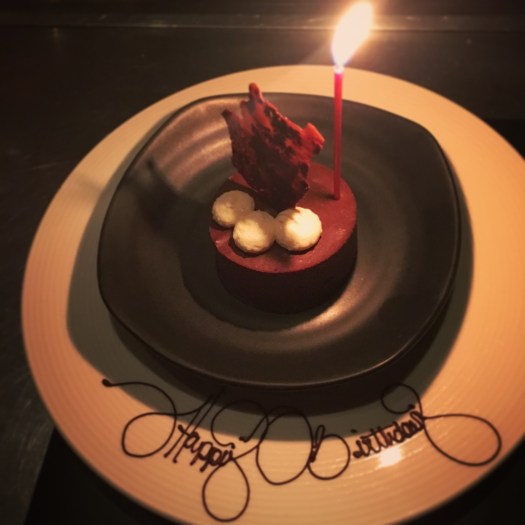
In other news, I completed another year on this earthplane, and celebrated accordingly at Gary Danko! Nowhere else am I going to sit down to a four course dinner with two desserts. Shockingly, I didn’t even need a wheelbarrow to leave…. I consider this a success all around. Thanks to everyone who made my birthday weekend such fun! Y’all are so rad.
Hmm, what else. It’s officially autumn! Which means apples, scarves, boots, and pumpkin. And baking. Except that the Bay has decided to have a heat wave these last few days, which means baking is totally off the table until it gets back down into the 80s, at least. Since when do I wear a dress and no jacket in San Francisco all evening?! Since never… until yesterday! Reason number one to eat messy, cool, creamy dessert that can be had with minimal baking and heating of the kitchen!

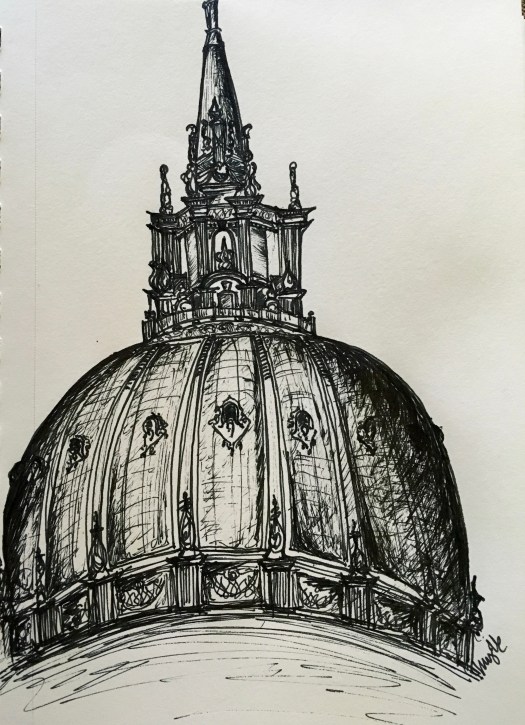
More drawing! A wee bit of dome practice with the beautiful San Francisco city hall.
Nighttime cityscapes are so beautiful.

But back to the food!
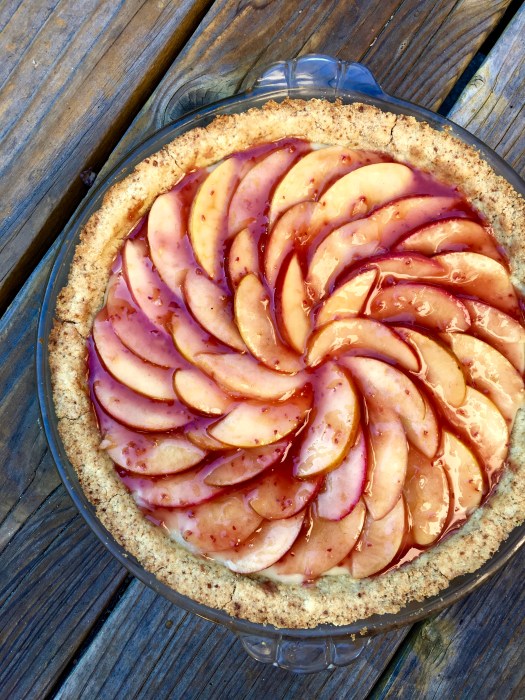
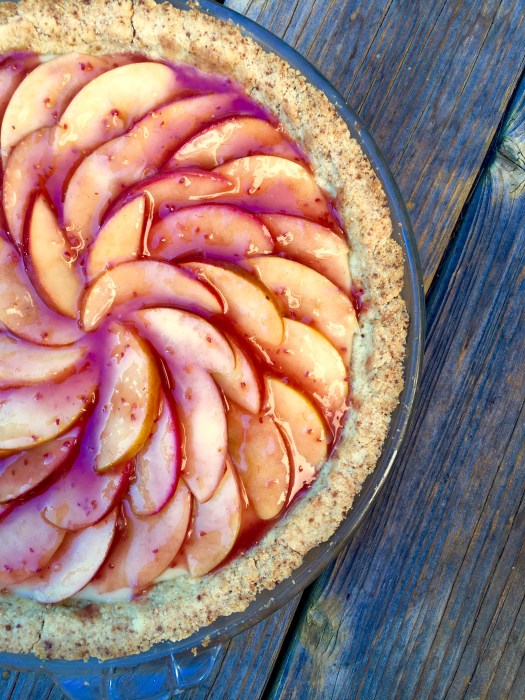
This tart presents beautifully but once cut, devolves into a sloppy, delicious mess. But, fear not! Just grab a spoon and eat it straight from the pan. Messy and delicious, just how dessert should be.

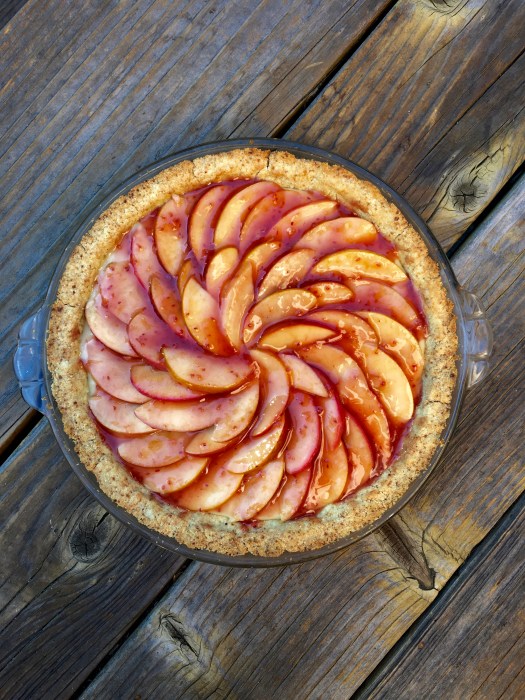
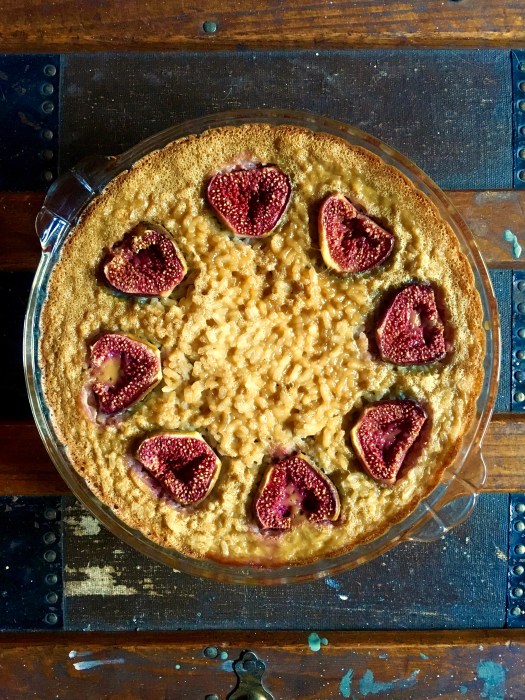
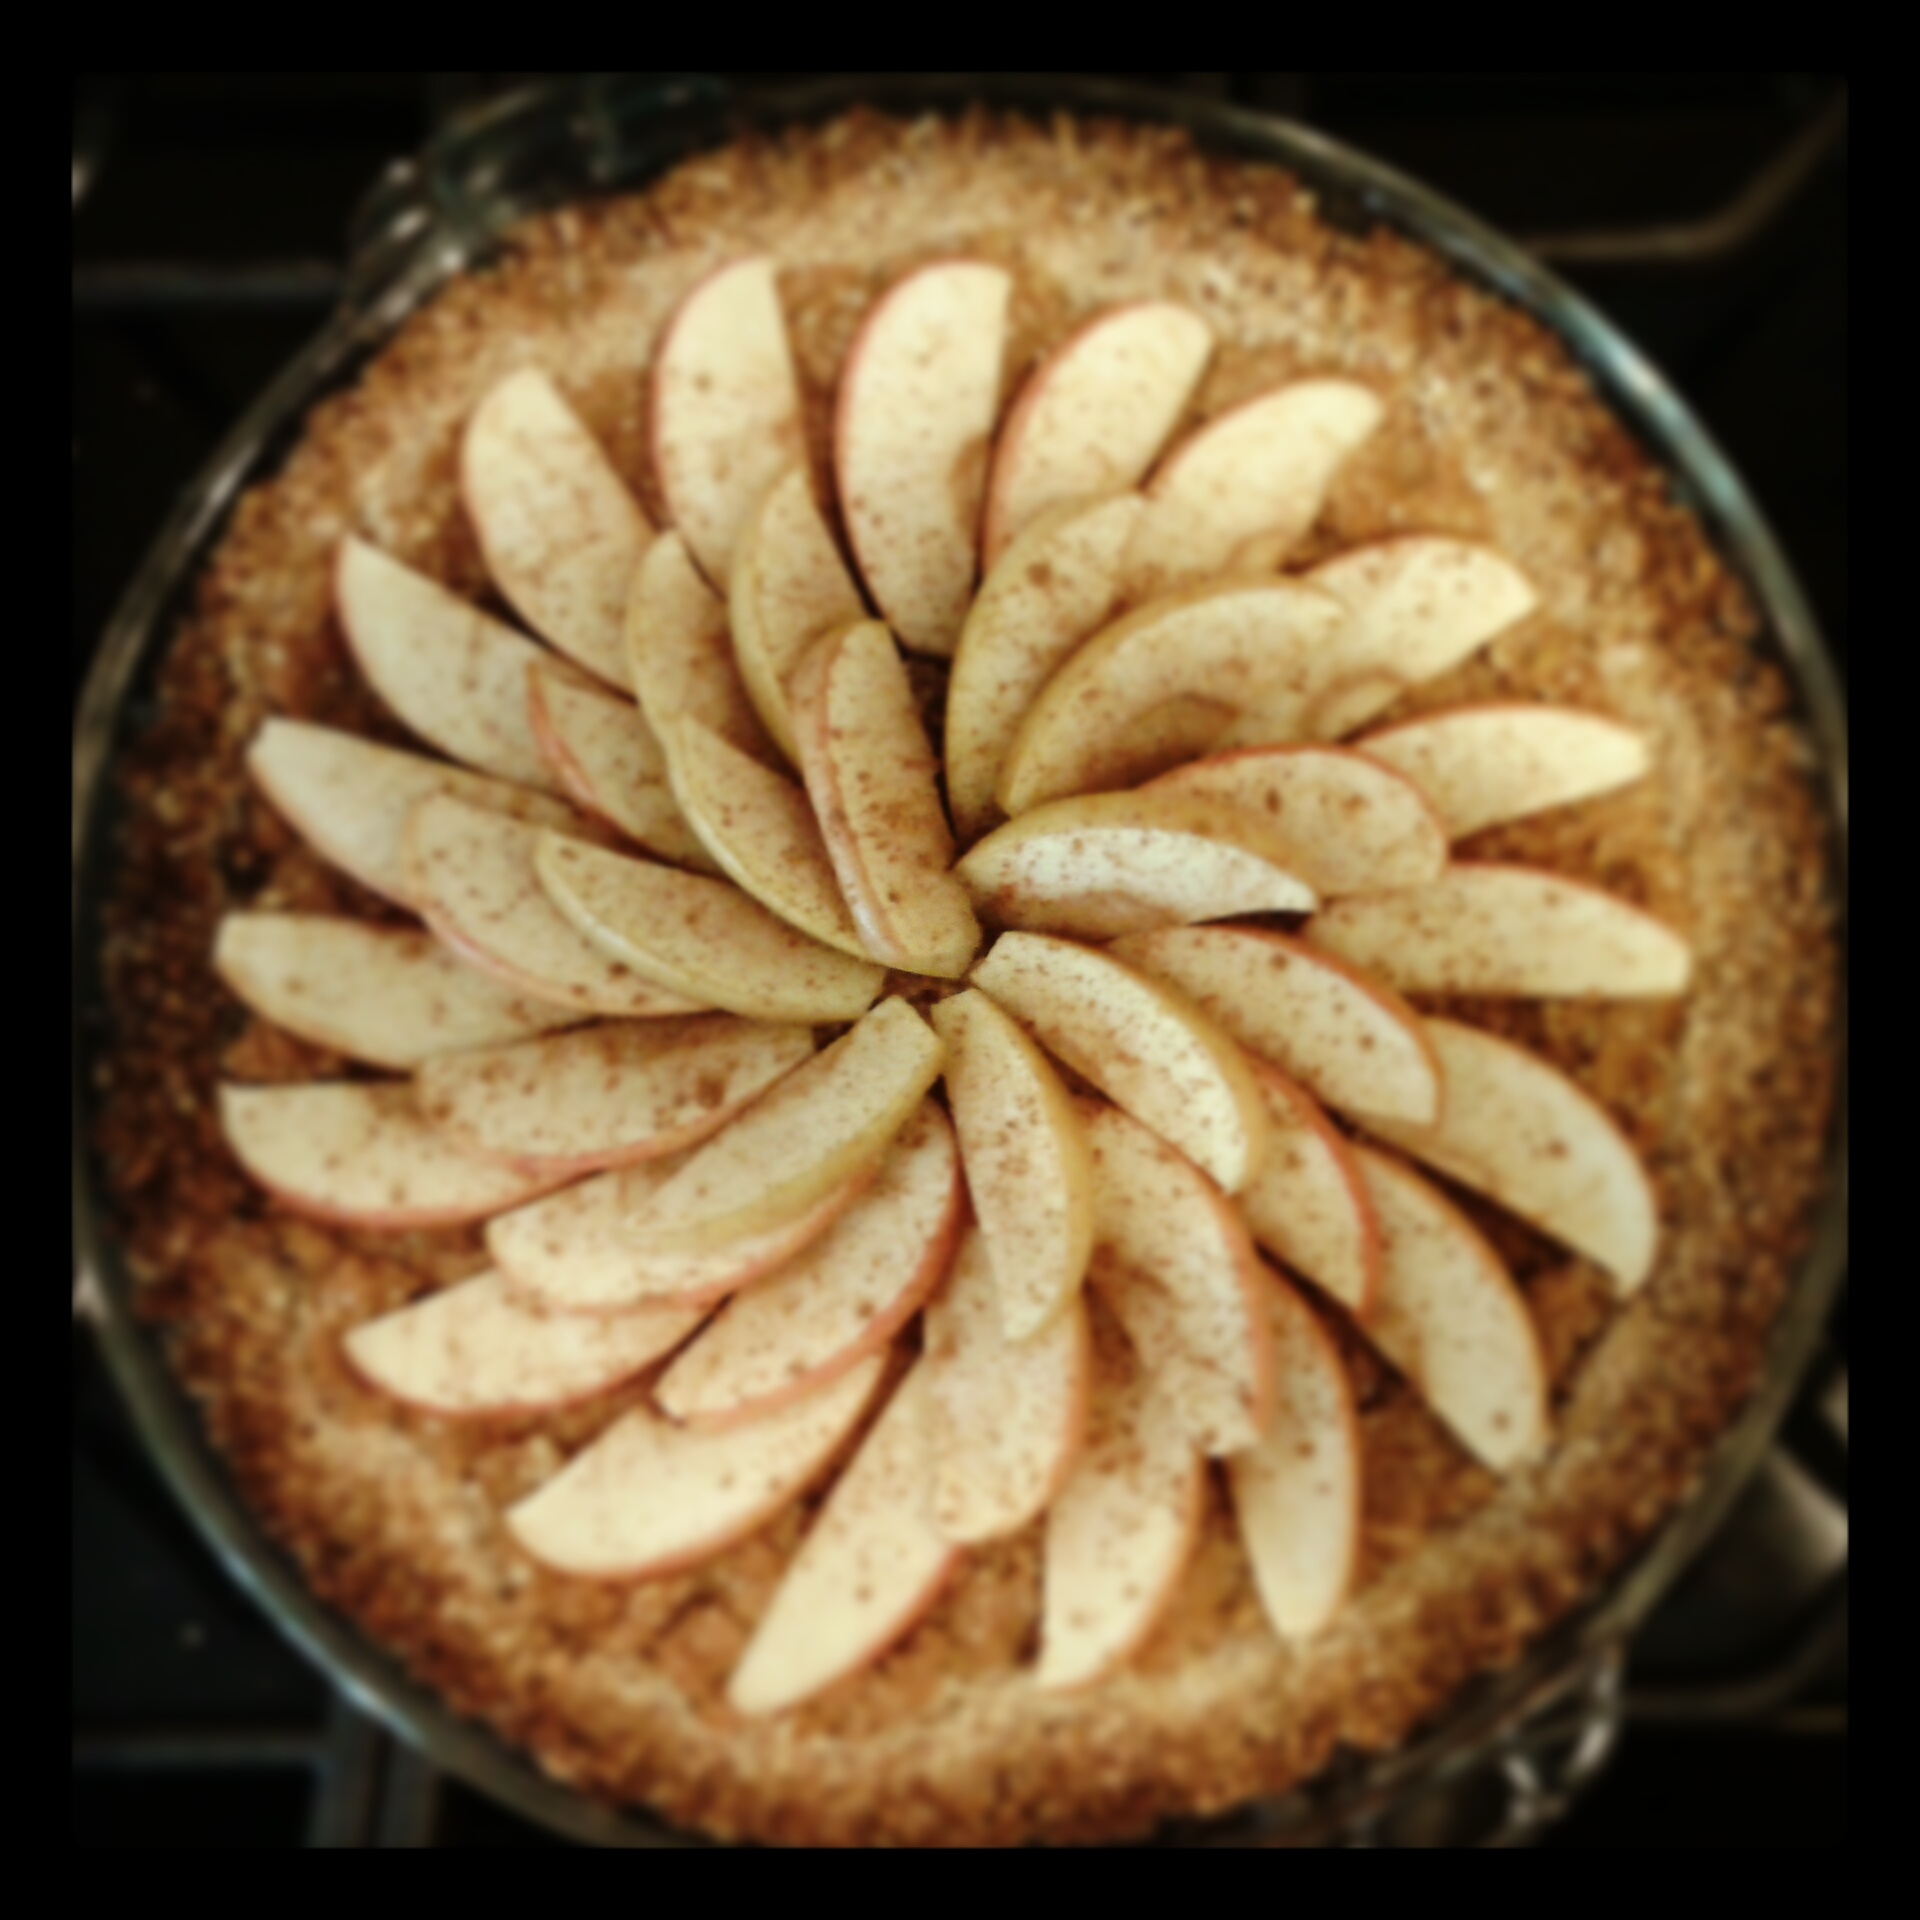
Maple Custard Apple Tart with Almond Crust
Lightly sweet, creamy and an appropriate amount of crust. Refined sugar free, grain free, gluten free, paleo & dairy free with one small swap (coconut oil for butter in the crust). Yield: 1 10″ pie pan of the deep variety; serves as many as you feel like sharing with. Recipe adapted from Hip Foodie Mom, here!

For the crust:
- 2.5 c almond flour
- scant 1/4 tsp fine sea salt
- 2 tbsp coconut sugar
- 4 tbsp salted butter (or coconut oil), melted
- 1 runneth-over tsp vanilla
- 1 egg white
For the custard:
- 1.5 c coconut milk (mine was light; use whatever you have)
- 6 egg yolks
- 1/2 c pure maple syrup
- 1/4 c tapioca starch
- 1/2 tsp fine sea salt
- 2 tsp vanilla extract
For the apple topping:
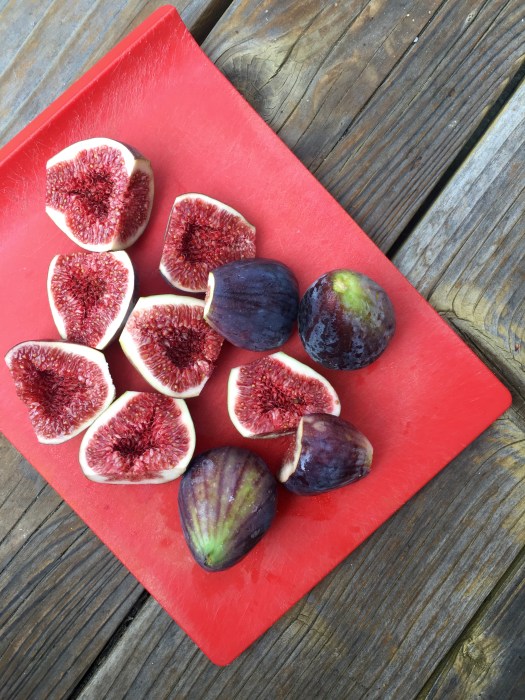
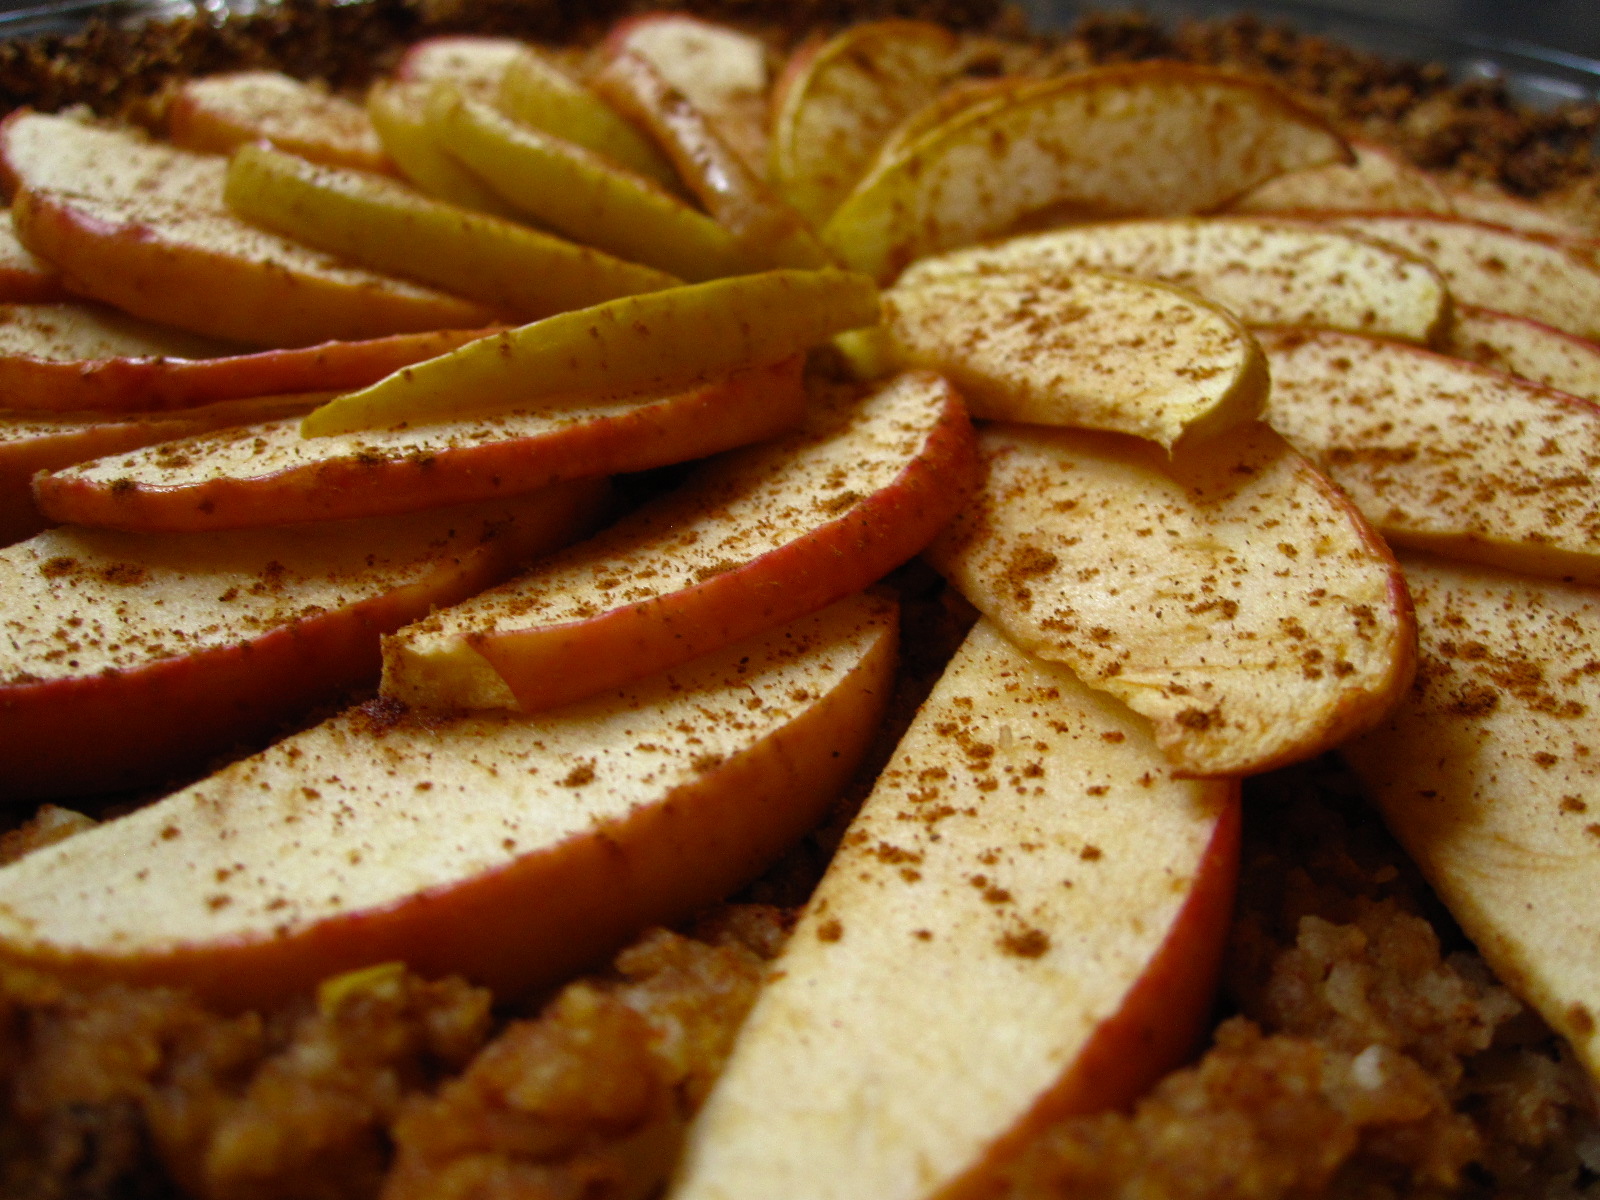
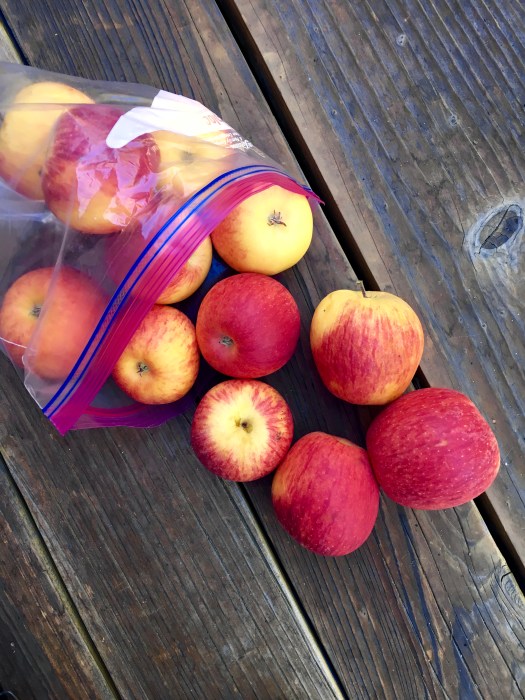
- 2 apples, finely sliced
- 3 tbsp raspberry jam, thinned with a bit of water and lemon juice
Because the custard needs to sit and chill in the fridge after cooling for at least 2 hours, I made this a day ahead and let it hang out in the fridge overnight. The crust only takes about 15 minutes to bake, so the tart itself comes together quite quickly.
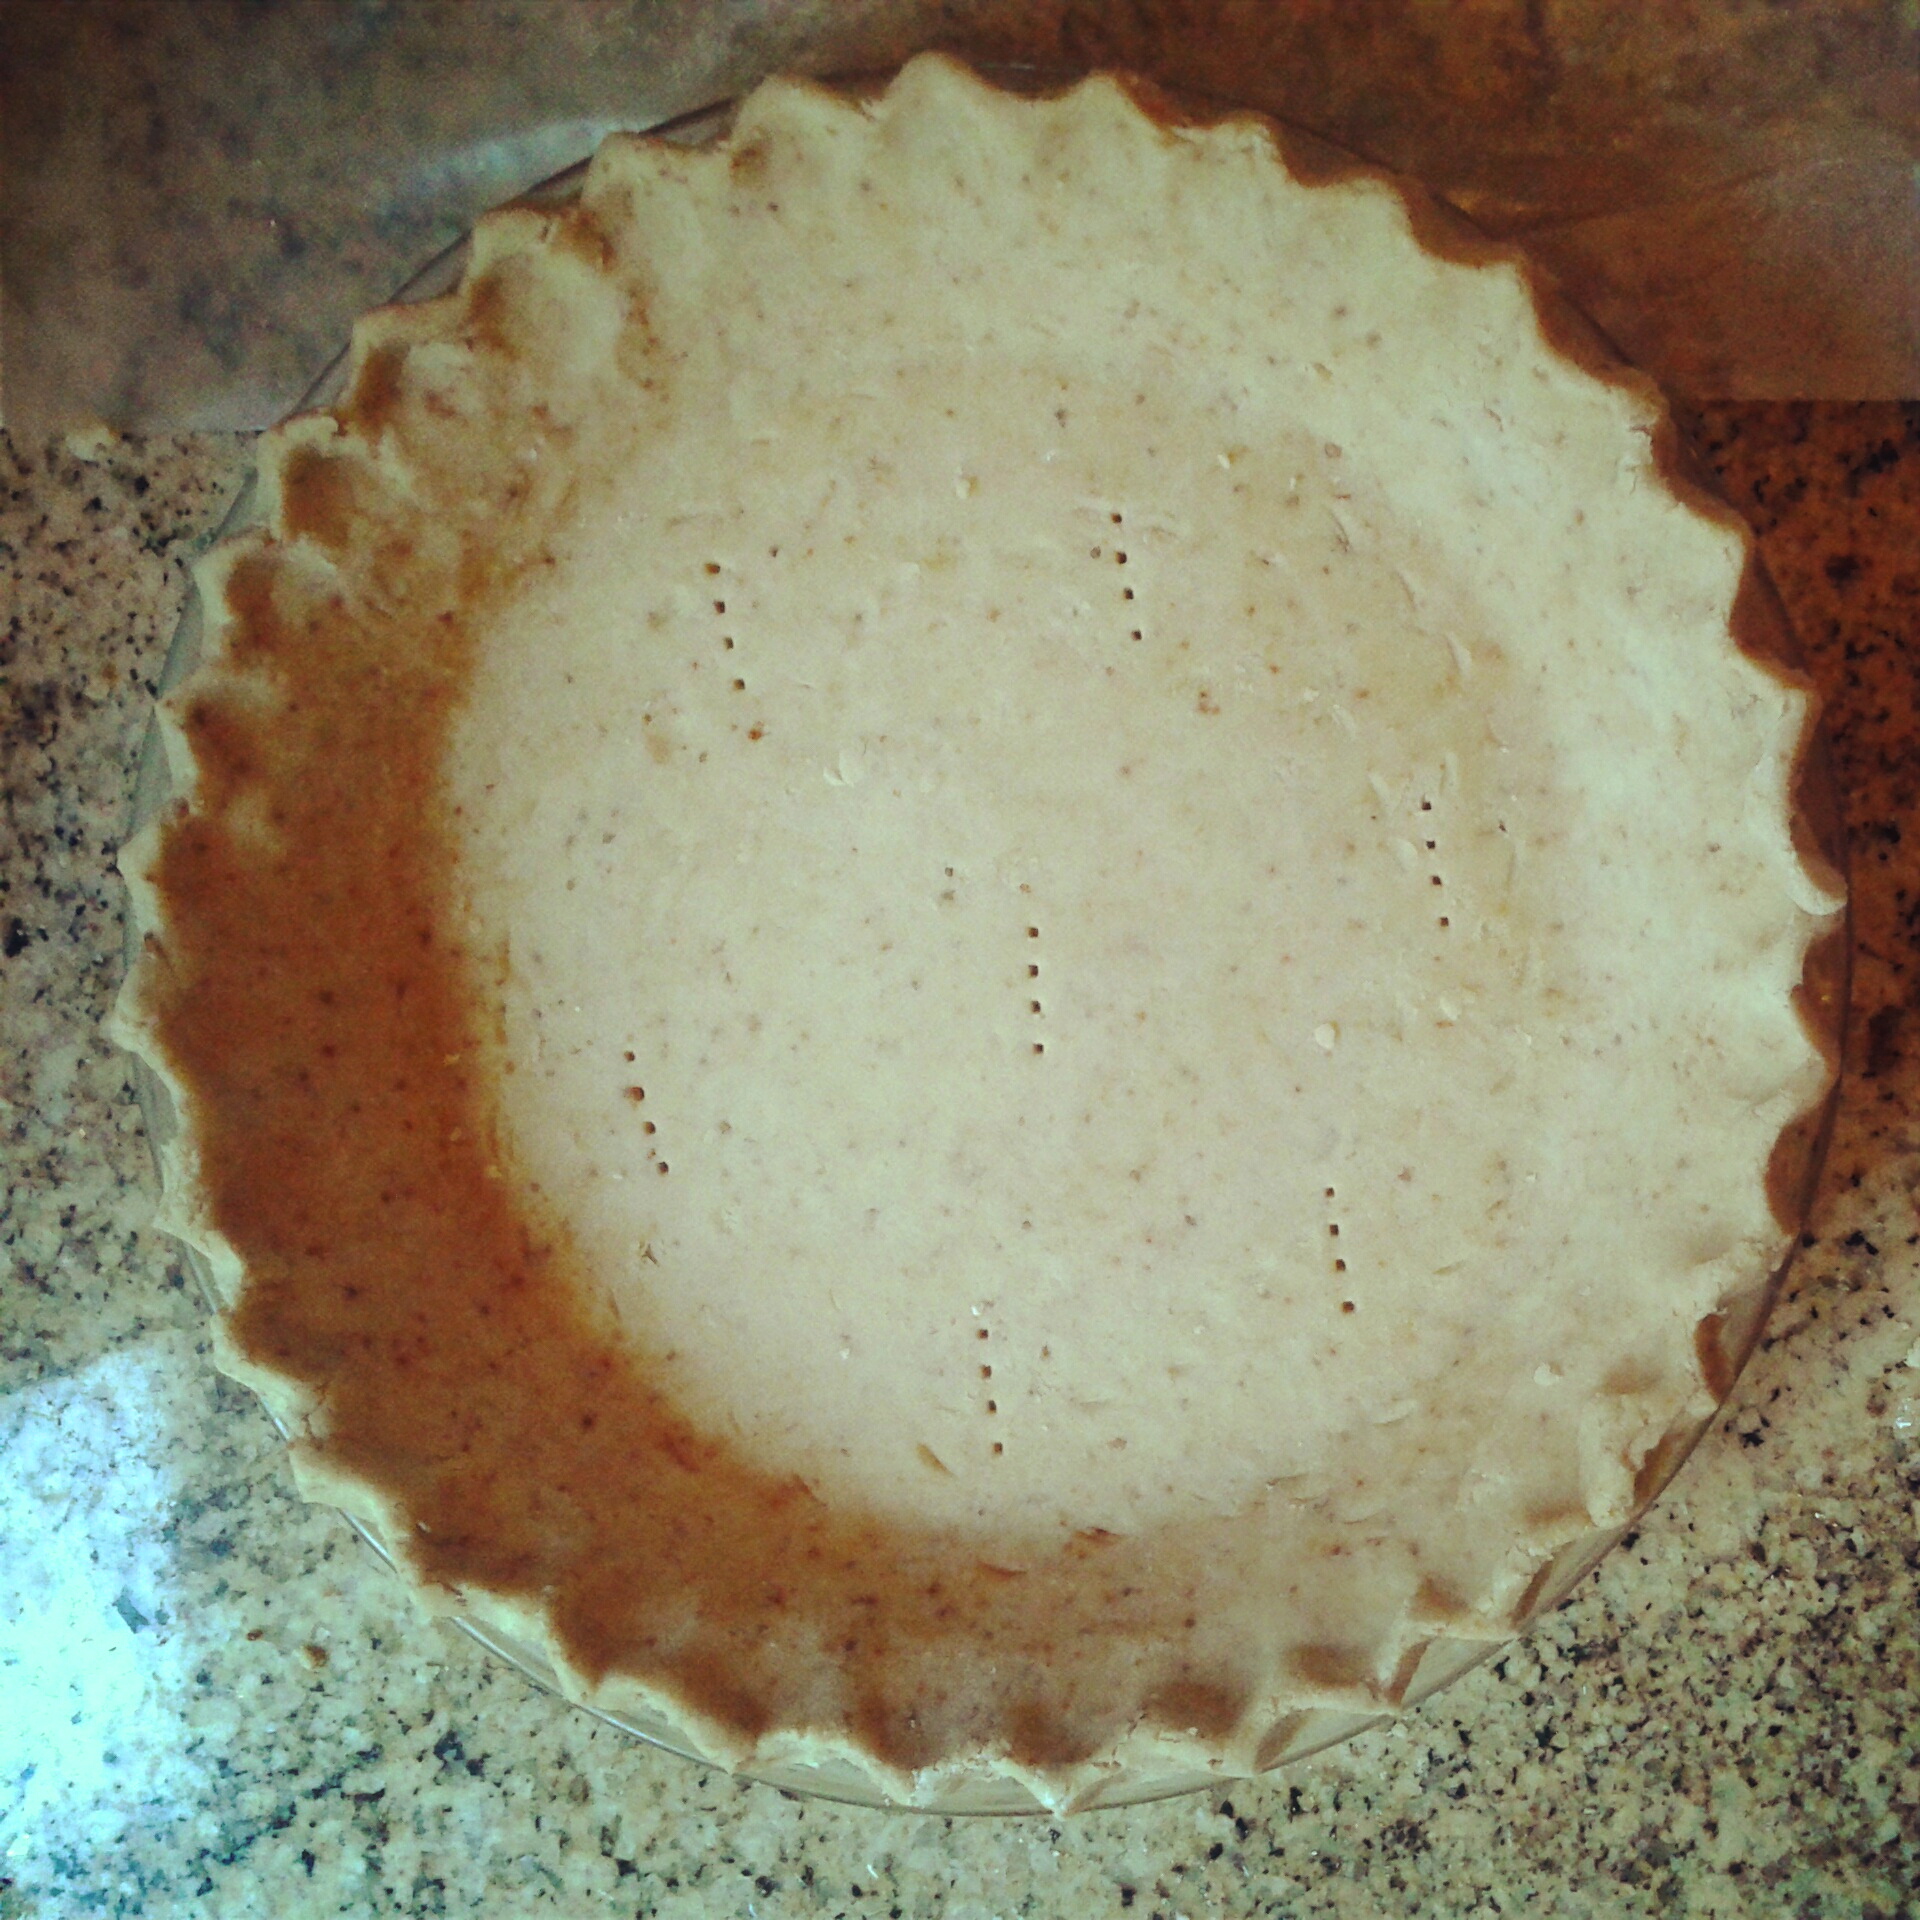
Preheat the oven to 400 and lightly grease a 9 or 10″ deep pie plate with coconut oil or butter. For the crust: in a large mixing bowl, stir together almond flour, salt, and coconut sugar. Add in melted butter or coconut oil, vanilla, and egg white, and stir until combined — I found it more fun and more efficient to use my hands at the end. Press the dough into the bottom of your pie plate of choice, poke the bottom a few times with a fork, and bake for 15 minutes. The crust should be lightly browned. Remove from the oven and let cool completely.
For the custard: in a medium saucepan, heat the coconut milk over medium, until small bubbles begin forming along the egg whites. In a medium bowl, whisk together egg yolks, maple, tapioca starch, and salt. Slowly temper the eggs by pouring the hot coconut milk into the egg bowl in a thin stream, whisking constantly until all the milk is incorporated. Pour this whole bowl of goodness back into the pot that was previously holding the coconut milk, and cook over medium-low heat, whisking constantly, until the custard begins bubble and thicken (you’ll know. it’ll go from watery to thick enough that your whisk makes tracks). Remove from heat, stir in the vanilla, and let sit until cool. Give it a good stir, and store in an airtight container in the fridge if you made it ahead.
Pour the custard into the completely cooled crust. Thinly slice 2 apples of choice, and drop them in a bowl of lemon water to prevent browning while slicing. In a small bowl, thin the raspberry jam with a few tbsp of water and lemon juice (I used the leftover from my apple-soaking water). Fan the apple slices across the surface of the custard, brush with the raspberry jam mixture to prevent excess browning. Cover and refrigerate if not eating immediately!
Keeps well overnight in the fridge, covered, but don’t expect it to stay in one piece! The custard is runny — best advice (and I definitely put this into practice) is to just eat it with a spoon, straight out of the pie plate. For breakfast! Keep any leftovers in an airtight container in the fridge.