

Julia Child would be SO proud right now.

I have my very own pegboard!!!
And also this awesome new app that does really cool things to photos. Sorry… I’m addicted. Just bear with me….

In fact, the main reason I’m posting a recipe at all is to actually feature my beautiful baby pegboard… because it is AMAZING. And courtesy of Vati’s superior constructional abilities, many thanks and rounds of applause to Vati! I do get credit for the spray paint, though. And now it’s amazing because I can actually get pots in and out of my cupboards.
What. A. Concept.

No longer is it like playing pot tetris with the teeny cupboards, where I essentially have to stand on my head to see inside (and there is a support down the very center, which basically reduces the functionality of the storage space by half and makes getting larger pots in and out quite the skill)… NO! I now have only TWO pots stored in the pot storage space, and the rest get to hang out tidily on the pegboard. GENIUS. Absolutely genius. Thank you, Julia Child, for making this a thing. And I don’t care if she didn’t originally make it a thing — she made it awesome.

So now I’m awesome.
Because I have a teal pegboard, just like Julia. Heeehee.

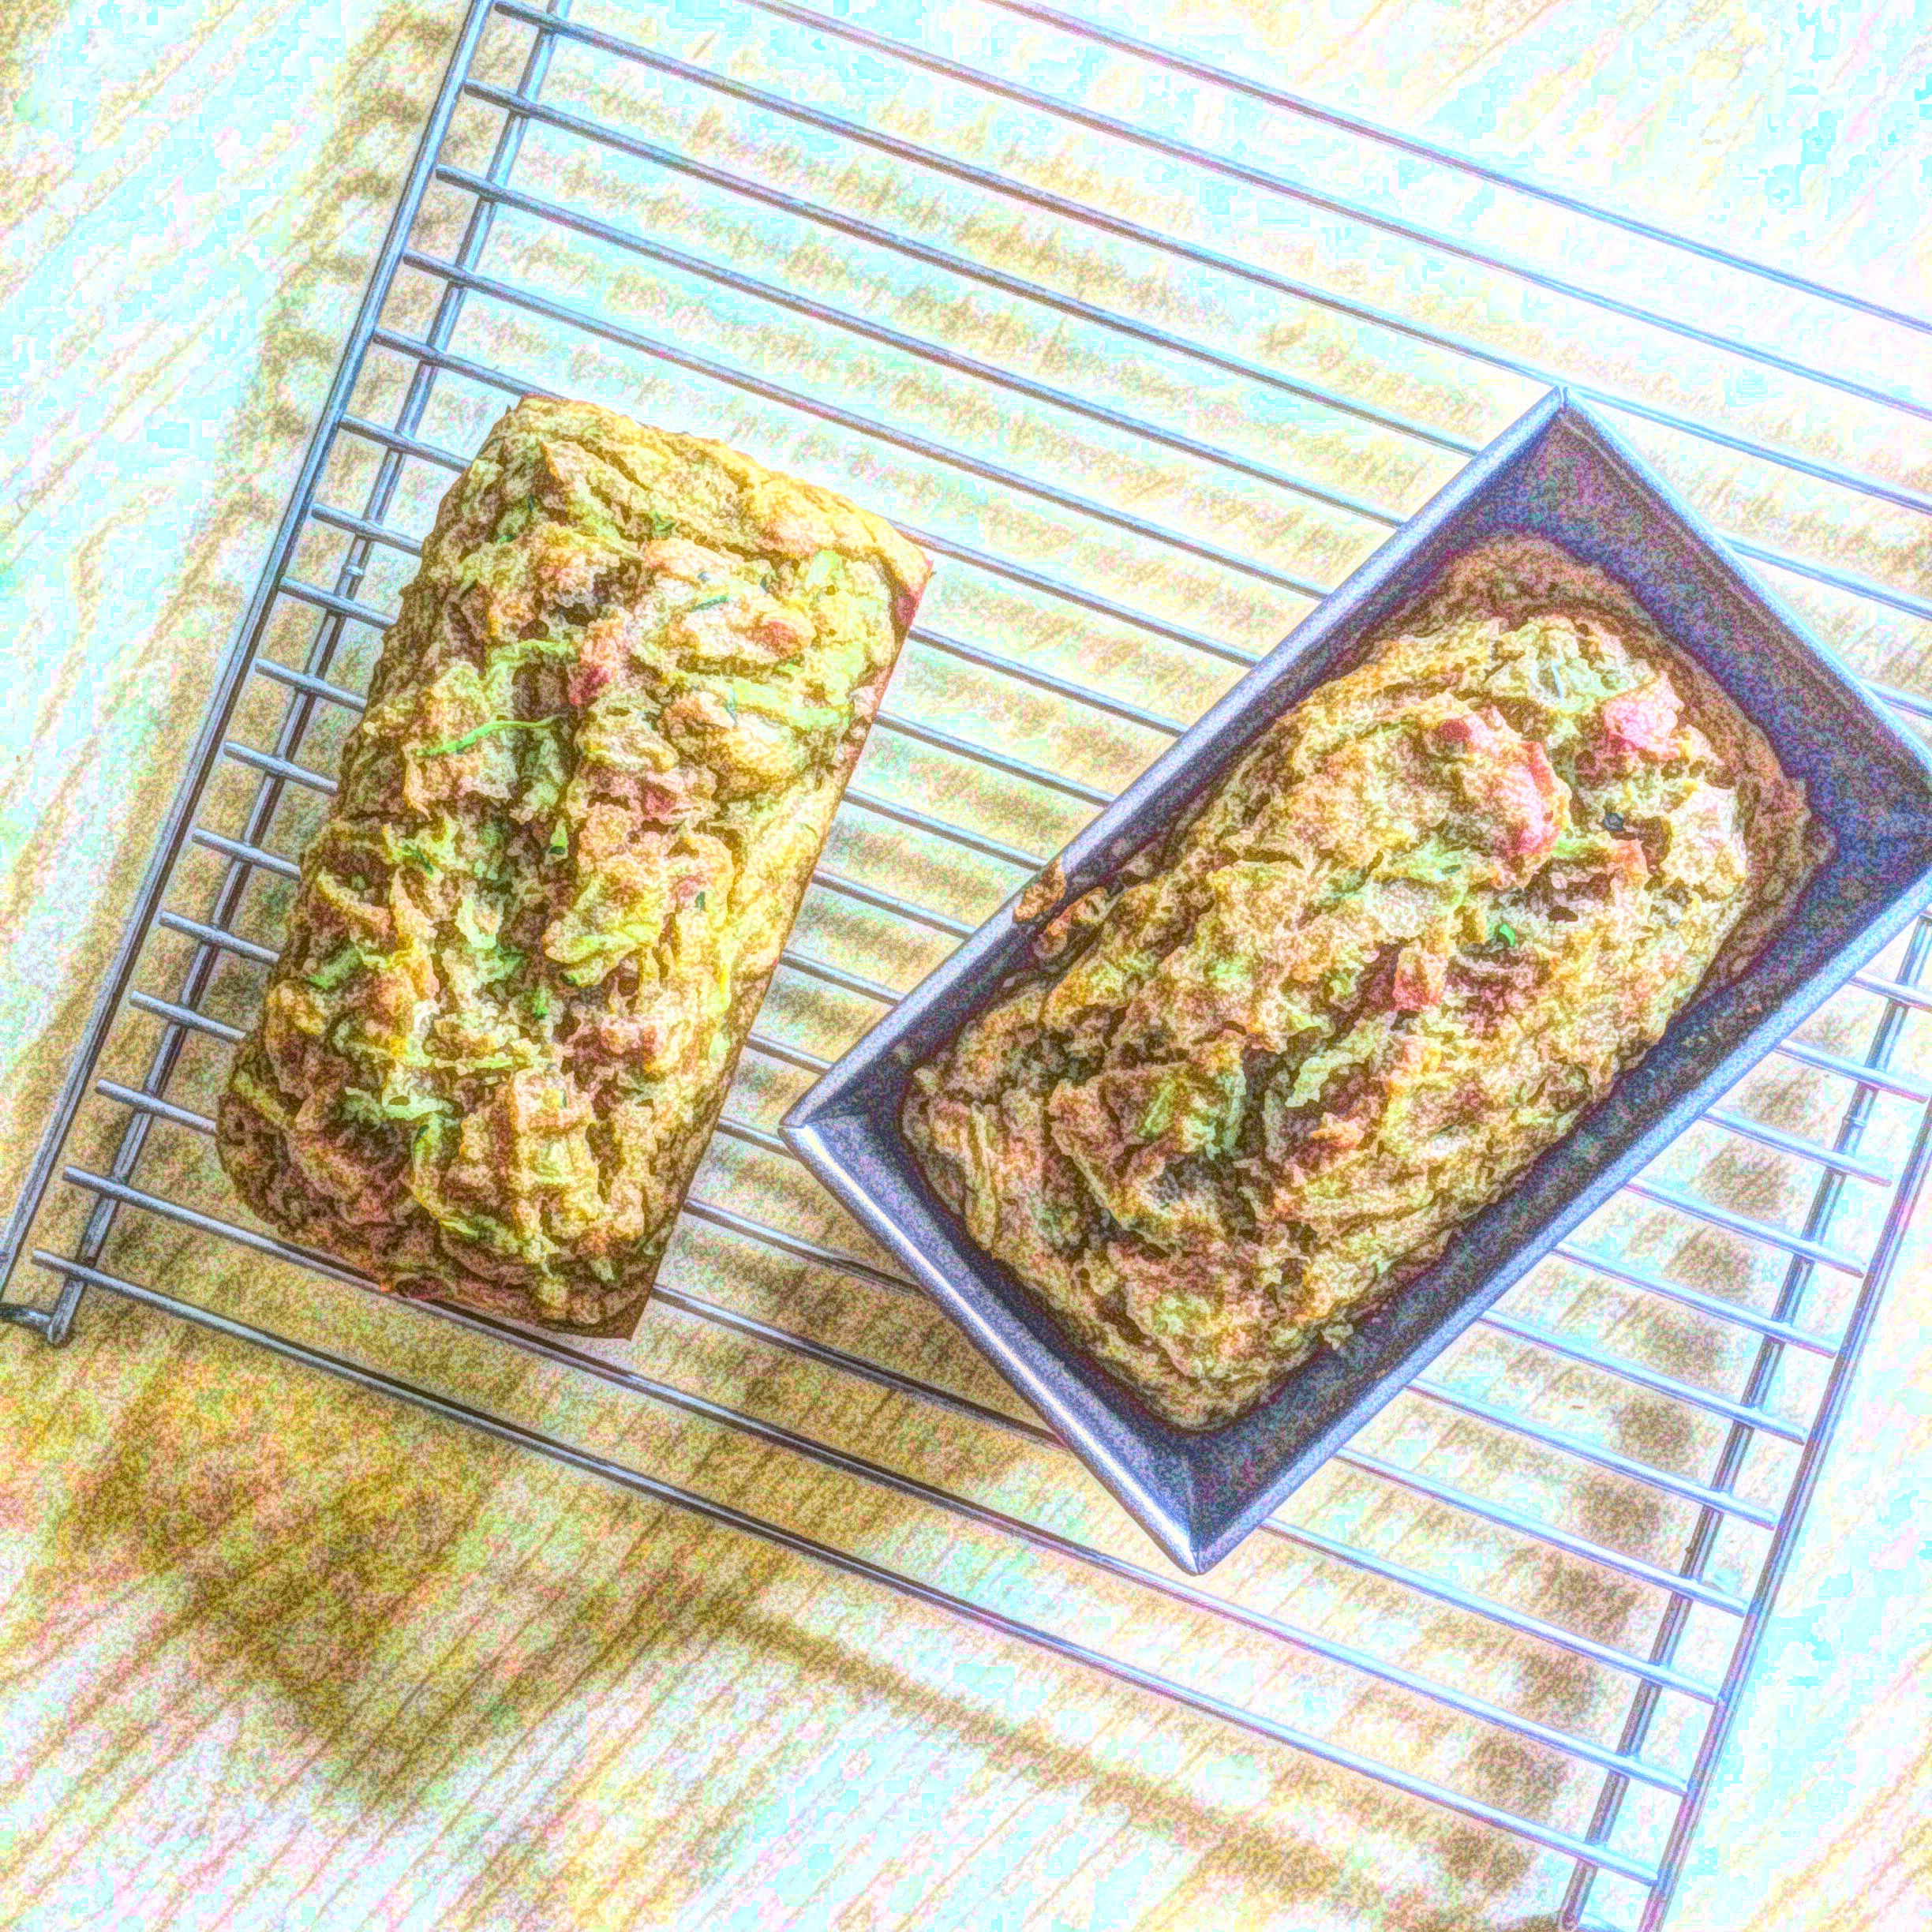
I further have teeny mini loaves of tummy friendly quick bread! Because.. this is the ongoing game of finding a system of etting that makes my stomach happy. Which we still haven’t quite found, but I have hopes for getting there, at least. Long story short, this means reduced or eliminated fodmaps and a mega increase in the amount and timing of soluble fiber in my diet. SO FUN, GUYS, SO FUN. ….

Mostly, I’m just bored stiff with my current diet, and am trying to slowly find things that are acceptable to brain and bod. This is one! Zucchini-banana spelt bread, with walnuts and cinnamon. Mmm. High in the good fiber, fodmap friendly, and refined sugar free. It’s also higher in protein than most quick breads, which I consider a plus. Whether you have tum issues or not, this is one delicious bread. I like the flour blend here because it yields a bread that is moist HYDRATED and dense in just the right way, without being stick-to-the-roof dense or too hydrated. Because there is such a thing and I hate overly hydrated quick bread. It should be able to stand on it’s own, and not just keel over into a soggy lump when you cut it. Just no.
But this one is a great balance between the two — and it’s egg content makes it just that bit… airy? Fluffy? Hard to describe but nonetheless delicious. Let’s go with densely airy just because, well why not. Don’t let my lack of appropriate terminology deter you… it’s amazing. And easy. No excuses!
See. I told you.
Zucchini-Banana Spelt Bread with Walnuts and Cinnamon
Fodmap friendly, high in soluble fiber, and refined sugar free. Feel free to adapt the flour blend as needed — this could easily be gluten free with a gf blend. This is a remarkably forgiving bread, given that I pretty much improvised as I went along and it still came out fabulously. Yield: 2 mini loaves or 1 small 9 by 5 loaf. A Wait are those Cookies original.
- 1/2 c quinoa flour
- 1/2 c white rice flour
- 1/2 c whole spelt flour
- 1.25 tsp baking powder
- 1.5 tsp cinnamon
- scant 1/2 tsp ground ginger
- 1/2 tsp fine sea salt
- 3 egg whites, beaten until foamy and light (I use an immersion blender for this)
- heaping 1/6 c coconut sugar
- 1/6 c coconut oil (liquid)
- 1 heaping tsp vanilla extract
- 2 tbsp maple syrup
- 1 very ripe banana, mashed
- 1 c grated, unpeeled zucchini
- 1/4 c chopped walnuts (optional)
Preheat the oven to 325, and lightly grease either 2 mini loaf pans, or 1 standard size.
In a smallish bowl, whisk together quinoa flour, rice flour, spelt flour, baking powder, salt, cinnamon, and ginger. In a larger, non-reactive bowl, beat egg whites until foamy. Whisk or mix in coconut sugar, coconut oil, vanilla, and maple. Stir in mashed banana and grated zucchini. Add walnuts, and stir the dry ingredients into the wet ingredients with as few strokes as possible, until the batter is incorporated. Pour into the prepared pans, and bake for 35-40 minutes, or until the top is firm and a tester comes out clean. Mine were perfect at exactly 37 minutes. Let cool for a few minutes in the pans, then turn out onto a cooling rack to cool complete. Store them wrapped in foil in the fridge for best leftovers!

