Hello!

Happy weekend :)
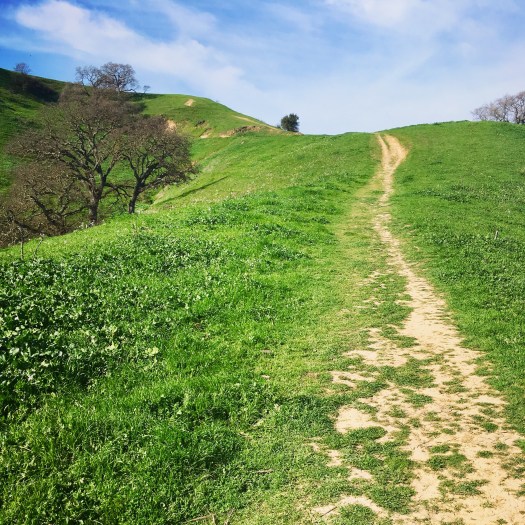
It’s raining again which I’m sure is driving everyone else crazy, but I love it… I’ve always loved the rain, but within the last year I’ve noticed that bizarrely enough my autoimmune symptoms calm down in the rain, so I have another reason to love it.
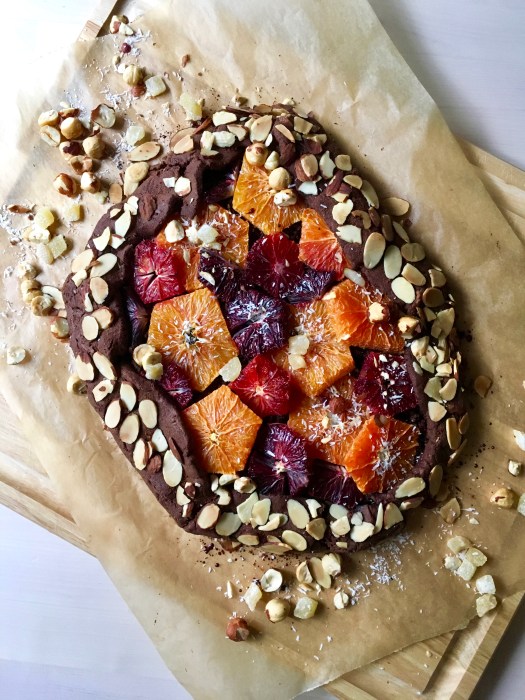
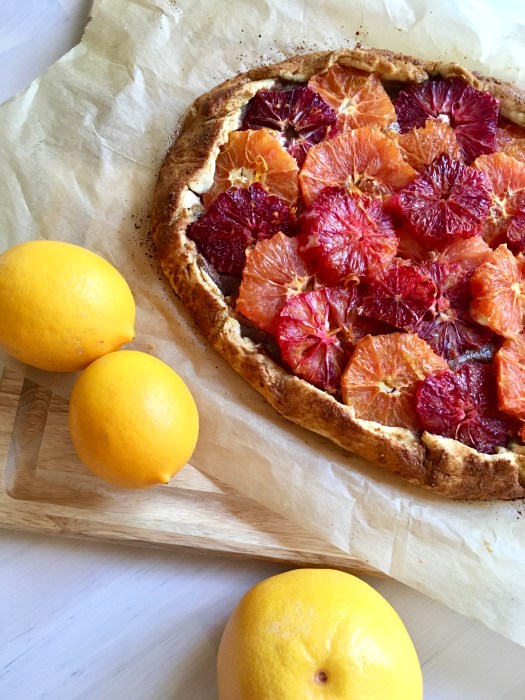
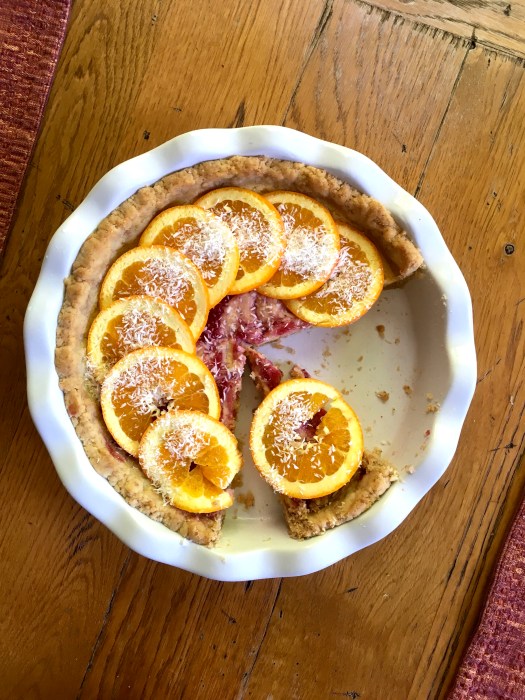
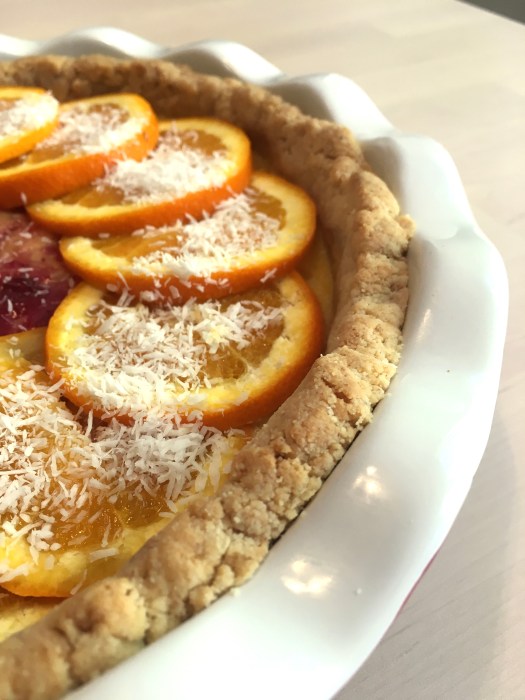
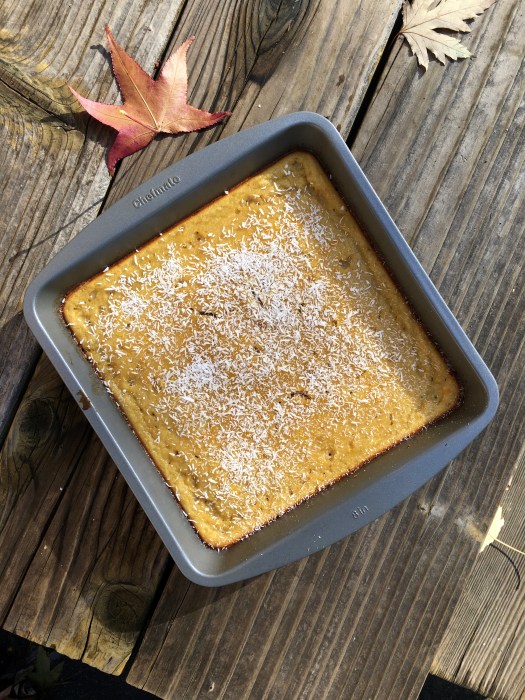
I have galette for you today! The last week FLEW by, but luckily I had stopped at the market for oranges earlier in the week, with an eye towards making this over the weekend.

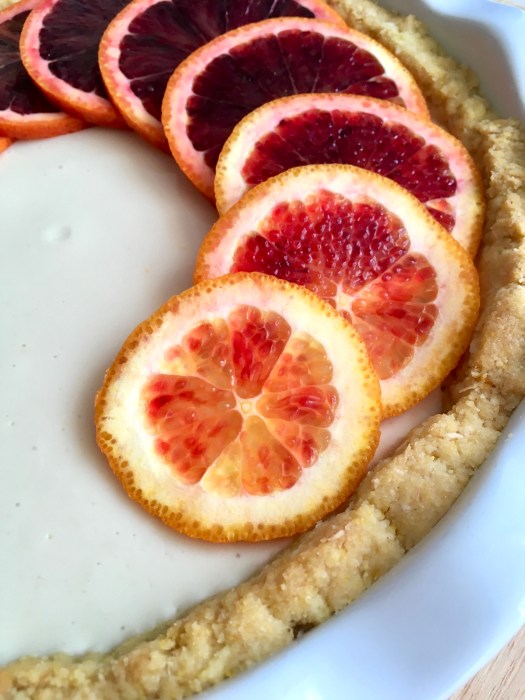
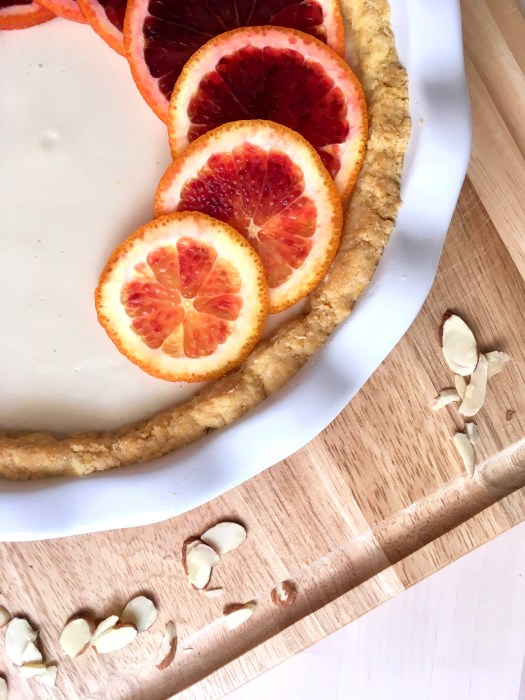
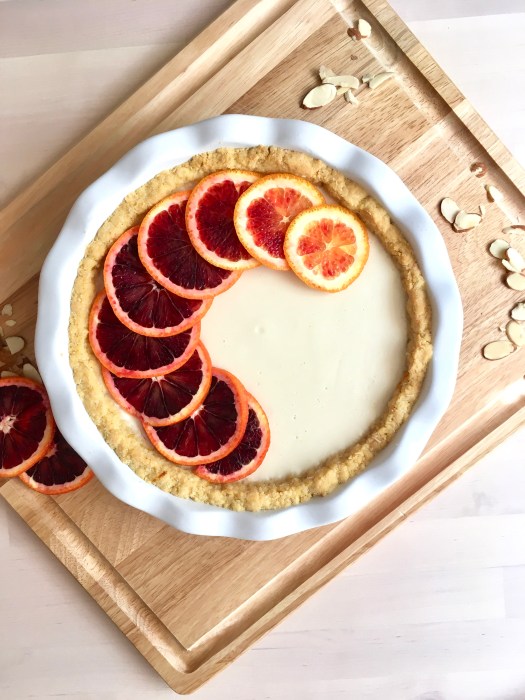
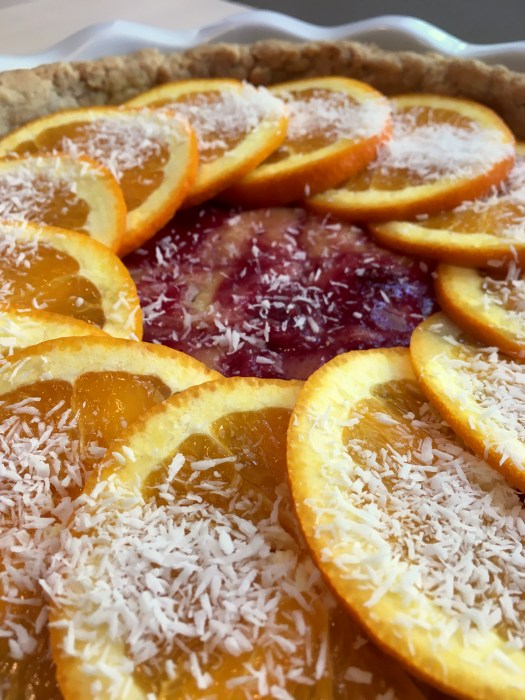
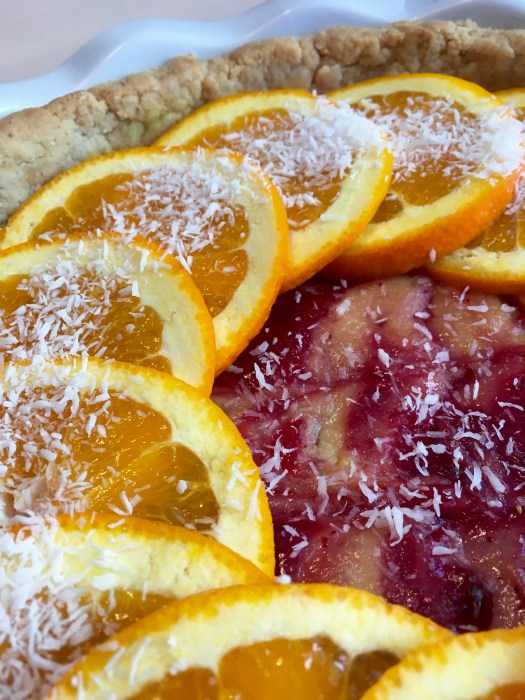
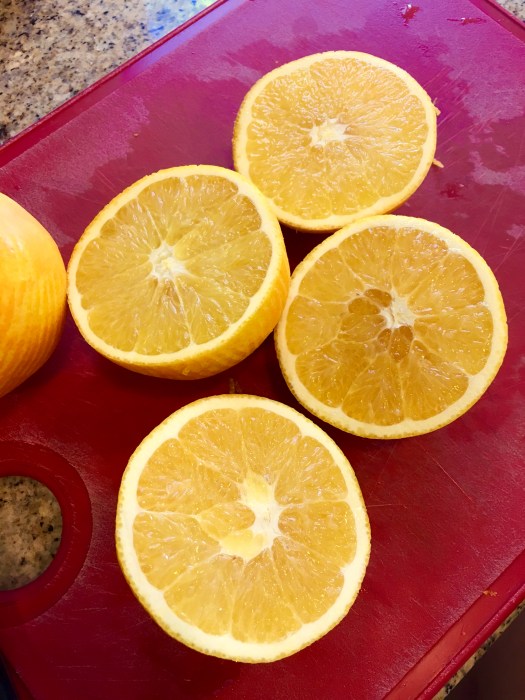
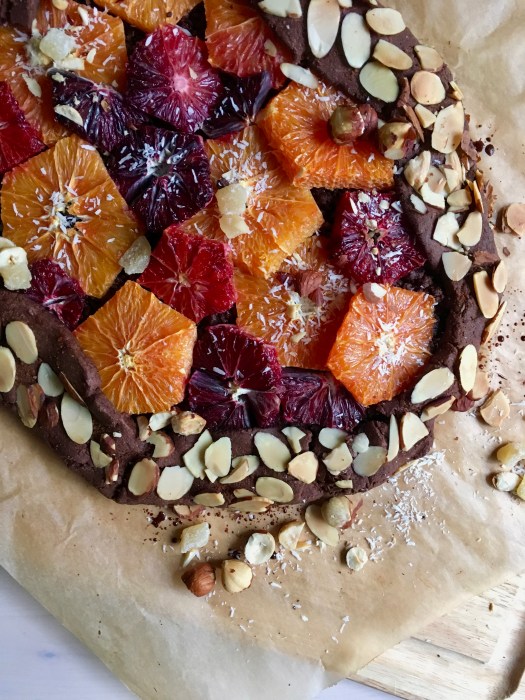
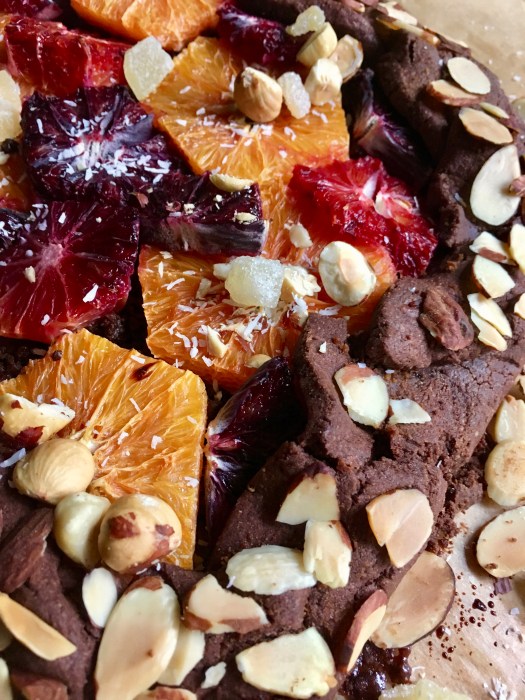
I LOVE how beautiful blood oranges are – they are like natures equivalent of stained glass! It’s so fun to slice one open and see the color gradient – my art history side comes out in spades around them! Besides that, they are of course delicious.
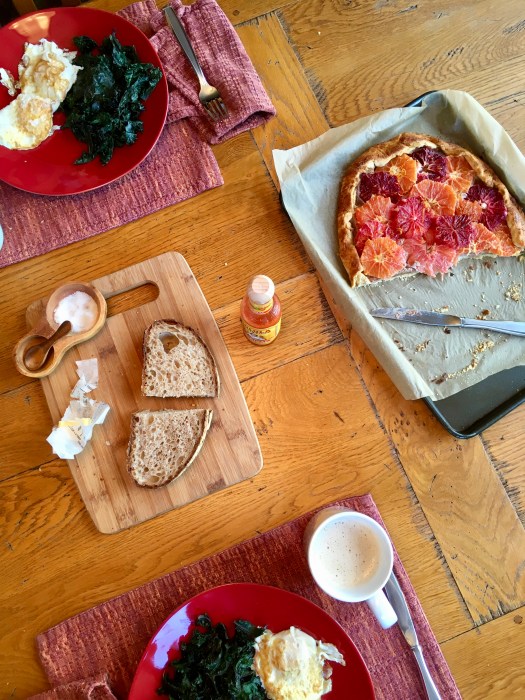
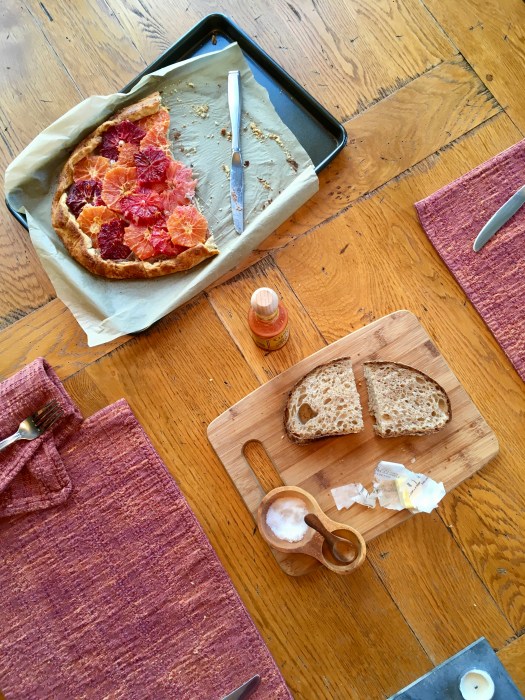
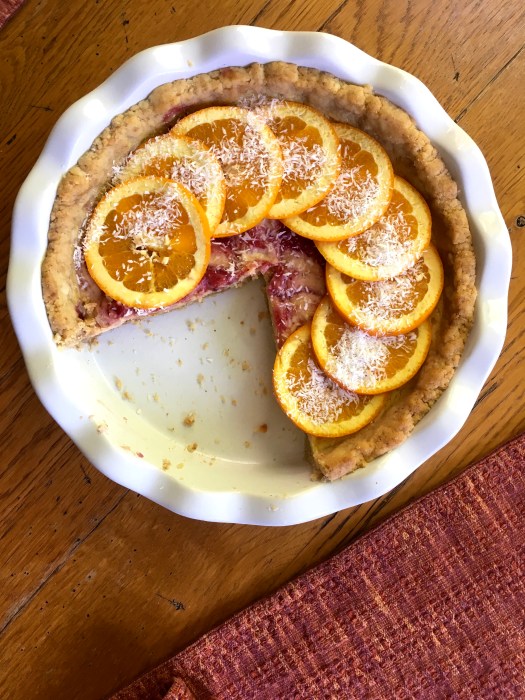
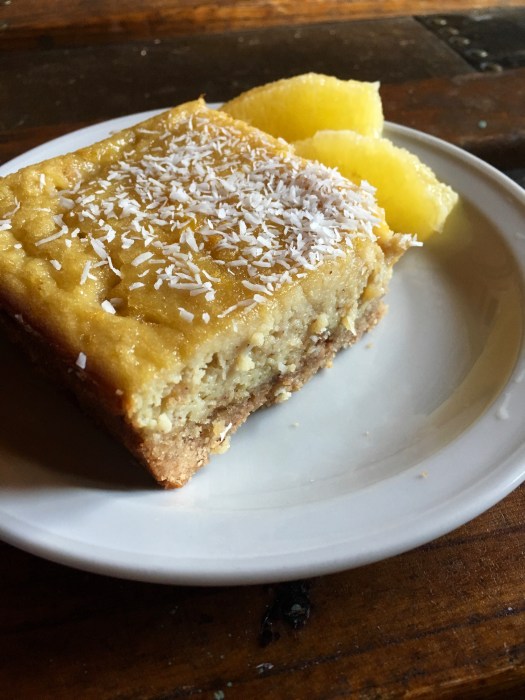
It did the usual double duty for dessert+ice cream and then breakfast the next morning! C and I ate it post-climbing, and I have to say it makes a great snack.

I forgot my laptop charger at work on Friday like a dummy so I’m trying to limp my laptop through the weekend… this will probably be a short post on account of that!

I hope you have something fun lined up this weekend – galette maybe?! :)
Blood Orange, Hazelnut & Chocolate Galette
Gluten free, grain free, refined sugar free & arguably paleo. Lightly sweet from the oranges, with a hit of dark chocolate that doesn’t put you in a coma! Great for dessert with ice cream or on its own for breakfast. A Wait are Those Cookies original! Yield: 1 galette; serves several.
For the galette dough:
1.5 c almond flour (not meal; you want the finer flour variety)
1/2 c tapioca flour
1/4 c unsweetened cacao powder
1/4 tsp fine sea salt
6 tbsp salted butter, chopped (or ghee)
1 egg
1 tbsp vanilla extract
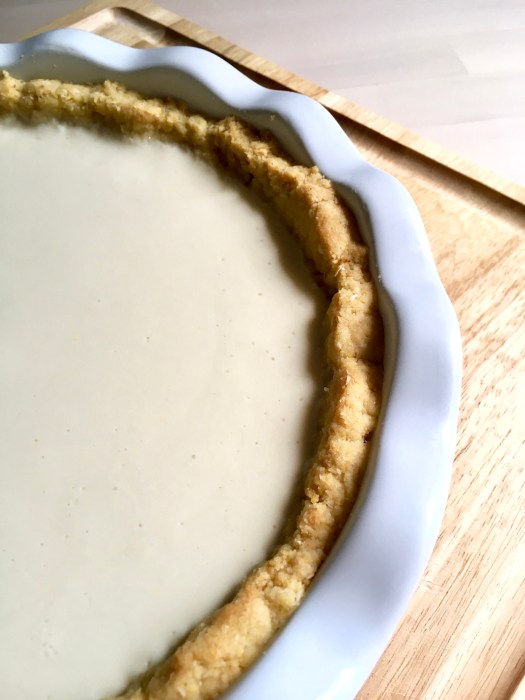
In a food processor or high-power blender (I used a food processor), pulse almond flour, tapioca starch, salt, and butter to combine until it looks like coarse meal. Add in egg and vanilla extract and pulse just until combined. Turn out onto a piece of plastic wrap, shape into a disk and chill in the fridge for at least an hour, or up to overnight.
For the filling:
1/4c dark chocolate, melted
1/2 c hazelnut meal
2 tbsp maple
1 tbsp vanilla
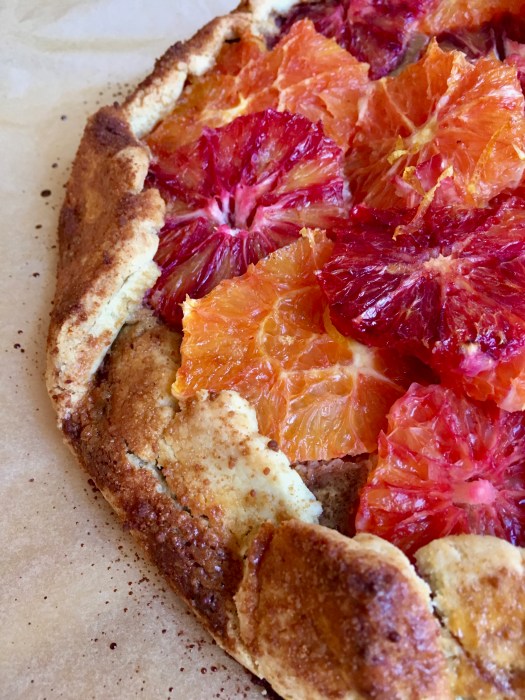
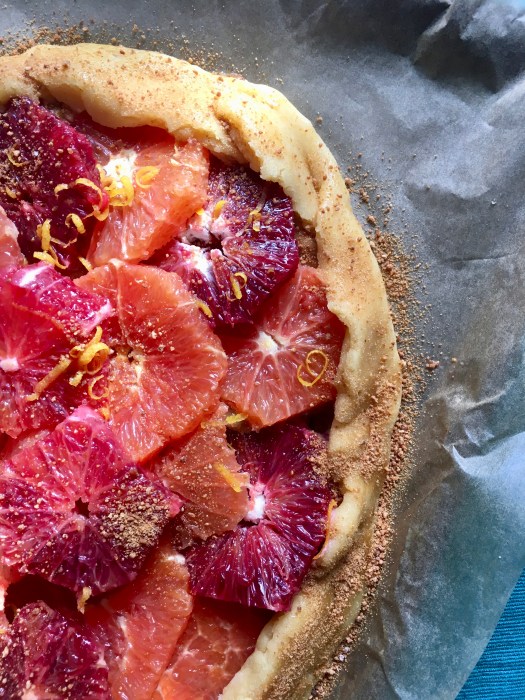
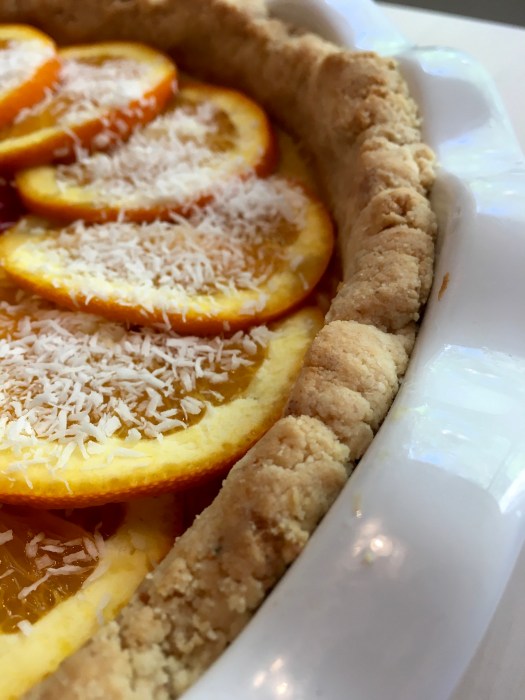
2 blood oranges, peels removed & sliced
2 cara cara oranges, peel removed & sliced
Coconut sugar for sprinkling
In a food processor, combine hazelnut meal, melted dark chocolate, maple and vanilla. I leave mine pretty chunky/coarse, as opposed to making nut butter – but either one is fine. Set aside.
Once the dough has chilled, preheat the oven to 375. Roll out the dough between two pieces of parchment paper, keeping the circle to about 1/4″ thickness. Peel off the top piece of parchment, and slide the rolled out dough on its parchment onto a baking sheet. Top with the dark chocolate – hazelnut mix, spreading it carefully in order to not rip or crack the dough. Add the sliced oranges. Begin folding up the sides, creasing them together as you go – if the dough rips, that’s okay (you can crimp the cracks back together; remember: galettes are forgiving and rustic!); you can use the bottom piece of parchment to help fold up the sides. Sprinkle dough with a little coconut sugar and press the sides with sliced almonds if you want! Bake for 35-40 minutes until edges are golden brown — mine came out just fine at 35 minutes, so check accordingly.
Let cool for a few minutes on the baking sheet, then carefully slide the whole galette onto a cooling rack to let it cool completely. Serve with your fave ice cream or whatever of choice! Keeps well covered in foil on the counter.