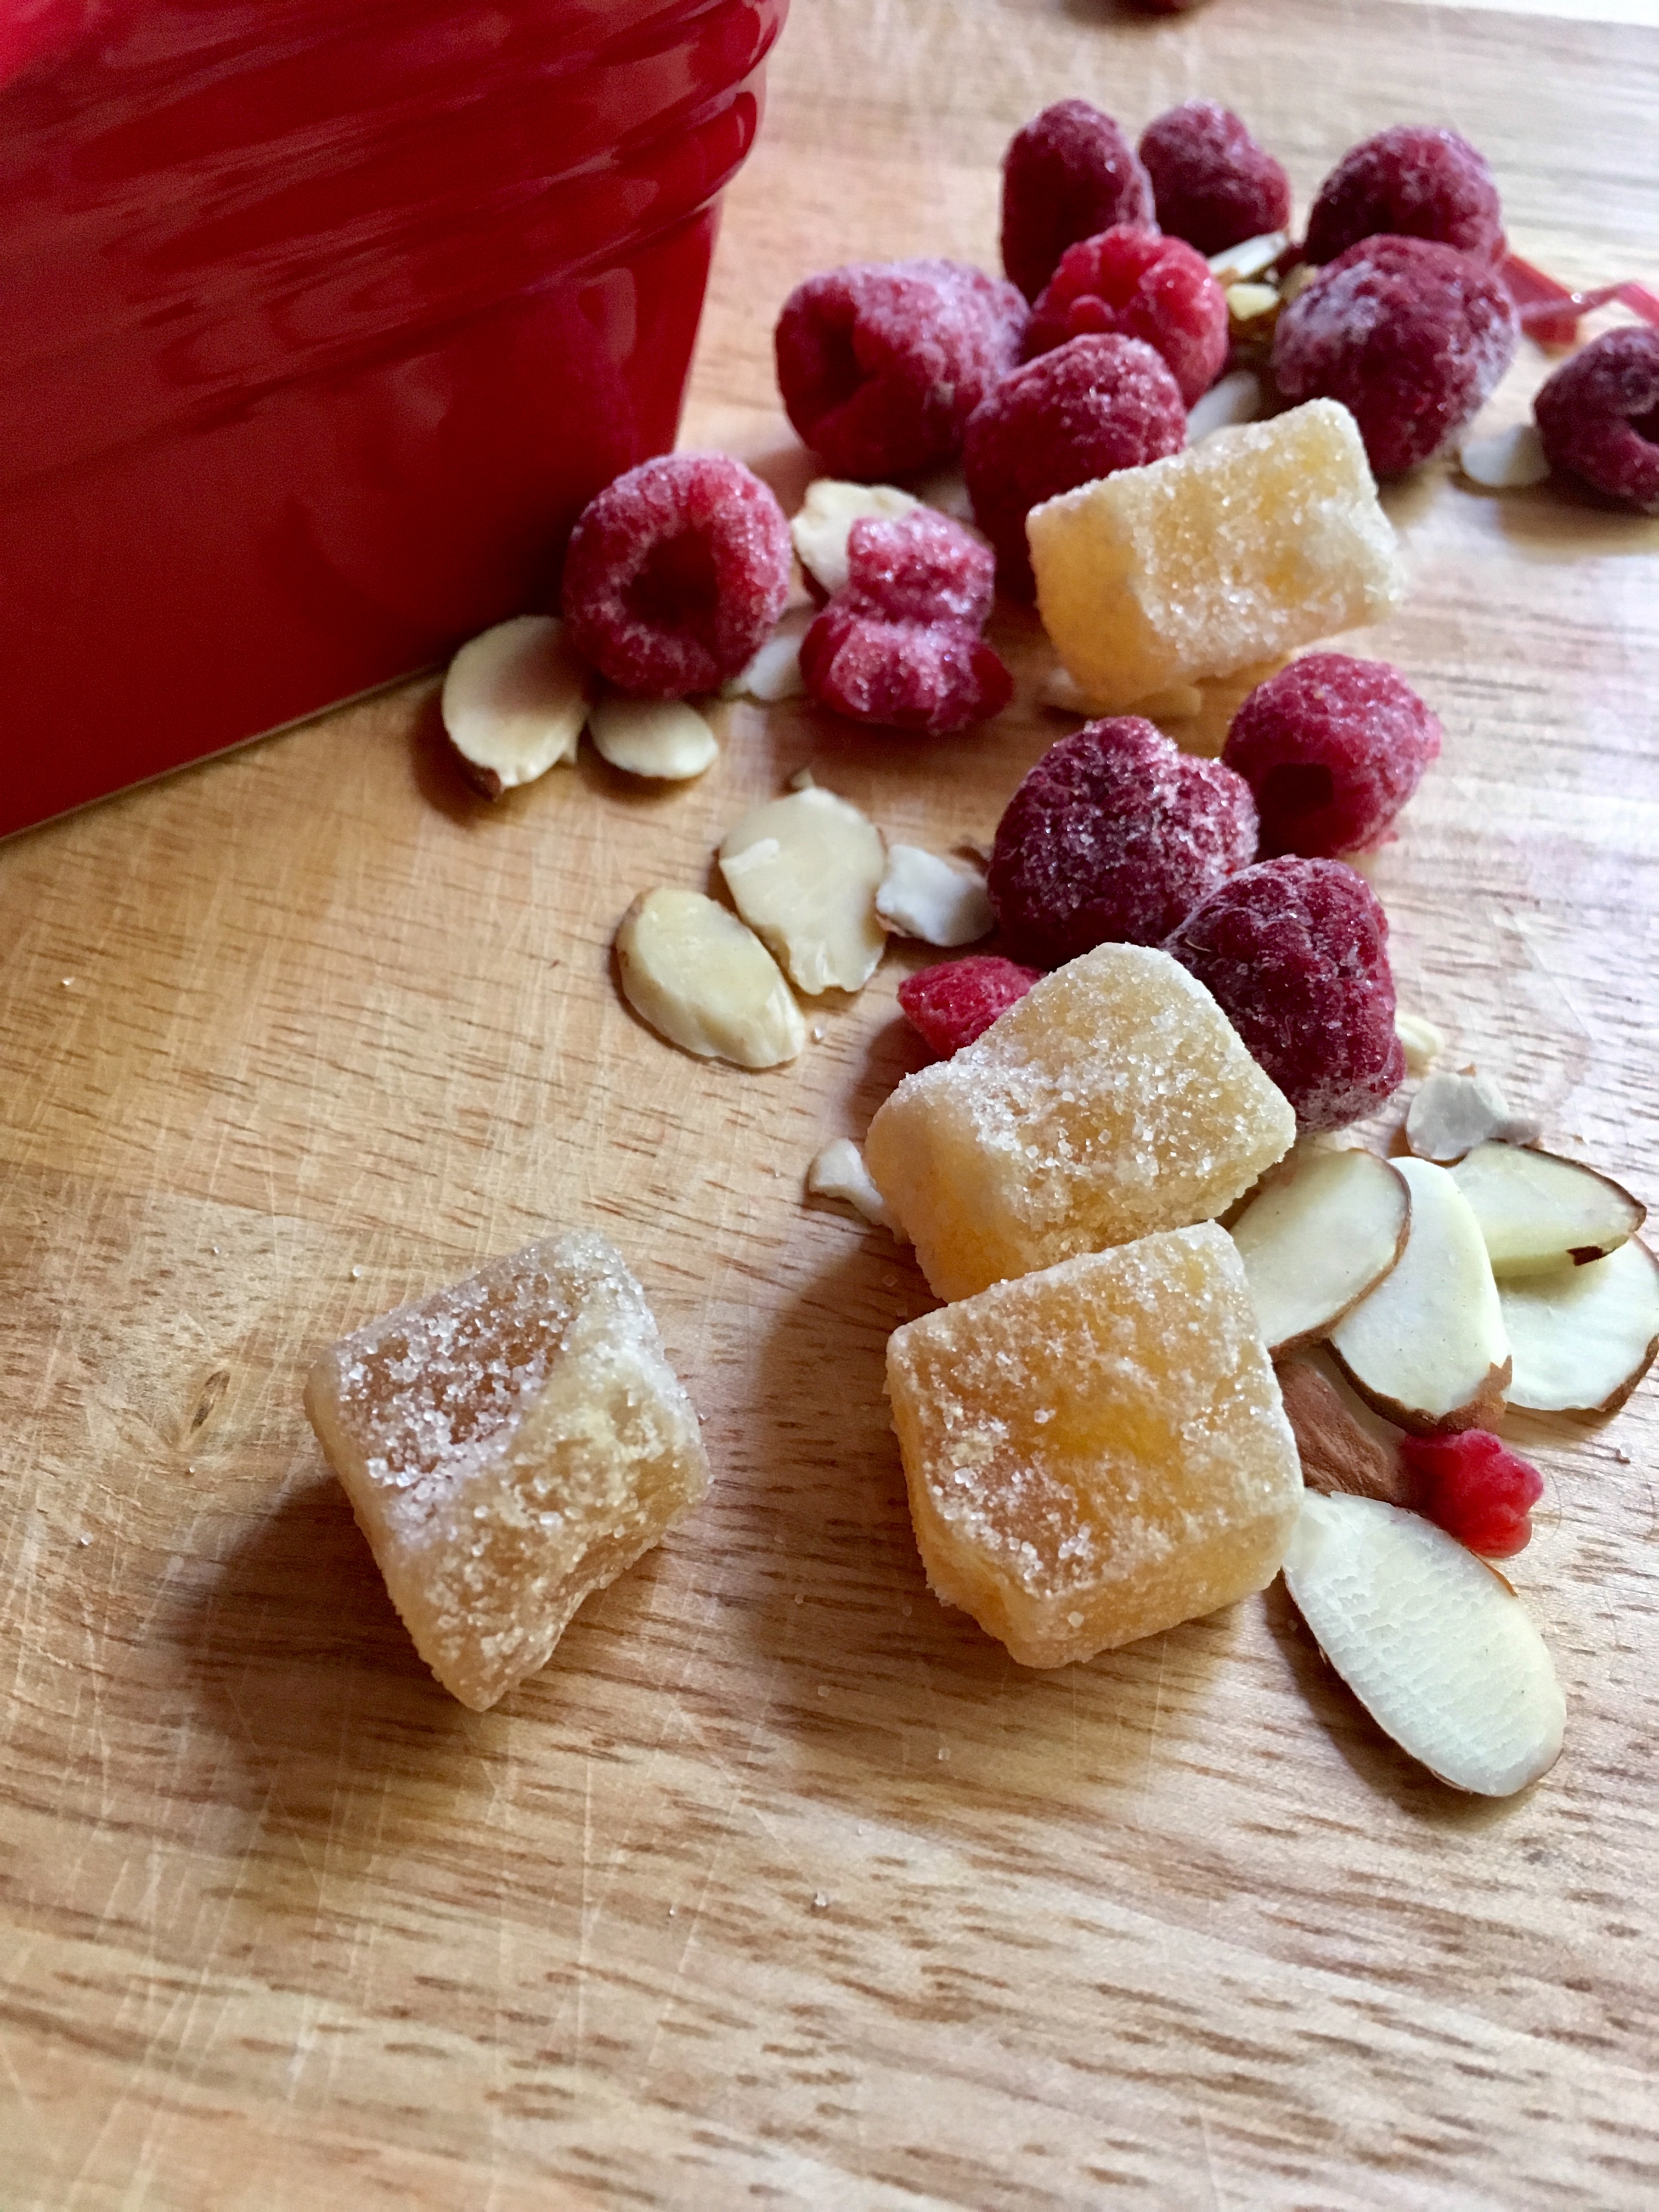
More citrus!
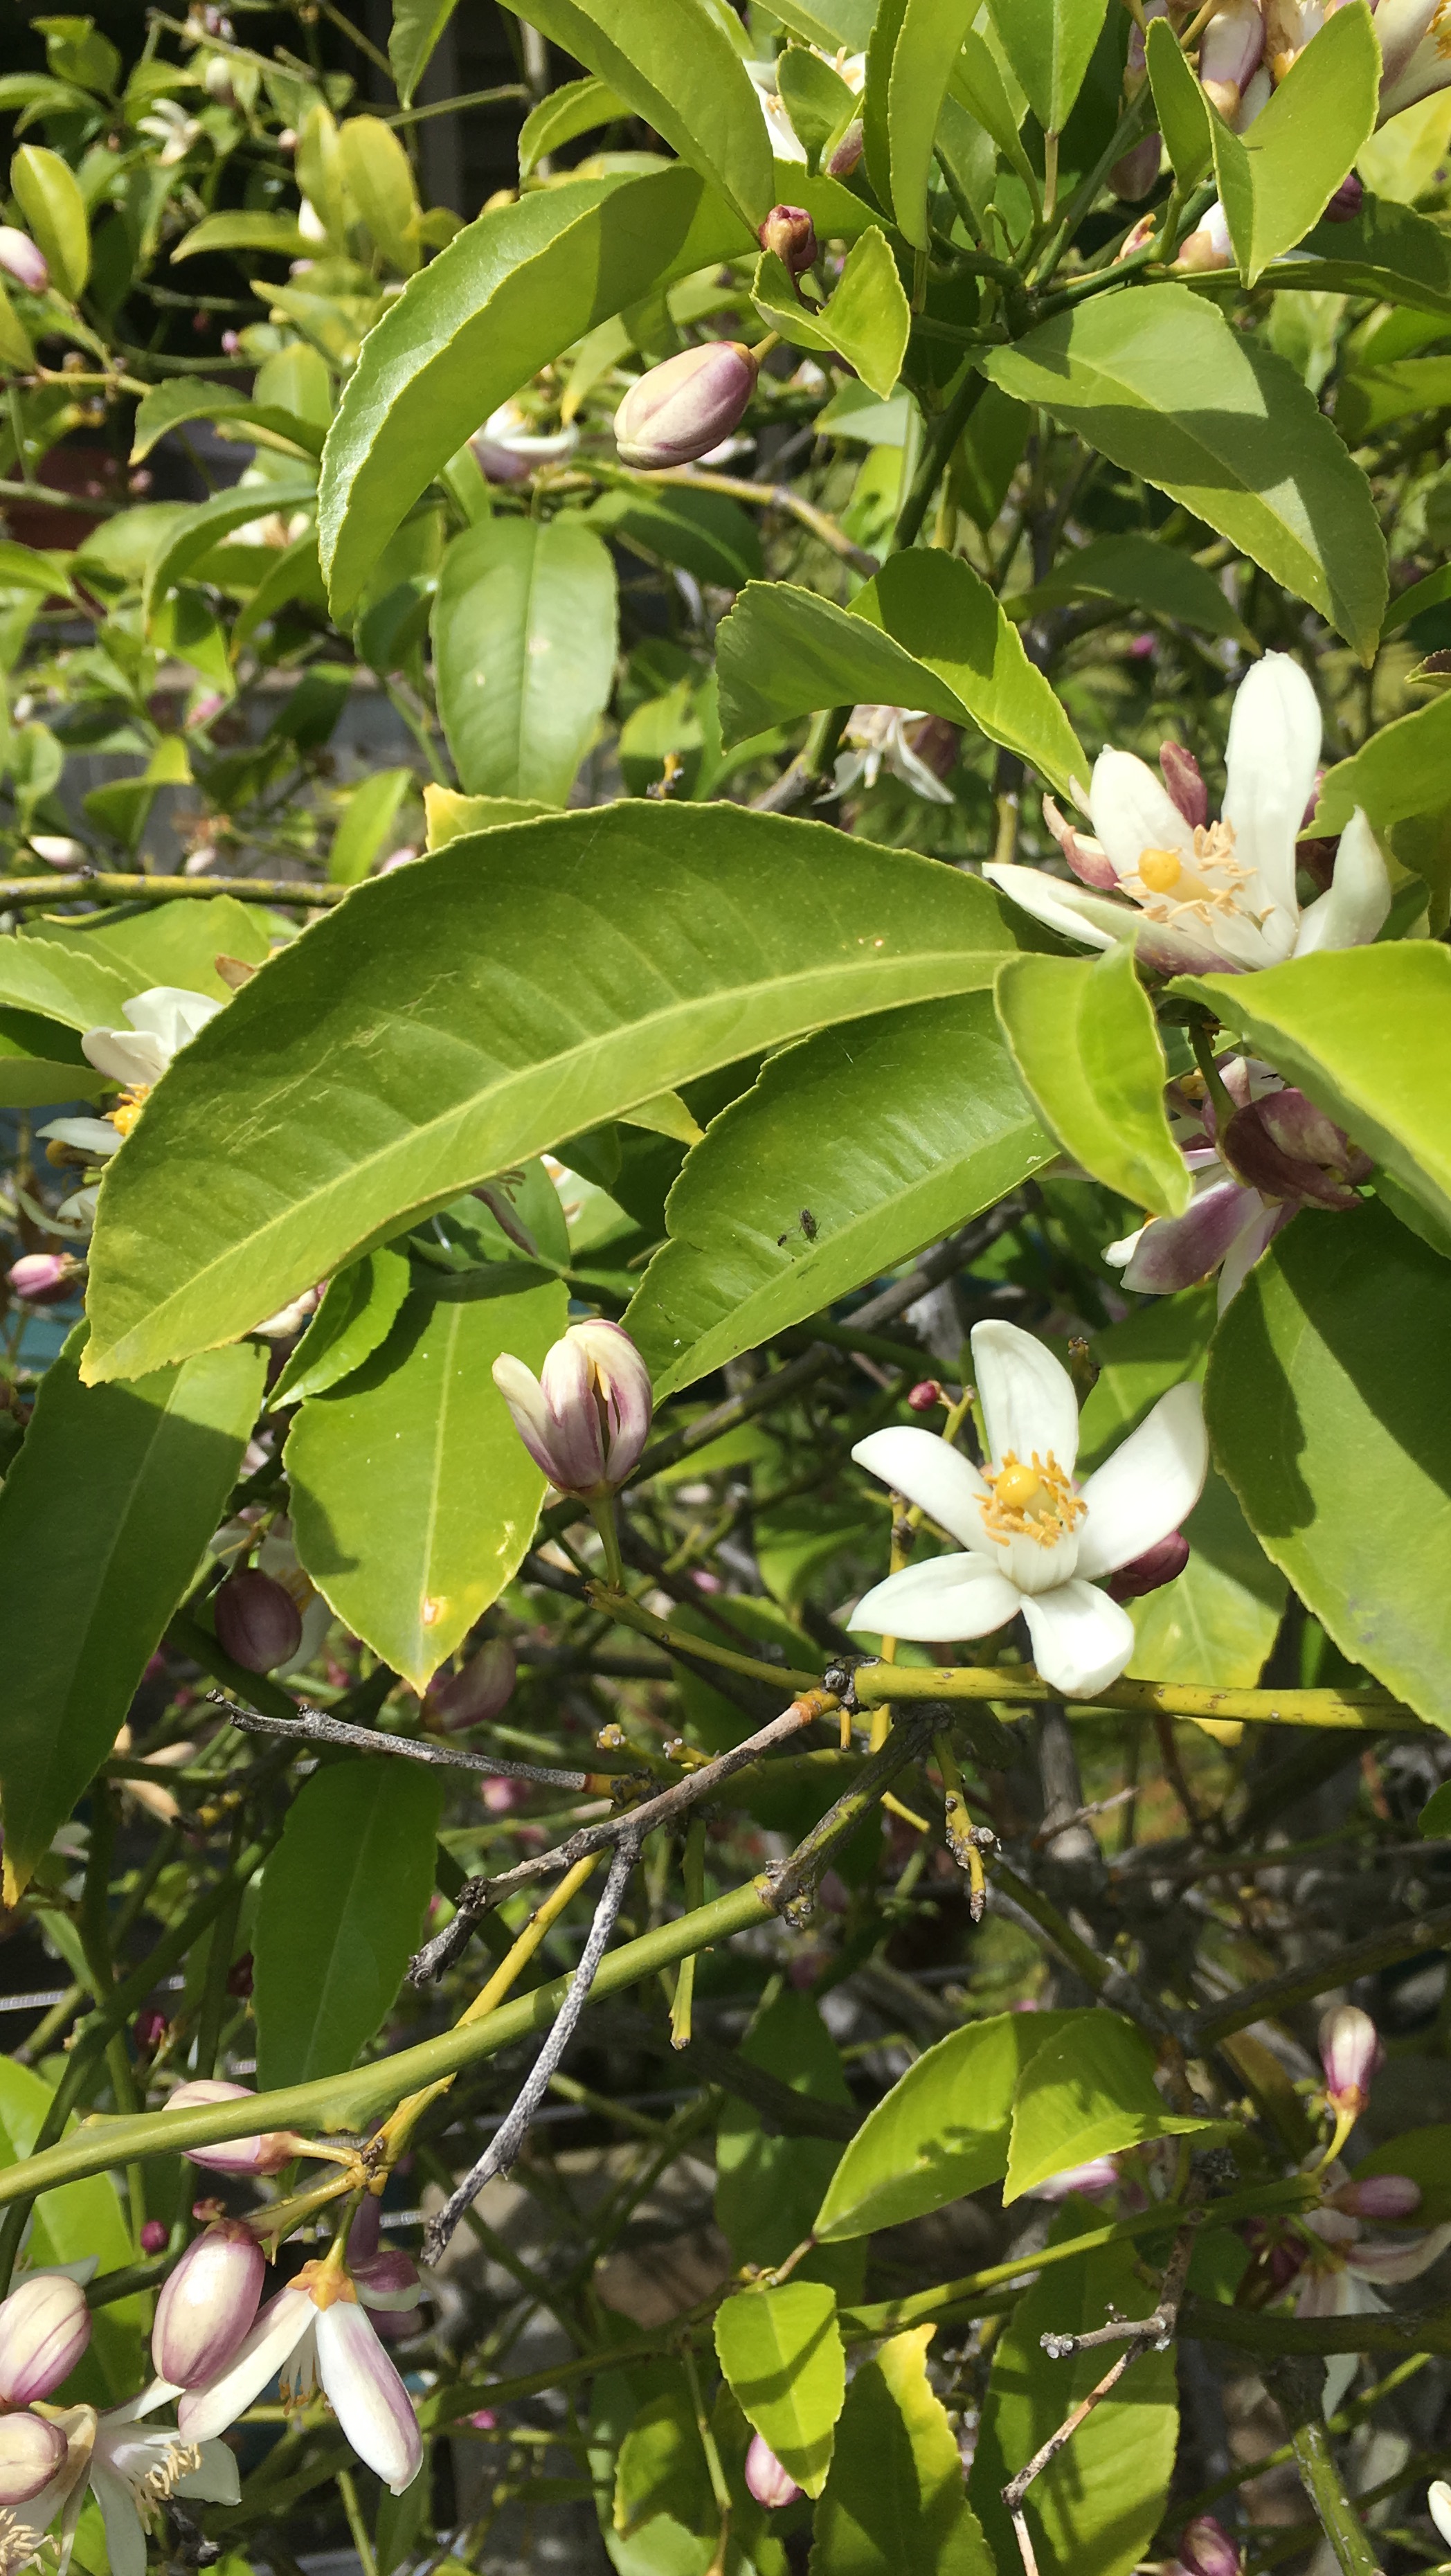
Couldn’t resist; I haven’t made a citrus curd in a bit, and I love using blood oranges while I can get them in season. Plus, C’s meyer lemon tree has been producing again so I figured I’d take advantage.
This is one of those desserts that looks and sounds fancy and intimidating, but it’s not! Break it down into its component parts and it’s pretty straightforward. It’s also grain & gluten free, plus of course refined sugar free – and actually, there is only 1/4c of maple in the whole thing! It’s perfect for those of us who like our desserts on the tart side of sweet, ha. The crust is actually naturally sweet from the almond flour though anyway, so it really balances out the citrus curd.

I took a field trip out to visit Goldie today – Karl wouldn’t come out to play but Goldie and I played hide and seek for awhile while I hiked the bluffs to batteries trail. All told, it was 7mi from the Lincoln steps > coastal trail > Baker Beach > bluffs to batteries > bay area ridge trail (presidio) > home, about two hours and a beautiful day.


Swam most days than not this week (see photo evidence), found some really pretty blooming things & watched a few gorgeous sunsets (yay western exposure from my apartment! amazing at all times except when it’s hot)


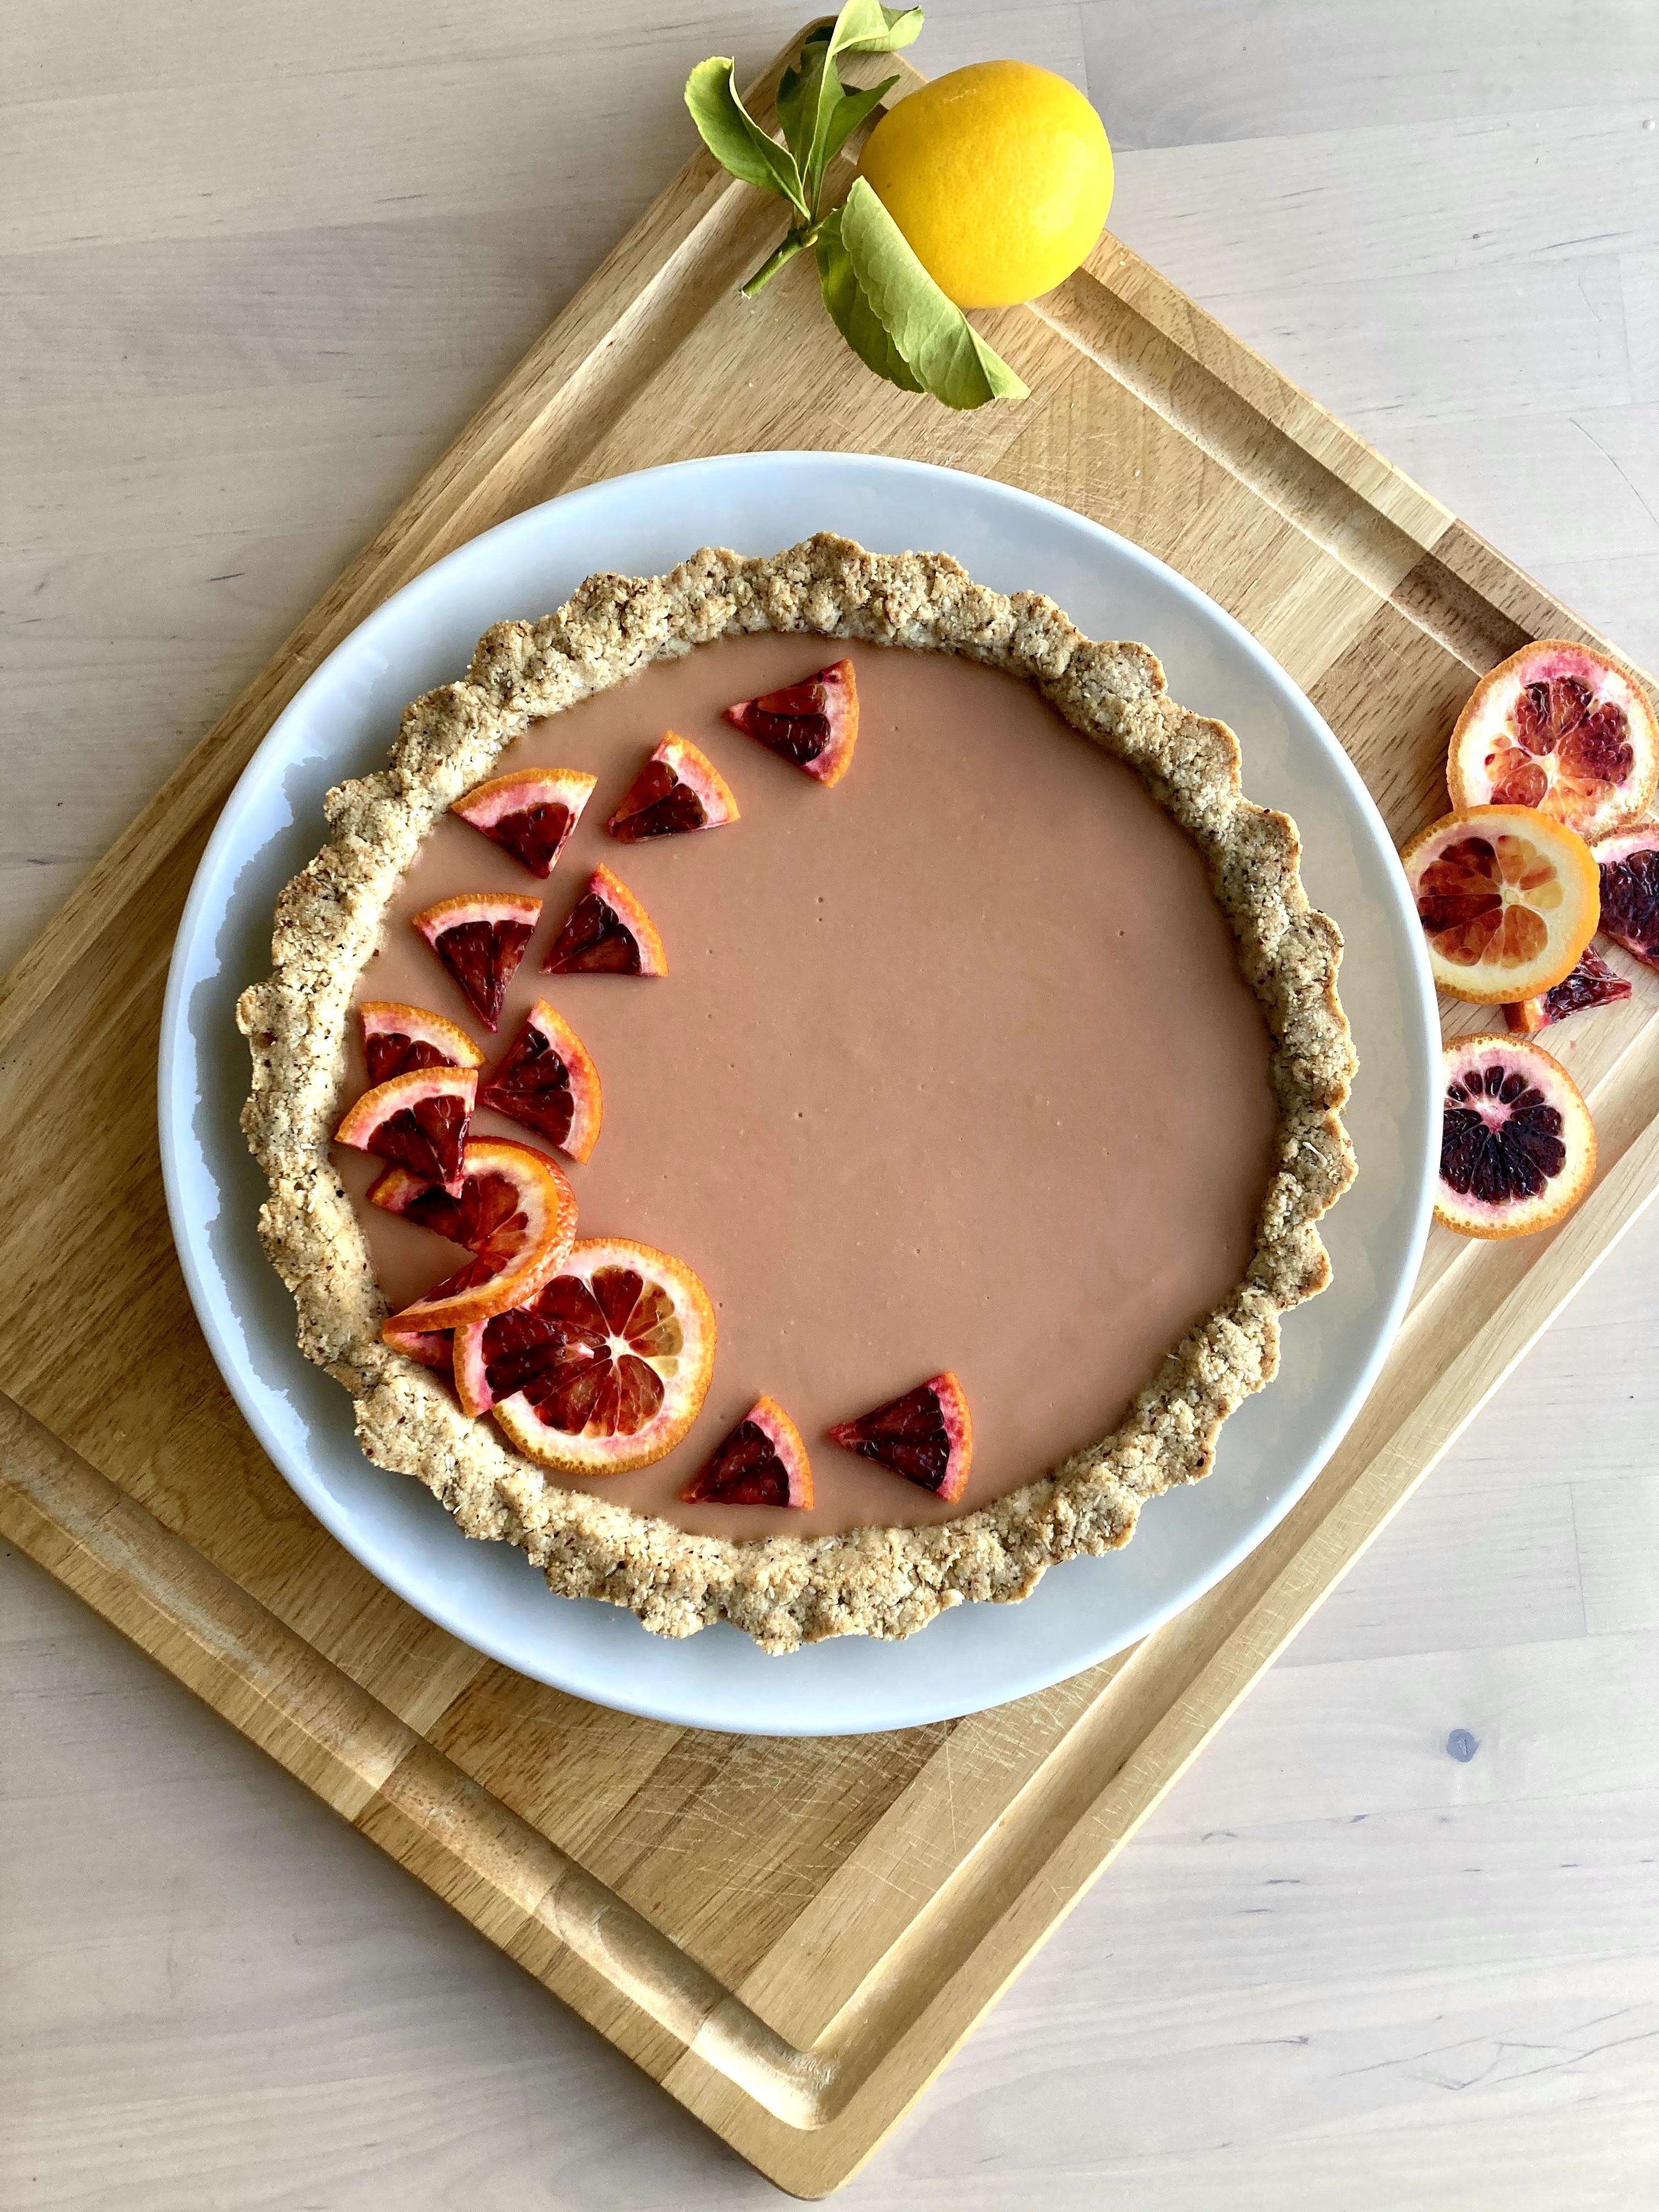
Also, of course – I made a tart! Citrusy and nutty and delicious. Highly recommend, while we’re still in blood orange season (at least out here on the West coast/best coast.)

Happy weekending! Go get outside :)

Blood Orange & Meyer Lemon Tart on a Hazelnut Almond Crust
Gluten & grain free; refined sugar free. I included a couple of options for the order of making this, so read through the whole thing before you get started :) A Wait are those Cookies original. Yield: 1 9″ tart; serves several.
I stabilized the curd for this tart with gelatin, as I was after the texture of a panna cotta more than a softer curd tart for slicing and serving. I’m including an option for a baked tart, if you’d prefer to avoid gelatin or are out.
For tart assembly:
~1c of blood orange & meyer lemon curd, recipe below (I use all of what the recipe makes for a 9″ tart)
1 tart shell, recipe below
1/4 c cold meyer lemon juice (I used two lemons)
1 packet powdered gelatin
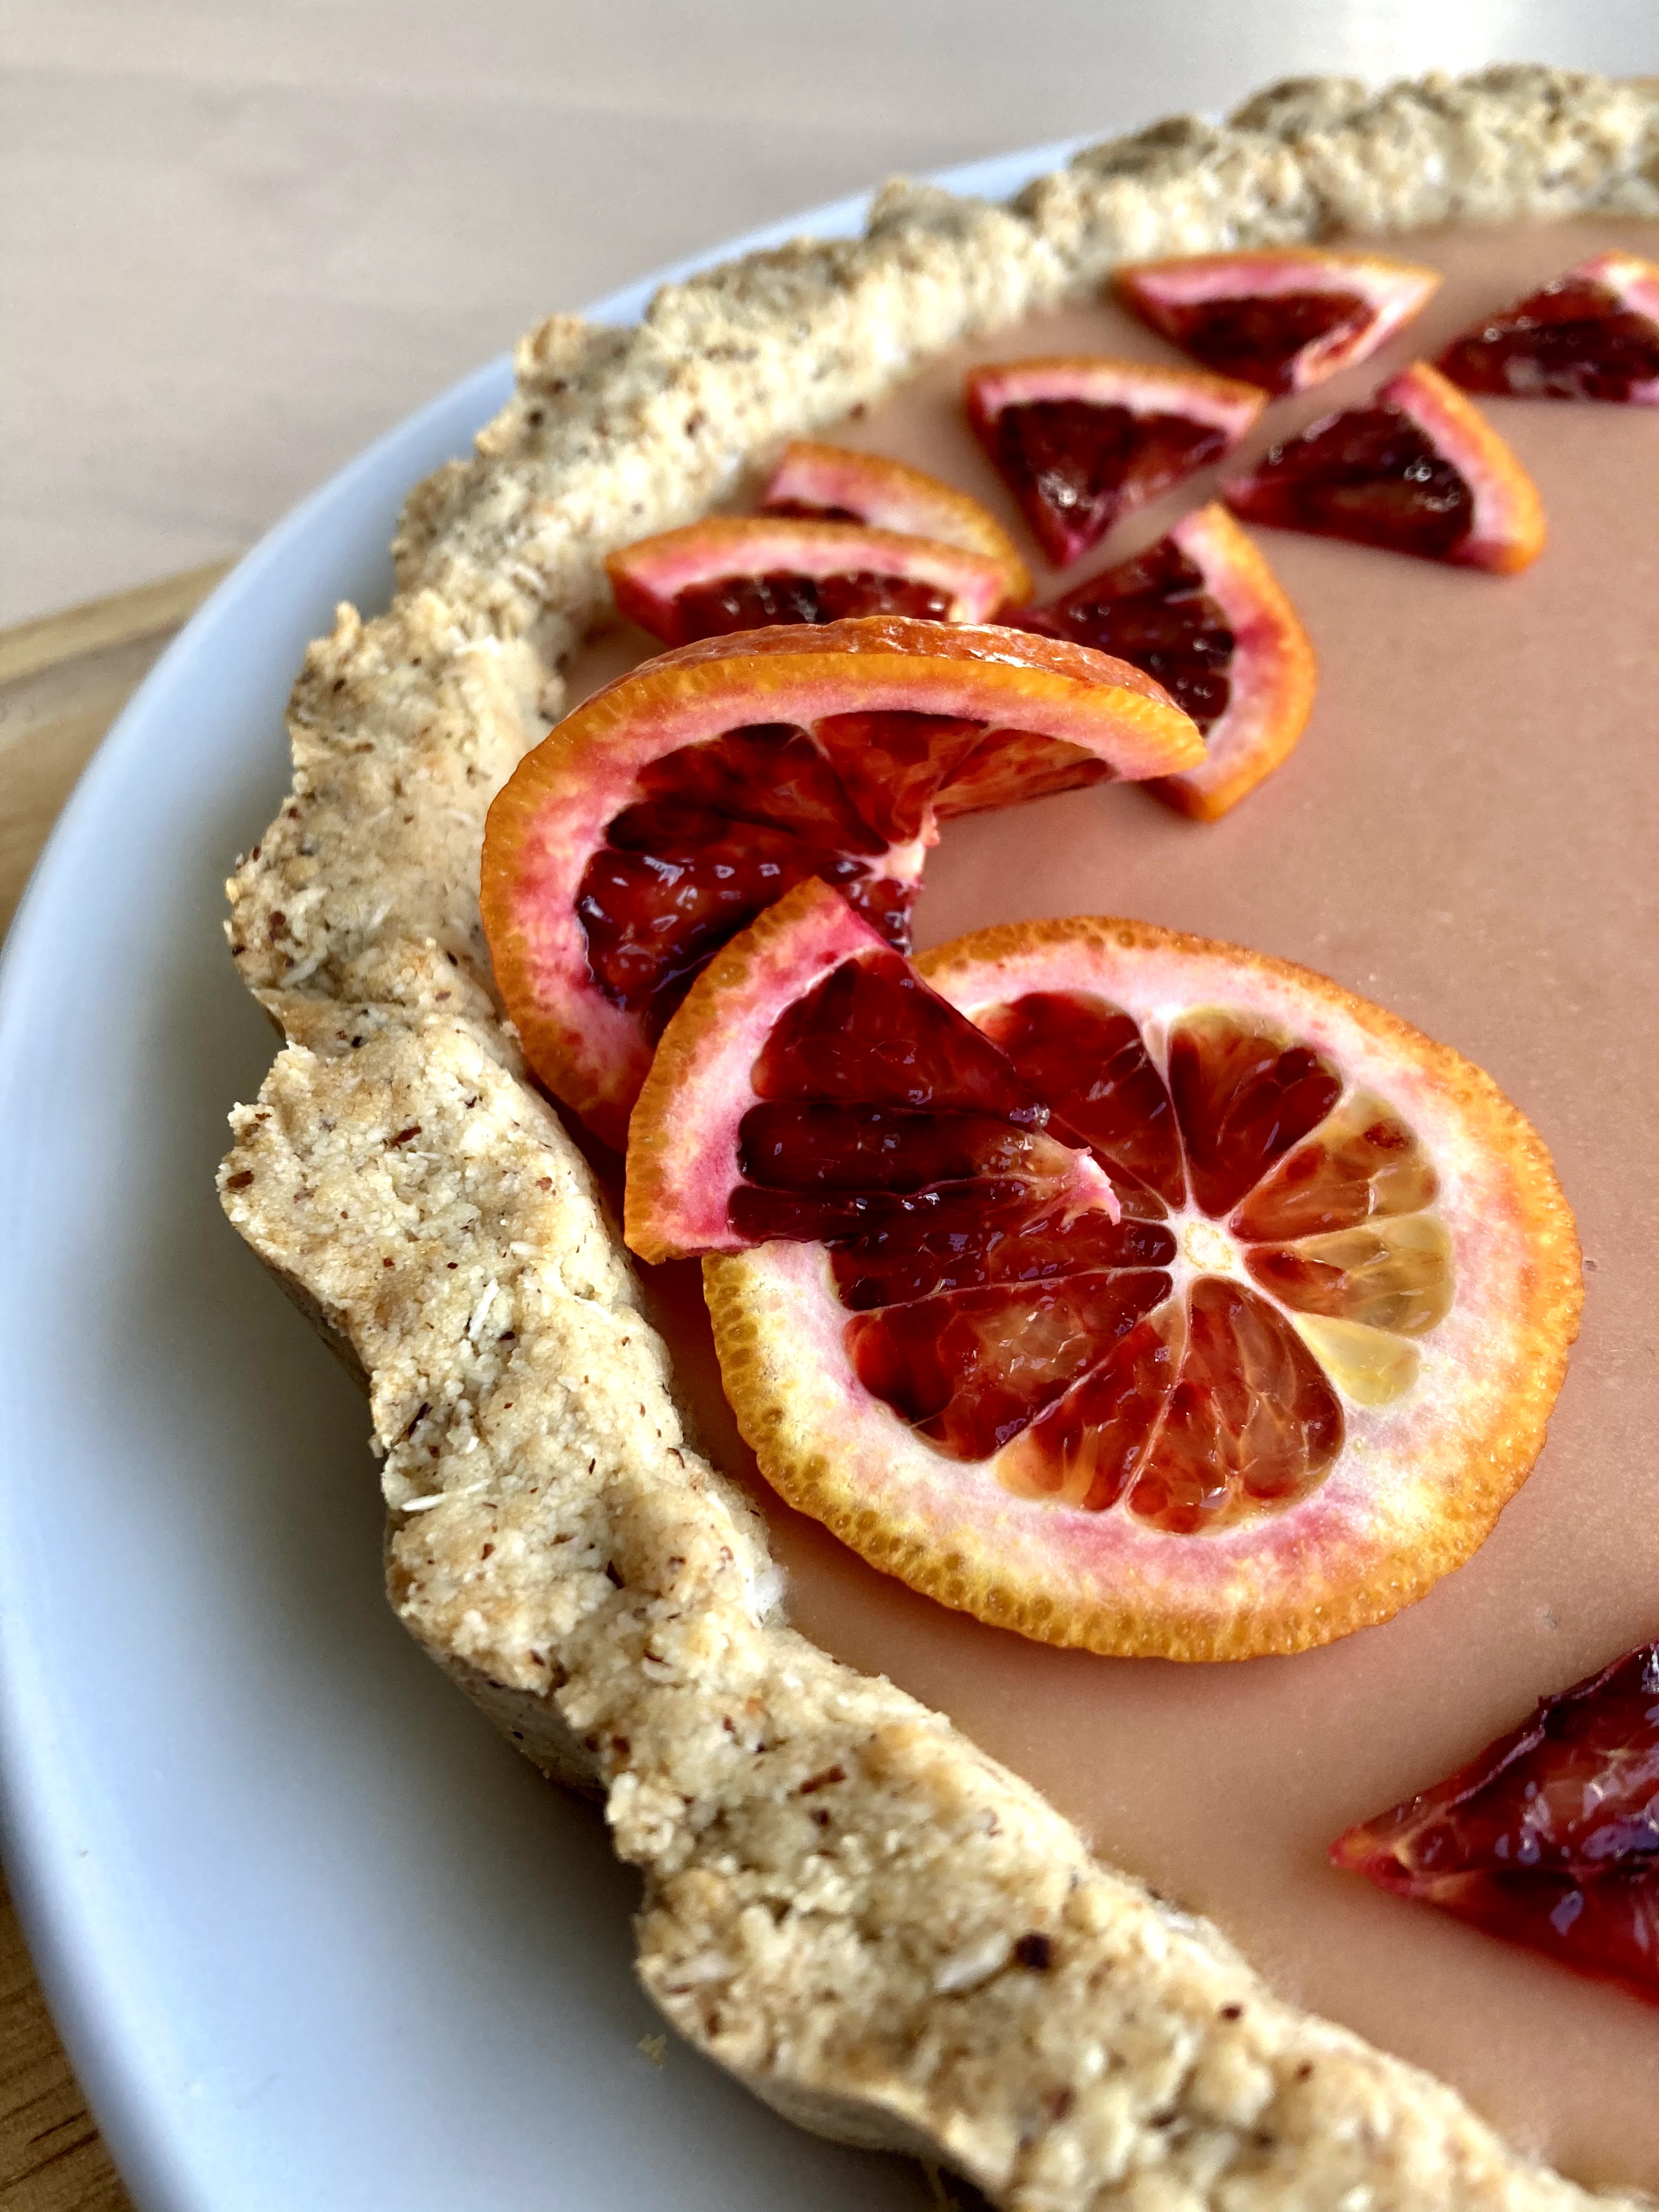
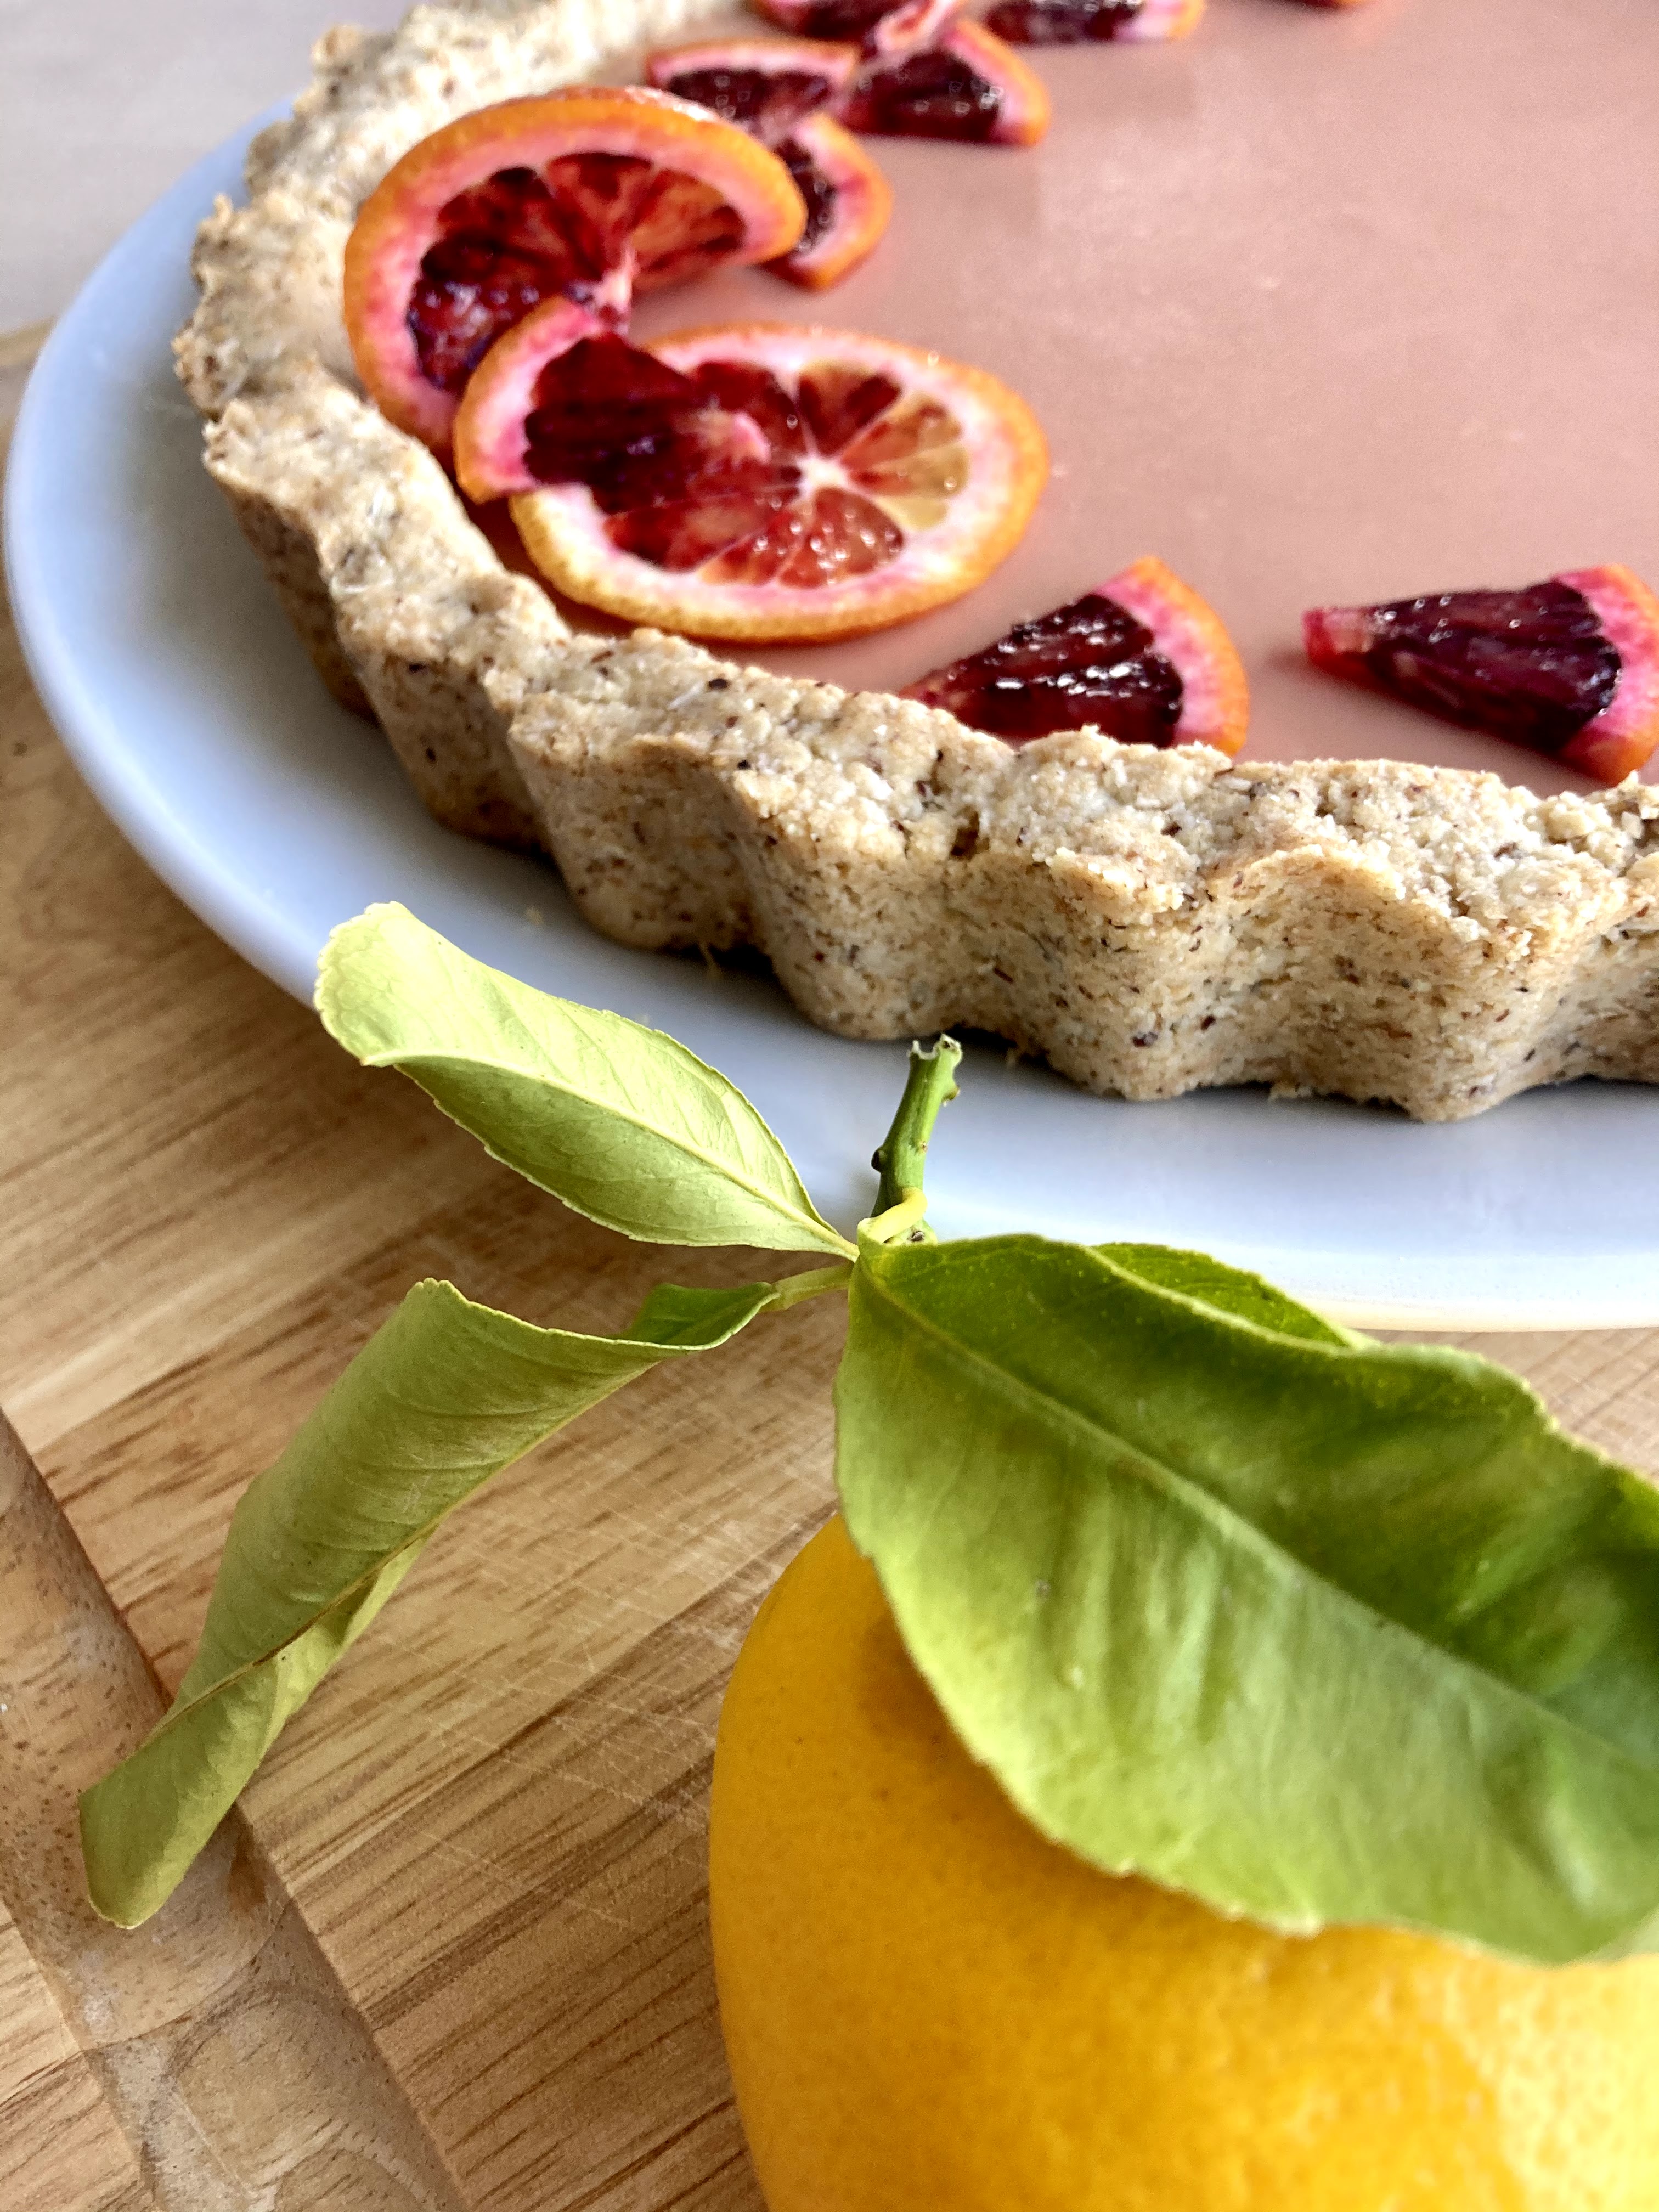
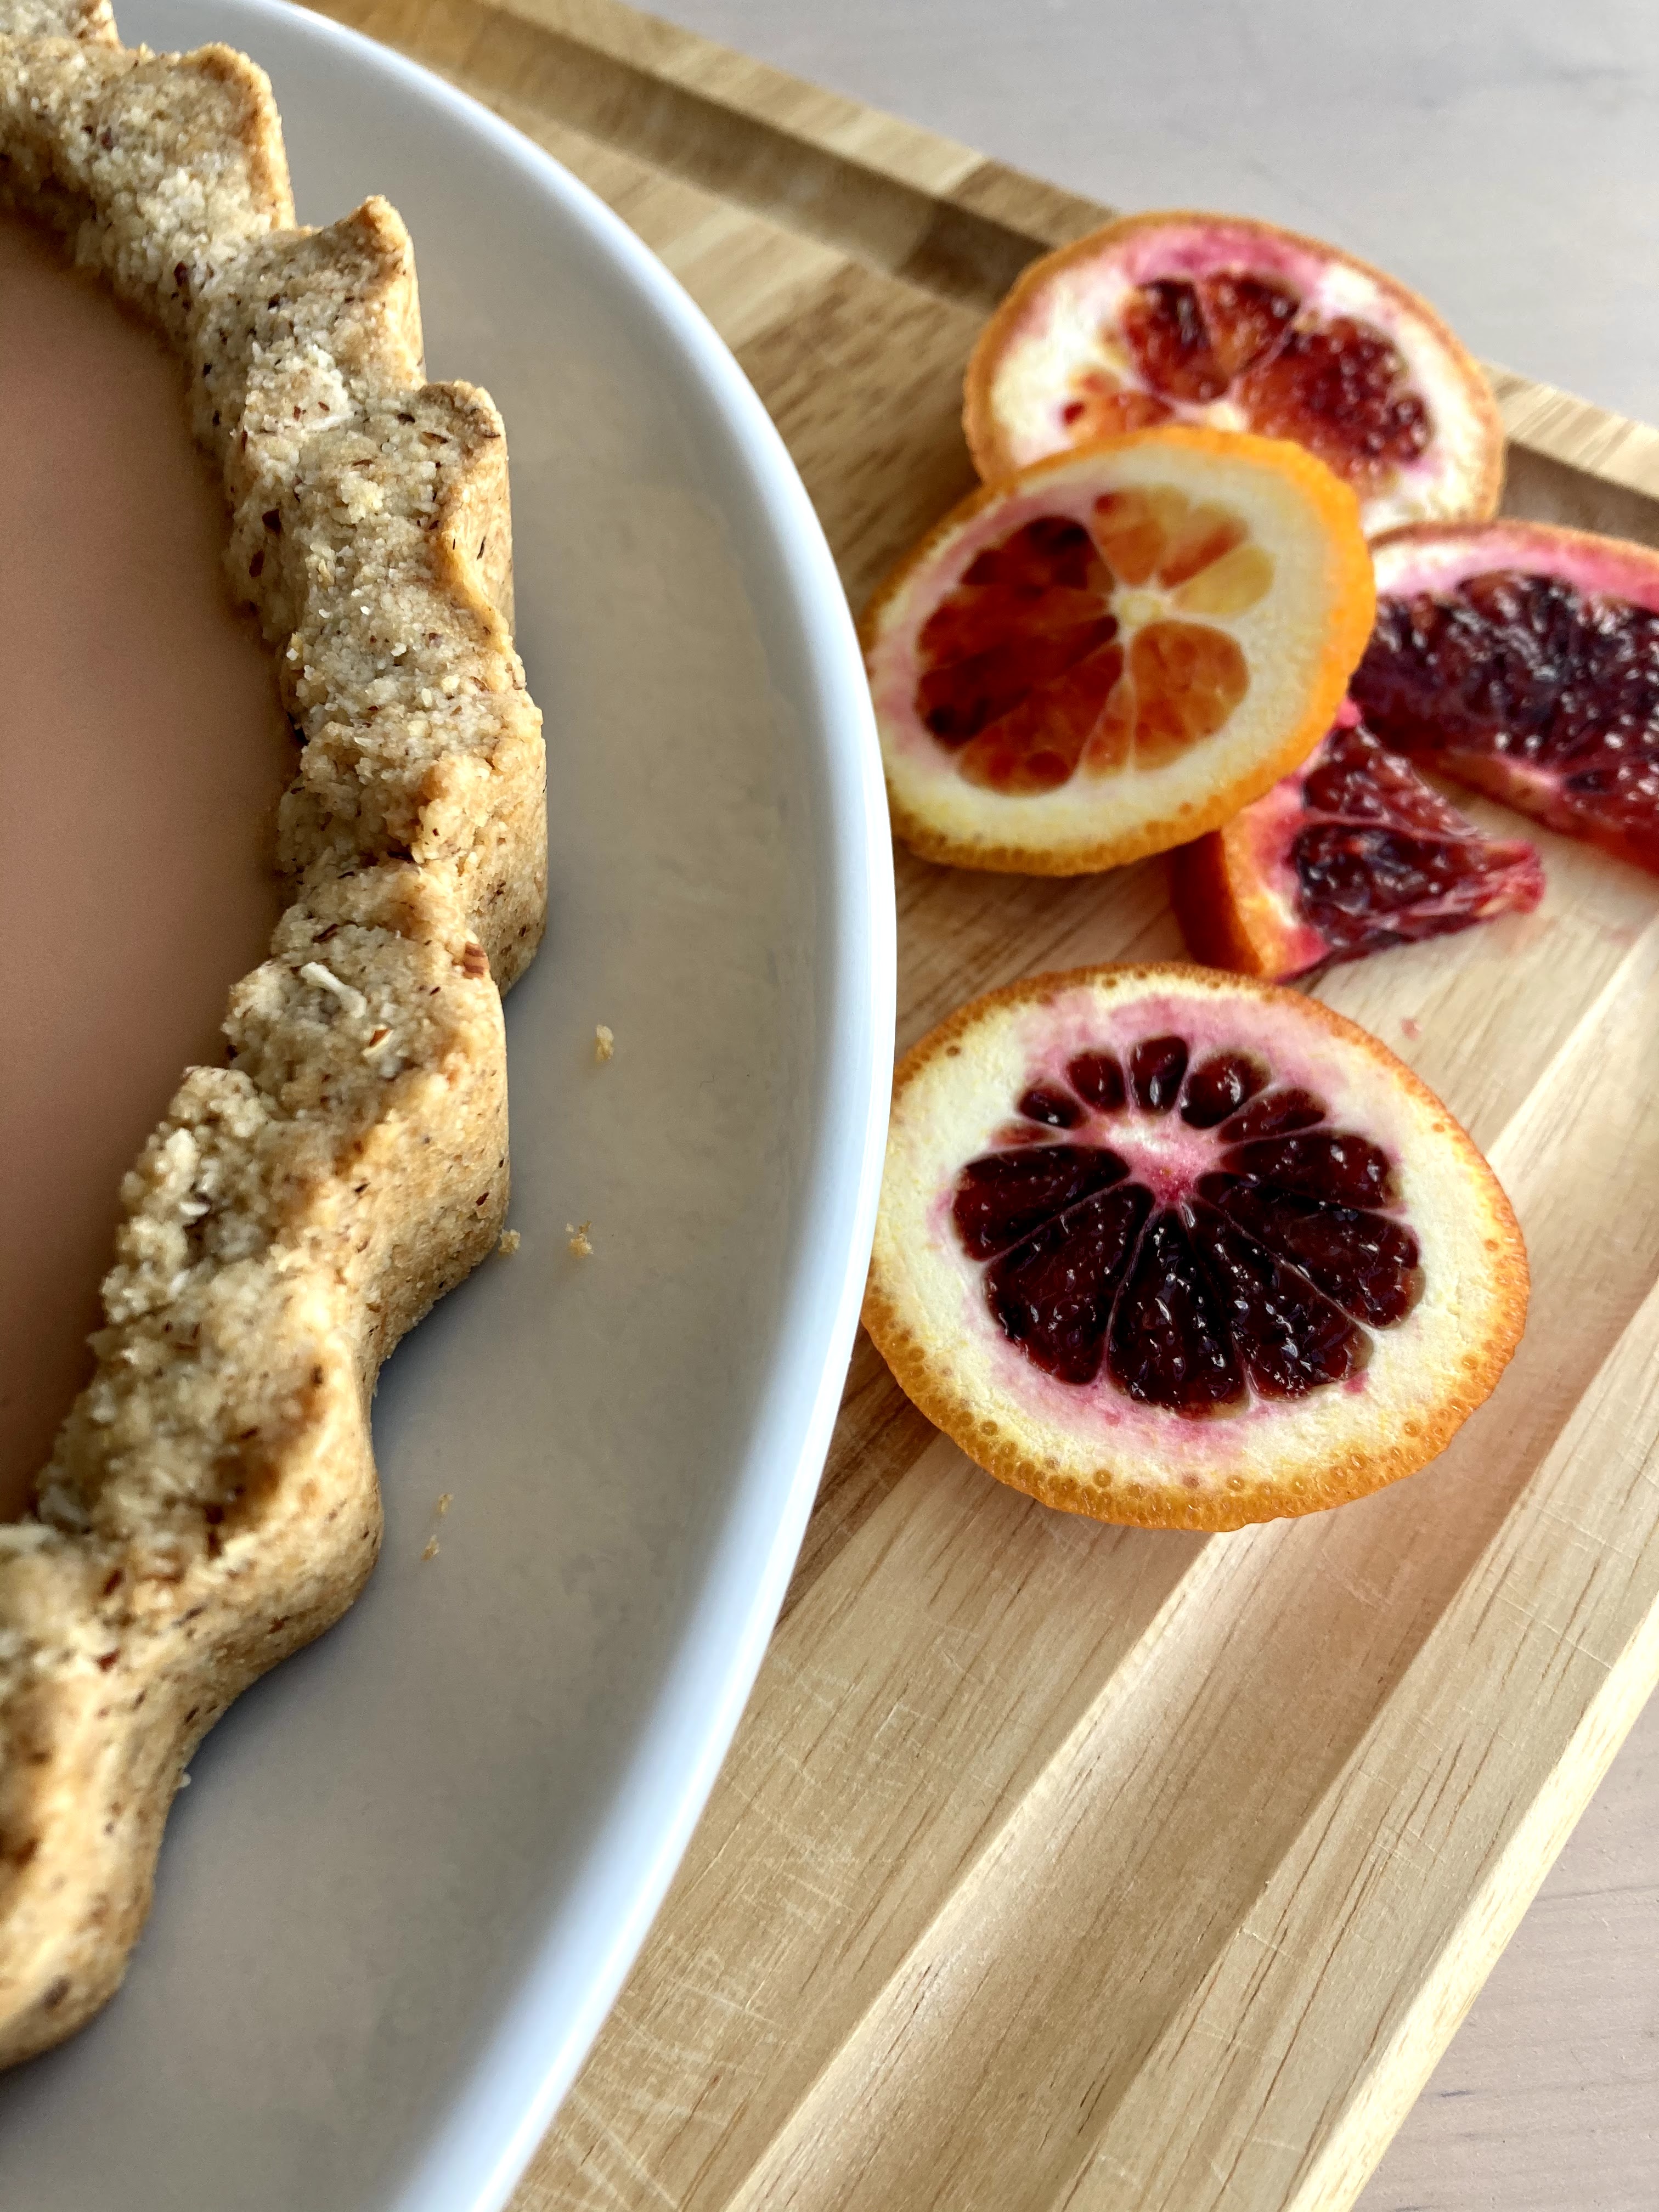
1 blood orange, sliced
I suggest making the crust first and letting it cool. Once it’s cooling, start the curd – then just adding the softened gelatin into the already warm curd once the curd is finished cooking.
In a small bowl, sprinkle 1 packet of gelatin over 1/4c cold meyer lemon juice. Stir until incorporated and let sit for a minute. Once softened, stir into the warm curd, whisking until the gelatin is dissolved completely (give it 1-2 minutes of continuous whisking). Strain the curd through a fine metal strainer into a bowl to cool a bit, before pouring the curd into the baked crust shell and transferring to the fridge to cool completely – preferably overnight but at least 4 hours. Top with sliced blood oranges, etc. Store the tart in the fridge until serving. Leftovers keep well overnight, refrigerated.
If you prefer not to use gelatin, you can also set the curd by pouring it into the pre-baked tart shell, and baking the whole thing at 350 for 8-10 minutes, then letting cool completely and refrigerating for at least 4 hours before serving. I prefer the gelatin method with this curd since it will set completely – the baked version might have more wobble / lose some structural integrity when sliced, but it’s a pretty solid second option & is definitely still delicious.
Blood Orange & Meyer Lemon Curd:
3 whole eggs
2 egg yolks
1/2 c blood orange + meyer lemon juice (I used 2 blood oranges + 1 large lemon)
zest of 2 blood oranges
zest of 1 meyer lemon
pinch of sea salt
2 tbsp maple syrup
4 tbsp butter, unsalted
1 tsp vanilla
I use a double boiler for this lemon curd, which I highly recommend! You don’t have to, but in my experience it makes for a better cooking process. Heat water in the bottom of the double boiler until it’s at a high simmer. In the top of the double boiler, whisk together eggs, egg yolks, citrus zest and juice, sea salt, and maple syrup. Add in the butter one tbsp at a time, whisking continuously, not adding the next tbsp until the first is completely melted. Whisk in vanilla. Cook, stirring constantly, until the curd thickens and will coat the back of a spoon (or your whisk leaves tracks) – usually around 5 to 8 minutes. It’s a noticeable change when it happens, so just watch the cooking magic! Remove from heat, and whisk in gelatin (see notes above); strain through a metal strainer to remove zest and any bits of cooked egg and let cool until room temp before pouring into the tart shell.
For the crust:
1.5 c almond flour
1/2 c hazelnut flour/meal
1/3 c unsweetened shredded coconut
heaping 1/4 tsp sea salt
1/2 tsp baking soda
2 tsp vanilla extract
1/2 tsp almond extract
2 tbsp pure maple syrup
6 tbsp coconut oil, melted
In a large bowl, stir together almond & hazelnut flours, shredded coconut, sea salt, and baking soda. Add in vanilla, almond extract, maple, and melted coconut oil, and stir until completely combined. The dough will look crumbly, but you’ll be able to press it together with your fingers.
Preheat the oven to 350, and lightly grease a 9″ tart pan (w/ removable bottom) with coconut oil. Press the crust into the plate and up the sides with a spoon or your fingers, creating a smooth edge (or not, your call!). Poke the bottom with a fork a few times, and bake for 15 minutes. Remove and let cool.