So, are you on the light side?
Or…
The dark side?
Both are equally appealing…

B(lond)rownies are kind of like the Force. They have a light side, and a dark side… and they undeniably hold the universe together. My universe, anyway, I can’t speak for yours…
But really, when brownies are holding your universe together, that universe is pretty freakin fab!
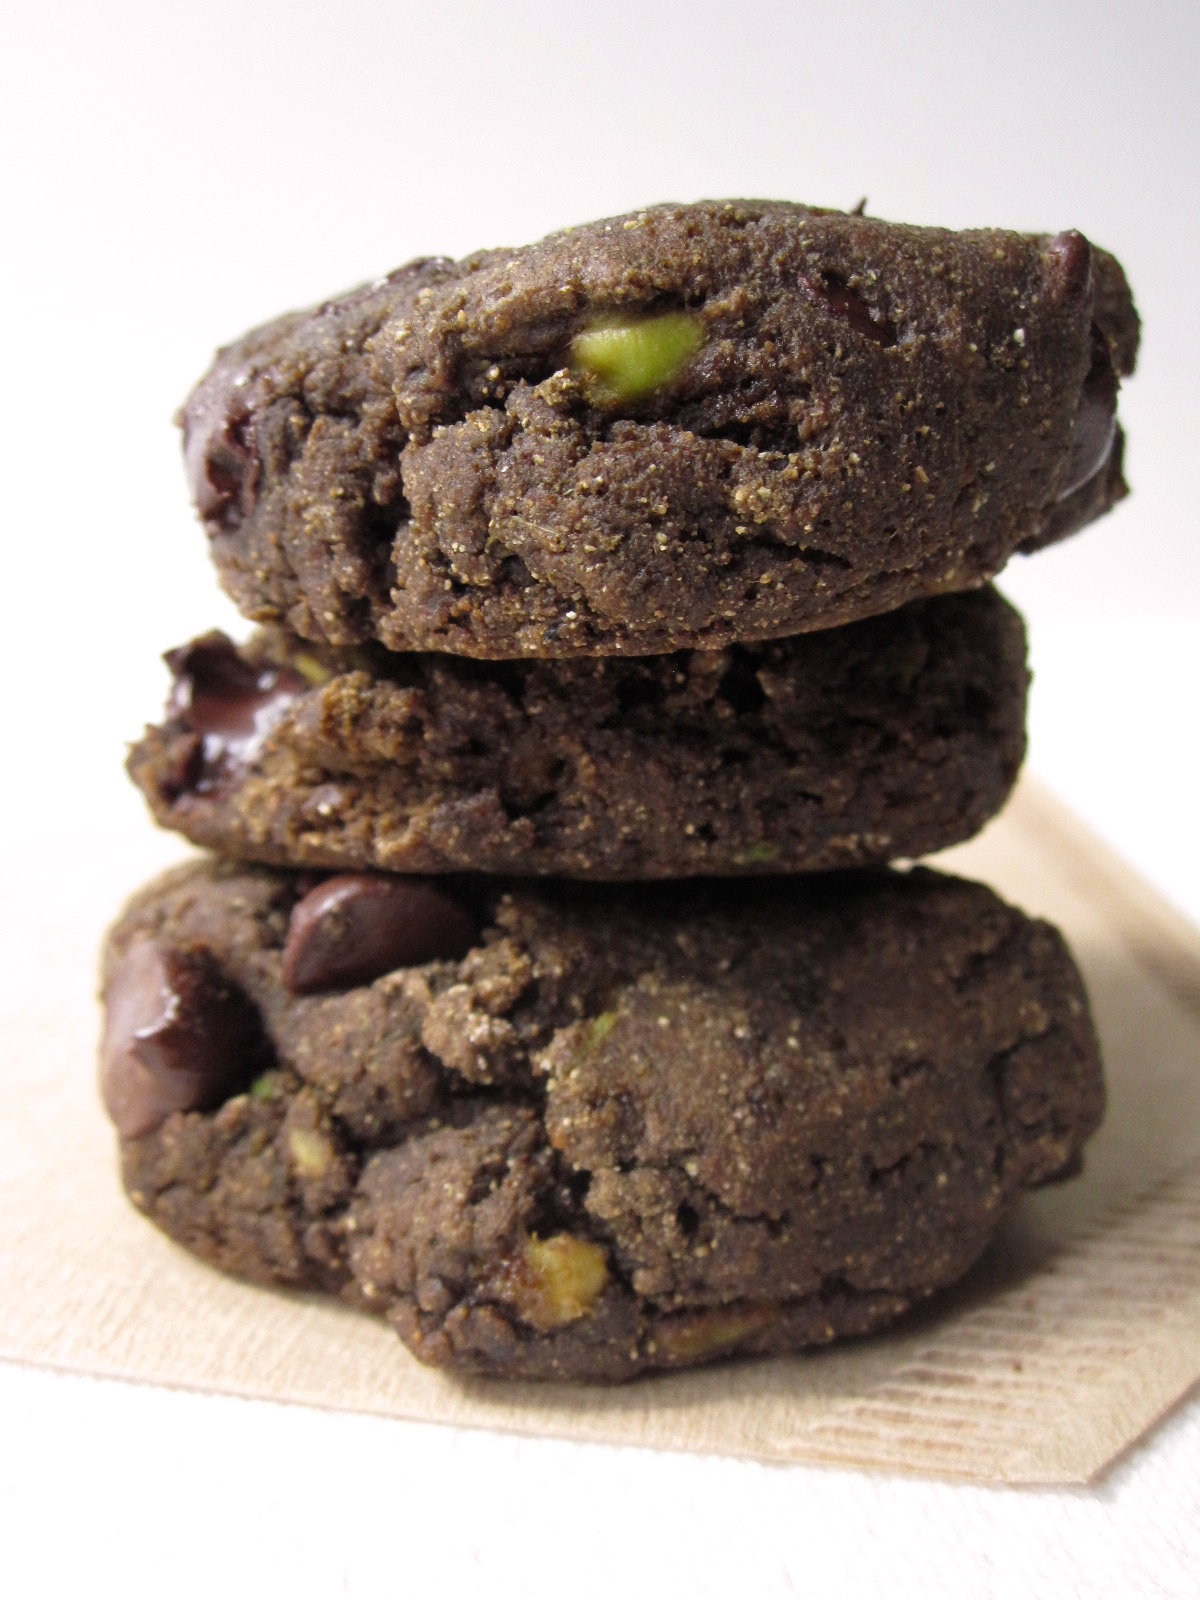
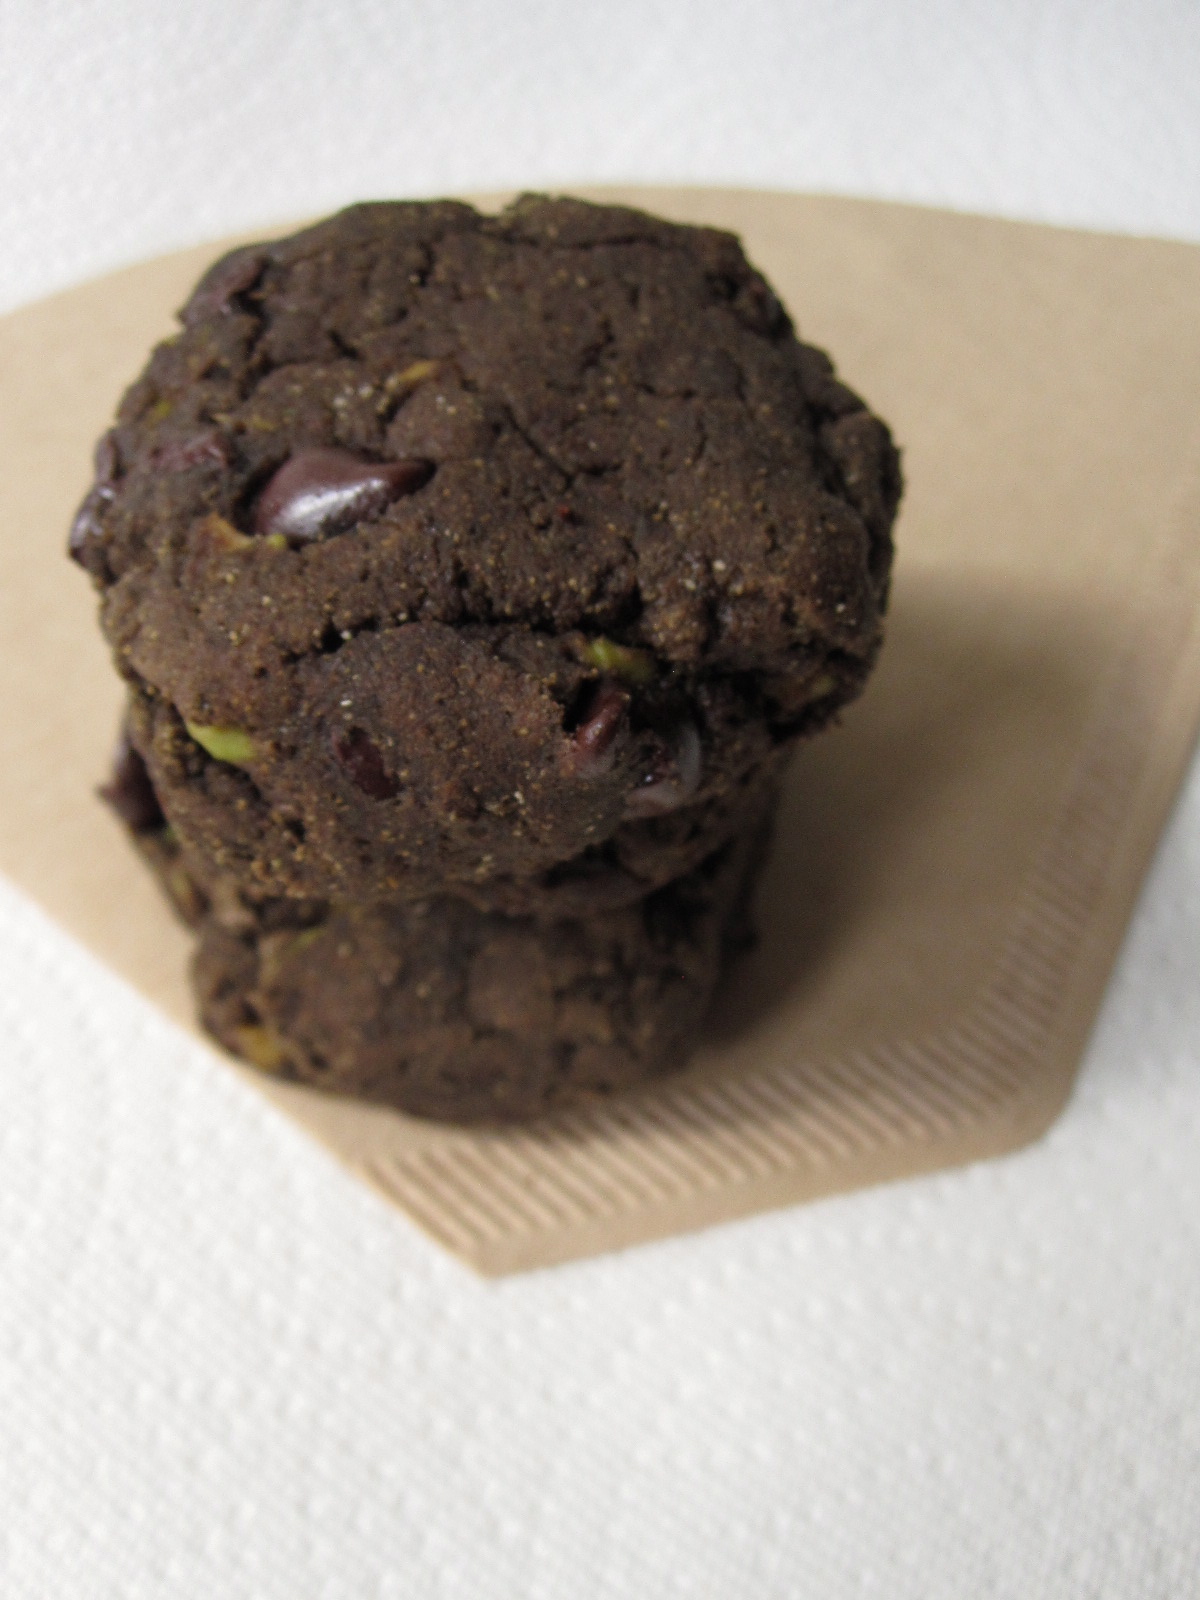
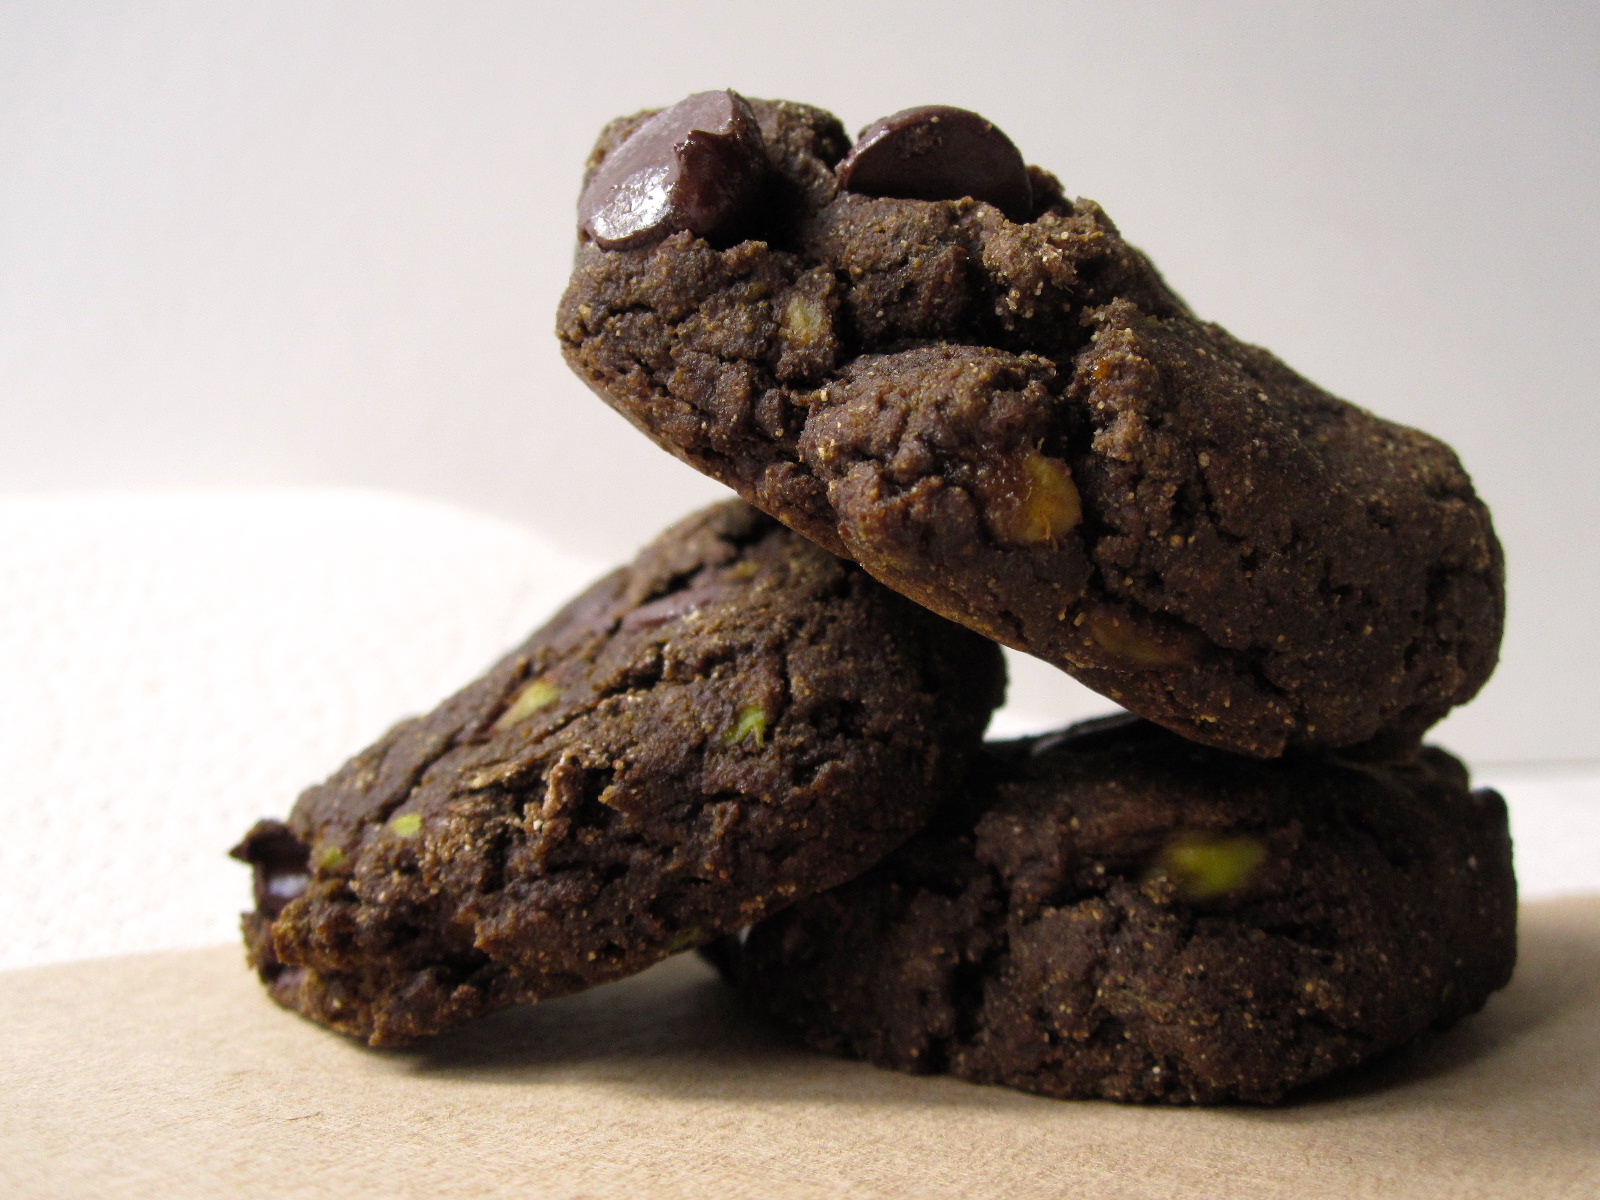
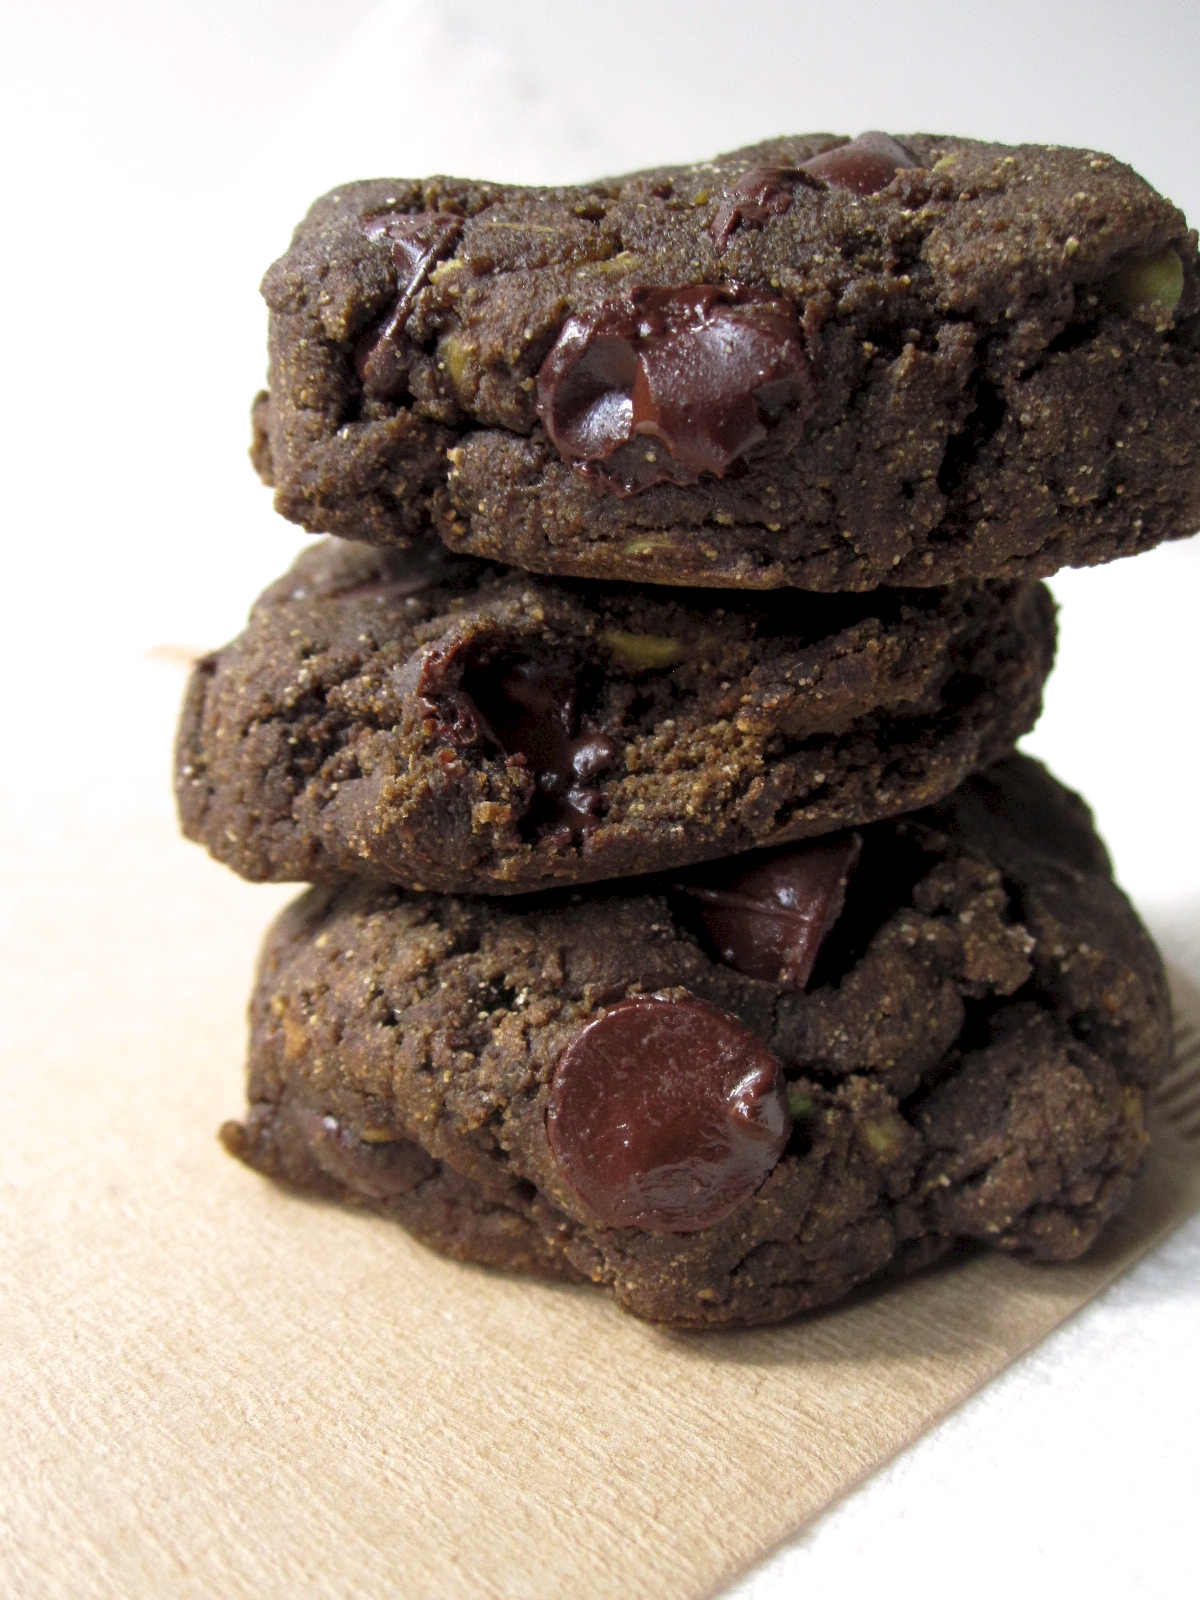
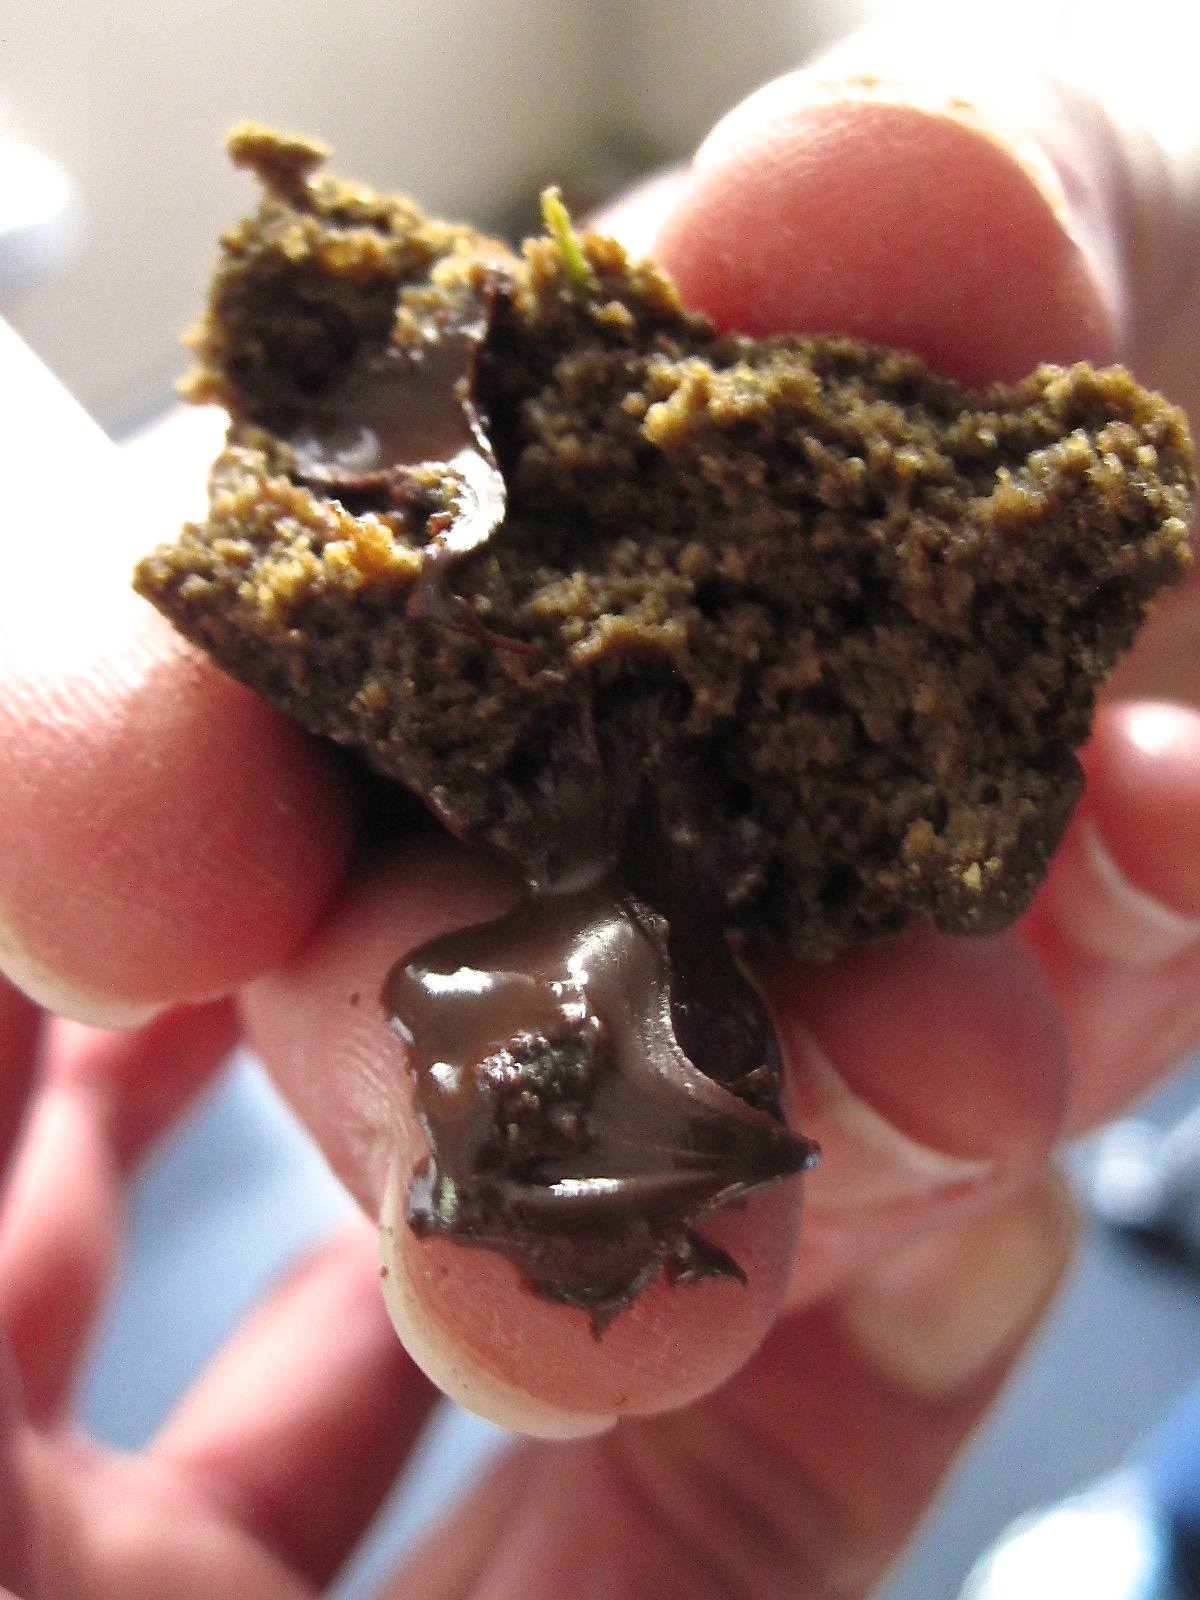
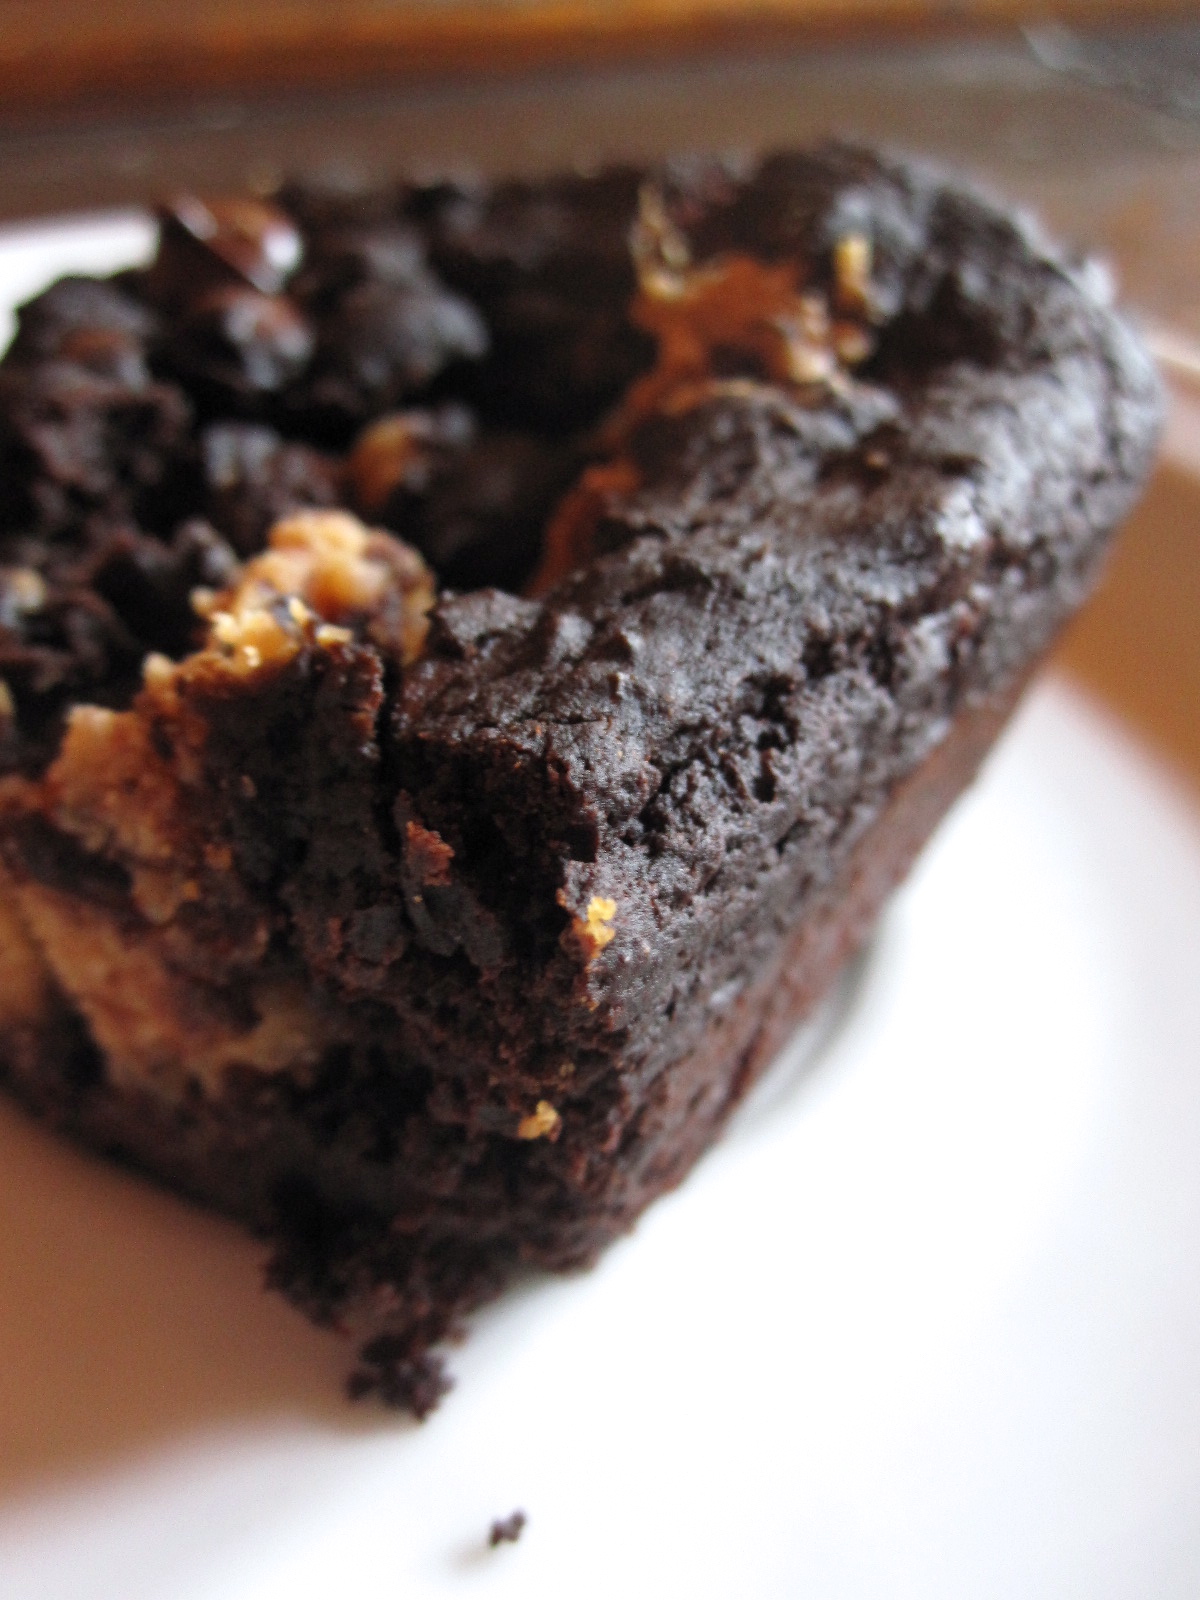
I was a little more inclined to the dark side today with these. Dense, fudgy and rich, with small chunks of chocolate chips.. mmm. Doesn’t get much better than that. Except when there’s peanut butter added to your chocolate, in which case the ridiculous deliciousness of these skyrockets into the stratosphere.

But then there’s these.
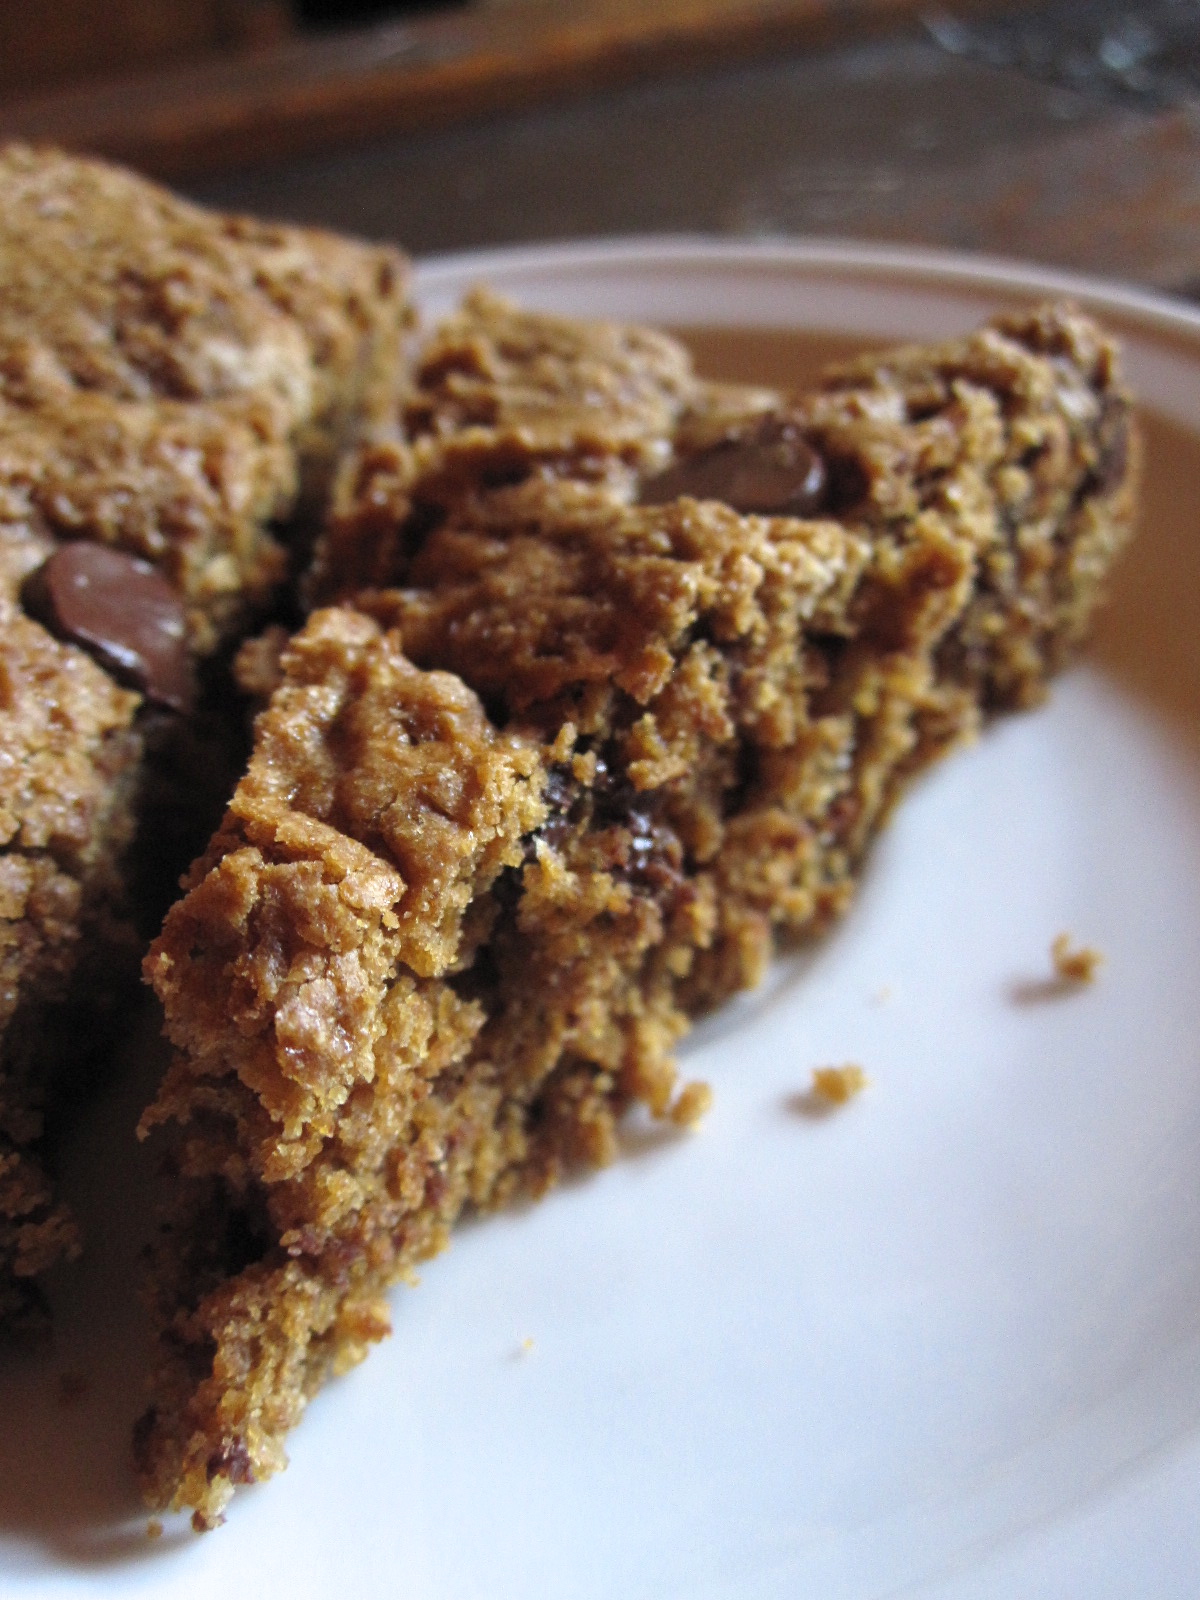
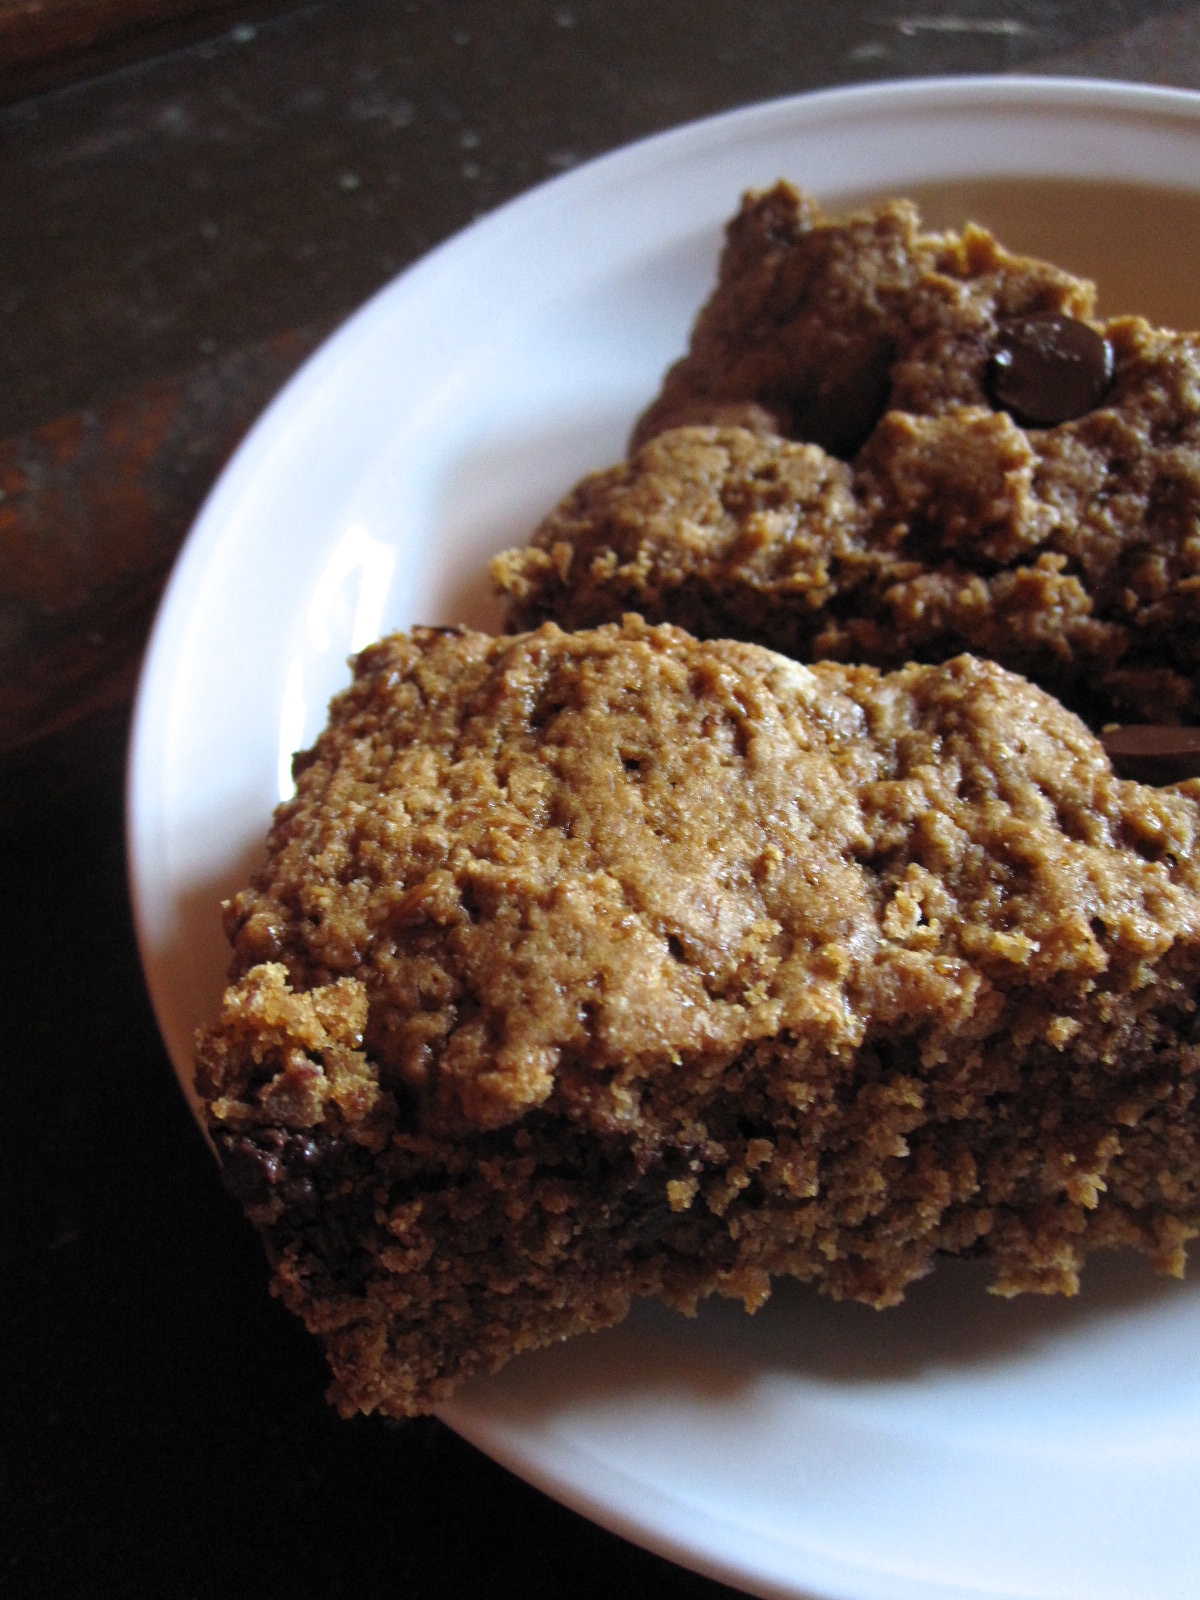
And if you’re feeling like maybe your inclinations push you to the light side (blue, green and purple are pretty awesome lightsaber colors), there’s these. Dense, chewy-crumbly, with an almost graham cracker-like taste. And chocolate chips. Of course.
Actually, much like the dichotomy in the Force (and the real universe..) these two complement each other startlingly well. The deep dark fudgy of one plays nicely against the lighter molassesy flavor of the other.
So go ahead. Indulge your dark side and your light side, and make a batch of both. You never know when the mood might strike, or when your universe might become ruled by baked goods in the best possible way….

Deep Dark Peanut Butter Brownies
This recipe is from Minimalist Baker, here! It’s freaking fabulous so I didn’t change a thing (other than omitting the powdered sugar and subbing in maple). Makes about 12 good sized brownies, in an 8 by 8 pan. Vegan, gluten free, and refined sugar free!
- 1 can (15 oz) of black beans, rinsed and drained
- 2 tbsp flaxseed meal+5 tbsp water
- 3 tbsp melted coconut oil
- 3/4 c unsweetened cocoa powder
- 1/4 tsp fine sea salt
- 1.5 tsp baking powder
- 1 tsp baking soda
- 1 tsp pure vanilla extract
- 1/4 c pure maple syrup
- 1/4 c coconut sugar
- 1/2 c creamy salted peanut butter
- 1 tbsp pure maple syrup
- 1/3 c extra dark chocolate chips
Lightly grease an 8 by 8 pan, and preheat the oven to 350.
In a food processor, combine flax meal and water and let sit for a few minutes. Add in beans, coconut oil, cocoa powder, salt, baking powder and soda, vanilla, maple syrup, and coconut sugar. Pulse to combine, and let it run for a minute or two—you want this to be very smooth. Stir in the chocolate chips, and pour batter into the prepared pan. In a smaller bowl, stir together peanut butter and maple. Drop dollops of the peanut butter onto the tops of the brownies, and swirl it in with a knife. Top with extra chocolate chips (because, why not?!), and bake for just about 30 minutes. The center should have no jiggle and the edges will pull slightly away from the pan. Let cool almost completely before slicing, as they’re a little fragile when warm. Store in the fridge in an airtight container!

Light Side Blondies
These are adapted only slightly from Worth Cooking, here! The recipe makes about 12-14 wedges if you make it in a 9″ round cake pan, as I did. E and I decided these reminded us slightly of graham crackers in the way they tasted, and they’re dense, chewy and vanilla-y. They’re gluten free with oat flour, as originally written, but I was out. Vegan and refined sugar free!
- 1/4 c flaxseed meal
- 1/2 c water
- 1 tbsp molasses
- 1.25 c whole wheat pastry flour
- 1/3 c tapioca starch
- 3/4 c coconut sugar
- 1/4 tsp fine sea salt
- 1/2 tsp baking powder
- 7 tbsp melted coconut oil
- 2 tbsp vanilla (Yes, you read that right!)
- 1/3 c extra dark chocolate chips
Lightly grease a 9″ round cake pan (or square, or whatever). Preheat the oven to 350.
In a smallish bowl, whisk together flaxseed, water, and molasses and let sit. In a larger bowl, whisk together whole wheat pastry flour, tapioca starch, coconut sugar, salt, and baking powder. Add in flax mix, followed by coconut oil and vanilla. Stir to combine, tossing in the chocolate chips as you go. Spread the batter into the prepared pan, and bake for just about 30 minutes. The top should be firm, and the blondies will pull away from the sides of the pan slightly. Let cool a bit before slicing. I have no leftovers… but if I had, I would have stored them in the fridge ;)