Hihi!

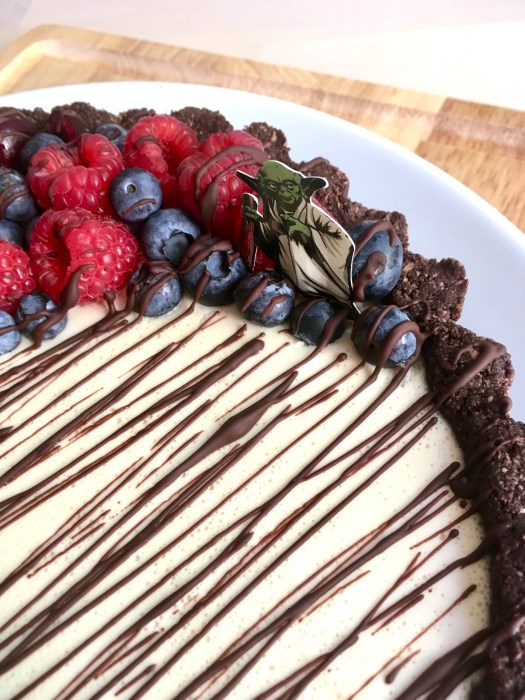
It’s the time of the late summer fruit bounty, which means three types of summer fruit are featured today. This was a bit of a fridge and freezer clean out dessert, which sounds bad but really meant I’d had a glut of cherries and nectarines and frozen them for later. I love when I have a backstock of perfect fruit – turns out nectarines, cherries and raspberries make a stellar combination!

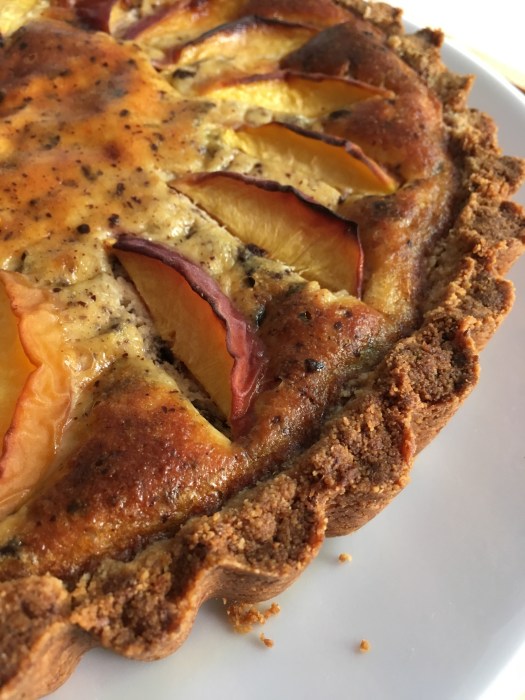
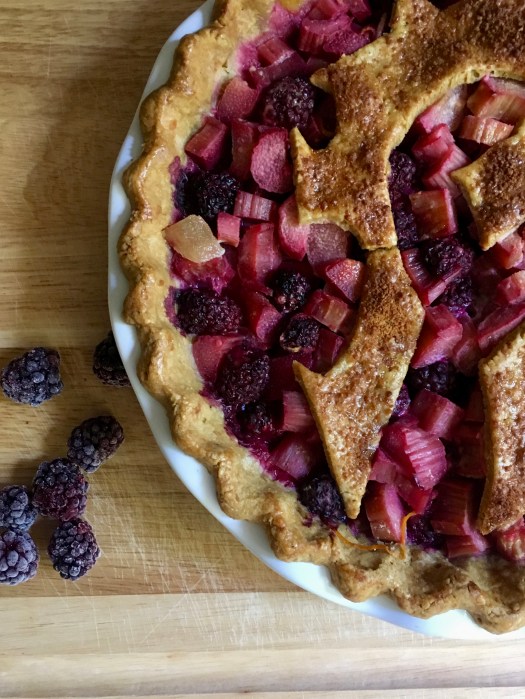
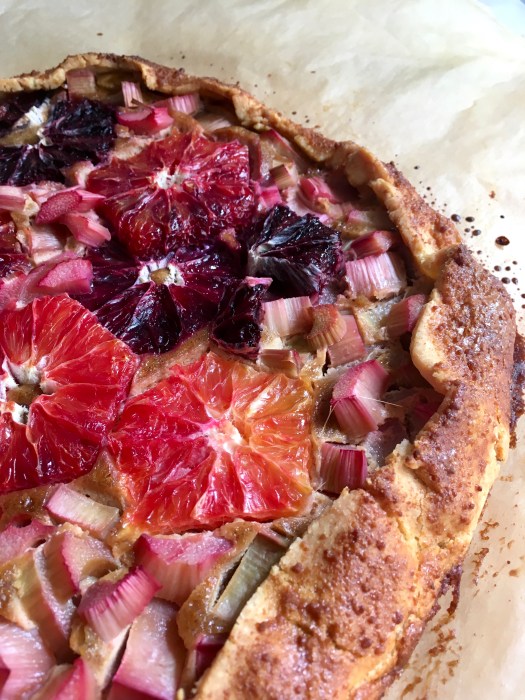
C and I LOVED this galette. It disappeared quite literally in two sittings! Almondy and fruity: it’s light and makes a perfect summer dessert.
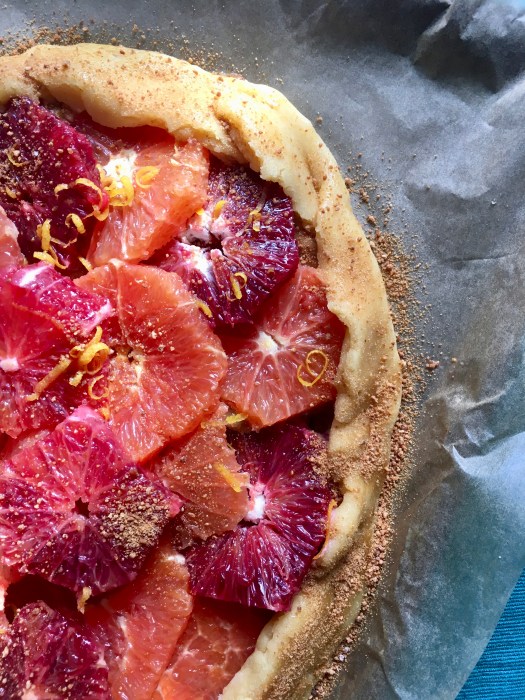
I’m quite proud of it on account of its sweetness – it’s not sweetened, at all! There is only 1 tbsp of coconut sugar in the whole thing, and really only for color – it could easily be omitted. Summer fruit is so sweet by itself that really, additional sweetener isn’t needed.
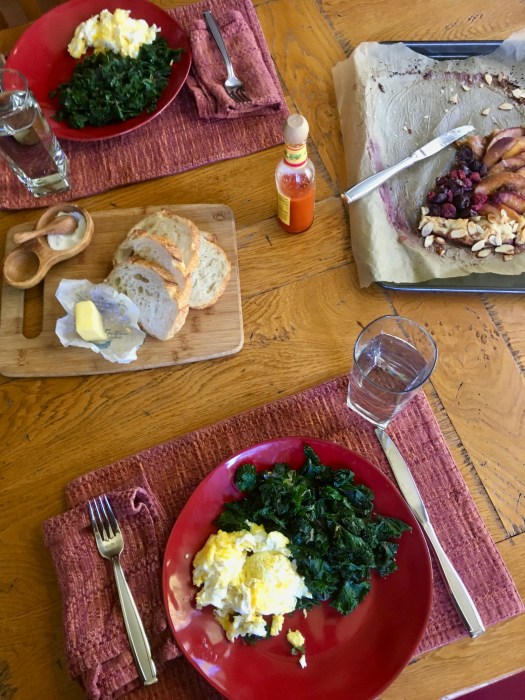

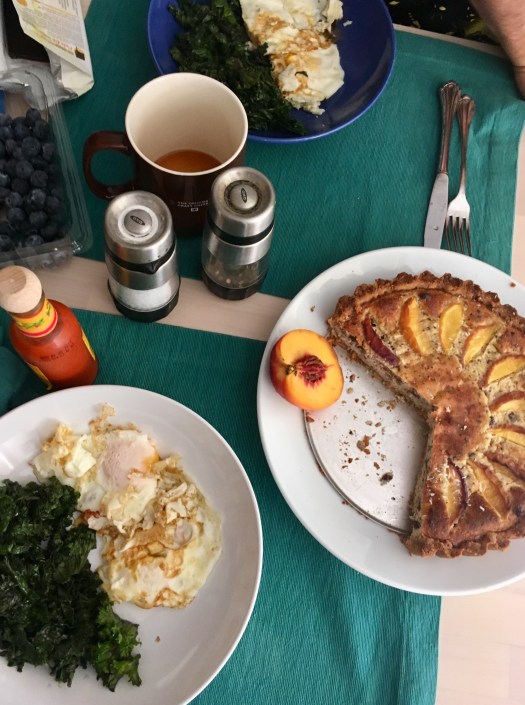
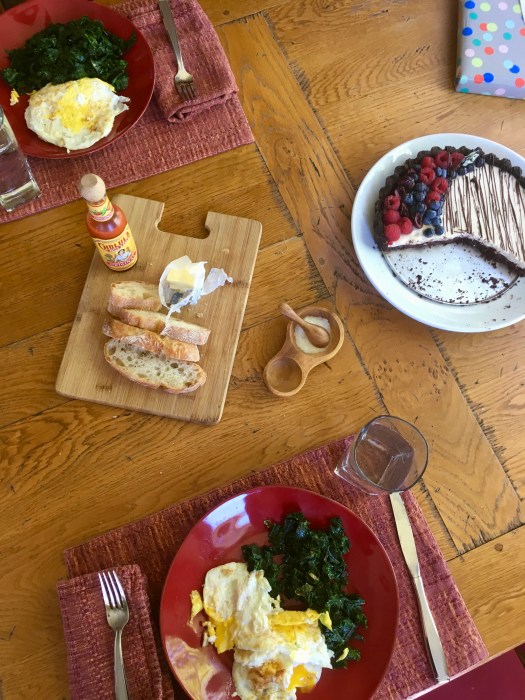
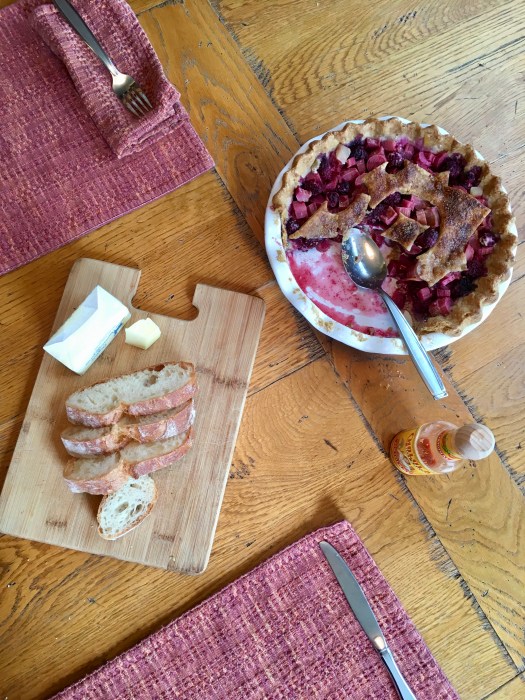
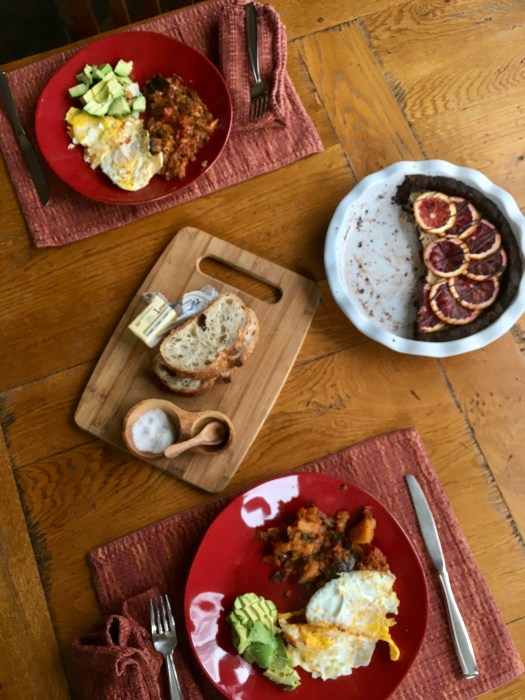
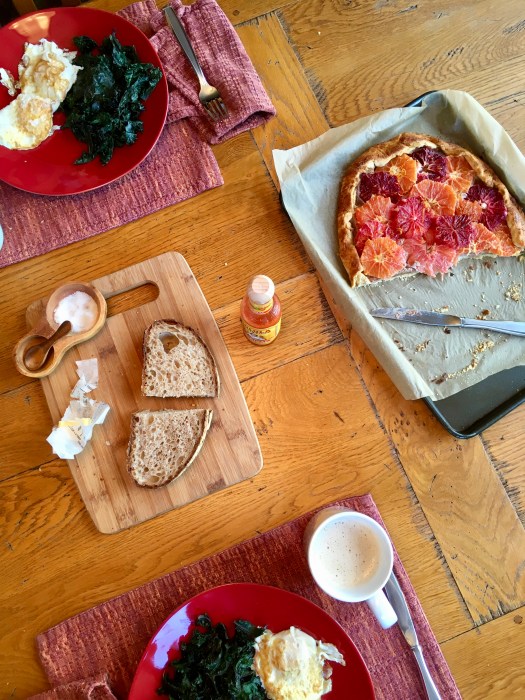
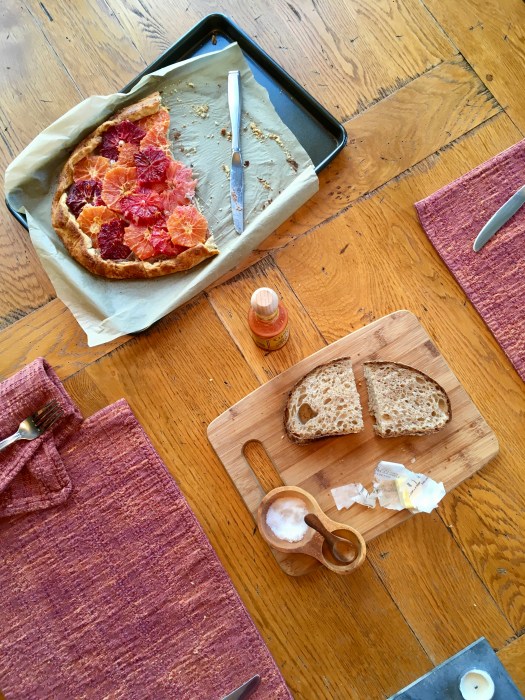
We ate it with ice cream (of course) – which I obviously highly recommend – and also for breakfast (well, duh) after a late sleep and a hike; such a nice way to start a day off. Actually I’m not sure we can call it breakfast since we didn’t eat until 1:30p, but hey – it was the first meal of the day… let’s just go with brunch! Ha.

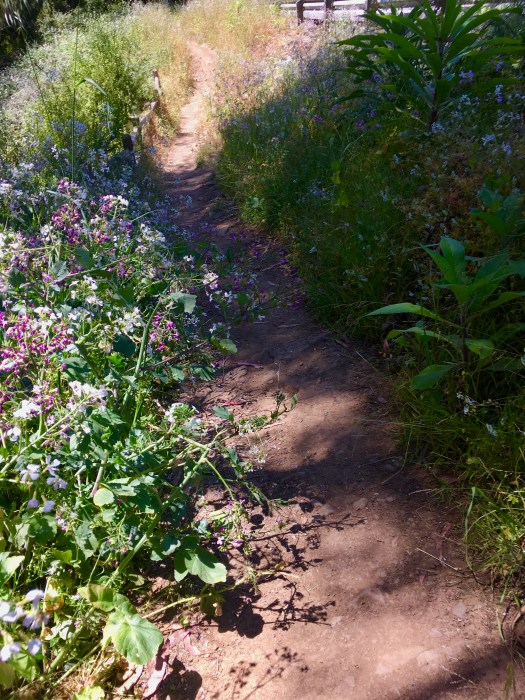
I took my mama up to camp for some hiking & girl time last weekend – much needed time in my favorite mountains!


Otherwise, it’s business as usual! I’m trying to get my hands on all the late summer fruit before the season is over… just give me ALL THE FRUIT!

Happy weekend!

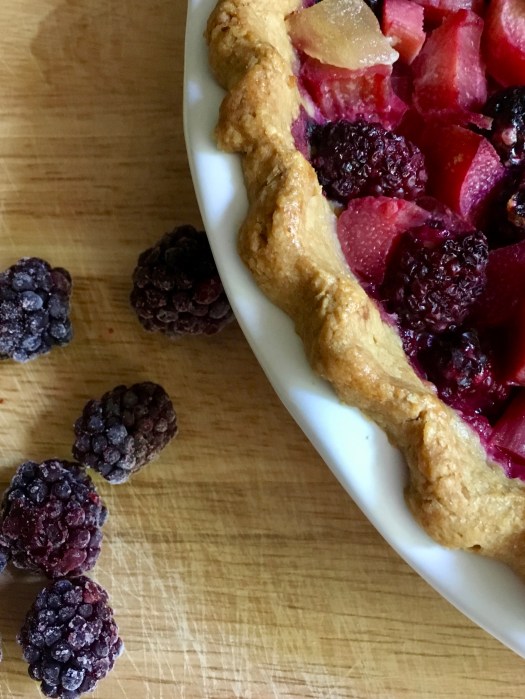
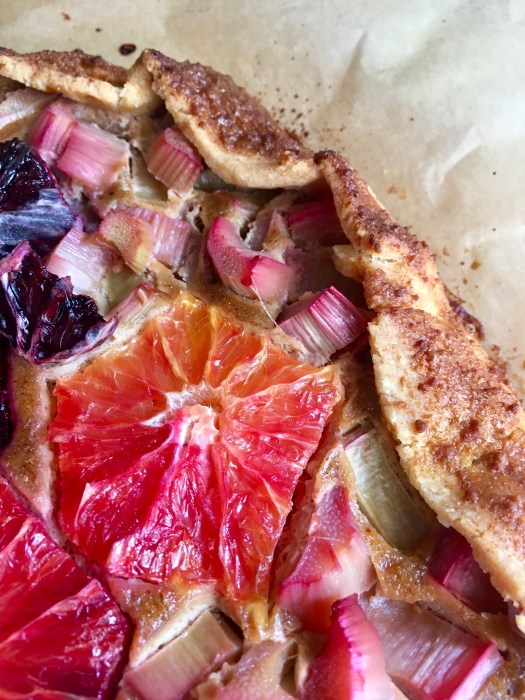
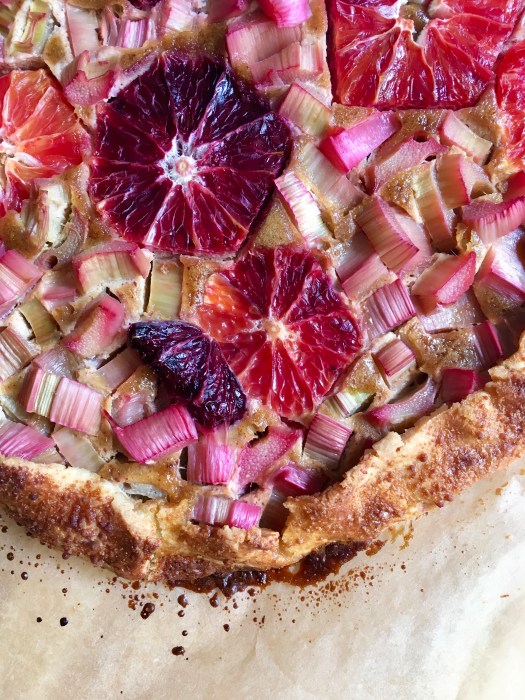
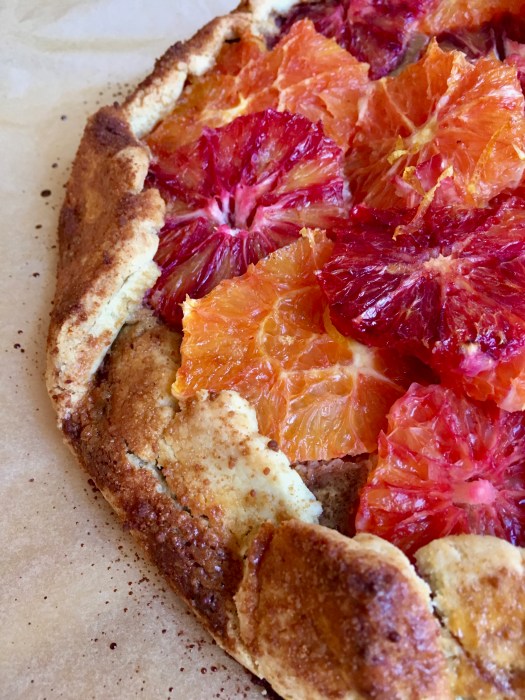
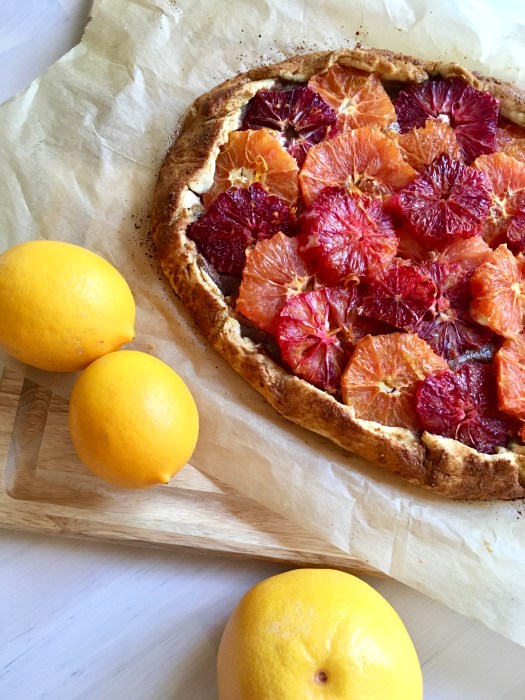
Nectarine, Cherry, Raspberry and Almond Galette
Grain and gluten free, refined sugar free, pretty much paleo if you eat butter! Delicious all around. Almondy dough and filling set off the summer fruit to perfection, with only one tbsp of coconut sugar added for color – omit if you like! It’s really only decorative. Yield: 1 galette, serves 2 very hungry people (haha not that I speak from experience or anything) or 4-6. A Wait are Those Cookies original.
For the galette dough:
1.5 c almond flour (not meal; you want the finer flour variety)
1/2 c tapioca flour
1/4 tsp fine sea salt
6 tbsp salted butter, chopped (or ghee)
1 egg
1 tbsp vanilla extract
In a food processor or high-power blender (I used a food processor), pulse almond flour, tapioca starch, salt, and butter to combine until it looks like coarse meal. Add in egg and vanilla extract and pulse just until combined. Turn out onto a piece of plastic wrap, shape into a disk and chill in the fridge for at least an hour, or up to overnight.
For the filling:
1/2 c almond butter
2 tsp vanilla
1/2 tsp almond extract
Scant 1/4 tsp sea salt
Stir everything together until smooth. If the almond butter is thick, it can be helpful to heat it just a bit in the microwave.
2 nectarines, sliced
1 c bing cherries, pitted
~1/3 c raspberries
Butter to dot the crust
1 tbsp coconut sugar to sprinkle
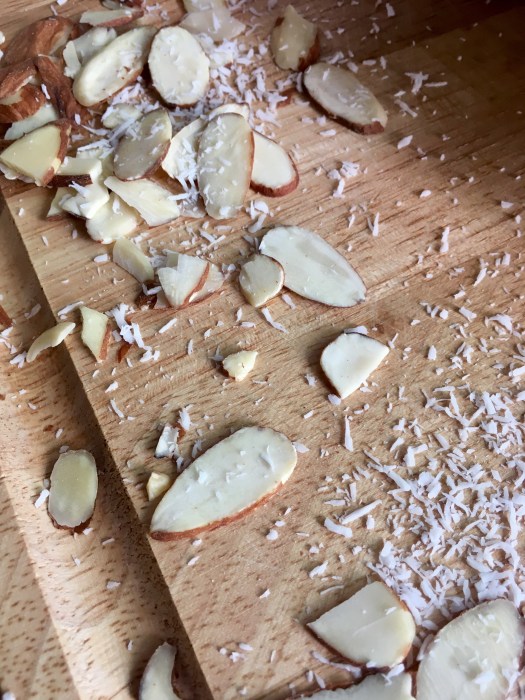
Sliced almonds
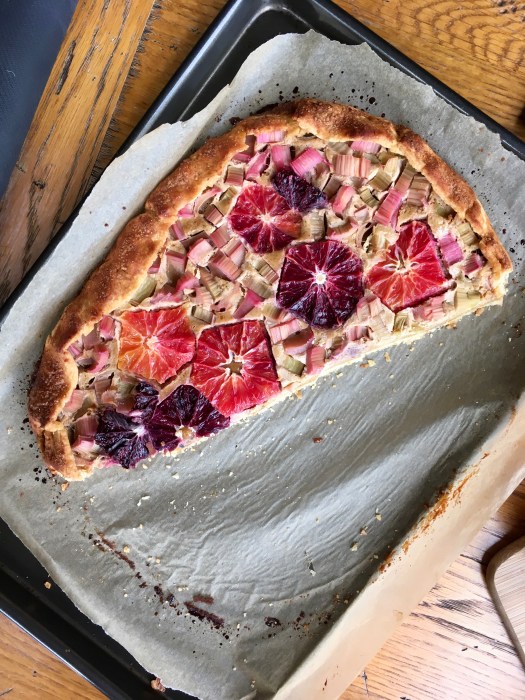
Once the dough has chilled, preheat the oven to 375. Roll out the dough between two pieces of parchment paper, keeping the circle to about 1/4″ thickness. Peel off the top piece of parchment, and slide the rolled out dough on its parchment onto a baking sheet. Top with the almond filling, spreading it carefully in order to not rip or crack the dough. Add nectarines, cherries & raspberries in whatever pattern you like!
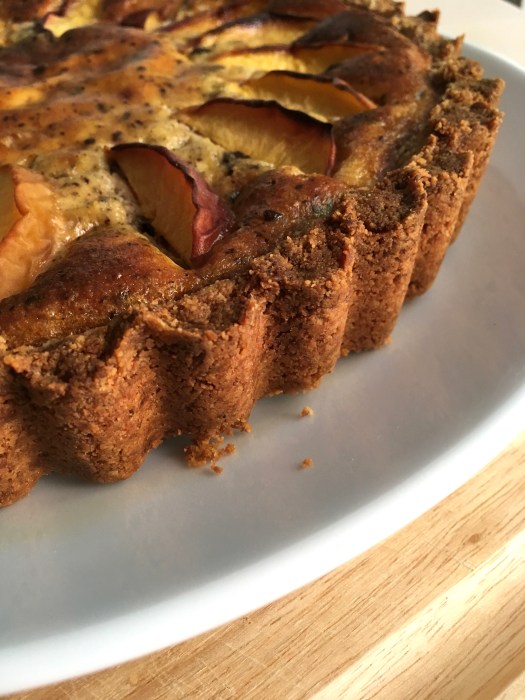
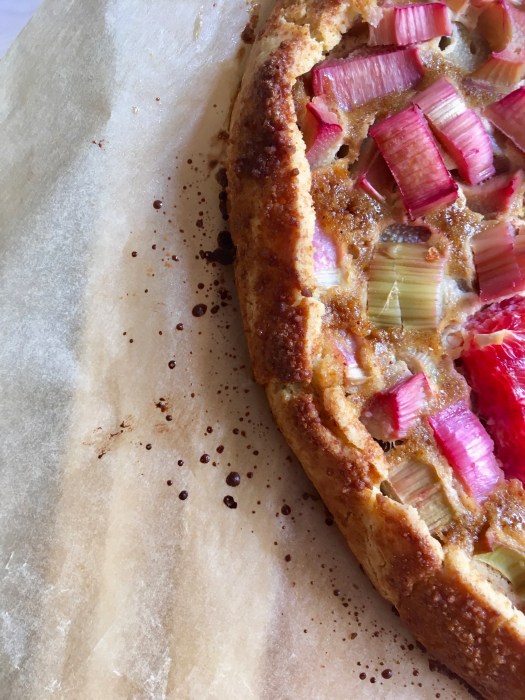
Begin folding up the sides, creasing them together as you go – if the dough is cracking, that’s okay (you can crimp the cracks back together; remember: galettes are forgiving and rustic!); you can use the bottom piece of parchment to help fold up the sides. Dot the fruit with butter, press sliced almonds into the dough on the sides (it’s okay if a few fall off), and sprinkle coconut sugar around the sides. Bake for 35-40 minutes until edges are golden brown — mine came out just fine at 35 minutes, so check accordingly.
Let cool for a few minutes on the baking sheet, then carefully slide the whole galette onto a cooling rack to let it cool completely. Serve with your fave ice cream or whatever of choice! Keeps well covered in foil on the counter or in the fridge.