Things that are shockingly savory and also green

IMG_6476

Shut the front door.

I spy something savory!!
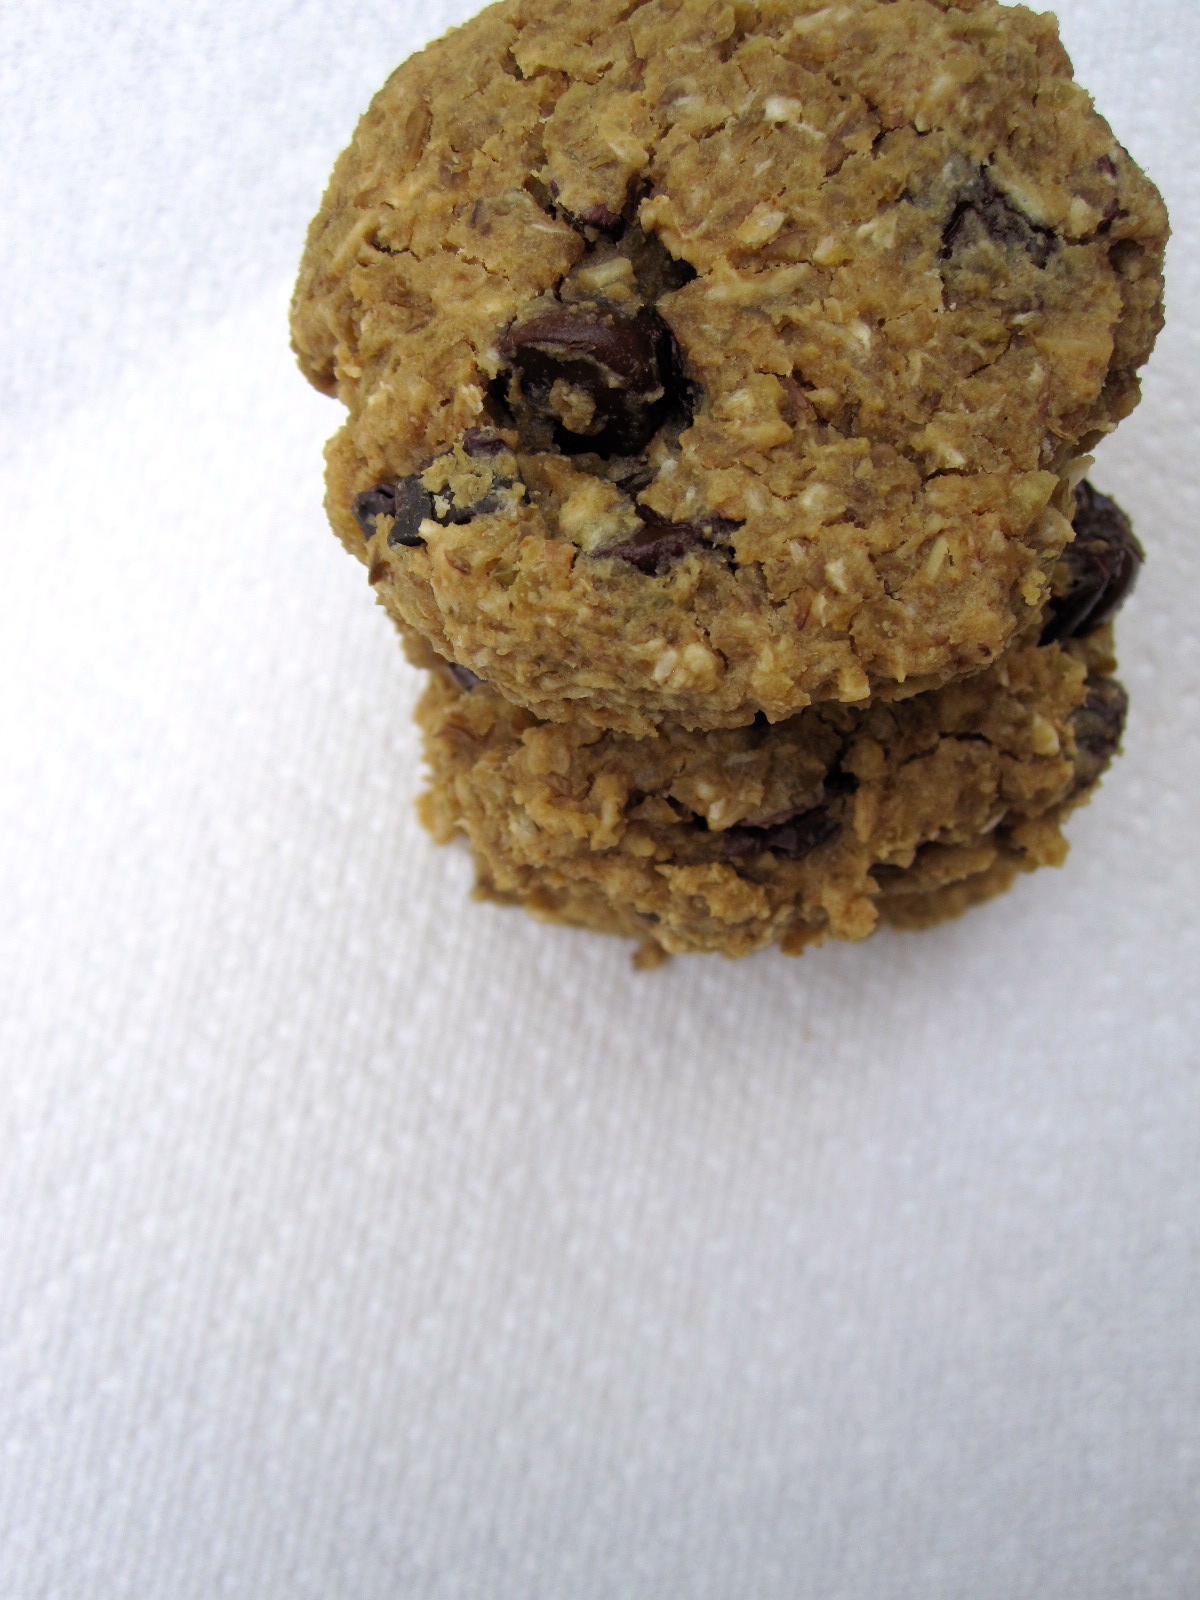
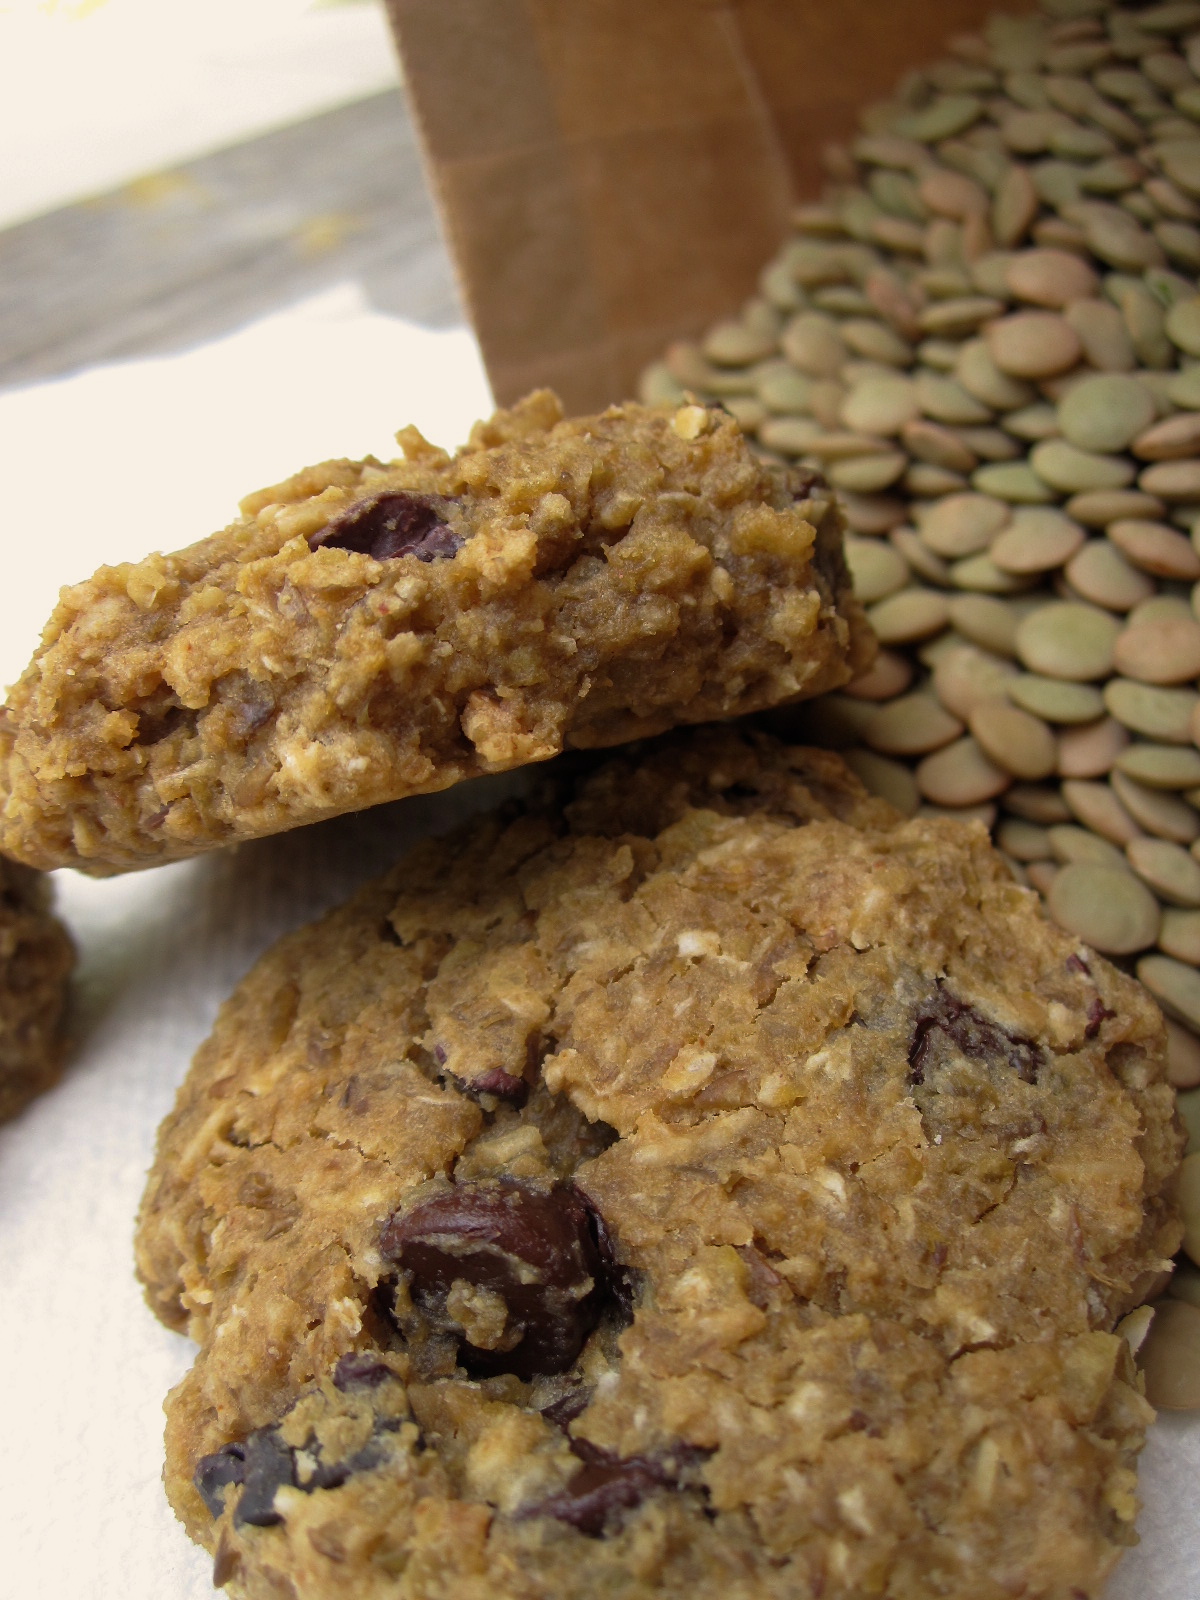
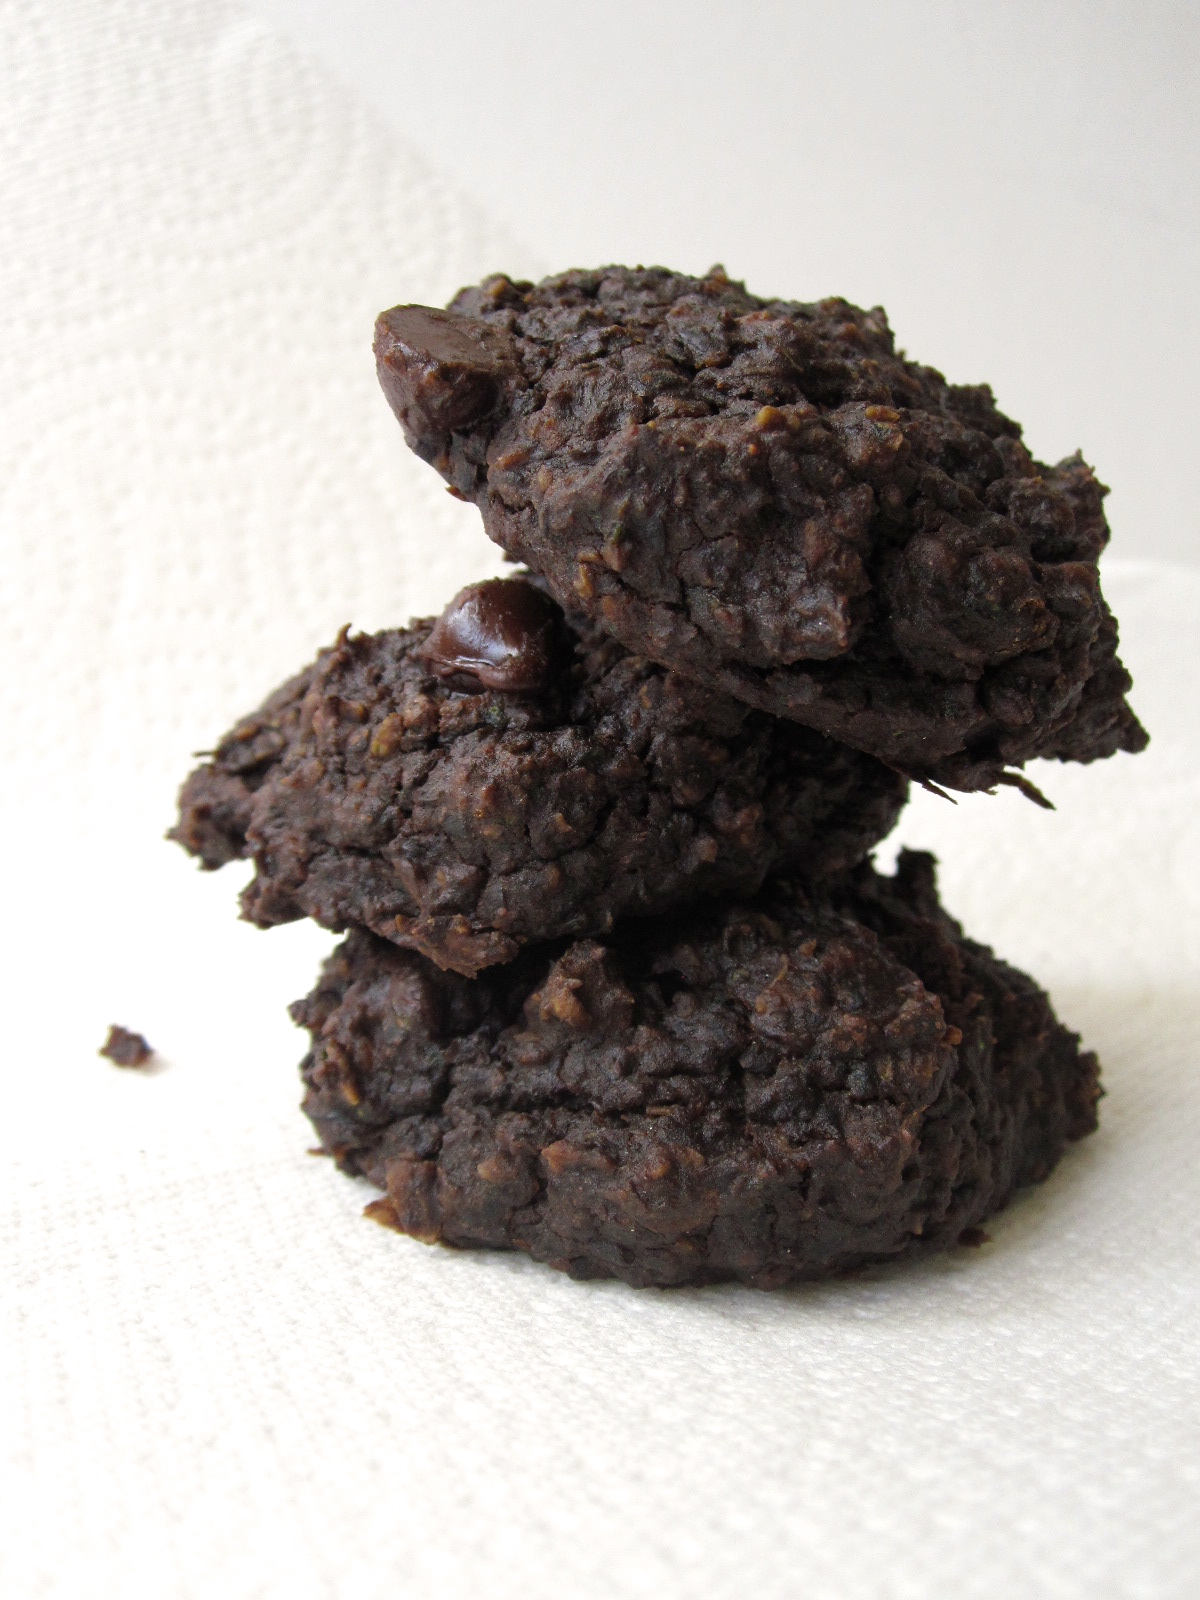
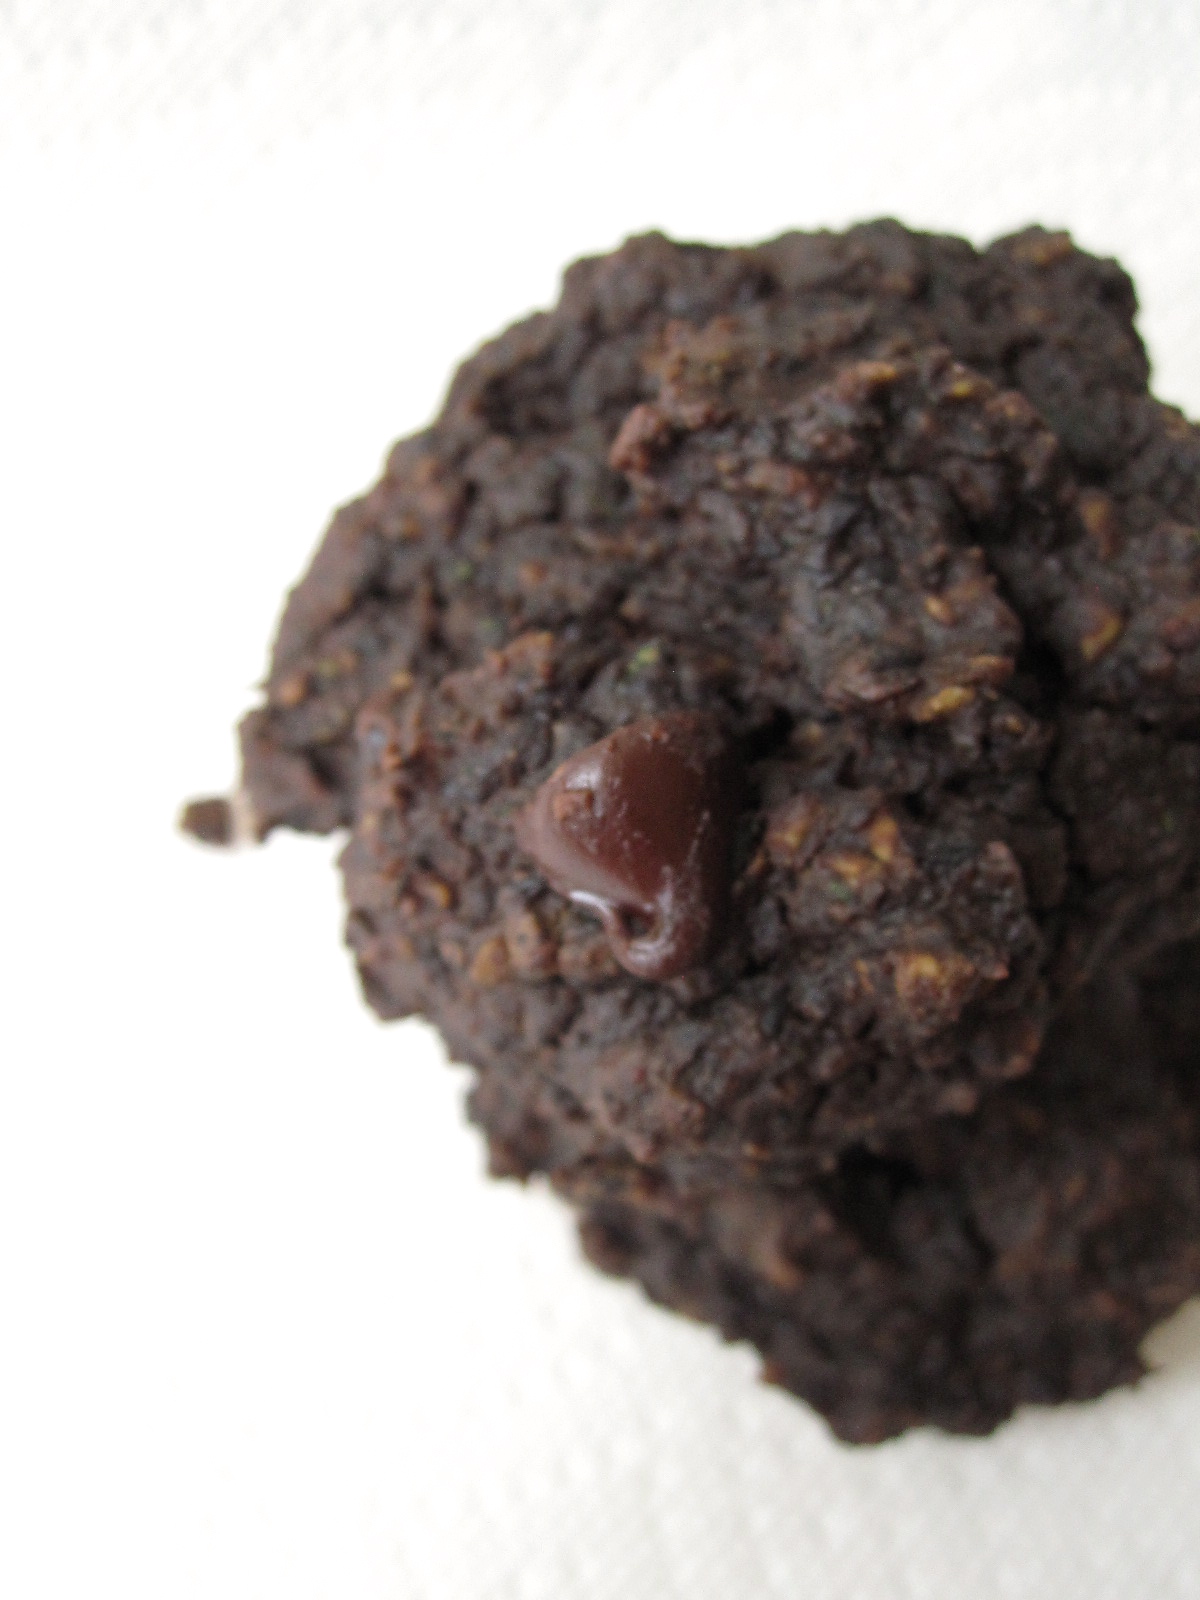
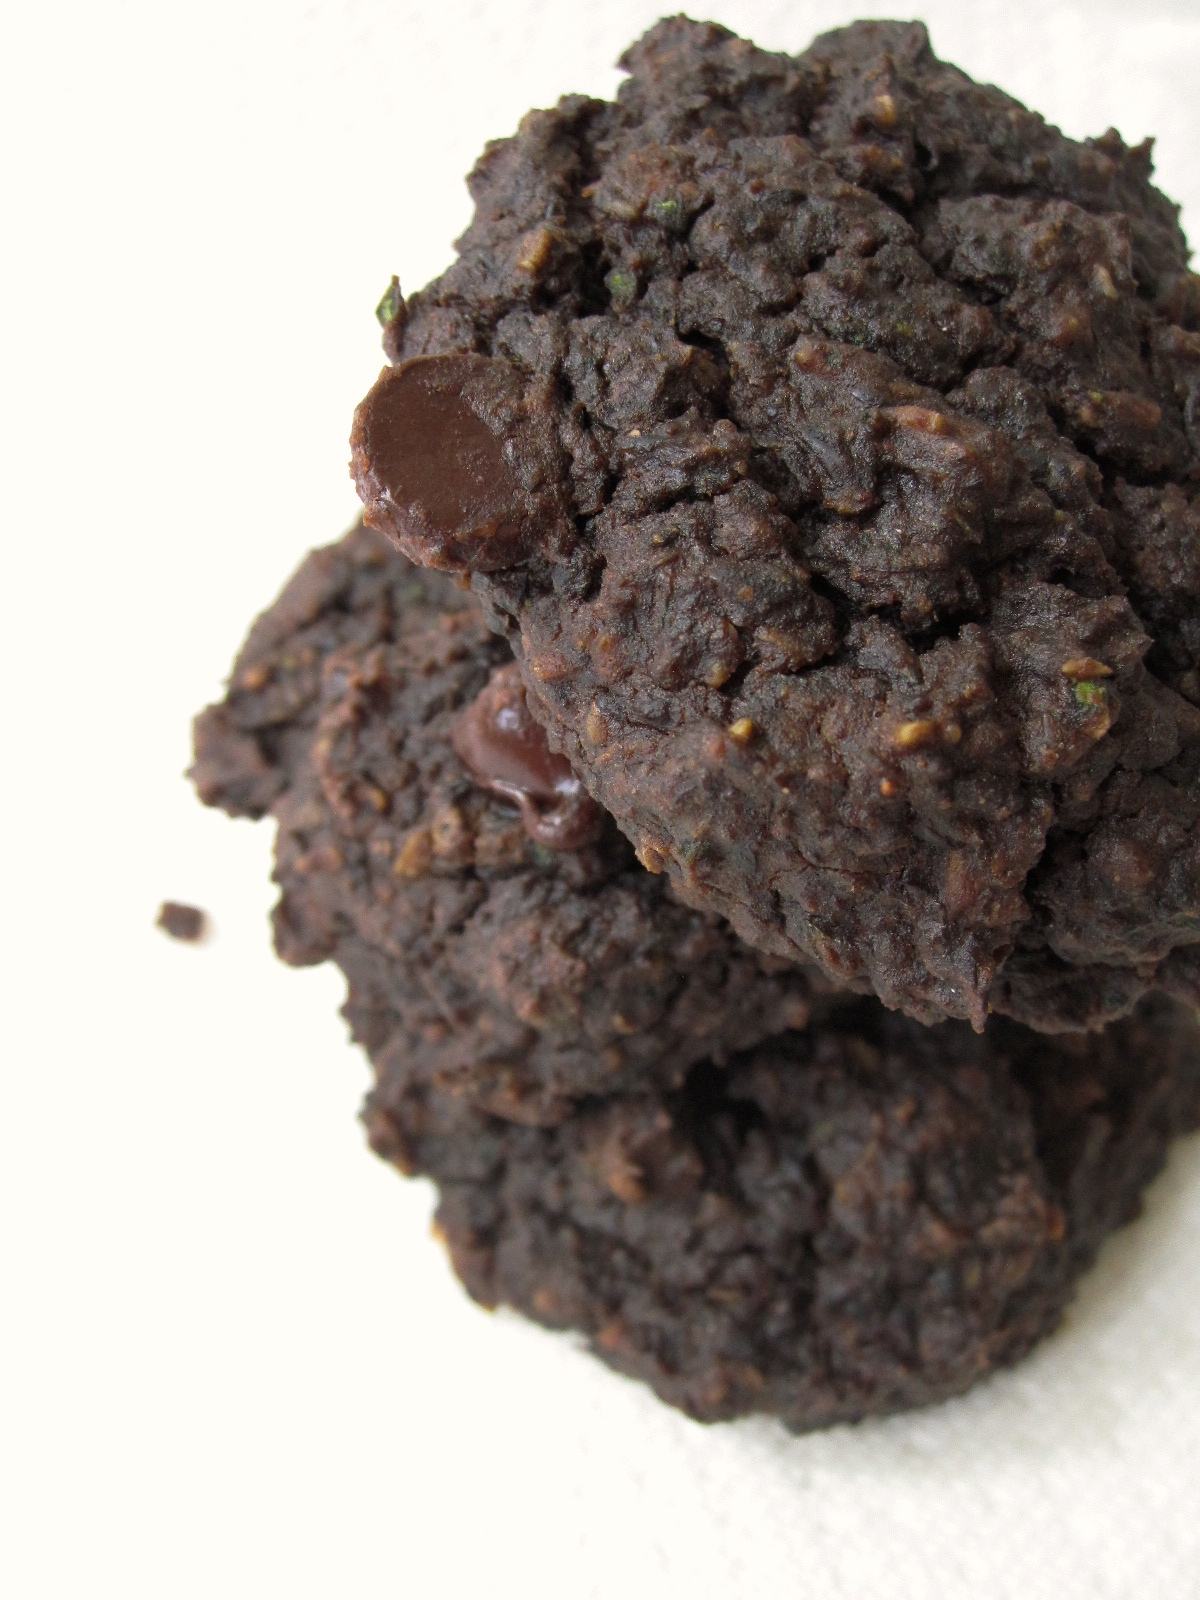
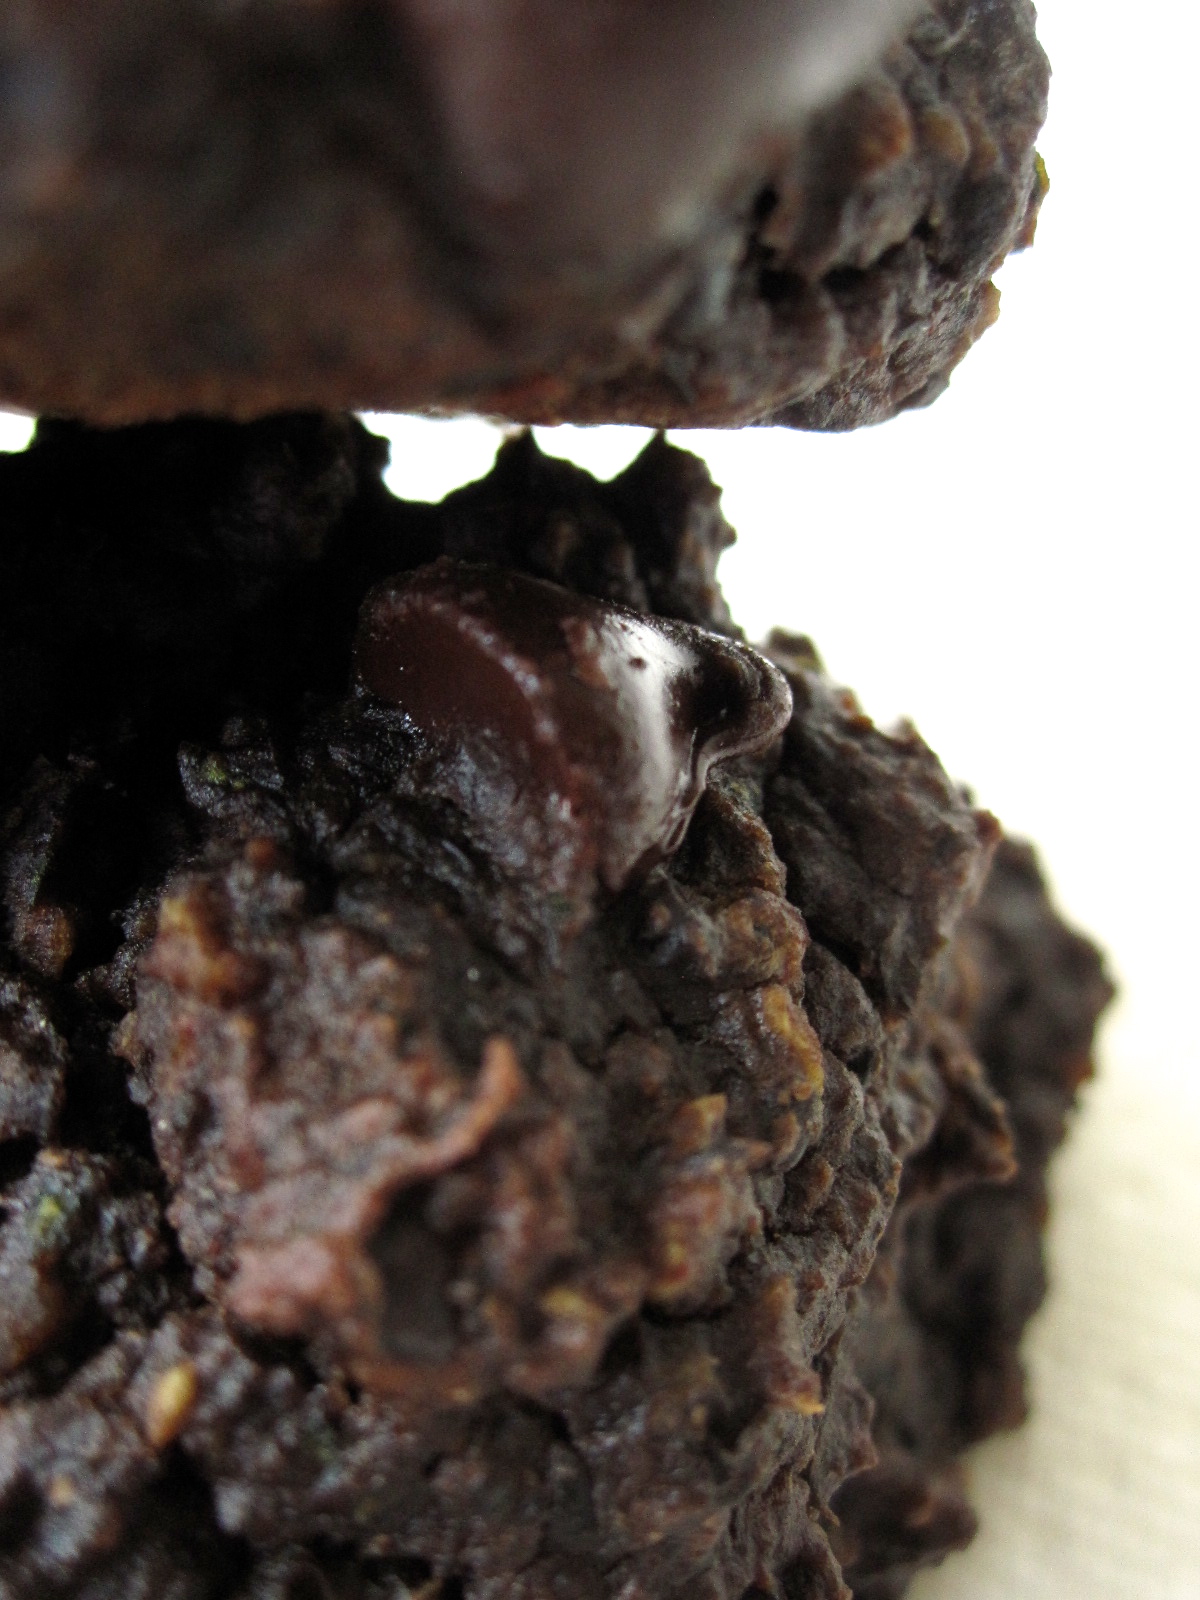
What. Shocking.

IMG_6466

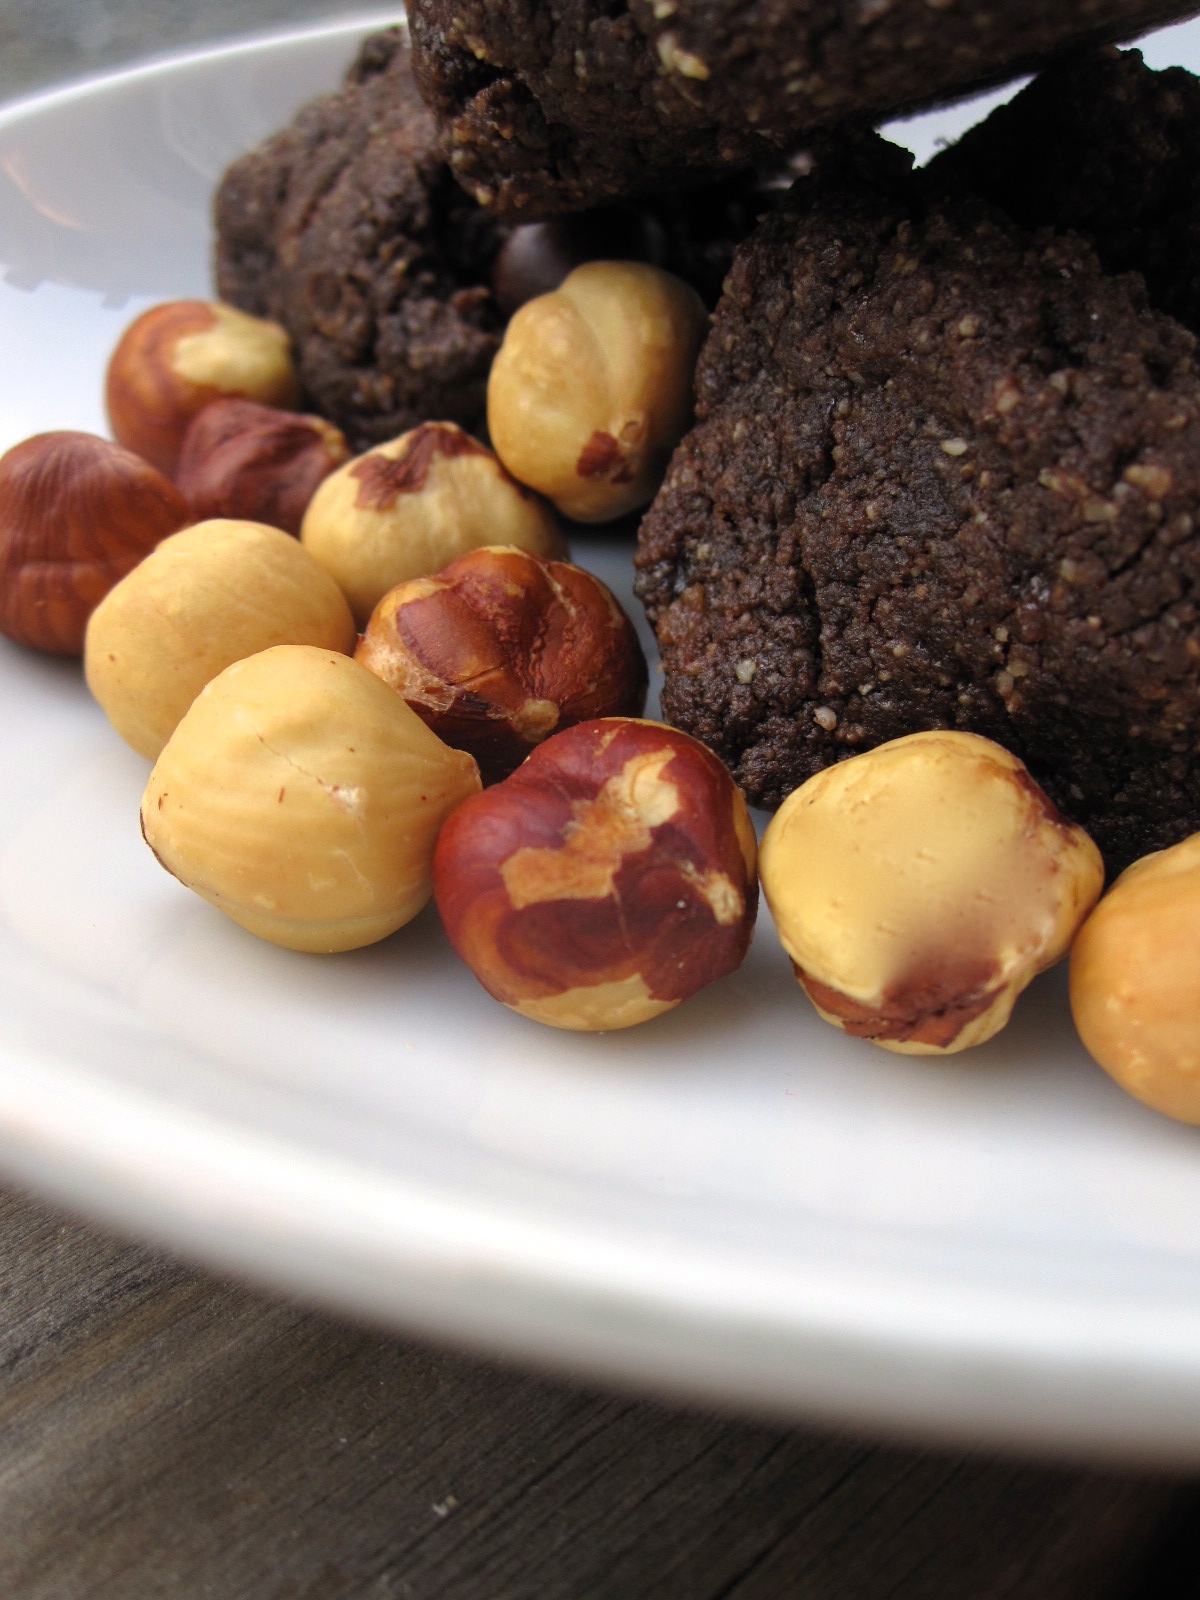
Good thing I balanced it out with those awesome fudgy brownie cookies I mentioned in the last post. But actually, this is delicious. AND savory. You must feel like a proud parent. Additionally, this flatbread is stupid easy. As in like, whizzbangboomLUNCH. Which is awesome because as we know I don’t really like waiting for my food. Which is why I am mostly too lazy to make yeasted breads even though they’re delicious and not entirely difficult. I’m just impatient. Sigh. Story of my life.

IMG_6475

Anyway. Want to know what happens nearly every time I photograph something?

Actually, maybe you don’t.

But… too bad. I’m sharing anyway [my blog, ha]… Ready?

IMG_6479

I drop my camera in my food.

IMG_6474

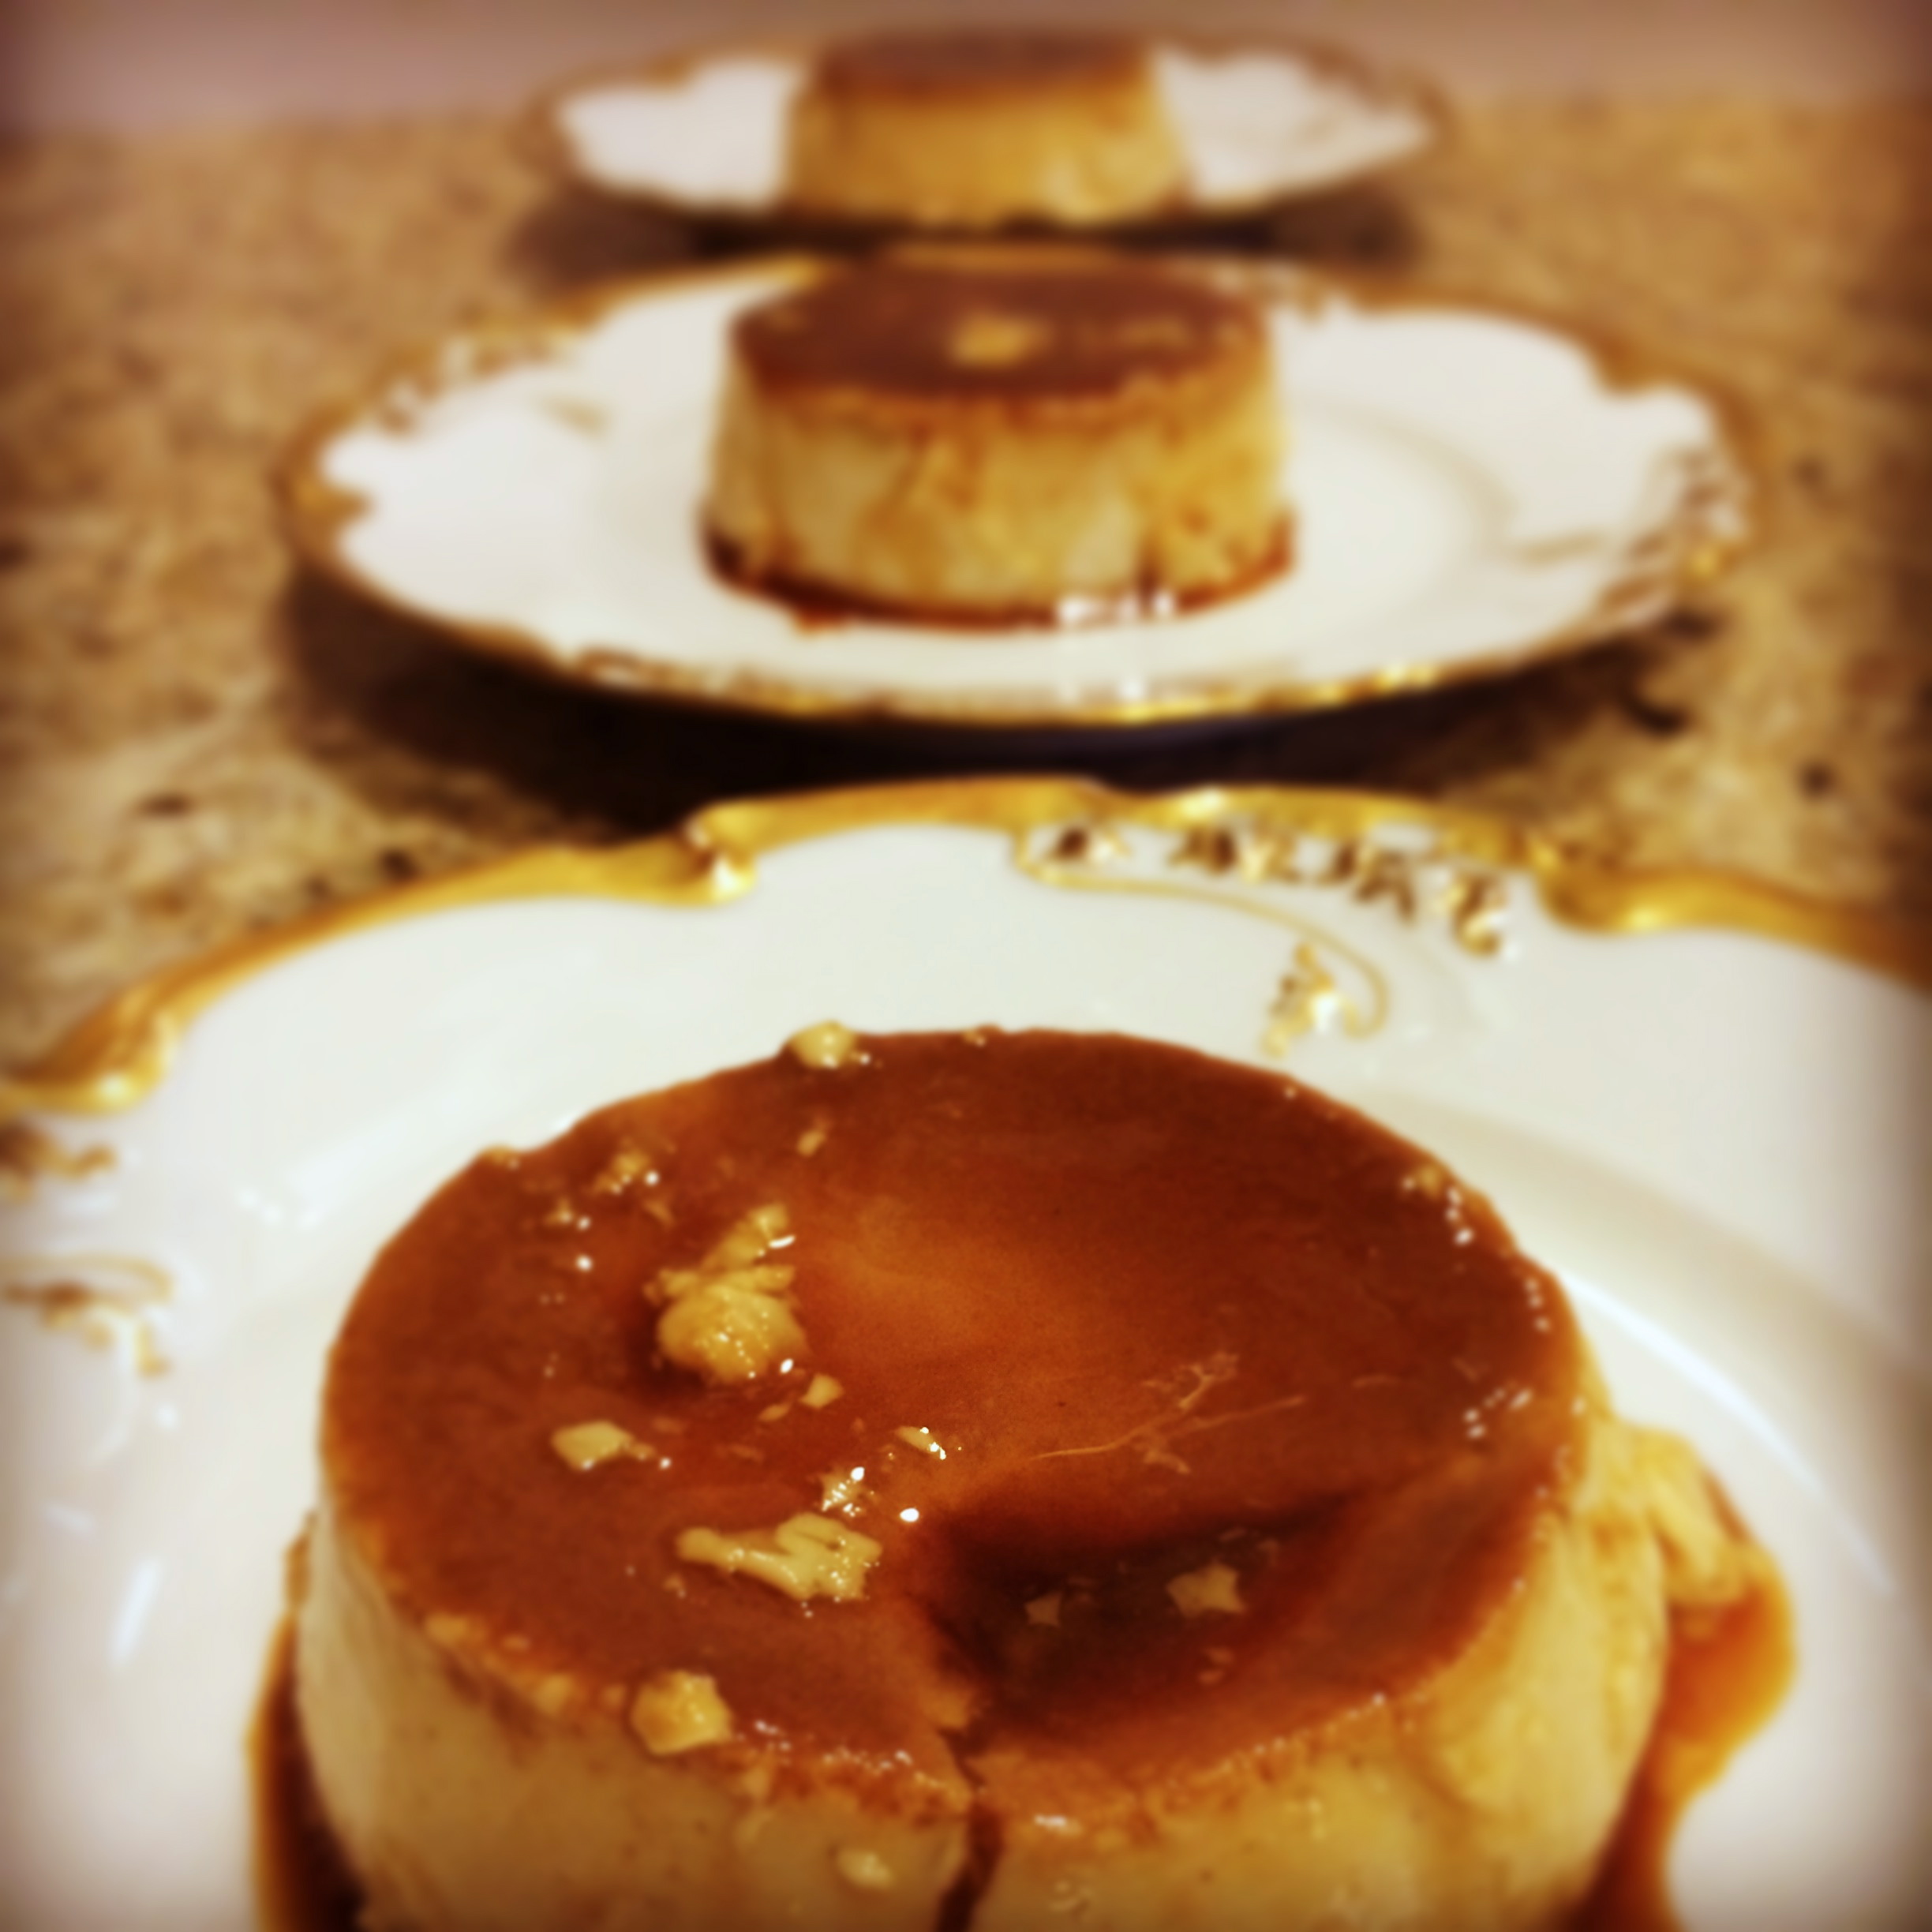
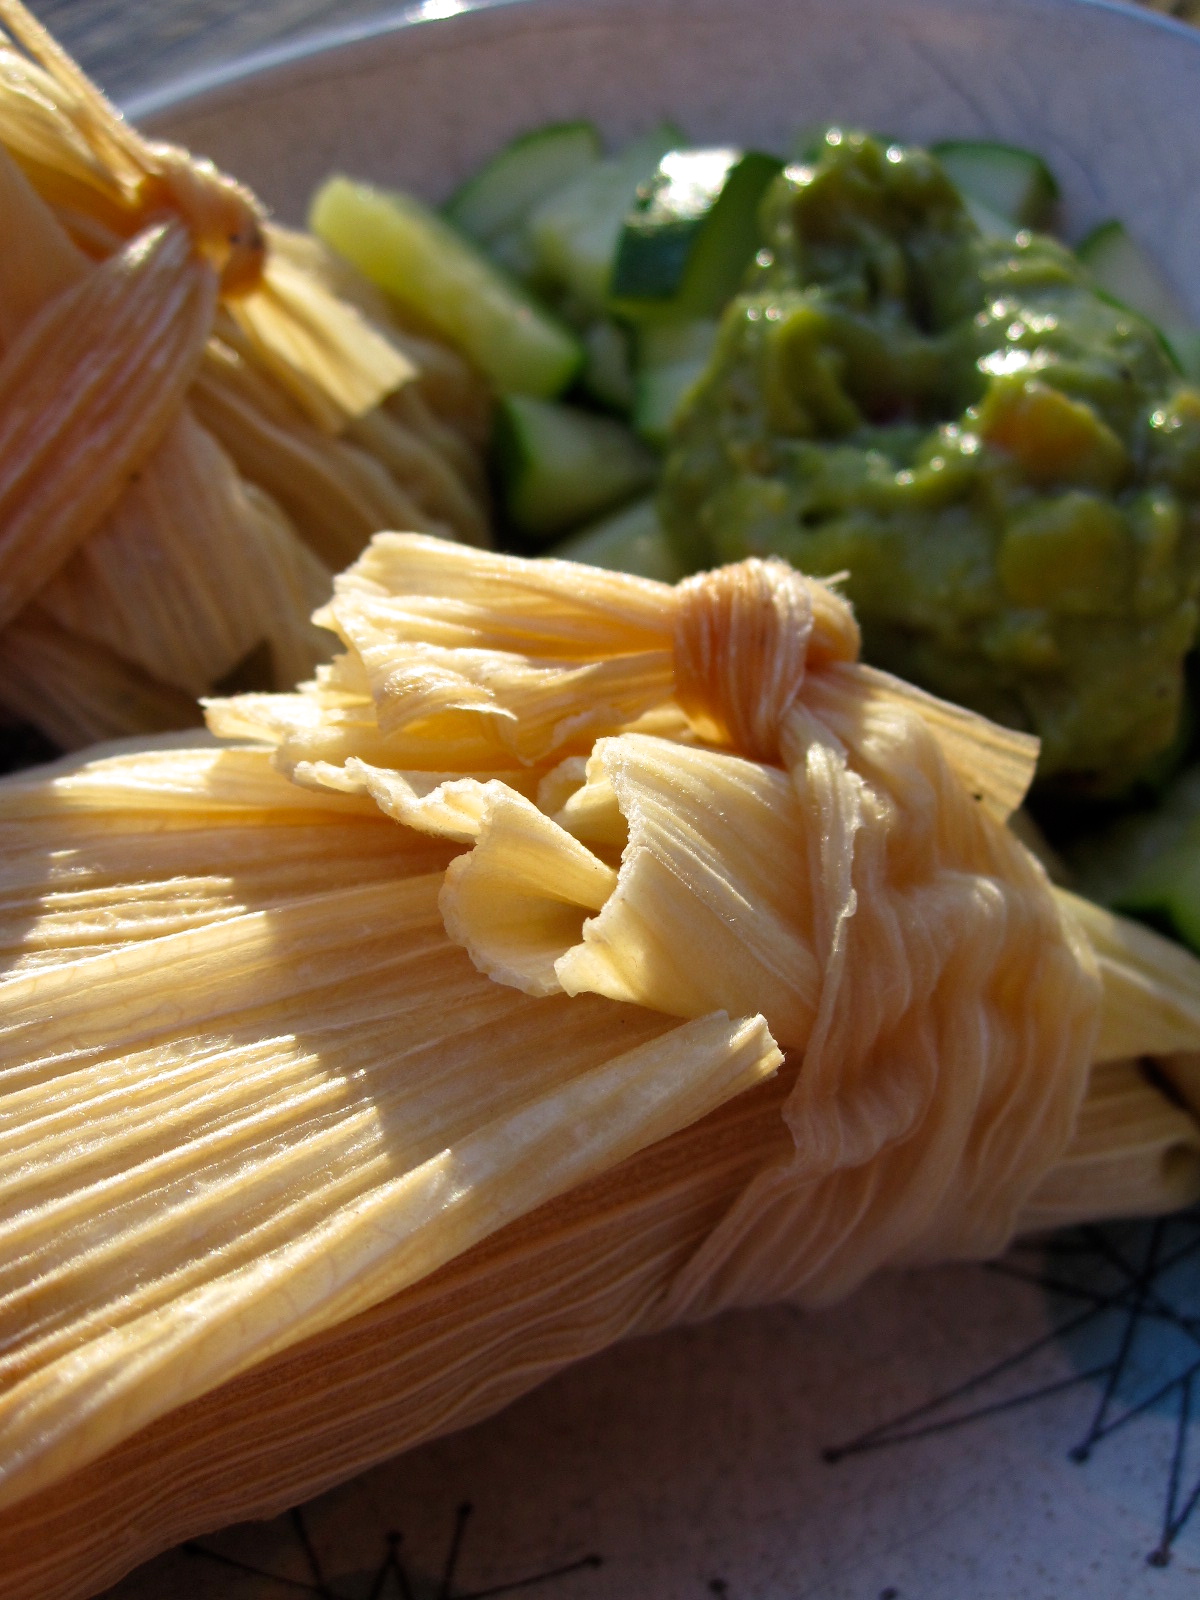
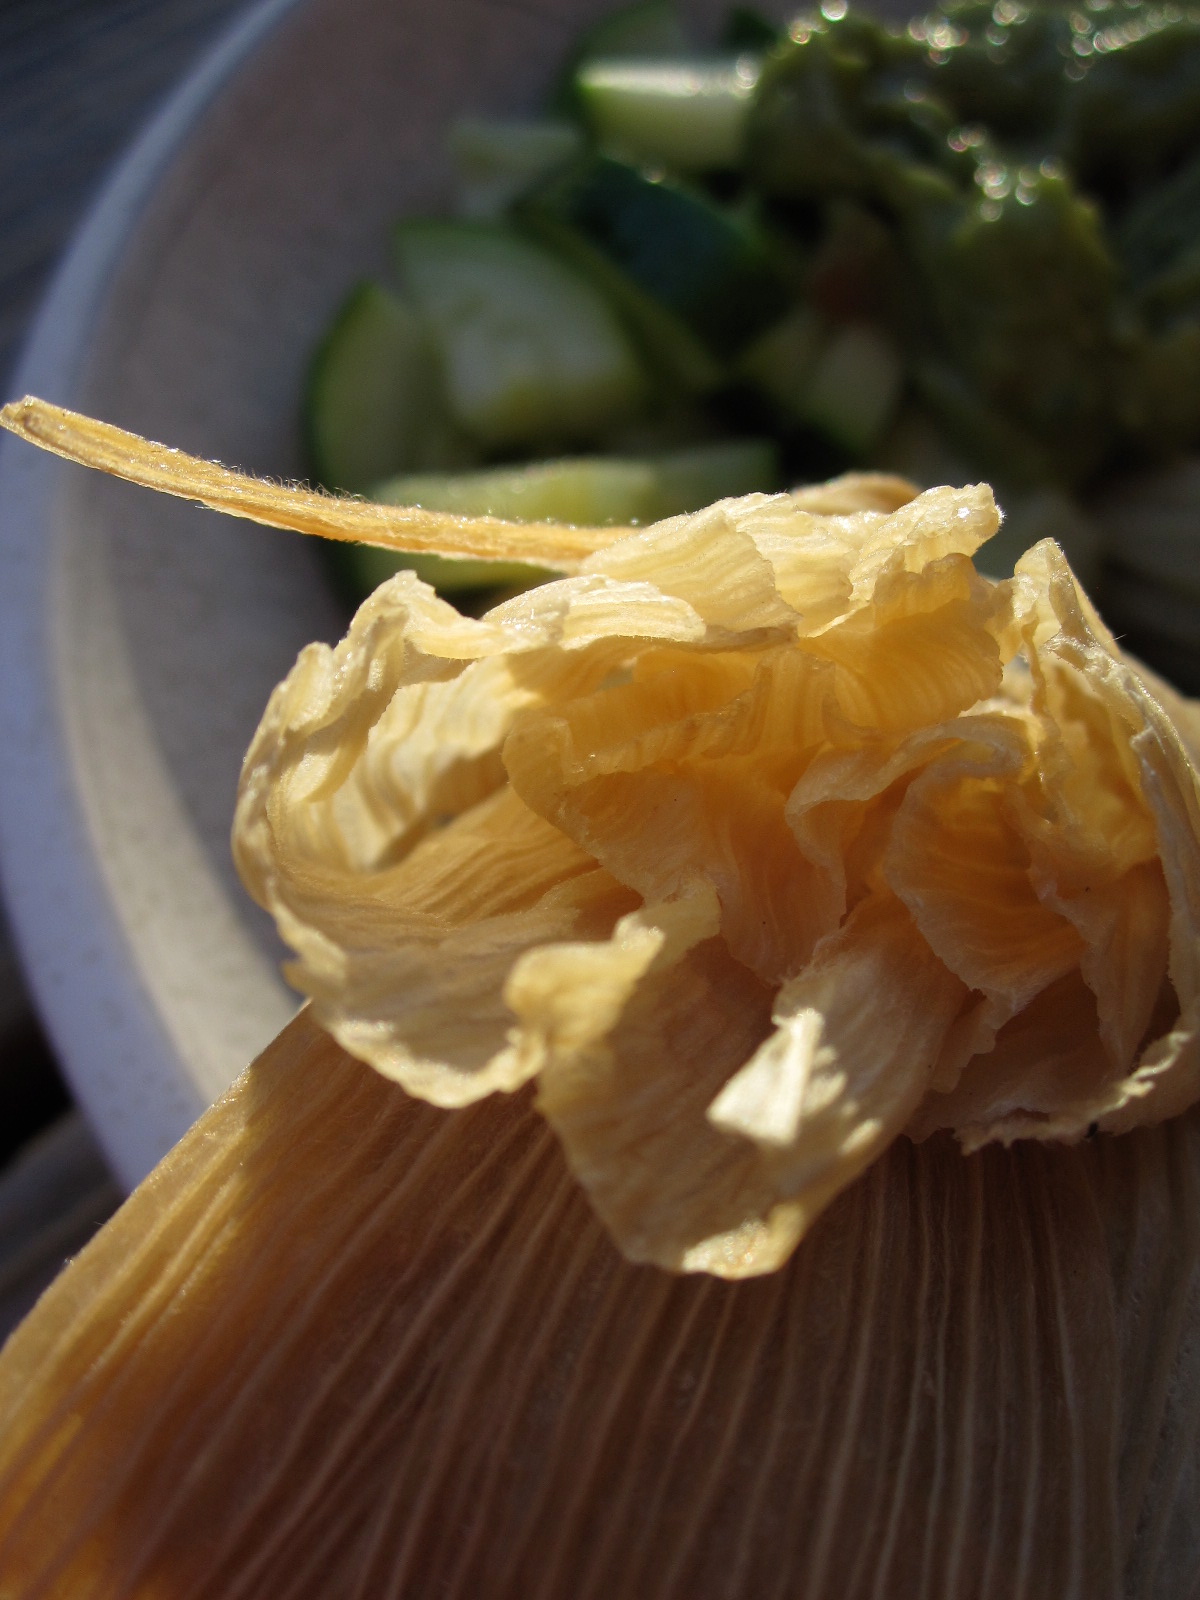
For reals. Like a child. A clumsy one, at that. I swear, that camera has three years worth of blog food residue on it (EW GROSS I promise that isn’t true. I totally clean it off after I drop it. Like an adult. Ish.). But in the last few weeks it’s come into closer contact than I suppose it wishes with some really awesome guac, some flan (twice on the same photo shoot you ask?! Um yes. Welcome to my life), and most recently some cookies. No, I did NOT drop in in the flatbread. Ha. At least I am sort of winning at my own game… or not.

IMG_6480

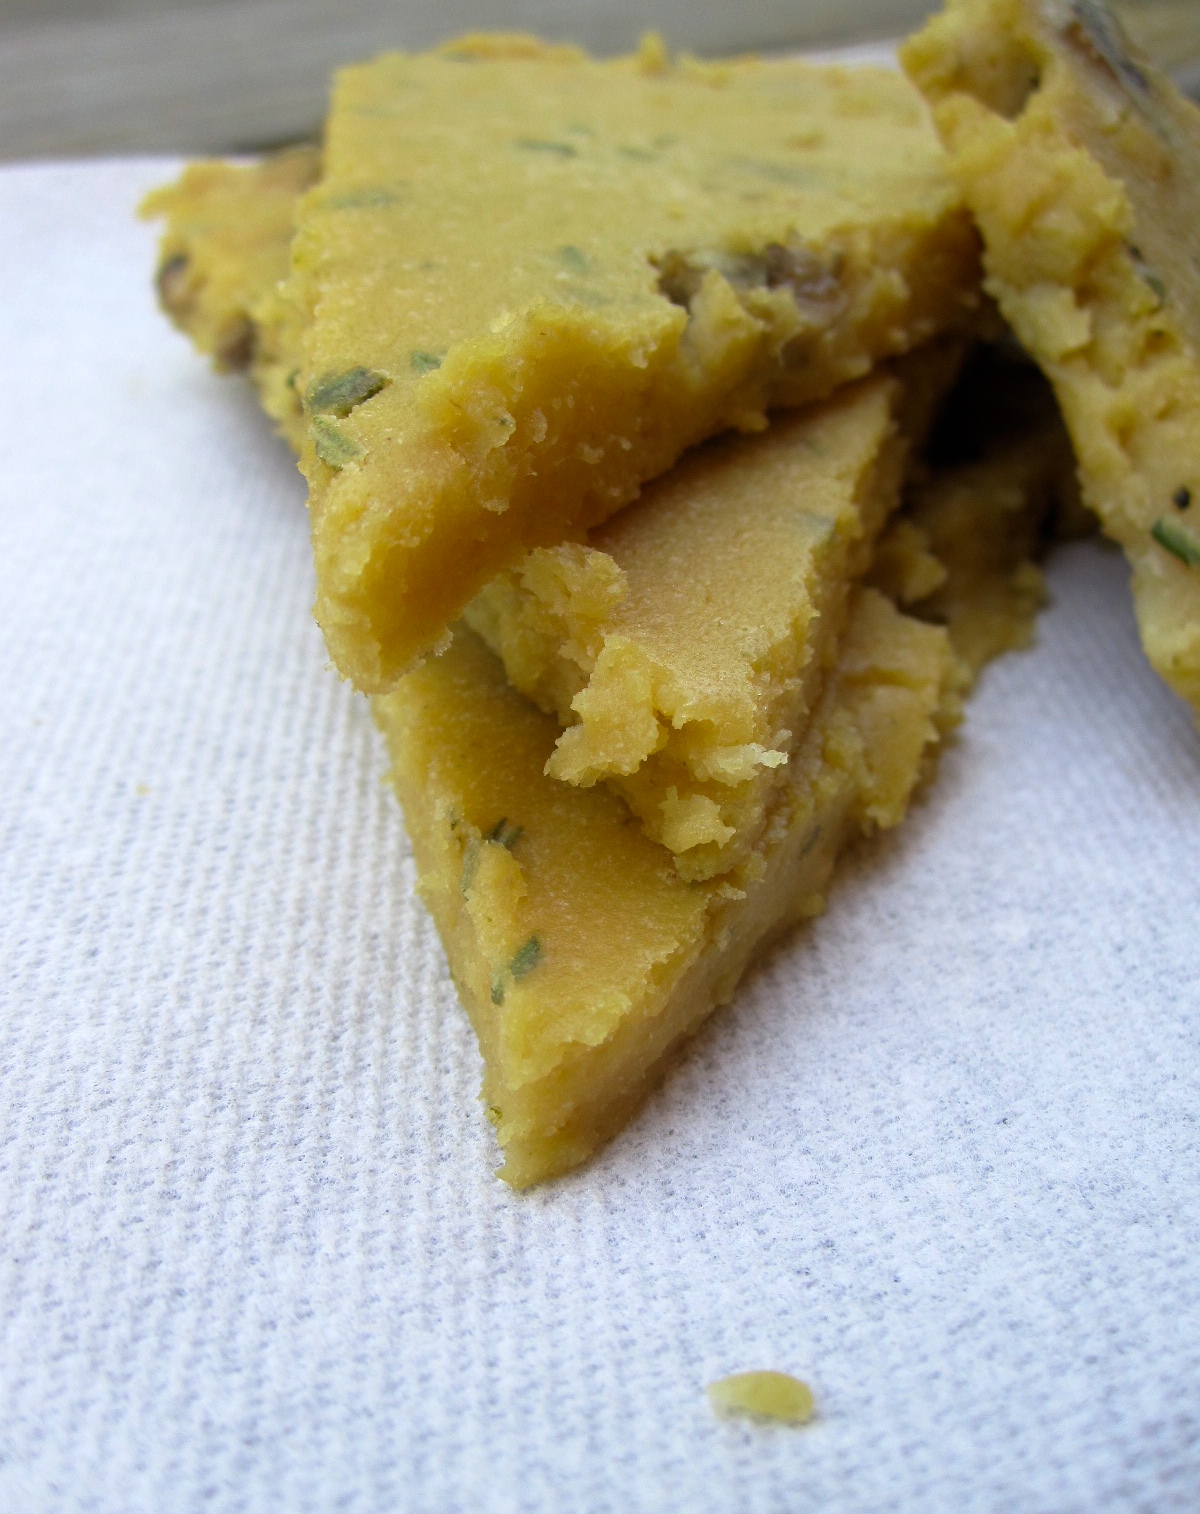
So anyway. Make some of this deliciousness. I’m pretty sure no one is entirely positive where this originated… some say Egypt, the French say France, and no doubt the Italians say Italy. I don’t much care, as long as I can eat it. Mine is a little thicker than the variety you can find in France, which is more like a crepe, but I like it heartier because then I can get creative with what goes on it. I’ve made it once before, Italian-style (here, disregard mildly awful photography), but this one is my new favorite.

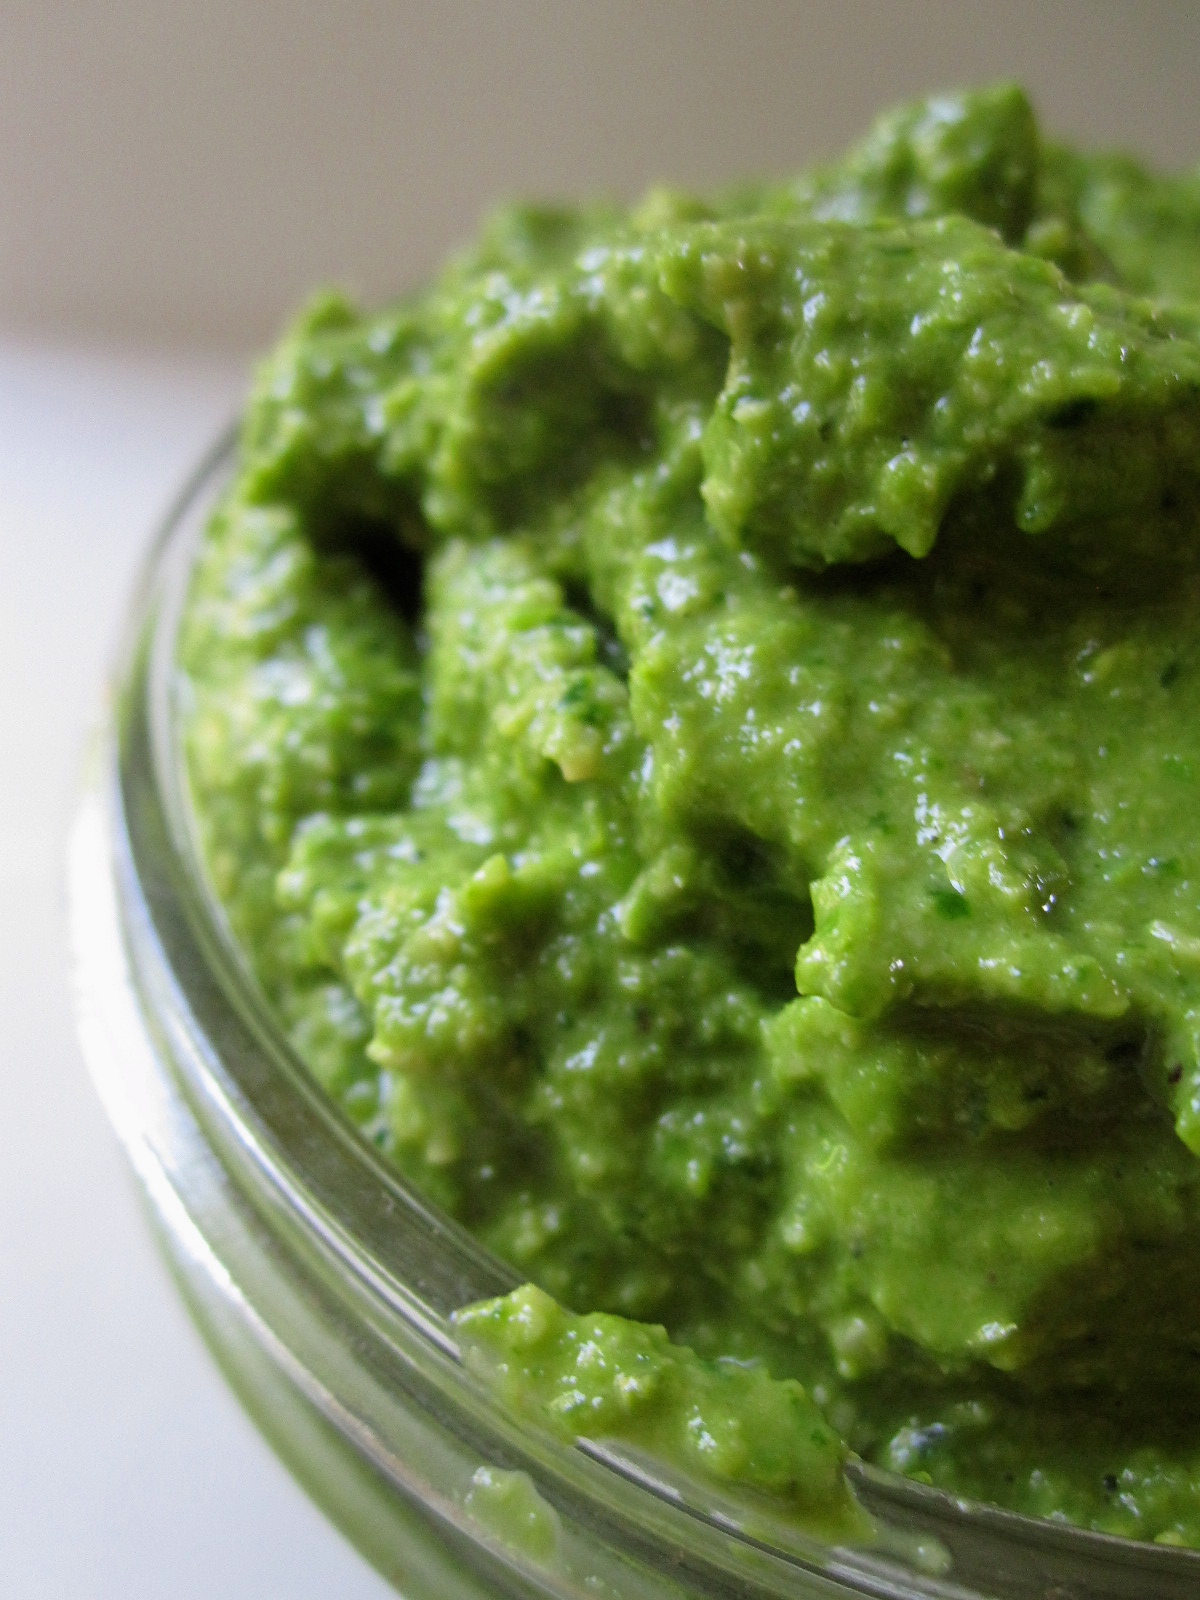
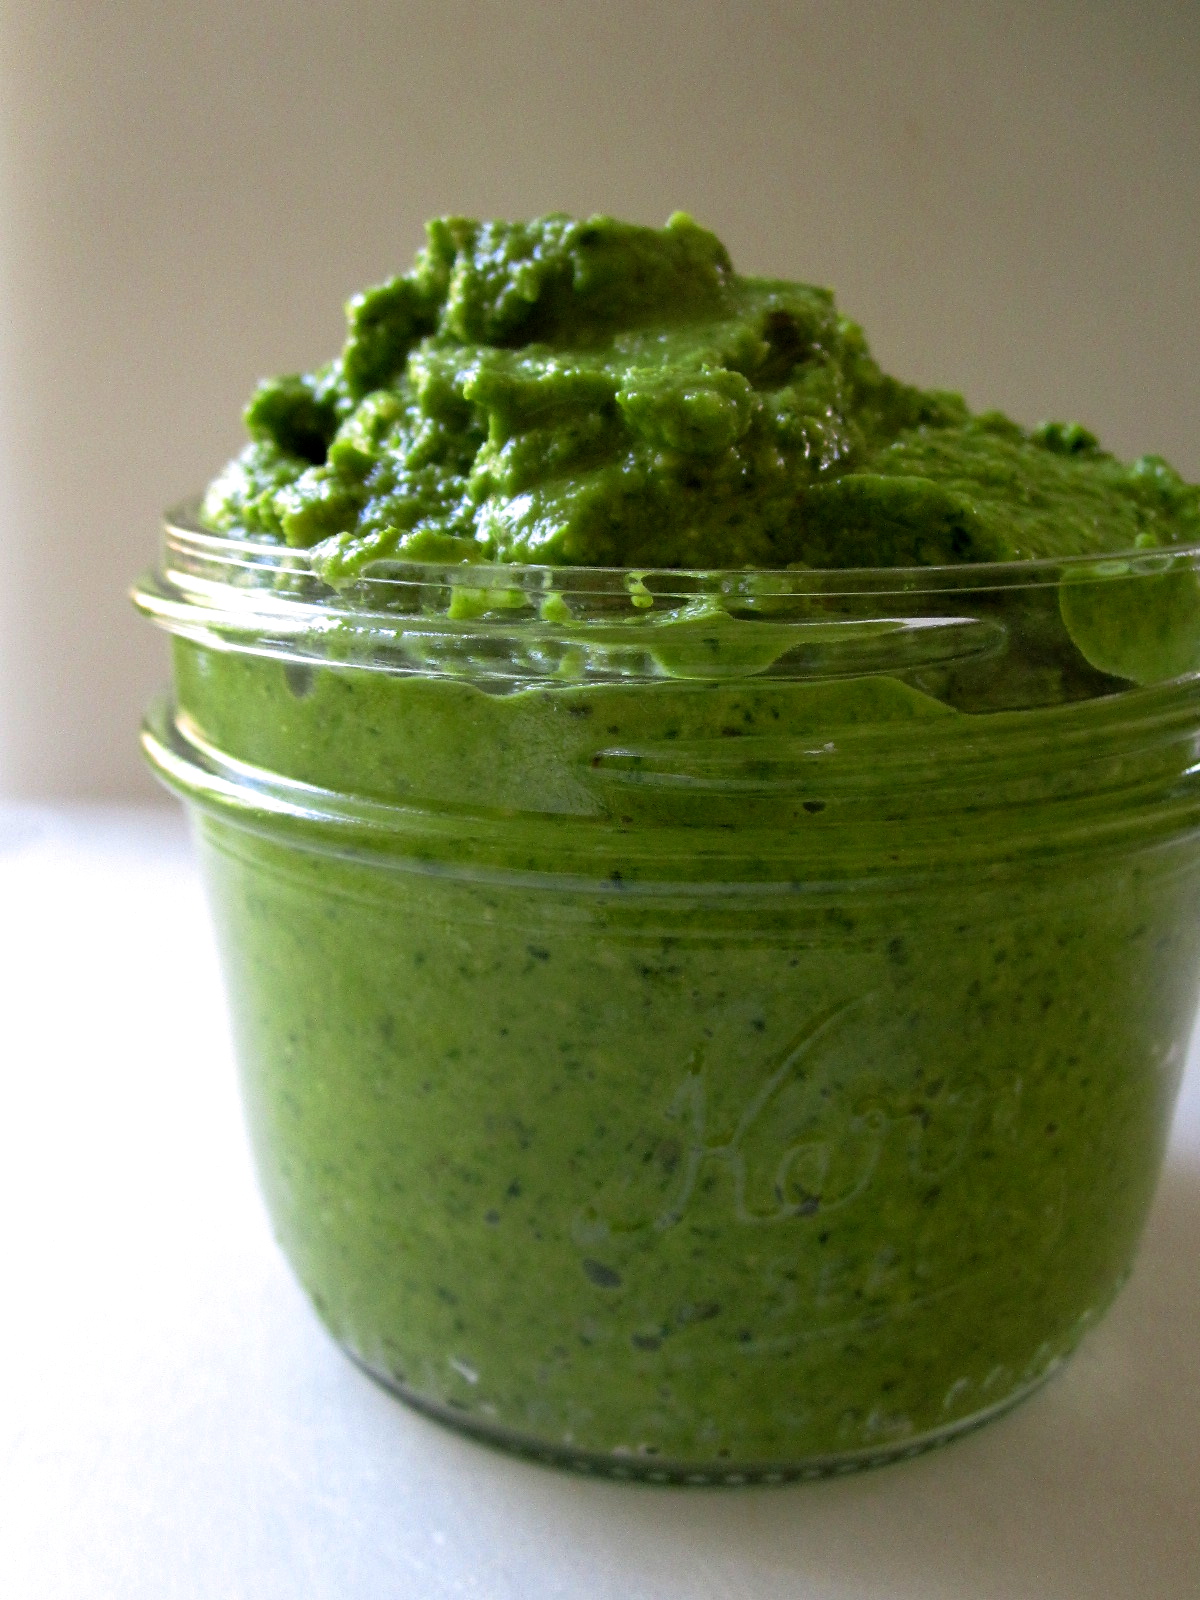
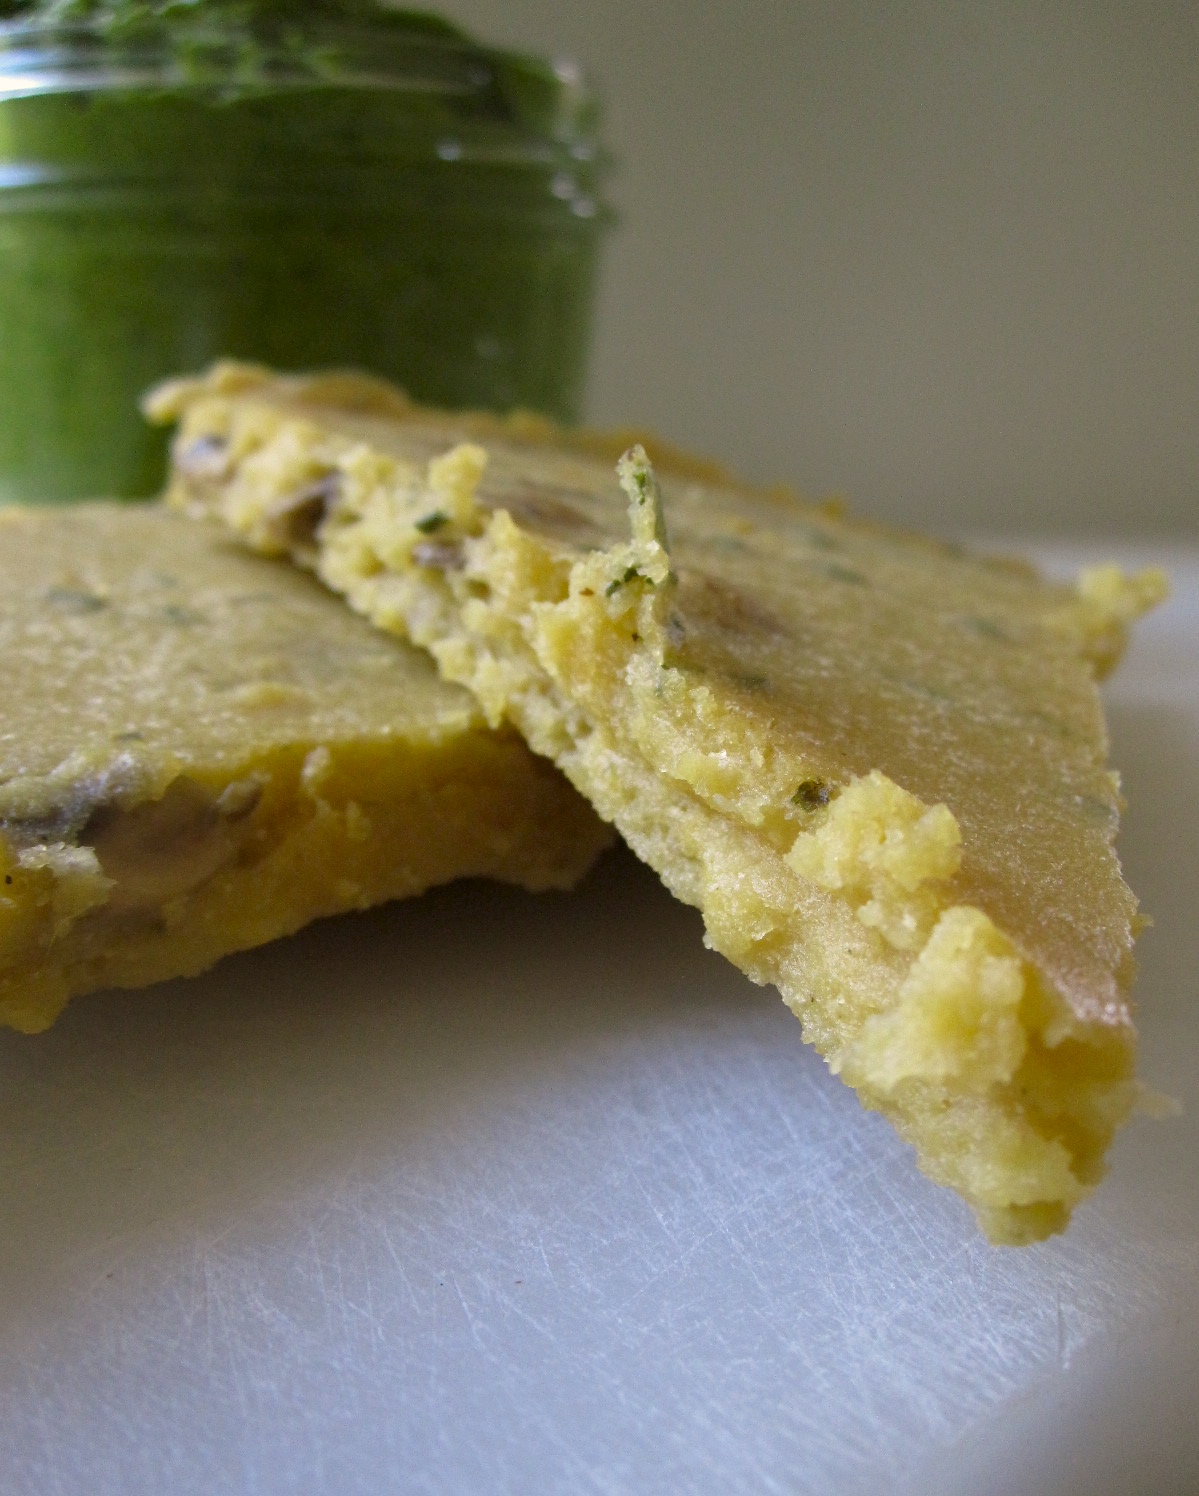
Besides that, I made an awesome green sauce to go with it. It’s like pesto, but lighter. And greener. Because, obviously.

IMG_6470

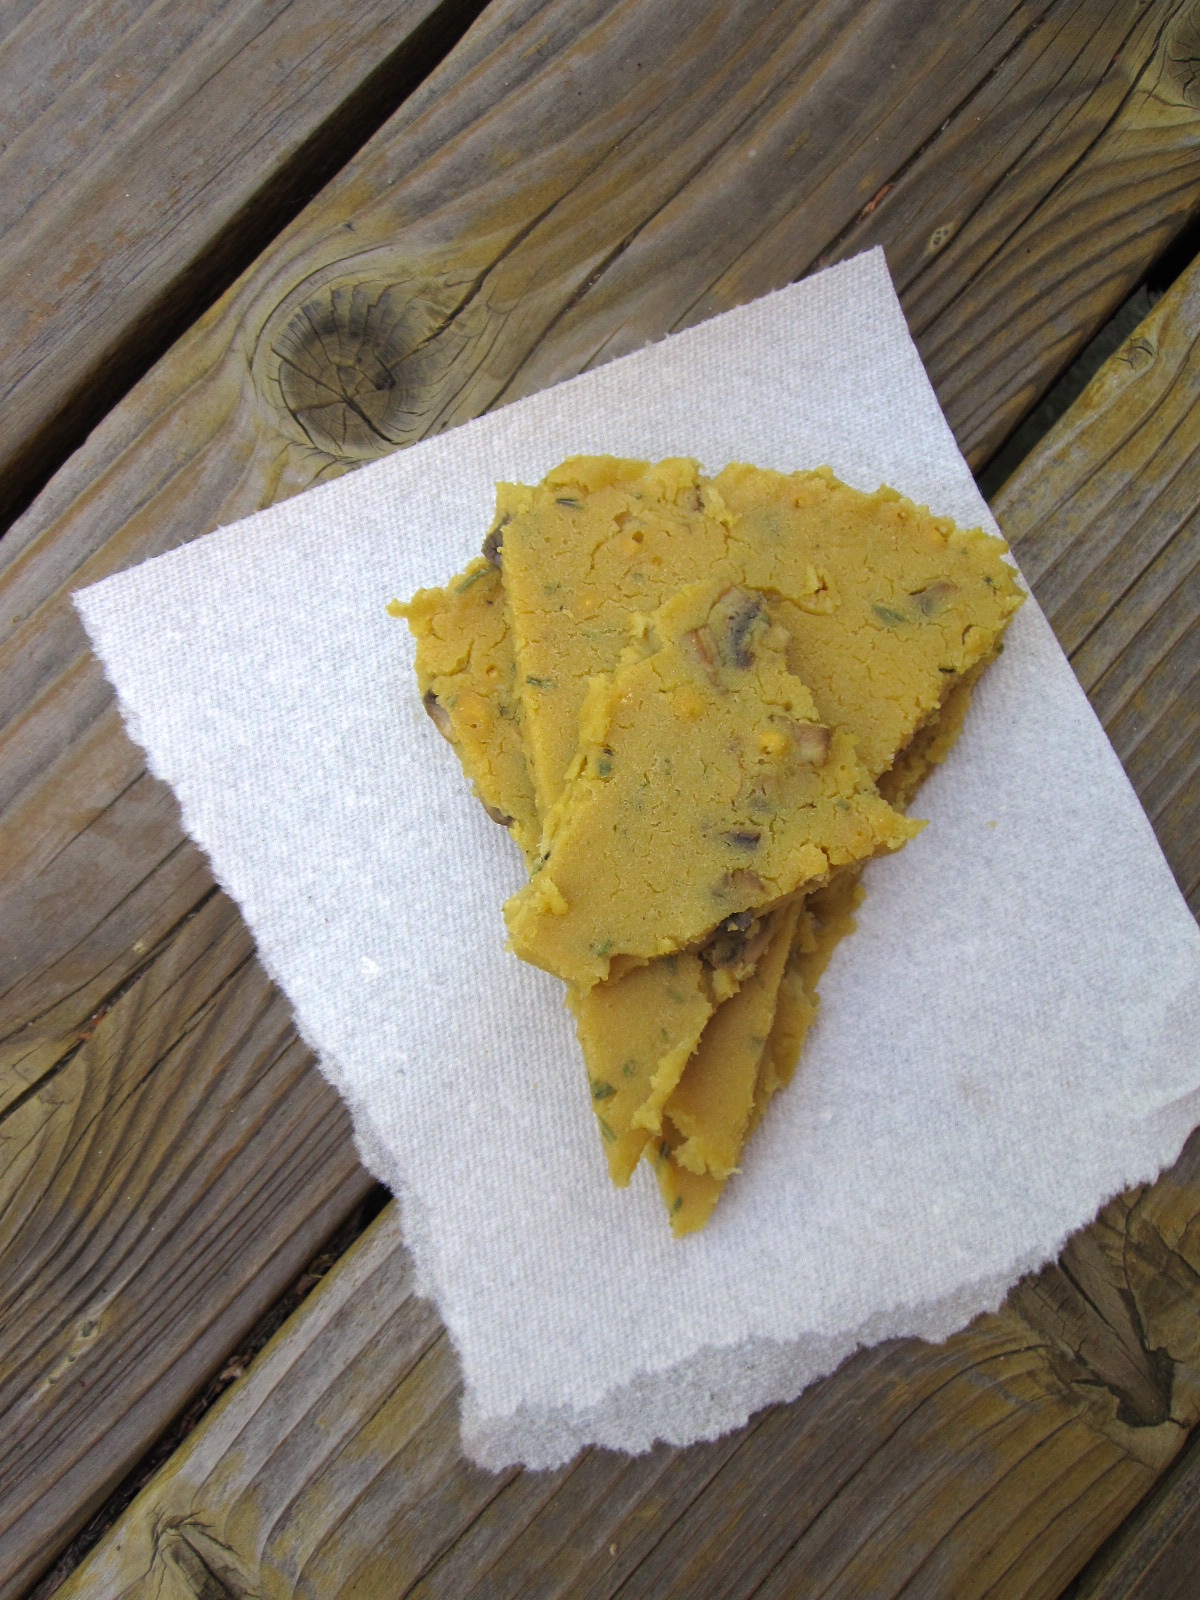
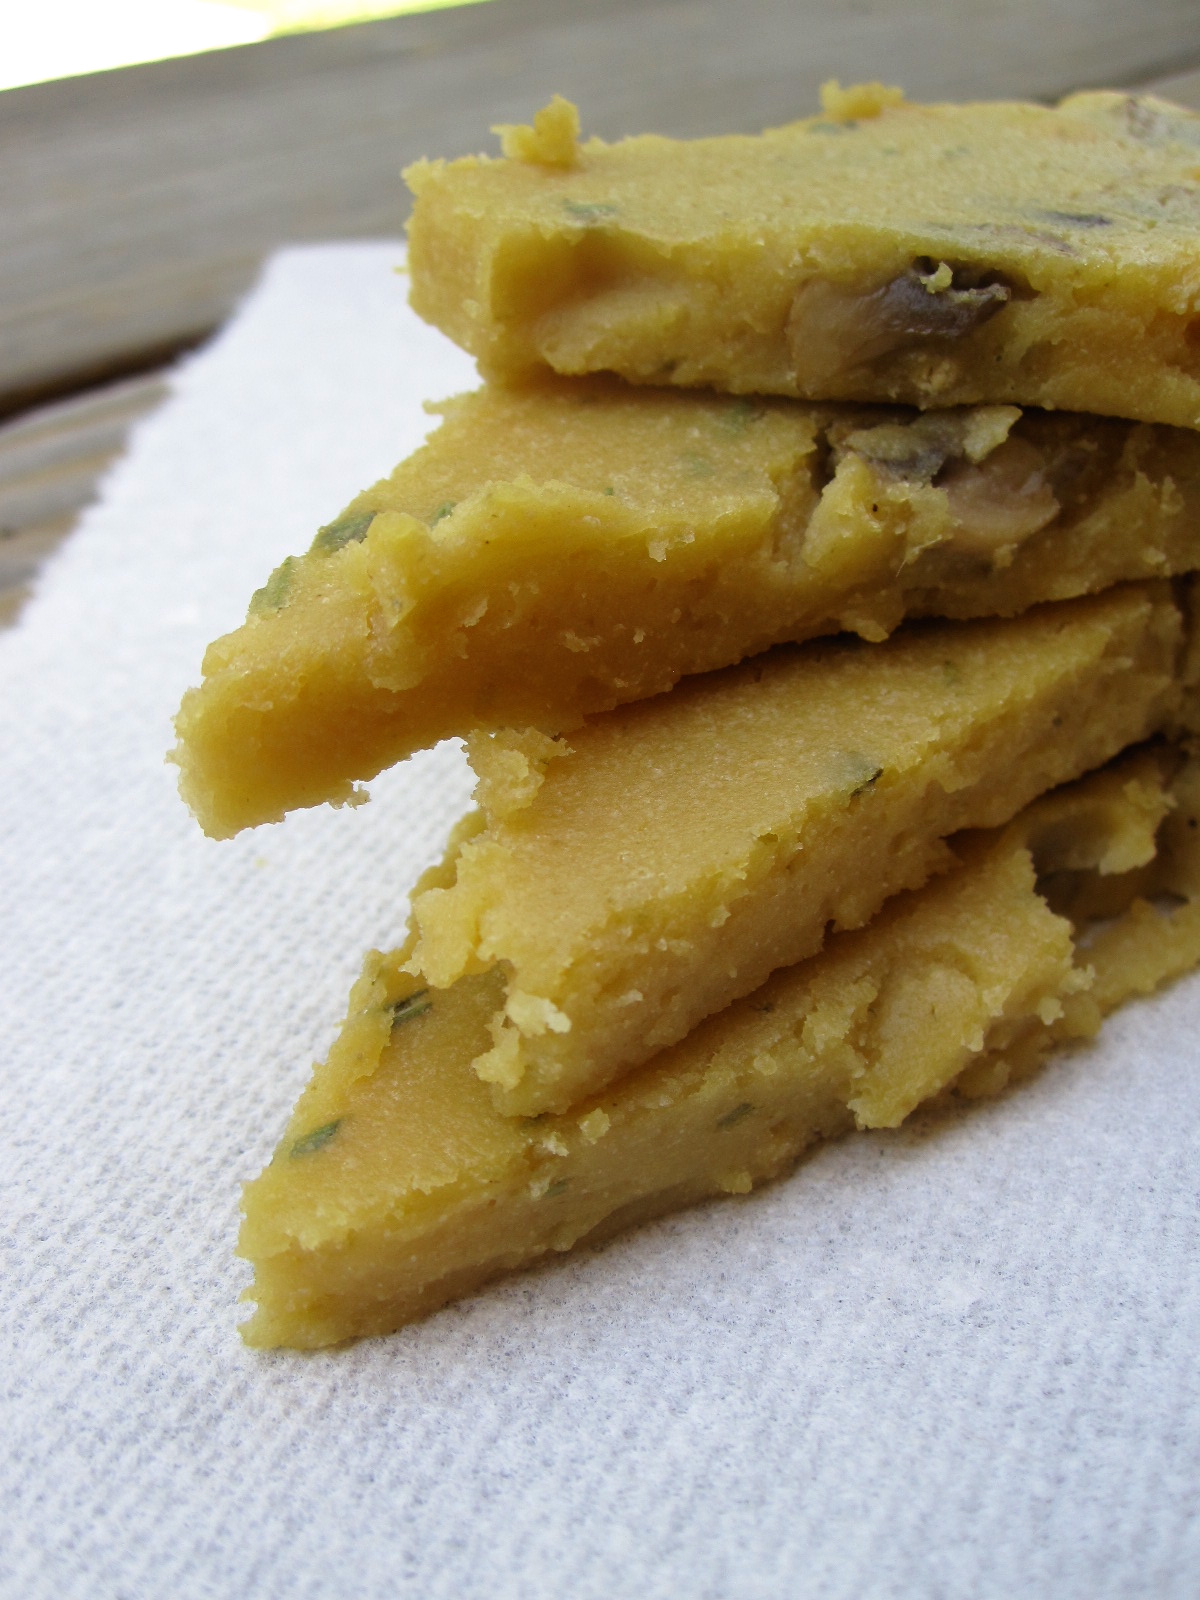
Mushroom and Rosemary Socca

Recipe inspired by Food 52, here! Serves 3, roughly, for an appetizer or a light lunch. Gluten free and vegan.

  • 1 c chickpea flour
  • 1 c water
  • 1.5 tbsp extra virgin olive oil, plus a little extra [divided]
  • 1 tsp sea salt
  • ~1/2 tsp fresh rosemary, finely chopped
  • a good handful of white button mushrooms
  • 1 chunk of frozen basil, or a few good sized leaves, chiffonaded
  • a splash of good balsamic vinegar
  • a glug of avocado oil (or other high heat oil)

IMG_6463

In a medium sized bowl, whisk together flour, water, 1.5 tbsp olive oil, sea salt, and rosemary. Set aside for about 30 minutes, more or less is not a big deal.

Heat a bit of olive oil and basil in a sauté pan over medium. When oil is hot, sauté mushrooms until they begin to release their juices and turn that great shade of golden/brown/sautéed mushroom color. Splash in a bit of balsamic, and cook for a minute more. Remove pan from heat, and pour slightly cooled mushrooms into the batter.

Preheat the oven to 450, and muscle out your cast iron skillet [mine is about 11″, so my socca is fairly thin]. Stick the skillet into the preheating oven for a bit so it gets hot enough that you need an oven mitt to take it out. Pour that glug of avo oil into the preheated skillet and swirl it around so it evenly coats the bottom. Pour the batter into the prepared skillet, and place it back into the oven. Bake for 6-8 minutes, until the top is just firm. Remove and let rest for a few minutes before cutting and serving. I took all of mine out of the skillet and let it cool on racks for a bit, as I didn’t want it to overcook. Keeps fairly well in the fridge for at least a day, but is best served right after it’s made.

IMG_6465

Startlingly Green Sauce

I apologize in advance for the vagueness of this recipe. It’s really up to your taste, so use what sounds good and tastes appealing to you! I use whatever I have on hand, but typically the base ingredients are the same. Incidentally, this makes an excellent pasta sauce… Gluten free, vegan. Makes about 1 cup.

  • two good handfuls of mixed greens
  • 1 c frozen peas, defrosted
  • 1 tbsp extra virgin olive oil
  • salt+pepper to taste
  • ~1/4 c nutritional yeast
  • ~1 tsp balsamic vinegar
  • 1/4 c raw cashews, soaked for a few minutes for easier blending
  • 2 tsp frozen basil, or a good handful of fresh
  • 1/2 tsp dried oregano or diced fresh
  • perhaps a splash of Bragg’s liquid aminos, if you’re feeling it

Chuck the load into your food processor, and blend the crap out of it! Taste. Like what you taste? Fab! Eat! Not so much? Adjust as needed. More salt… more nutritional yeast… garlic? Why not. The green sauce is your oyster. Spread on whatever it needs to be spread on, i.e. socca and pasta and other delicious things.

IMG_6467

Corn husks are obnoxious little suckers

IMG_6438

Okay so there’s this unwritten rule/trend thing in the food blogger universe that you’re apparently supposed to make red, white and blue food on Memorial Day. Barring that, at least burgers. And probably alcohol. At least barbecue-outside-summer-food. For heaven’s sake, grill SOMETHING.

IMG_0421

I charred something, does that count??

Oops.

Sorry.

IMG_0437

Except not really because um HELLO, TAMALES AND FLAN?!

IMG_6432


IMG_6433

I just like to be different.

IMG_6434

This was sort of like a Carneval meets Cinco  de Mayo meets Memorial Day mash-up kind of feast. And I wouldn’t have it any other way in my nutty food universe. Straight up homemade green chile chicken tamales + coconut sugar flan + vegan, gf, refined sugar free peanut butter date-oat cookies (because there was time in between roasting the tomatillos, soaking the corn husks, and pureeing chilies and garlic and rolling/tying/otherwise fighting with the tamale wrappings—who knew corn husks were so freaking stubborn?!). But SO fun to make. Talk about feeling accomplished with your Sunday—tamales, cookies, homemade chicken stock, and flan all in about 4.5 hours? Boom.

IMG_0427

And even better, I had a cooking buddy! My friend Jill (of the blog Halfway There) and I have regular baking-cooking-kitchen shenanigans get togethers, and this was the latest. We both decided that tamales are WAY more fun with friends. Those corn husks are obnoxious little suckers… [isn’t there some saying to the effect of ‘shared pleasure in increased, shared pain is decreased’?? Something like that, which DEFS applies to tying tamales. Oi. We almost busted out the twine].

IMG_0422And then I had a FAB dinner… AND lunch o’ leftovers on Monday when I got to work for time and a half (yippee!!). Happy belated holiday weekend! Aren’t you glad you’re invisible internet friends with this weirdo who doesn’t bust open the grill on Memorial Weekend? Yeah. Me too.

And okay okay I know this picture is suuuuper inelegant but whatever. This was one of those “OMG! I have a thousand pretty pictures of the wrapped tamales and I’m hungry and OMG WAIT I JUST TOOK A BITE HOW IS THIS SO GOOD must share with my invisible internet friends but my food looks… um questionable by this point?! But they want to know!!! Snap snap snap” moments. You know. I promise that mess down there was mega delicious. Promise.

IMG_6441

Green Chile Chicken Tamales

Recipe only mildly adapted from Epicurious, here. Jill and I got about 18 good-sized tamales out of our batch, with a bit of leftover masa dough and chicken filling (we ran out of decent husks, which was fine by me since then I got leftover filling for lunch… and we got sick of tying them, haha). We also doubled the amount of the sauce, which are the amounts I’ll include below.

  • 1 6 oz bag of corn husks, soaked for at least 3 hours [place in a large pot, pour water over, and weight with a small pan so they stay submerged]
  • 1 pound of tomatillos, husked+rinsed
  • 4 jalapeños, seeded with ribs removed
  • 4 serrano peppers, seeded with ribs removed
  • 8 small garlic cloves
  • a good glug of olive oil
  • 2 c low sodium chicken broth
  • 4 c packed, shredded chicken [we used the meat off of an entire rotisserie chicken]
  • 2/3 c chopped cilantro
  • 1 1/3 c organic vegetable shortening
  • 1.5 tsp salt*
  • 1.5 tsp baking powder*
  • 4 c freshly ground masa flour
  • 2 c low sodium chicken broth

*only if your masa DOESN’T have these

This only looks complicated… it’s just time consuming!

Method can be found here [ugh I’m just too lazy to type it all out and we followed it exactly sooo…. yeah. Laziness ensues].

IMG_0419

IMG_0430

Coconut Sugar Flan

Again, not too difficult, though I for some reason always thought it would be. Yield: 8 ramekins or custard cups. It is refined sugar free and gluten free, but that’s about all you can say… sorry I’m not sorry this isn’t good for you! Ha. Sometimes you just gotta indulge. The recipe is adapted from Food 52, here!

  • 1/2 c coconut sugar
  • 3/8 tsp sea salt, divided
  • 5 eggs
  • 3 c half and half
  • 1/2 c coconut sugar (no, that’s not a typo…)

IMG_0429

Move your oven racks to the lower third, and preheat the oven to 350. Start a pot of water boiling on the stove. You’re going to need a water bath for this, so find a casserole dish or a baking dish that can comfortably hold all 8 of your ramekins. Set it all aside.

Whisk together 1/2 c coconut sugar+1/4 tsp sea salt in a small bowl. Pour the sugar/salt mix into the bottom of each ramekin, making sure the sugar is relatively evenly spread (I found it helpful to shake the ramekin slightly so the sugar would settle).

In a large bowl, whisk together eggs, the other 1/2 c of coconut sugar, and remaining 1/8 tsp of salt until well combined. Heat the half and half in a saucepan until just steaming—you should be able to stick a finger in just barely, but it should be too hot for you to want to leave it there. Let the half and half cool for just a few minutes, then temper the eggs by pouring a ladleful at a time of the hot half and half into the eggs, whisking vigorously the whole time (nobody wants scrambled eggs in their flan. Ewwww), until you’ve poured in all your half an half. If you’ve ended up with egg bits, strain the mixture now (Jill and I have super whisking skills, there were no egg bits to be seen, yessss). Carefully skim the foam off the top of the liquid, then ladle the mixture careful into the ramekins, being careful not to disturb the sugar. Some will float up, but if you do it slowly enough most of it should stay down.

Remember that pan of boiling water? Yep, we need it now. Pour it carefully around the ramekins, until it comes about halfway up the sides of the dishes. CAREFULLY place this whole thing onto the bottom rack in your preheated oven. Bake until the flan is *just* wobbly in the center—-the very center should wobble, but it will look like it’s wobbling under a more solid top—-about 25-30 minutes, depending on your ramekin size and depth. Remove from the water bath with tongs, and let cool for 15 minutes before moving them to the fridge to chill for at least 4 hours.

To serve, run a thin knife around the edges of the custard and invert onto a plate. Ogle the amazing saucy, custardy deliciousness that has just appeared on your plate, and thank all the gods you decided to make tamales and flan on a random Sunday. Mmm.

Leftovers can be stored in the fridge, but wait what?! You have leftovers?? Hold the phone, I’m coming over…

IMG_0433


Cookies n’stuff.

IMG_6423

Excuses? No, not really.

I don’t have much to say for myself.

IMG_0414

Except that it’s FRIDAY which means…

I missed cookie Thursday, so obviously we need to have cookie Friday. Duh.

IMG_6430

Besides that, I am officially UN spotty AND I have tonsillitis no longer. What what! Clearly cookies are a necessary celebration. Besides that, I riffed on the lentil cookies again and these were too unusual and good not to share. I got the idea since I wanted to figure out another gluten free cookie based on lentils that could be chocolate free for my choco-free friends (Jill, these are for you!).

IMG_6417

I promise to do something savory or NOT a cookie some point soon. I mean, ideally my next post but my food life is unpredictable so no guarantees.

In other random food news (such is my life: a string of food-events. Breakfast! Snack! Lunch! Snack! Dinner! Snack!), Mutti had a birthday last week, which meant deliciousness at Boulevard and high tea. Which also meant a food coma ensued. Sooo worth it. Apparenlty there are also going to be a thousand pictures in this post, sorry I’m not sorry I reeeeealllyyy like photography (or whatever it is that I do)!!

IMG_0394

IMG_0391


IMG_0397

IMG_0396

Truth:

IMG_0407

Additionally, did you know that eggs+sautéed mushrooms and spinach+chopped walnuts+chopped dates+a small sprinkle of parmesan is unaccountably delicious? Because it is. Promise. Hey!! This is savory. Mostly… Do I get any points for that??

IMG_0368

But anyway. Cookies. The reason we’re here in the first place. Happy allergen free cookie Friday! Proof that everyone can (and should) enjoy a cookie (or five) :)

IMG_6421

Peanut Butter Lentil Cookies

Lightly sweet, as I prefer my ‘snacking’ cookies (as opposed to full on indulgent dessert). Full of protein and fiber, as well as a host of other minerals and nutrients and such (phosphorus, manganese, Vit B6), they’re also gluten free, vegan, and refined sugar free. I’ll snap to that. Recipe modified from the chocolate-chocolate chip lentil version from last week, here. Yield: 15 cookies (maybe would have been 16 if I could have stopped eating the dough, oops).

  • 1.5 c green lentils, cooked
  • 1/3 c organic salted peanut butter (mine was chunky)
  • 1/2 c rolled oats
  • 1/4 c pure maple syrup
  • 1.5 tsp vanilla extract
  • 1/4 c unsweetened shredded coconut
  • 1 tsp baking powder
  • 1/4 c dark chocolate chips**
  • 1/8 c raw cocoa nibs**

**replace with carob for chocolate-free cookie fabulousness!

IMG_6420

If needed, precook your lentils (1/2 c dry=1.5 c cooked).

Preheat the oven to 350, and line a baking sheet with parchment paper.

These are beyond easy (thank goodness for that because excuse me but who wants to make complicated cookies when they want cookies NOW?! Yes, that’s what I thought): Toss cooked lentils into the food processor, and process until mostly smooth. Add in peanut butter, oats, maple, vanilla, coconut, and baking powder, and pulse until it’s all combined into a big, deliciously thick mess. Stir in chocolate chips and cocoa nibs (I just take out the blade and use the bowl of the food processor). Drop by the tablespoon-sized ball onto the prepared cookie sheet, and bake 12  minutes until the tops are just firm. Let cool for a few, then move to a cooling rack to cool completely. Or just devour them immediately; why bother taking up fridge space for storage?!

IMG_6428

Tonsillitis=antibiotics=spottiness. Excuse me WHAT?!

IMG_6421

Cookies.

For when you start with tonsillitis and then end up with an allergic reaction to amoxicillin, AFTER the entire course is done.

I mean, COME ON.

IMG_6420

Dear body: Okay. I get it. You are no longer tolerant of things ending in ‘cillin’, and given that I’m not crazy about antibiotics anyway (unless its a dire situation, ie. can’t see tonsils on account of too much gunk), I promise promise not to take any more of the ‘cillin’ family. Next time please can we just use our words and you can TELL me that you don’t like something, rather than SHOWING me how much you hate it with a massive out break of red spots? Okay thanks. Love, soul residing in currently very spotty environs.

Because I really really really hate being spotty. Cookies might not even assuage how much crap this is.

IMG_6419

Now I’ve had several bendadryl and am somewhat struggling to complete my sentences. Because… I really wanted to spend my weekend looking like a red and white spotted cheetah. NOT.

Le sigh.

Since my friends all know me so well, they naturally suggested cookies. So I made myself cookies because that’s apparently what you do when your bipedally locomoting meat vehicle decides to throw a massive fit and make you unfit for viewing by other humans.

IMG_6422

But true to form, of course I made weird cookies. I mean, I’m stuck at home being spotty so why not get weird?! Benadryl makes me weird anyway so let’s just get weirder, right?! Except weird is my normal because a) you already know I put lentils in everything and b) I’ve already subjected you to green flecks in my cookies so this is really just riffing on an old theme…. of my habit of putting green stuff where it probably doesn’t belong. Too bad. I’m spotty and I like it and therefore … obviously it belongs there. I think my life is complete now: I have successfully put lentils and power greens into a cookie and made them taste good. WHAT.

On the plus side, my tonsils look normal now!

IMG_6426

Powerhouse Cookies

Fudgy, chocolatey, and… full of greens?! Gluten free, vegan, refined sugar free. High in protein, low in sugar. Not too sweet. So freaking easy since all you really get dirty is your food processor and a spoon. Yield: I got 19 cookies, on the smaller side (but not too small). Recipe adapted from Homemade Hearts, here!

  • 1.5 c black lentils, cooked
  • 1 c mixed power greens (mine was kale, chard, and spinach)
  • 1/2 c rolled oats
  • 1/4 c unsalted almond butter
  • 1/4 c pure maple syrup
  • 1.5 tsp vanilla extract
  • 1/3 c unsweetened cocoa powder
  • 1 tsp baking powder
  • 1/4 tsp fine sea salt
  • 1/4 c extra dark chocolate chips + 1/8 c raw cocoa nibs

IMG_6424

If needed, precook your lentils (1/2 c dry + 1 c water until soft).

Line a baking sheet (or two) with parchment paper (I used one. lazy.). Preheat the oven to 350.

In a food processor, whizz lentils and greens until uniformly blended (though there should still be a bit of texture to it). Toss in oats, almond butter, maple, vanilla, cocoa powder, baking powder, and salt, and blend to combine, scraping down the sides of the food processor as needed. Remove blade, and stir in chocolate chips and cocoa nibs. Drop by the rounded tablespoon onto the prepared cookie sheets, and bake for 13 minutes, until the top is just slightly firm. Remove and let cool on a rack. Store in an airtight container in the fridge!

IMG_6427

A case of RUDE tonsils

IMG_0381

So guess what.

This is what happens when your tonsils rebel and you end up with…

TONSILLITIS.

So. RUDE.

IMG_0374

Look what it made me do? I was feeling sorry for myself and this happened.

And I kind of thought it was pretty so I took lots of iPhone photos while I was becoming one with the couch. Which is so not my mo, I’m getting twitchy and this is only my first full day of antibiotics (which I hate but in some cases are obviously necessary).

Ughghghhghghg.

IMG_0375

Thankfully things look a little better with a bowl of trashed up banana bread in front of you. I took a perfectly good-for-me loaf of grain free, refined sugar free banana bread and dumped a load of homemade chocolate hazelnut butter and vanilla ice cream on it. Because, obviously. I do not ever need to justify my ice cream but in this case I have tonsillitis and clearly everyone knows that tonsillitis=ice cream. There’s got to be an official rule written down somewhere that says that… right? Whatever. Just humor me, I’m sickly and cranky. And my banana bread is gone now so I can’t trash up any more of it.

IMG_0378

Good thing I still have ice cream. I’ll have to just make do with that…

IMG_0372 Simple Grain Free Banana Bread

This is one of my favorites—it comes out with a great crumb, it’s moist but not soggy (ew, no one wants that), and it bakes up cleanly in less than an hour. Grain free+gluten free, refined sugar free (in fact, it doesn’t have any sweetener added at all, except banana), and paleo. Yay! I adapted the recipe from Peanut Butter Runner, here! Makes one loaf.

  • 3/4 c almond flour
  • 1/4 c coconut flour
  • 3/4 tsp baking soda
  • 3/4 tsp baking powder
  • 1/2 tsp fine sea salt
  • 1 tsp cinnamon
  • 1/4 tsp nutmeg
  • 2 tbsp unrefined coconut oil (measured when completely liquid)
  • 3 medium-large, extremely ripe bananas, mashed
  • 2 eggs
  • 1 tsp vanilla extract
  • shredded unsweetened coconut for topping, optional

Line a loaf pan with parchment paper, and preheat the oven to 350.

Whisk together almond flour, coconut flour, baking powder and soda, salt, cinnamon and nutmeg, trying to get all the lumps (sift coconut flour if it’s super lump-tastic). In a smaller bowl, whisk together melted coconut oil, mashed bananas, eggs, and vanilla. Pour wet into dry and stir until just combined—the batter is thick, and almost a little ‘dry’, but it spreads out easily into a loaf pan. Top with shredded coconut, if using, and bake for 45 minutes until a tester comes out clean.

Use the parchment to lift it out onto a cooling rack, and let cool completely before wrapping in foil. It does best stored in the fridge!

Trash it up with anything you feel like. Chocolate? Peanut Butter? Ice cream? (I mean, obvi)… This banana bread is your oyster.

IMG_0376

If life hands you lemons, you should obviously make lemon bars

IMG_6381

LEMON BARS!

With MEYER LEMONS!!

IMG_6380


Life doesn’t get much better than that.

Especially since we had a random little heat wave in the middle of last week. And of course, it hit Thursday and I immediately wanted cookies because apparently Thursday=cookies. But seeing as it was waaaayyy too hot for any normal person to want to even consider turning on the oven, I wisely opted for no bake, raw lemon bars. Because they took about thirty seconds to throw together and then all I had to do was shove them in the fridge for chill time until I ate them. Lazy lazy and very nearly instant cookie gratification. Wheee!!!

IMG_6391

Also, I love lemon desserts but I’m wildly picky. For instance, I find most lemon loaf cakes to be waaaayy too sweet—almost cloying and definitely icky. I love lemon scones and lemon curd—both of those are usually a good balance of not too sweet and just sweet enough. These bars totally fall into that category too—they’re not overly tart, but neither are they stupid-sweet.

Besides all that, they also happen to be raw, vegan, gluten free, and refined sugar free! Sooo…. breakfast, anyone??

IMG_6384

And really. Anything with Meyer lemons: sign me up. They are SO much more exciting than a regular lemon (although these bars would also be delicious with regular lemons, I’m sure). Lemons=spring! Perfect springy dessert/breakfast/feelgoodtreat/younameit/please eat it.

That being said, these take pretty much five minutes to make so you have nooooo excuses. Lemon bars!! With nearly instant gratification!! YAY! Do it.

IMG_6383

Raw Meyer Lemon-Coconut Bars

Recipe lightly adapted from Pure Ella, here! Raw, vegan, no bake, gluten free, and refined sugar free. They’re full of healthy fats and whole grains… AND they’re delicious. Recipe makes about 9 squares—I did mine in an 8 by 8 pan, but I think next time I’ll use something smaller so there’s a  better crust to icing ratio.

IMG_6389

For the crust:

  • 1/3 c almond flour
  • 1/2 c rolled oats
  • 1/2 c raw buckwheat groats
  • scant 1/4 tsp fine sea salt
  • 3/4 c dates, pitted (and soaked if they’re hard)
  • 3/4 c unsweetened, shredded coconut
  • 1 tbsp pure maple syrup
  • fresh zest of one meyer lemon

For the icing:

  • 1/4 c unrefined coconut oil
  • 2 tbsp coconut butter
  • 2 tbsp pure maple syrup
  • fresh juice of 1/2 a meyer lemon

Line your preferred pan with a parchment paper and set aside.

In a food processor, whiz together almond flour, oats, buckwheat, salt, dates, coconut, maple, and lemon zest until thoroughly mixed and blended (you’ll need to scrape the sides a bit). Upend the processor over your prepared pan, and pat the crust down with your hands until it’s evenly distributed.

In a microwave-safe bowl (or on the stove), melt coconut oil and maple syrup together. Once everything is fully melted, stir in coconut oil and stir until that melts as well. Set aside until this cools off a little, then stir in the lemon juice. Pour all this goodness over your prepared crust, and carefully transfer to the fridge to chill for at least an hour before cutting and serving. Keep it stored in the refrigerator, assuming there’s any left to store…

IMG_6388

Do I even need a reason??


IMG_6335

Mo’ chocolate.

Because.. why?

Wait. Do I really have to answer that question?! Because… chocolate! End of story.

IMG_6334

Besides, I actually made these cookies over a week ago but I’ve just been too busy and then Easter happened and there was that fabulously drippy hippie cake and stuff… and these cookies kind of languished in my camera for a little bit but they were SO FREAKING GOOD that I knew I would share them eventually. So don’t worry. I promise not to hold out on you too much longer.

IMG_6336

In other news… IT’S RAINING! Wheeeee!!! Which means I really want to bake something (because rainy weather=baking, everyone knows that), but as per usual I made a small batch of cookies last night because I was seriously (my autocorrect tried to change that to serially, also true) jonesing and I neededcookiesnow. So I made this awesome batch of vegan peanut butter-coconut-chocolate chippies, and they disappeared by 9:30 pm. I made them at 4:30. Ha. I did have quite a bit of help though, as prodigious as my stomach capacities are, I think that would have stumped even me.

But anyway, I really like cookies, can you tell?

IMG_6329

Also. I float in a hydrotherapy/sensory deprivation tank several times a week and even though I shower off really thoroughly afterwards, I always end up with epsom salts in my ear crannies the next day. I think it gets into my brain and then somehow works its way back out. I’m not really complaining, a good solid brain salting can’t be a bad thing now and then…

Soooo yeah. I’m endearingly random and salty but these cookies are ridiculously delicious—I highly suggest a cookie Friday incident. And if you make them, bring me one?! I’ve seem to have eaten all of mine…

IMG_6337

Grain-Free Chocolate Pecan Cookies

These are a little sweeter than the cookies I usually make for everyday consumption, but they are SO DELICIOUS. Fudgy, chocoaltey, pecantastic and they just happen to be gluten free, grain free, and vegan. AND refined sugar free! Winner winner. I adapted the recipe only slightly from The Healthy Family and Home, here! Yield: 22 cookies.

  • 1 c organic almond butter (mine was creamy unsalted)
  • heaping 1/3 c coconut sugar
  • 1/4 c unsweetened cocoa powder
  • 1/2 tsp baking soda
  • 1/4 tsp fine sea salt
  • 3/4 c extra dark chocolate chips
  • 1/2 c roughly chopped pecans
  • 2 tbsp ground flax+6 tbsp water (2 flax eggs)

Preheat the oven to 350, and line a baking sheet with parchment paper.

These are cookies, peeps: this doesn’t get any easier!

In a small bowl, stir together flax seeds and water. Let sit while you do everything else: in a large bowl and using your biceps, stir together almond butter, coconut sugar, cocoa powder, baking soda, salt, chocolate chips and pecans. Toss in flax eggs. Drop by the rounded spoonful onto the prepared cookie sheet, and bake for 10 minutes. Let cool on the baking sheet for a few, then move them to a cooling rack to cool completely. These are a little soft when cooling, so I just moved the whole parchment paper over and let them keep cooling completely on the rack. Store in the fridge, if they last long enough! Mine barely did…

Kelp noodles are ridiculously distracting

IMG_6320

I really freaking love kelp noodles like WAY TOO MUCH.

I want to eat them all day, every day.

Which is weird, given that they pretty much taste like… nothing. It’s like eating noodley nothing.

IMG_0327

So maybe… I’m really obsessed with the almond butter sauce. Realistically that’s probably it, given my history of obsession with anything nut butter related. Sheesh. I’m so predictable.

Whatever. Kelp noodles+almond butter = AMAZING.

IMG_6325

But actually this post is about banana bread. Um. Non sequitur? Sorry, I was just really excited about my leftovers for lunch today… and I’ve been working too much and my I think I lost my brain somewhere between my last six days of work in a row and here. Has anyone seen it? It’s lumpy.. and grey…

Right. Anyway. Banana bread. Not just any banana bread though—this is grain free, refined sugar free, and has CHOCOLATE in it. So I mean, obviously. What are you doing still standing there?? Why aren’t you in your kitchen making this immediately?
Good. I see you trotting off towards your bowls. My pictures have apparently had their desired effect…

IMG_6324

Sorry if there’s drool on your keyboard, I take no personal responsibility for that.

IMG_6318

This went over quite well with its audience: dense with a  good crumb, equal parts chocolatey and bananay… not too sweet but just sweet enough. Excellent with ice cream, if I do say.

IMG_6317

Grain Free Swirled Chocolate Banana Bread

Recipe adapted from My little jar of spices, here! Yield: 1 loaf. Grain free, gluten free, refined sugar free.

  • 3 very ripe bananas (the blacker and more disgusting the better), about 2 cups mashed
  • 2 c almond flour
  • 1/3 c ground flaxseed
  • 1.5 tsp baking soda
  • 3 tbsp salted butter, melted
  • 2 tbsp raw honey
  • 1 egg
  • 1 tsp vanilla extract
  • 2 oz extra dark chocolate, 70% or above
  • 2 tbsp coconut oil
  • 3/4 c pecans, chopped
  • 1 tsp raw honey

Grease a loaf pan (I use coconut oil), and preheat the oven to 350.

In a largeish bowl, whisk together almond flour, flaxseed, and baking soda. Set aside. In a small saucepan over low heat, melt butter and honey together until incorporated, stirring constantly until the mixture is a bit thickened. Remove from heat. In a medium bowl, mash the bananas until you get most of the lumps out. Whisk in egg and vanilla, followed by the butter-honey mix. Whisk to combine. Pour all of this biz into the dry ingredients, and stir until just combined.

In a microwave safe bowl, melt dark chocolate and coconut oil together, stirring occasionally. I usually do mine on 30 second bursts, stirring in between. Divide out half of the batter and stir in the chocolate.

Drop the batter into the loaf pan, alternating between chocolate and banana. I used heaping spoonfuls of each, swirling the tops sightly as I went (really, there is no wrong way to do this. Pretend it’s art!). In a small bowl, combine 1 tsp honey and chopped pecans until mixed. Toss this evenly on top of the batter, spreading it out so it’s all even and pretty. Bake for 45-50 minutes, or until a tester comes out clean. (Mine was perfect at 50) Let cool in the pan completely, and store in the refrigerator. I just left mine in the pan for 3 days, and it was totally fine.

IMG_6319

Rustic chunktastic cookies strike again

IMG_6281

Food girl strikes again.

And so does Cookie Thursday. Or okay fiiiiine…. cookie Wednesday. Picky picky.

IMG_6285

I haven’t posted a good, rustic chunktastic cookie in awhile but these are pretty fantastic. And sort of sorry (except not really) that the last eleventy posts have all featured cookies. My savory life these days is a little lacking, sadly, due to ridiculous scheduling (sort of my fault, sort of not) soooo… yeah. At least I have cookies! Life is really lame if you don’t have cookies, trust me on that one.

IMG_6282

And well, cookies.

Because, Thursday.

And look! I just can’t help it. Once a mermaid, always a mermaid. Beachy weekend day off= happy happy happy!

IMG_0313

IMG_0312

IMG_0277

I’m feeling slightly less than coherent at the moment—I just came from jazzercise and then pounded down some toast (hello, enthusiastic and energetic dancing requires immediate carb replenishment, obviously) and now it’s only 10:45 and I already want lunch. Um. Hello, stomach? You’re not being very cost effective right now. Kind of like when you make me so starving at work that I eat ALL of my food on my first break and then that apparently doesn’t make a dent so then I have to go scrounge up some other victuals. As I said.. Not cost effective. But also, I like eating… so really, maybe we can come to some middle ground here…

Like lunch. At 11. Ha.

Oaty Coconut Almond Cookies

Recipe lightly adapted from Curly Girl Kitchen, here! Thick, chewy cookies filled with oats and coconut. They have a fab almond taste from the almond butter and extract, so if almond is your jam these are for you. Whole grain, refined sugar free, and gluten free. I made a half batch for a yield of 12 [measurements for the half batch posted here].

  • 1/4 c smooth, unsalted almond butter
  • 1/6 c maple syrup
  • 1 tbsp melted coconut oil
  • 1 tsp vanilla extract
  • 1/4 tsp almond extract
  • 1 egg
  • 1 c rolled oats
  • 1/2 + 1/8 c almond flour
  • 1/4 c unsweetened coconut
  • 1 tsp baking powder
  • 1/2 tsp cinnamon
  • 1/8 tsp nutmeg
  • heaping 1/4 tsp fine sea salt
  • 1/4 c dark chocolate chips

Preheat the oven to 350 and line a baking sheet with parchment paper.

In a large bowl, vigorously whisk together almond butter, maple, coconut oil, vanilla extract, almond extract, and egg. In a smaller bowl, combine oats, almond flour, coconut, baking powder, cinnamon, nutmeg, and sea salt. Stir wet into dry until combined, and fold in chocolate chips.

Drop by the large spoonful onto the prepared cookie sheet. These won’t spread too much, so feel free to cram them all on there. Bake for 8 minutes, then let cool on the cookie sheet for a minute or two. Remove them to a cooling rack until they cool completely. Store them in an airtight container, if they last that long…

IMG_0307

This has absolutely nothing to do with cookies but just illustrates how I’m really like five years old. Ice cream is not complete without rainbow sprinkles, everyone knows that…

Nutty shenanigans part deux

IMG_6273

I’ve come to be known by two names.

Apparently wherever I go I’m either “Hayley-from-Yoga” or “the food girl”.

Not even surprised.

In.the.slightest.

IMG_6266

But whateverrrrr, both are obnoxiously appropriate and I love both epithets. Because really. Yoga and food. OBVI. If you hang out with me on the regular, you’re laughing right about now. Right?! My life = yogafoodfoodyogayogafoodyogafood…

I am SO fine with that.

IMG_6268

When I got back from my break yesterday, two of my coworkers go—“Oh hey, a woman came in for you today, asking if the food girl was working today!” Ahahaha. Genie pants and short hair and constant food discourse are obviously dead giveaways.

And also.

COOKIES!

IMG_6269

Happy Friday, here are cookies in your inbox! Dark chocolate lovers and hazelnut nutters rejoice, these are so up your alley. I told you I was going to do something fab with that hazelnut butter I made the other day. And these are delicious little nuggets of slightly-salty-not-too-sweet-dark-chocolate-goodness. Mmm. Love, The Food Girl.

Okay bye. Time for…

Wait for it.

YOGA! You’re shocked, I know…

IMG_6275

Dark Chocolate Hazelnut Cookies

I thought of these as kind of fudgy-crumbly. I liked the texture, though I generally prefer chewy cookies. I thought these would flatten out, but I chilled my dough in the freezer for 30 minutes, and they ended up as cute little puffy nuggets. Which is obviously fine, it’s a cookie now… let’s not get too picky. These are gluten free, paleo (probably), refined sugar free, and high in healthy fats and antioxidants! Not too sweet, since the focus is on really dark chocolate, but if that’s your jam, these are for you. Recipe lightly adapted from A Calculated Whisk, here! I made my own hazelnut-chocolate spread, so these don’t use anything processed. Yield: 12.

IMG_6270

  • 1 c homemade dark chocolate-hazelnut spread (recipe here)
  • 3 tbsp tapioca flour/starch
  • 2 tbsp unsweetened cocoa powder
  • a pinch of fine sea salt
  • 1/4 tsp baking soda
  • 1 egg
  • generous 1/2 tsp vanilla extract
  • 1/3 c extra dark chocolate chips

Line a baking sheet with parchment paper.

This really doesn’t get any easier. Stay with me now, if you blink you might miss something… In a large bowl, whisk together tapioca flour, cocoa powder, sea salt, and baking soda. Add in dark choc-hazelnut spread, egg and vanilla, and stir to combine. Toss in chocolate chips and make sure they’re evenlyish distributed.

Roll the dough into tablespoon size balls, and chill for 30 minutes in the freezer. Preheat the oven to 350.

Once dough is done chilling, transfer the dough balls to the prepared cookie sheet, and bake for 11-12 minutes, until the top is just set. Remove from the oven and sprinkle with a little extra sea salt. Let them cool on a rack, and store any leftovers in an airtight container.

See? I told you not to blink…

IMG_6272