Hello!
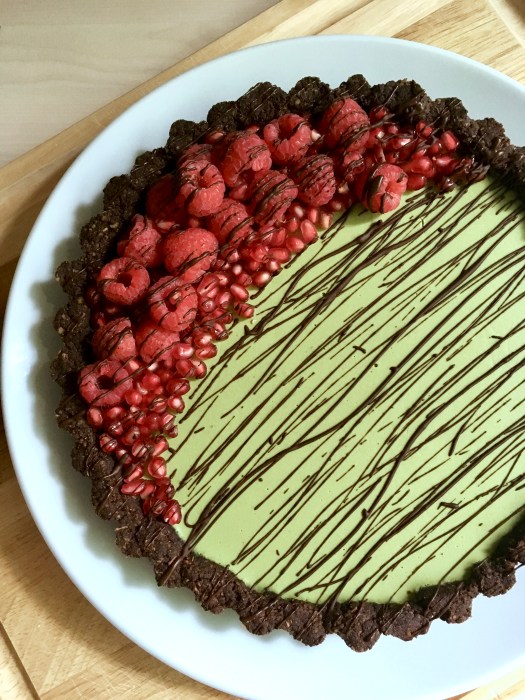
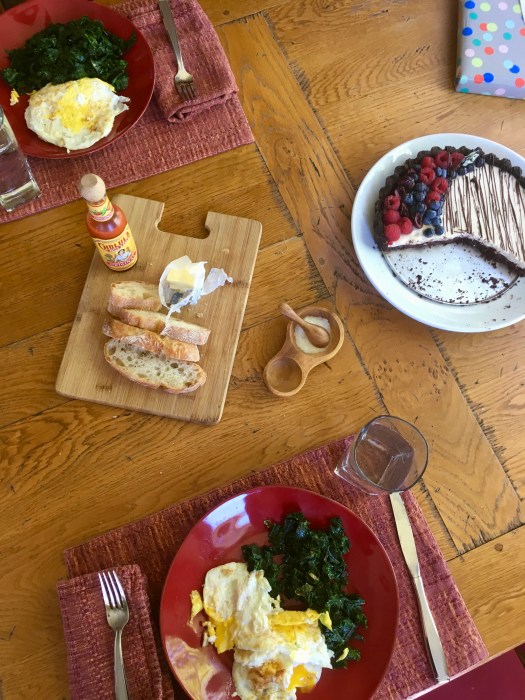
I made a green thing! It’s been awhile but I LOVE matcha, so I’m really overdue. This was DELICIOUS – we ate all but 1/4 of it in two sittings, haha! To be fair, we hiked this morning so it was part of a well-earned post-hike brunch. Also eggs. Also kale!! Of course. I know, you’re shocked. It was a beautiful (if a bit hot, and very windy) day – the air was so clear.


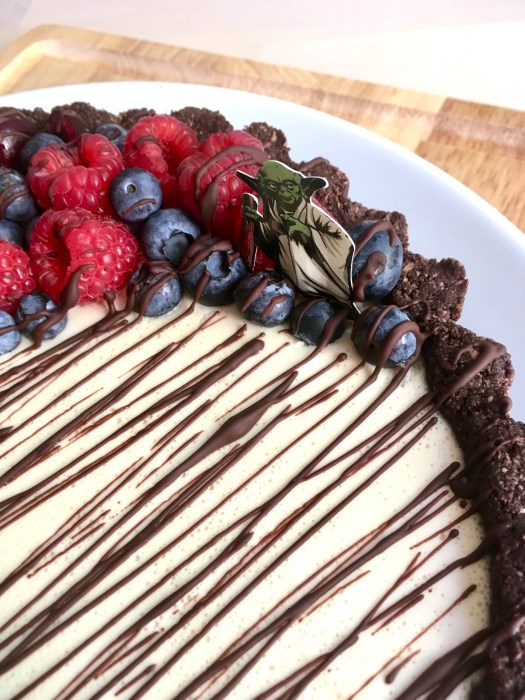
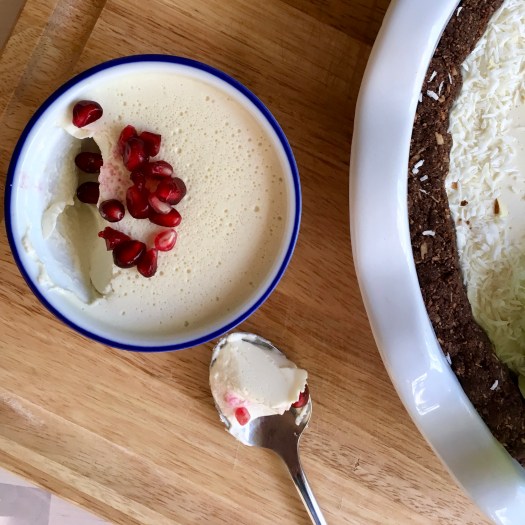
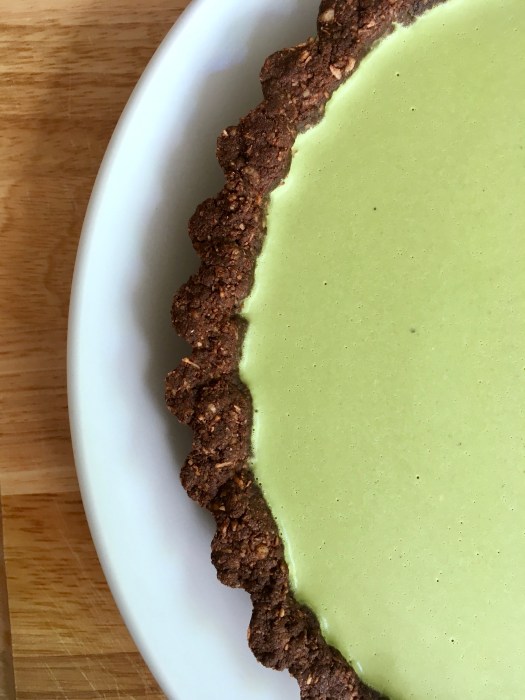
I highly recommend this dessert if you love matcha – it’s very matcha-forward in the best way. I love matcha and chocolate together; they’re a matcha made in heaven! HAHAH see what I did there, I crack myself up. It’s also light, and makes for both a great dessert and awesome breakfast.

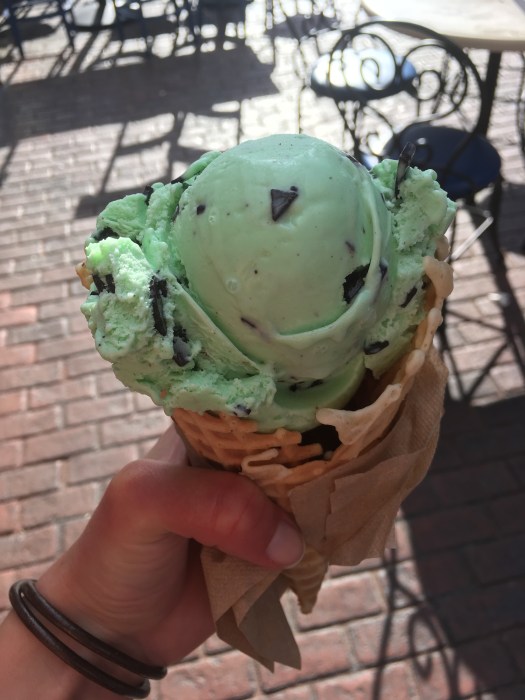
It’s October already! Can someone explain that? Jeez, September went fast. I did go to Disneyland though, that was fun! It’s only been about a decade since I was there last. While there, I had ice cream for lunch (more green things), which was really an inspired lunch choice, I must say.

Anyway – this matcha panna cotta tart is grain free, gluten free, refined sugar free! It can be dairy free too, if you swap out the greek yogurt for something nondairy. Easy to put together and requires only about 15 minutes of oven time, which is alway a bonus.

Happy fall!


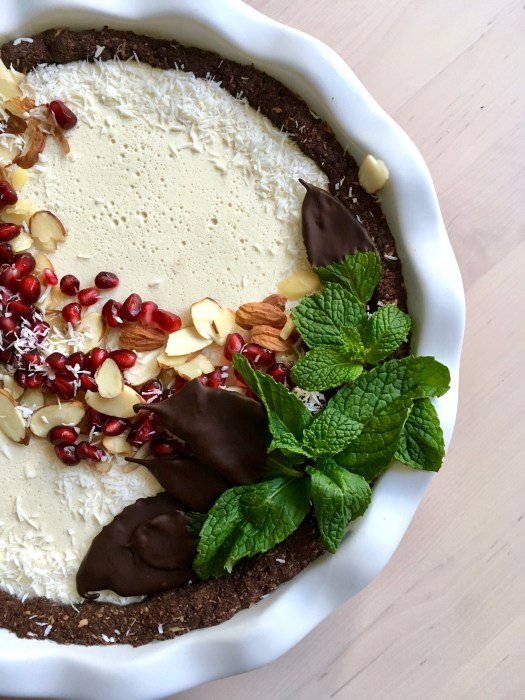
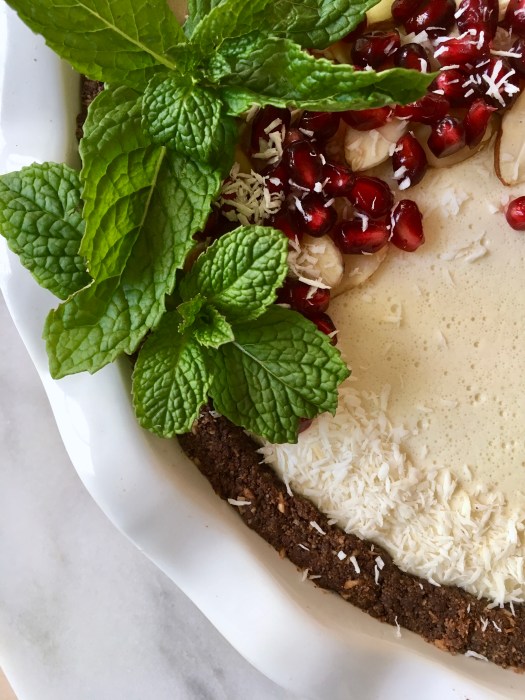
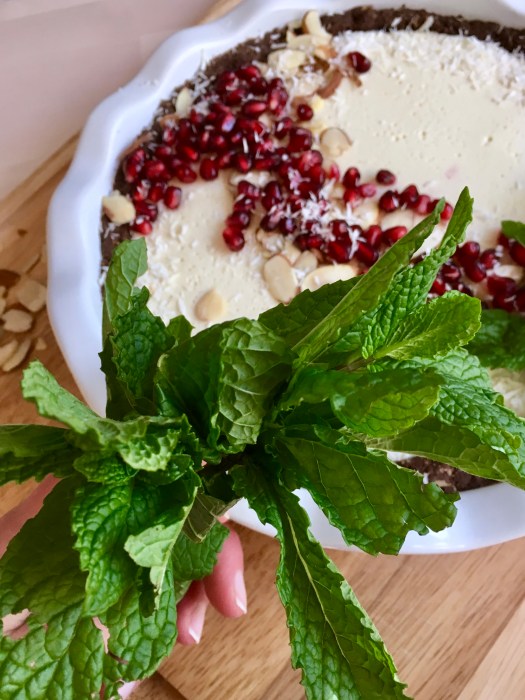
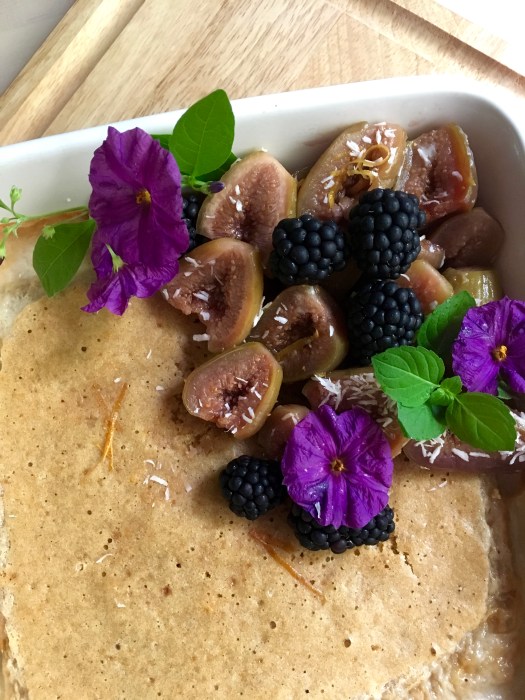
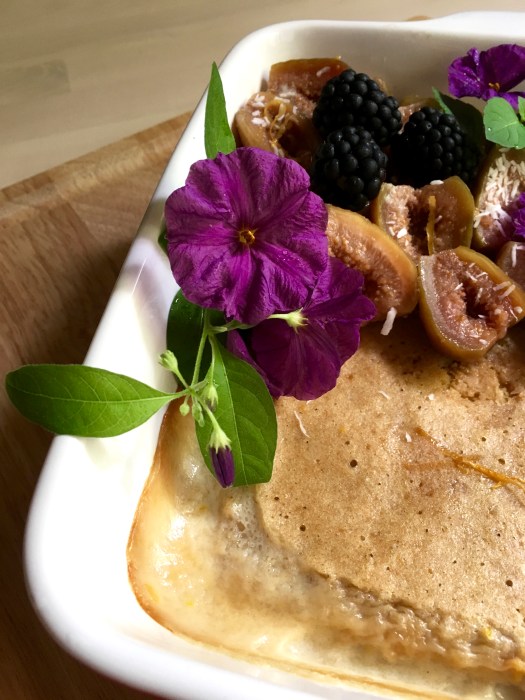
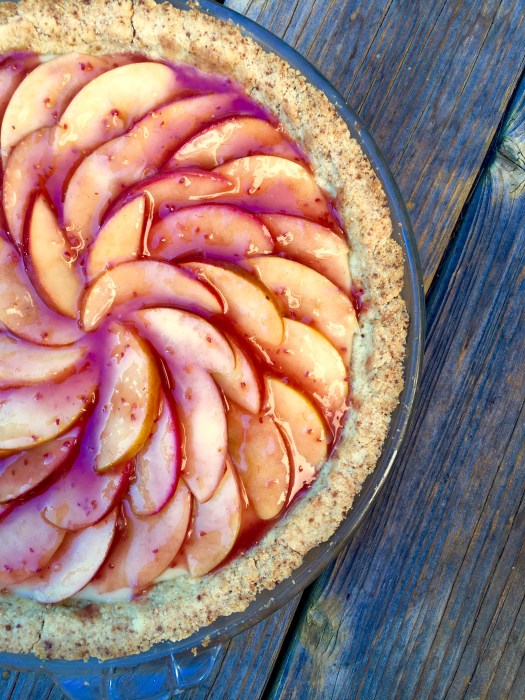
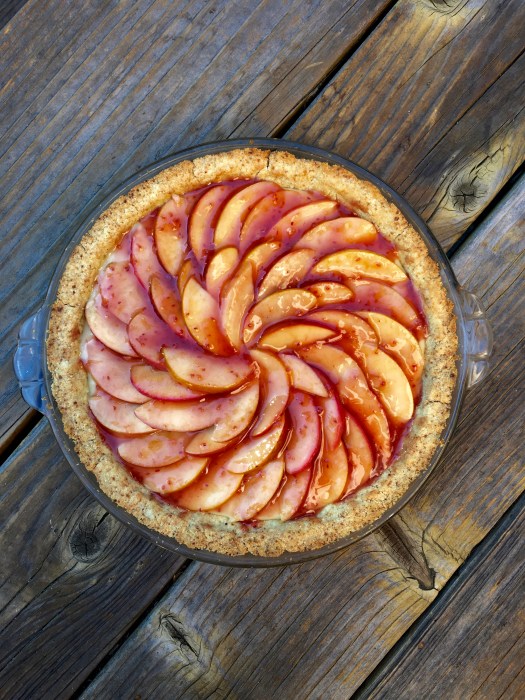
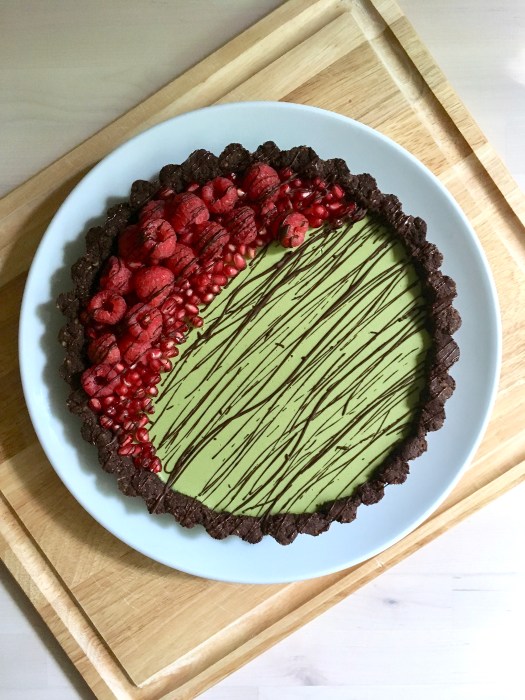
Matcha Panna Cotta Tart
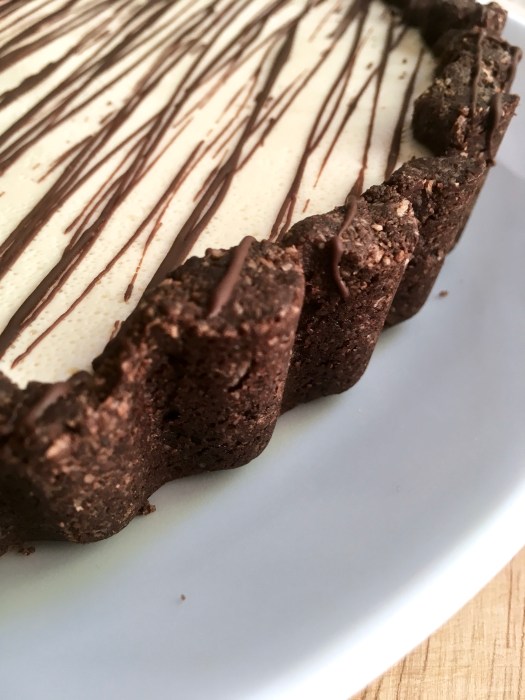
For those who love matcha! This is not for the faint of matcha hearted – we both loved it. The earthiness of the matcha plays really well against the cacao crust. Grain and gluten free, refined sugar free. Dairy free option – swap out the greek yogurt for something nondairy (coconut greek would work well here). Yield: 1 9″ tart, serves 2 very hungry humans over two sittings or 6-8 normal humans ;)
For the crust:
1 c almond flour
3/4 finely ground walnuts (blitz them in the food processor)
1/3 c unsweetened cacao powder (or cocoa powder)
1/4 c unsweetened shredded coconut
heaping 1/4 tsp sea salt
1/2 tsp baking soda
2 tsp vanilla extract
2 tbsp pure maple syrup
4 tbsp coconut oil, melted
1/4 c dark chocolate, melted
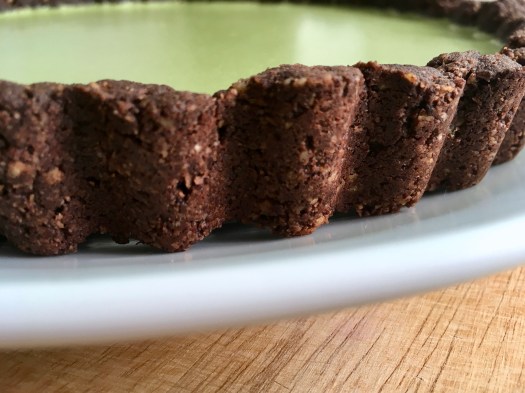
In a large bowl, stir together almond flour, walnut meal, cacao powder, coconut, sea salt, and baking soda. Add in vanilla, maple, and melted coconut oil and stir until completely combined. The dough will look crumbly, but you’ll be able to press it together with your fingers.
Preheat the oven to 350, and lightly grease a pie plate with coconut oil. Press the crust into the plate and up the sides with a spoon or your fingers, creating a smooth edge (or not, your call!). Poke the bottom with a fork a few times, and bake for 15 minutes.
Remove and let cool completely.
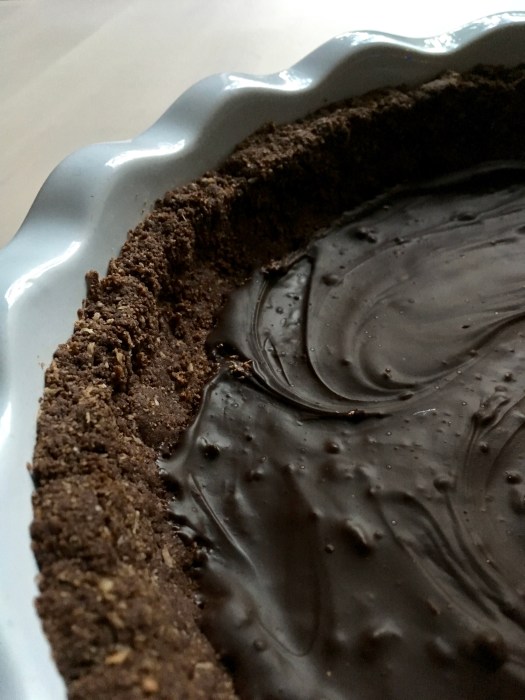
With a pastry brush or a spoon, coat the bottom the crust with an even layer of melted chocolate. Refrigerate until chocolate sets, about 10 minutes.
Panna Cotta:
1 package unflavored powdered gelatin
1.5 cup full-fat coconut milk, divided
1 tbsp vanilla
1/4 cup maple
Scant 1/4 tsp sea salt
2 tbsp matcha powder
1/2 cup plain greek whole-milk yogurt
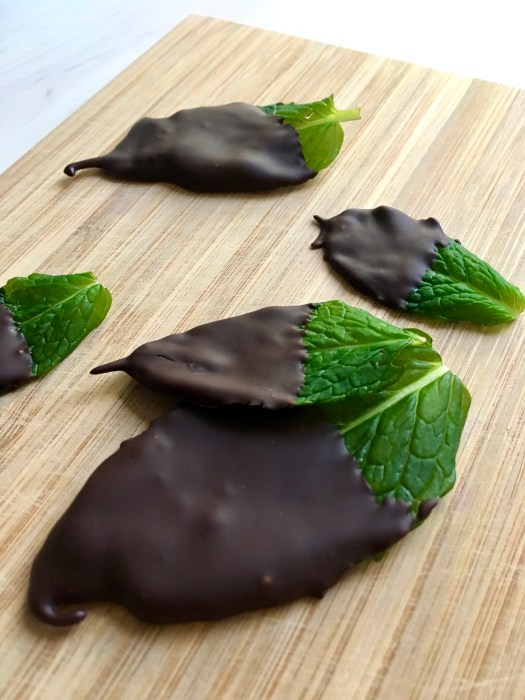
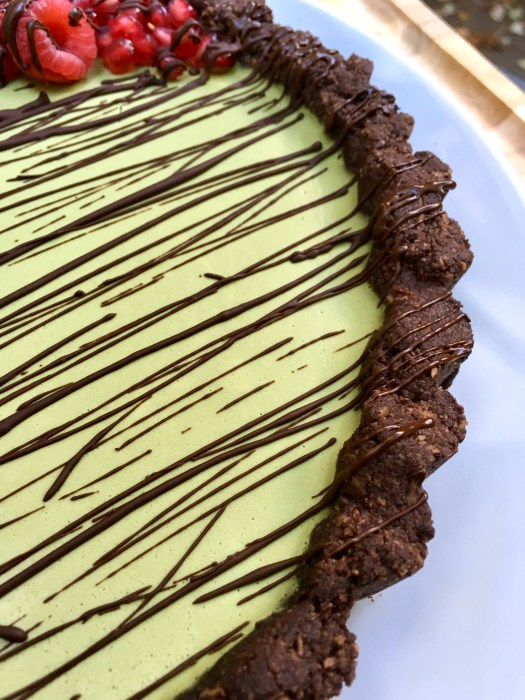
more melted chocolate, for drizzling (just a few tbsp needed – use more for serving if desired)
In a small bowl, sprinkle the gelatin over 1/4 cup of the coconut milk. Let stand without stirring until the gelatin is moistened, about 10 minutes.
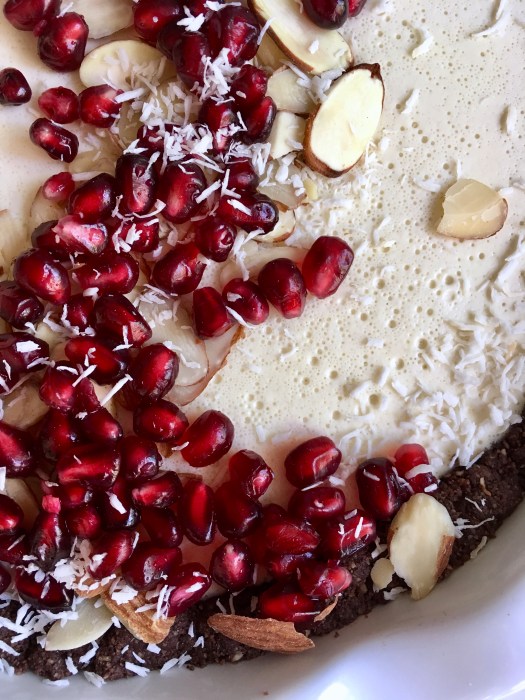
Pour the remaining 1.25 cups of coconut milk into a small saucepan. Add vanilla, maple, salt, and matcha powder into it. Bring to a simmer over medium heat, stirring consistently. Remove from the heat. Add the gelatin mixture and stir until completely dissolved, about 3 minutes. Cool until lukewarm, about 5 minutes. Whisk in the yogurt until well blended. Pour the panna cotta mixture into the cooled tart shell. Drop melted chocolate onto the surface of the tart and swirl with a knife or a toothpick. Place in the refrigerator until set, approximately 4 hours.
Store in the fridge – keeps well overnight for breakfast the next morning :)